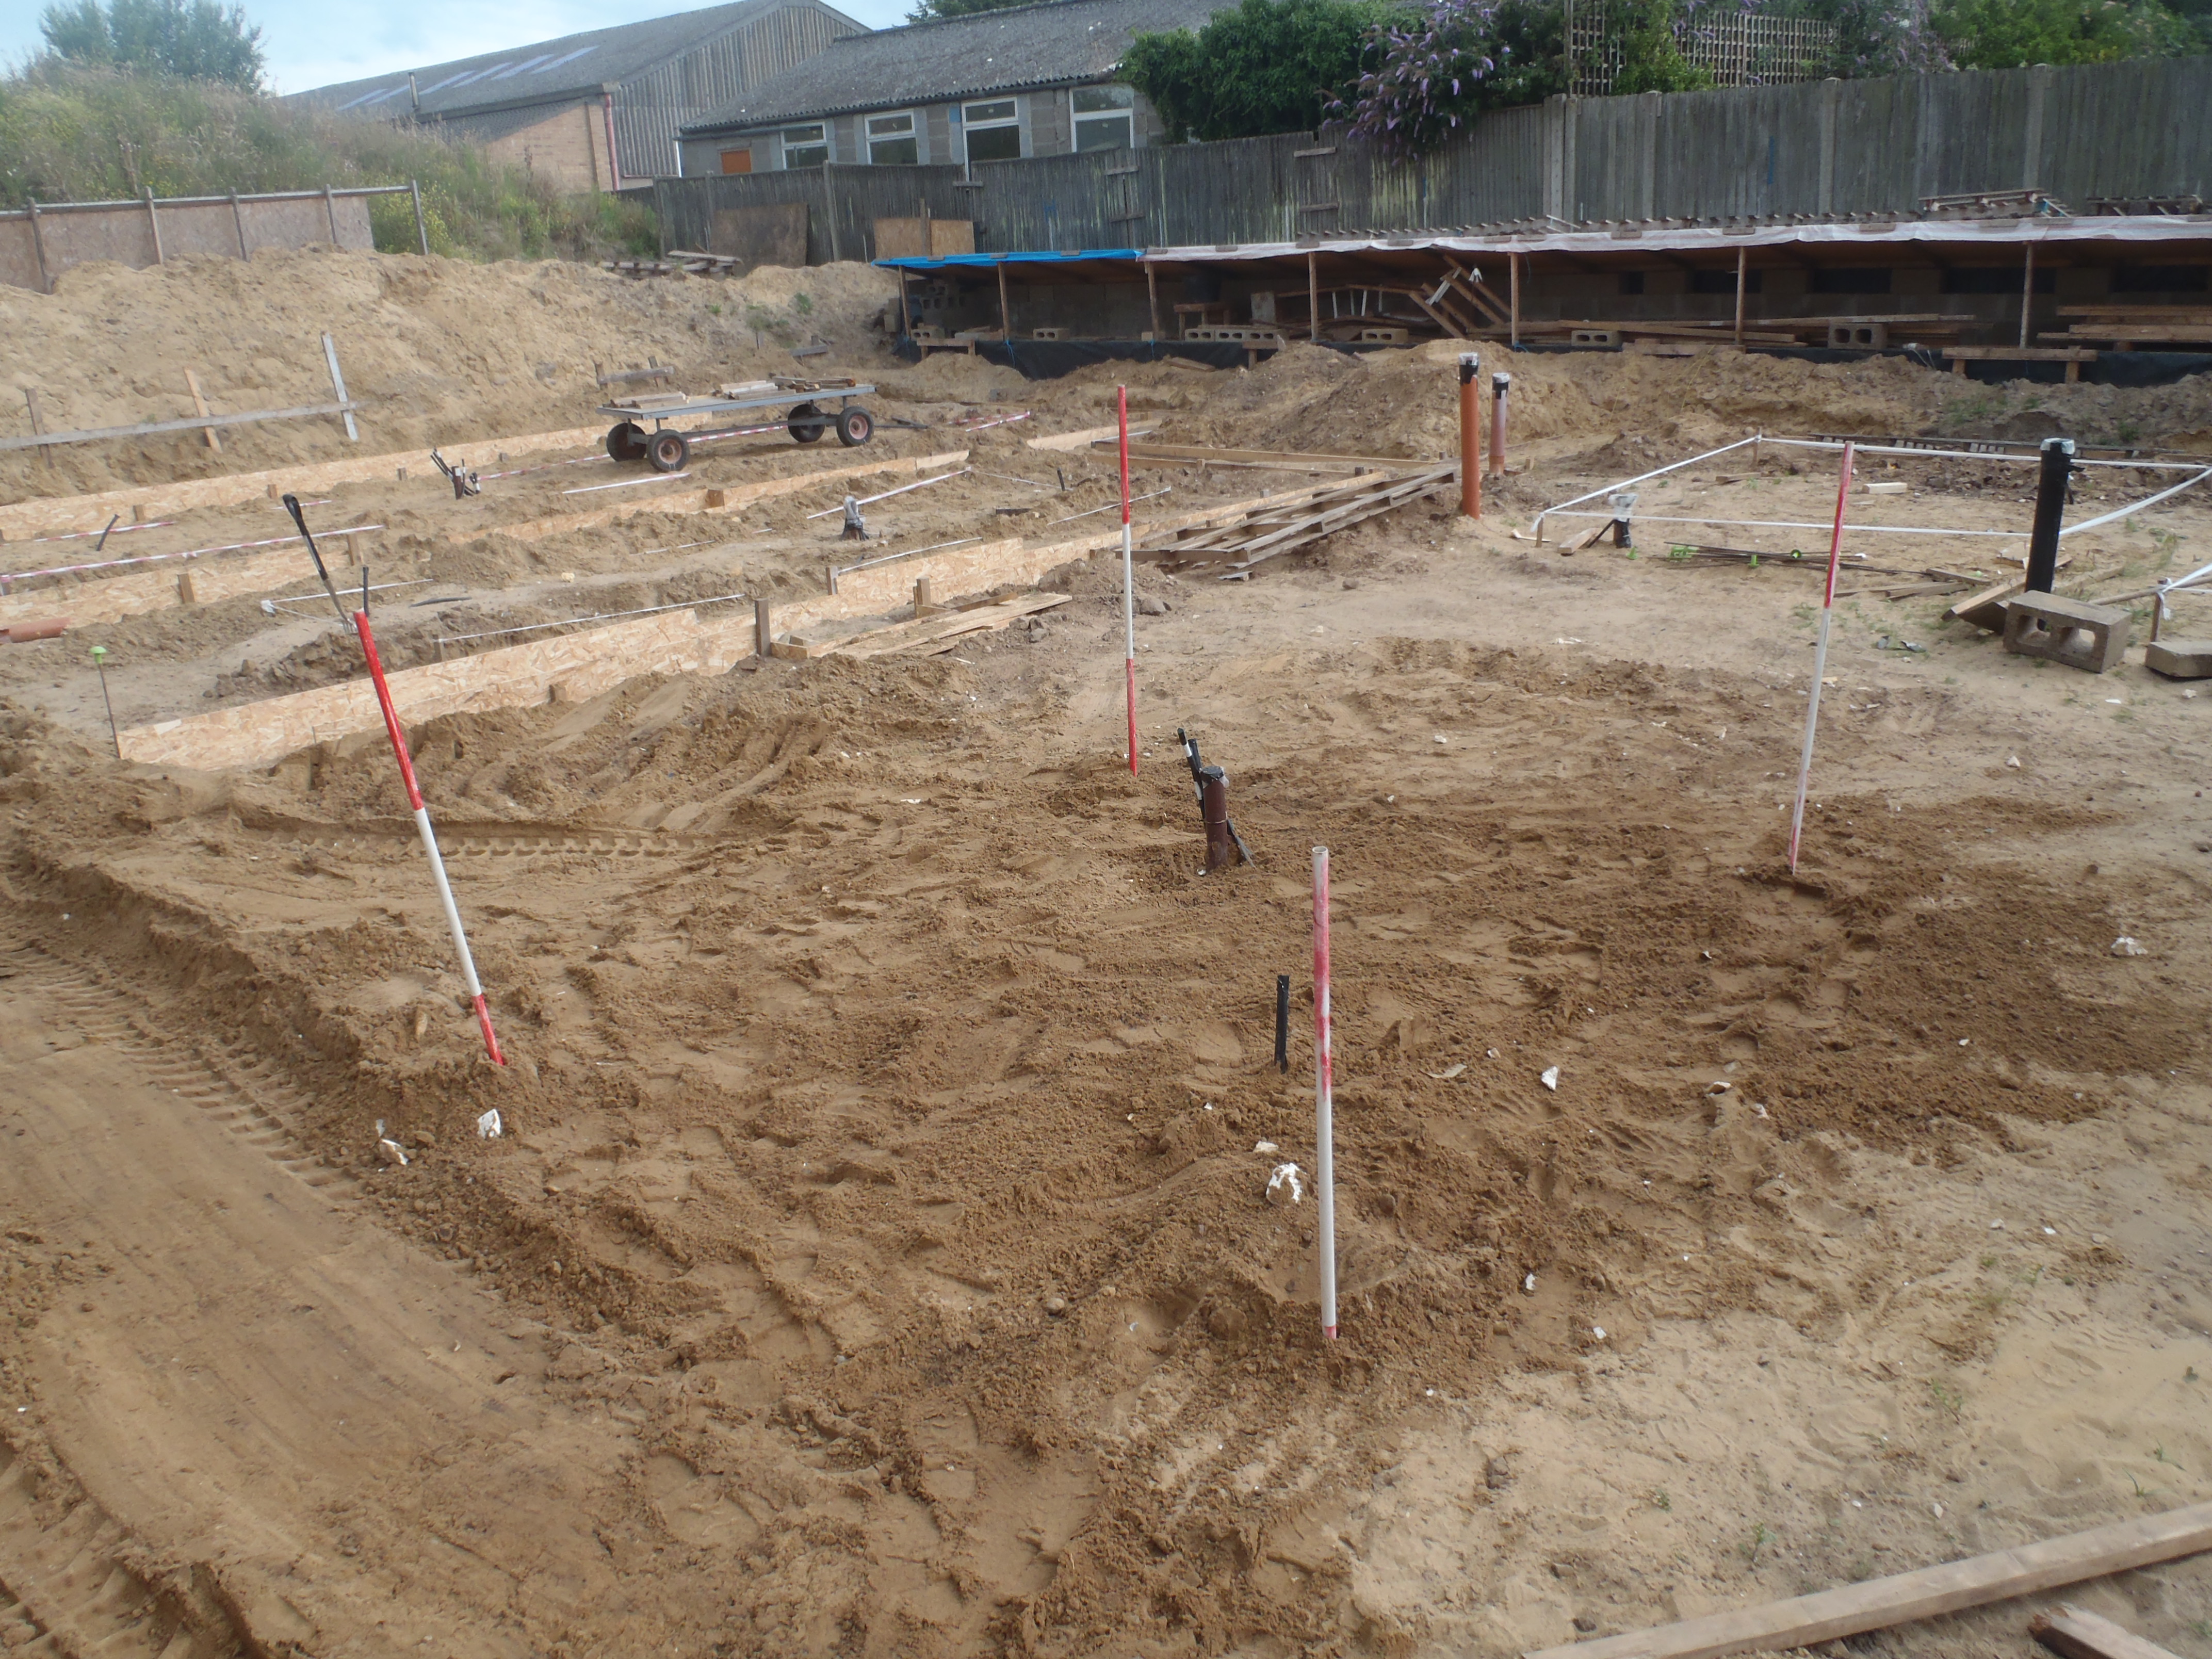
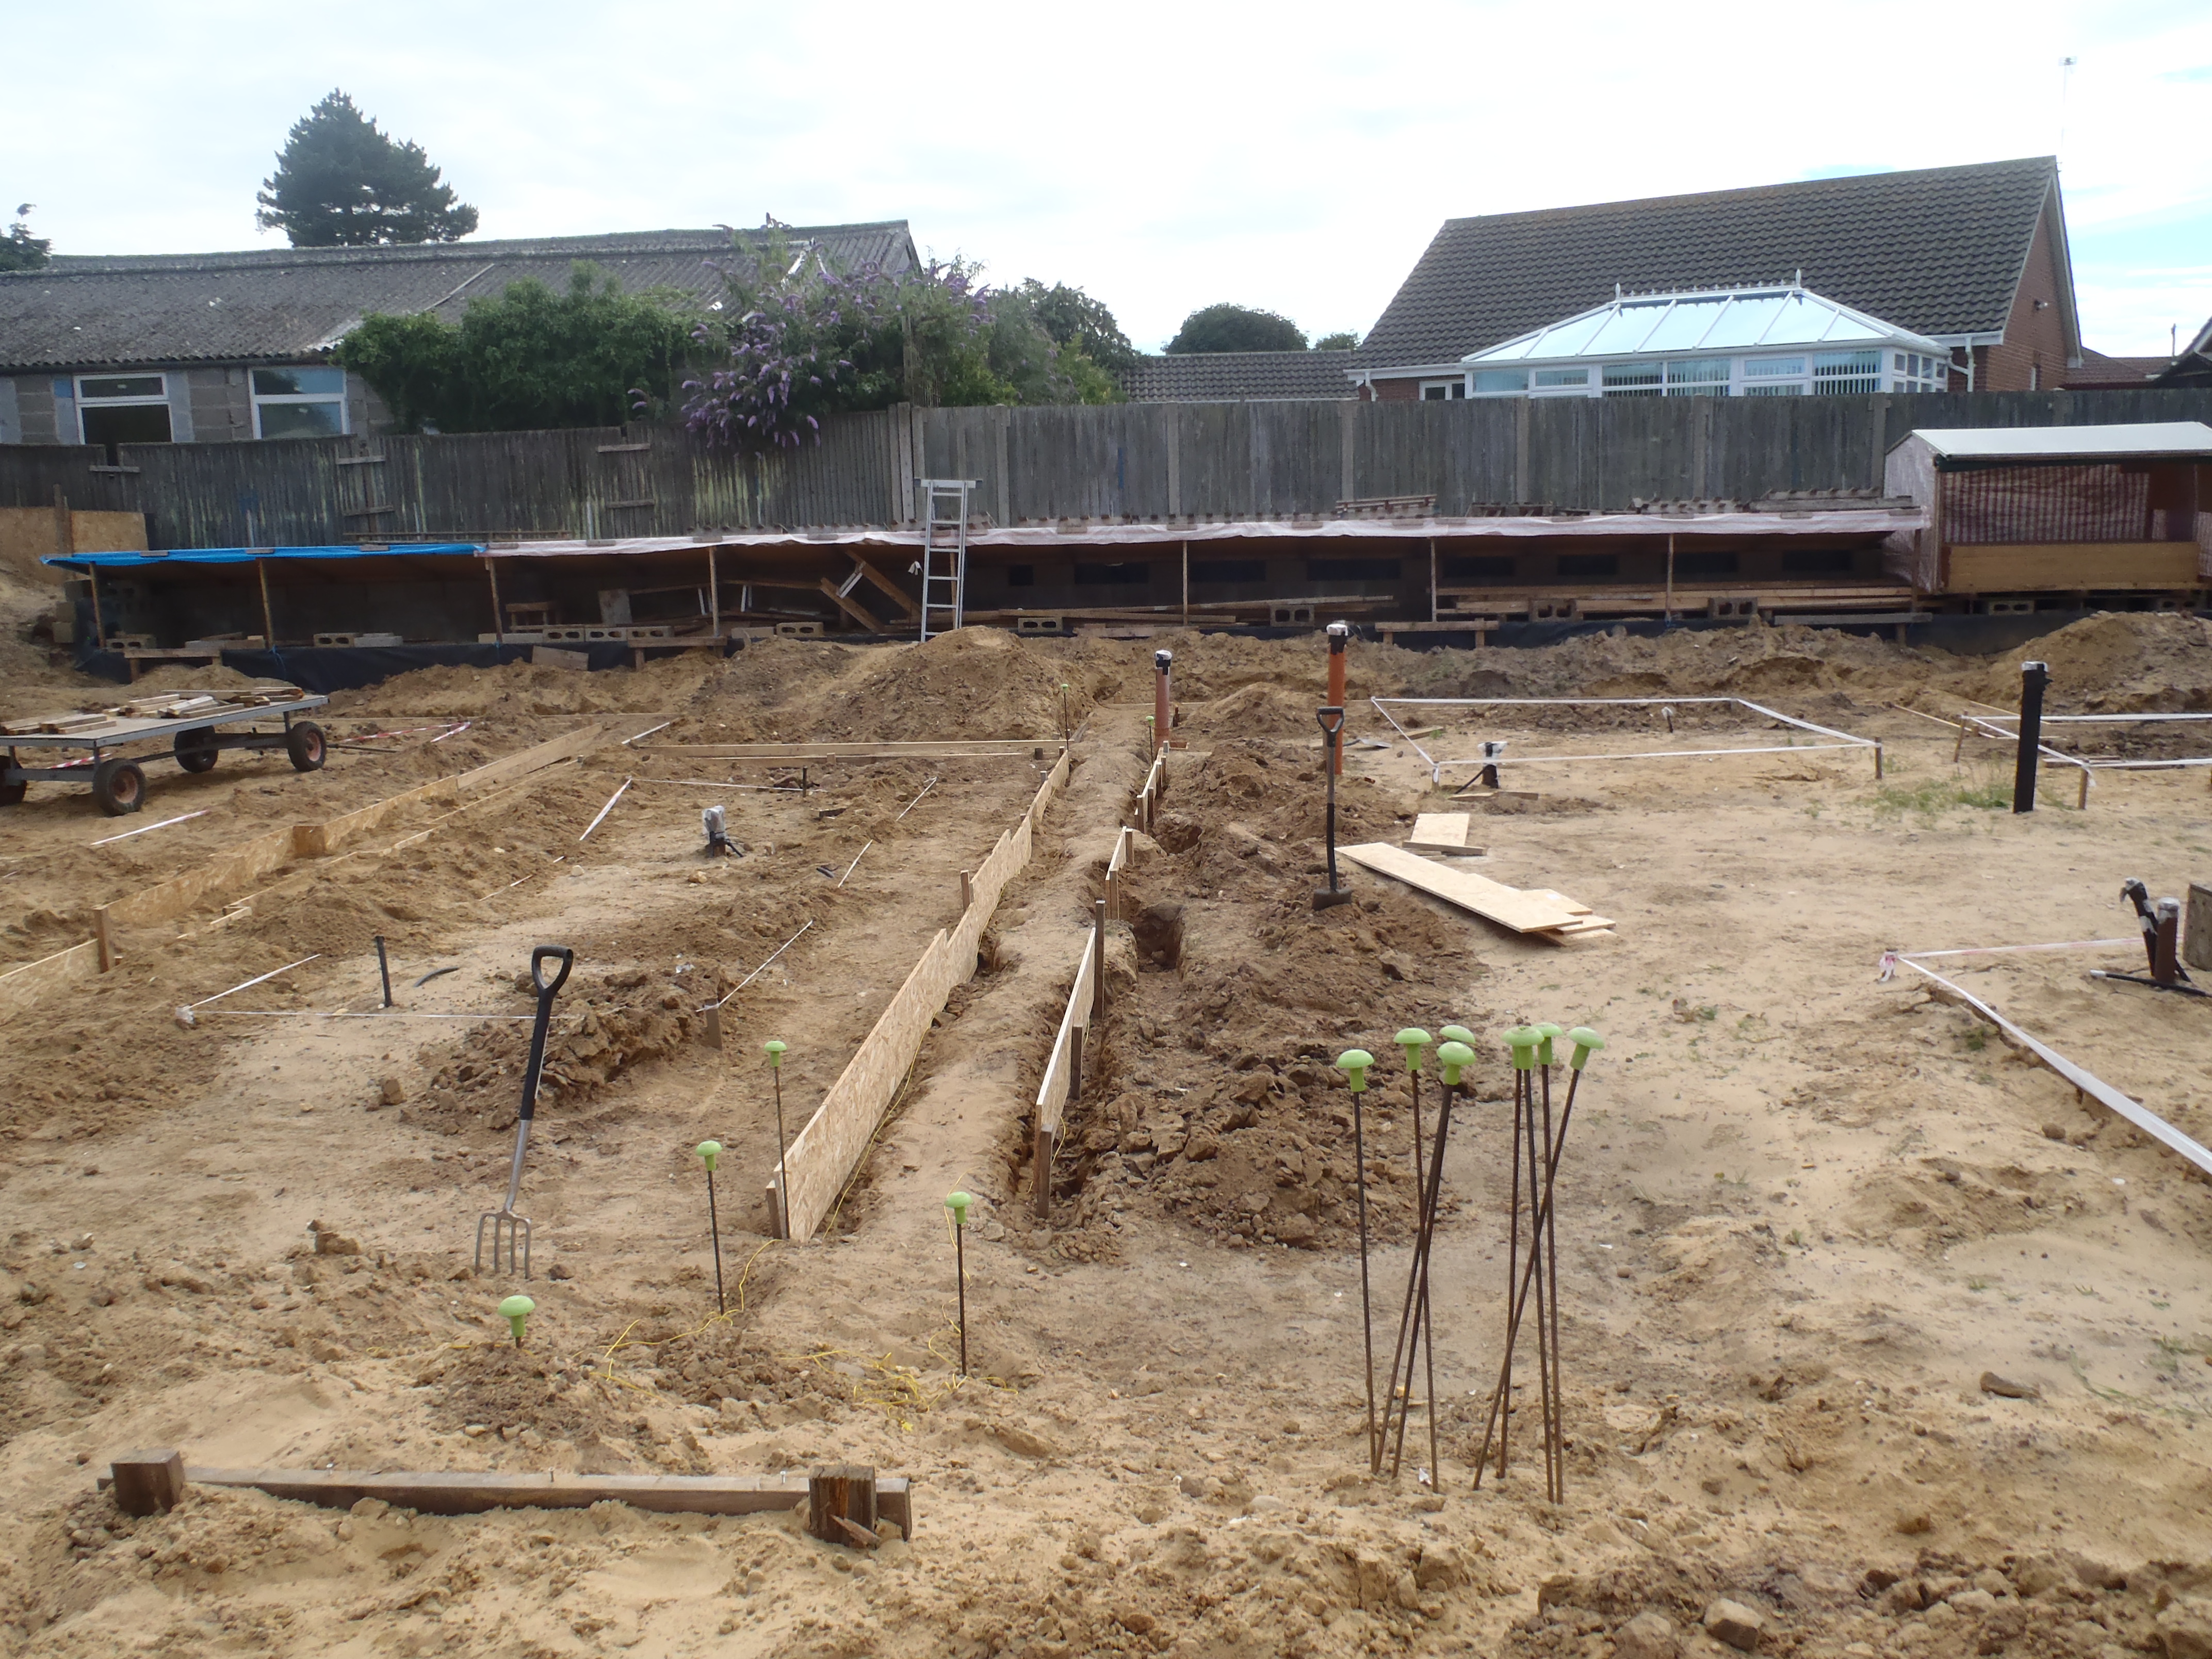
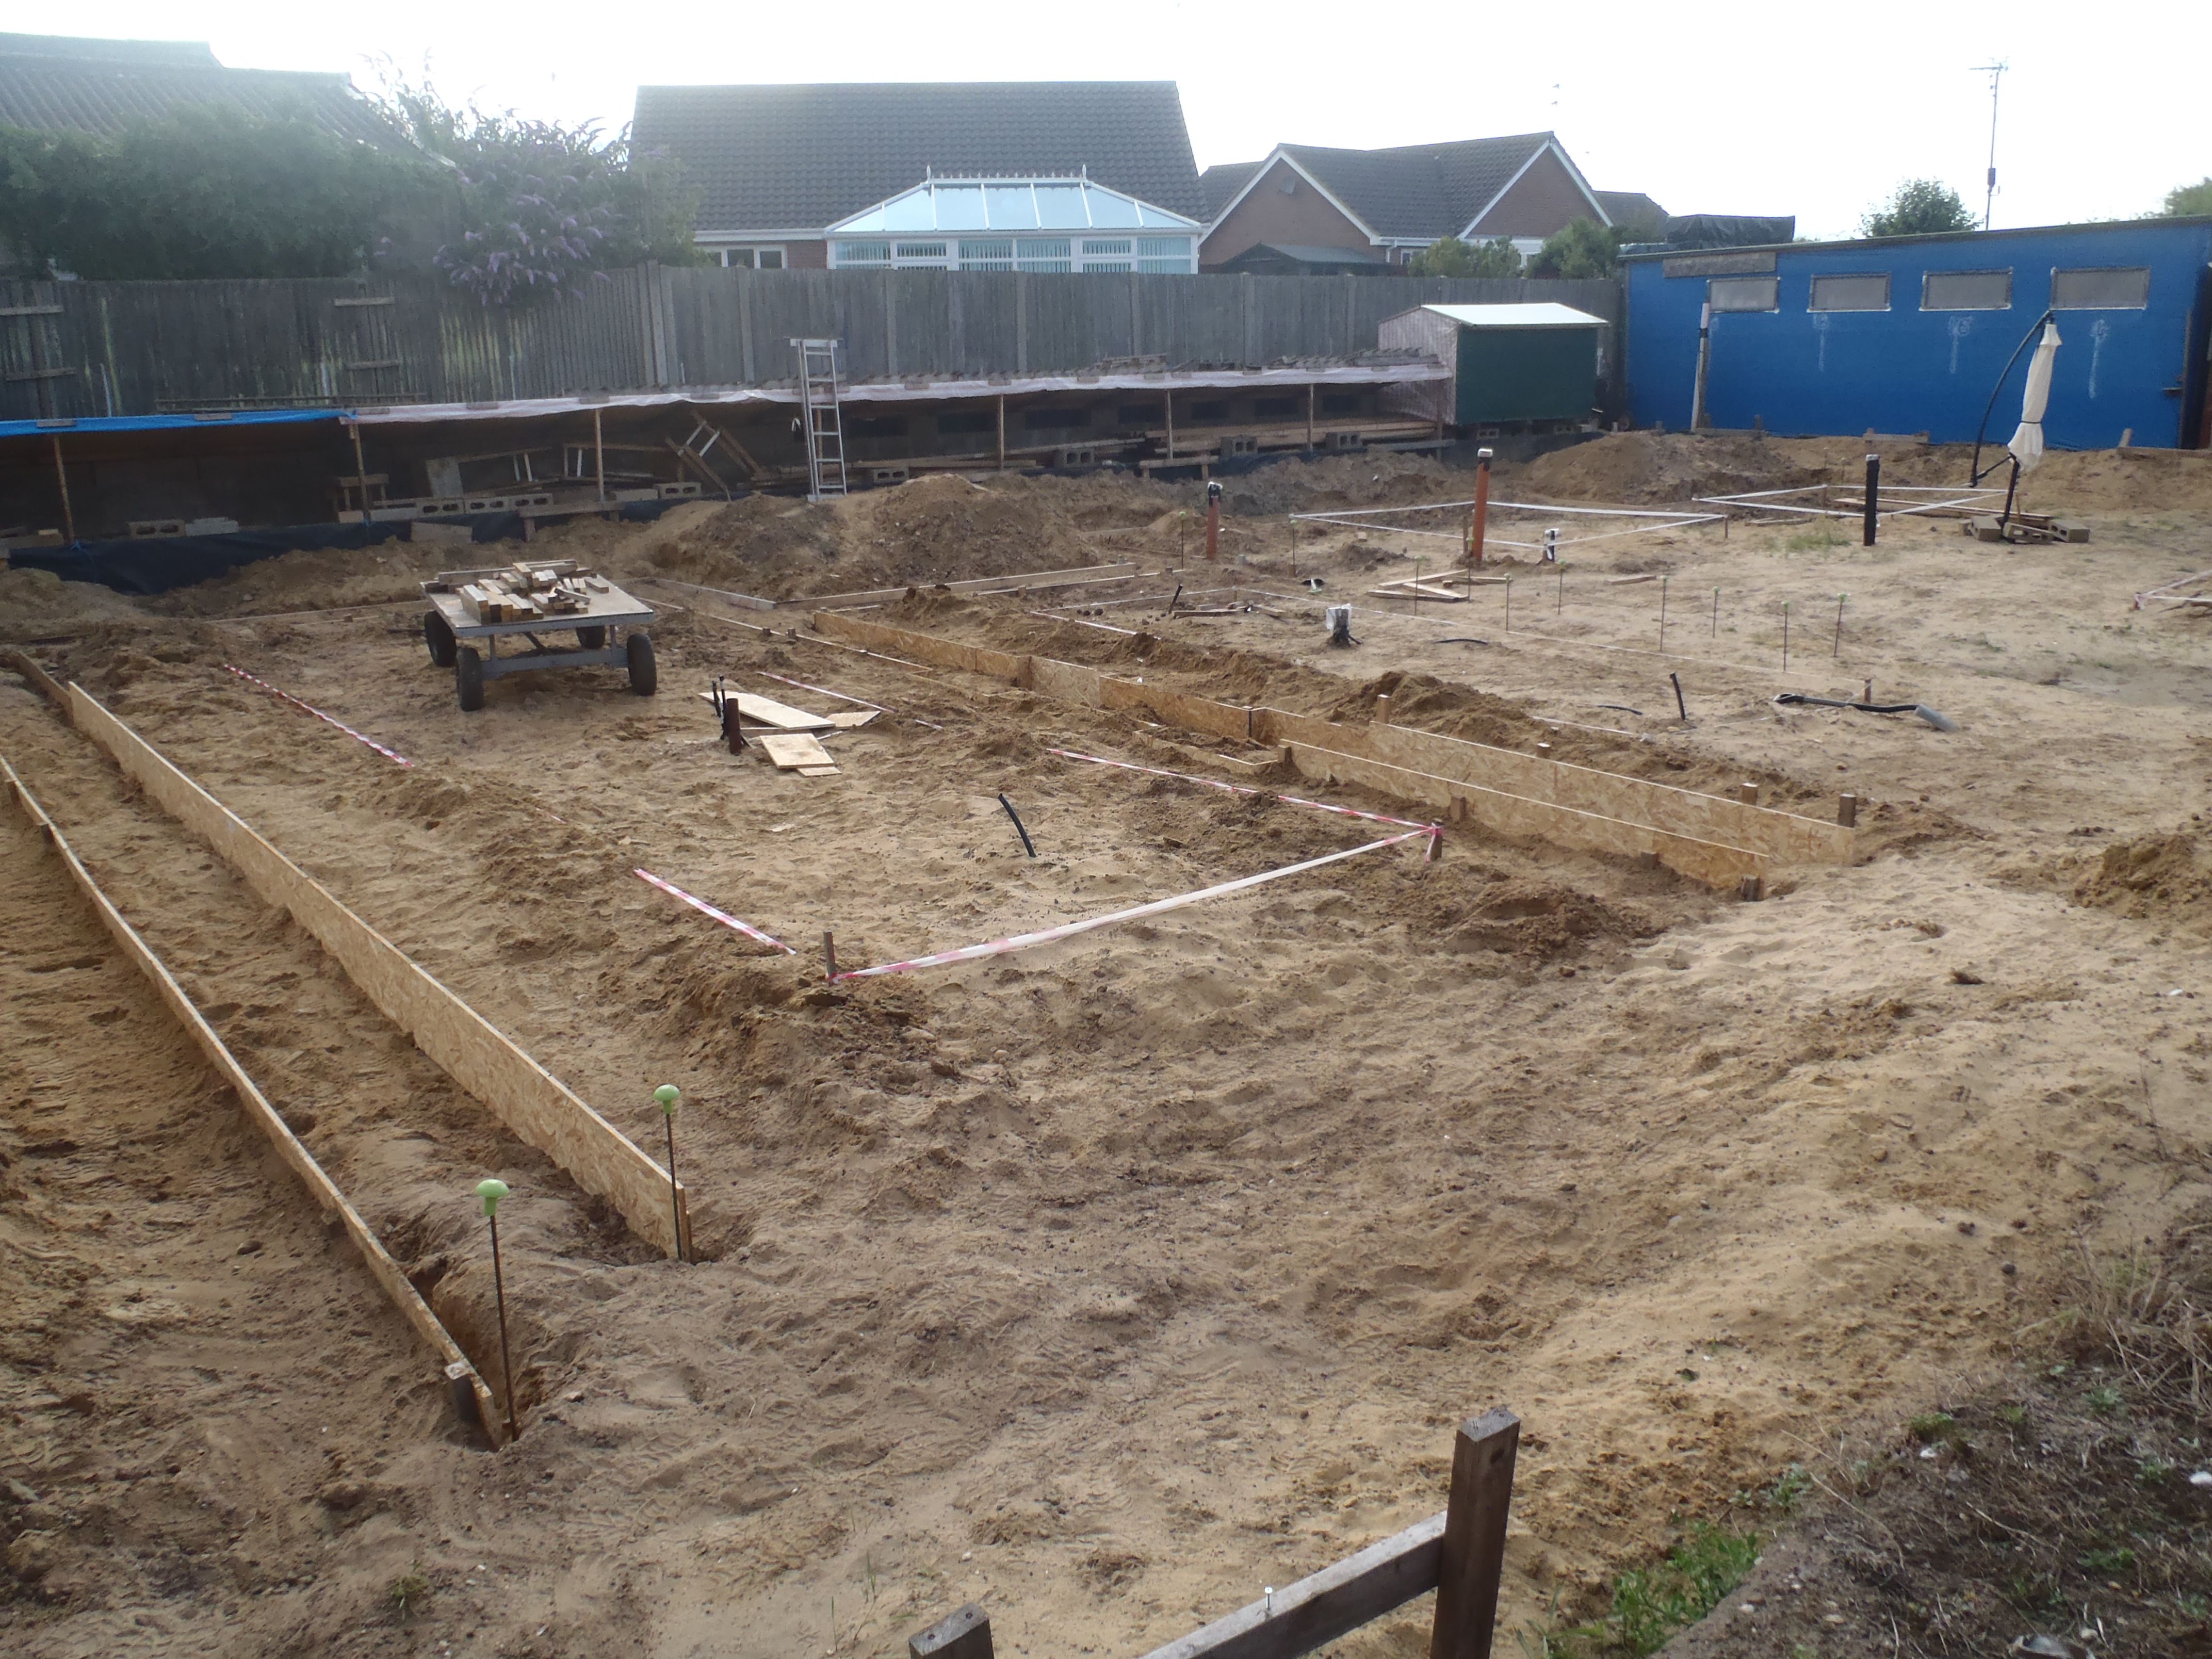
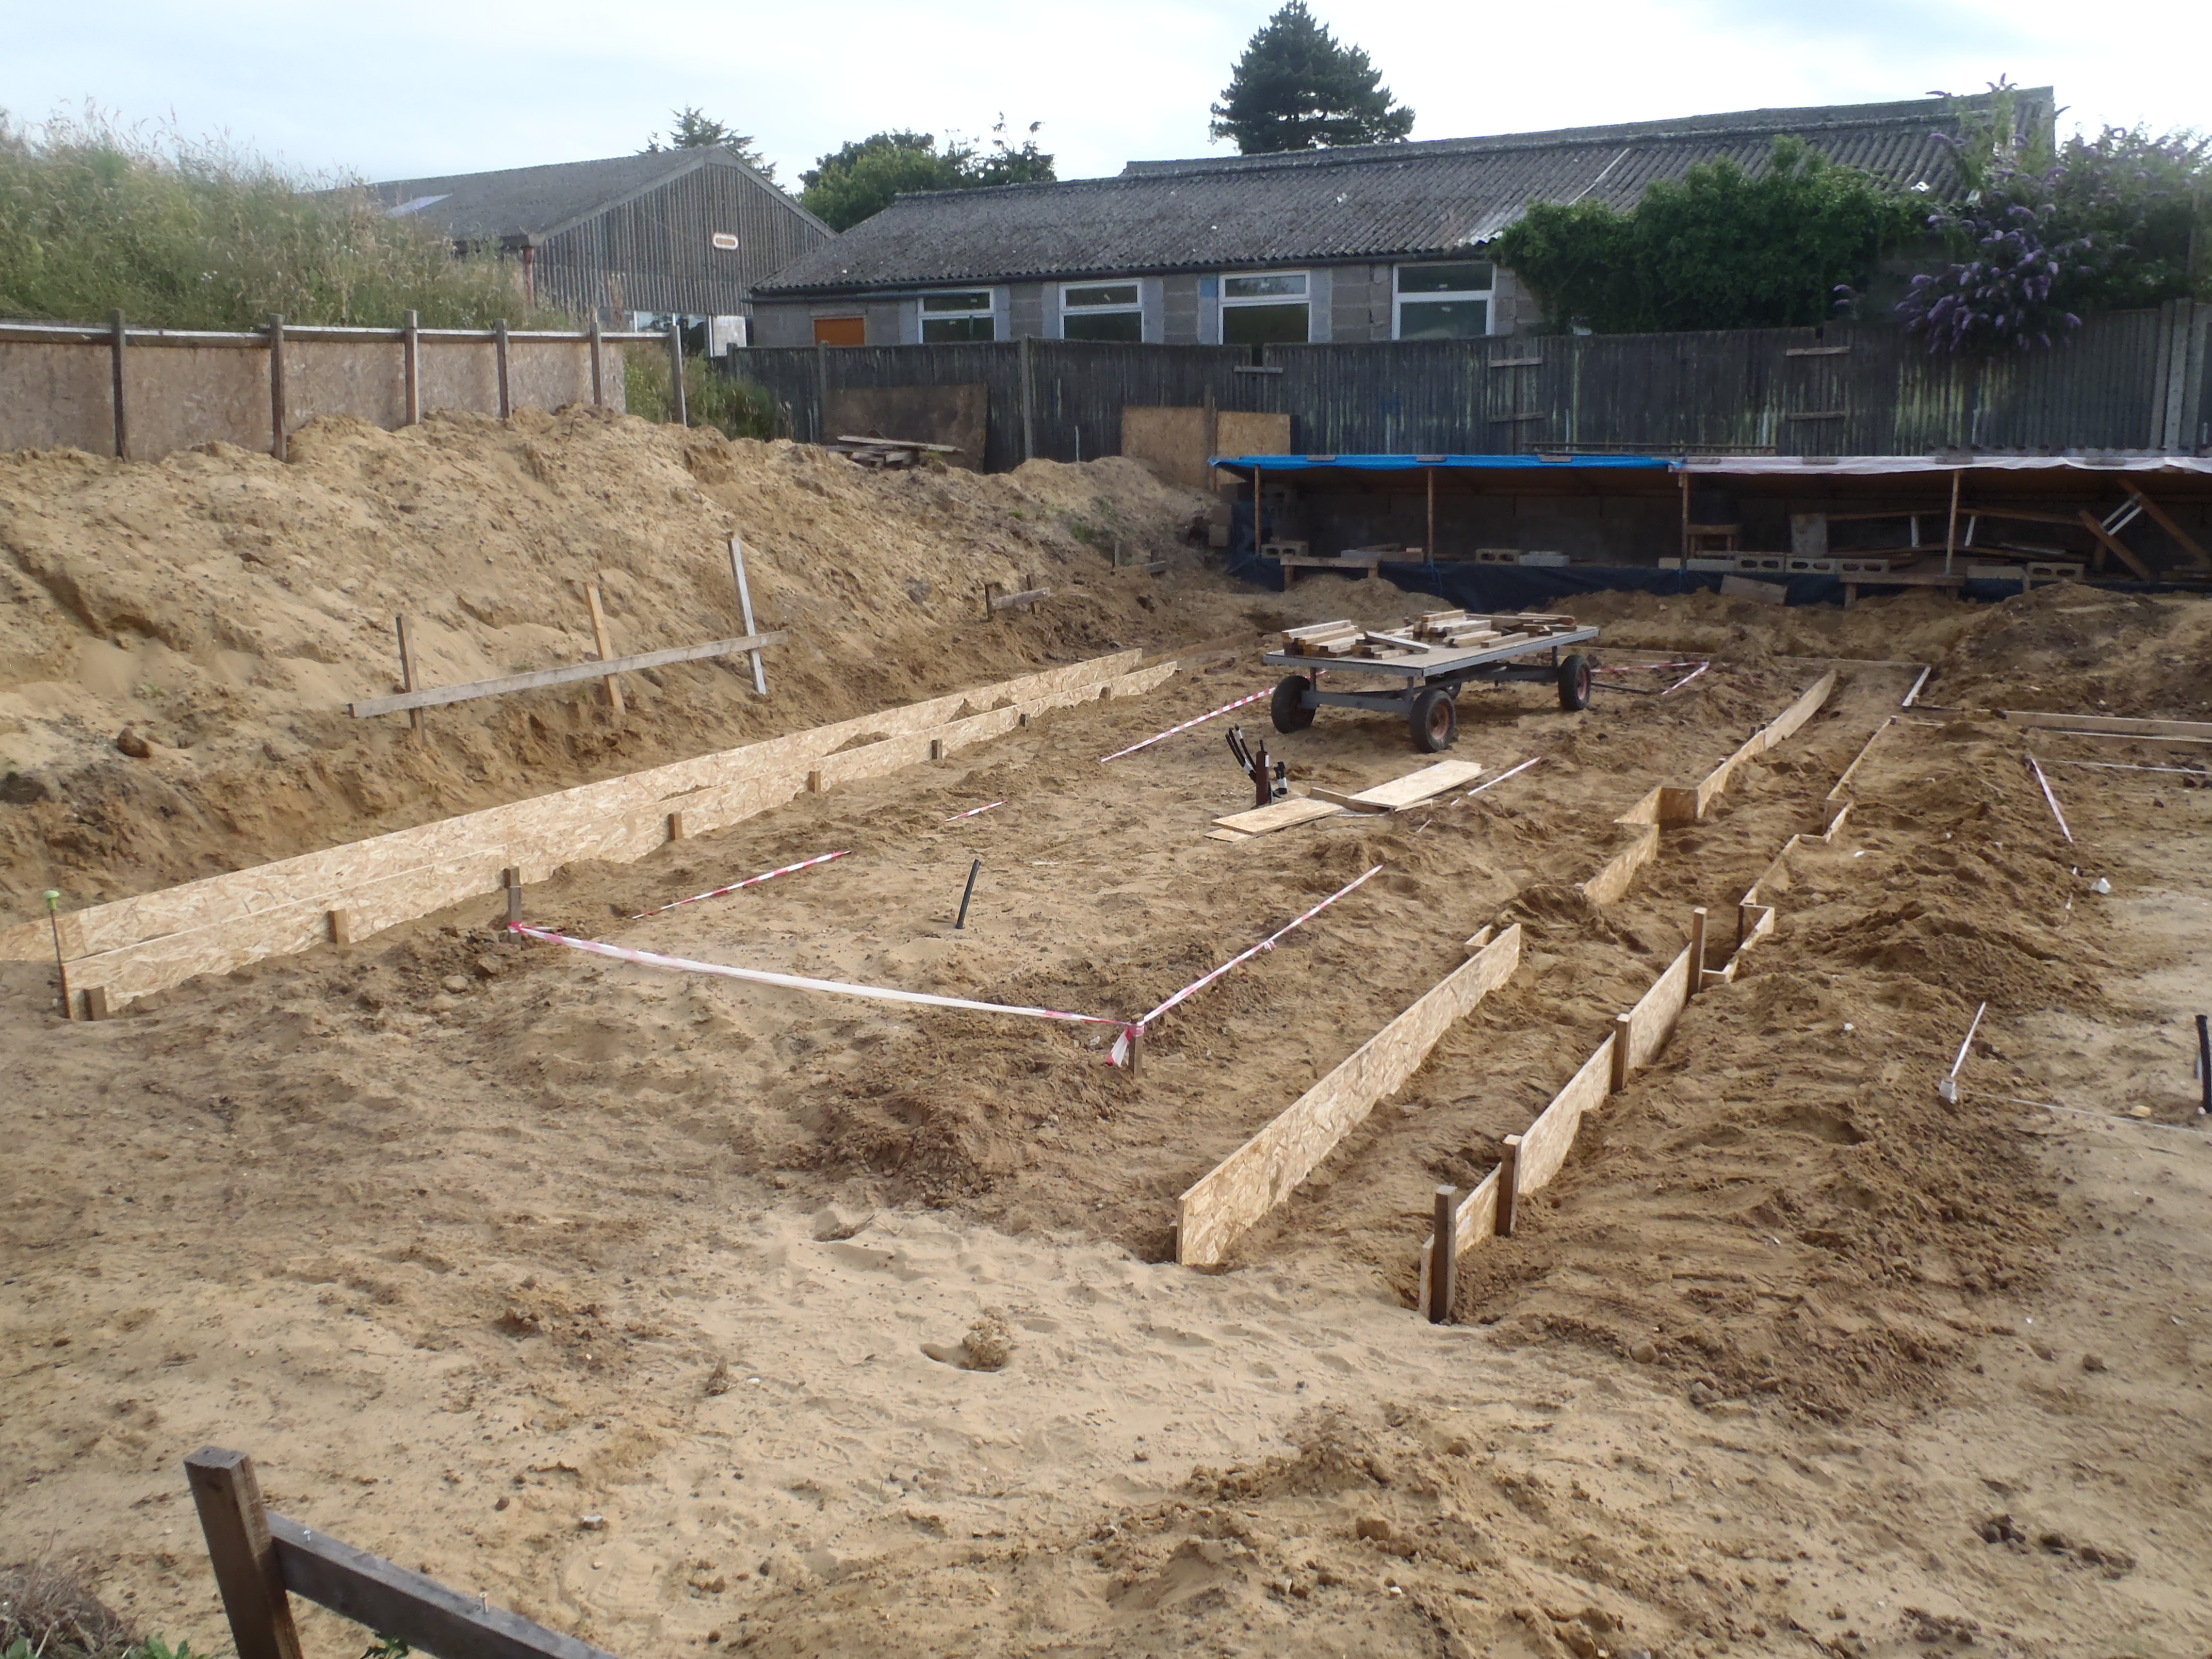
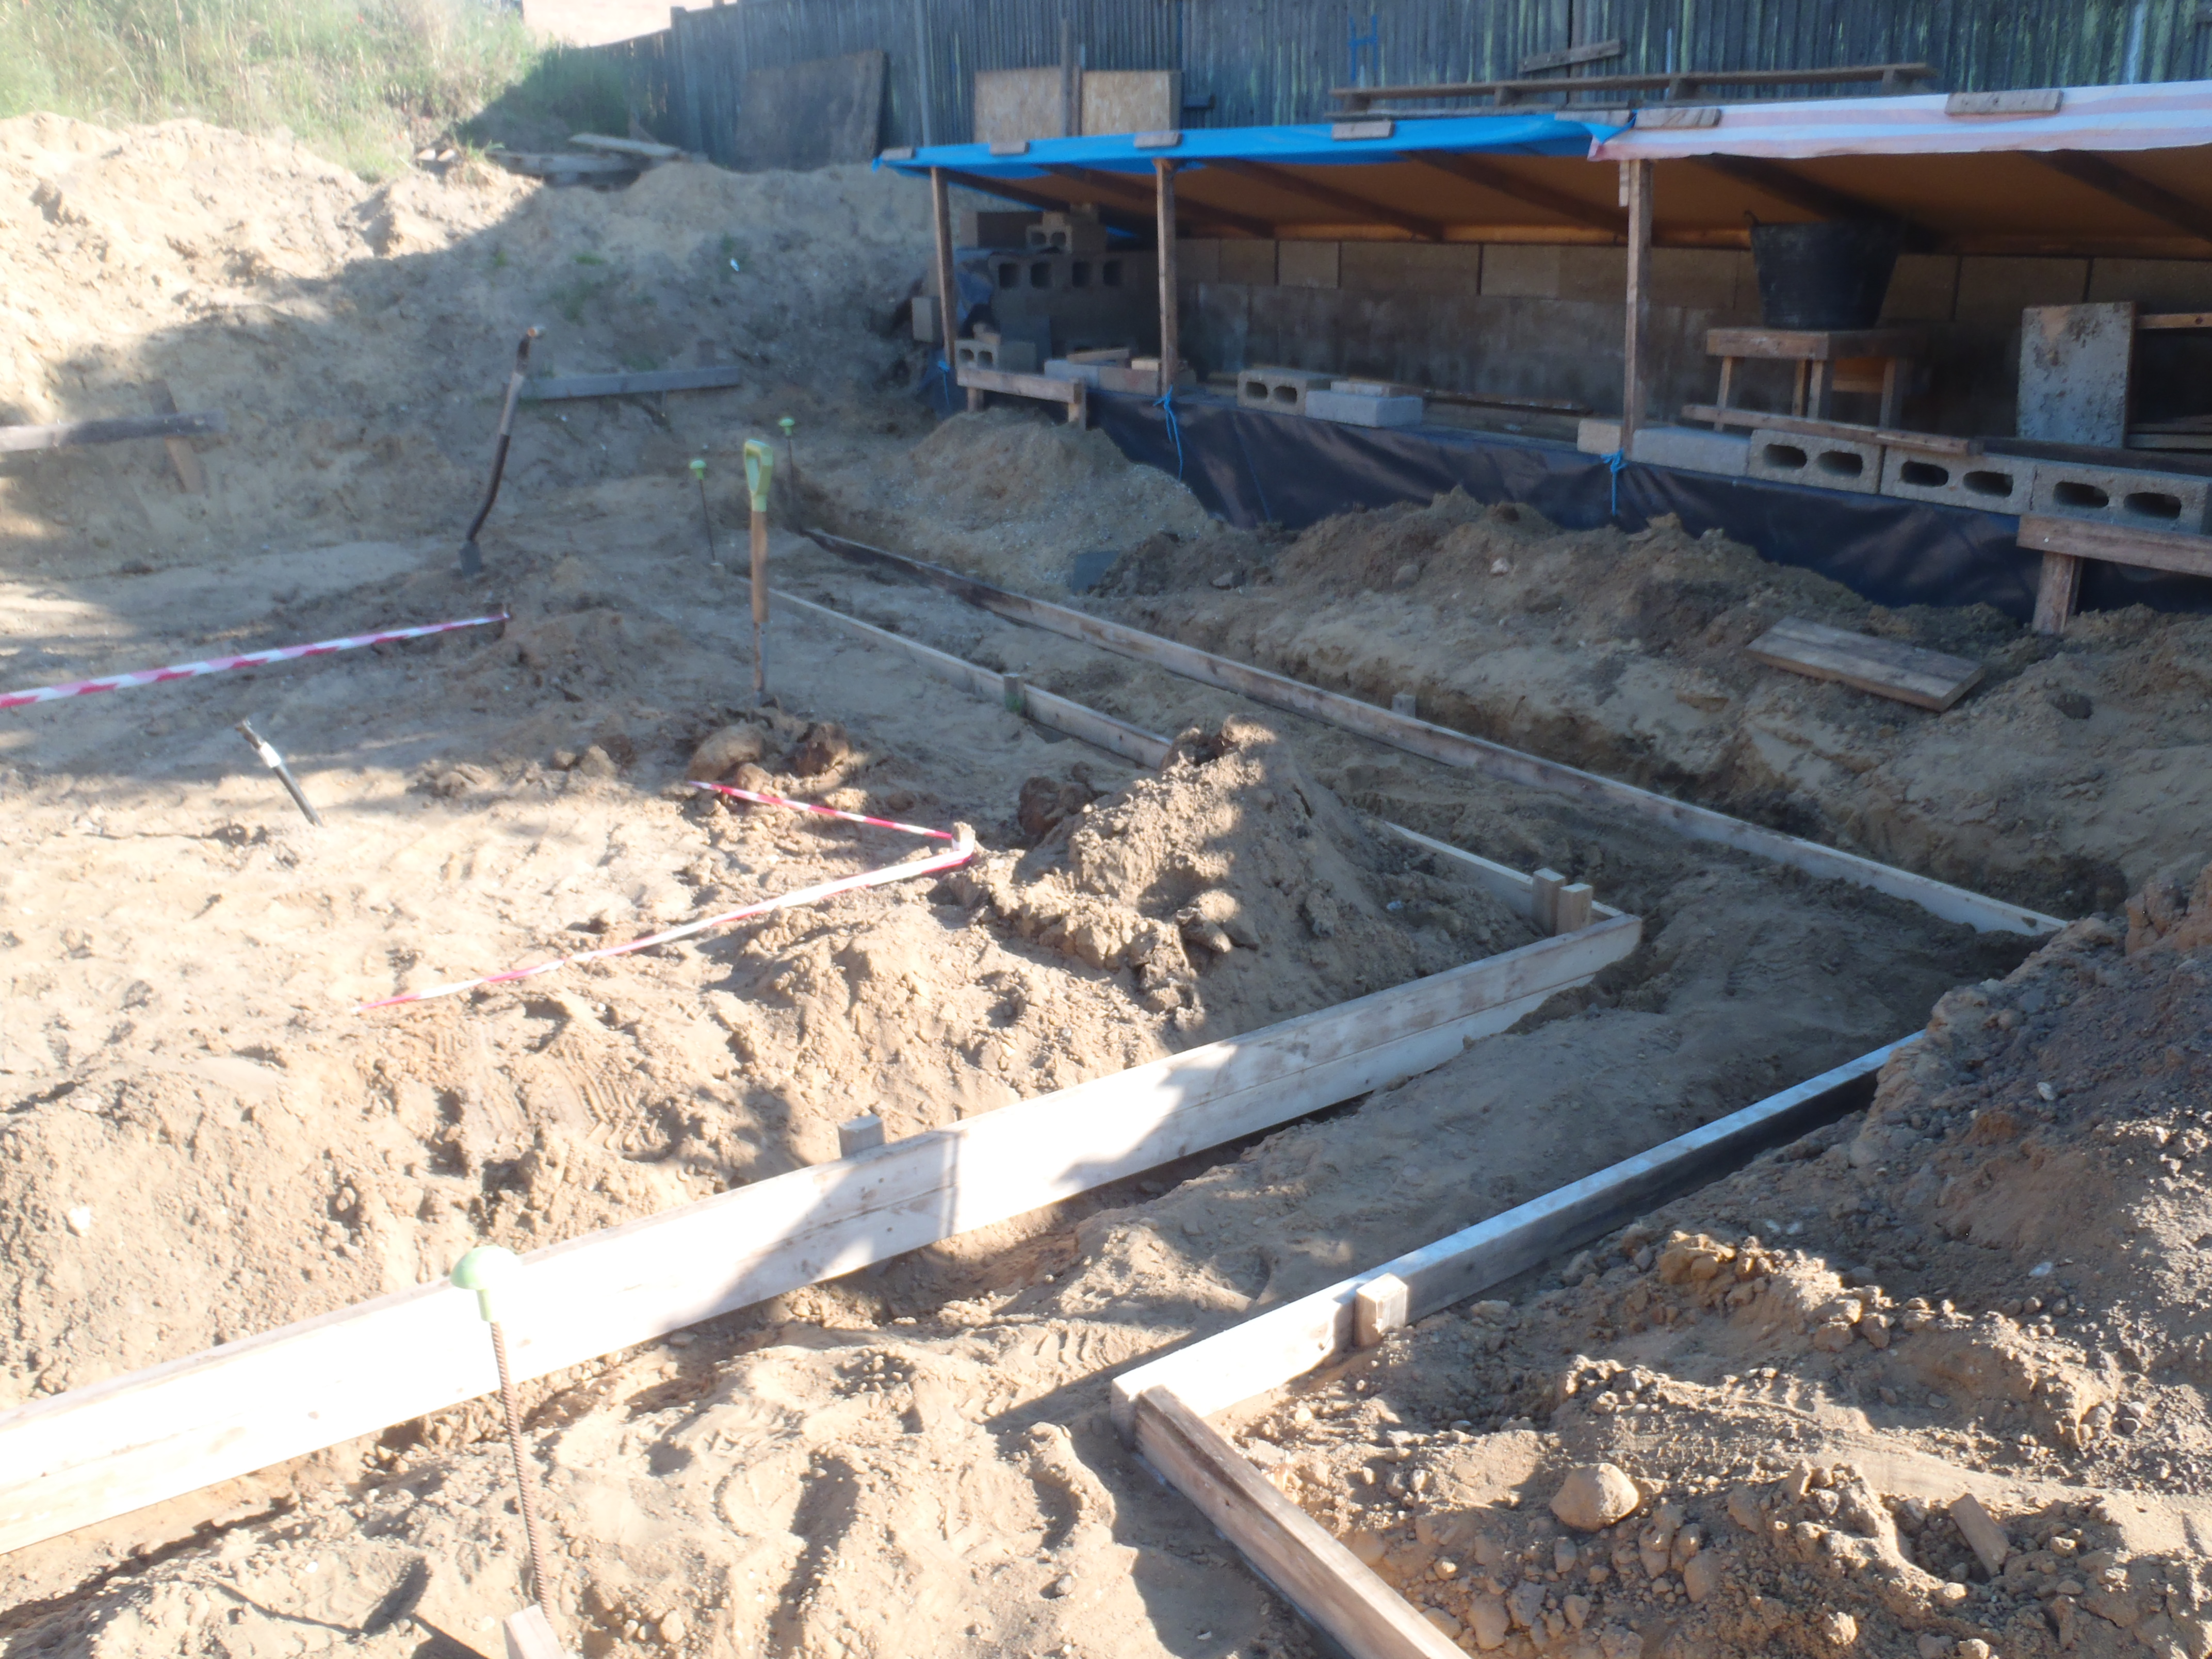
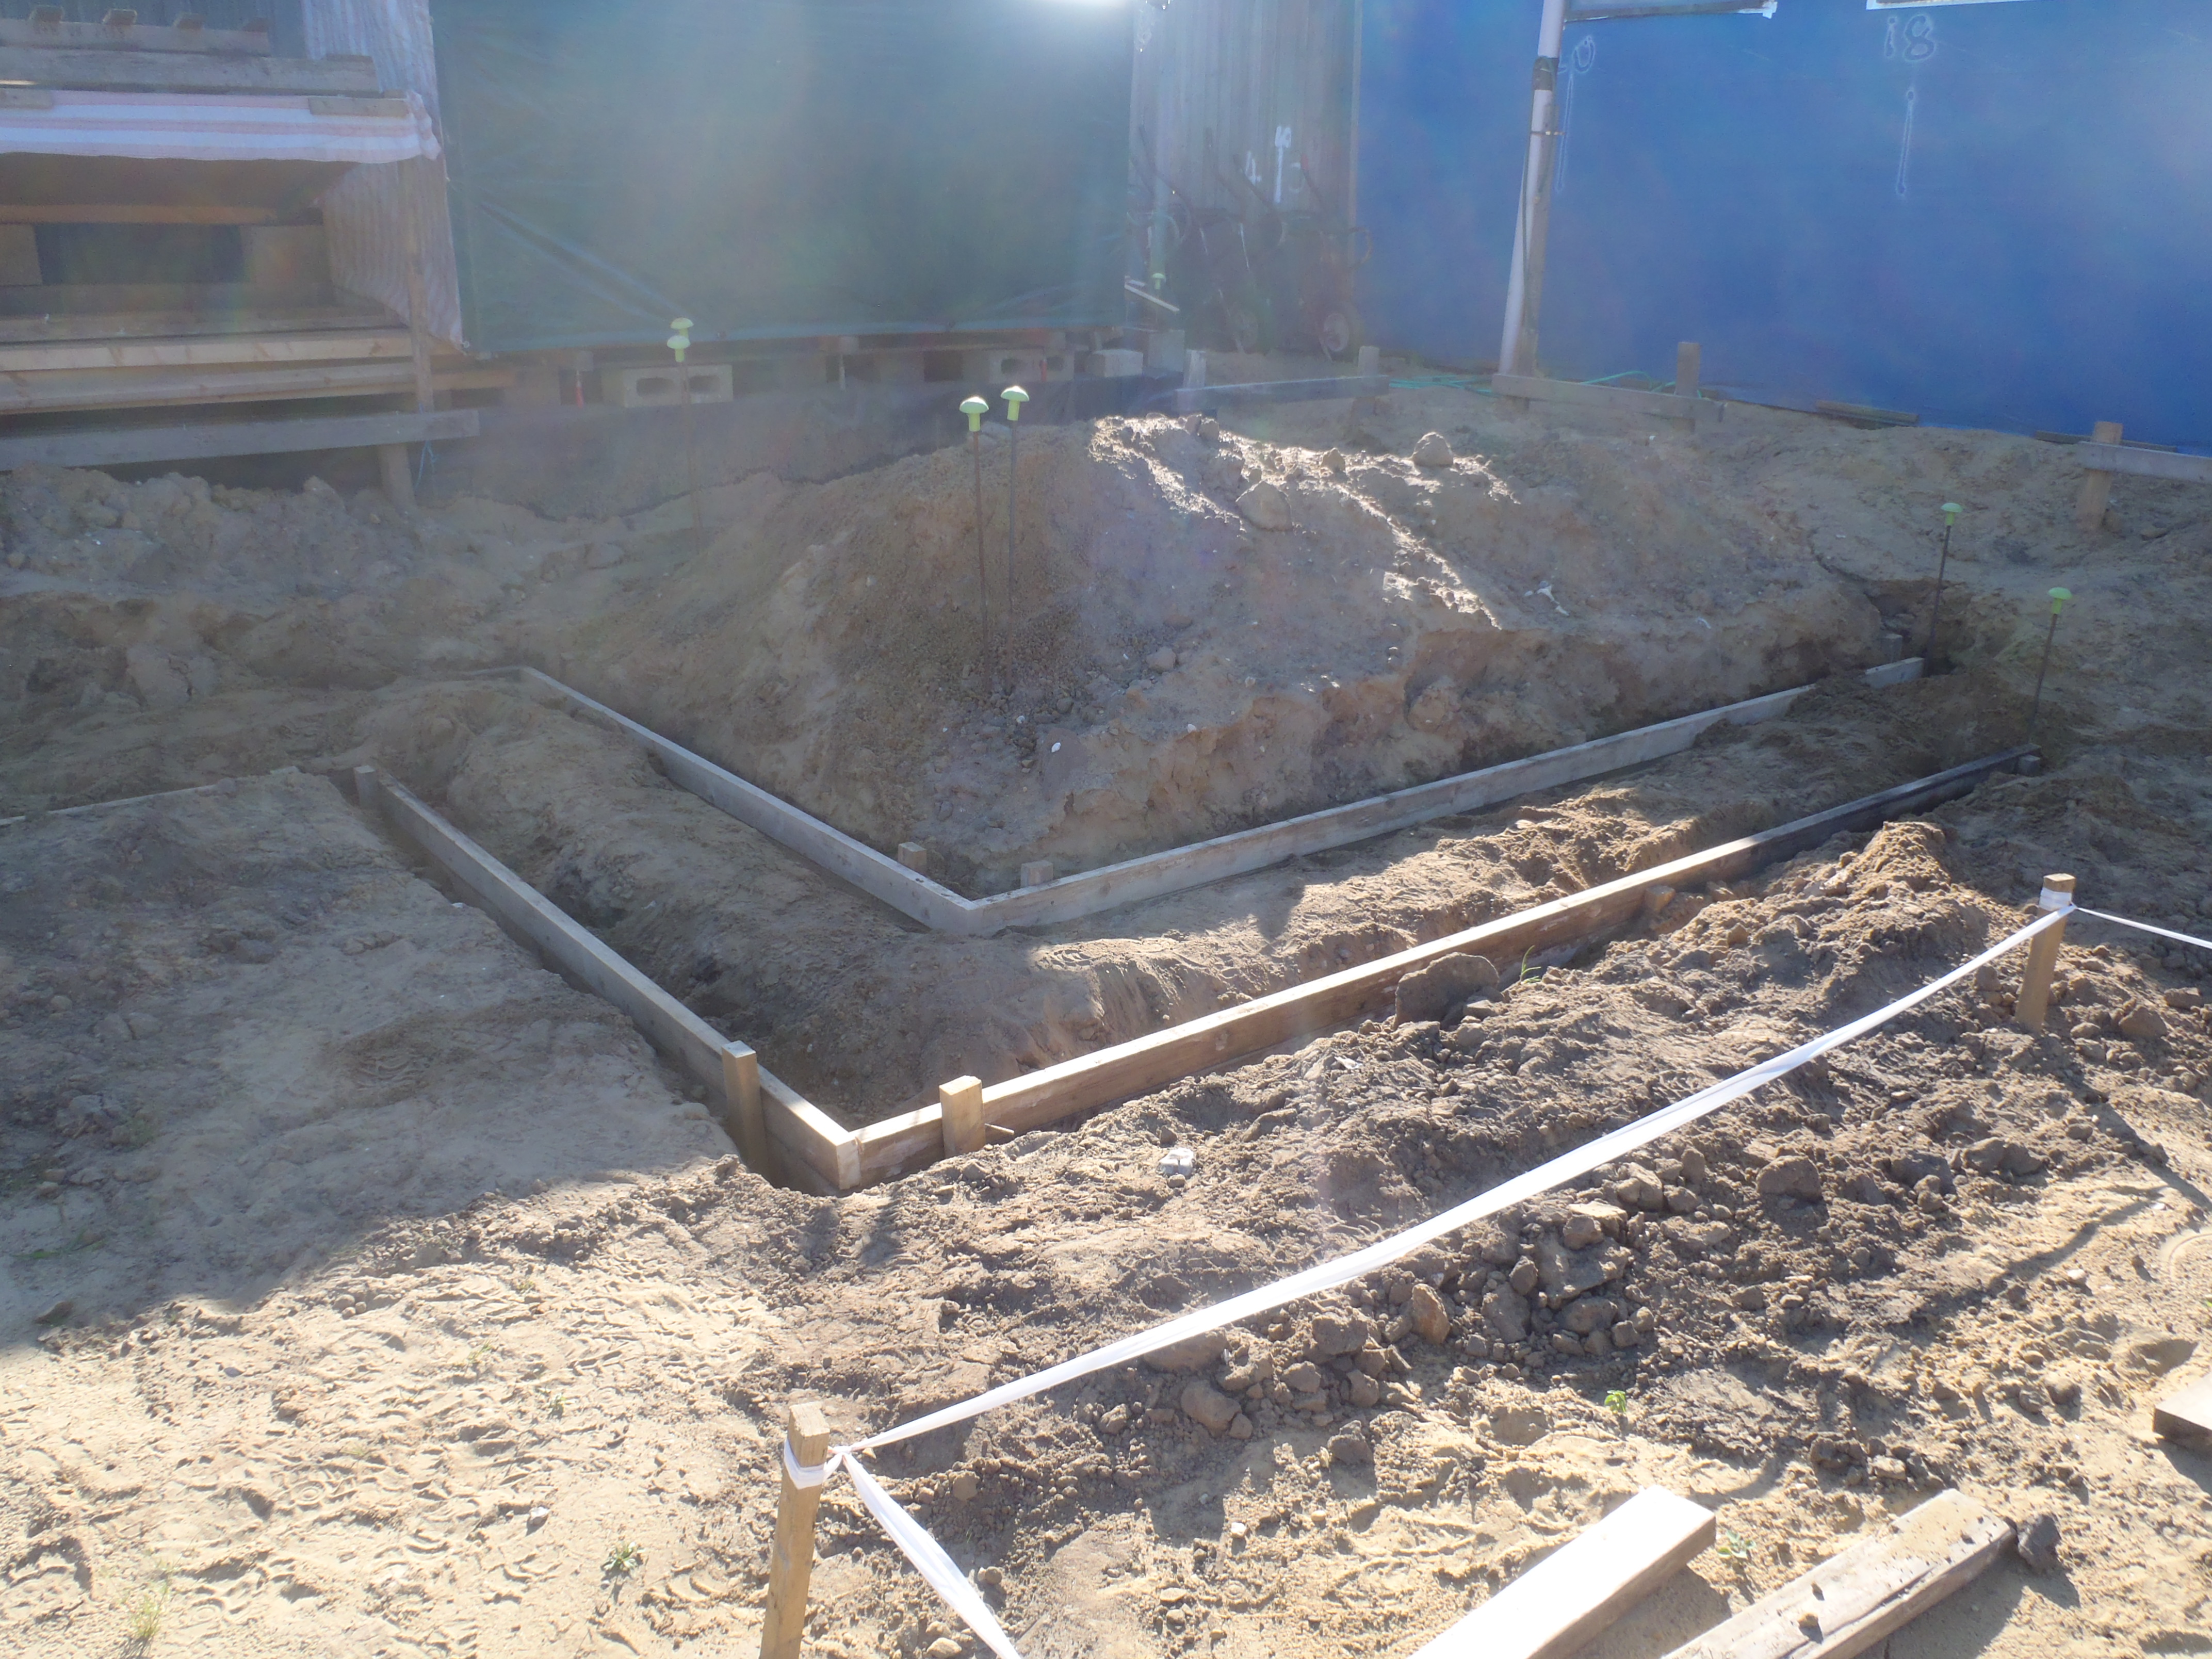
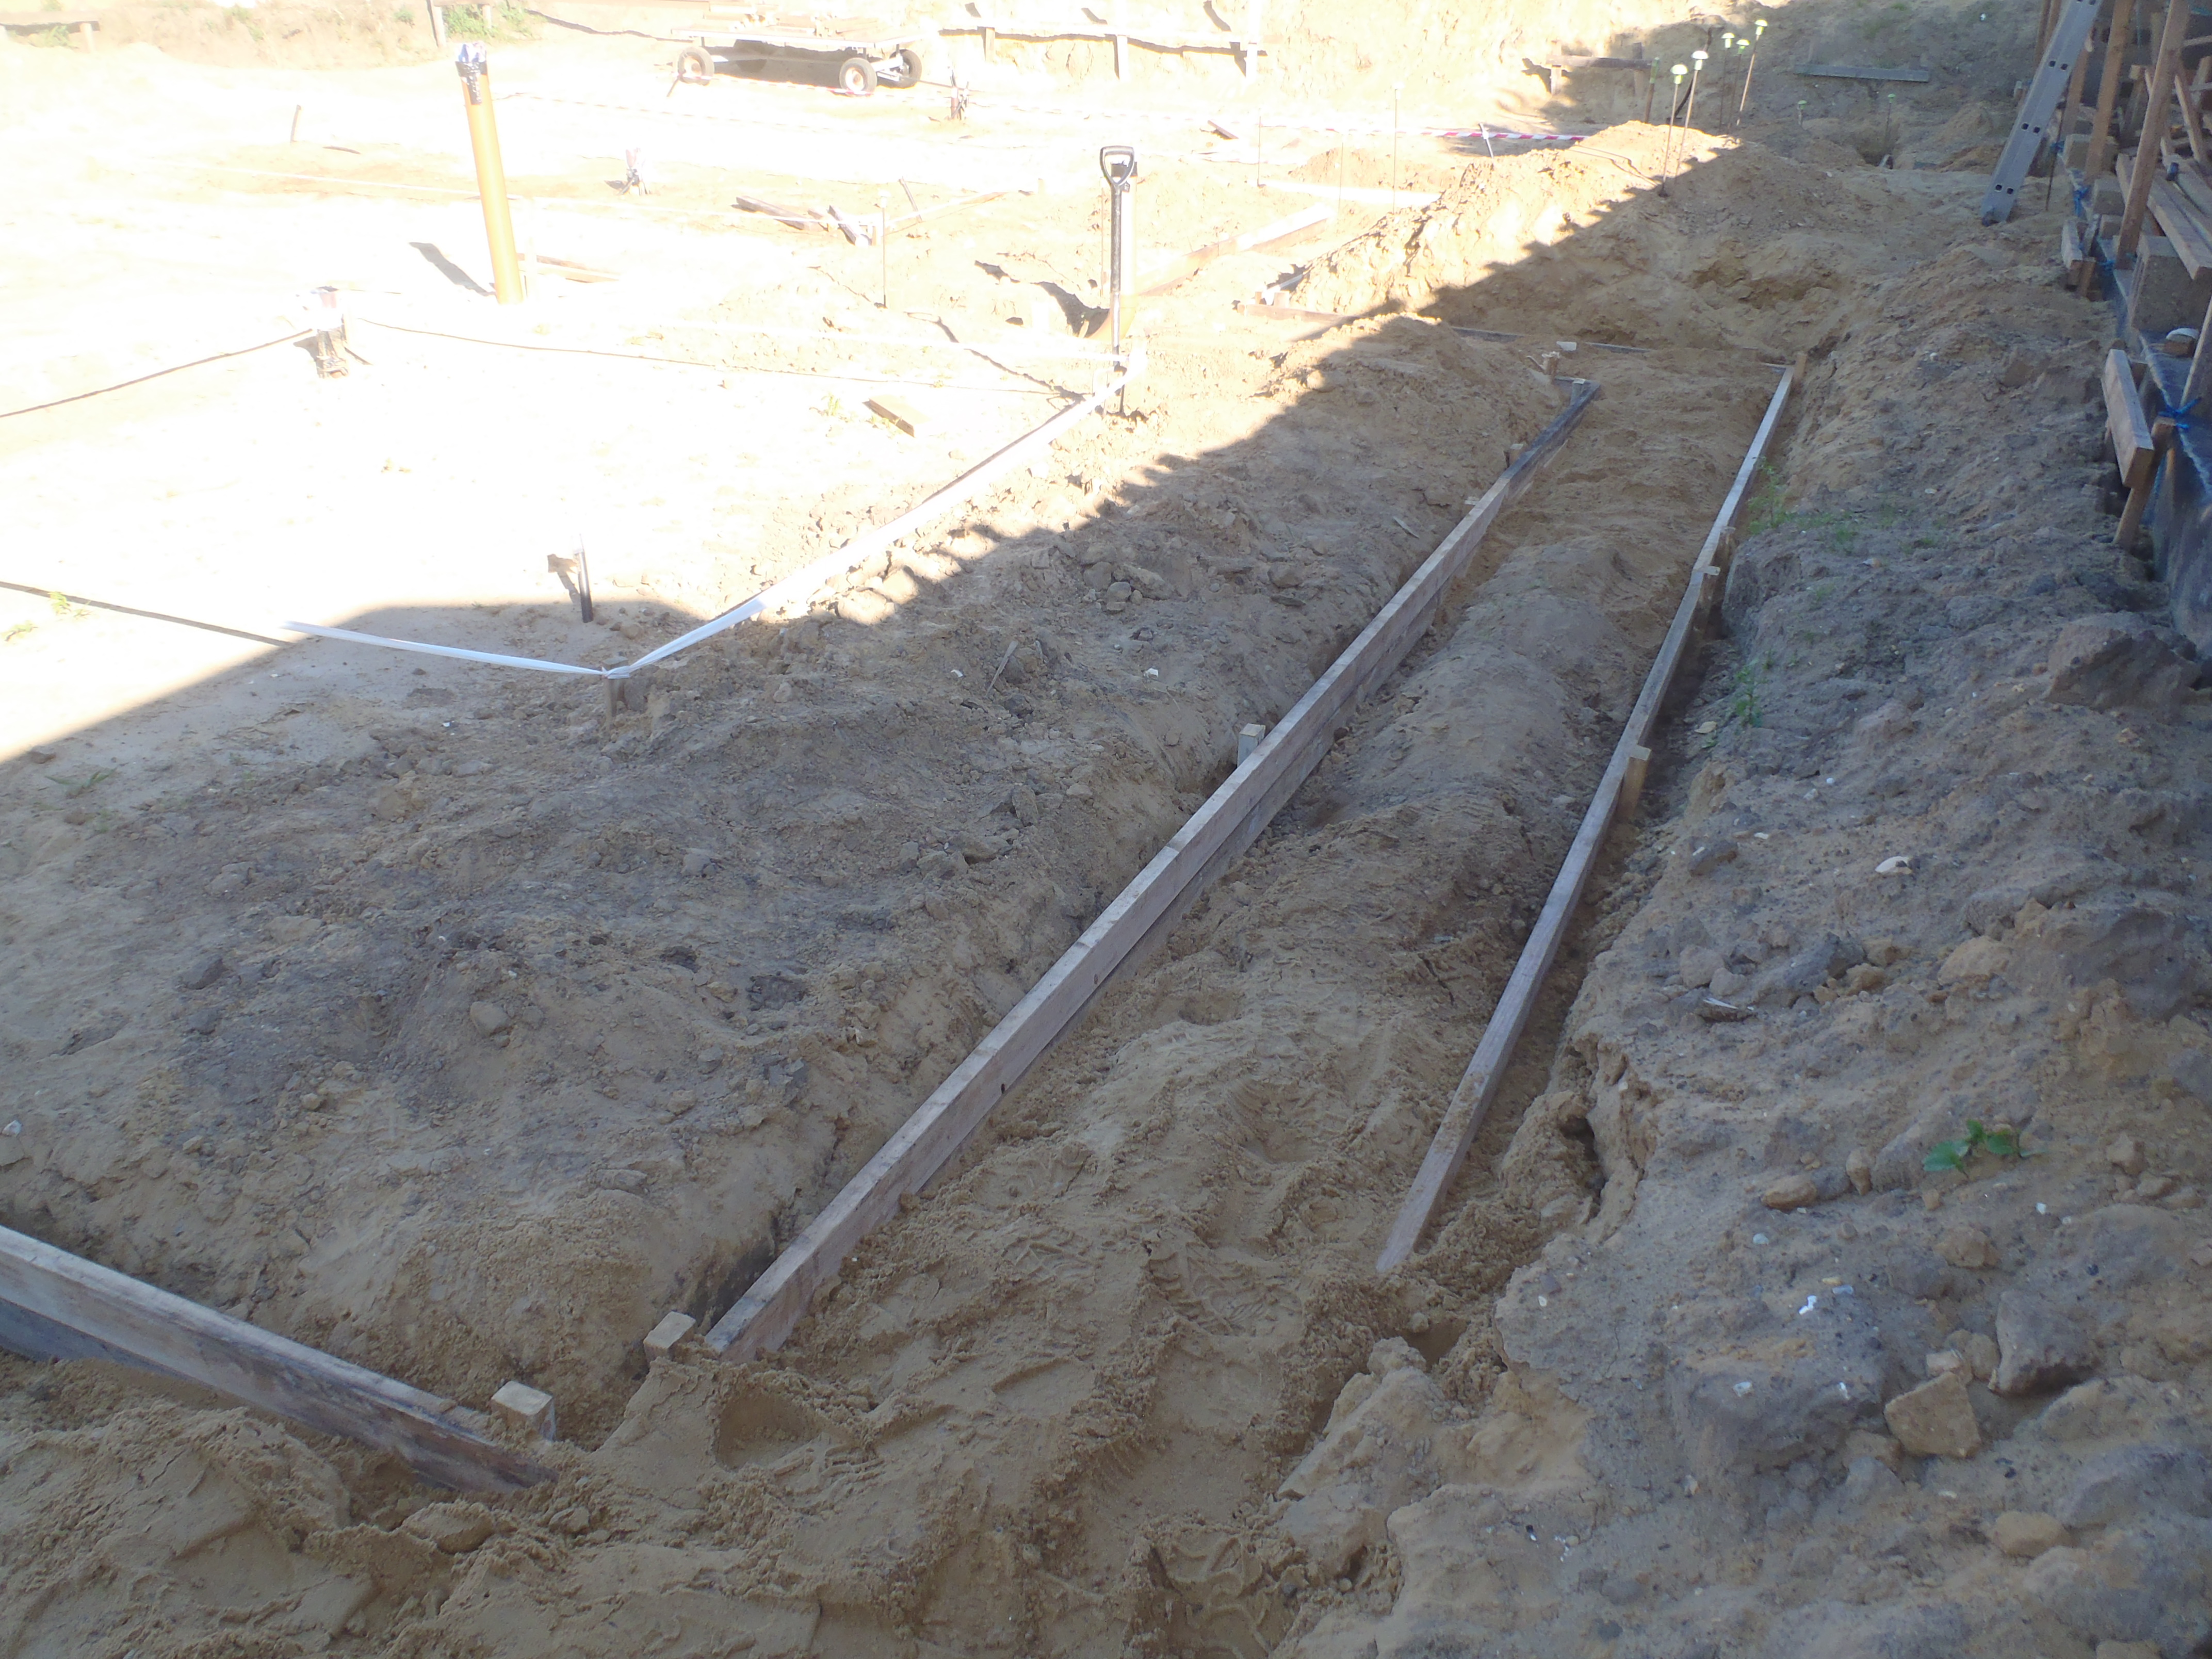
This afternoon, after the morning was rather damp with rain showers, we started on doing the line of the foundation trenches along the front of the house. we have completed the section from the Great Room and the Kitchen, towards the front door extension.
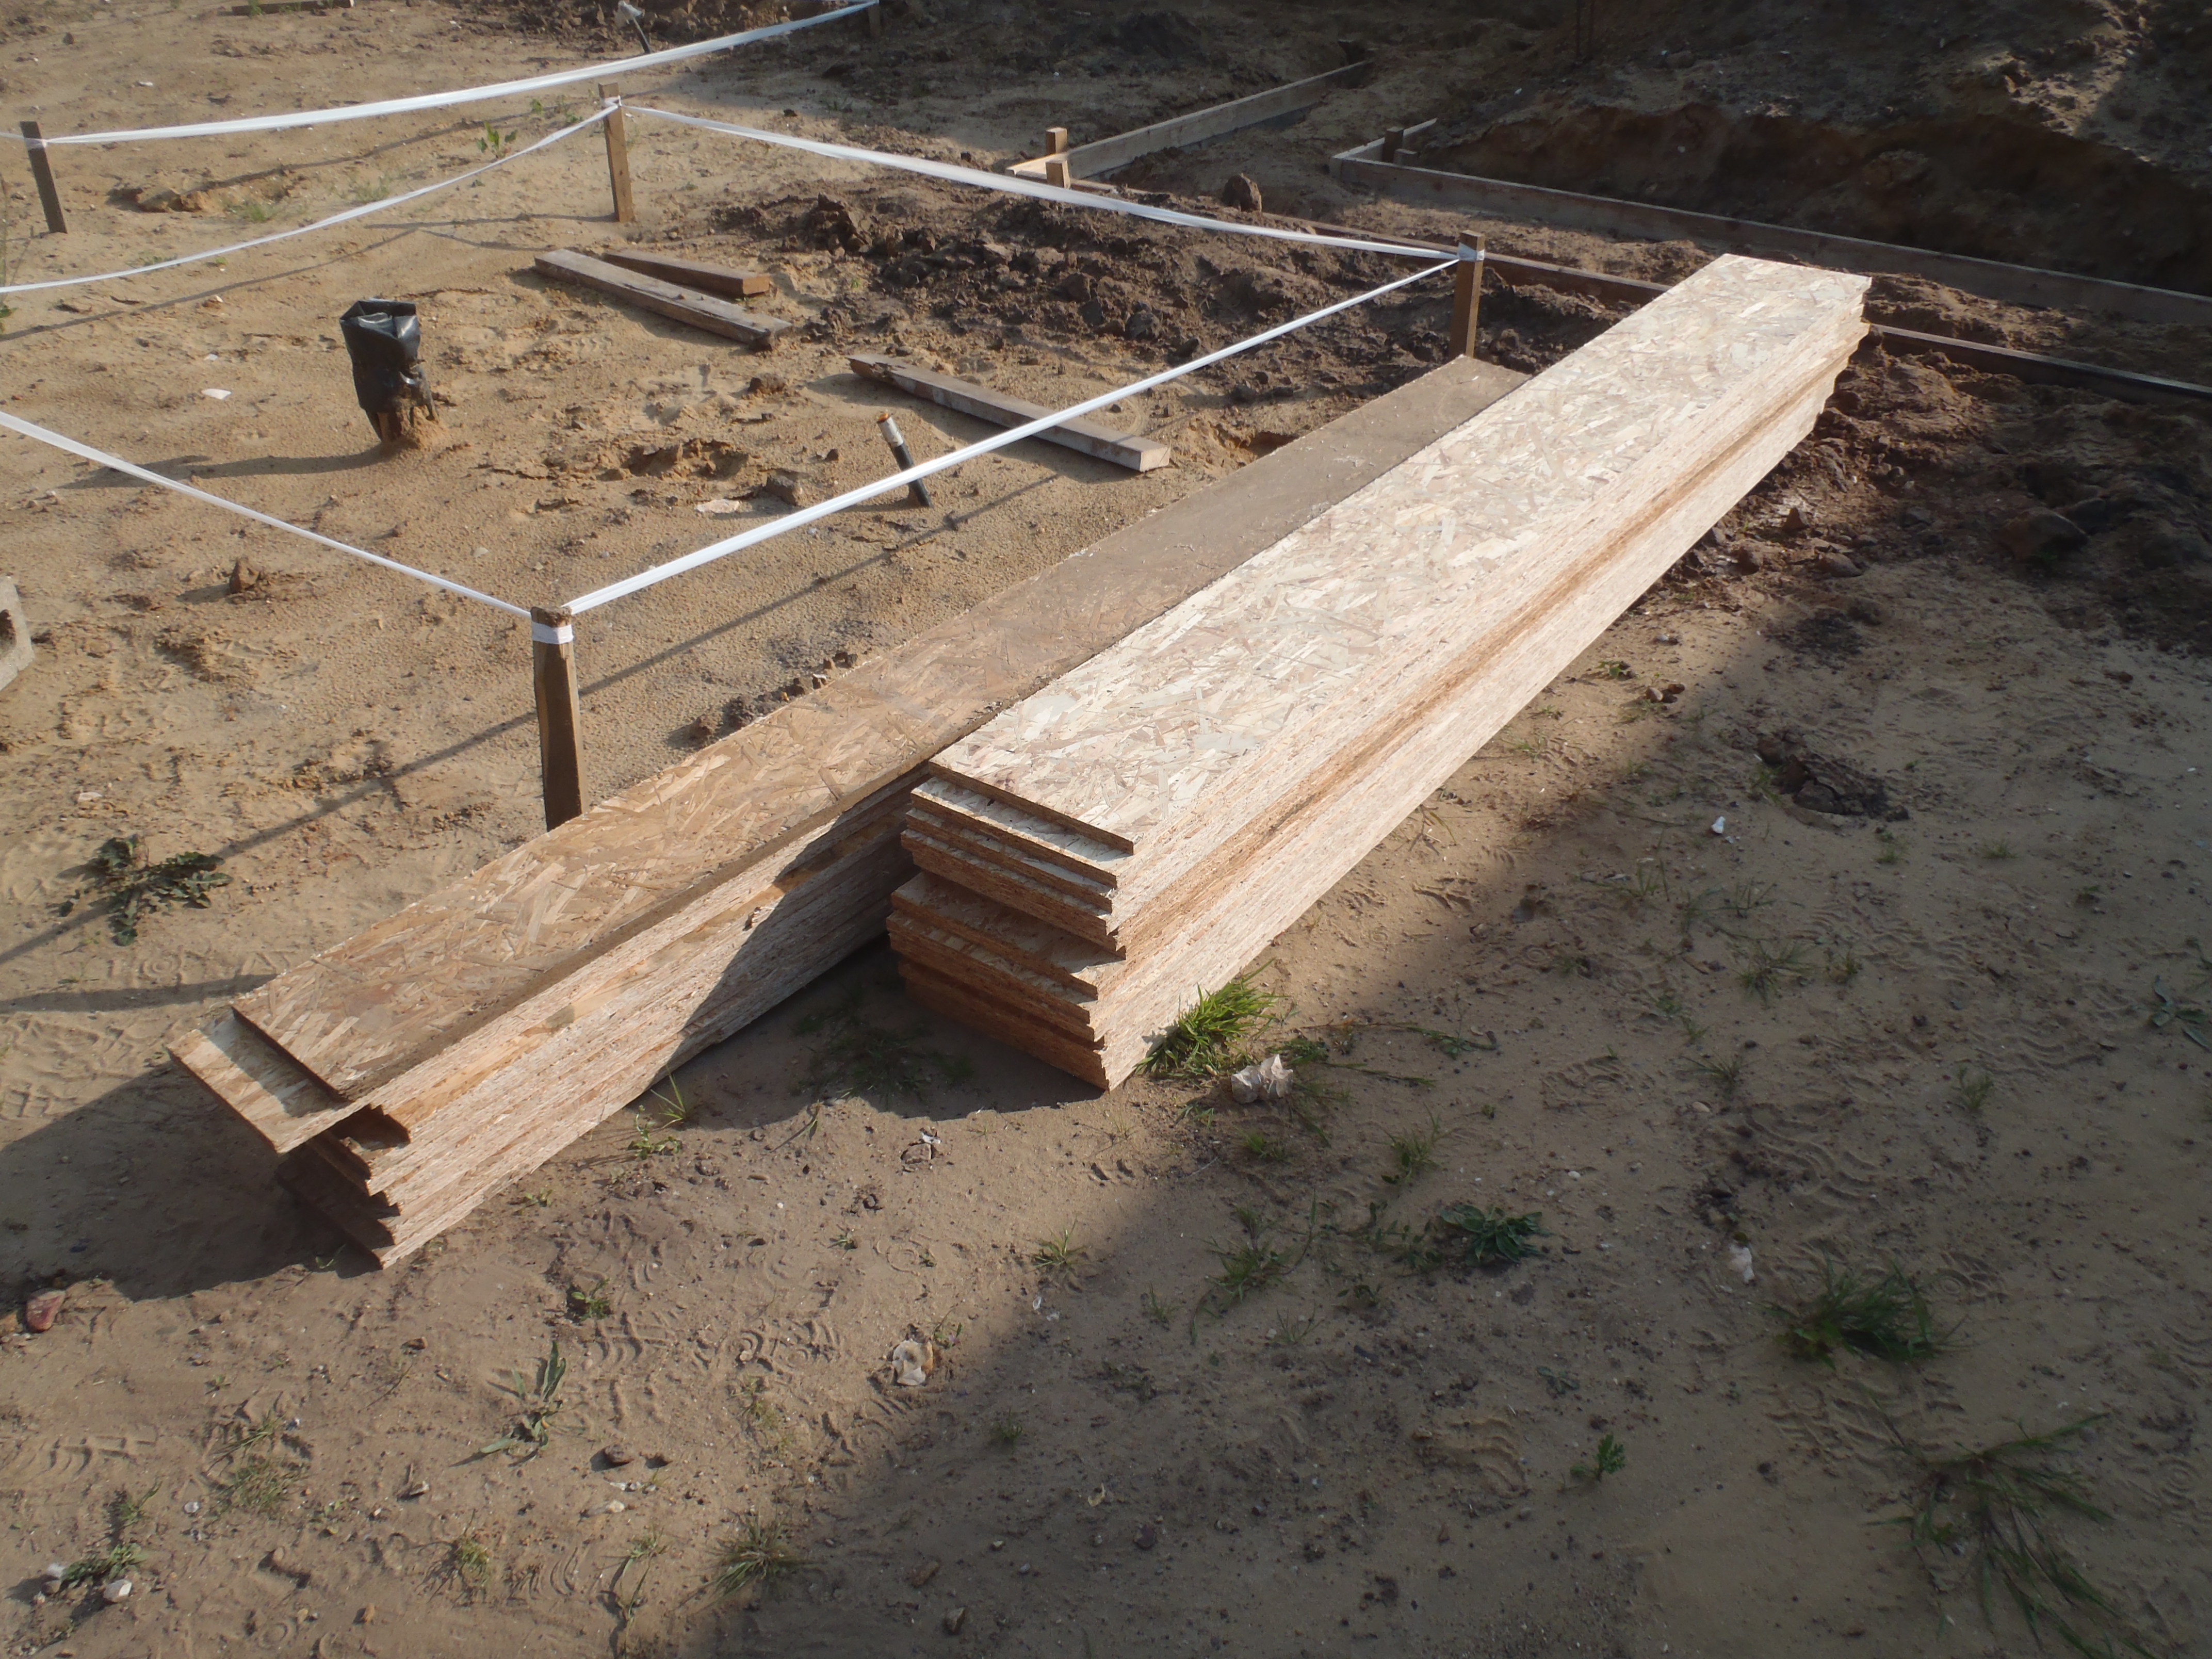
Foundation-Trenches-Day-7-Front-GR-Kit
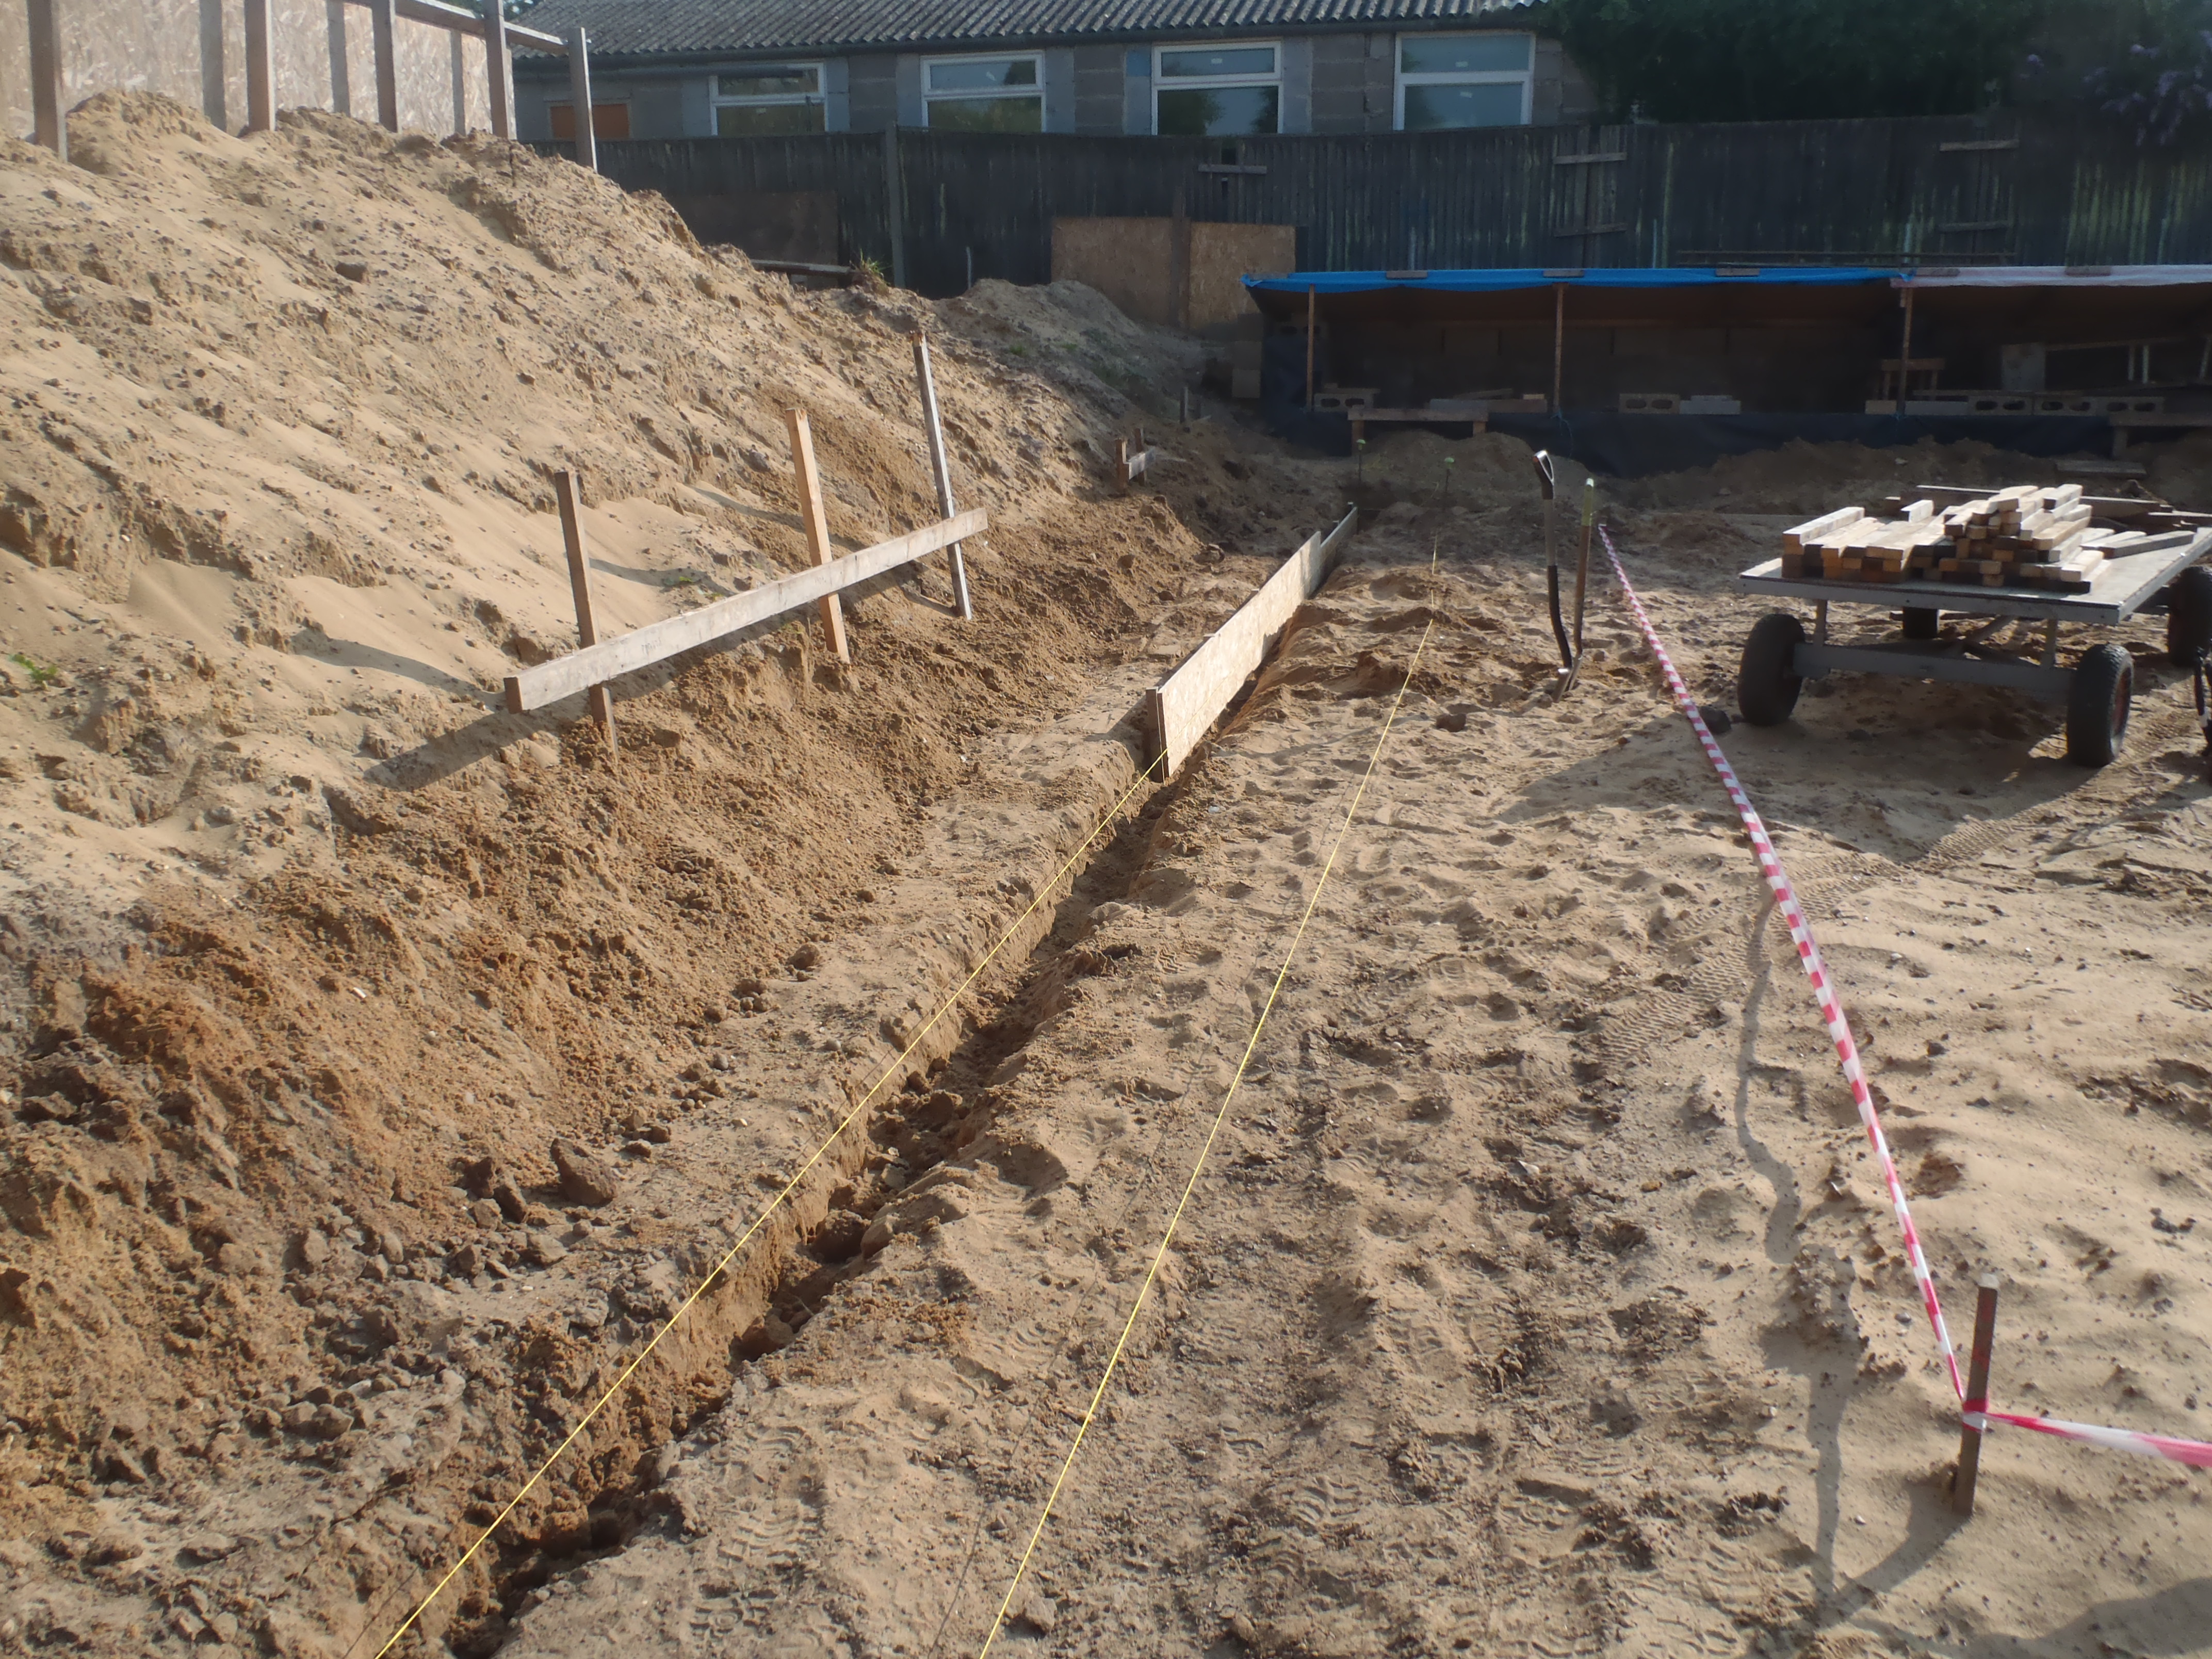
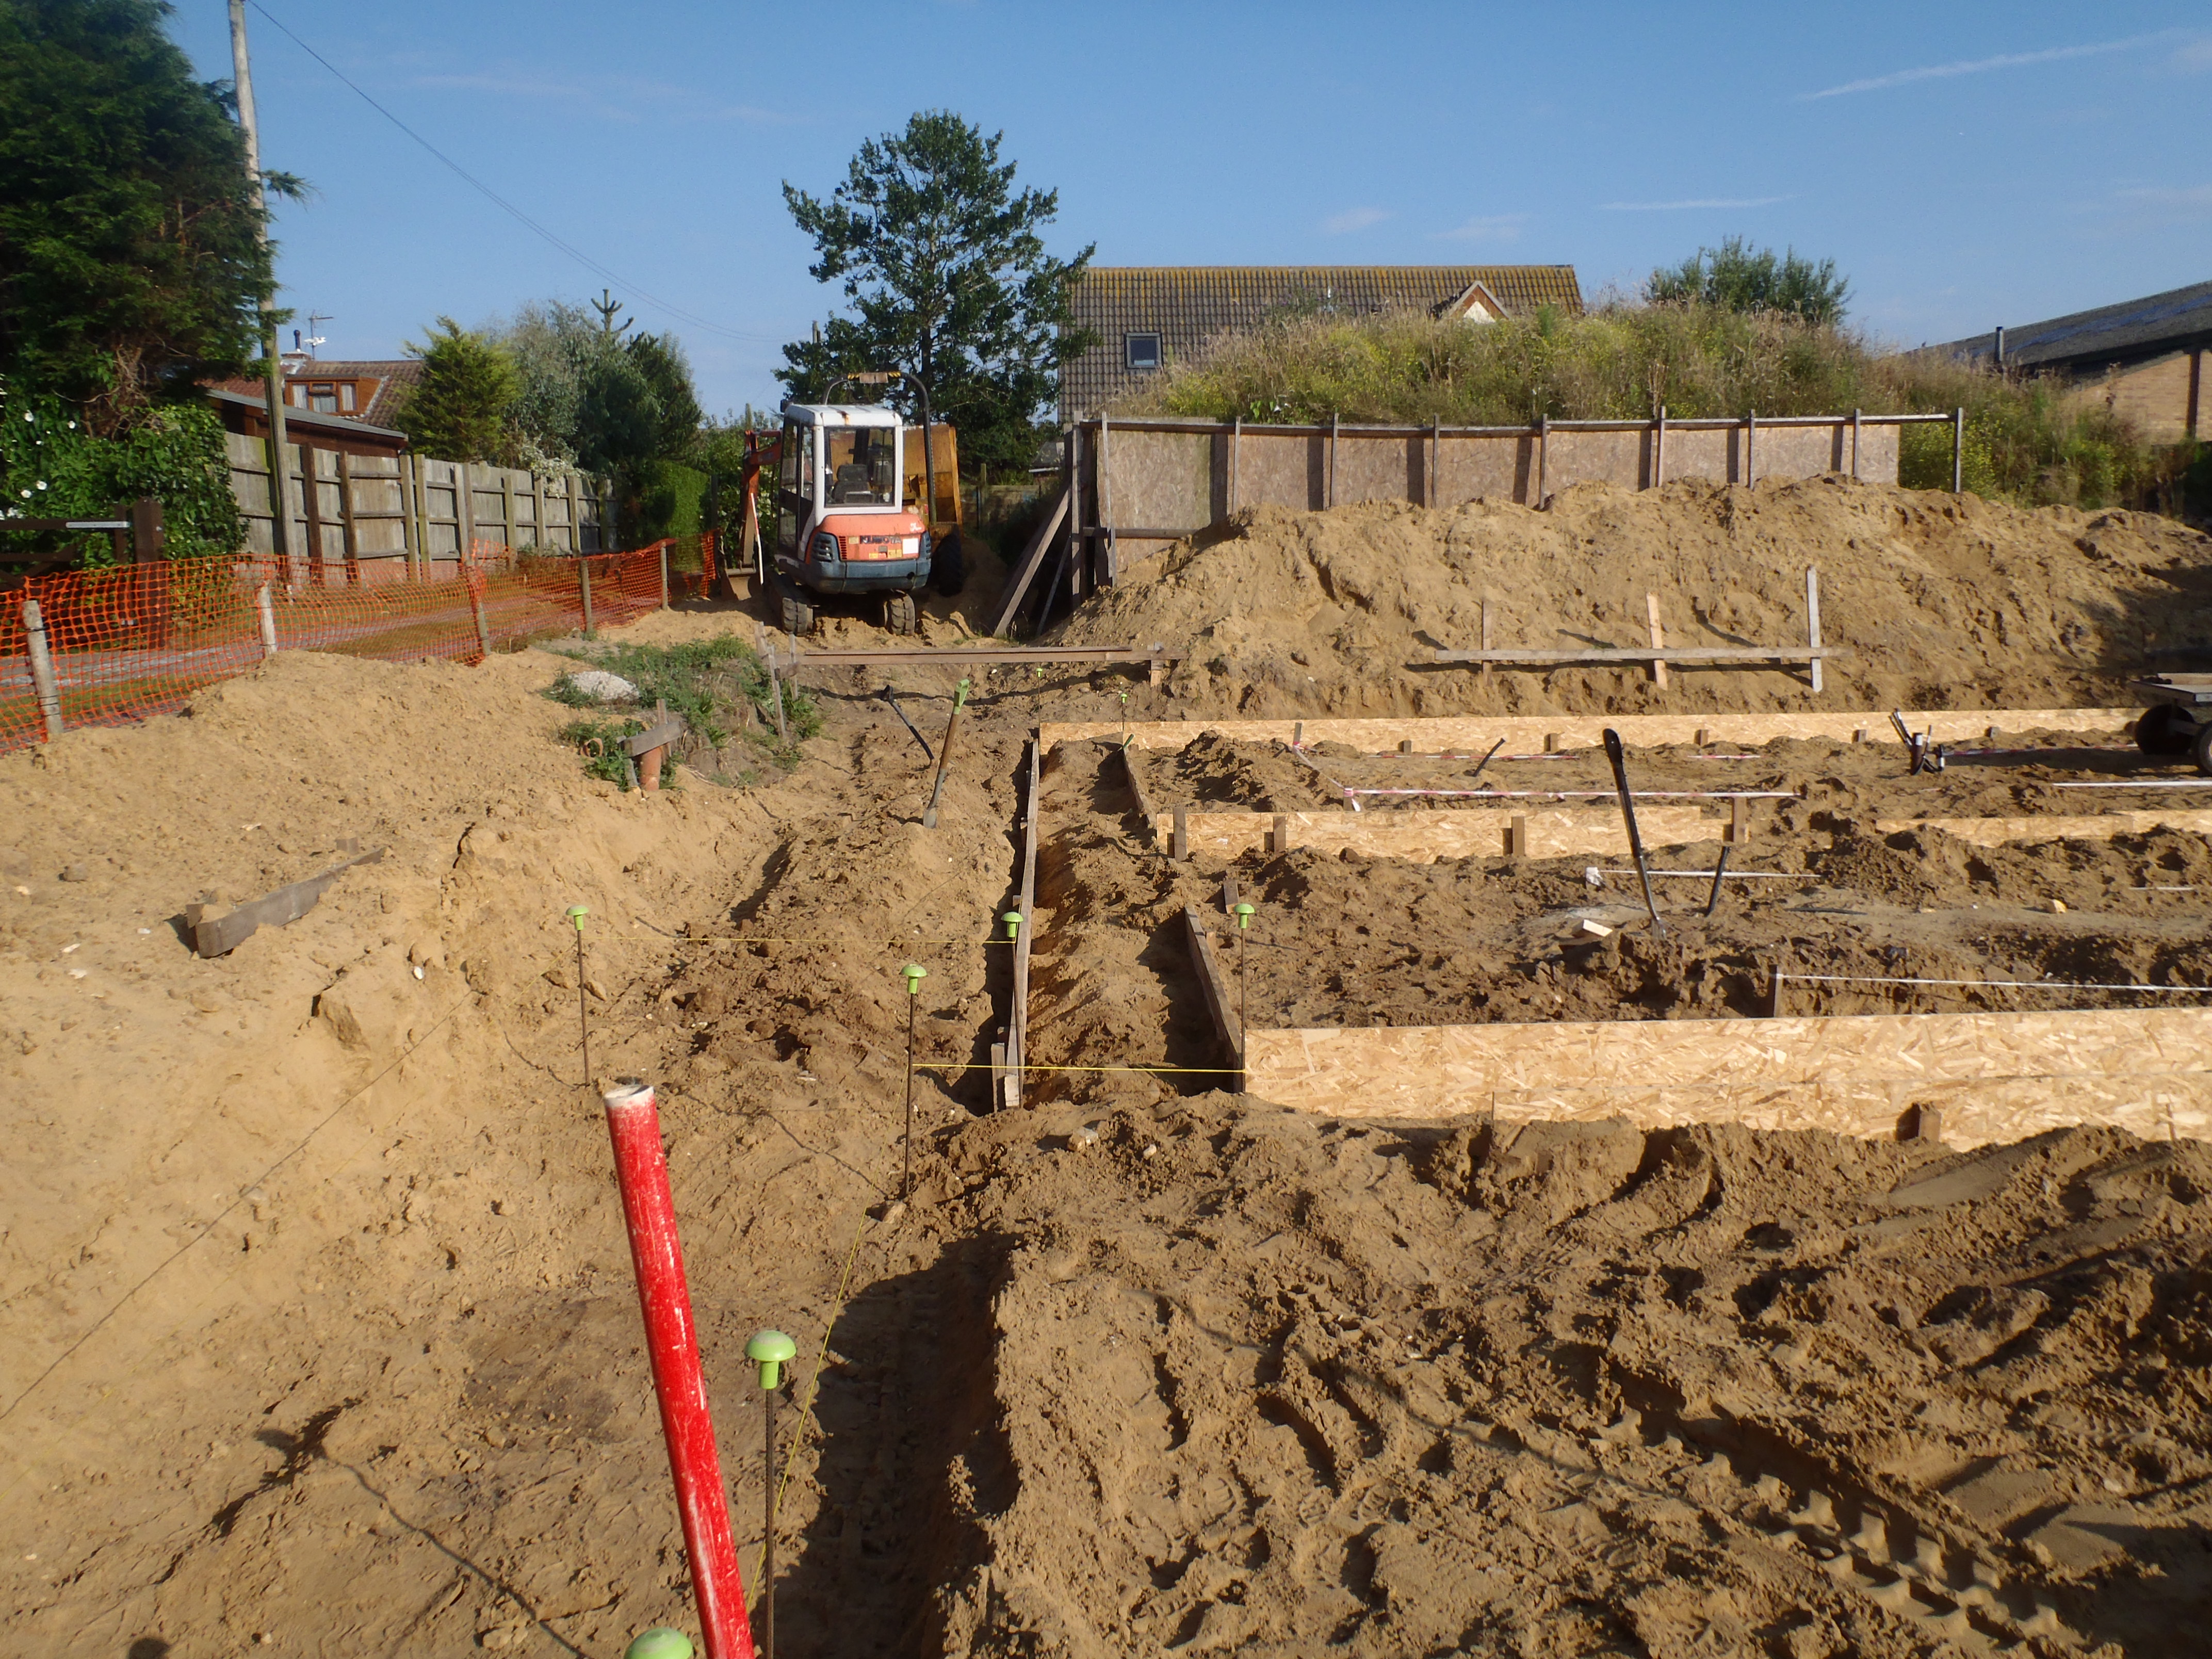
Foundation-Trenches-Day-7-Rest-of-front-marked-out-1
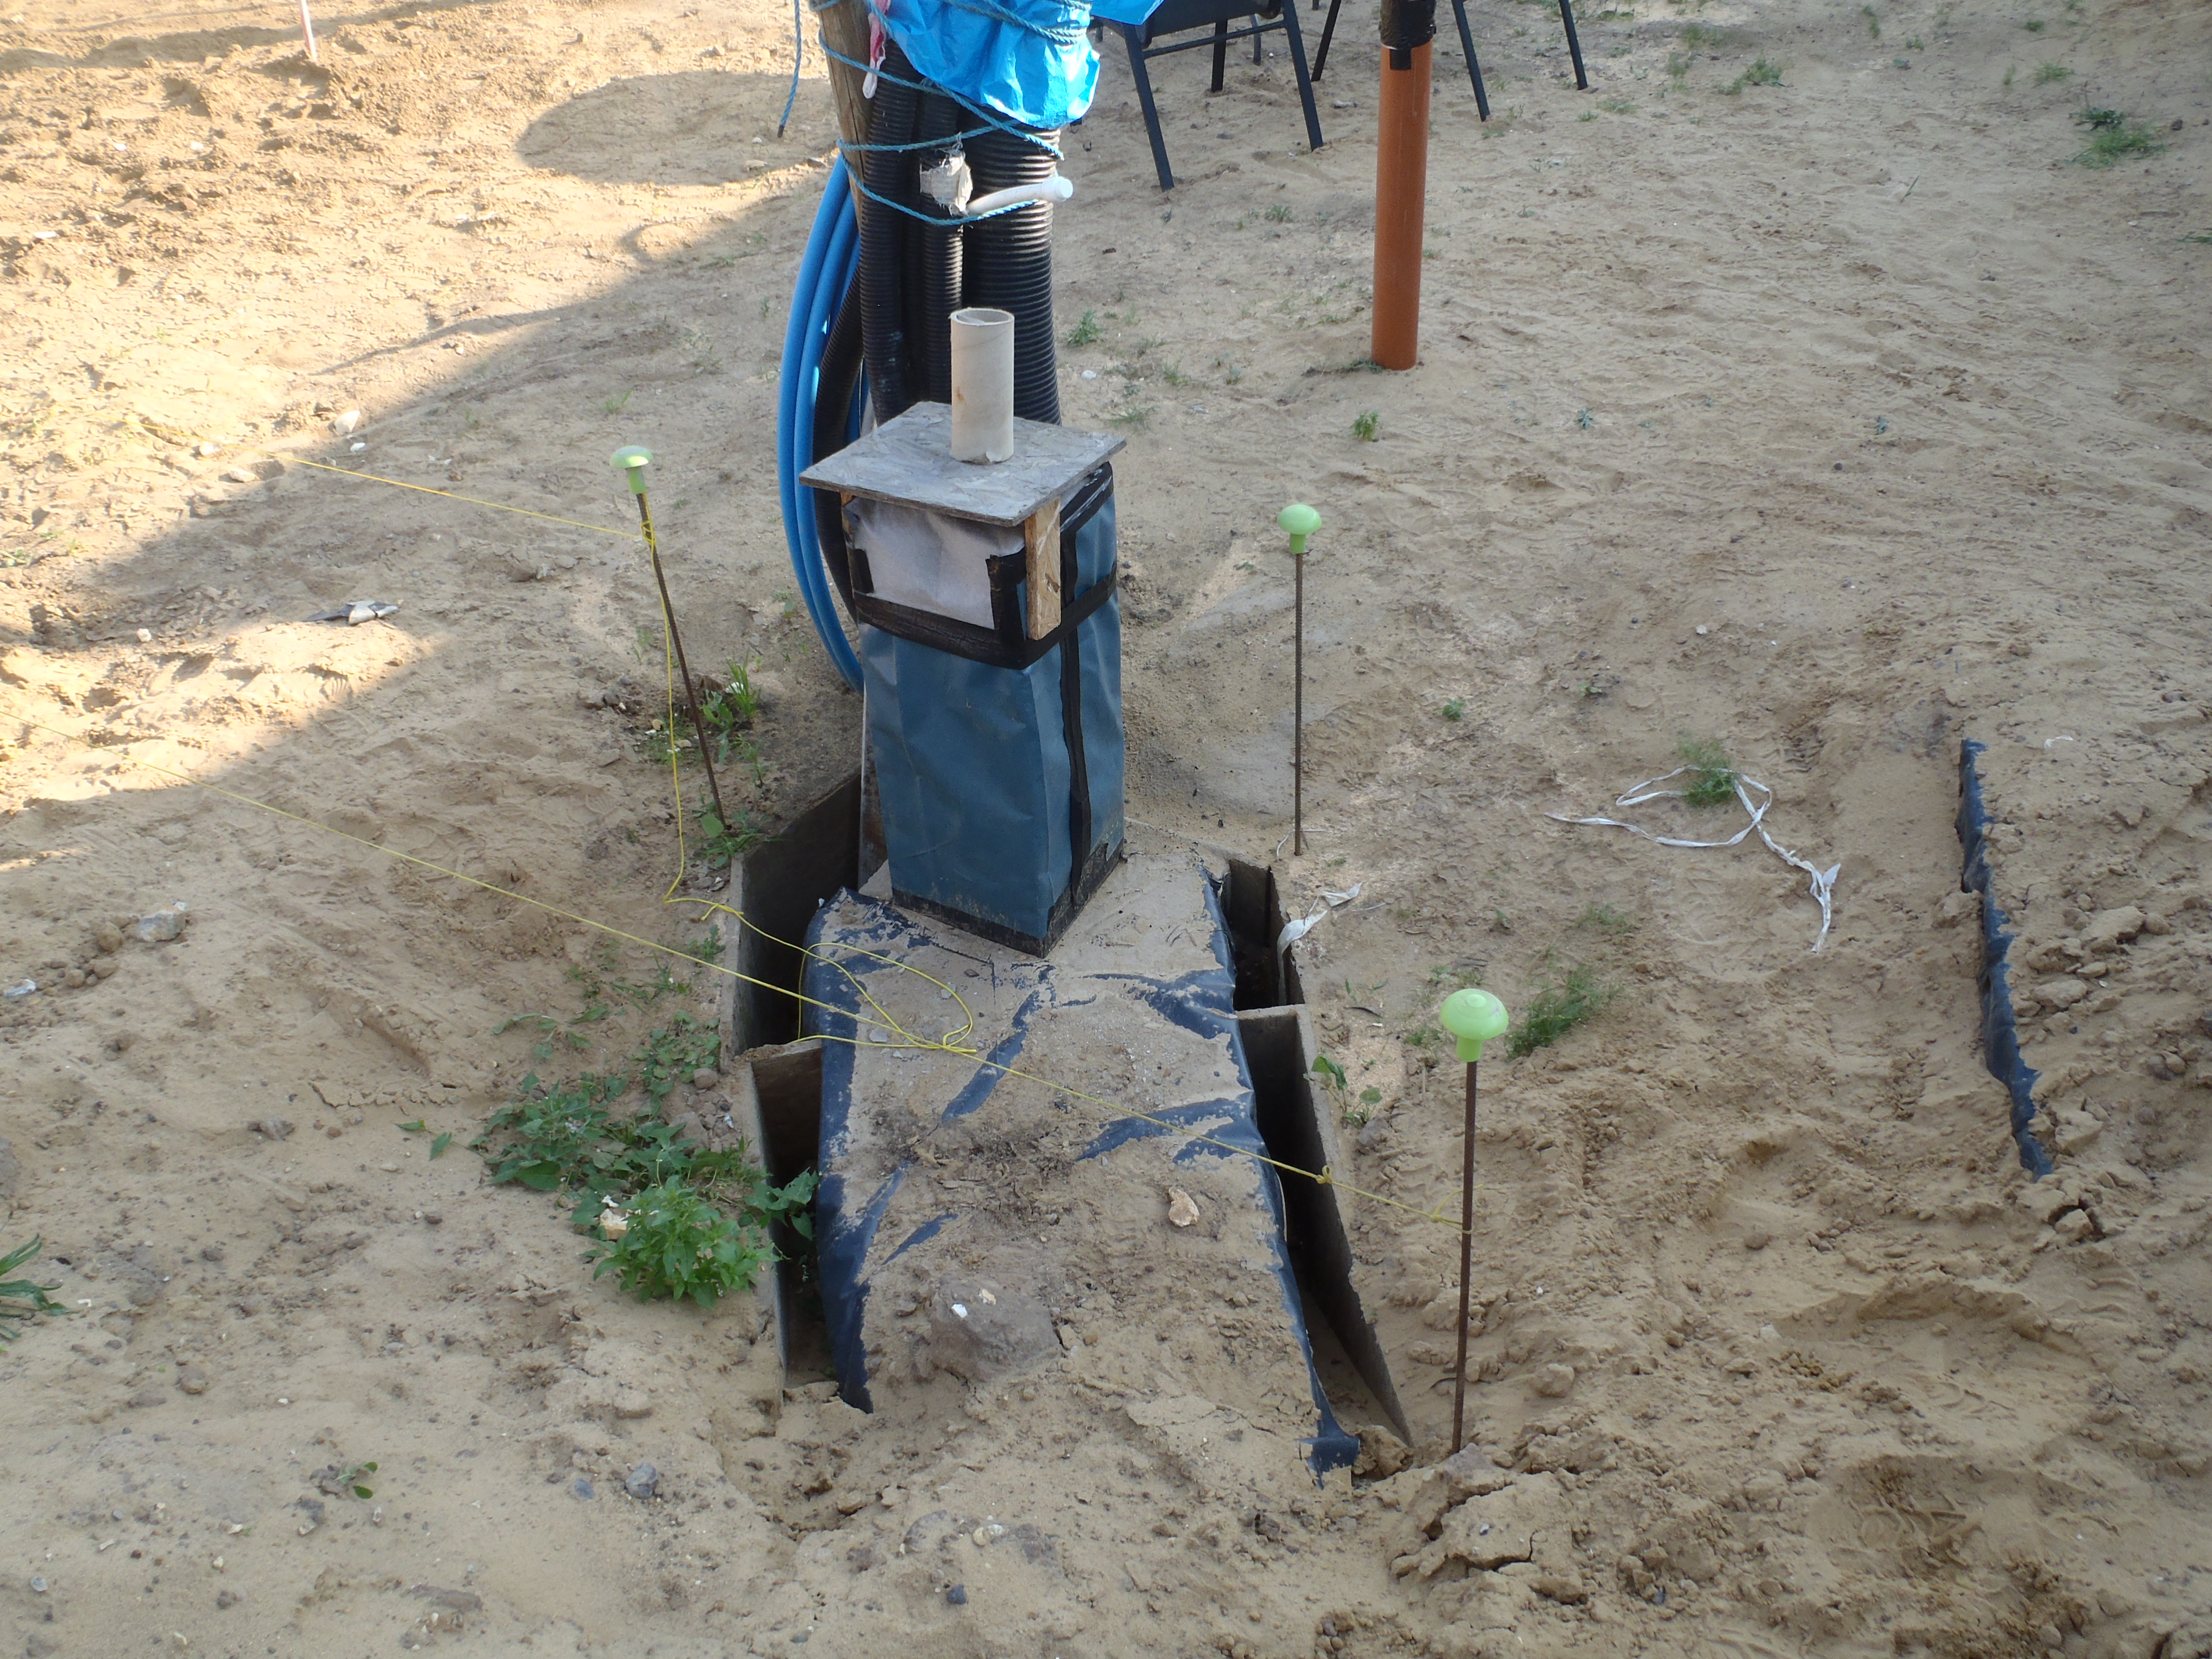
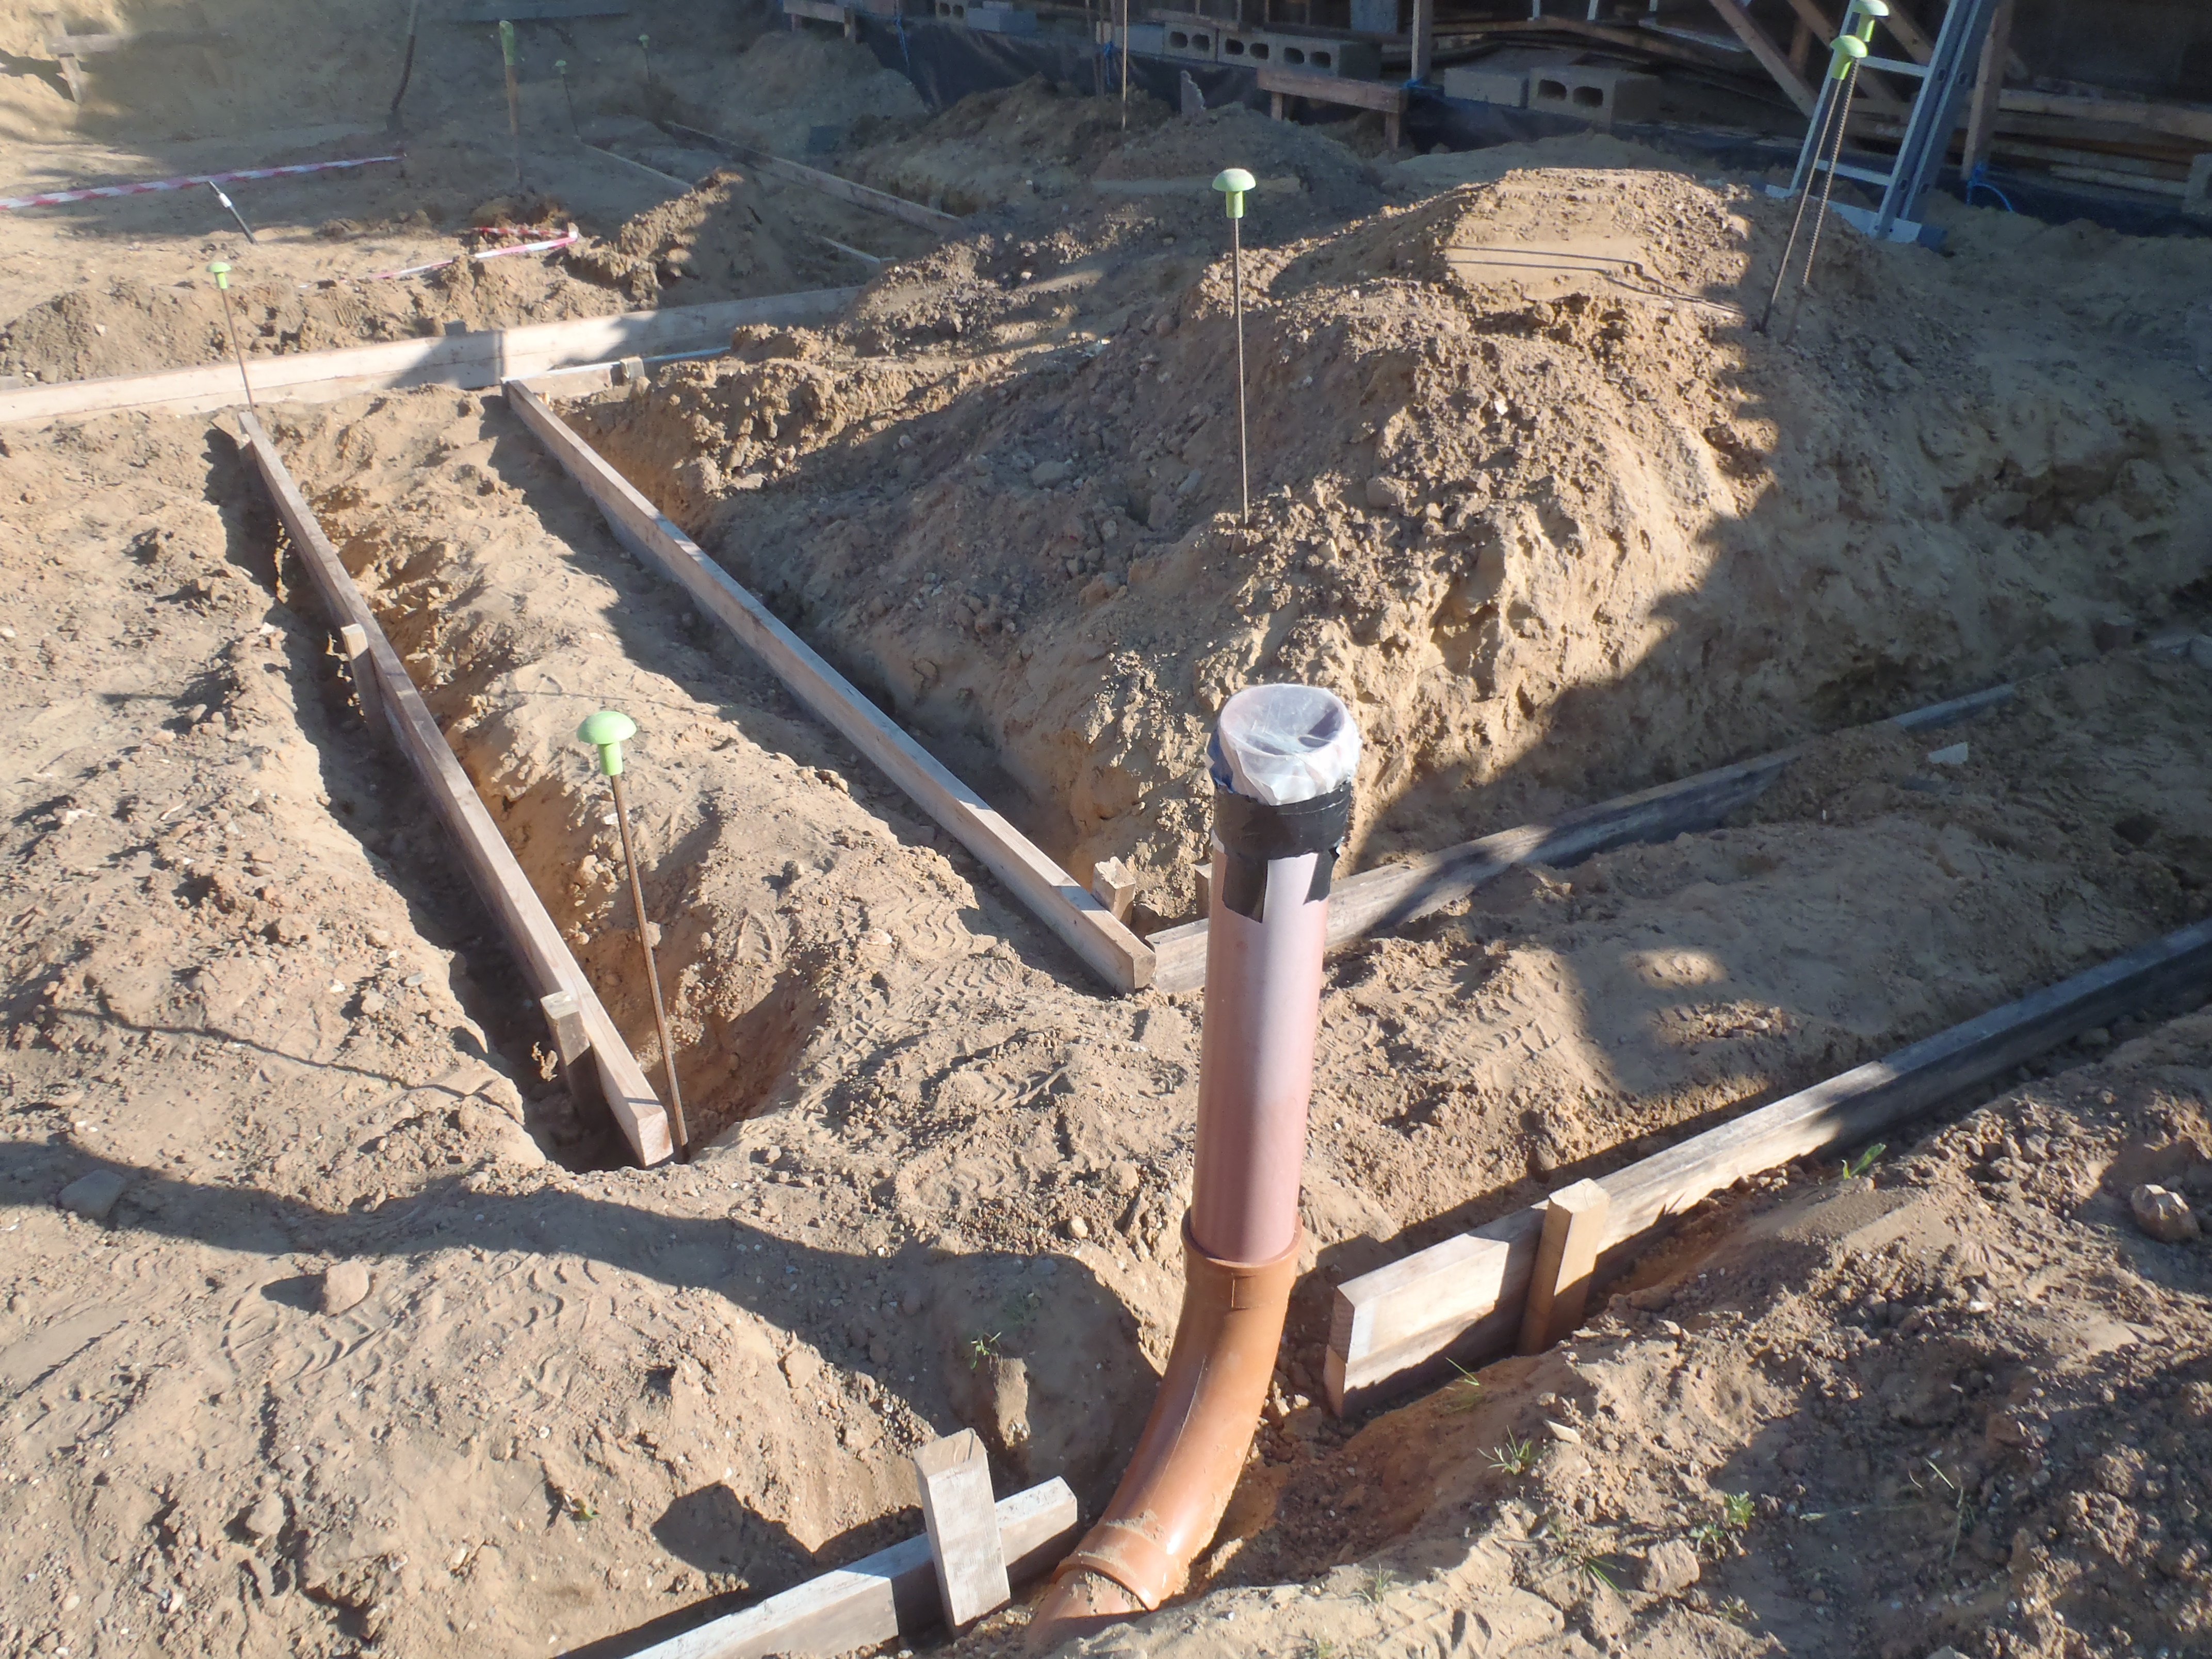
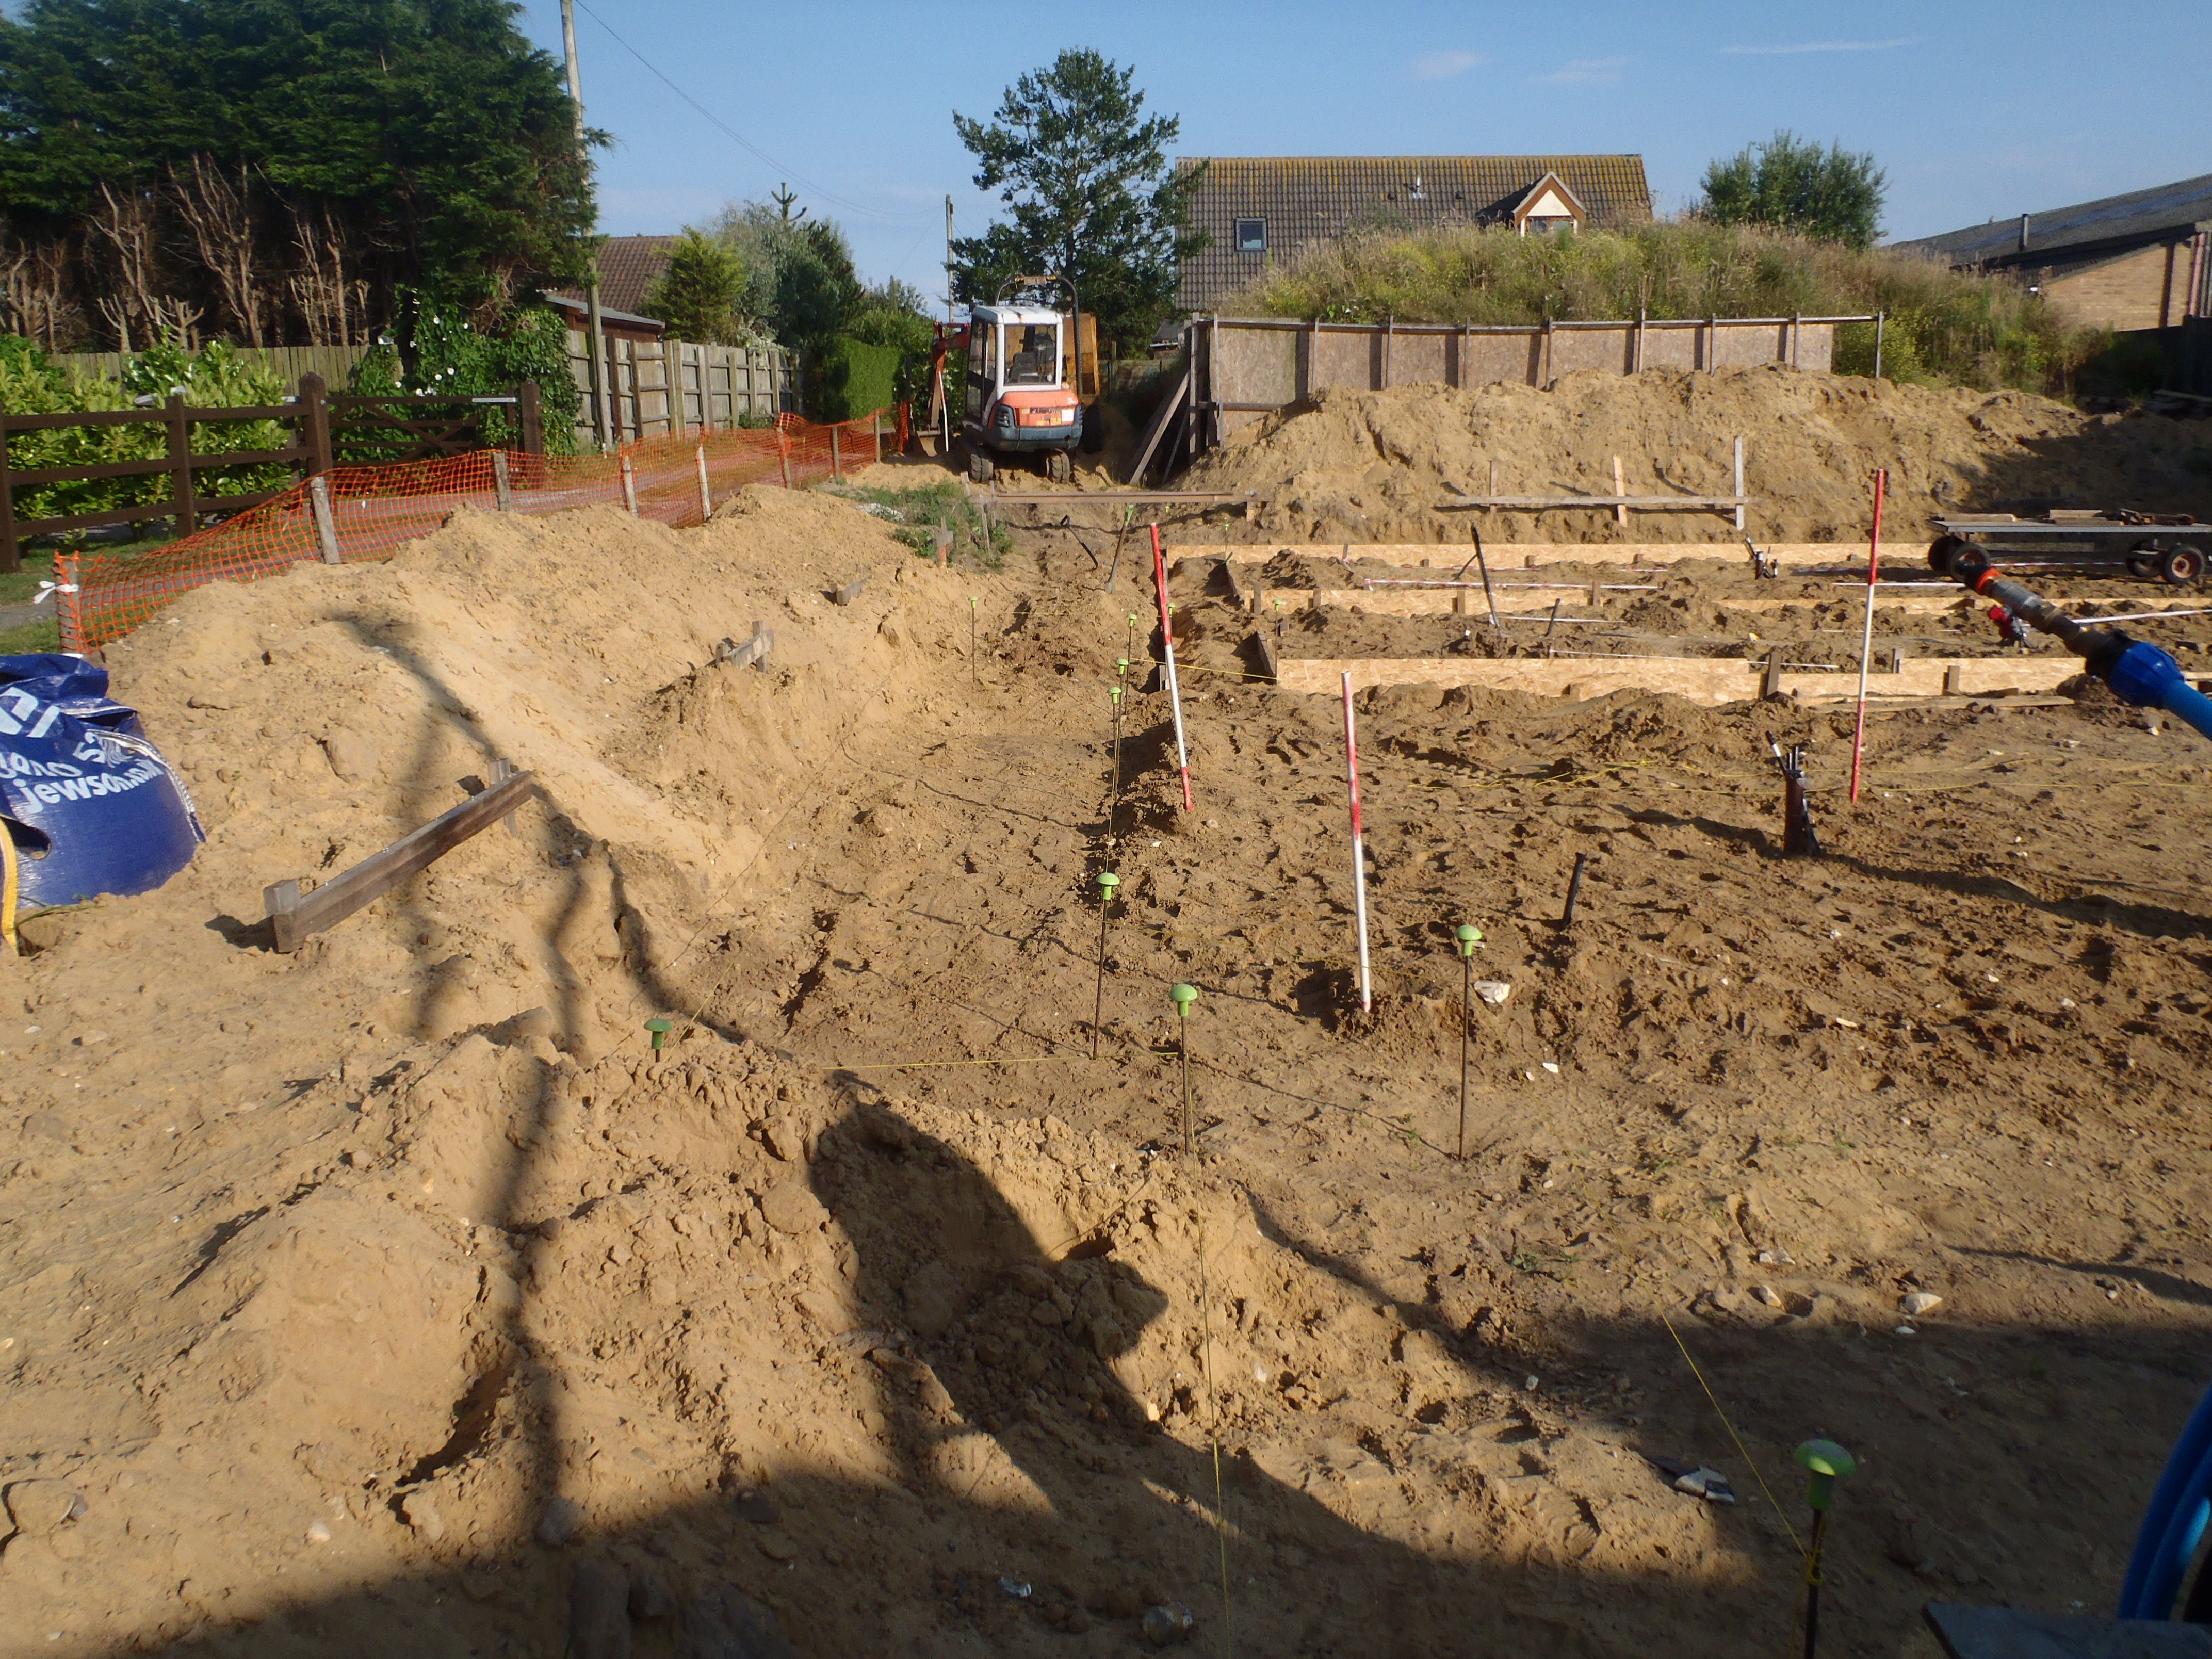
Foundation-Trenches-Day-7-Rest-of-front-marked-out-2
Tomorrow, weather permitting, we continue along the Hall and Entertainment room section and turn the corner to do the final side trench nearest the garage. Then, all that is left to do is the 3 sides of the Entertainment room, and that’s it!