Author: Shaun

  • Third Pipe Run all Finished!

    Today, in the morning, we finished off the 3rd and final pipe run. We bedded
    it down with the gravel and used the laser level machine to determine and
    make sure the slope is maintained all the way along the sewage pipe!!

    Pipe-3-finished

    Pipe-3-finished

    Now we await for the building inspector, Ken, to come and have a look, and
    with his approval, we will refill all the trenches back up!!!

  • Second Line Completed and Third almost Finished too!

    Today, in glorious sunshine for most of the day, we completed the 2nd line
    of sewage pipes and got it bedded down in gravel before any further possible
    collapses of trench walls!! Nothing did after all but .. !

    Pipe-2-Laid-in-drive

    Pipe-2-Laid-in-drive

    Pipe-2-Finished-2

    Pipe-2-Finished-2

    Pipe-2-Finished-1

    Pipe-2-Finished-1


    The 3rd and final trench is now cut, and the pipe has been fitted together.
    We just need to bed that one into gravel and make sure the slope is properly
    maintained.

    Pipe-1-dug-out

    Pipe-1-dug-out

    Pipe-1-pipe-inplace-but-not-leveled

    Pipe-1-pipe-inplace-but-not-leveled


    All the pipe runs goes downhill at an angle of 1° which is “1 in 57” which
    means 1 metre rise (or fall) for every 57 metres of pipeline. The
    requirement for sewage runs is between “1 in 40” and “1 in 80” so we got it
    smack in the middle, the one degree angle is very convenient for when the
    plans were drawn on the computer ? Smile!

  • Second Sewage Line Started

    Today, we started the more difficult sewage pipeline, the one that is
    running across our driveway. It was tight to get the mini-digger in pass the
    garden shed, the air “earth tube” chamber module, the flower bed.

    We started by scraping the road surface off (recycled tarmac chippings)
    along the line required, and then dug down 1200mm (4 feet) for the required
    depth for the pipe to run along, downhill towards the sewage processing
    unit.

    We had a slight problem as the trench walls started collapsing. The sandy
    soil was too loose and didn’t stay up so we actually ended up having our
    mini-digger stranded at one end of the trench and when we tried to turn it
    to drive it out, it also moved the OSB sheet that was trying to provide some
    extra support and one of the tracks slipped slightly into the trench. We
    rescued the poor mini-digger by placing 2 by 6 inch timber planks across the
    trench and using the bucket arm to pressed down on solid ground to tilt the
    digger back up again and slide the timbers planks under the track. Then, we
    managed to drive it off and away from the “danger zone” – phew!

    Digger-nearly-falling-into-Trench-1

    Digger-nearly-falling-into-Trench-1

    Digger-nearly-falling-into-Trench-2

    Digger-nearly-falling-into-Trench-2


    We will have to finish off the trench by hand, the old fashioned way of
    digging! Oh well!!

    The current three quarter done trench is now covered with three OSB boards,
    with another 2 on top plus a third layer on top of that too. this is to
    allow us to get our car out! Fortunately, the car went over the “bridge”
    quite happily – thank goodness!!

    Driveway-Trench-covered-up

    Driveway-Trench-covered-up

    Driveway-Trench

    Driveway-Trench


  • Insulation Panels Arrive!

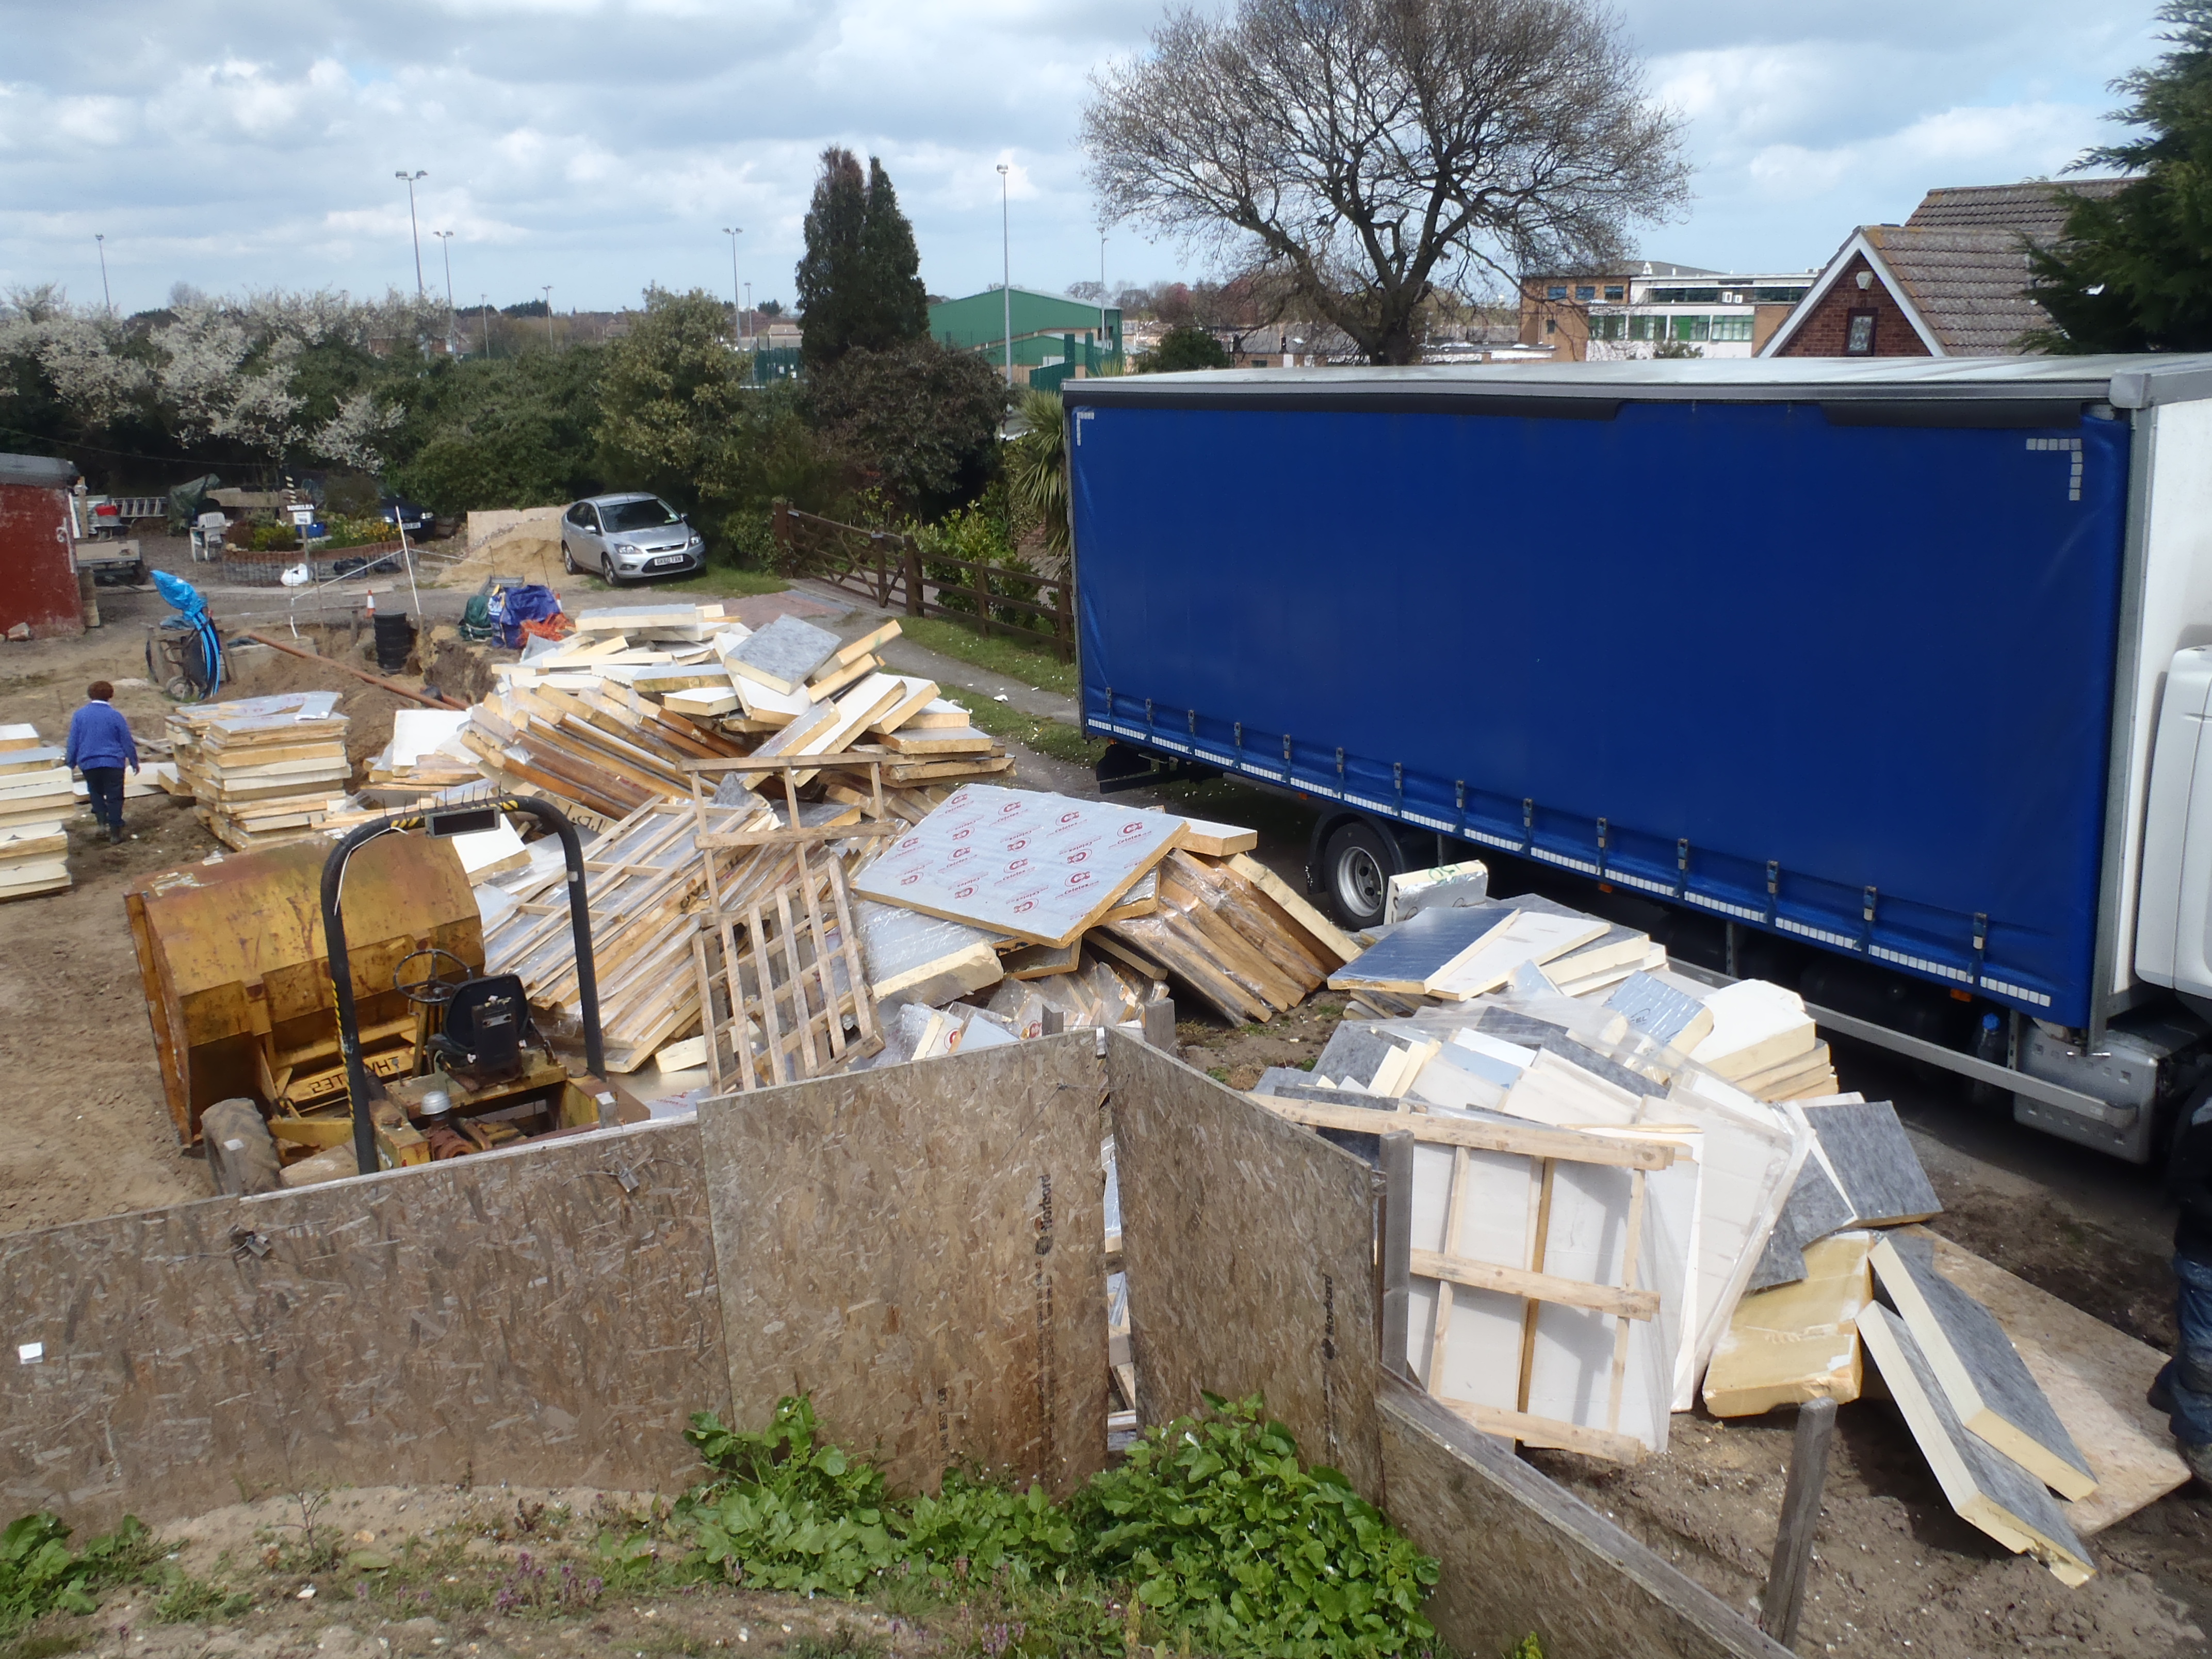
    Our order of ?seconds? of PU (polyurethane) insulation panels arrived today!

    It came on 14 pallets on a long lorry that managed to drive backwards down
    our Loke! They were a variety of sizes and thickness of rejected and damaged
    foam panels, making up a pallet load of 8feet by 4feet and about 4 feet
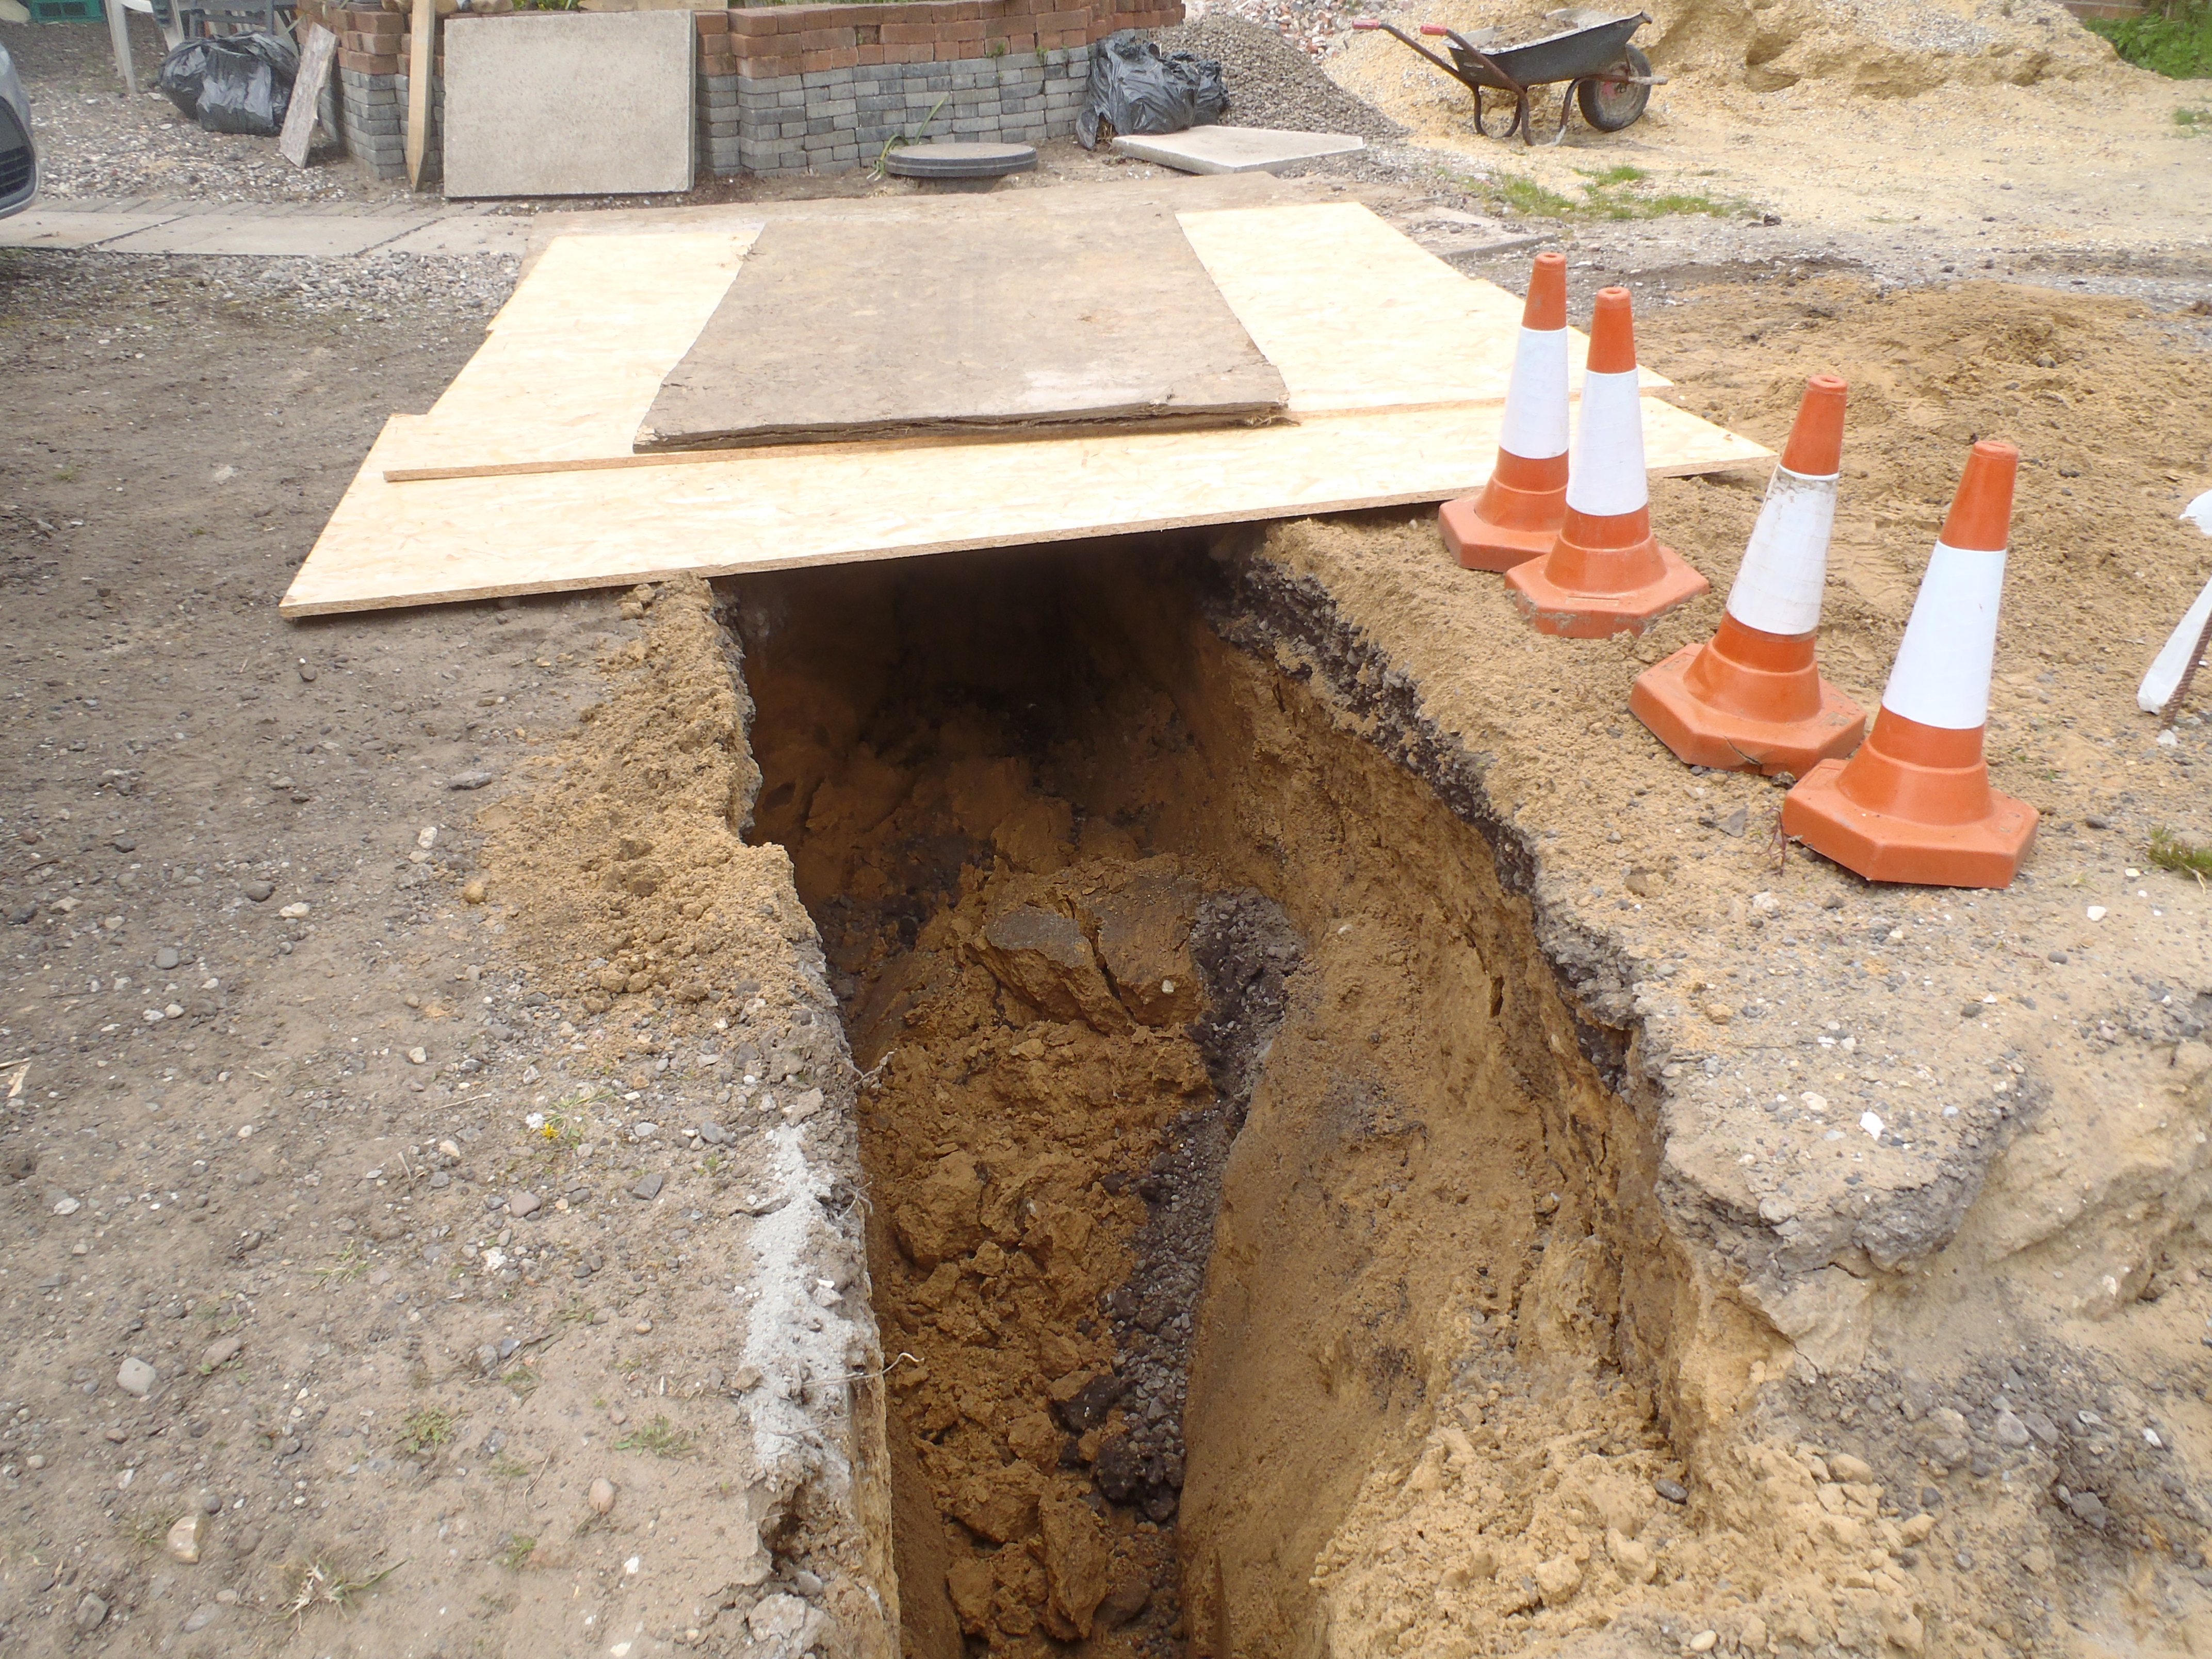
    tall. Since we didn?t have a fork lift truck on hand (huh!), we had to push
    the pallets sideways off the lorry and send them crashing down to the ground
    and rolling them over into our hole!! We weren?t too concerned about causing
    more damage as all the panels will be needing sorting out and cutting bad
    bits off etc.

    Loads-of-Insulation-dumped-off-the-lorry

    Loads-of-Insulation-dumped-off-the-lorry

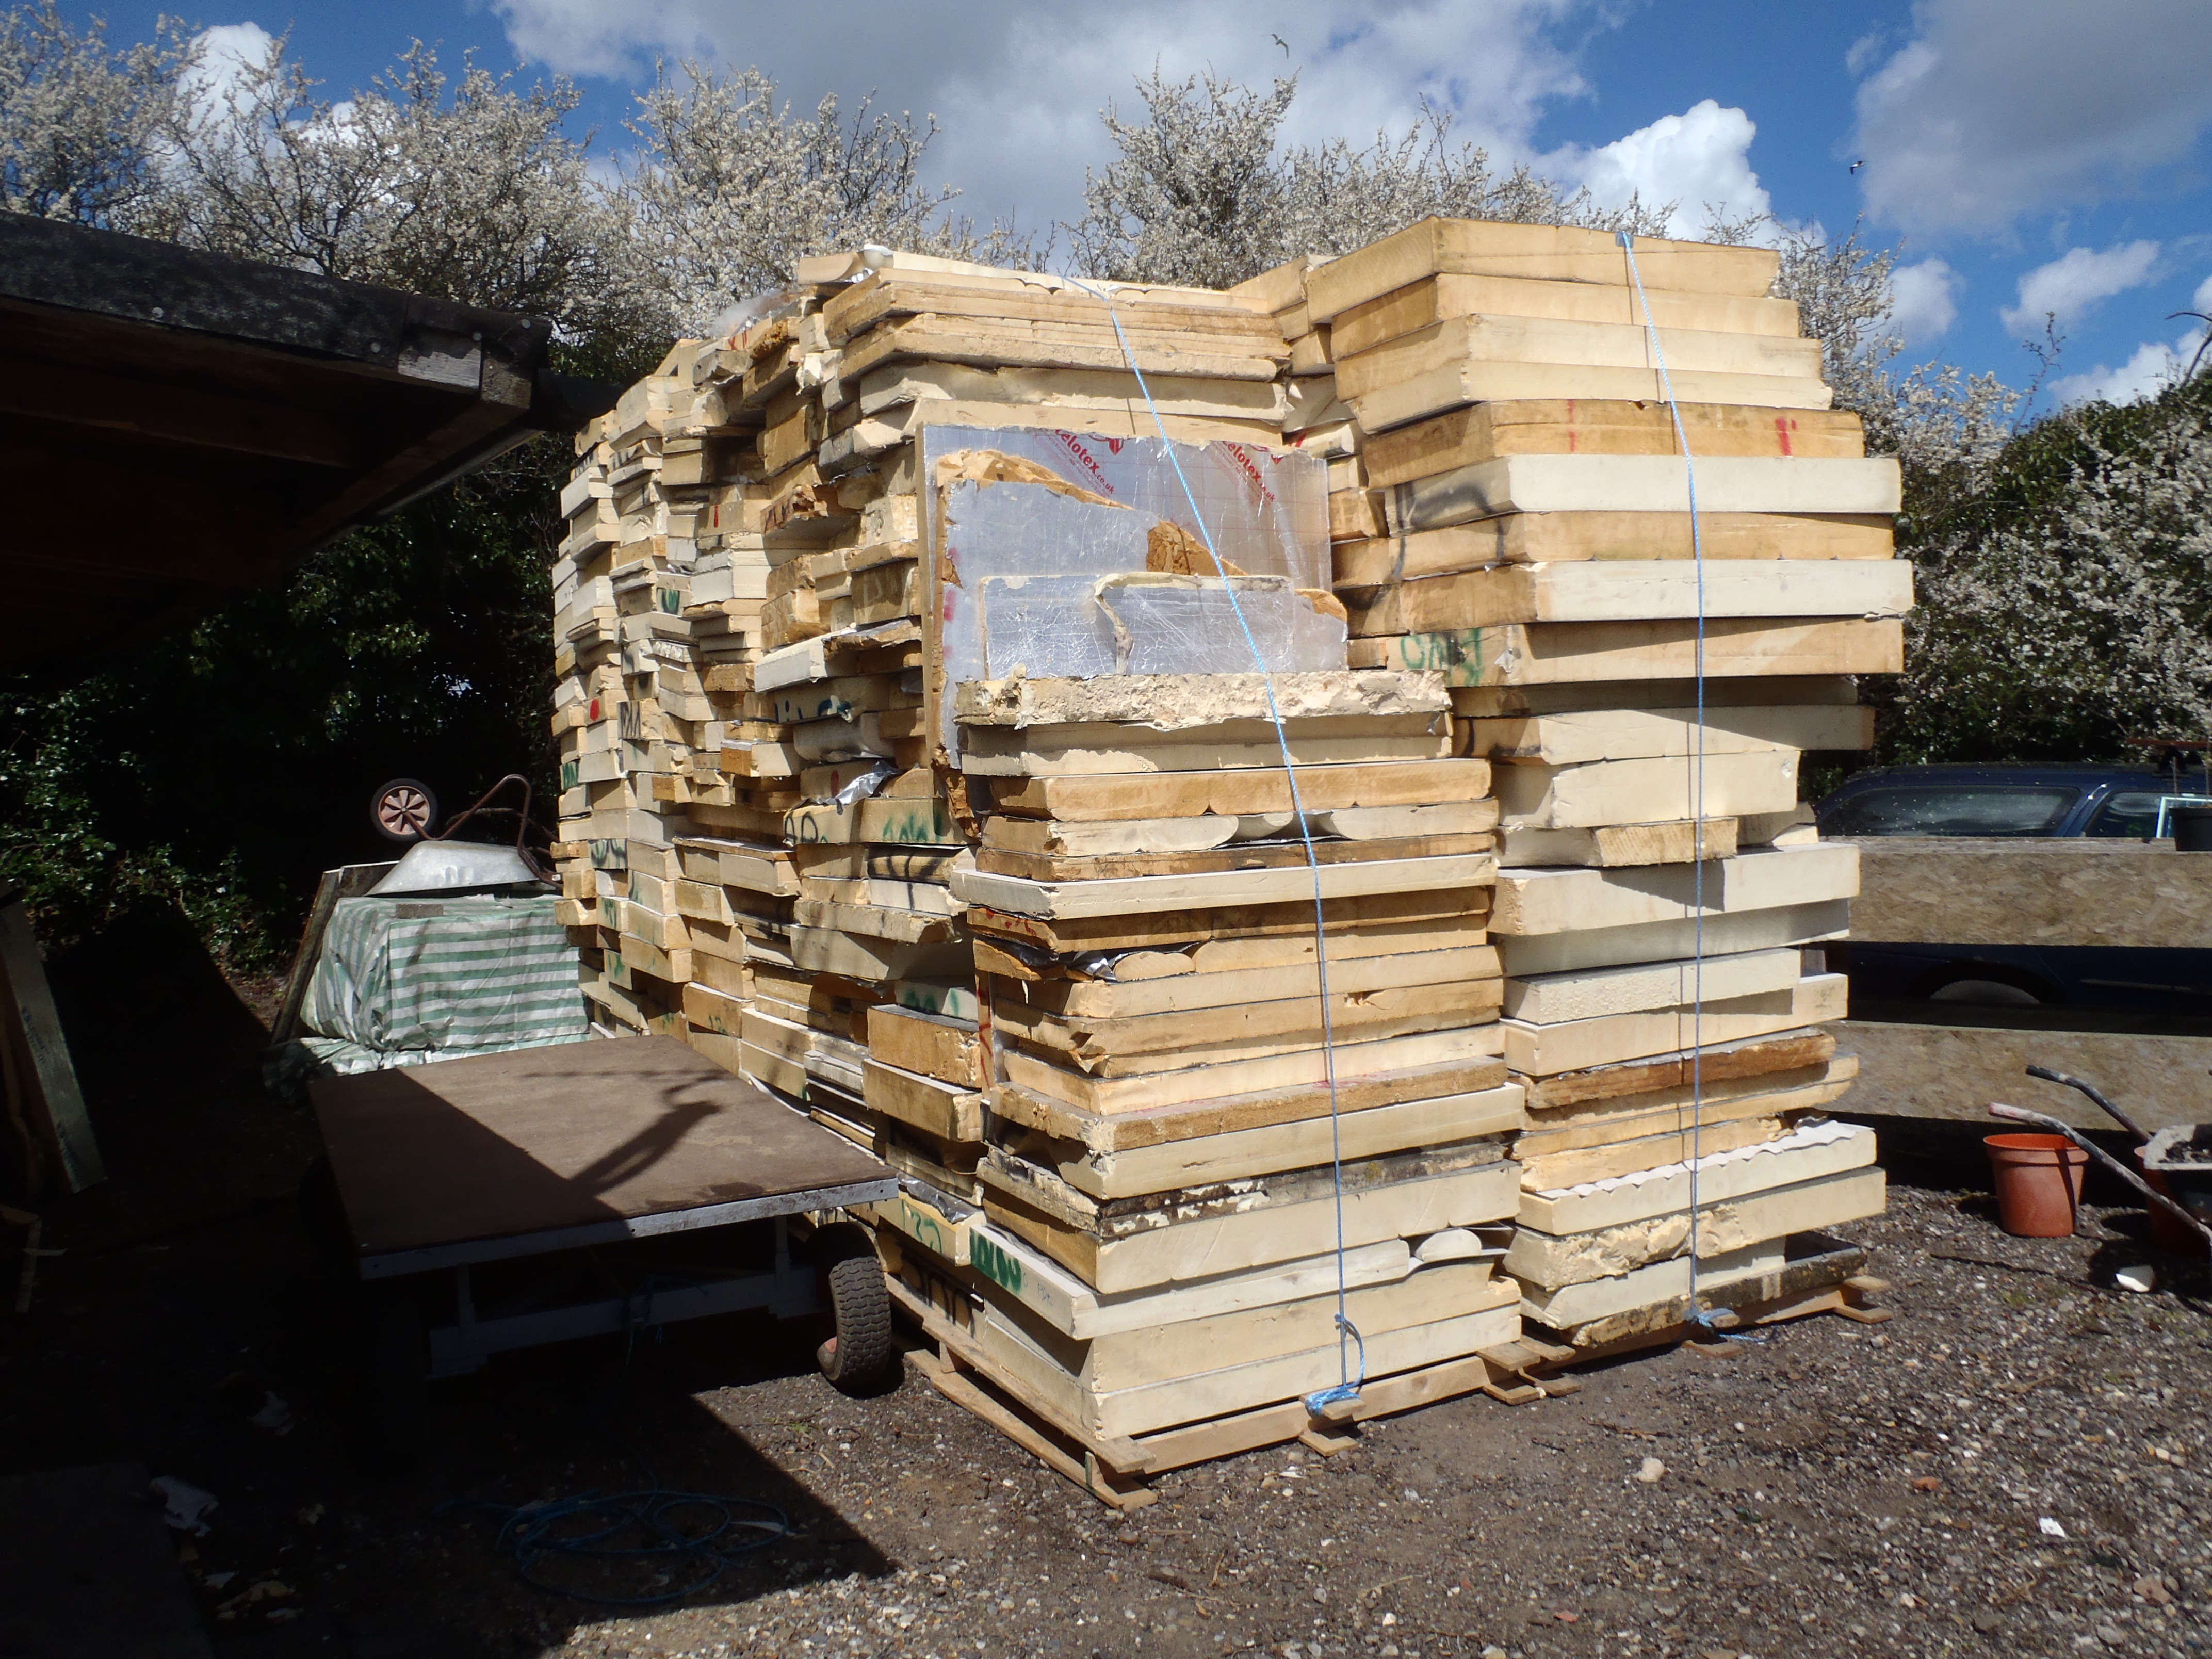
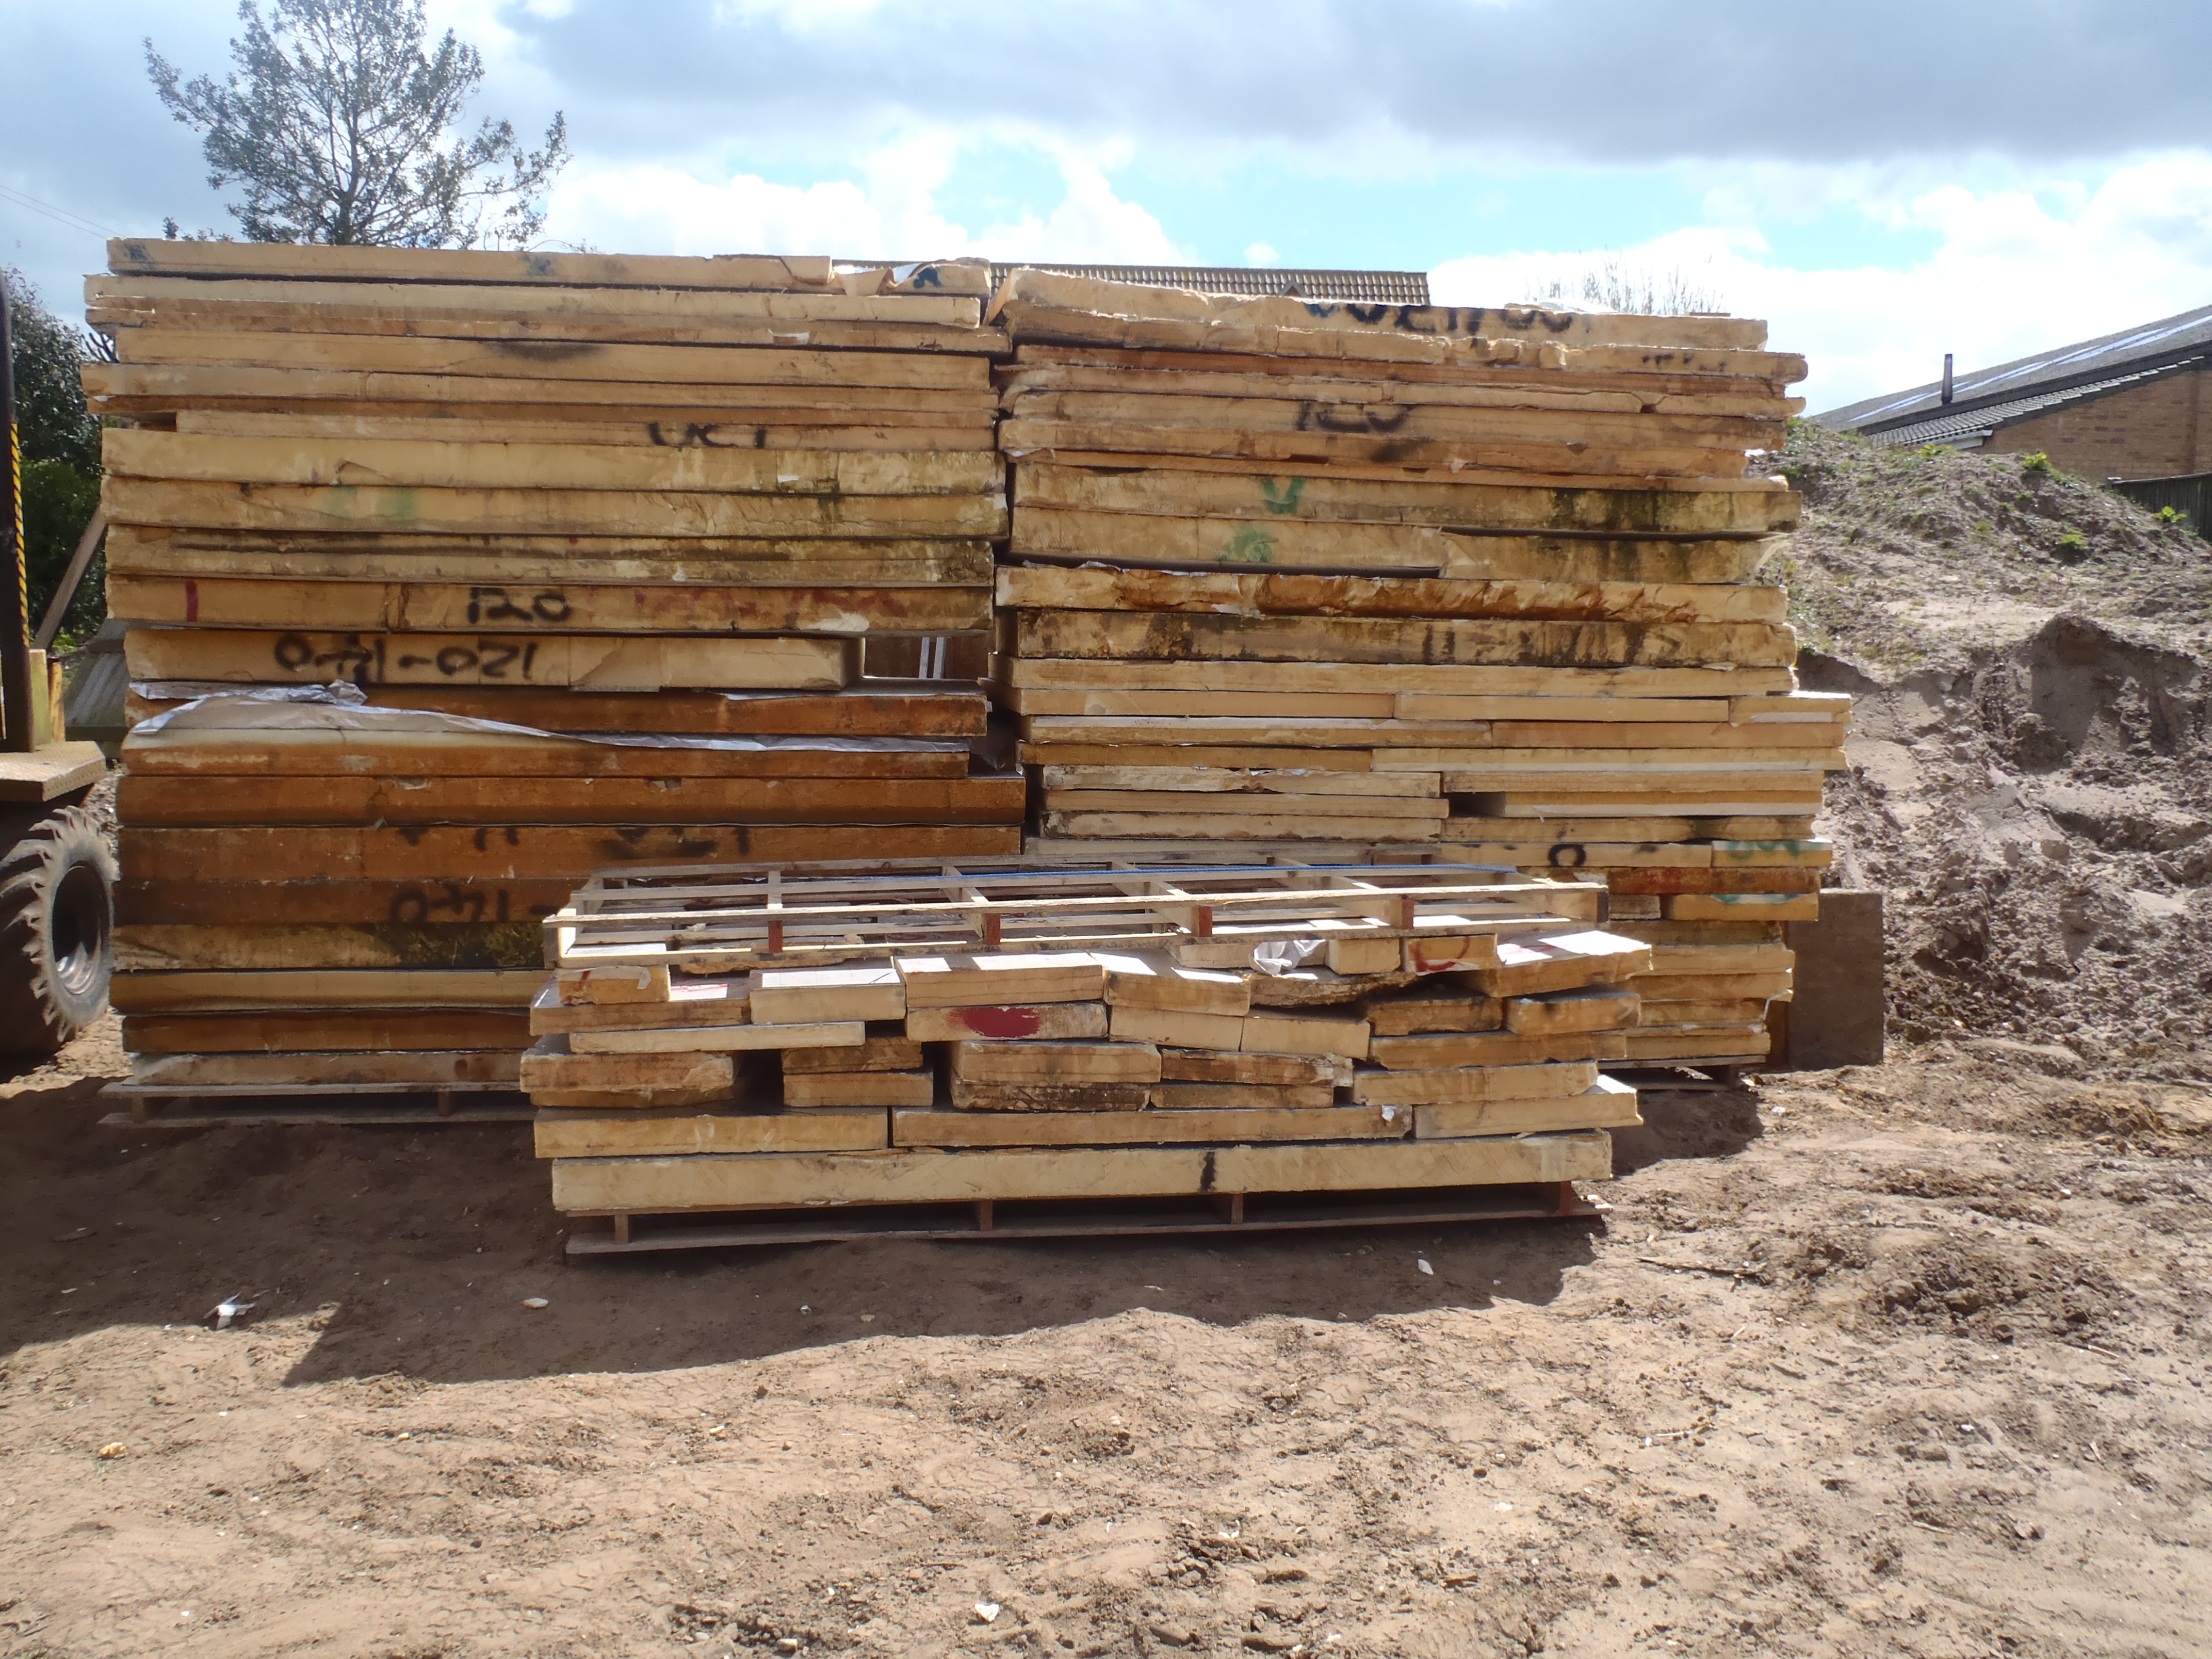
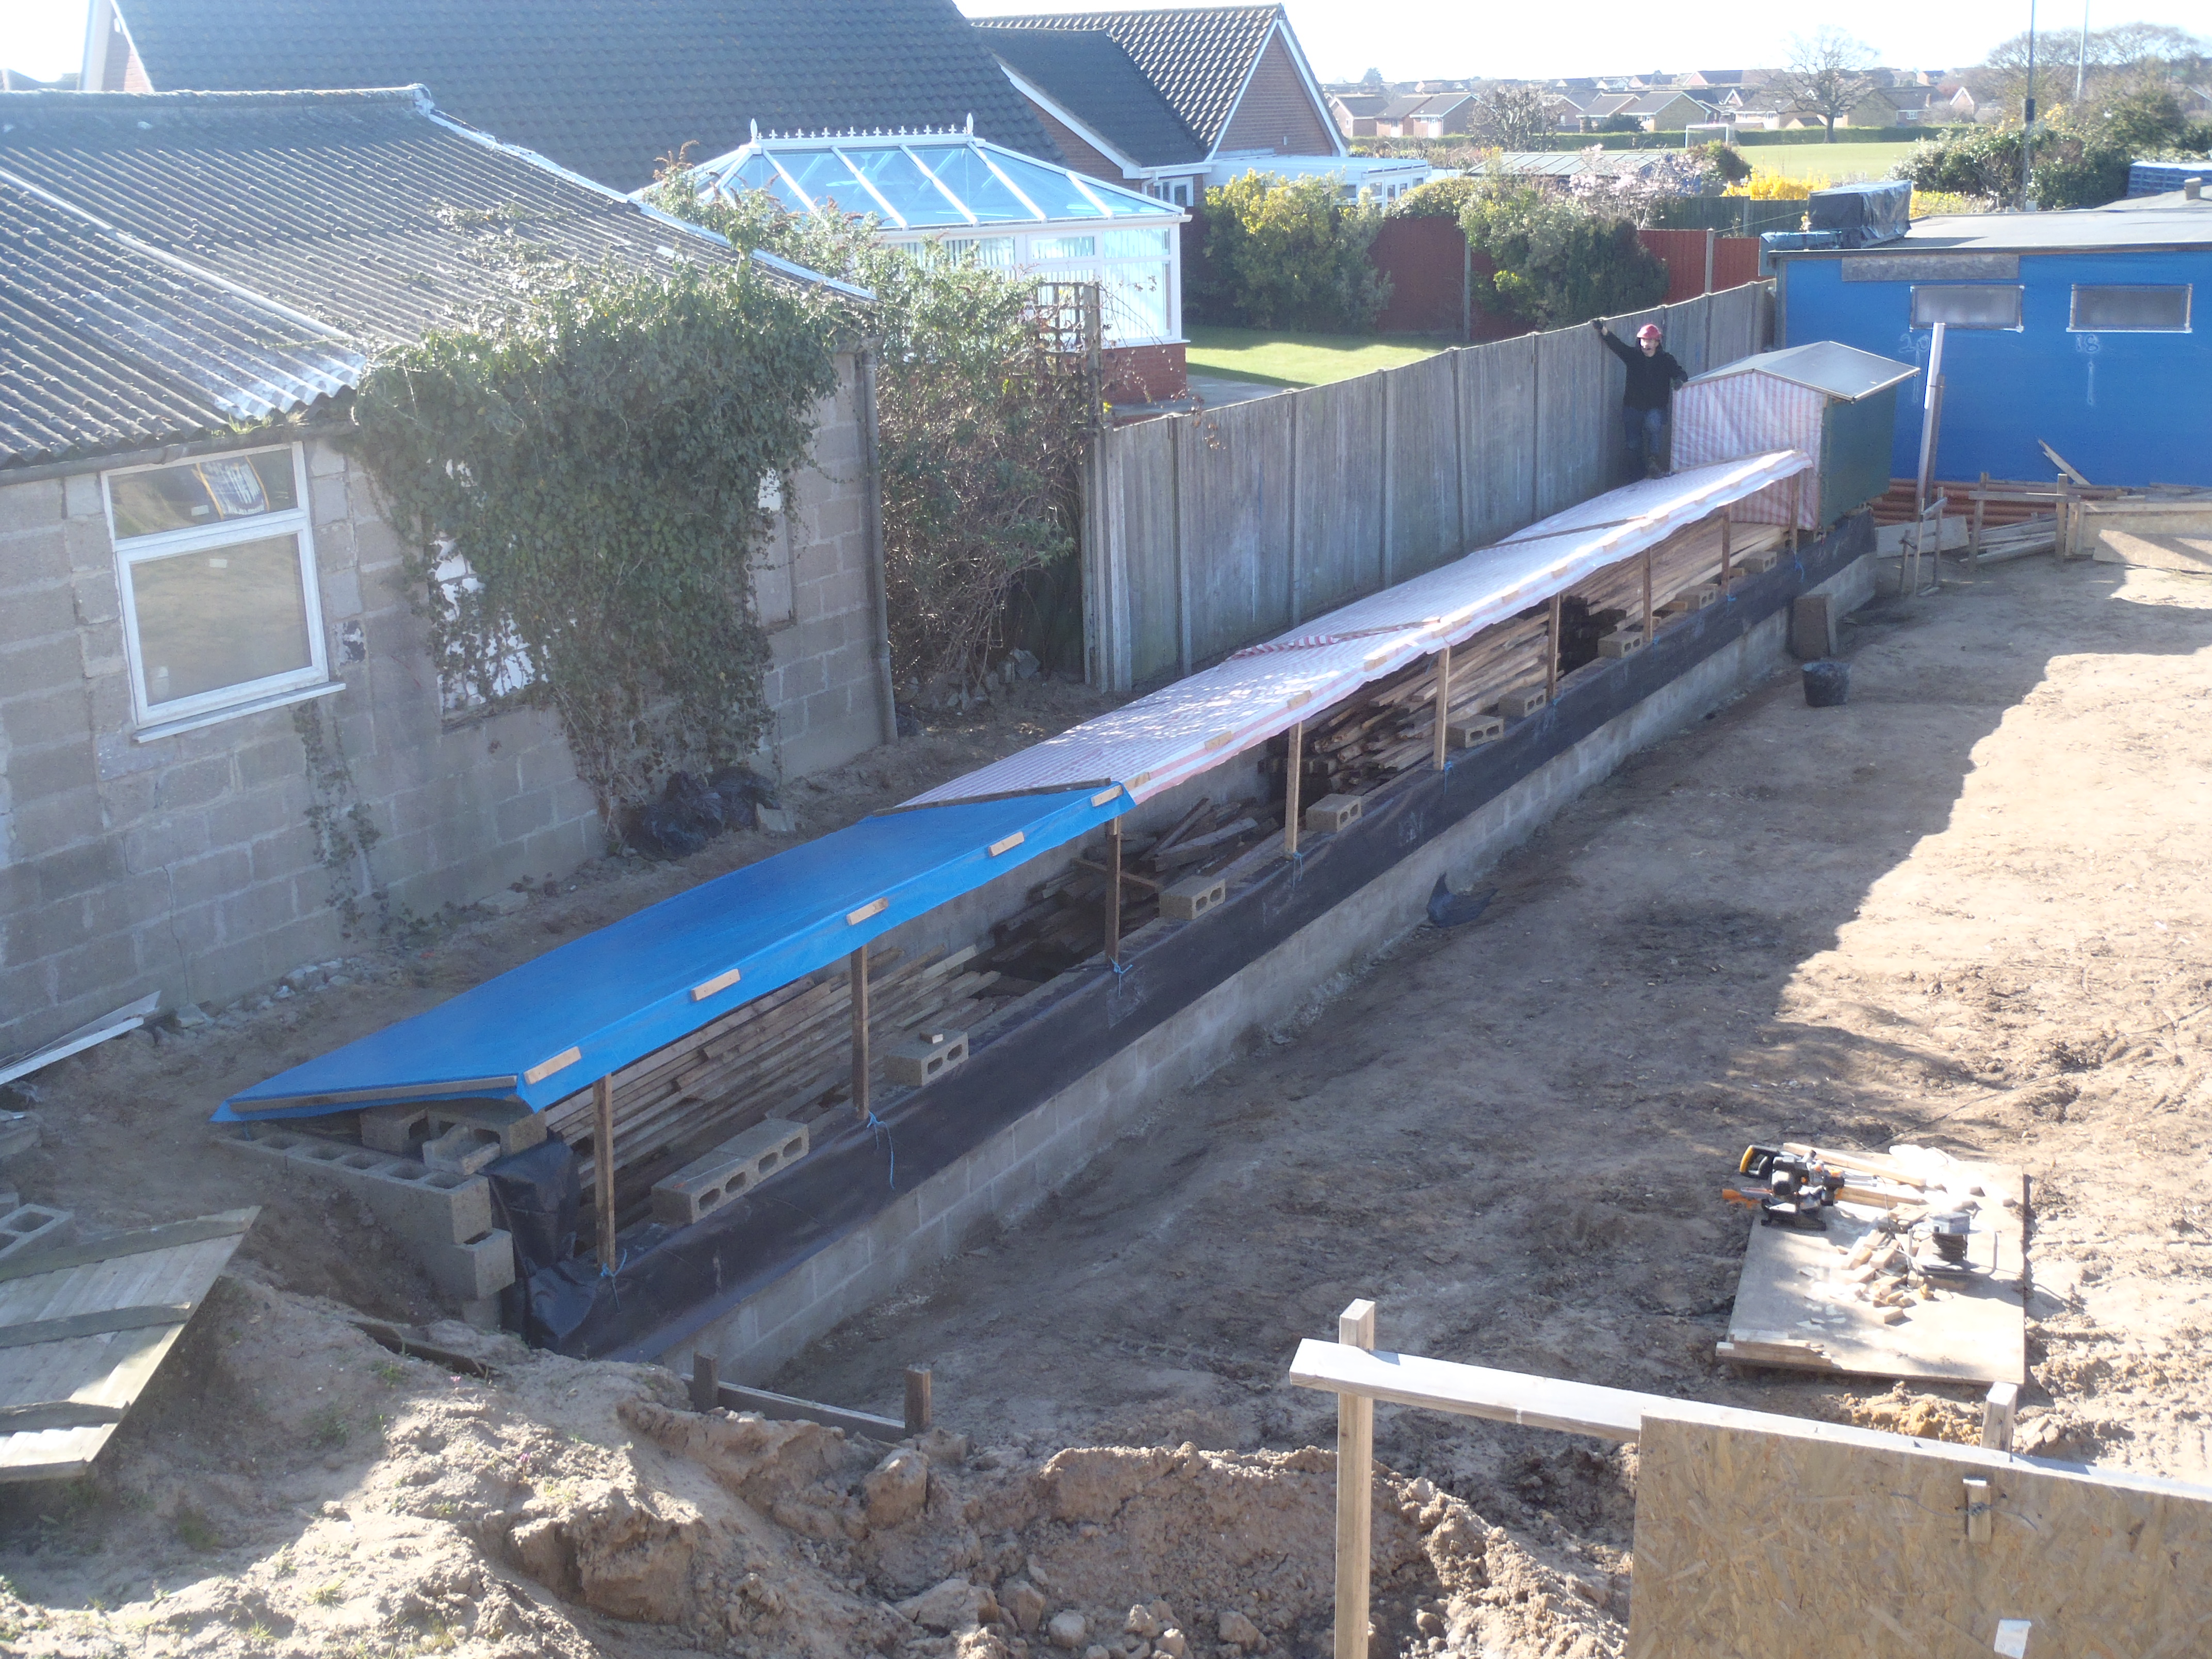
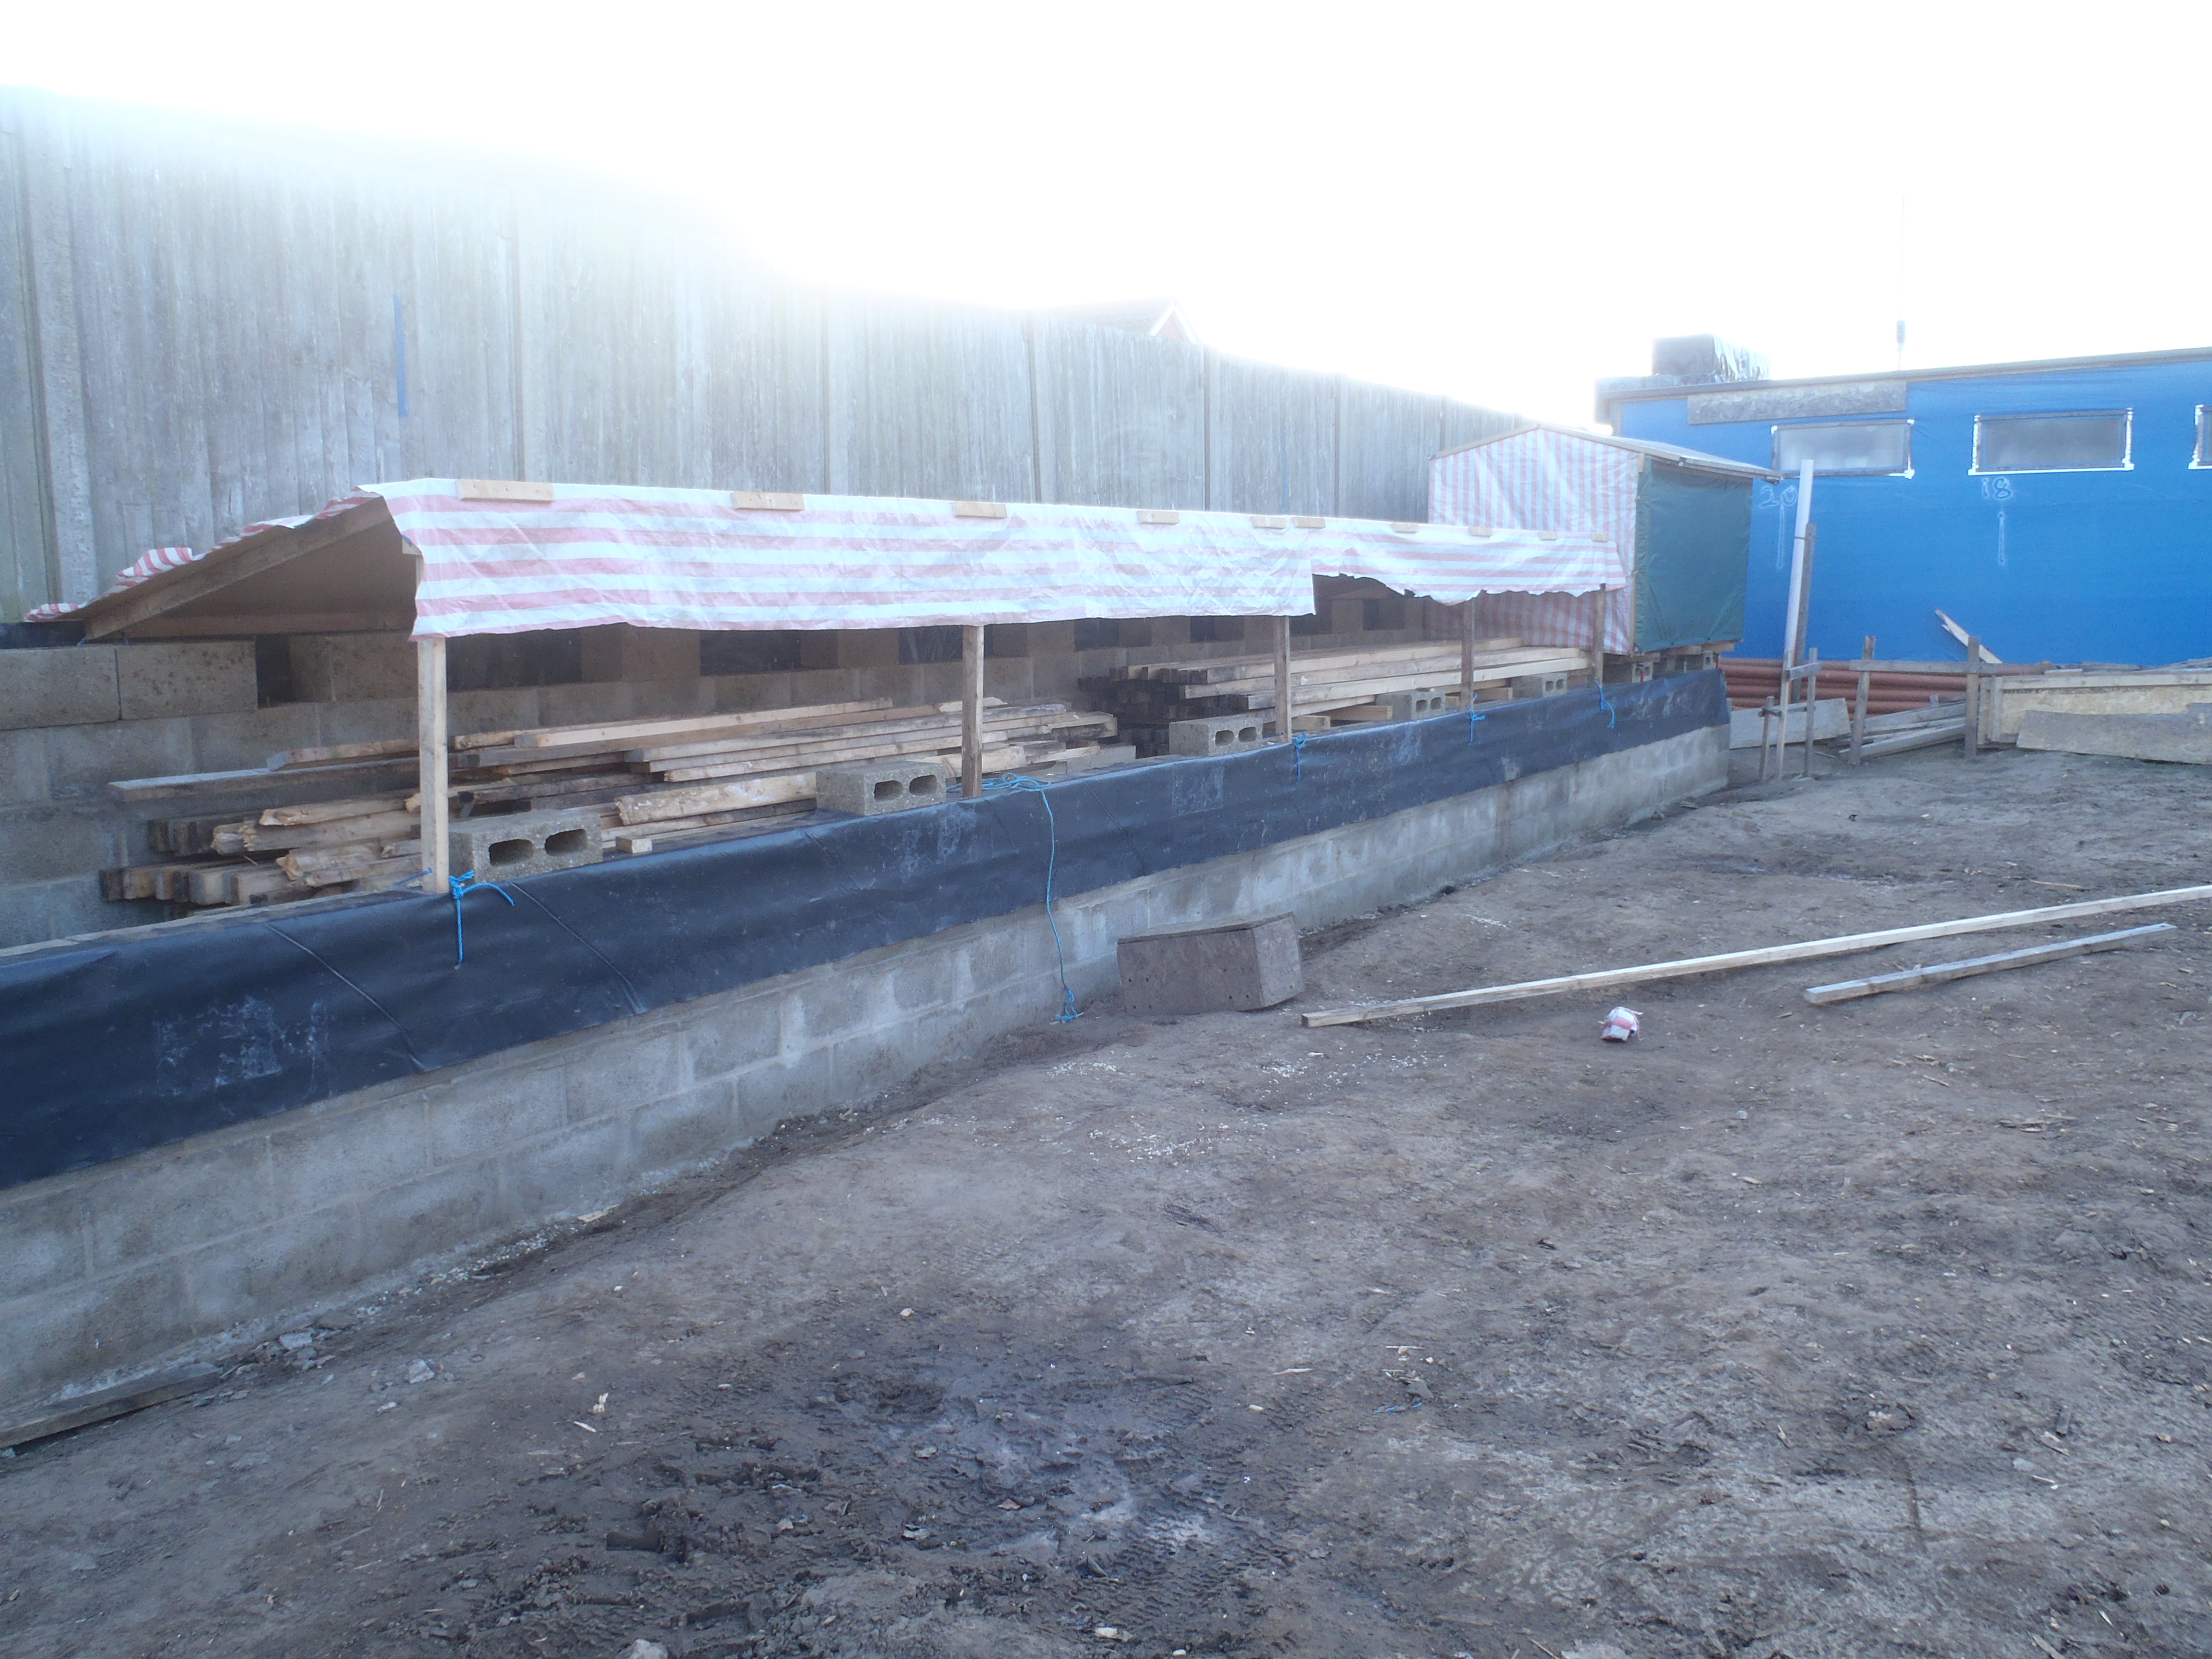
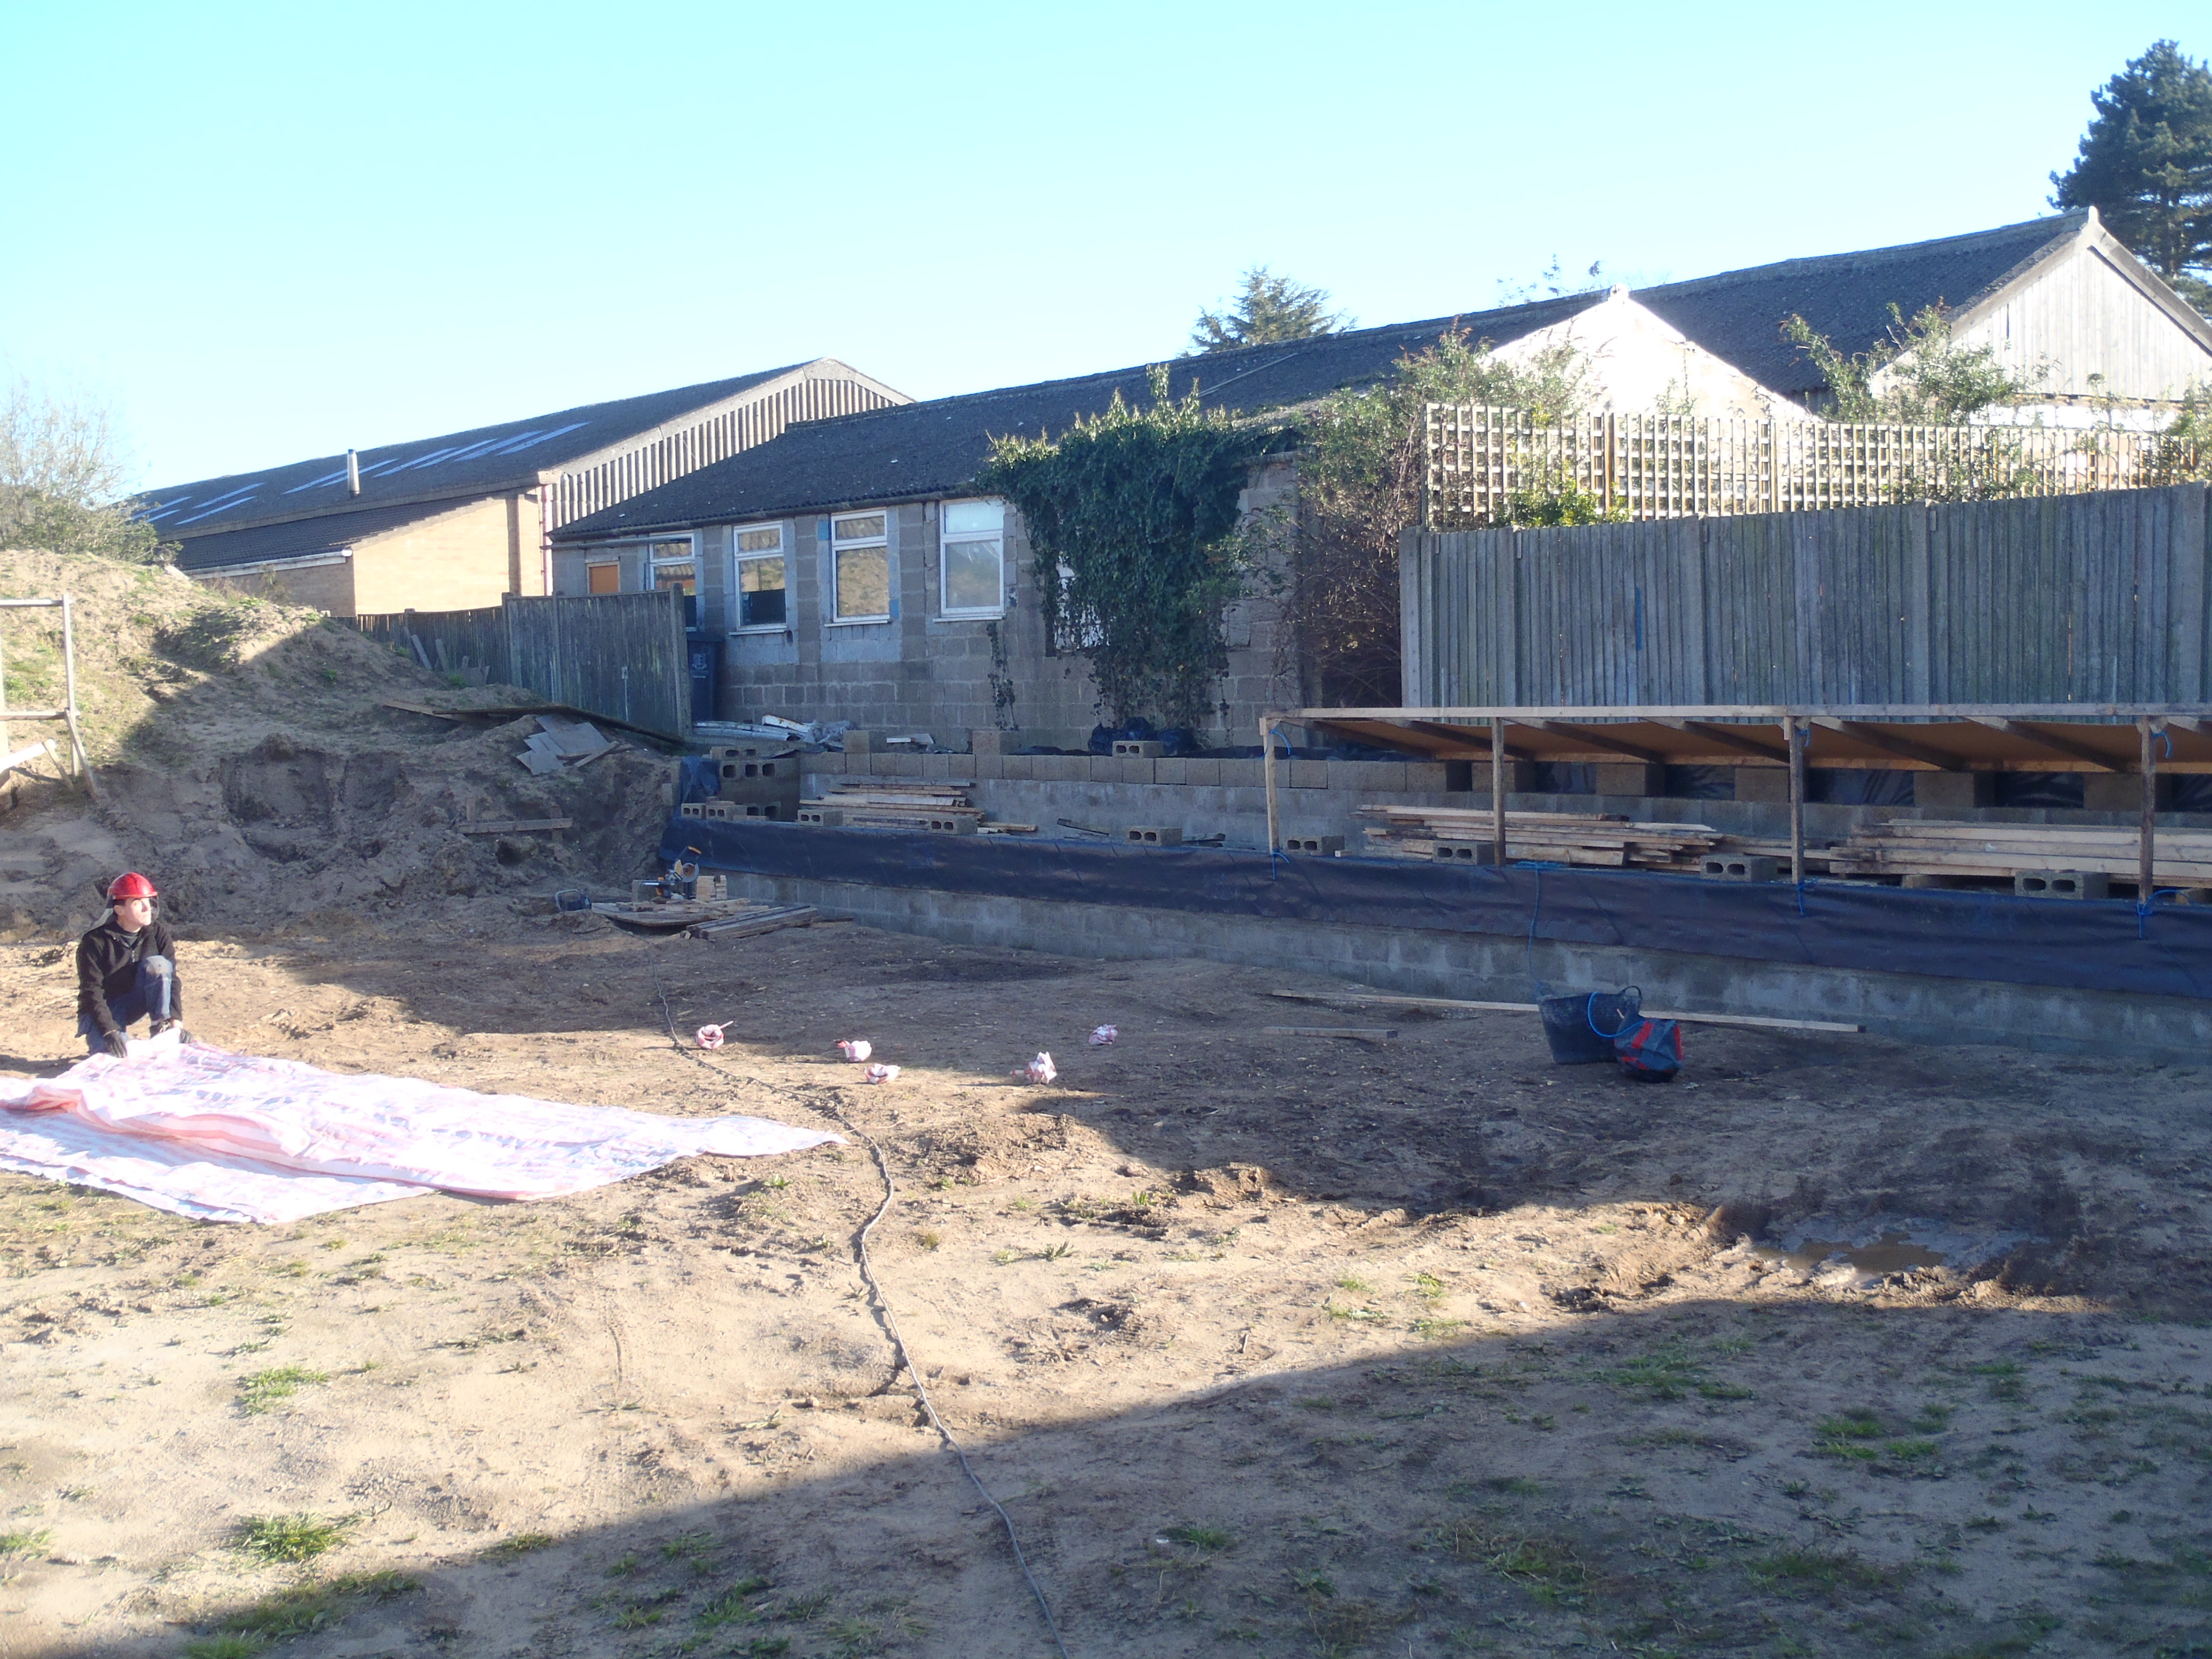
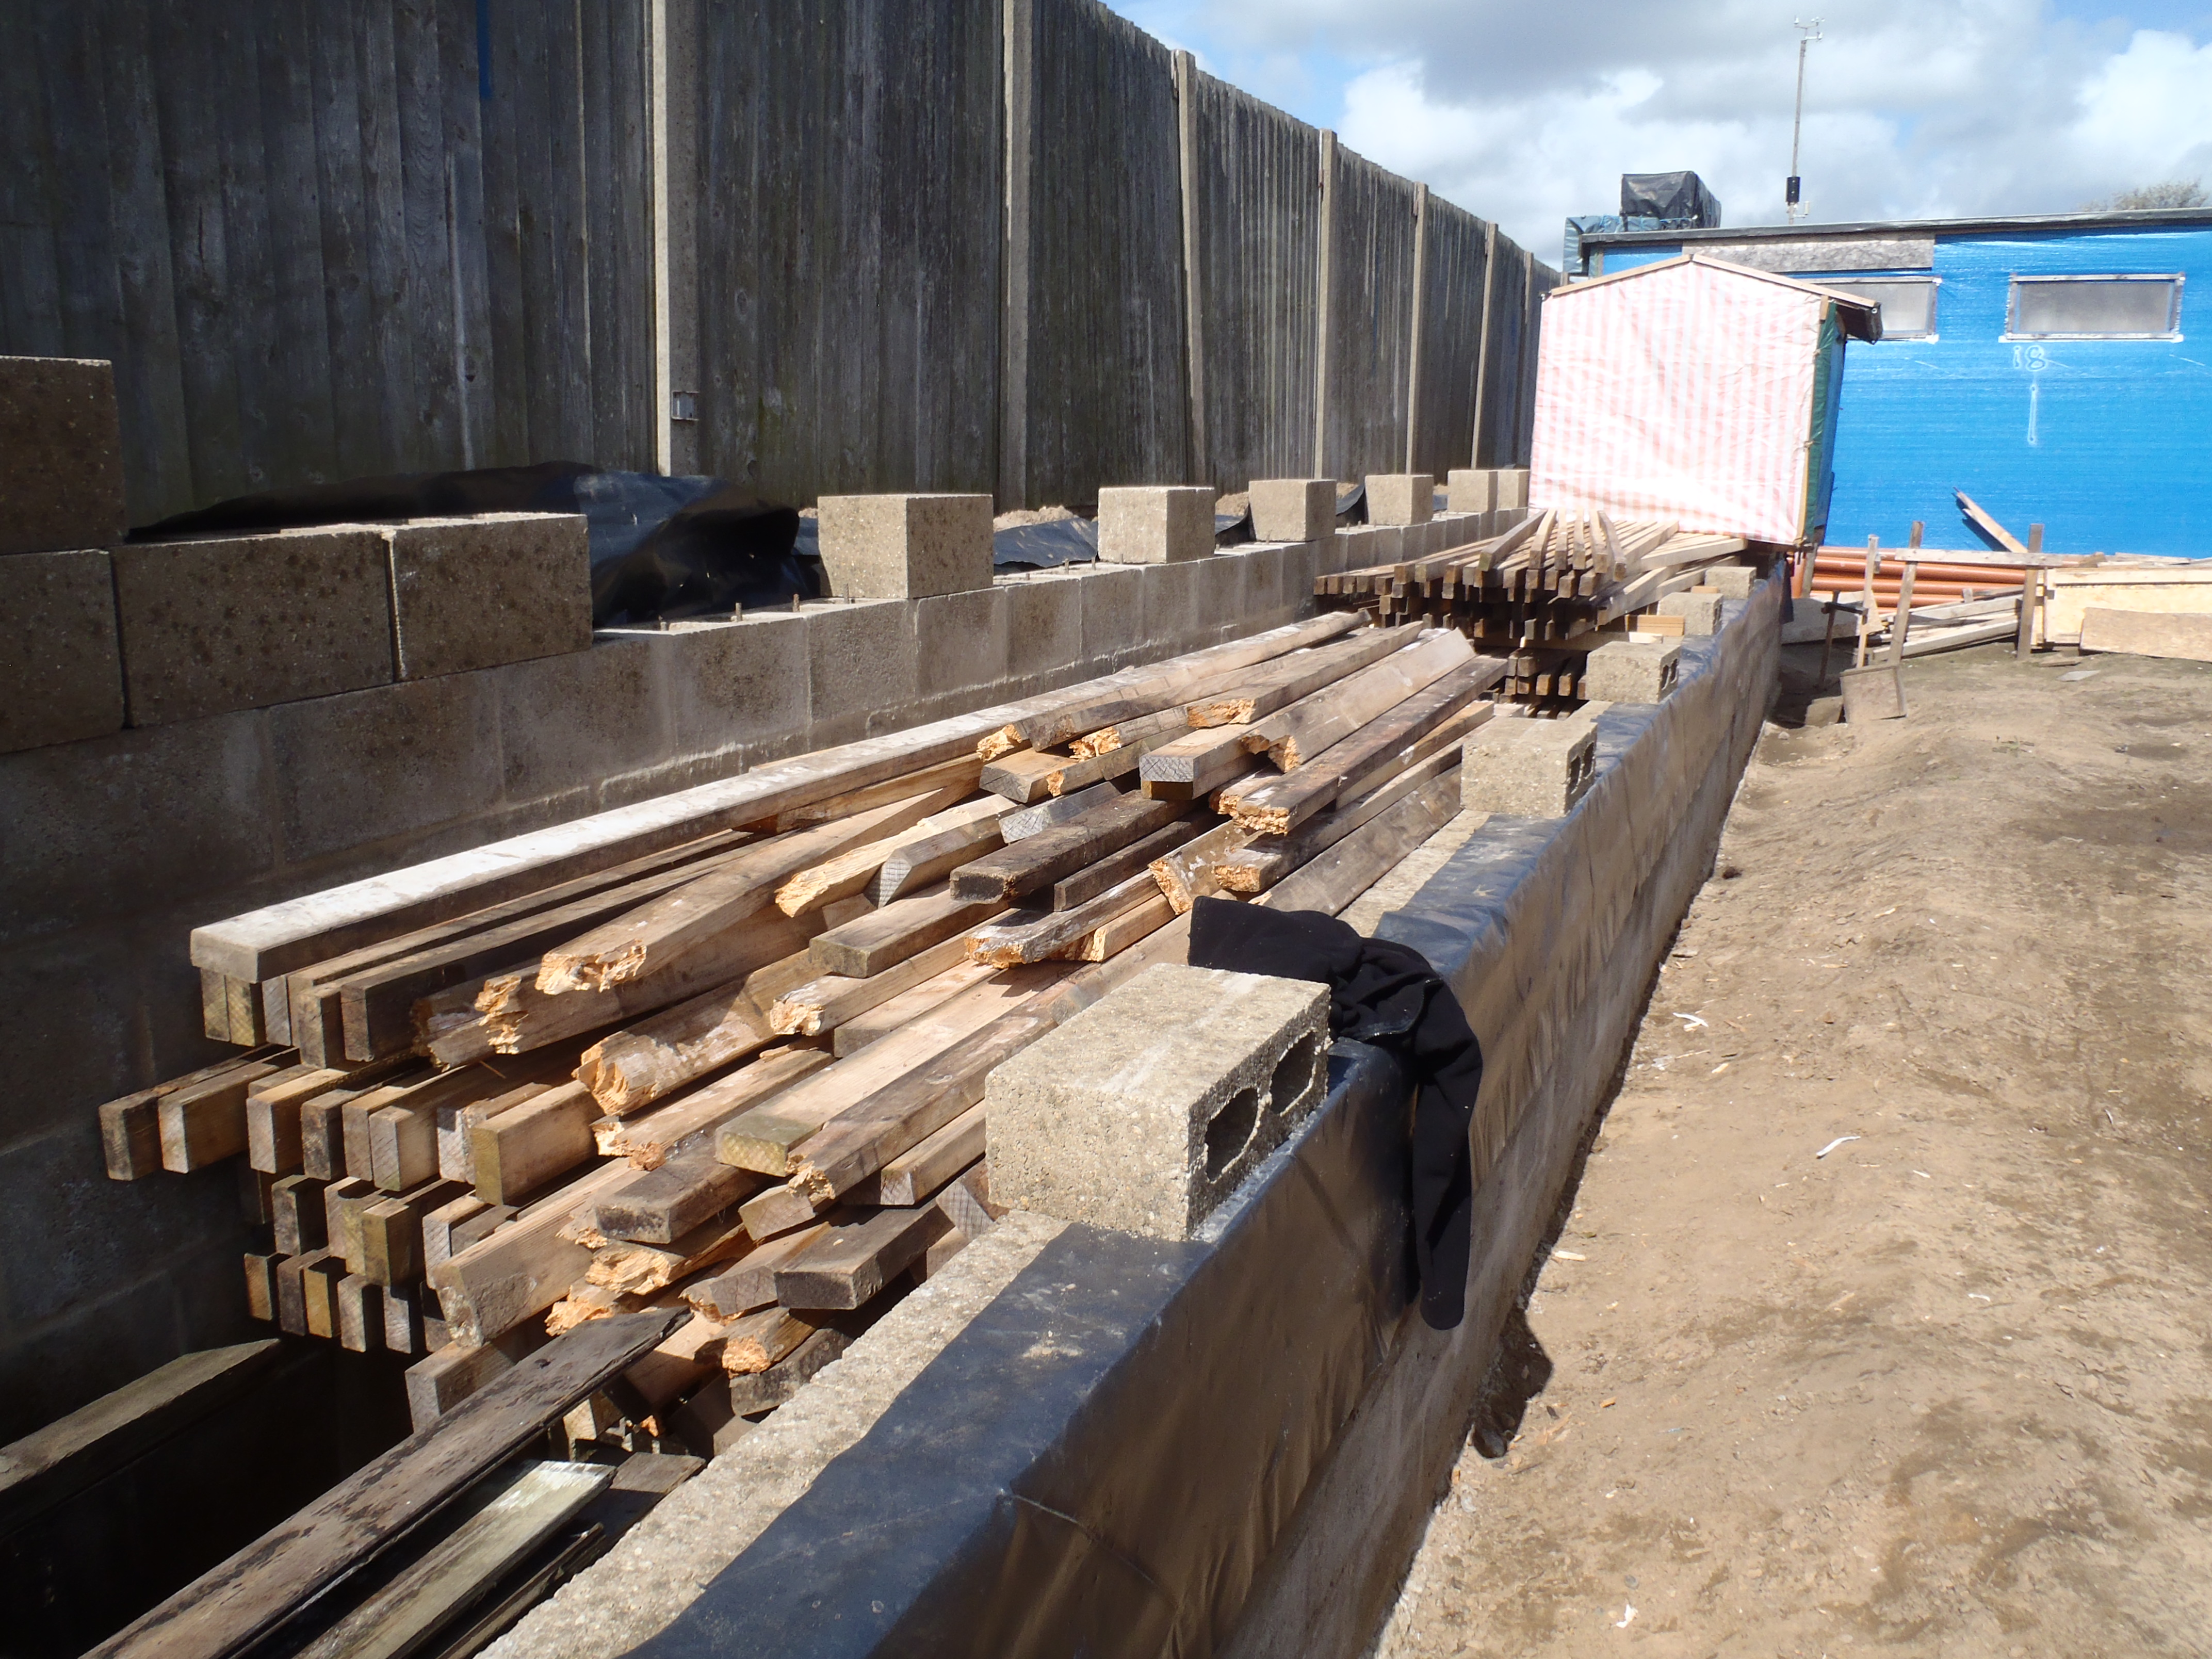
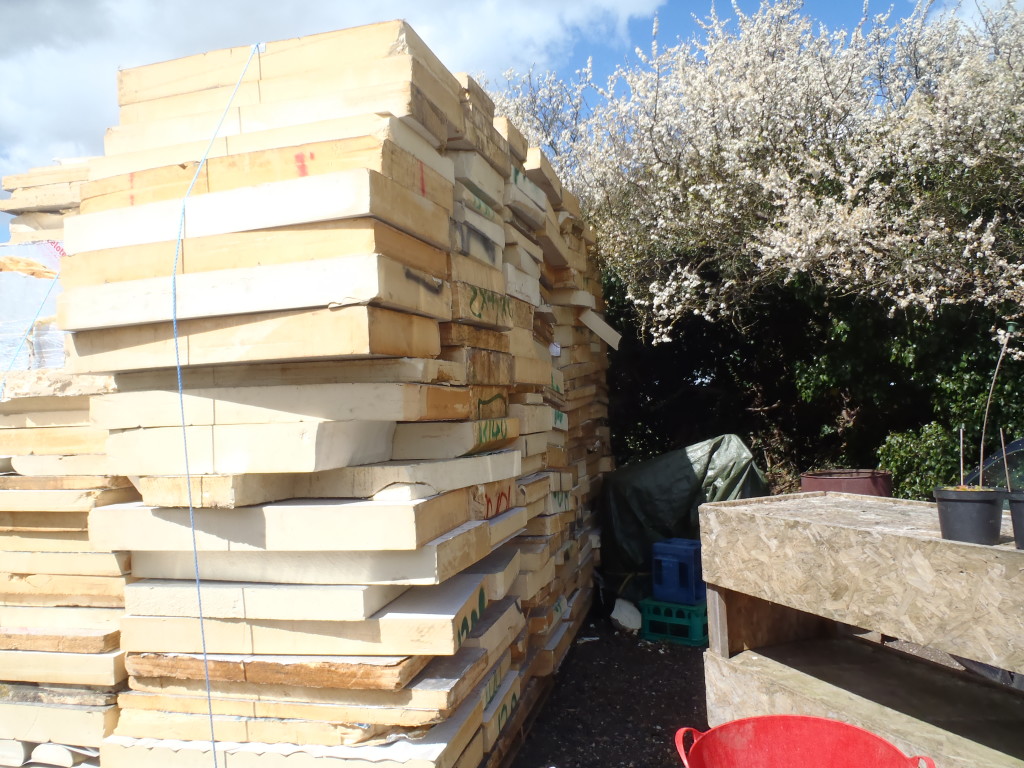
    We have now stacked up all the insulation into neat(ish) stacks, a large stack beside the storage shed of smaller pieces (nearly all of the pieces delivered are more than 600mm x 1200mm) and a smaller stack at the end of the hole near the earth mound.

    Stacks-of-smaller-pieces-of-Insulation-1

    Stacks-of-smaller-pieces-of-Insulation-1

    Stacks-of-smaller-pieces-of-Insulation-2

    Stacks-of-smaller-pieces-of-Insulation-2

    Stacks-of-larger-peices-of-insulation

    Stacks-of-larger-peices-of-insulation


    The first use of these panels will be the underground Energy Modules which
    are large hot water tanks to store the heat collected from the Thermal Solar
    Panels on our garage roof. Each of the 5 Energy Modules will be wrapped in
    200mm thick insulation and then buried into the ground under the house. We
    discovered these source of insulation panels and it seems that there are
    lots of rejected insulation panels and so a niche market has sprung up to
    buy these rejects from the factories, take off the good bits (to sell at a
    higher ?normal? price of about £100 per cubic metre) and put the rubbishy
    bits together to sell at an amazingly low price of about £10 per cubic
    metre!! We don?t mind buying these foam panels as it is a very similar price
    to Glass Wool, which is what we were considering using in the first place,
    but being PU foam, it is twice as good as glass wool in terms of thermal
    resistance so having ?bad? bits on them wouldn?t matter, because we are
    using multiple layers of these panels to fill our walls and roof spaces. We
    would of course spray in fresh 2 part PU foam to block any air gas or cold
    bridges.

    The other advantage of these rigid panels over glass wool, is that we will
    KNOW for certain that they will hold upright inside the walls, or in the
    sloping roof spaces, without collapsing after a few years. The wool is not
    very strong and having such a large quantity may cause problems of
    compression over the years of the life of the building.

    So we are rather pleased to discover this source of insulation material, it
    requires more work and time to sort them out, but that is the point of our
    “Real” self build project, we are doing everything ourselves and time and
    labour is no cost to us, hence saving huge amount of money and benefit from
    this massive amount of insulation in our walls and roof!!

  • First Pipe Laid!

    Today, we did the 1st of three sewage pipes that needs to be laid in and
    under the house, before we put in the foundations and floor slab.

    Pipe-3-Laid

    Pipe-3-Laid

    This was a short one, from the kitchen and running more or less along the
    front of the house nearest to the Loke and terminating into the man hole
    junction just before the drive way.

    It has to be buried, starting at the kitchen end, 750mm below ground, and
    falling away downhill at the normal “specs” of 1 in 40 slope to arrive at
    the man hole junction point at 950mm deep. That was the easier one to do!
    Tomorrow, weather permitting, will be the one that has to go across the
    drive way and has two bends in it too!

  • Double Check Calculations of Sewage pipe Positions

    This afternoon, we spent the time going over the drawings, calculating the
    exact positions of the sewage pipes coming out the ground (and through the
    concrete slab). We also discovered that the swimming lane is pretty accurate
    and parallel to the house. This and the garage as the 2nd reference point,
    will form the basic alignment for the whole house.

    We created a spreadsheet of all the distances from each of the batter boards markers to all “interest” points on each of the three sewage pipes we have got to
    run under the house.

    We now have these numbers, we can start marking and cutting the narrow
    trench lines for the plastic pipes to go in.

  • Second Day of Fire and Last Bits and Pieces Tidied Up!

    In another glorious sunny day, we had the incinerator going all day today,
    burning up all the old ivy cuttings off our large hedge at the bottom of the
    garden, plus loads of extra trimmings from more ivy around the corner and
    along the Tern Gardens fence line!

    Flames-6ft-High

    Flames-6ft-High

    Cleared-in-front-of-storage-shed

    Cleared-in-front-of-storage-shed


    We moved all the good quality pallets from everywhere and laid them on top
    of the new roof covering our new timber store. We have a dozen of them!! And
    finally, the last bits and pieces lying alongside the garage and garden shed
    were moved inside the timber store, graded by size. We are just about ready
    to tackle the next big job now, the laying down of the sewage pipes from
    various points under the house, to the septic tank.

  • Last Two Covers Installed and a Lovely Fire!

    It was glorious weather today, with a very powerful Sun but it didn’t get
    hot this time as there was a stronger chilly breeze! We managed to assemble
    and install the last two covers over our new timber yard and they are now
    rain proof.

    Covers-finished-and-wood-loaded

    Covers-finished-and-wood-loaded

    Finally, we had a lovely fire in our incinerator to burn up loads of dried
    up cuttings, rotten pallets and other wooden rubbish we had lying around.

    The site is looking much better for our 4 days of effort, with only a few
    bits and pieces left to move over to under the covers like pallets,
    platforms and ramps .. and we will be all done – phew!!

  • Last Pile of Timber Moved and Rain Protection Half Done

    Today, in the lovely sunshine, we moved the last pile of old timber that
    came from the demolition of the old bungalow that was here since around
    1930’s.

    Roof-half-done

    Roof-half-done

    Roofing-the-lane

    Roofing-the-lane


    We spent the rest of the day building rain protection covers to keep much of
    the rain off our timber piles in the swimming lane. We have done 2 of them,
    with 2 left to do.

  • The 89mm CLS Timber is Sorted

    Today, we handled the next pile of timber, the 89mm by 38mm CLS timber. We
    also got our neighbour Terry to come and collect all the unusable pieces for
    his wood burner. He was nicely pleased!

    Timber-stacked-on-lane-1

    Timber-stacked-on-lane-1

    Timber-stacked-on-lane-2

    Timber-stacked-on-lane-2


    Tomorrow, we will move the last pile of “odds and ends” timber and then
    build the rain covering for the whole lot.