Category: Orders and Procurement

  • Untreated 63mm by 38mm CLS timber Arrives

    We had our delivery of fresh timber arrive today, this morning, but it turned out to be only fraction of what we ordered.

    Untreated 63mm by 38mm CLS timber Arrives

    CLS-Delivery-20201120-1

    Untreated 63mm by 38mm CLS timber Arrives

    CLS-Delivery-20201120-2


    There was some confusion back in the builders merchant yard and we only got 99 planks. We were expecting 448 planks, which supposed to be a complete pallet load. We are chasing them up!!

  • Ten Concrete Beams Arrives

    Suddenly at a bright early hour, our concrete beams, all ten of them, arrive! We had to parked them on our driveway in such a position so we could then transport each beam inside the house through the Side Door, without hitting problems like trying to turn a 4metre long object around a sharp 90degrees turn! We also had to keep the driveway clear to allow our car out too! Phew!

    Ten Concrete Beams Arrives

    Conctete-Beams-Delivered


    After doing other chores and tasks in the morning, we started the heavy duty of moving these beams into the house. We bolted two large castor wheels to a slab of timber, already predrilled with the holes because these 2inch by 6inch short planks were used several years ago when we were moving the huge steel RSJ beams!
    But this time, we moved the 120kg concrete beams, once at a time, by clamping the wheels to the beginning of the beam and clamping a long wooden handle to the other end to allow us both to lift it up. Dragging the beam over to align with the Side Door, we proceeded to push each beam into the house, down the ramp and slipped past the various obstacles and parked them half way down in the middle of house, next to the metal roof legs.
    Ten Concrete Beams Arrives

    Beams-carried-inside


    It took us all afternoon to move the ten beams, being careful not to overtax ourselves and not to cause any damage to our house! The big challenge will be when we need to hoist them up and put them on our Entertainment Room concrete walls to form the roof! That’s another day’s Job!

  • Concrete Blocks Arrives

    The first load of new building material arrived today. 576 dense concrete blocks arrived with a ton bag of soft sand, eight bags of cement, two large paving slabs and one concrete lintel.

    Concrete Blocks Arrives

    Concrete-Blocks-and-Sand


    The remaining 74 blocks will be delivered soon, along with the 10 concrete beams. We are glad that we beat the lock-down deadline!

  • Concrete Material for Sound-Proofing Shell for Entertainment Room collated and Ordered

    After buzzing around several different suppliers, all across the country, looking for pre-stressed concrete beams and dense concrete blocks (the heavier 20kg ones), we chased down various prices, ranging from the wow high price to a super low price but a heavy delivery charge (eeek!), we have finally settled an agreement with our local builders merchants Jewson, to supply us with ..

    • 10 concrete beams
    • 650 heavy dense concrete blocks
    • A pile of soft sand
    • Some bags of cement
    • A few large heavy paving slabs
    • And a concrete lintel (for our doorway).
    • 50 lengths of 89mm CLS timber

    We managed to get a very good price for the whole lot, that is a fabulous as we get the benefit of having our material delivered using the standard truck with a crane to help unload the 12.7 tons of stuff! It shows that it pays to spend time shopping around even if you end up back at your local business (but you know what price to negotiate too) Phew!

  • Ordered Concrete Beams and Blocks plus Sand and Cement for Entertainment Room

    Today, for our Entertainment Room, we calculated the number of concrete blocks and concrete floor beams needed to build a sound reducing barrier around the walls and ceiling. There are twelve rows of standard dense concrete blocks, a lintel for going over the doorway and eleven 4 metre long concrete beams, the smallest one available (the 150mm by 120mm wide version) because it is just a false ceiling and not holding up any loads apart from itself. The concrete shell is approximately 5metres long by 4metres wide and 2.6metres high, just shy of the first floor joists.
    The total number of blocks is around 635 but we ordered 650 to have some spares. We also ordered a ton bag of soft sand and eight bags of regular cement and a concrete lintel measuring 1200mm long, 100mm wide and 65mm thick to go over the doorway, it is rated at seven kilo-newtons (7kN/m) and we calculated that the block and beam ceiling will be 3.6kN per metre , loading over the 900mm wide doorway. That means a double safety factor, without us having to do anything special, just the minimum strength of the lintel we selected.
    We have asked Jewson’s for a price on the whole job and we are waiting for it…

  • The Last Four Pallets of Slates Arrive

    Sometime during the afternoon, we had the delivery of the remaining four pallets of our slates and they were unloaded alongside our Loke, following the line as we intended, but alas, one of the pallets was dumped on top of two others!

    The Last Four Pallets of Slates Arrive

    Last-of-slates-delivered


    We did not want this, as we wanted to be able to take a handful of tiles out from each crate in turn so the roof would get a more random pattern, just in case, one crate would be loaded in the quarry from one spot in the slate mine and by the eleventh crate, could be using another part of the mine with slightly different colouration and texture. Hence, as recommended by experts, to take a few tiles from every crate, to mix it up a bit, and get a more balanced finished on our roof.

  • First Batch of Slates Arrive

    We had a delivery of the remaining timber battens, 720 metres of 38mm by 25mm sized lengths, but actually, we only got 714 metres so they short-changed us by 6 metres (but we did get extra of the larger battens) !

    First Batch of Slates Arrive

    The-smaller-roofing-battens-have-arrived


    We now have all our wooden battens, ready for our roof.

    We also had the first batch of our Slates , seven pallets, in total, containing over eleven thousand standard sized and 750 extra wide ones.

    First Batch of Slates Arrive

    Slates-being-delivered

    First Batch of Slates Arrive

    First-7-Pallets-of-slates


    Each pallet has over 1800 slates in 3 layers. We are expecting a further four more pallets of standard size in a few days.

  • Drawing Up the Quantity of Slate tiles Plus Accessories

    Yesterday morning and this morning, we continued with the calculations for the Slates and all the accessories to cover our roof. A 18 page spreadsheet was used to quantify the number of tiles, the number of rows and what sort of angled adjustments is needed for the various hips and valleys ends, depending on which roof section is under the spotlight. We are getting close to a final set of numbers, just need to run through the calculations again to verify the results before we start the process of ordering everything. The quantities are as follows:

    • 17200 300mm x 200mm “normal” slates
    • 700 300mm x 300mm “wide” slates
    • 3550 metres of 50mm x 25mm tiling battens
    • 700 metres of 38mm x 25mm counter battens
    • 300 metres of 1.5 metre wide Breathable water barrier membrane
    • 90 metres of valley drainage channel

    We just need to double check these figures, plus any other material we would need, like for example, for the guttering and anything else for our roof!

  • More Materials Ordered and Batten Glued on Rafters

    We have been spending the last two days finalising the material bits and pieces we will need for concluding the work on our Skylight. Yesterday, we did lots of tests of applying different numbers of layers of fibre glass resin, to find out what level of application we will need to cover whole framework in white resin, reinforced with glass fibre strands, to make it fully waterproof and seal the timber against any dampness and causing condensation on our windows. We tested the test pieces this afternoon after it had 24hours to harden and we have concluded that we will need the glass fibre tissue layer but it didn’t make much difference whether to apply a diluted first resin coating or not. We now have ordered 25kg of finishing White coloured top coat resin, plus another 10kg of undercoat clear resin plus some more glass tissue mat.
    Today, we spend the morning going through the final design of our bird disruptor system, to stop the pigeons from landing on our beautiful gleaming clean skylight and dropping their mess on it! The system isn’t a star-trek like disruptor device, it’s not that high tech, rather it is very low tech indeed! It is just three thin stainless steel wires suspended just above the surface of the ridge beam and the birds will get a fright when they come flying in to land and get tangled up with their wings! Hopefully, they will learn and keep away and hence not drop any mess!! We hope!
    So we ordered some stainless steel 10mm threaded rod, angle iron (rather it’s stainless steel) and also 12mm round stainless steel rod too. While on the supplier’s web site, they had a special clearance offer on aluminium bars so we analysed what we needed for our electrical bus-bars for our 50VDC and 12VDC circuits and ordered 19mm by 12mm bars, 27 lengths of 4metres each. Lastly, we got a length of 50mm by 25mm T shape aluminium piece for making end caps on all the rafters to both hold up the glazing panes and seal off the ends of the rafter glazing bars too.
    Finally, we finished off the day by going out with our pile of the battens we created last week and glued and nailed them to the rafters. We used an aluminium guide bar we had lying around to provide a straight edge to make sure our battens were flat (ready to have the triple glazing unit to press up flat) and then glued with PVA and then fired a half dozen brad nails to hold while the glue dried.
    Tomorrow, we will finish off the two ends with the diagonals and then start working on the next series of batten but this time, they are angled shaped pieces that go up on the ridge beam and down on the rim edges.

  • Analysis, Calculations, Ordering and Plan B!

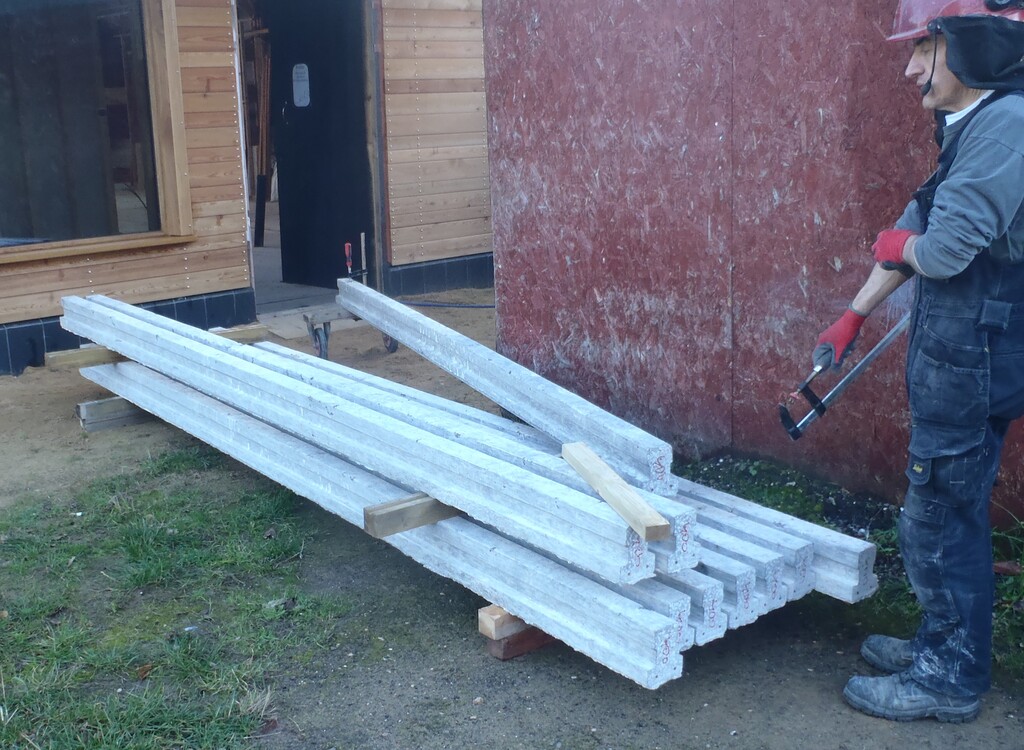
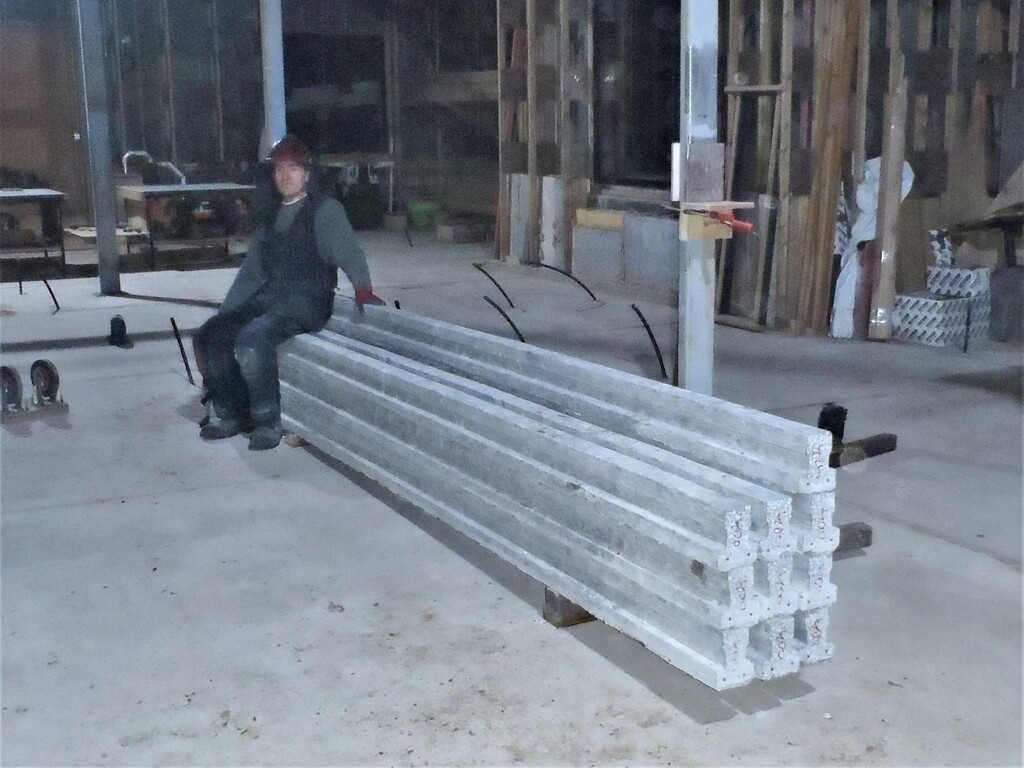
    Yesterday, we have been doing the final calculations of how much aluminium glazing bars we will need to do our Skylight and fix all our pieces of glazing units we got up there. it comes to a total of nine 3m plus a further five 4.8m lengths of the standard rafter bars and a collection of the ridge bars, four various lengths from 3m to 4.8m. This design of this glazing system has a nice completely covering white anodised aluminium cap to deflect all the rain from entering any of the screw holes and reduces the chance of rain getting into the inner workings. They cost about £750 and should be here in a week or so.
    Then we carried on with the analysis of the Skylight ‘hole’ in the roof, trying to understand how it is situated and finally we got a handle on it at last. The rest of the day was spent on adjusting our ‘work table’ to reflect the reality, making a kink at the mid-point and skewing one end.
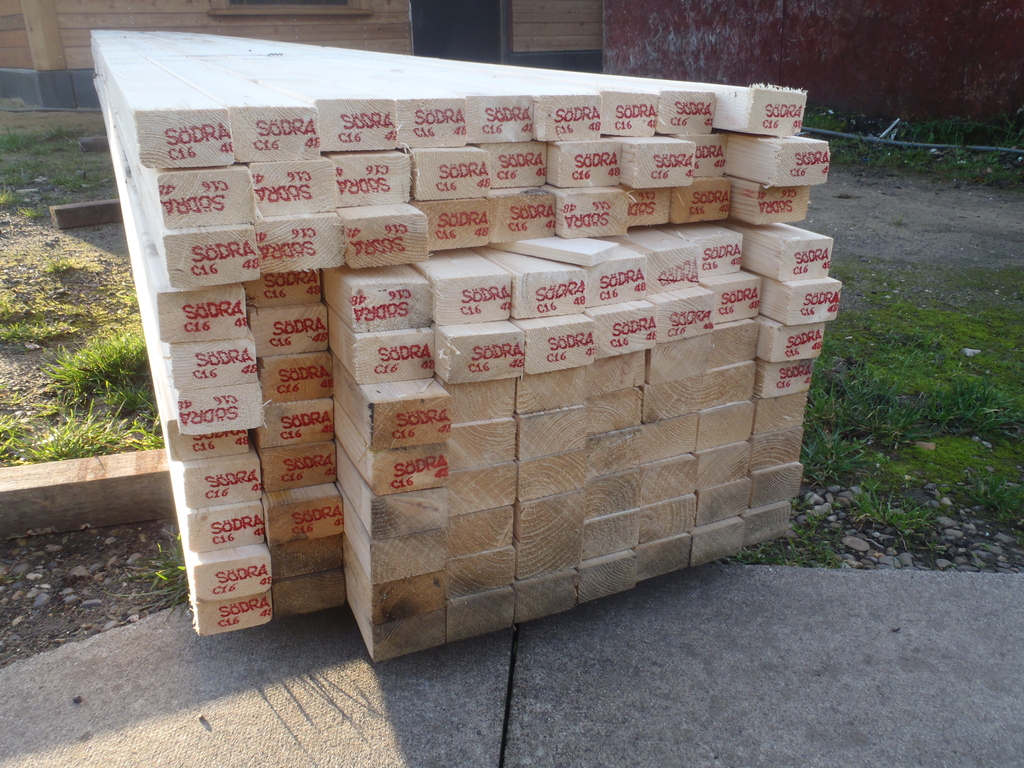
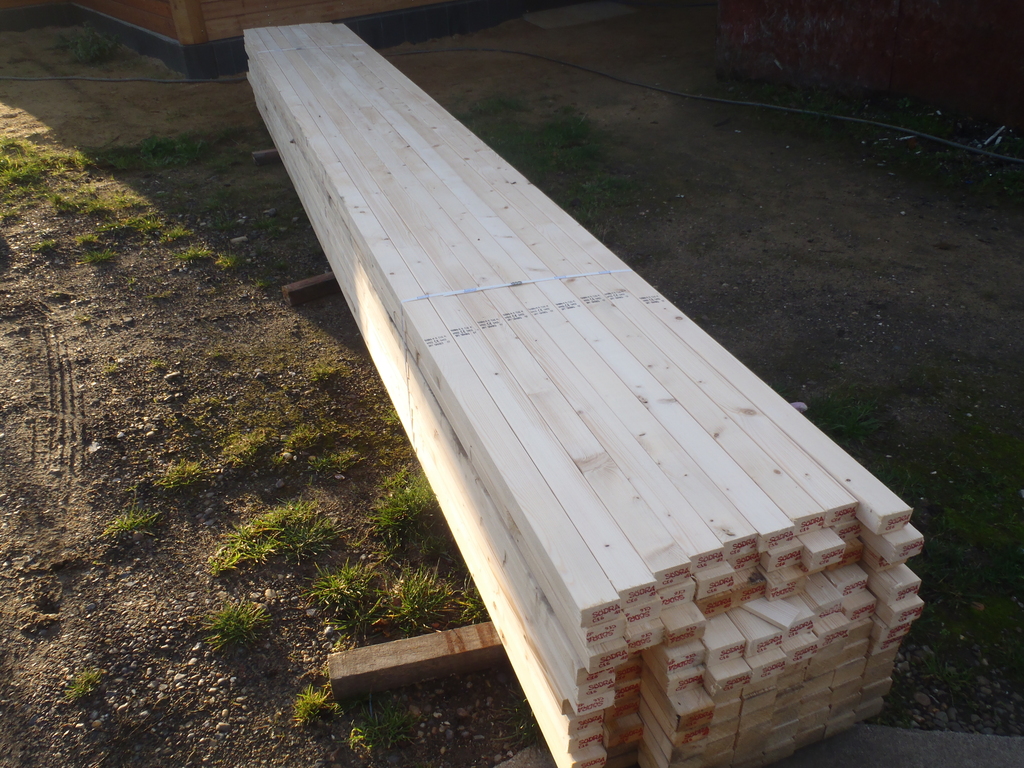
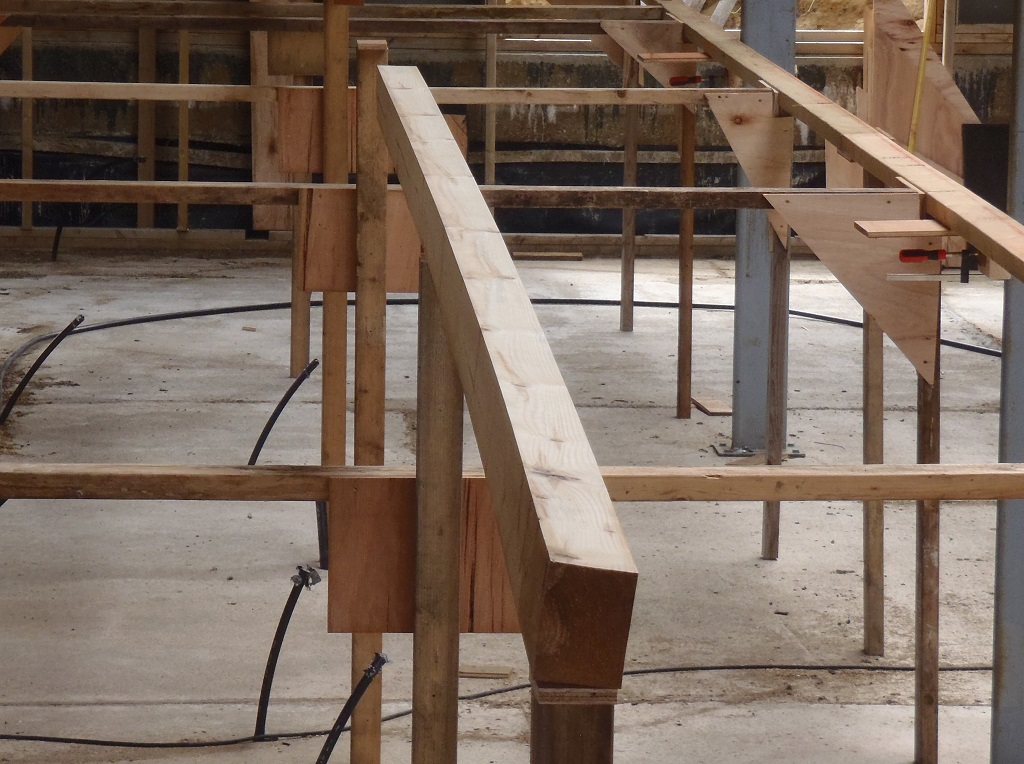
    Today, we levelled off the two long sides to avoid too many ‘up and down’ wobbles and then put up five Ridge posts ready to support the main central ridge beam. Just before lunch, we pulled out from our timber stockpile, the three pieces of timber (70mm thick and 93mm high – approximately 4inch by 3inch) we bought for the job .. but only to discover that two of them have warped badly, twisting down the length and bowing sideways too. Plus also, these planks have been cut from the middle of the tree and the tight rings have also buckled and distorted what was once a flat surface! O boy! We spent the afternoon analysing and talking about how we can cope with this, how to correct it if possible, bearing in mind that they are heavy and thick planks of timber. We were not confident that we could correct the twisting nature but what really stopped us, was the bulging grain (the rings) in the timber along the height of the wood and even though we could plane it using our planer machine, we were not sure whether it would just carry on distorting and twisting even more after we have made our Skylight module.

    Analysis, Calculations, Ordering and Plan B!

    Wonky-wood


    We decided that we couldn’t take the risk and went to investigate the availability of LVL timber, how long it would take to order and how much too. We would buy 78mm thick by 220mm high and about 7metres long but the first quote we got was a price of £120 for the timber and £95 for the delivery!! Eek! Ouch!
    It then occurred to us that we could make our own ridge beam by using three layers of 63mm wide CLS timber, planing down the thickness (to remove the rounded edges), stack them up on top of each other, overlapping the joints, removing any bad knots and gluing it all together and .. hey presto .. we would end up with our required Ridge Beam measuring 63mm wide by 105mm high! We will tackle that job tomorrow! And it would only cost about £40 in total for the timber and probably about £10 for the glue and it would only take about a day to do the work! So Much Cheaper, and much more satisfying! Phew!