Category: Phase 1

  • Garden Room floor Sanded!

    Today we hired an industrial floor sanding machine. The sanding system is a drum about 250mm (10inches) wide and the heavy weight of the sander really made quick work of rubbing the whole floor!

    We returned the machine in less than 3 hours!

    The final sanding around the edges was done using our little baby belt sander!

    GR sanded floor

    GR sanded floor

    GR sanded floor

    GR sanded floor

    The floor now is clean of plaster dust, paint and dirt. It is ready for the laminated floor files and the glue!

    We have already done a small test of the glue a couple of days ago and the piece of the laminated file is really stuck down! Very nice.

  • Windows – Oak Frames

    We have started sorting out the planks of Oak and selecting the best ones to do the frames in the windows.

    The four back windows are very similar in size and style so we decided to start with them. We have selected sixteen pieces in two groups of sizes (one for the vertical and one for the horizontal). All these pieces are now planed.

    We are using a thickener machine which is designed to plane planks with parallel surfaces but we have discovered that our machine is not absolutely flat! We will see how these pieces turn out in practice and see the finished results before doing something about the machine like get a new one!

    But first we have to wait for the rain to stop and the glass (double glazing units) to arrive!

  • Hot Water Tank installed

    We have the hot water tank installed! It was a tight fit in the corner and in hindsight the design of the walls in that corner, should have allowed for a deeper cupboard by moving the windows along a bit.

    All the pipes going up and down are in around the tank including the copper pipes for the solar panels (copper pipes is used as the pressure and temperature in a solar heating system can be higher and plastic pipes are not rated).

    The tank is surrounded by another 50mm thick of PU foam to maximise the energy efficiency while the water is heated up by the Sun.

    GR Hot water tank

    GR Hot water tank


    GR Hot water tank

    GR Hot water tank

  • Hot Water!

    We continue to route and connect pipes together in and around the hot water tank corner. We made a drain valve connection with a piece of hose pipe and sealed it into the waste pipe. And also along side this hose pipe is a duplicate one which goes off to the heat exchanger to drain away any condensation collected inside the air conditioning system.

    We discovered that the motorised 3-way valve is very simple and doesn?t do what we want. We need a proper diverter to change the flow of water from one output to the other output 100%. The one we bought (costing over £70!) only shut off one output on demand but never shuts off the second output therefore the water will flow out of both outputs. We got our money back!

    The final little task today was to put a kink into two copper pipes to allow them to travel up the side of the hot tank and avoid each other! The high temperature insulation was wrapped on.

  • Hot Water!

    We started laying in the various water pipes in and around the hot water tank. It is quite a tight space to route all the pipes like for example the Mains Water pipe across into and up the corner to the roof ready to go outside to the header tank, as well as the rain tank pipe to the same place. Then other pipes have to come down from the roof to connect to the hot tank and beyond to sinks and cisterns. It is quite a jigsaw of pipes!

  • Garden Room Floor!

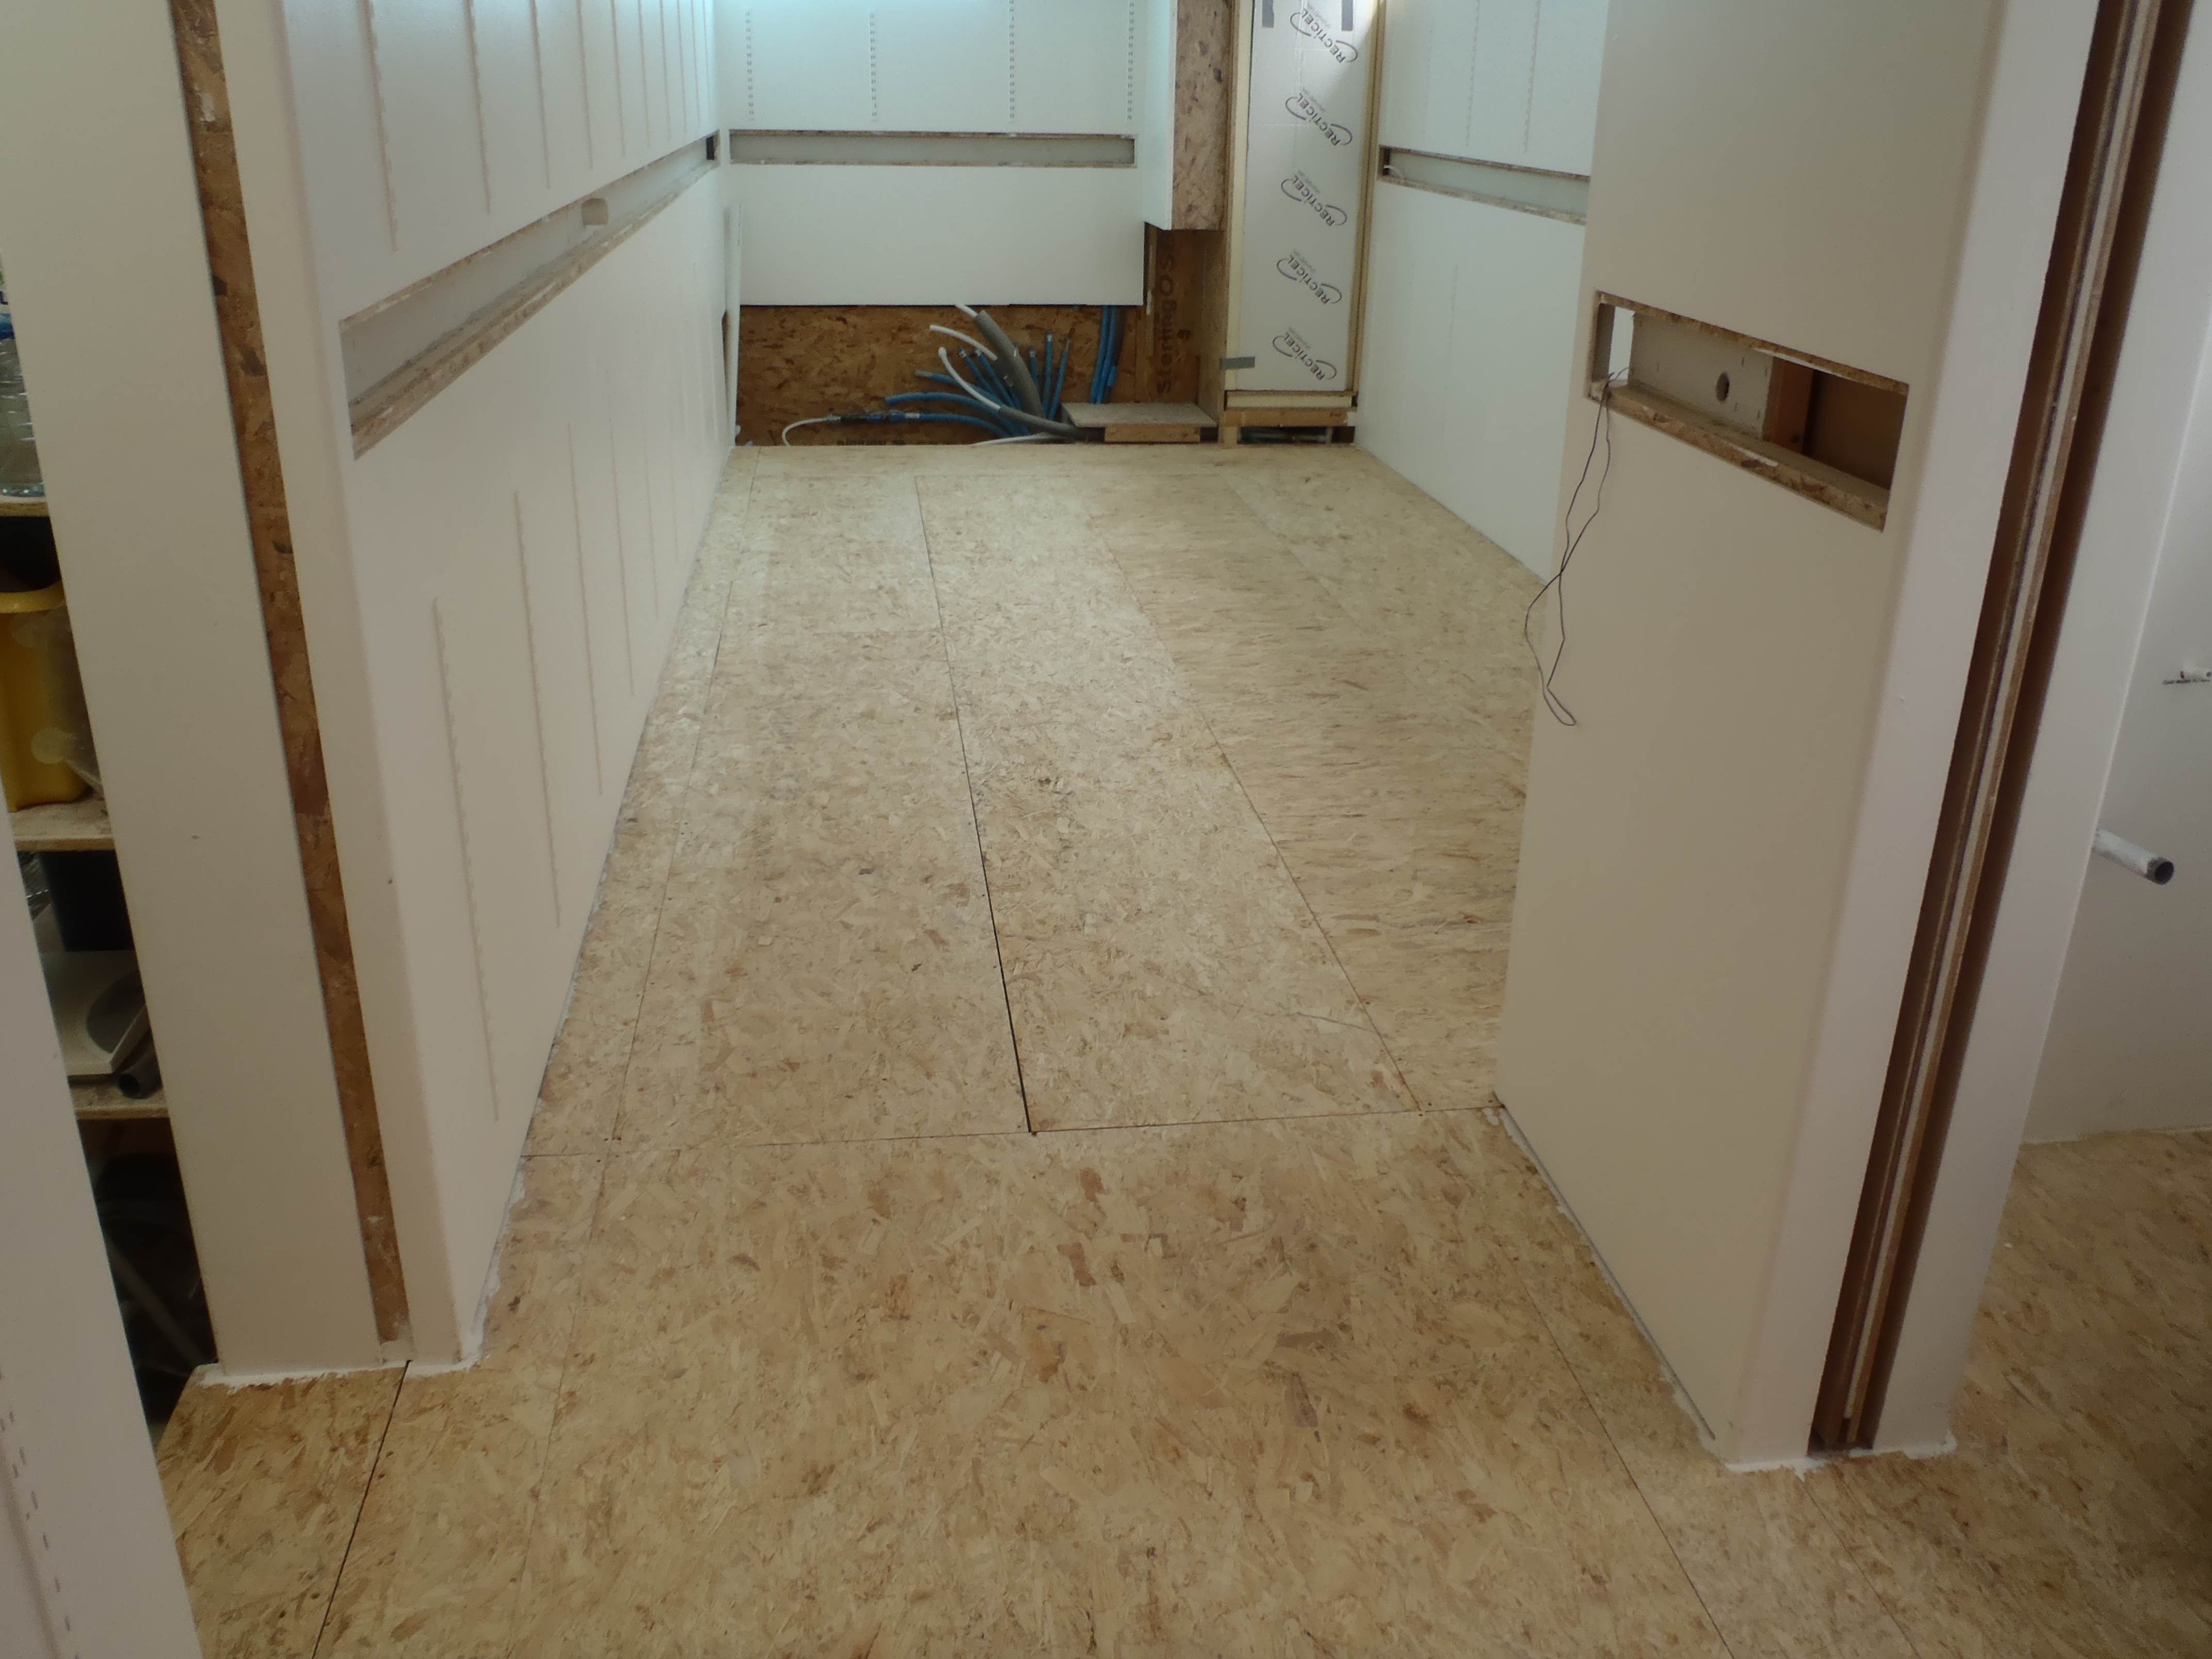
    Yesterday we finished the last piece of work needed to be done on the floor in the Garden Room. The central section where the Earth Tubes comes up out of the ground, is channelled under the false floor and we decided to change, slightly, the arrangement of the panels. Instead of 4 square panels, we sliced them in half and joined one long strip together and permanently screw it down. The other strip is where the Earth Tubes are accessible so we replaced this strip with two 8feet long pieces and glue the two together. This will be our removable covers to allow maintenance of the Earth tubes.

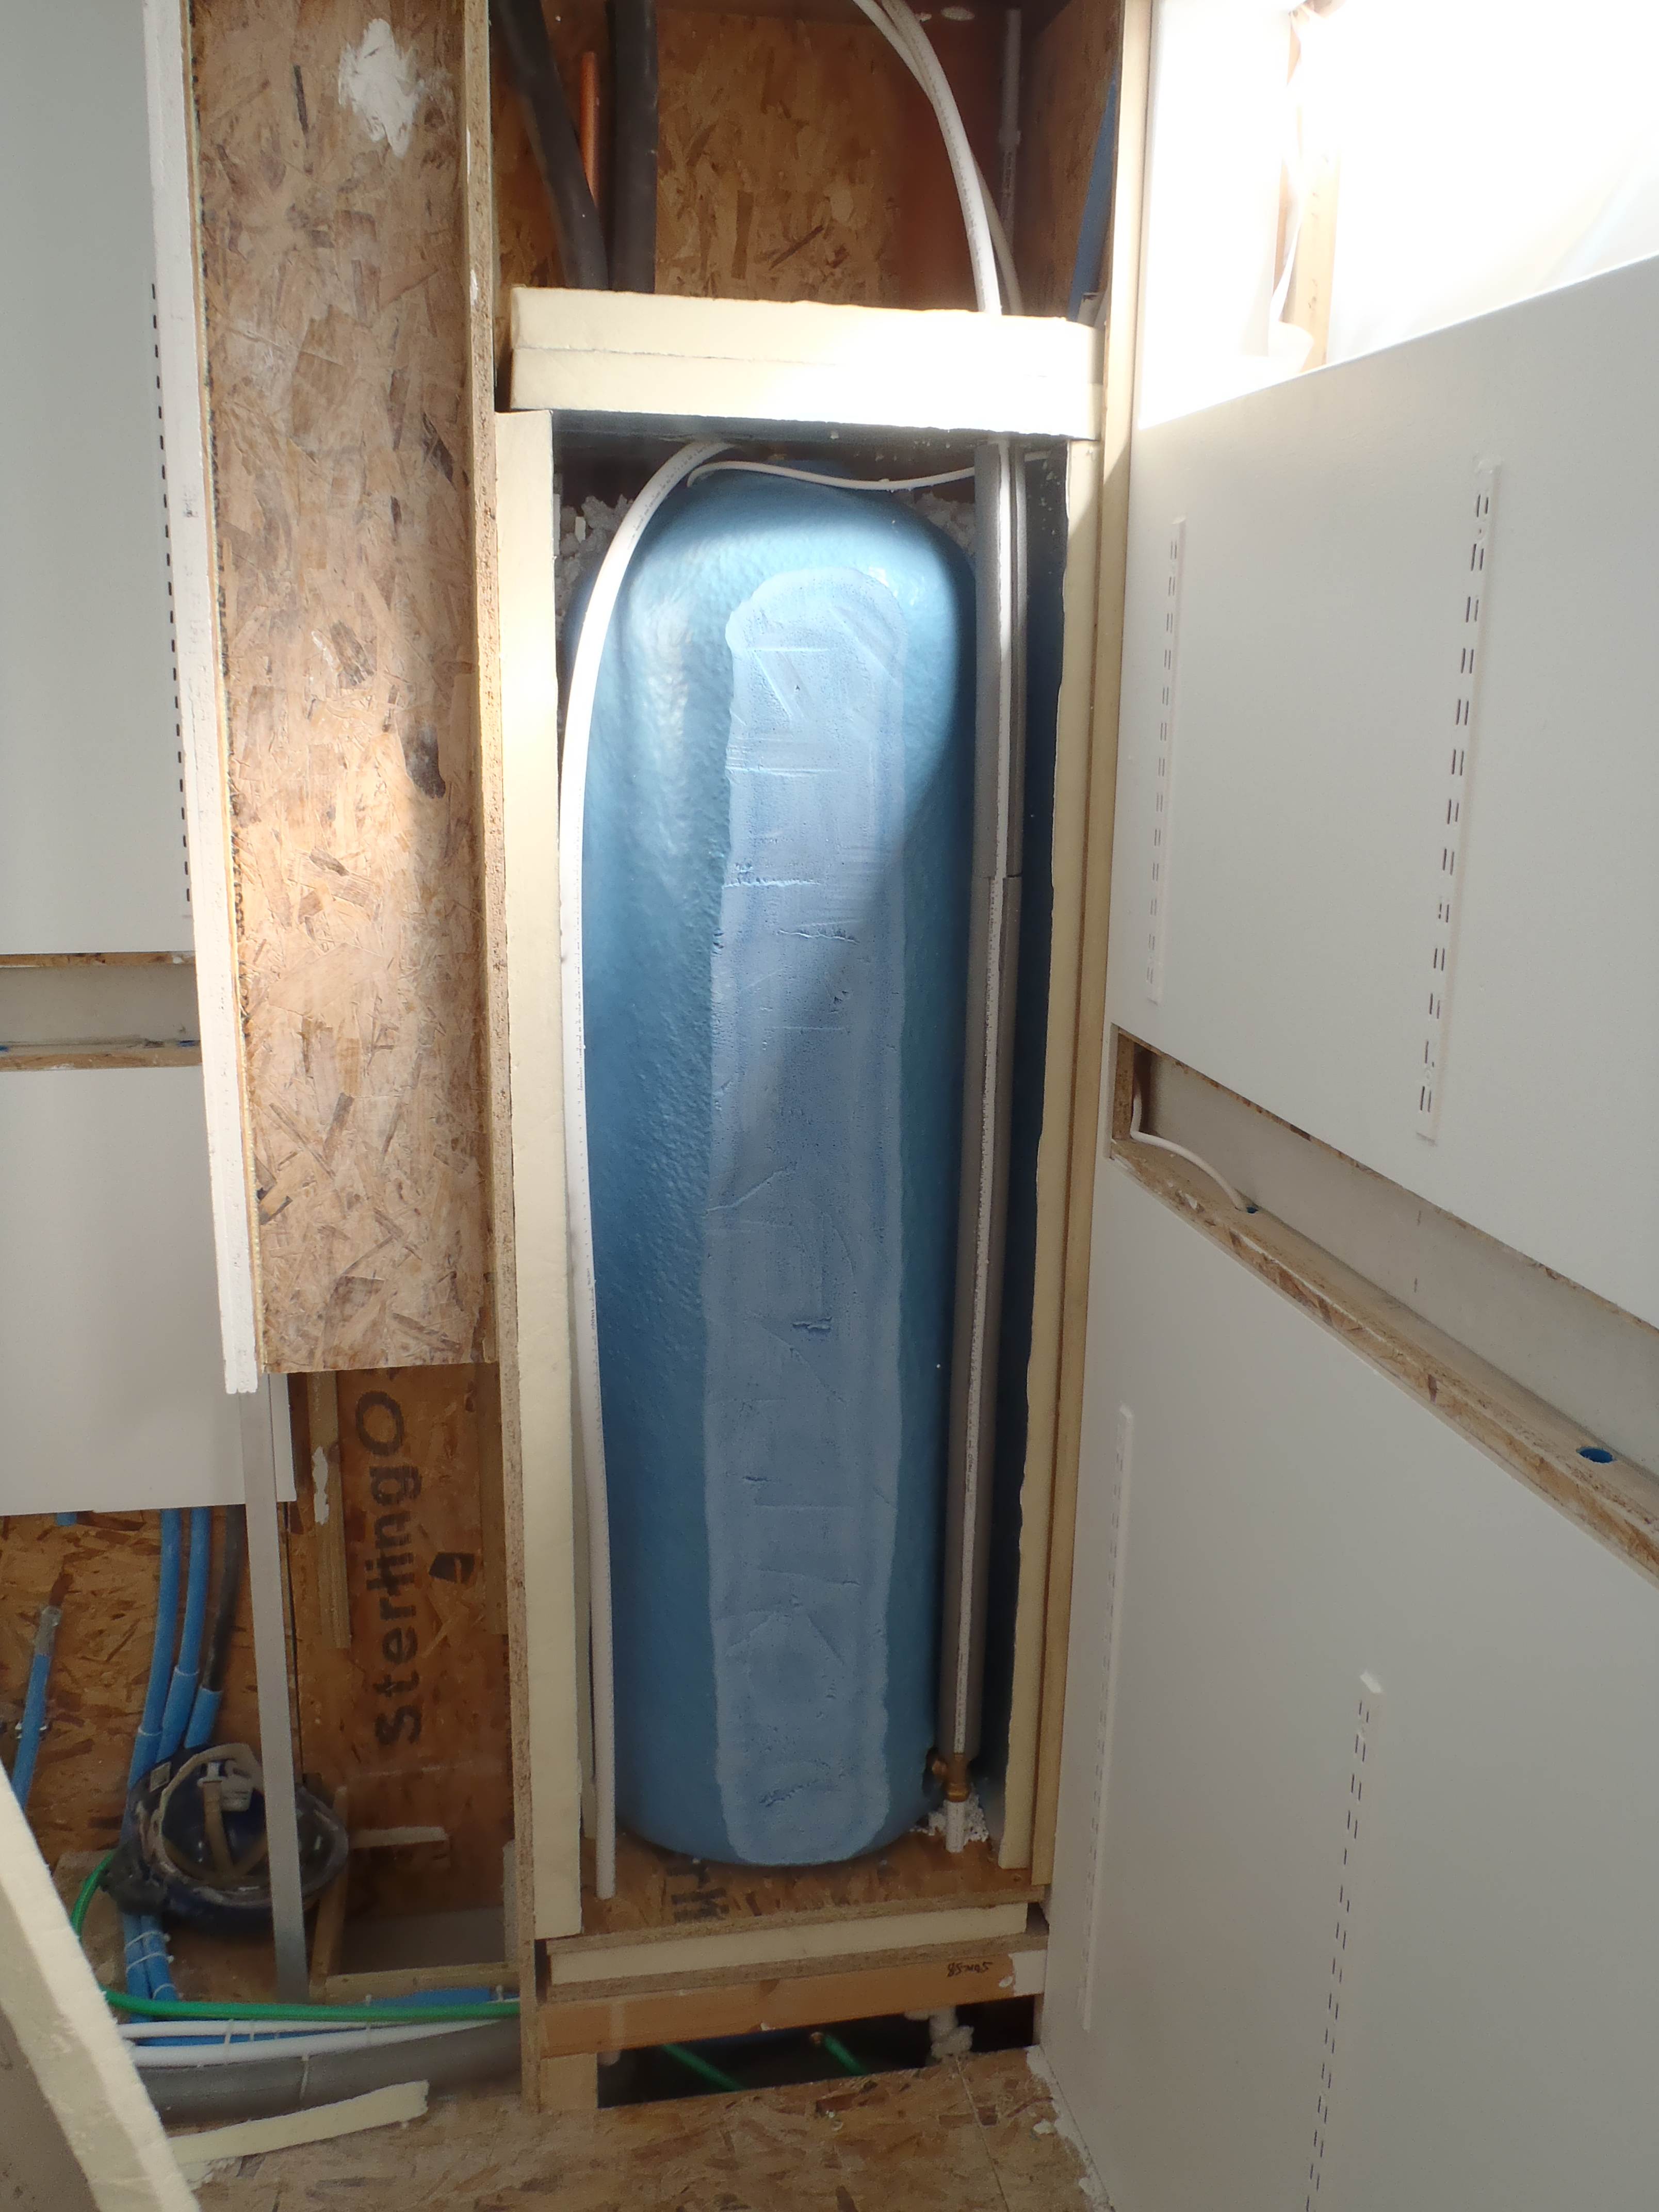
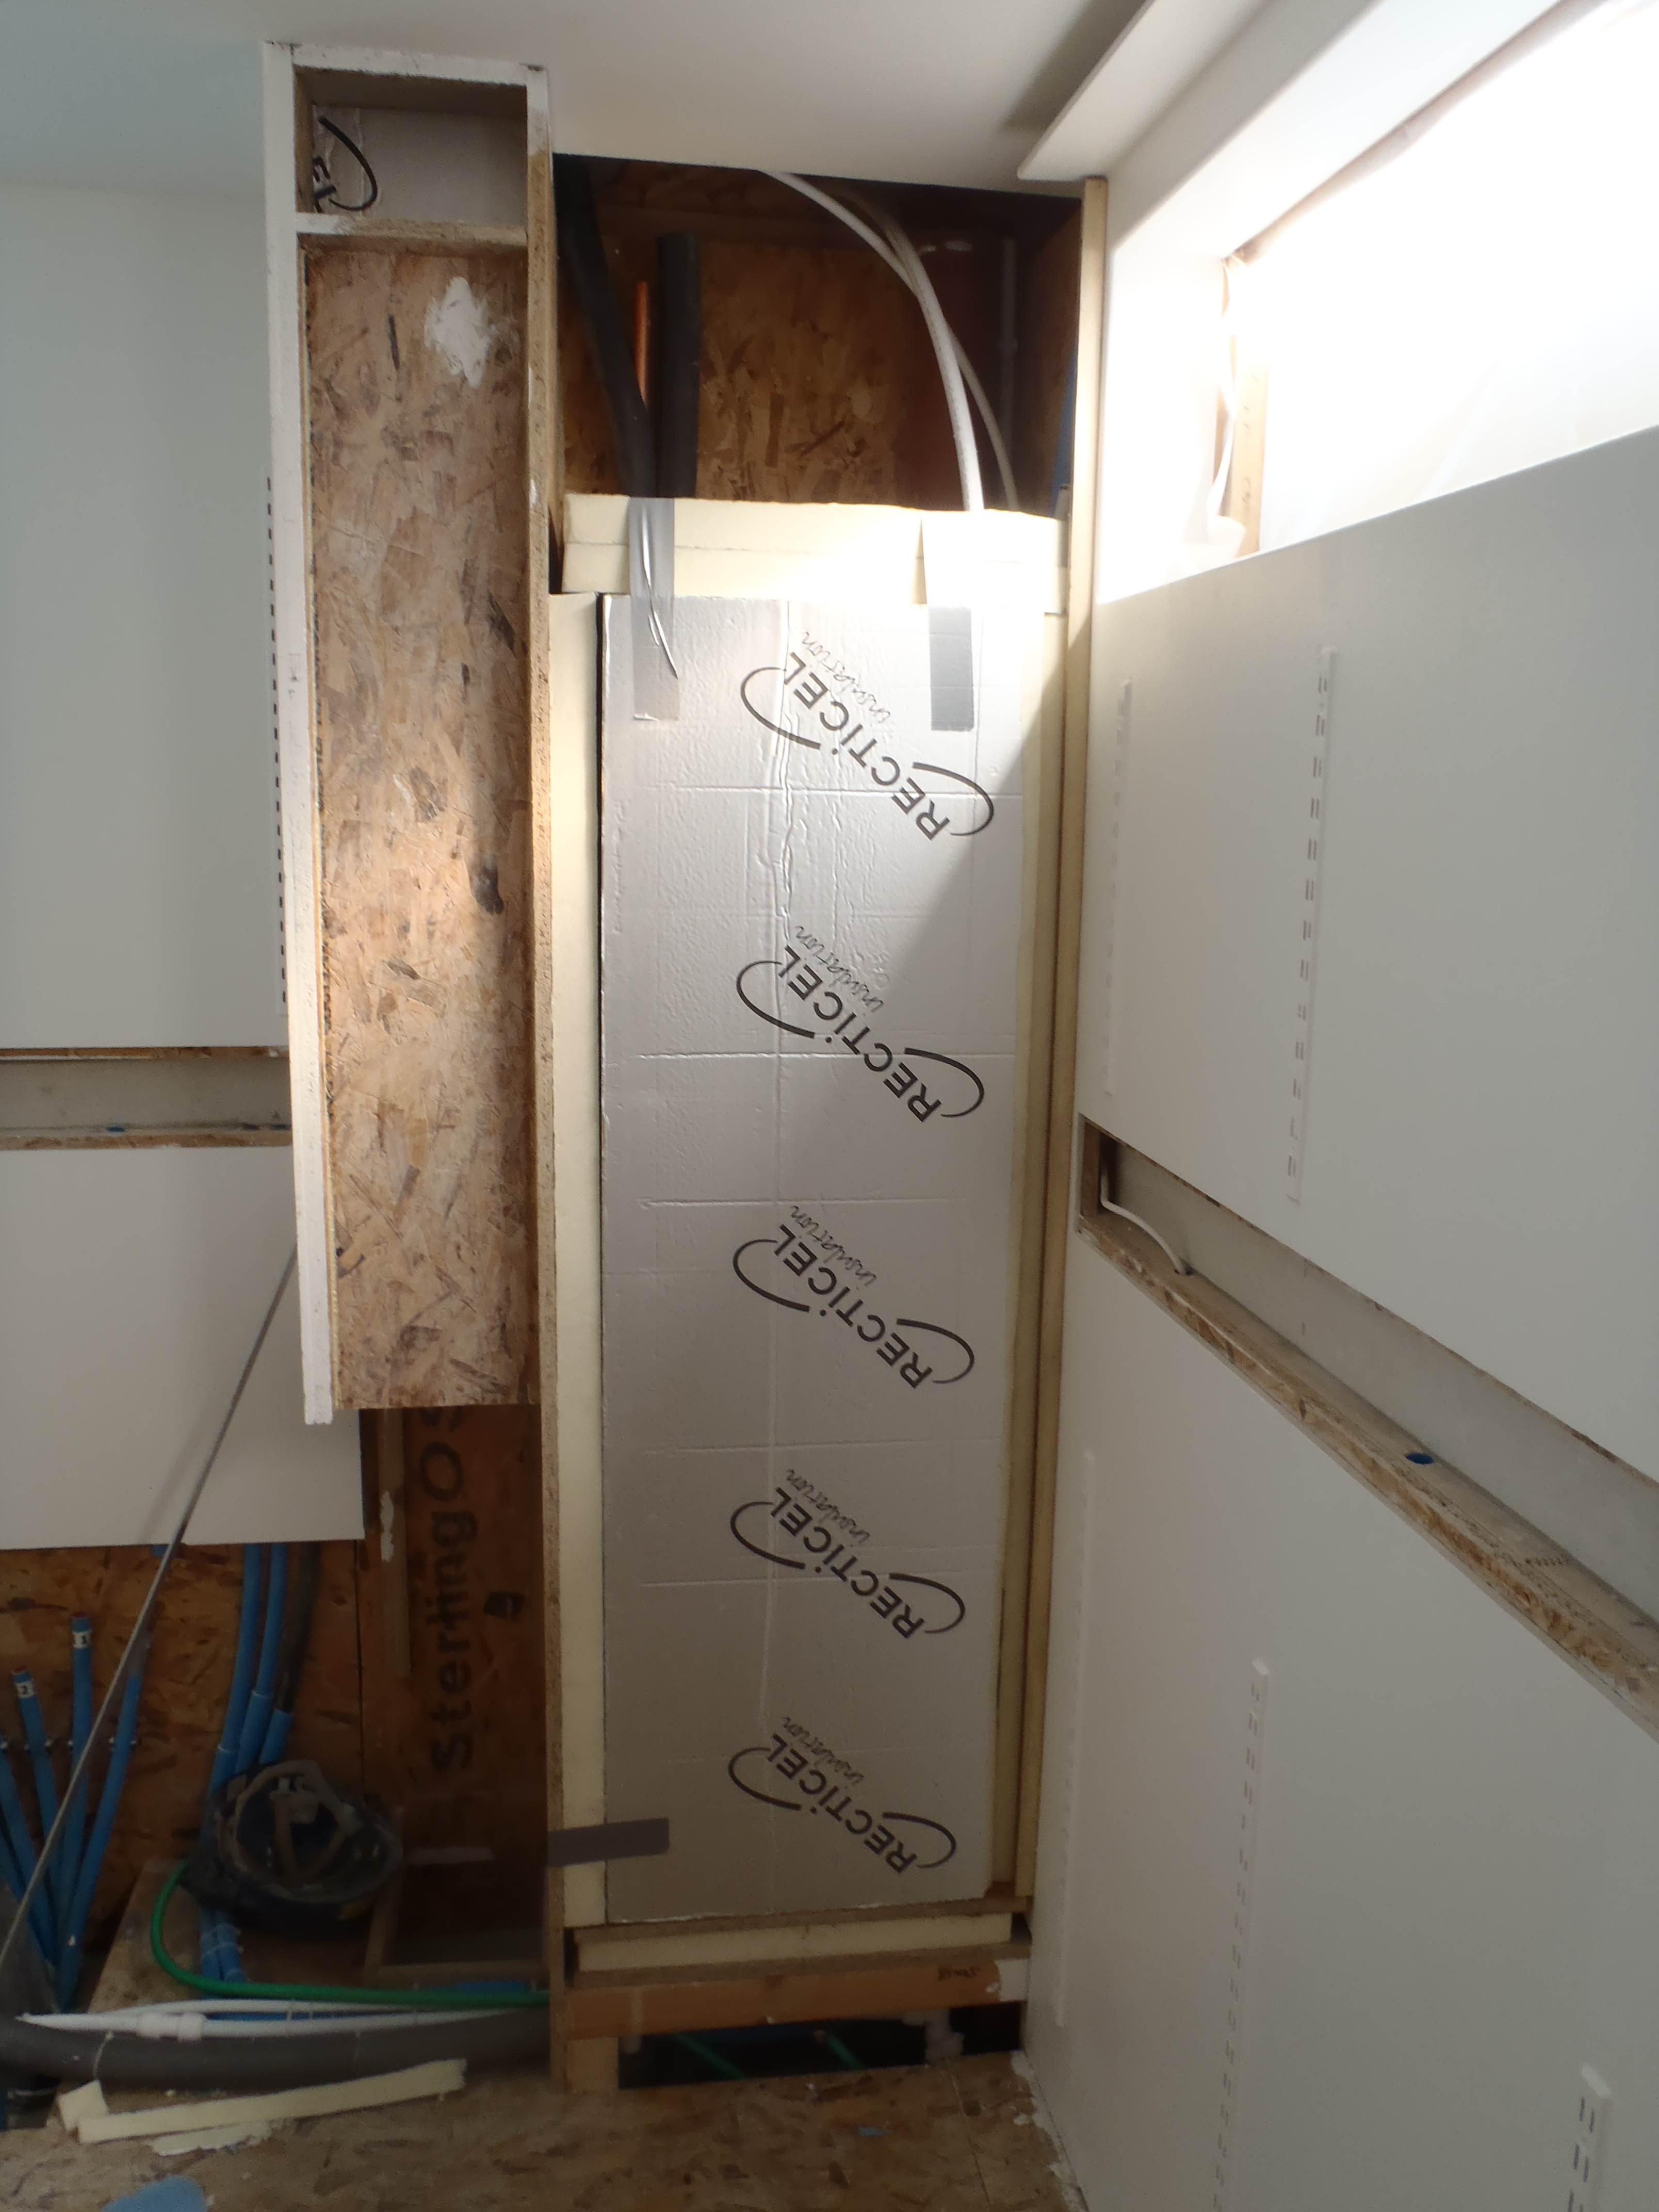
    The last job was to install the 50mm thick PU foam to insulate the Garden Room against any effect of the air being drawn from outside and down to the Earth tubes. The outside air temperature may be at a higher or lower level and could affect the comfort zone.

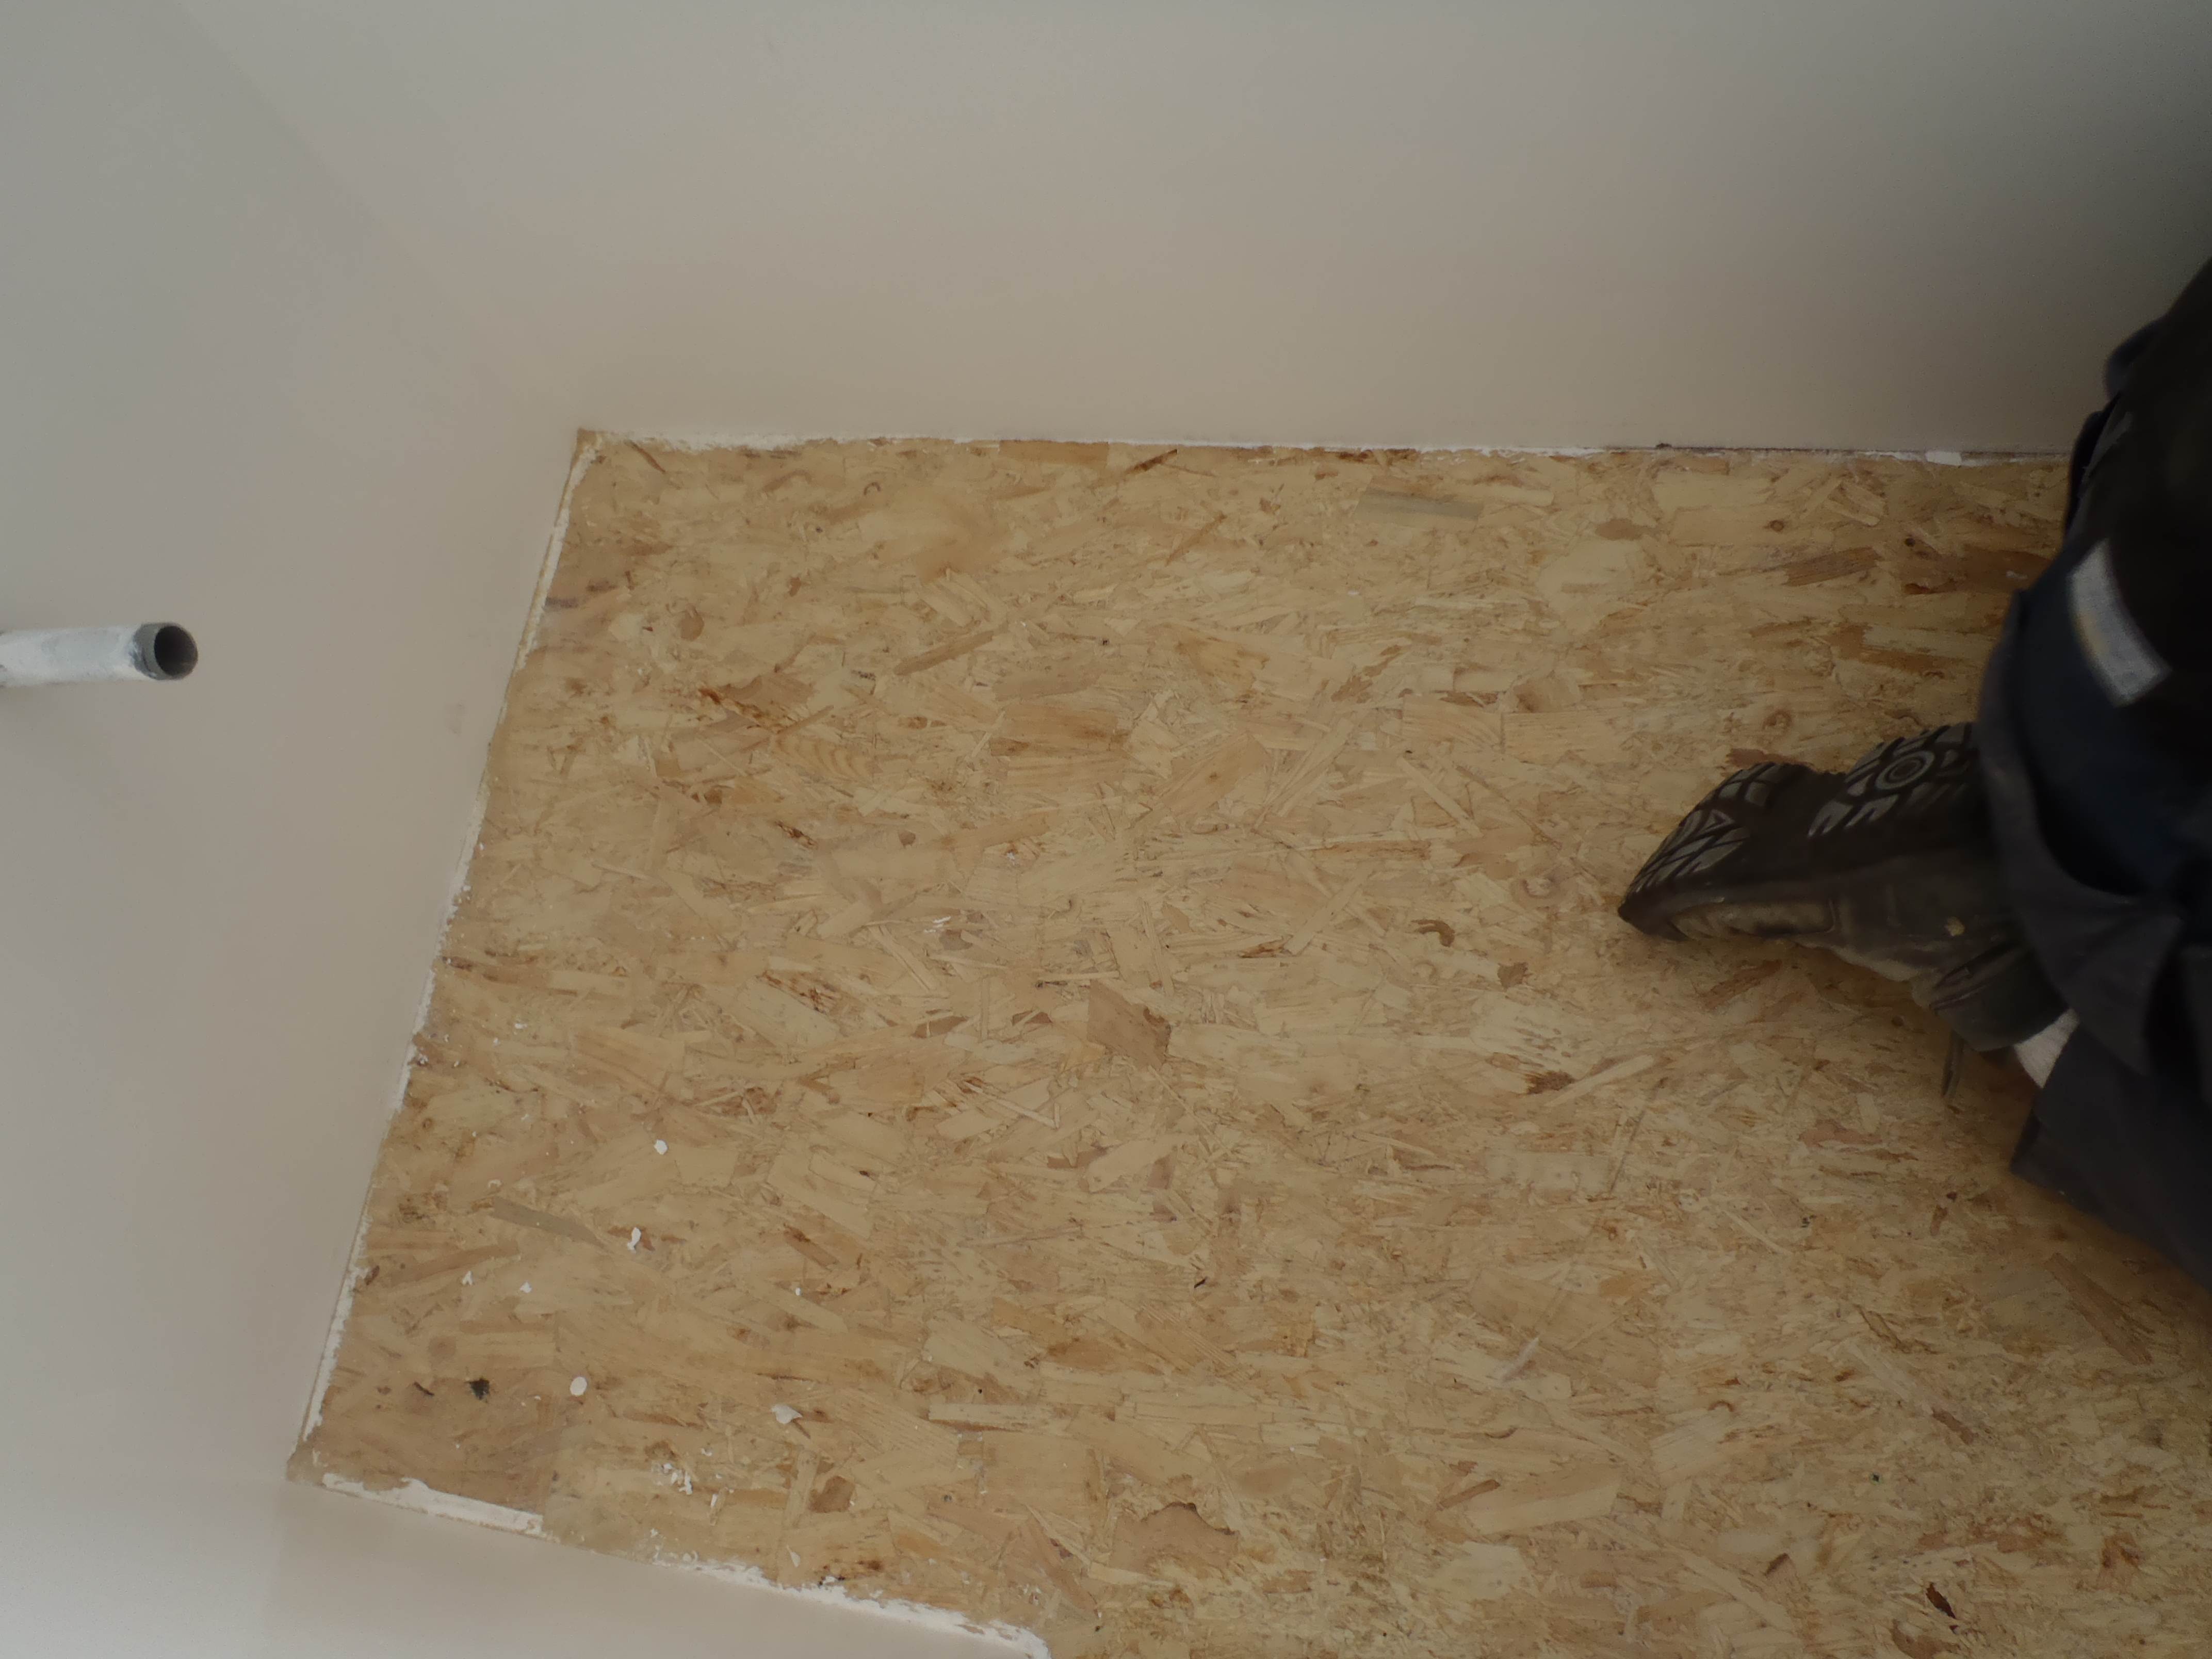
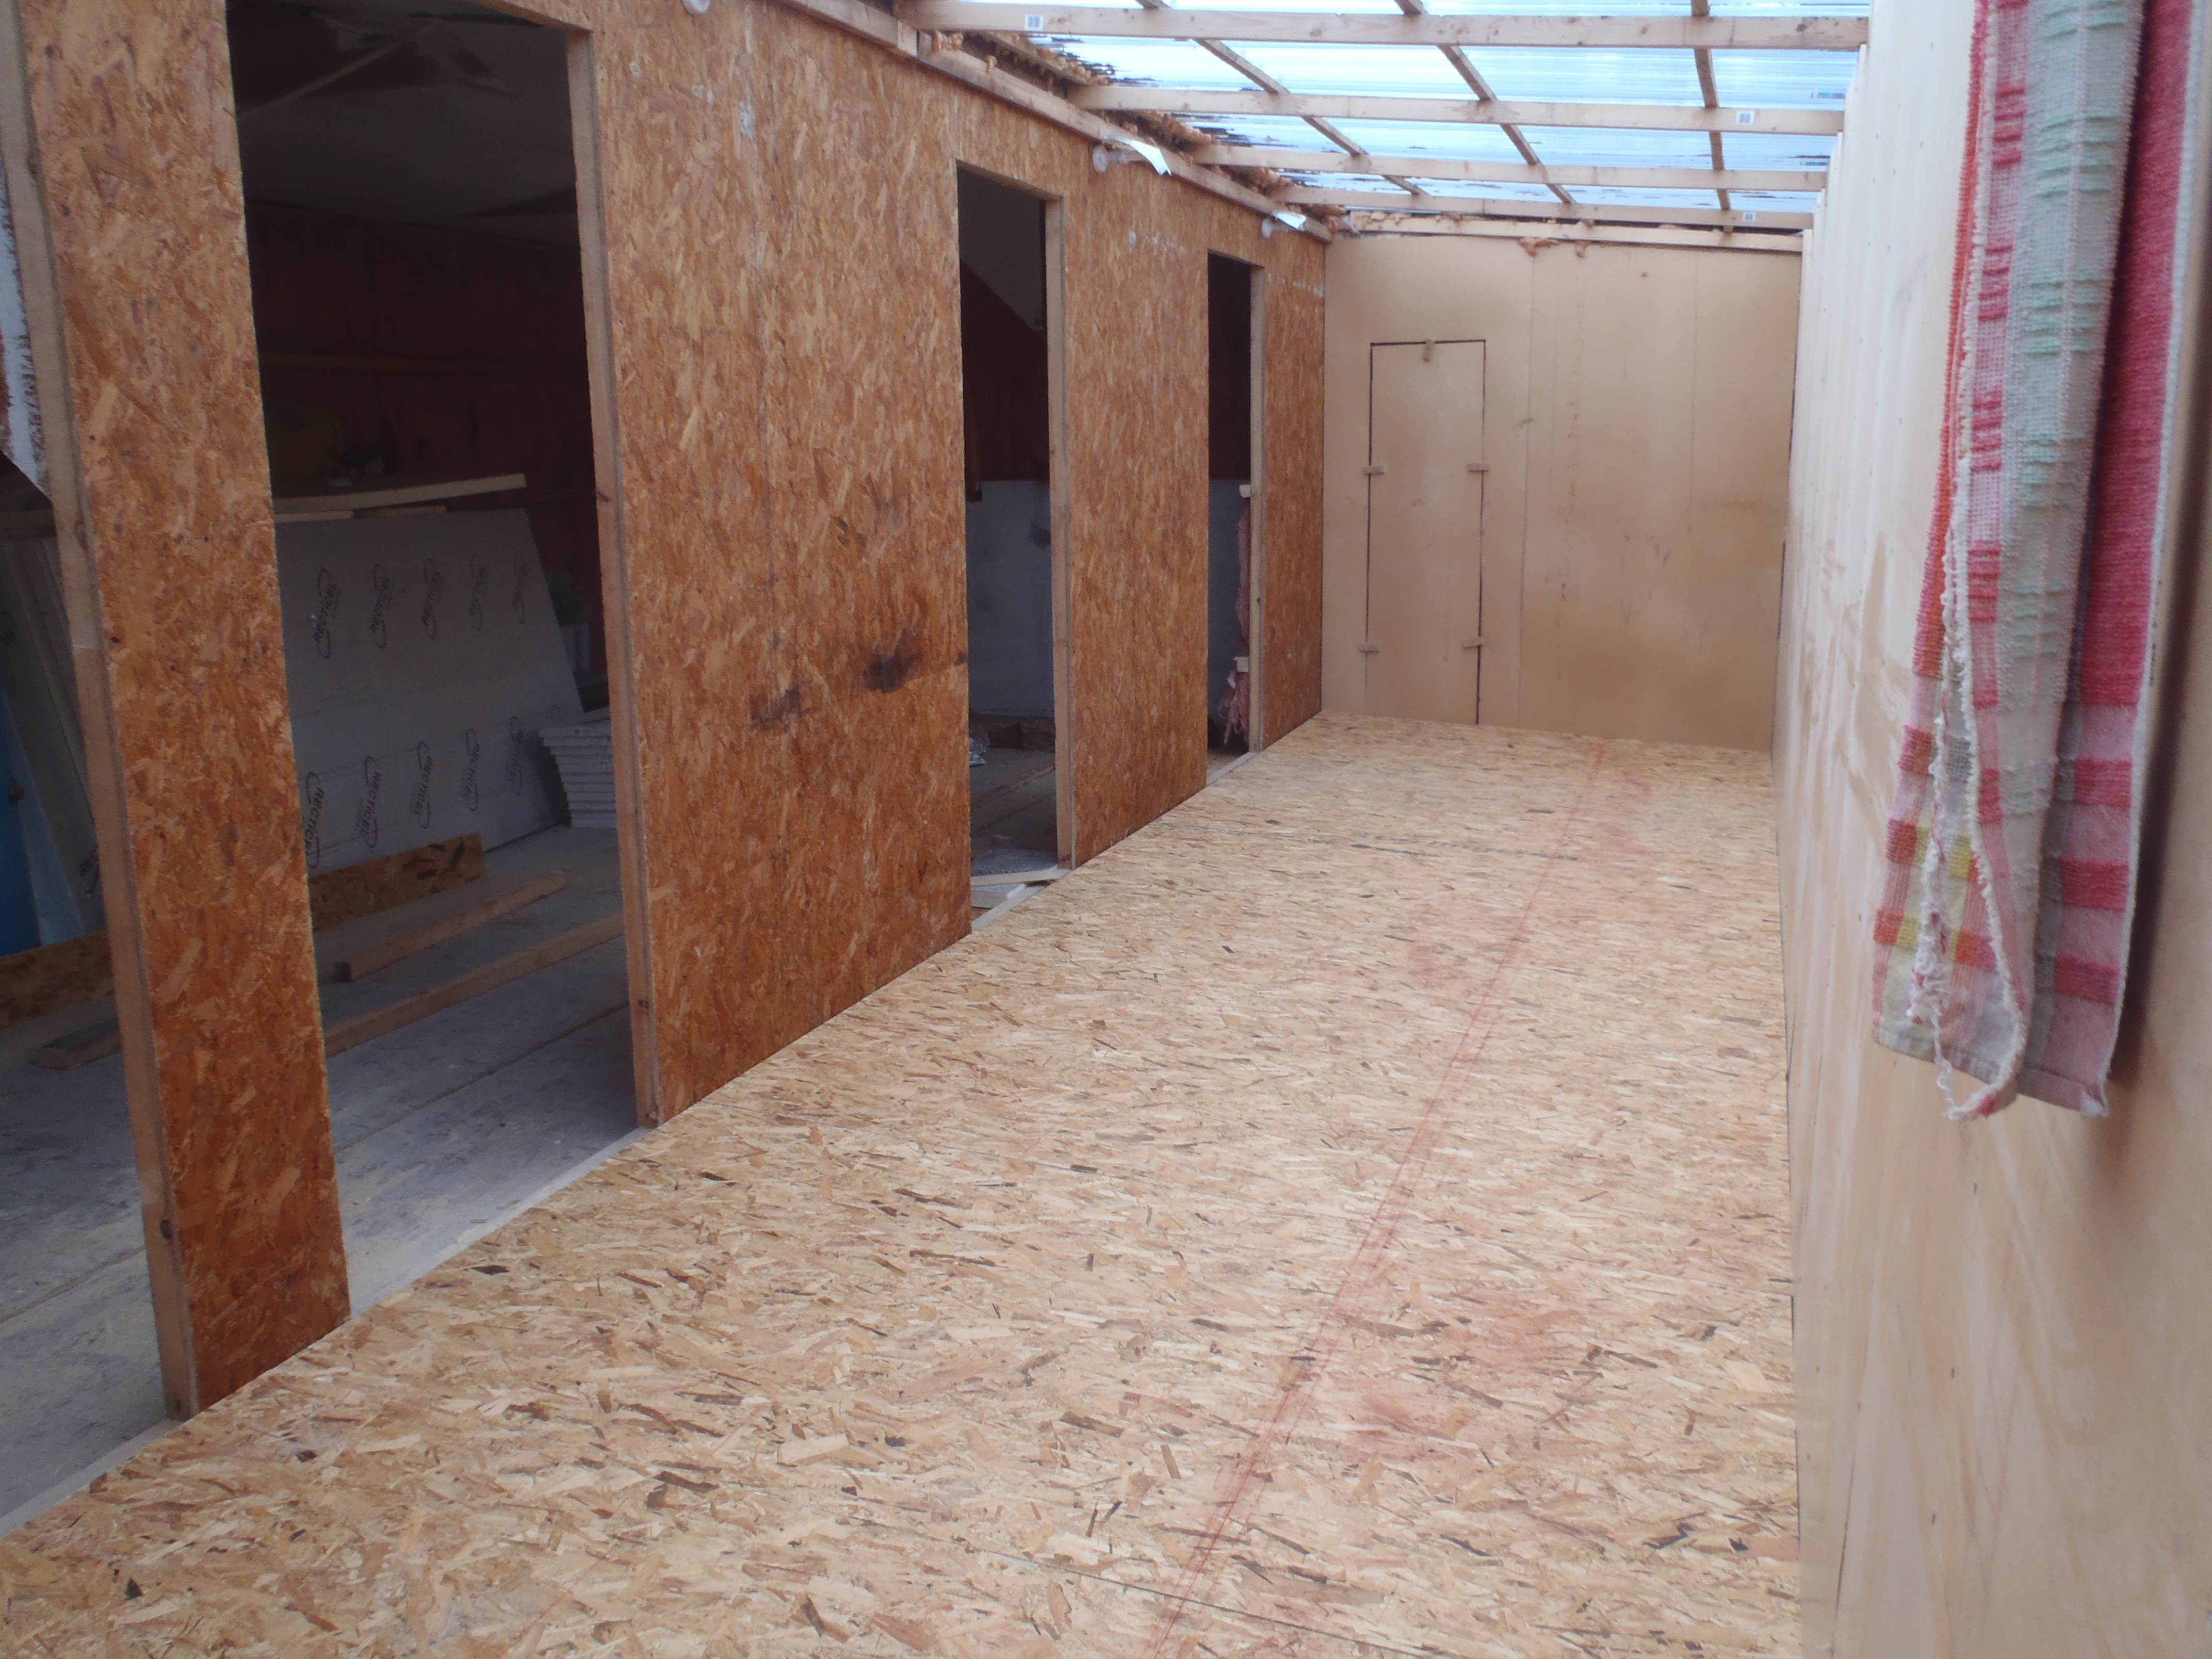
    Today we smoothed the whole floor to remove any major differences in the levels of the boards. Not all the pieces we put down could be Tongue&Grooved so with the variability of the thickness of the OSB sheets, we had to plane and surf-form the edges to reduce the sharpness, in readiness for the installation of the laminate floor tiles. We will hire a large industrial belt sander to clean the surface of any remaining unwanted artefacts! Then we will wash it and start the laying process in a few days time.

  • Garden Room Paint Everywhere!

    Our Garden Room, over the last three days, have been painted with various layers of white emulsion. The bottom (first) coat was using a cheap B&Q matt emulsion as the primer. Then yesterday and today the ceiling had two coats of Absolute White from Dulux and the walls had one coat of Dulux Brilliant Matt White. Tomorrow these walls will have their final Dulux Vinyl Silk Brilliant White coat.

    GR - Mostly painted

    GR – Mostly painted


    GR - Mostly painted

    GR – Mostly painted

    The WC had a slightly different treatment. First of all, we applied a fine surface paste supplied by Fermacell, designed to fill in the micro pits in the surface of the Fermacell boards. We then gently rubbed down the surfaces using 300grit sandpaper which gave us a smooth finish. Then we painted the same B&Q white emulsion but using a pad instead of a roller for a smoother finish. Again the surface was gently sanded to produce a nicely smooth finish. Yesterday and today we put on two coats of a special Dulux DiamondHard Moisture Resistance White emulsion which offers a much tougher surface, up to 10 times harder than standard emulsion. We will put on one more coat tomorrow.

    GR - Mostly painted

    GR – Mostly painted

    The ceiling has come out very well indeed. Our second attempt at putting up the ceiling using Fermacell panels but this time, we tongue and grooved the edges to align the joints and it worked!

    GR - Mostly painted

    GR – Mostly painted

  • New Floor is Laid

    The Sun Corridor now has a new floor!

    In order to make as much of the space useable as possible for each of our rooms, we brought up the level of the floor. The only compromise we decided on is a gentle slope down towards the front door to minimise the step up when anyone comes in via the front door.

    It was a fairly simple construction of 4 lines of CLS timber (38mm x 63mm) supported by little legs every metre.

    Corridor supports

    Corridor supports


    Corridor supports

    Corridor supports

    Then 8 sheets of 18mm OSB boards laid on top. The gap inside was filled up with recycled glass wool bits and pieces to provide a little insulation.

    Corridor floor down

    Corridor floor down


    Corridor floor down

    Corridor floor down

  • Preparations of our Temporary Living Quarters

    we had to change our priorities just a little bit and started the preparations for making our temporary living quarters. We cleared all the remaining bits and pieces from the Sun Corridor which was baking hot today! We also dismantled the large old shelf down the bottom of the storage shed, and finally cut three doorways into the wall between the Sun Corridor and the storage shed.

  • Clean Up!

    We spent the morning cleaning the whole garage, vacuuming all the floors, walls and windows. We are getting ready for the painting task.