Category: Phase 1

  • Garden Room – All Holes Are Filled, at Last!

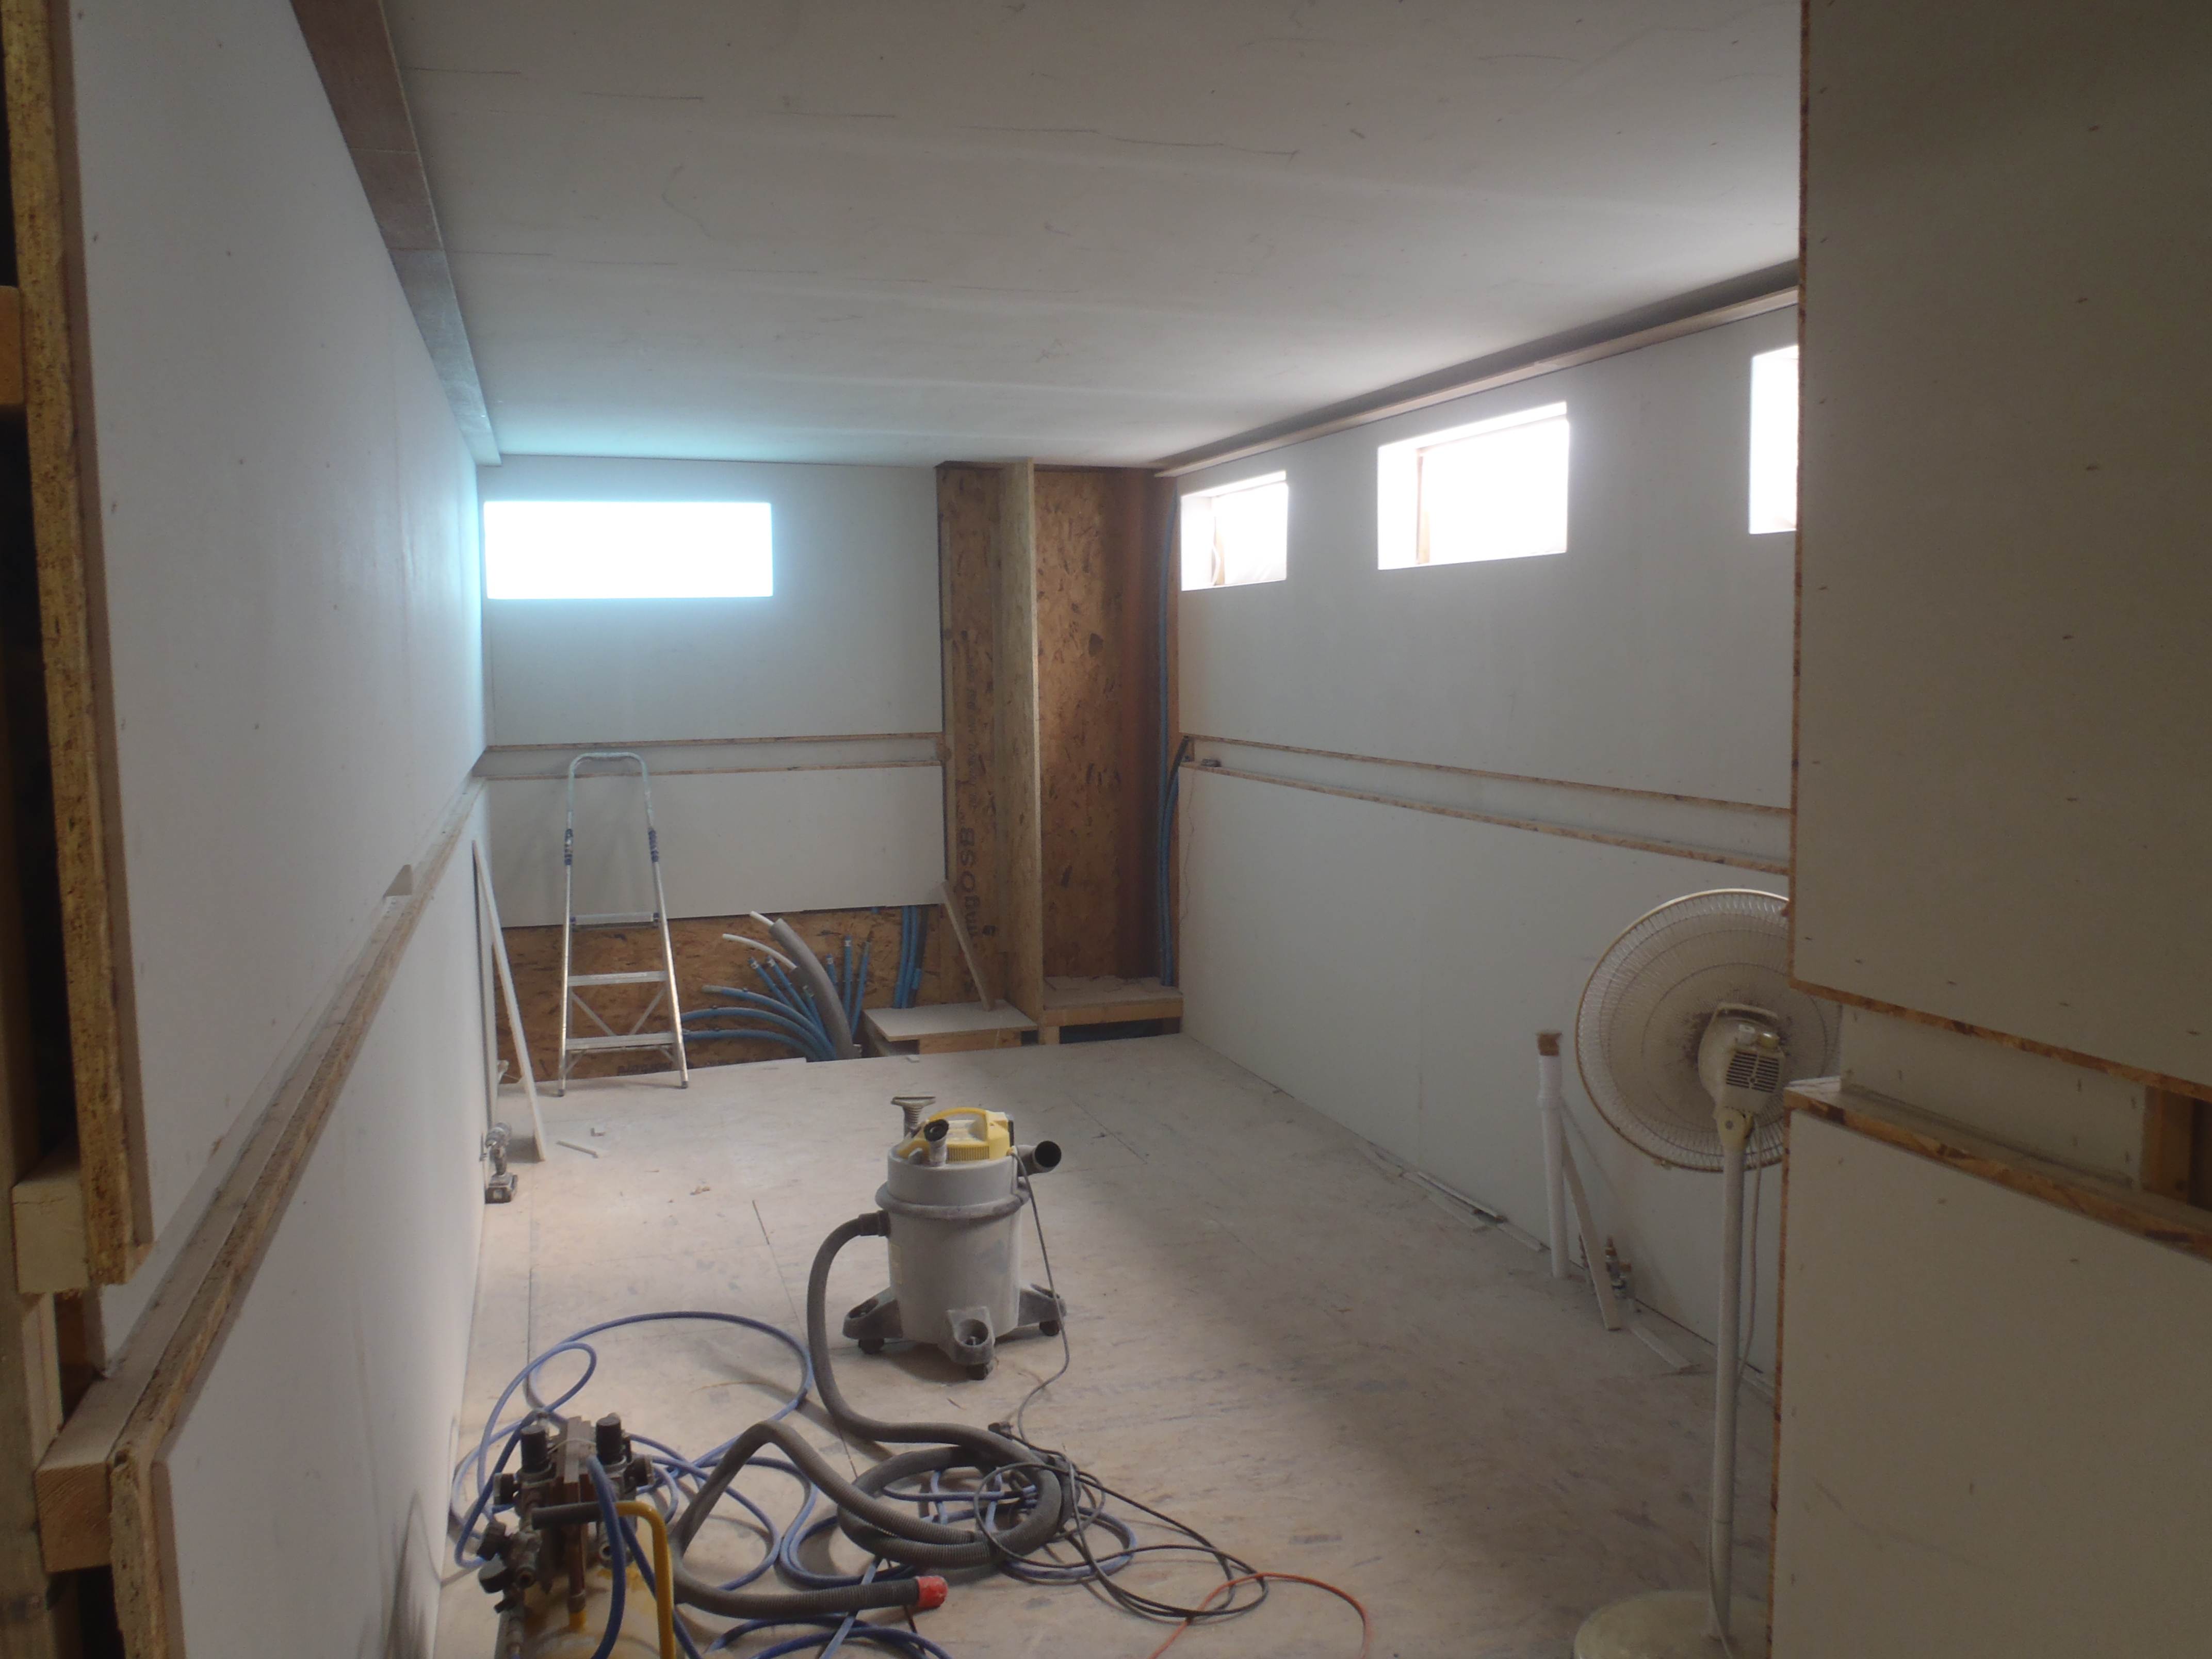
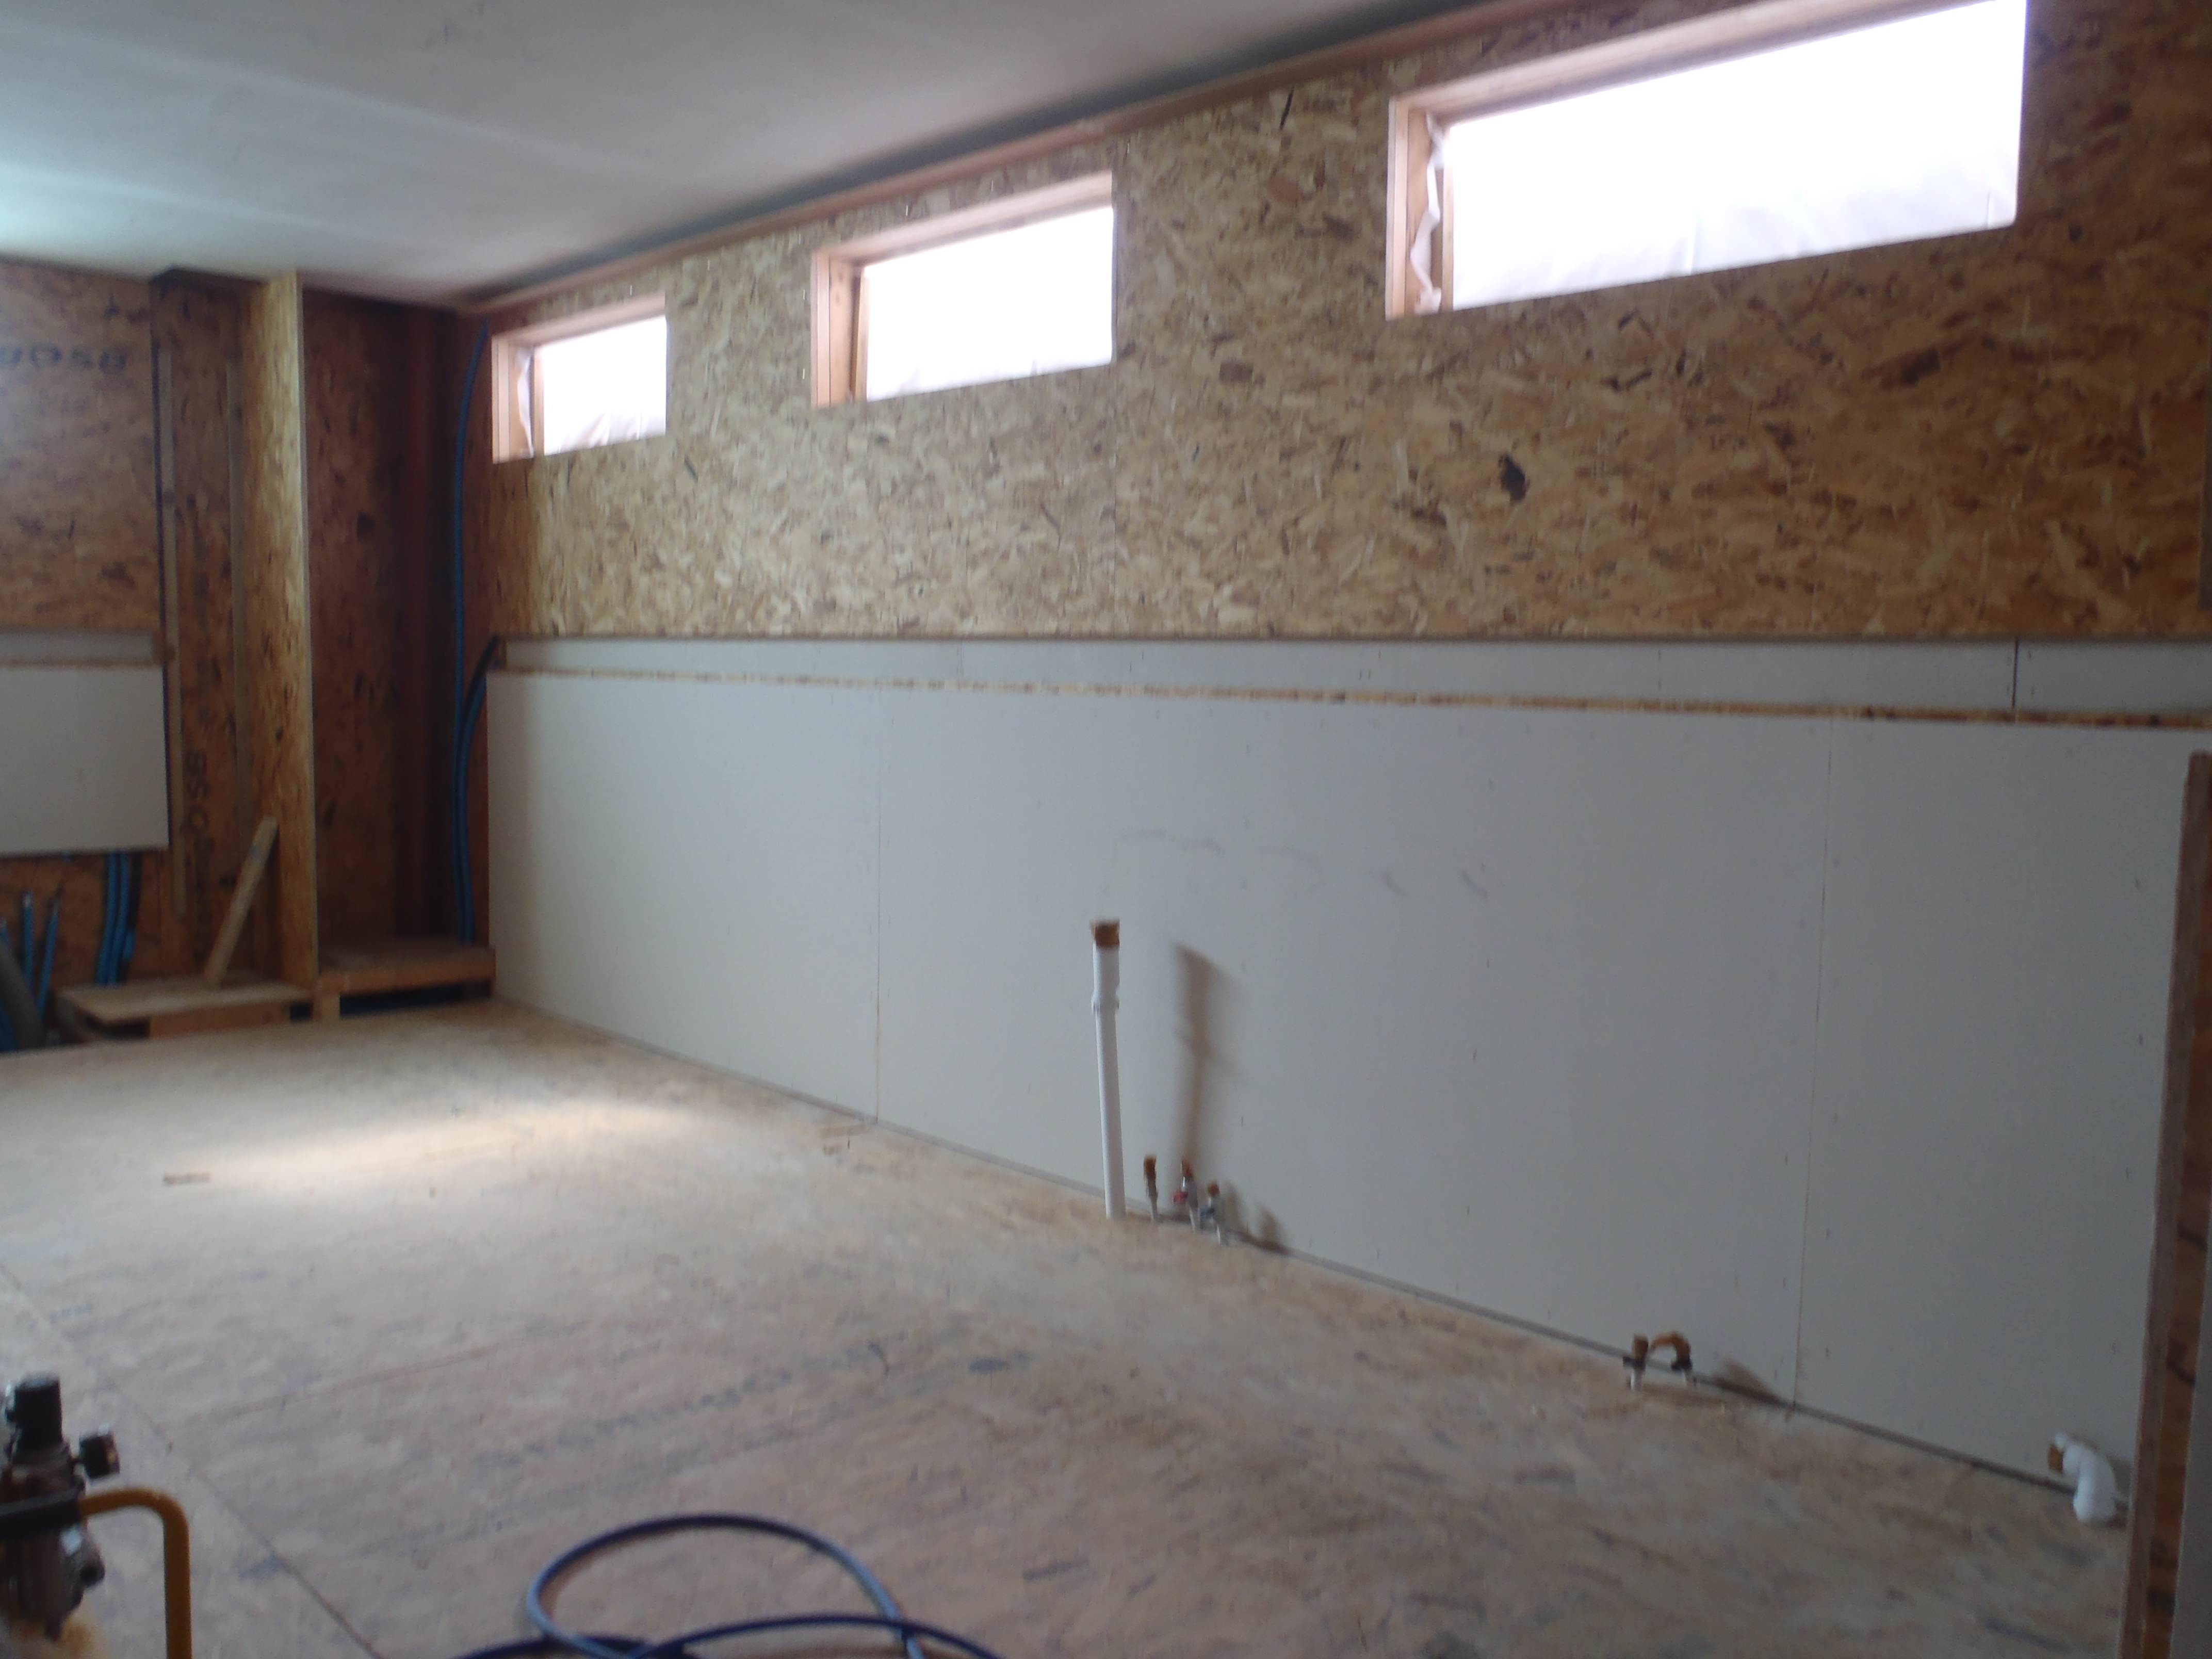
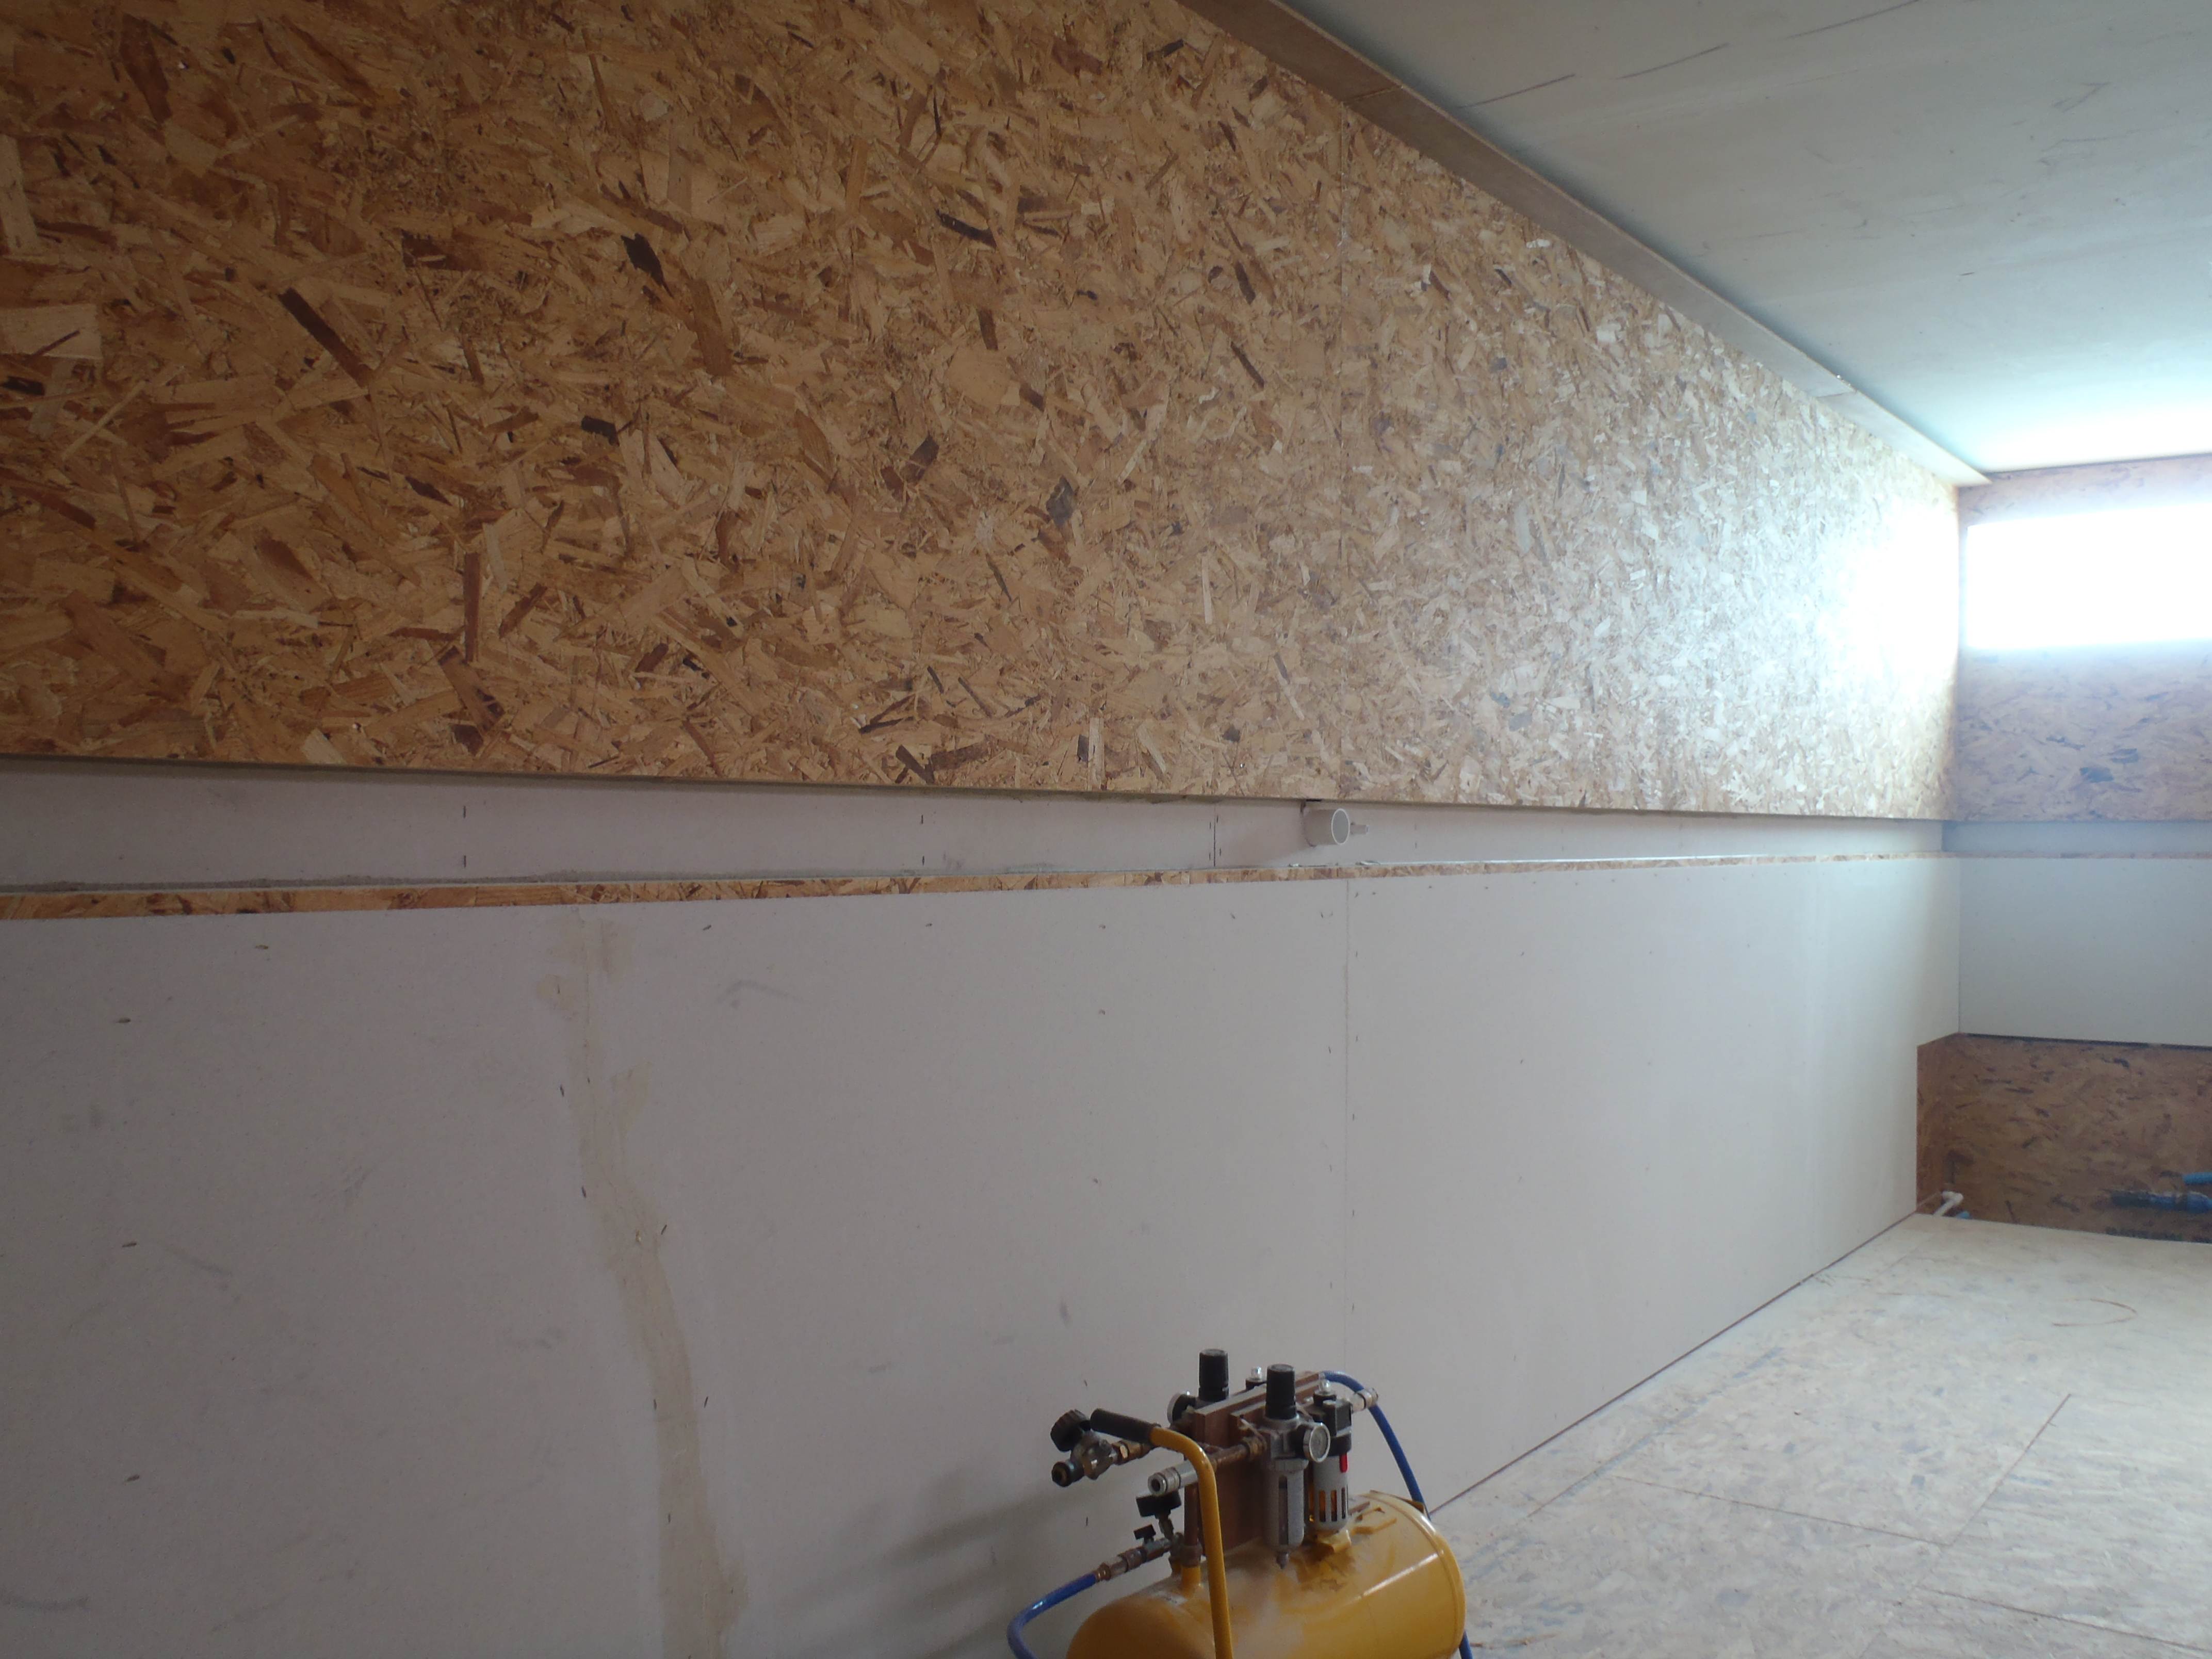
    The Garden Room is at last, has all its holes, cracks, joints, corners and dents filled in with filler. We have been using two different sort of filler, we decided to try professional Polyfilla and discovered that it stays soft much longer and it is also much easier to rub down afterwards. The other filler is a much cheaper bulk filler from the Fermacell people. Their filler is much much harder and it sets in next to no time (well 30 to 45 minutes!) compared with 4 hours for Polyfilla! The Polyfilla is more than twice as expensive but it offers much easier work of filling in and rubbing the staple holes!

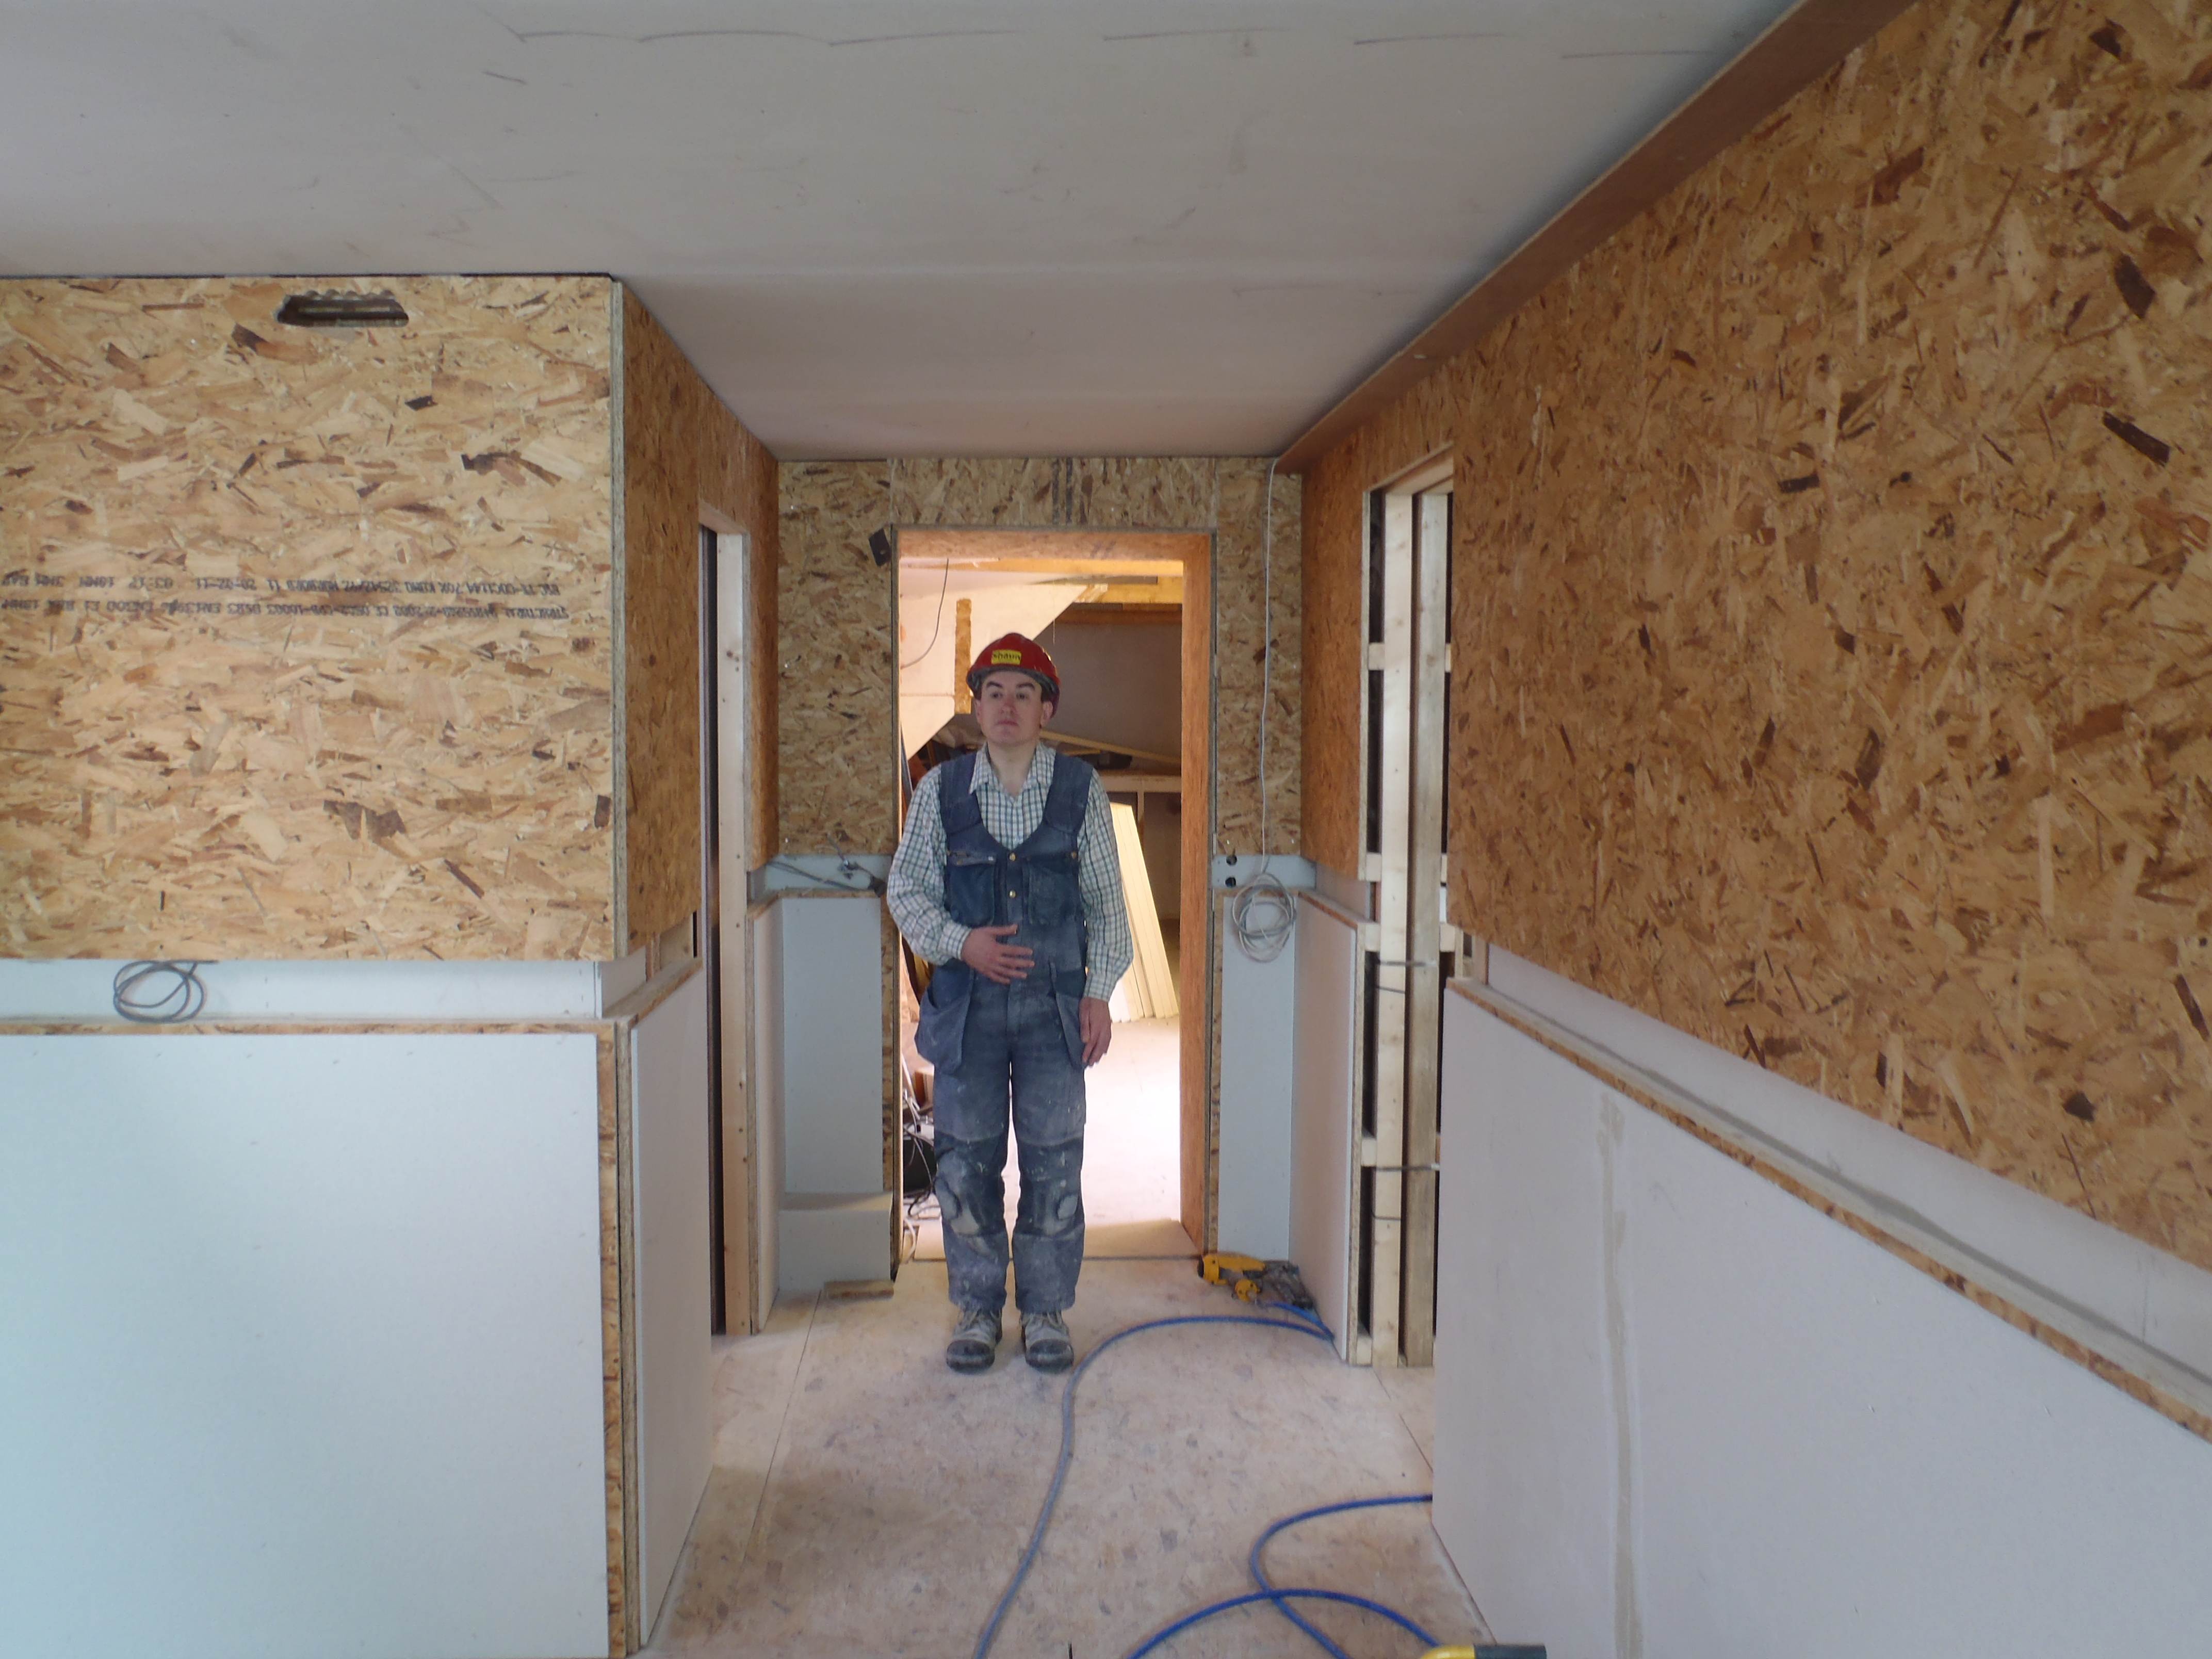
    All the corners are rounded off and the walls to the ceiling and light channels are also rounded off, by using a 15mm plastic pipe as the “curve” to draw along the wet filler. It has come out very nicely!

    GR - Ready to paint

    GR – Ready to paint

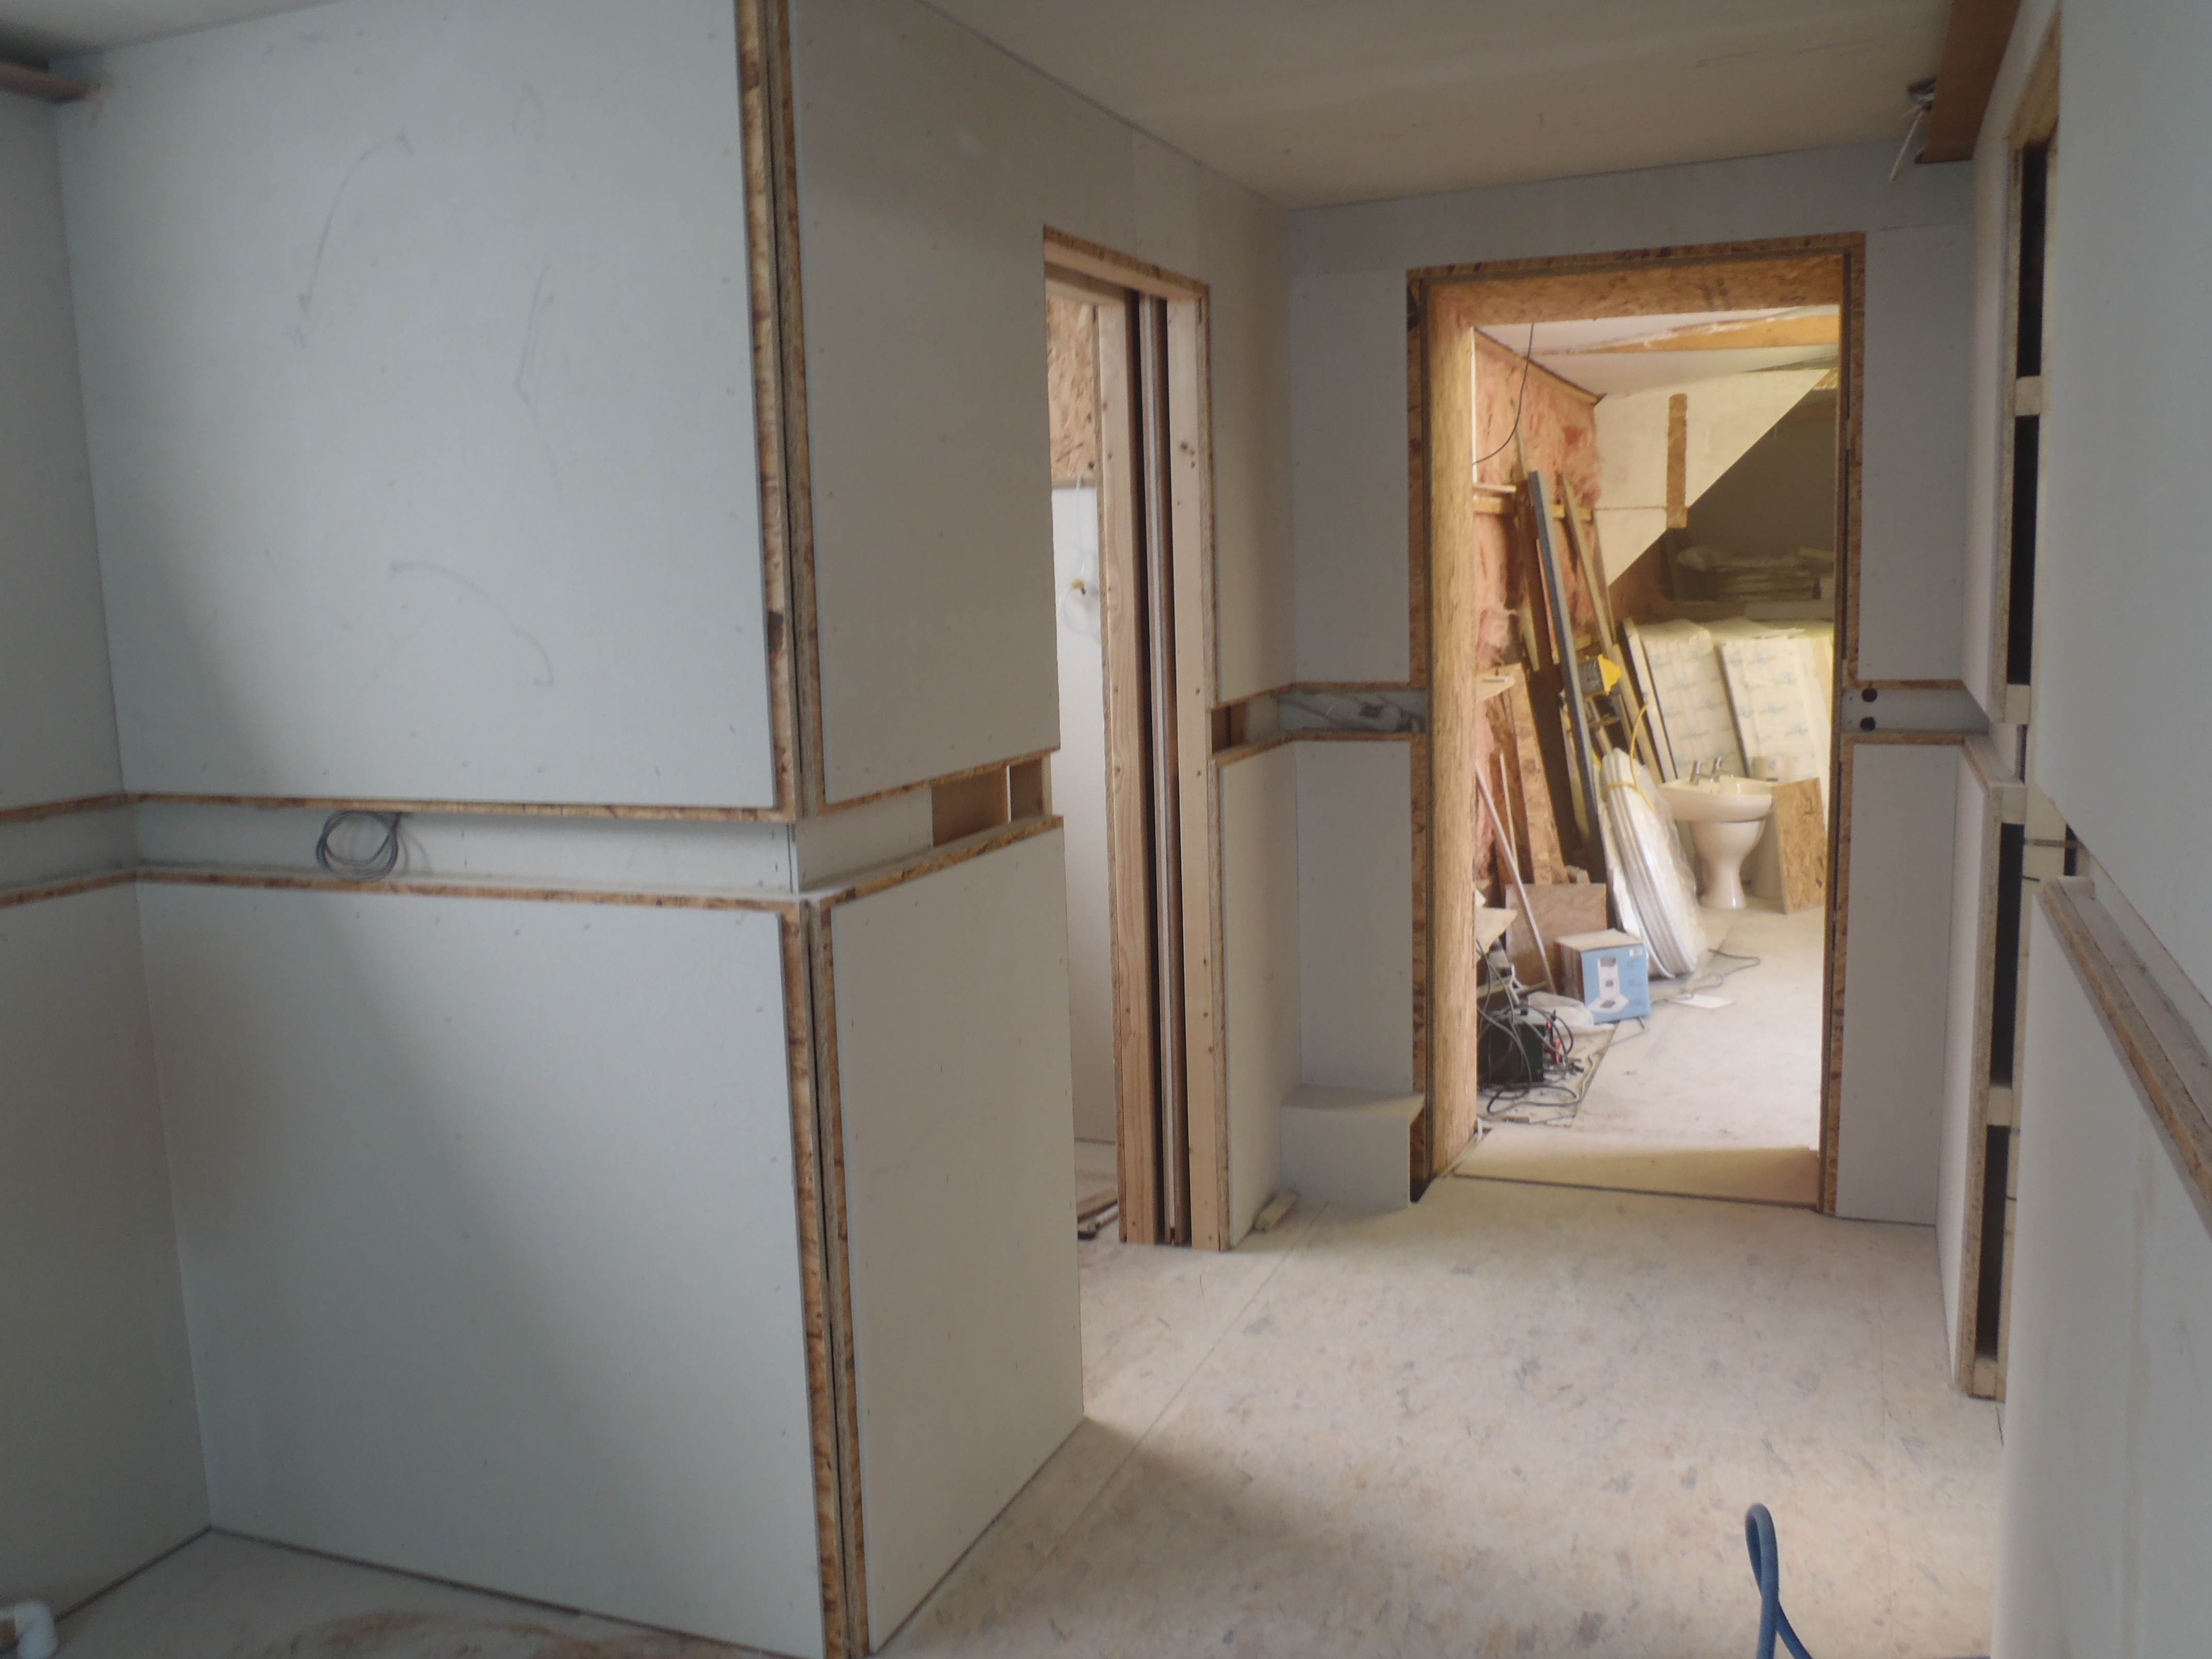
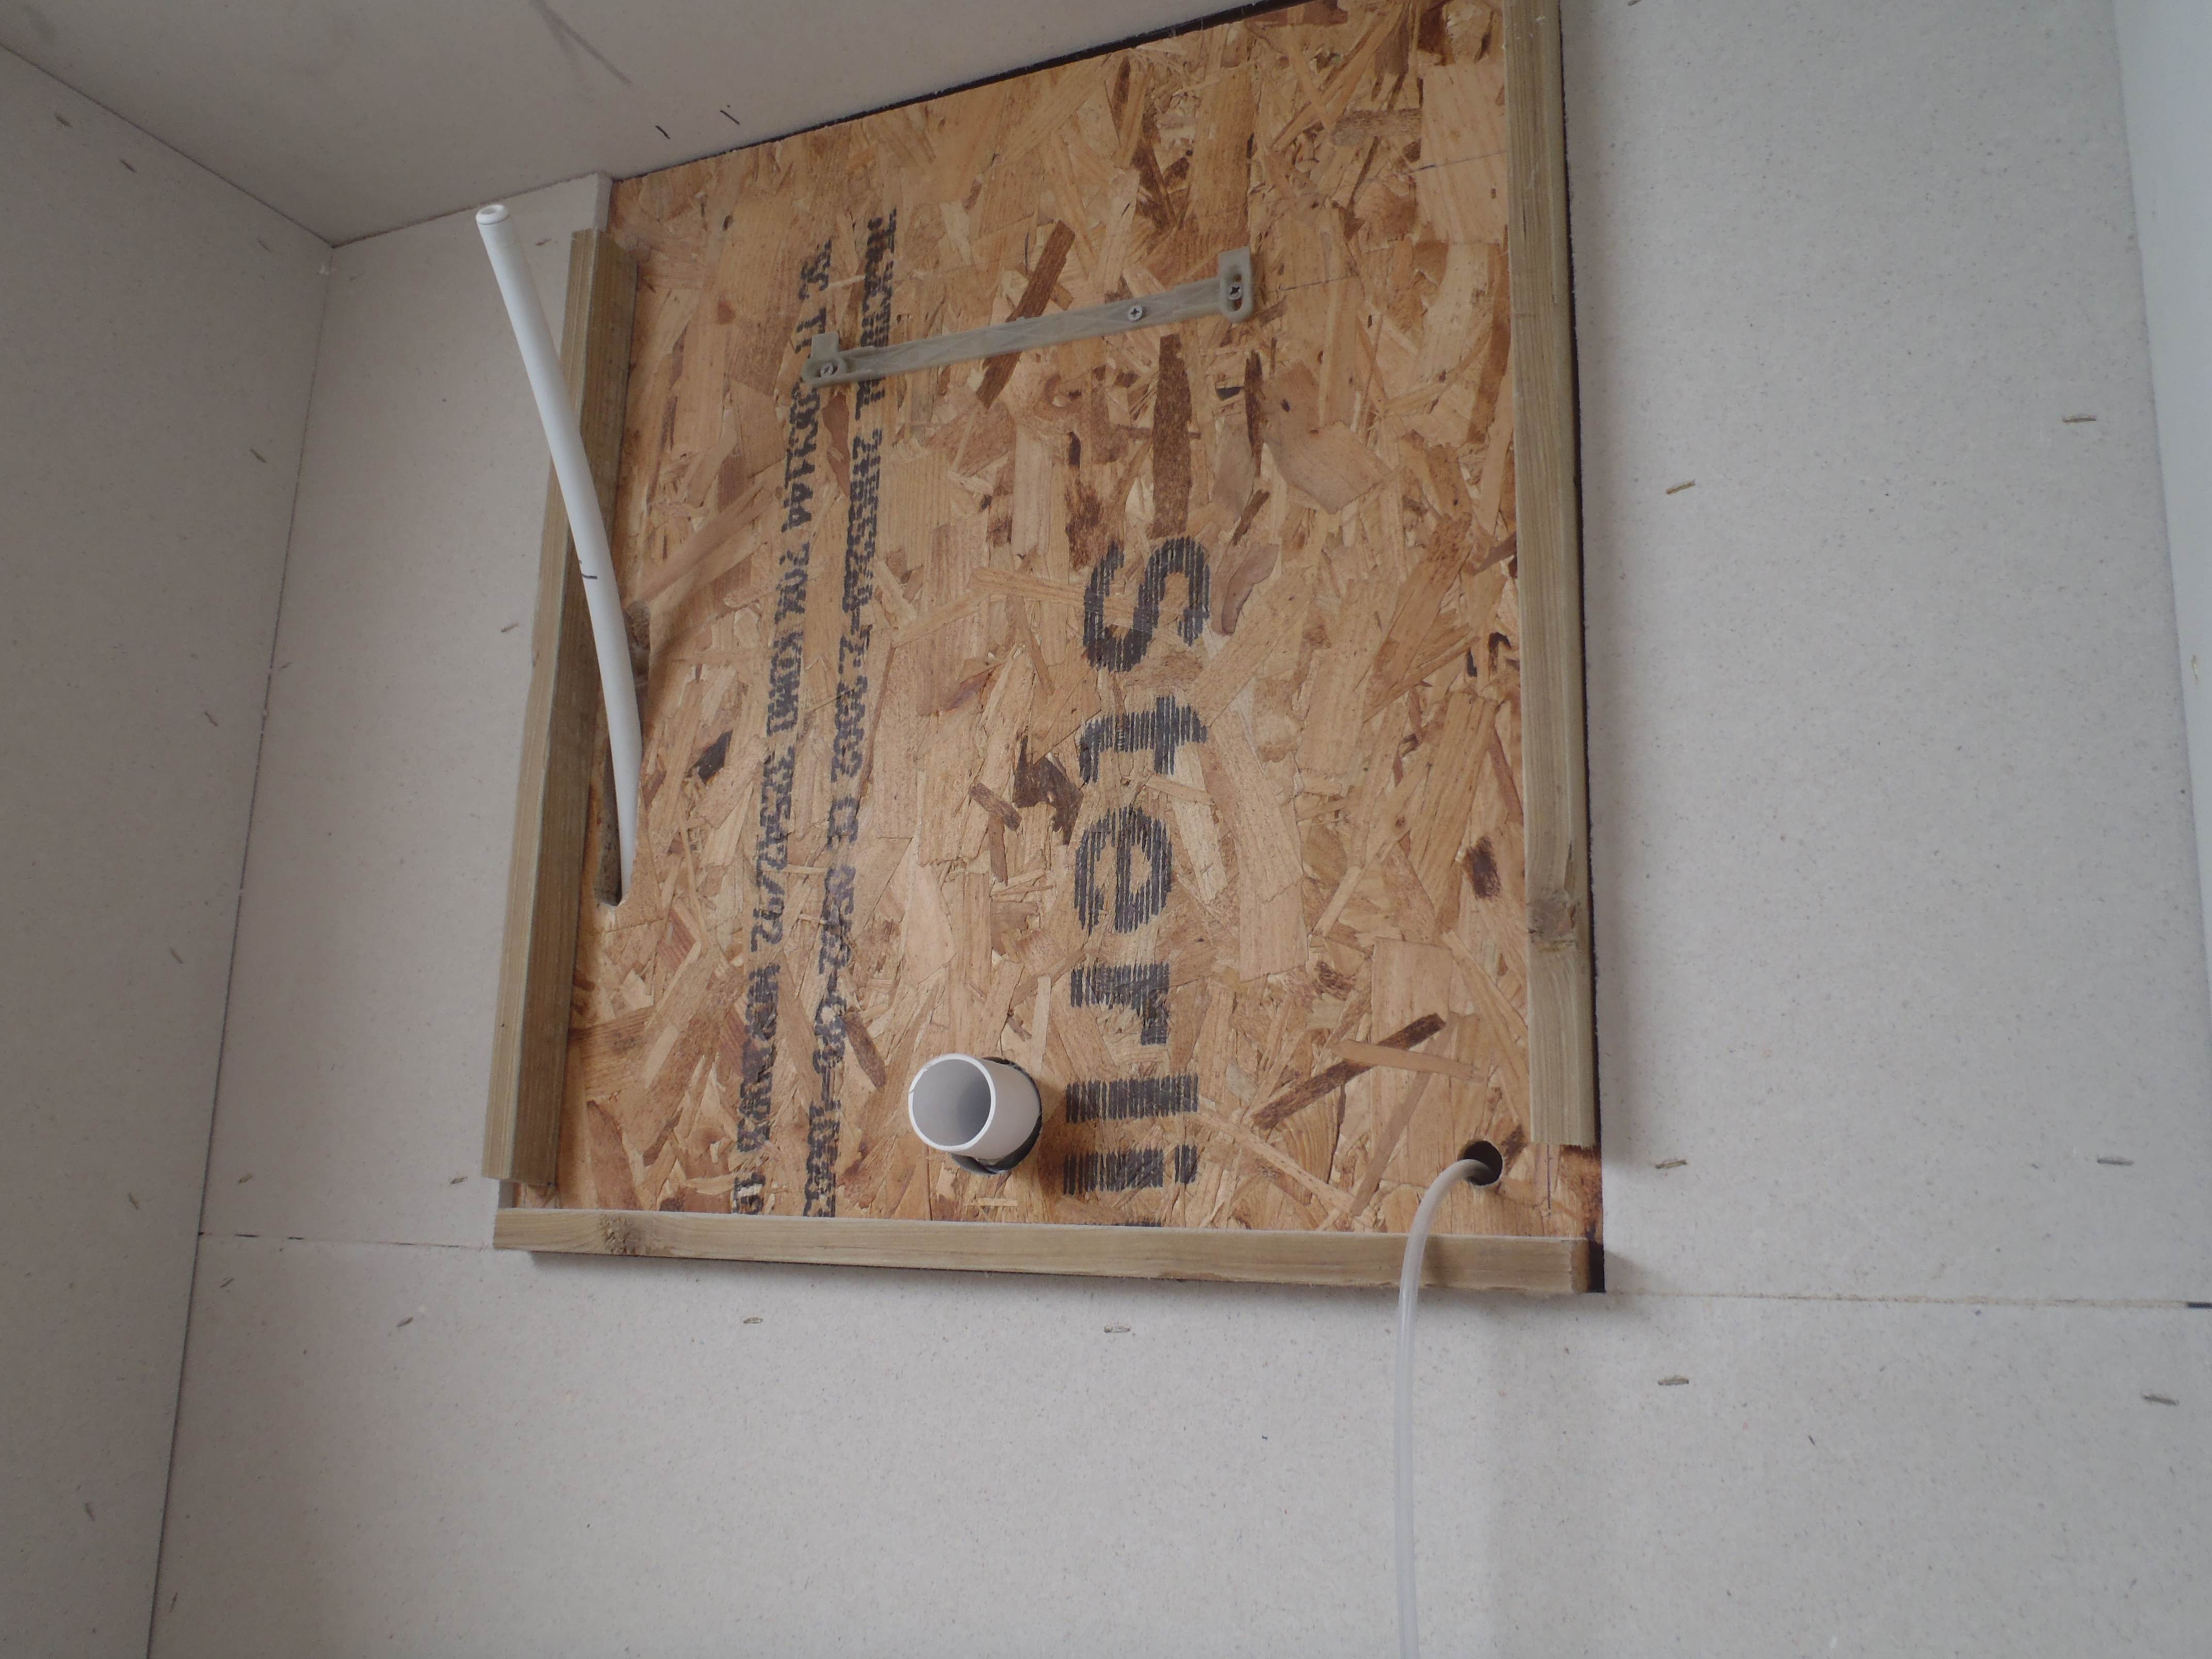
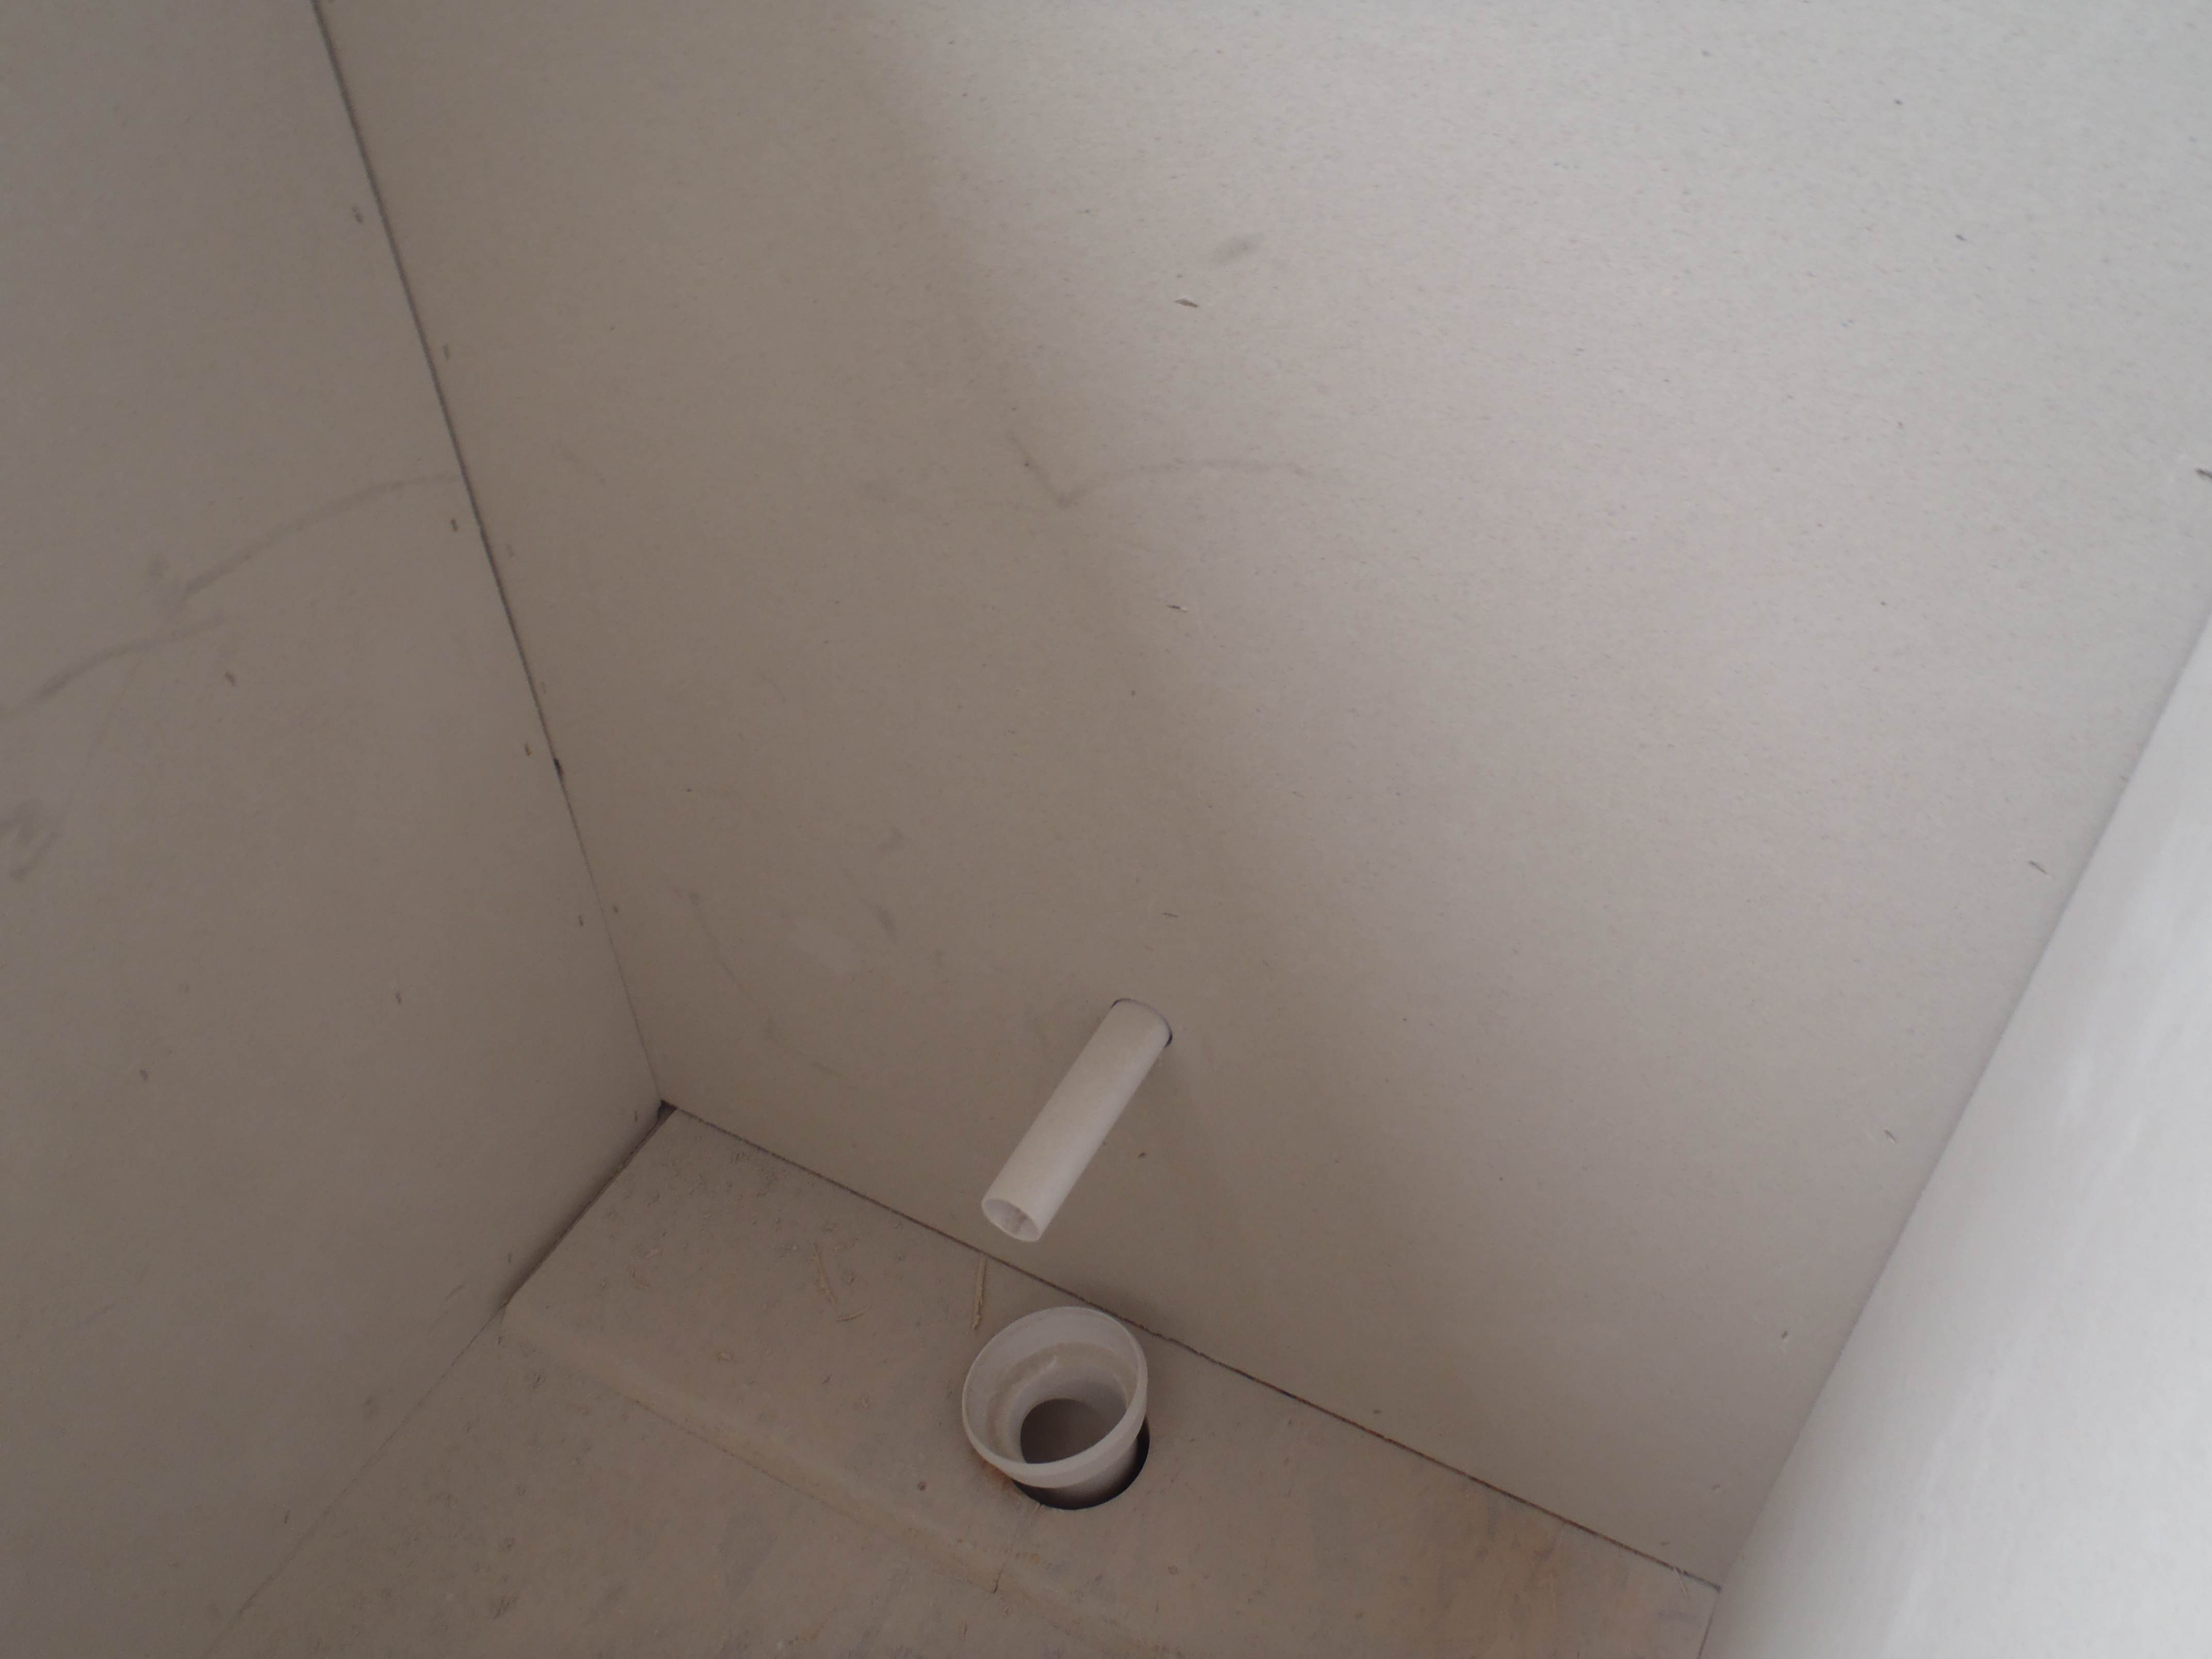
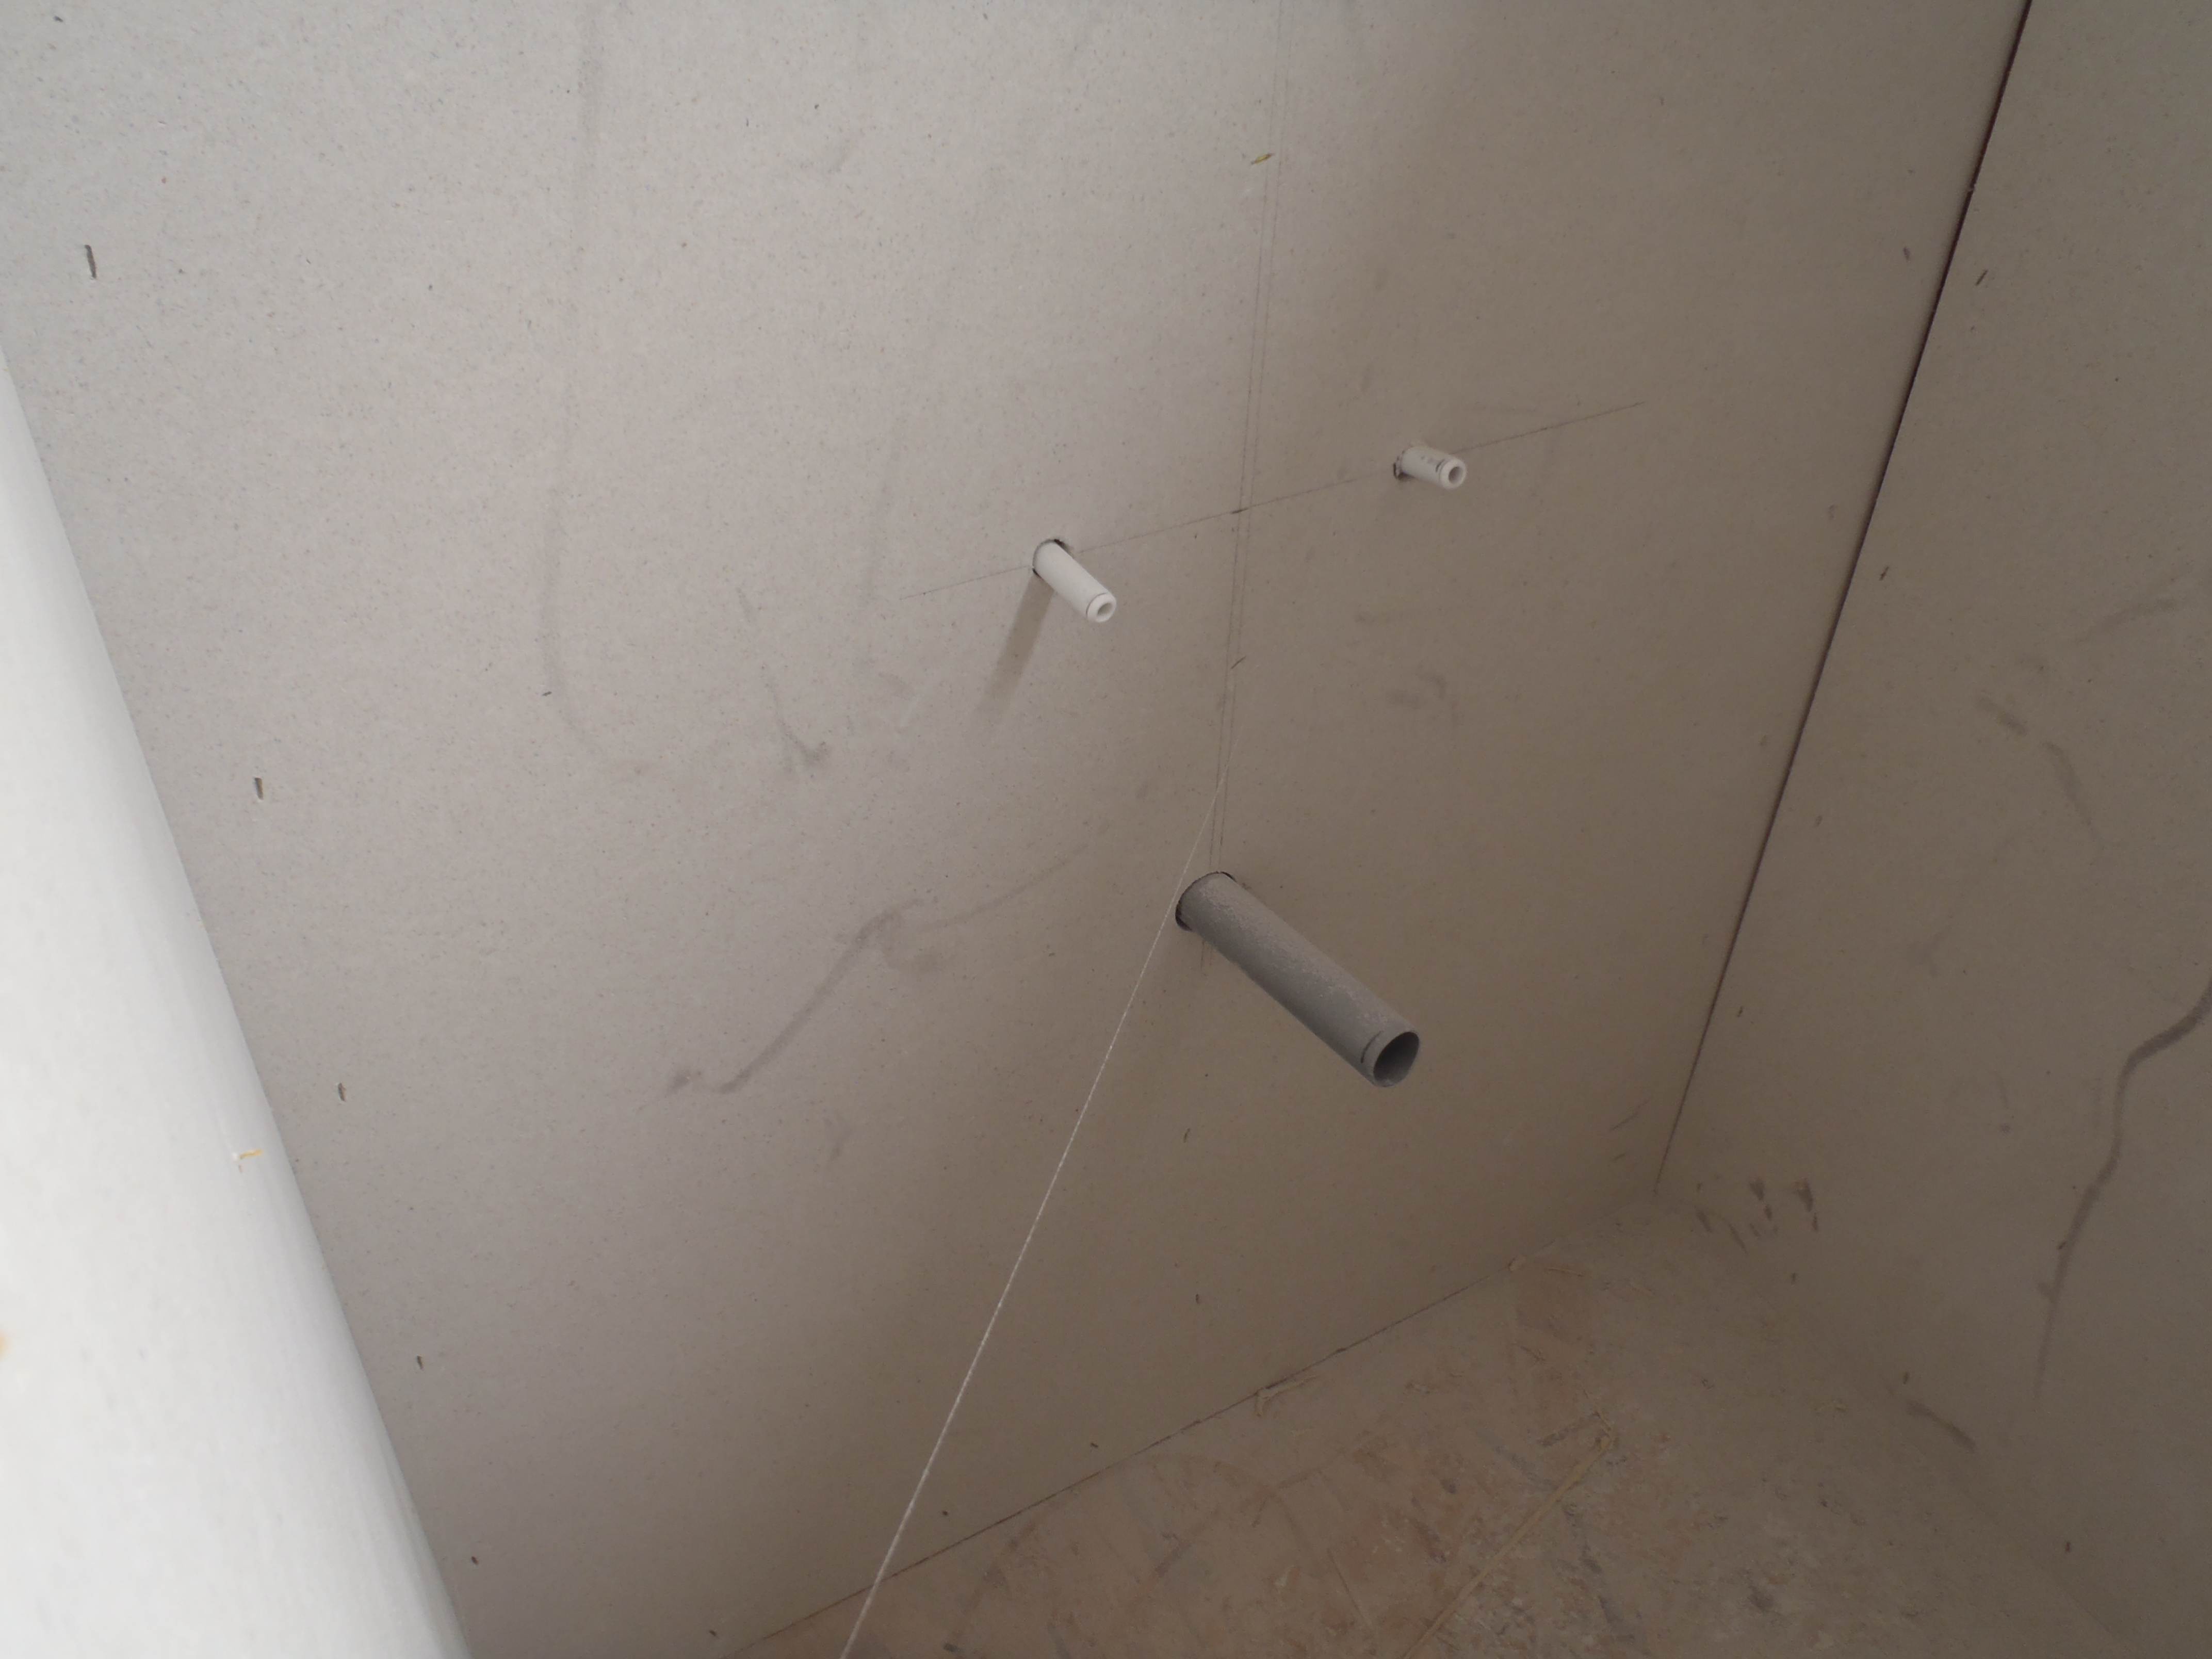
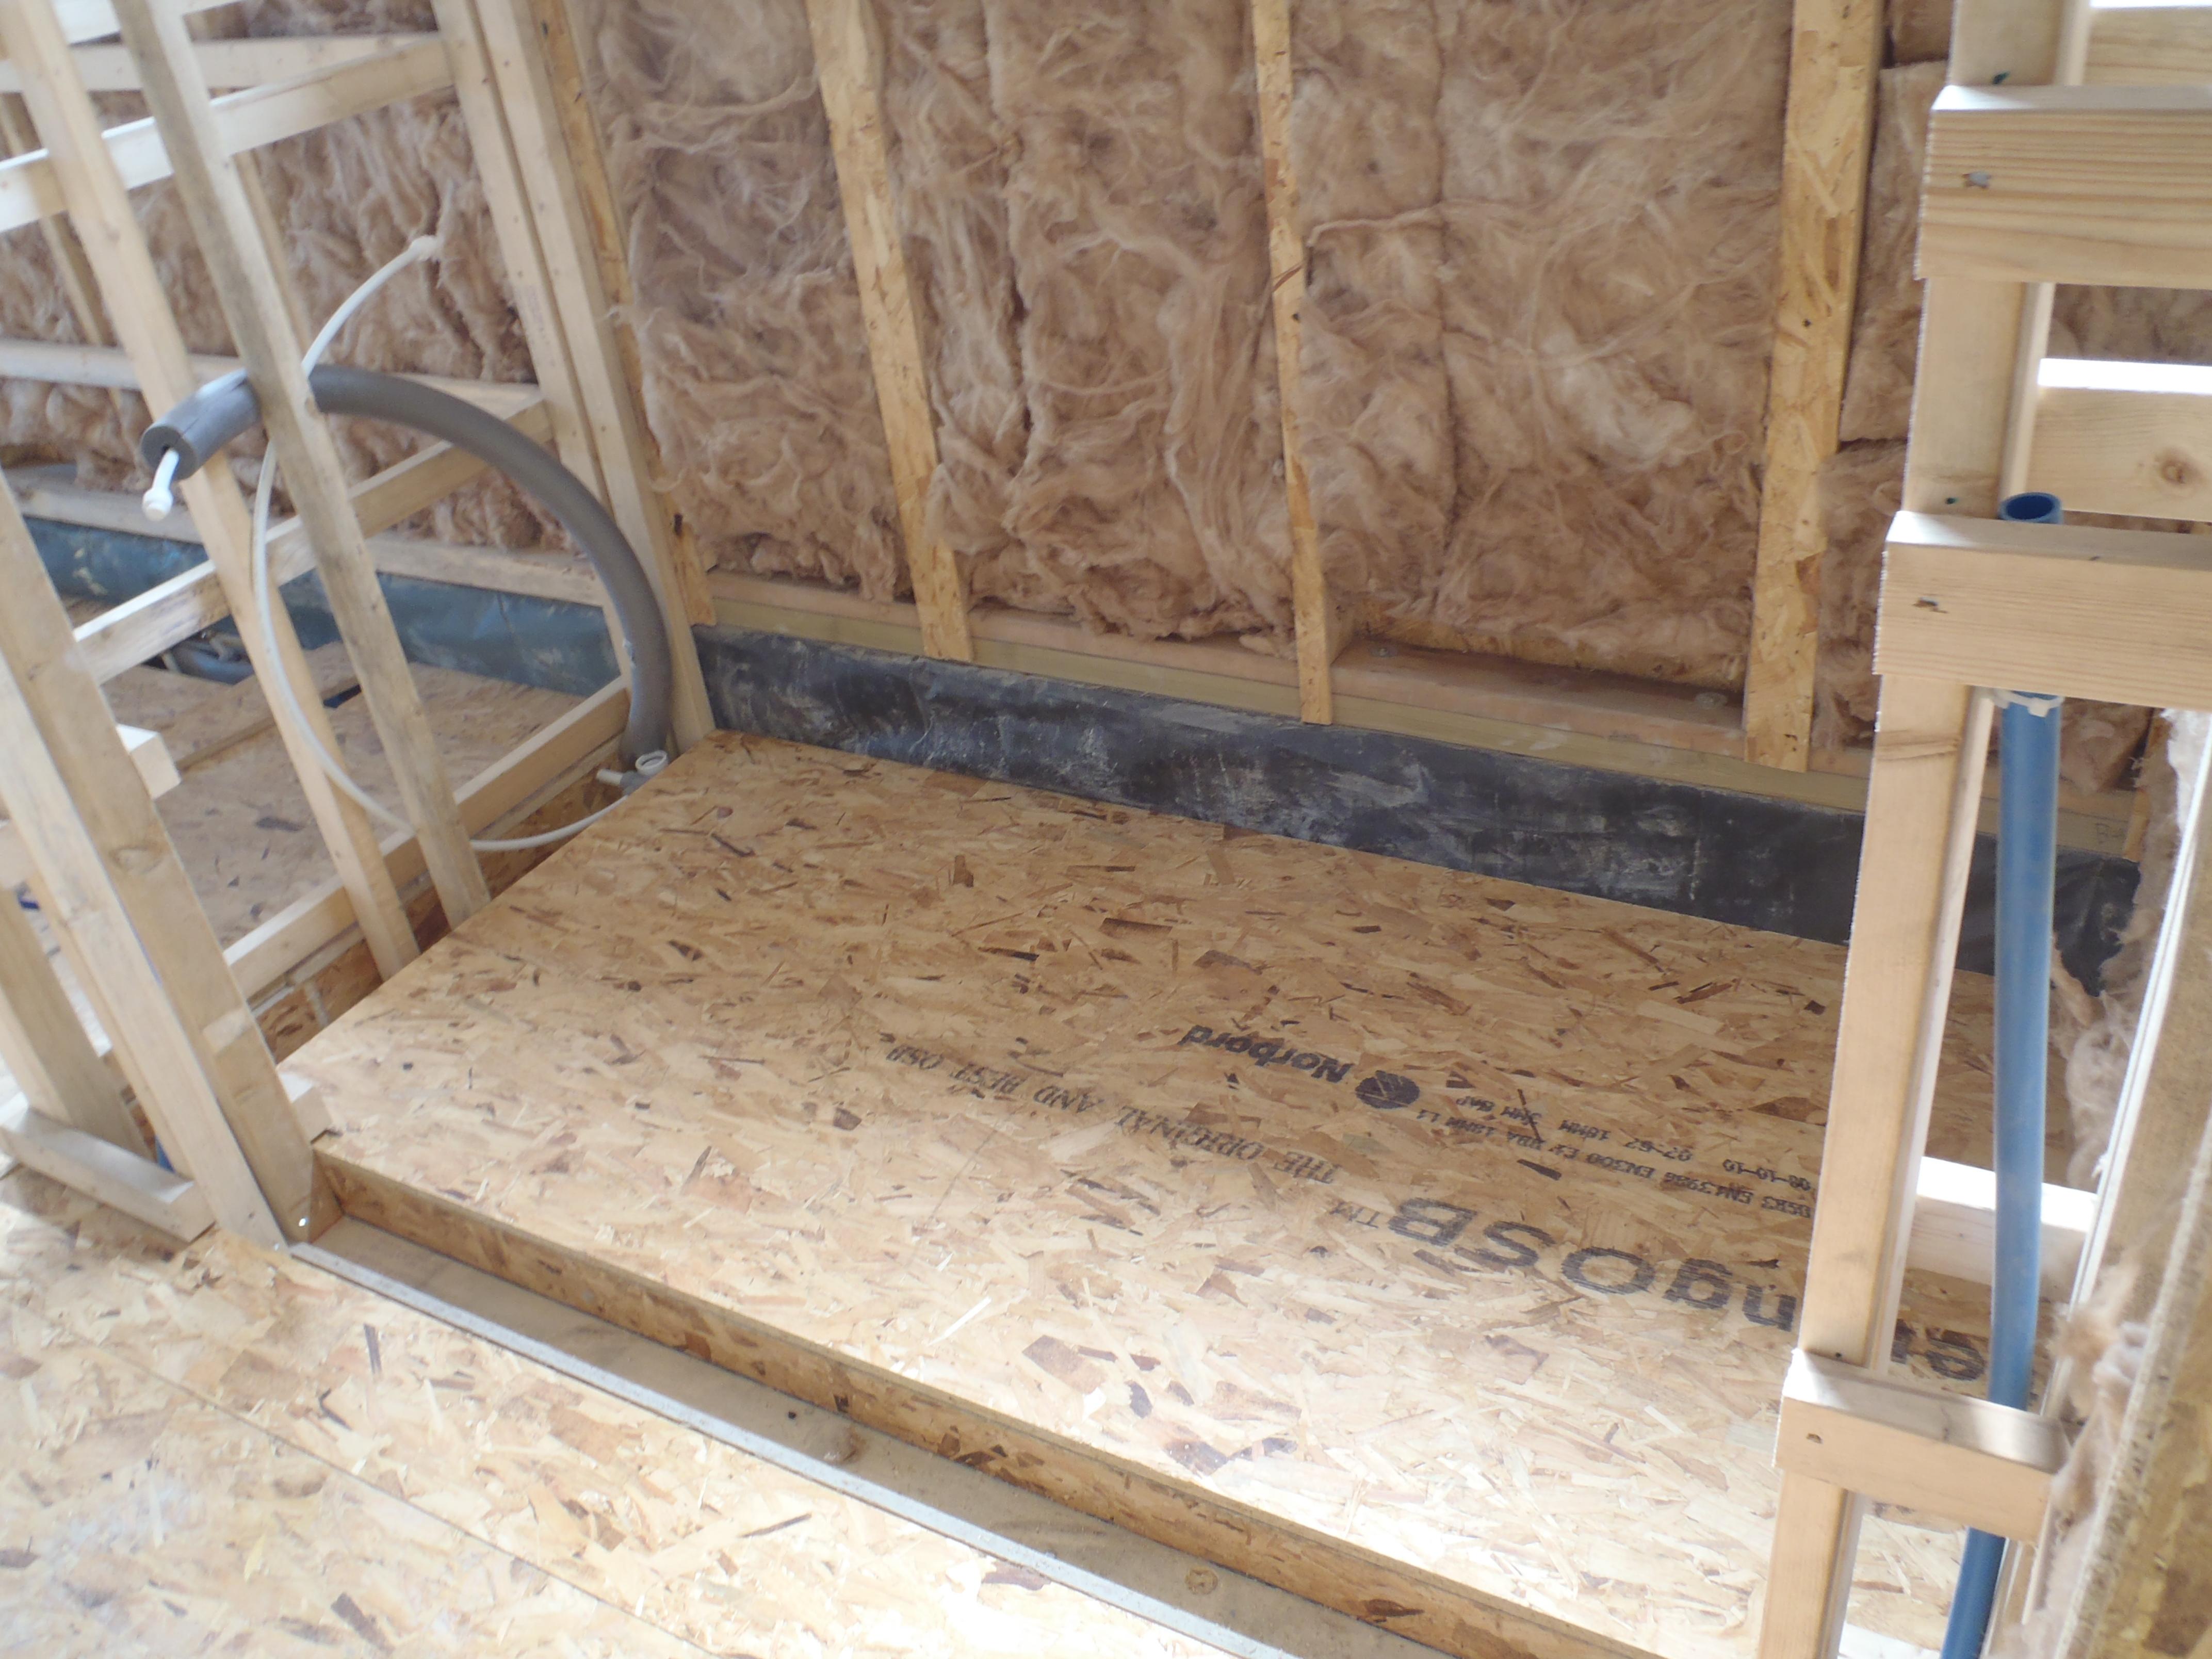
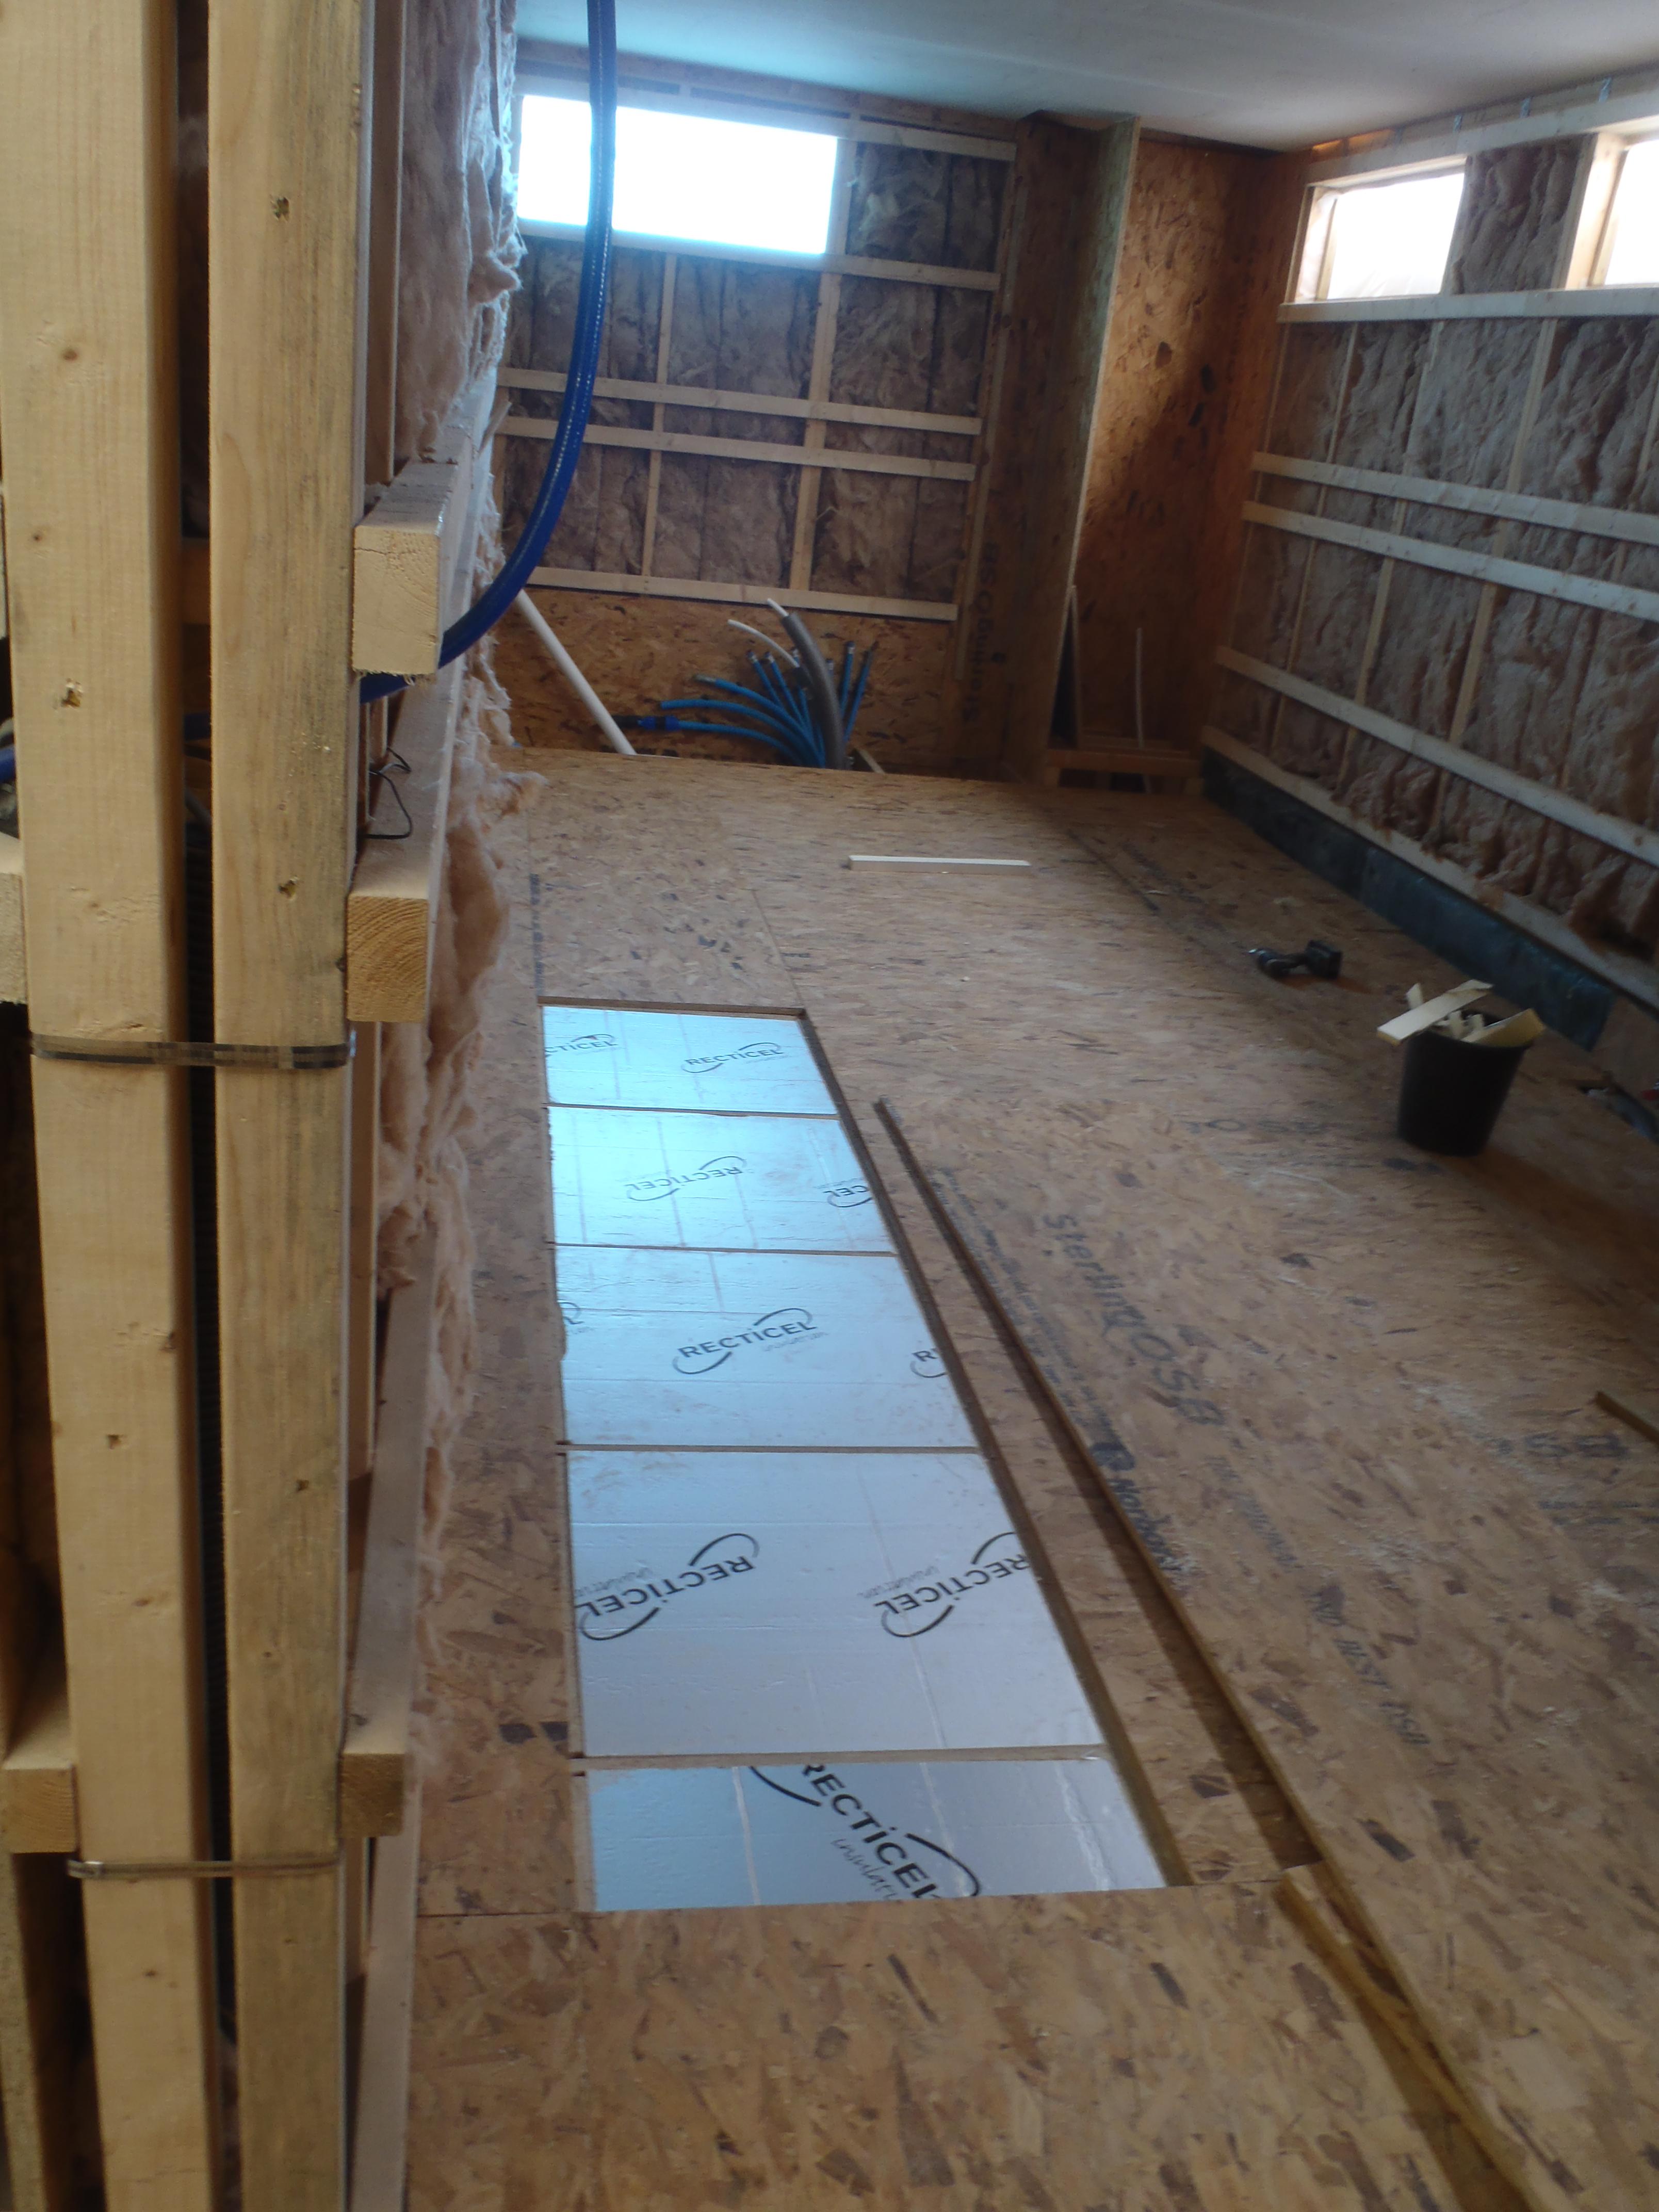
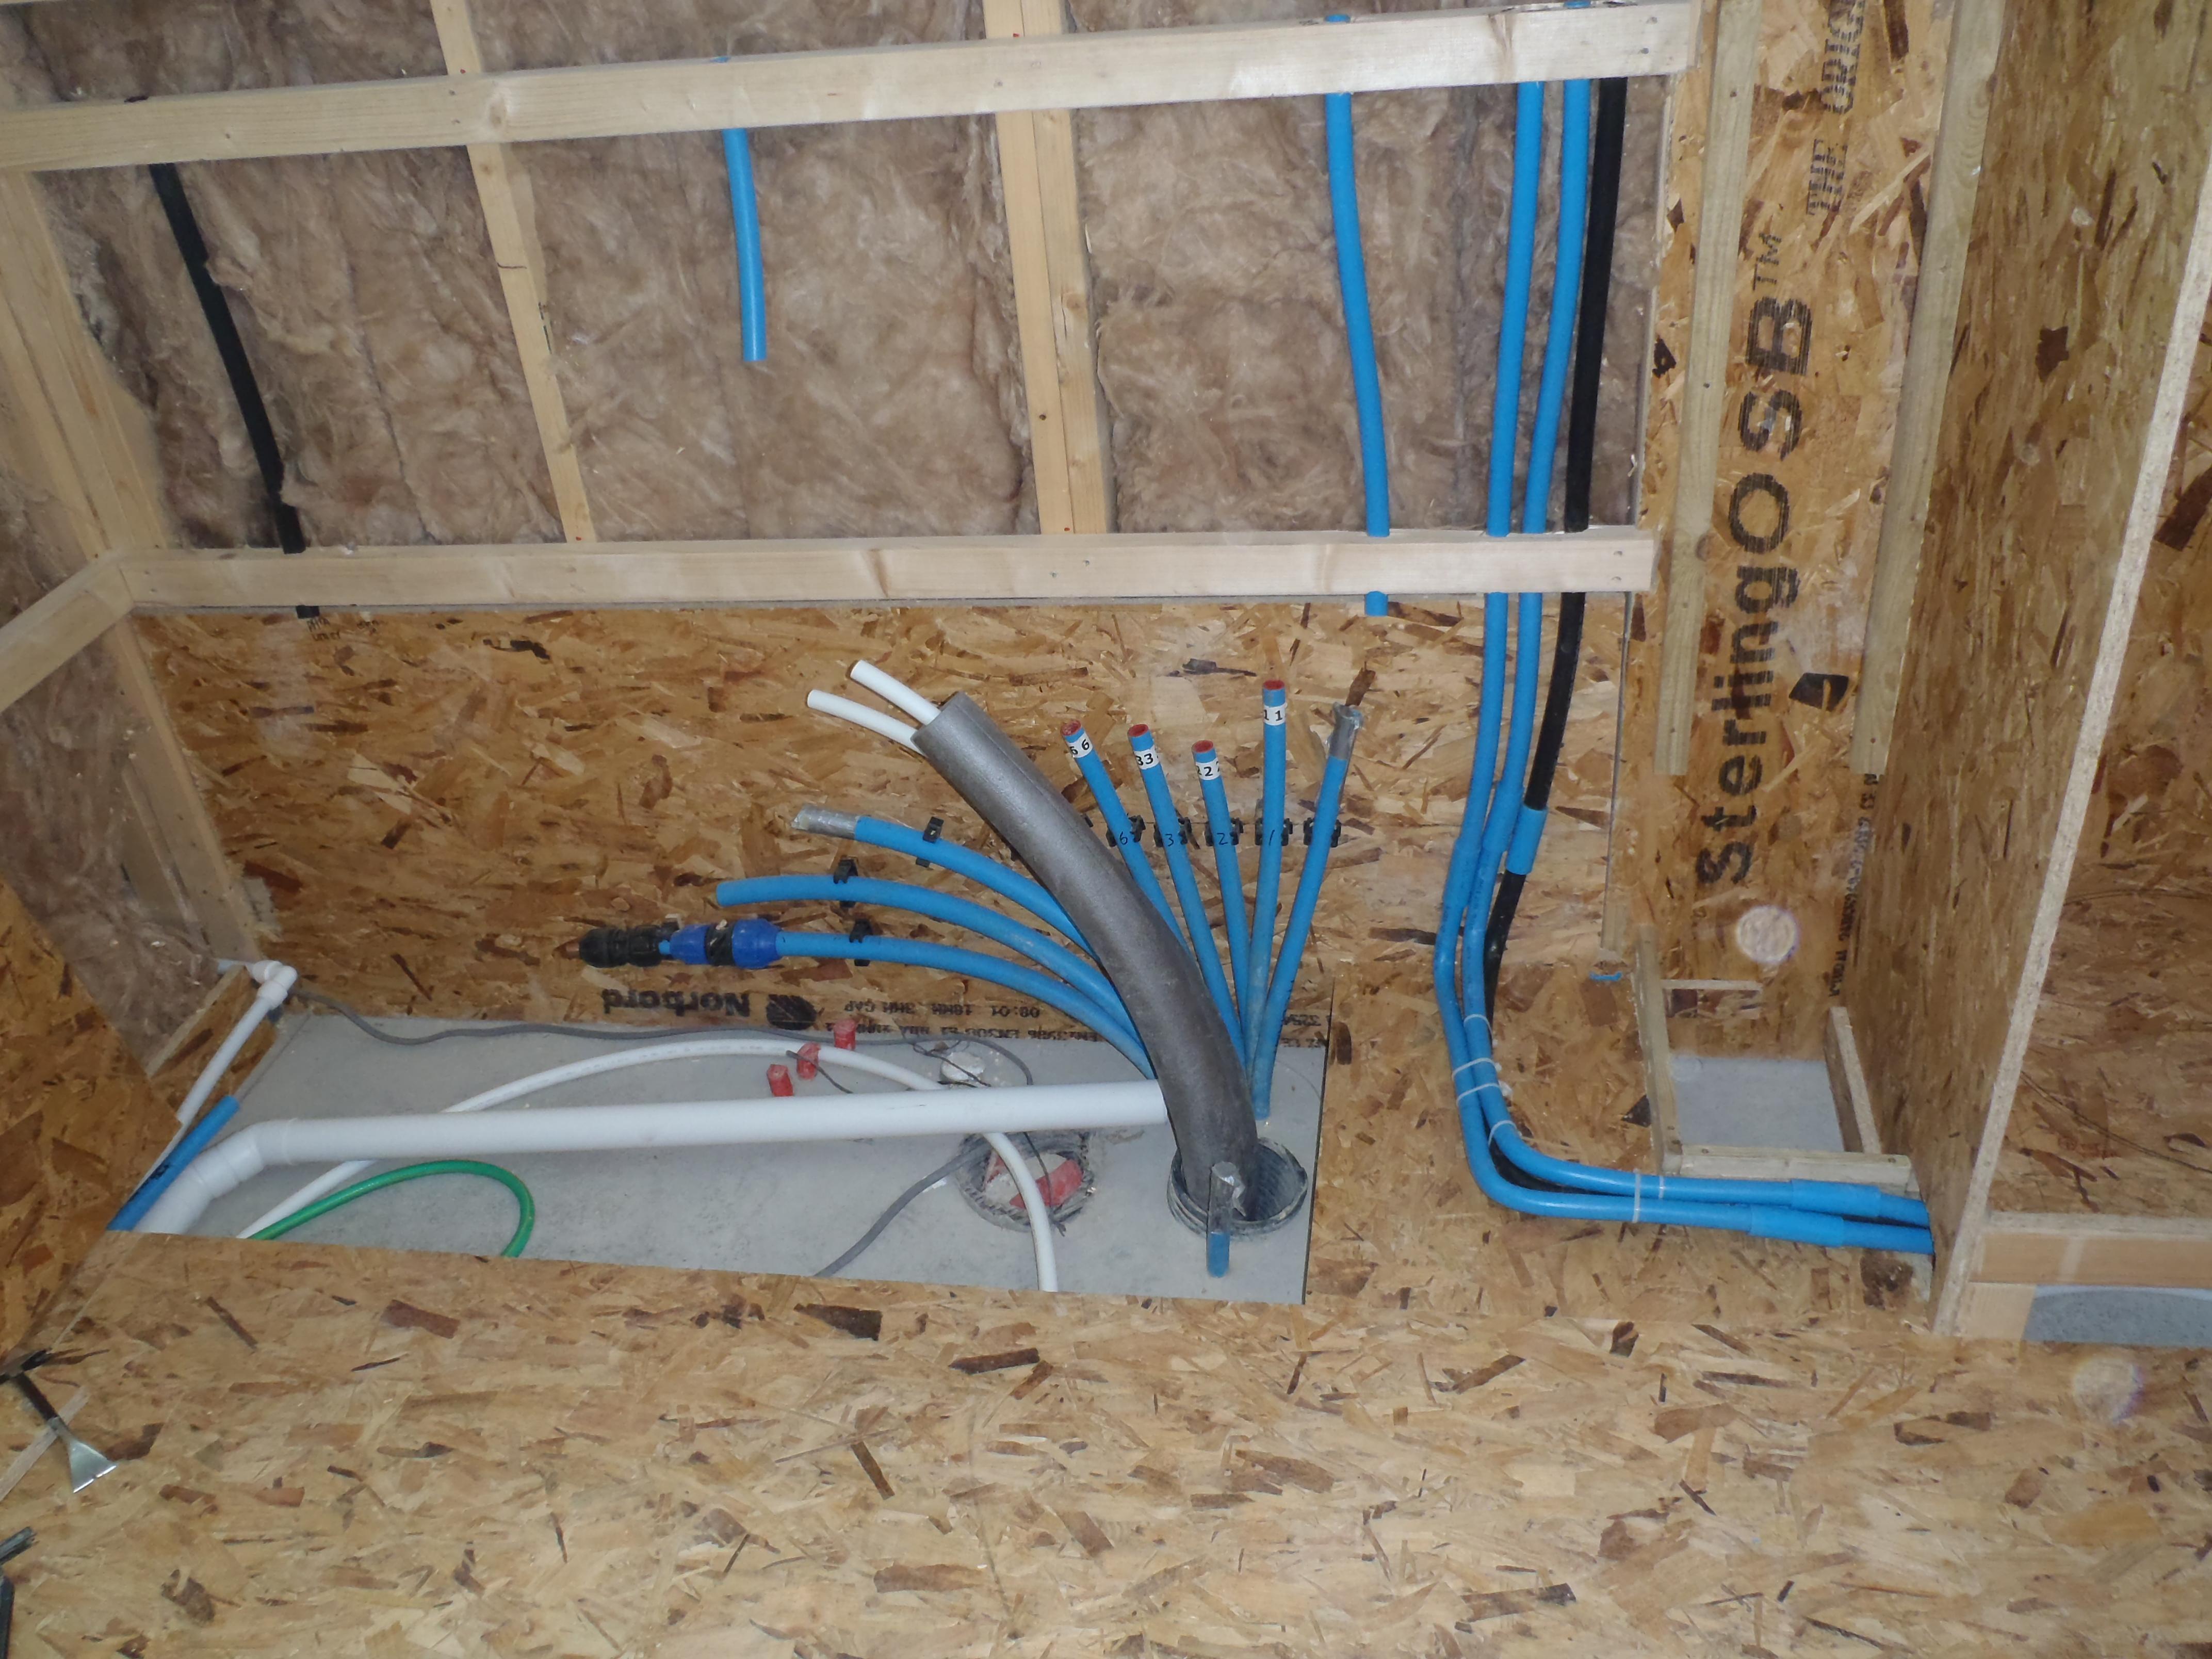
    We also put up the cistern for the WC toilet as the final pieces of the Fermacell needed to go up and rounded off. The rectangular box is mounted high up the wall, is a permanent structure with a little lid for servicing. The flush push button works or at least the pump (air) causes the valve to lift up and hopefully release the future water that will be in the cistern! We hope! And all the pipes are concealed inside the wall so no going back! Gulp!

  • Garden Room – Half Way Filler’ed

    We are making progress! We are more than half way completed with the filling operations. All the staple holes are now filled, most of the boundaries have rounded corners and all the doorway trimmings are filled. Half the rubbing is also completed! The major task to do is the bulk filling in the space alongside the metal uprights and just a couple of boundaries to smooth off.

    Then rub rub rub!

  • Garden Room – The Filling Operation

    All the pieces of Fermacell is now up everywhere, all the walls, trimmings around each doorways and windows plus all the corners of the Garden Room as well as extra pieces to terminate all the Utility Rail channel.

    Now it is time to fill all the little staple holes, which we have started now, then the joints between sheets along with the gaps left over in the slots where our metal upright bracket were screwed onto the walls, and finally putting enough filler in all the corners, whether it is wall to ceiling or wall to wall etc, a smooth small curve to soften the hard edges. There is quite a lot to do in this segment of work so it will take a few days to complete and rub down to a nice and smooth finish!

    We are getting close to the time where the Garden Room can be realised .. .. as a kitchen! That is the short term use of this room to enable us to move out of the little tumbling down old cottage, and during the Summer, we knock it down! Flat!

  • Back Edge is Done

    Our temporary fixing of the rubber material has proved troublesome during rain showers, we have had too many little leaks coming down the back wall and spilling into the air holes for the rafters. We decided to put up and fix down the 45 degree sloped flange along the back edge of the roof and then mount a wide 180mm (just over 7inches) Oak plank the facia hanging down from the roof.

    Rear upstand and Facia

    Rear upstand and Facia

    The rain will now gush off to the sides of the roof for now and not straight off the middle of the roof and trickle down the back wall!

    As soon as we get another series of good dry days and warm too then we will be back on the roof to finish it off properly, preparing and gluing the rubber material down all over the roof.

    It is the first time we have used our supply of Oak Planks, we pulled out 4 pieces of 6 feet lengths and 1 x 8 foot length which were all very similar in width. We sanded one face and the edges to take off the worse of the rough sawn surfaces and put them up untreated and in their full thickness of over an inch! Nice and solid!

  • Garden Room – Upper Walls covered Up!

    It was a long day today working on covering up the upper sections of the walls in the Garden Room. In some ways it went fairly easily but having to contend with windows and sloping ceilings did make things more complex.

    It is all finished apart from trimming the excess materials from around the windows once the glue is set. Also the Light Channel had to be accommodated with pieces of the Fermacell going around the flange etc.

    GR - Main fermacell installed

    GR – Main fermacell installed


    GR - Main fermacell installed

    GR – Main fermacell installed

    The last piece of Fermacell left to do is the side of the chimney which has not been constructed yet. But that is it! No more Fermacell work until the main house is built! The rest of the stock will be put into storage (not too many sheets left).

  • Garden Room – Half Fermacell’ed!

    Today the bottom half of the walls in the Garden Room was covered in the Fermacell boards. We went right around the room, skipping the doorways and jumping pass the hot water cylinder! We used up nearly 7 sheets.

    GR - Lower walls fermacelled

    GR – Lower walls fermacelled


    GR - Lower walls fermacelled

    GR – Lower walls fermacelled


    GR - Lower walls fermacelled

    GR – Lower walls fermacelled

    Also we sliced out the window in the WC we covered up with the Fermacell yesterday and we can see what we are doing again!

  • Garden room – Water Closet Plastered!!

    The WC today has its Fermacell panels stapled up. It was a bit tricky with the smallness of the room, trying to get full size boards into the doorway and discovering the impossibility of squeezing it in, like a square rod into a round hole! So we had to cut them in half and glue them back together again on the walls! Of course the other complication was the pipes (for the basin and loo) sticking out the wall and sliding the Fermacell panels (after making the holes in the correct places .. hopefully!) and getting them flat on the walls! Actually it went well after all!

    GR - Main fermacell installed

    GR – Main fermacell installed


    GR - Main fermacell installed

    GR – Main fermacell installed


    GR - Main fermacell installed

    GR – Main fermacell installed


    The Window has been lined also with Fermacell, ready for the Oak frame to be inserted soon, real soon!

  • Garden Room – The WC is covered Up!

    The WC walls now have their 18mm OSB Boards nailed up!

    The sliding door system is up and rolling. The two halves of the doors are hanging nicely, very nicely! The German designed and manufactured hanging roller system seems to be sturdy and rolling quite well so far!

    Sliding door mechanisum

    Sliding door mechanisum


    GR - Osb cladding finished

    GR – Osb cladding finished

    The doors are made of a sandwich of 10mm Fermacell in the middle and two 12mm hardwood plywood as the outer layers. The Fermacell provides the fire resistance factor as required by our building inspector and we wanted to see how easy it was to make before the main house is built.

    The final piece of work today was the insertion of the narrow 100mm strips of Fermacell to line the backs of the Utility channel, to cover up the final evidence of the glass wool stuffed in the walls!

  • Walls are going UP!

    We have started putting up the OSB wall boards at last! We have inserted all the conduit pipework inside the walls down from the Utility Rail (and one upwards!). we were making sure we have everything in place as planned before we permanently nail on the OSB sheets!

    The Light Channel is made of 150mm wide 9mm thick hardwood plywood, screwed down on top of the OSB boards to create a flange and a gap for the fluorescent lamps and controller to slide into.

    GR - OSB cladding started

    GR – OSB cladding started

  • Garden Room Construction Updates

    We have been spending the last couple of weeks on constructing the floor in the Garden Room. Plus laying and routing all the required pipes and conduits around the edges of the room under the floor. And again inserting the insulation in places, for example, the glass wool for floor sections that doesn’t have hot or cold air flowing through it, and 50mm thick PU foam for the cold Earth Tube air supply and a double layer of 50mm PU foam for the hot air going back into the WC, garage and into our temporary accommodations.

    Garden room floorboards down

    Garden room floorboards down

    Garden room floorboards down

    Garden room floorboards down

    Garden room floorboards down

    Garden room floorboards down

    Garden room floor insulation

    Garden room floor insulation

    Garden room floor insulation

    Garden room floor insulation

    The WC (toilet room)has three walls up now, the cistern will be placed at the top of the wall, with the cold water feed and the flush downpipe hidden inside the wall. We are using one of those pneumatic air button flush system and the button is half way up the wall. It is ready for the toilet pan to be inserted after we have finished putting up the Fermacell, painted everything and laying down the lino flooring. We have test fitted everything of course and it is fine!!

    ~images

    The main collection of pipes and conduits coming up into the garage has been sorted out and arranged in a neat order, clipped onto the back wall. The platform for the hot water tank has been assembled in the corner and we are waiting for the delivery of the tank itself (a 400mm diameter with 35mm thick PU foam and 1500mm tall – we are planning to put an extra 50mm PU foam around tank to reduce heat losses).

    ducts & pipes tidied

    ducts & pipes tidied