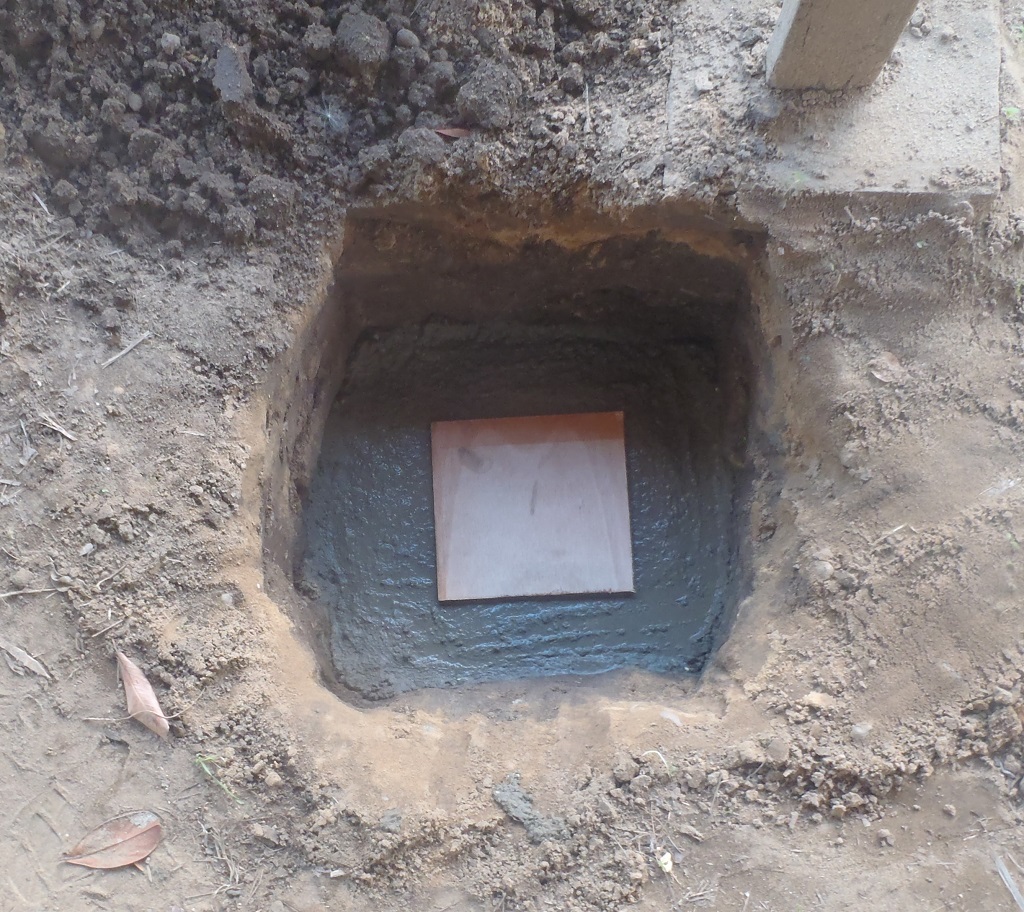
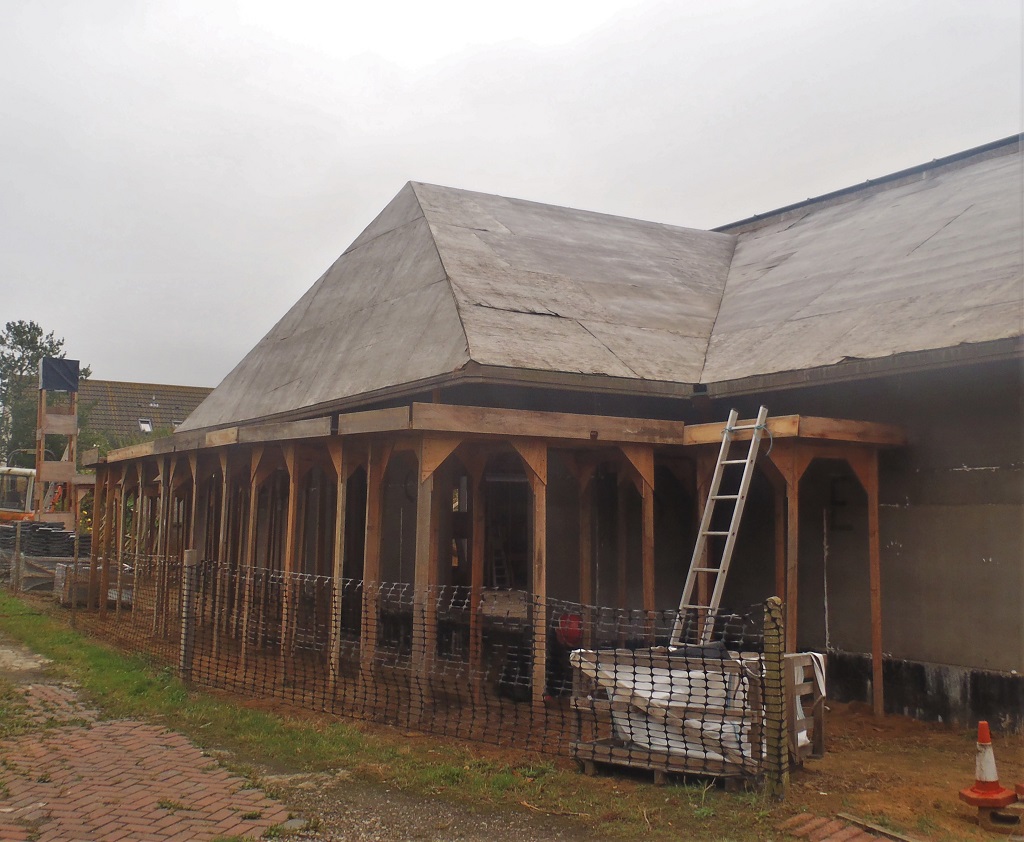
We had a bank holiday Monday to our week so we did a slow day of measuring the Front Porch various elements so we can adjust the level of the Porch with our new aluminium posts. The spreadsheet gave us the relationship between the three concrete pads we done ten days ago and they are now hard enough for supporting the load of the Porch and the roof with the slates, and the support beams and the gutters itself.
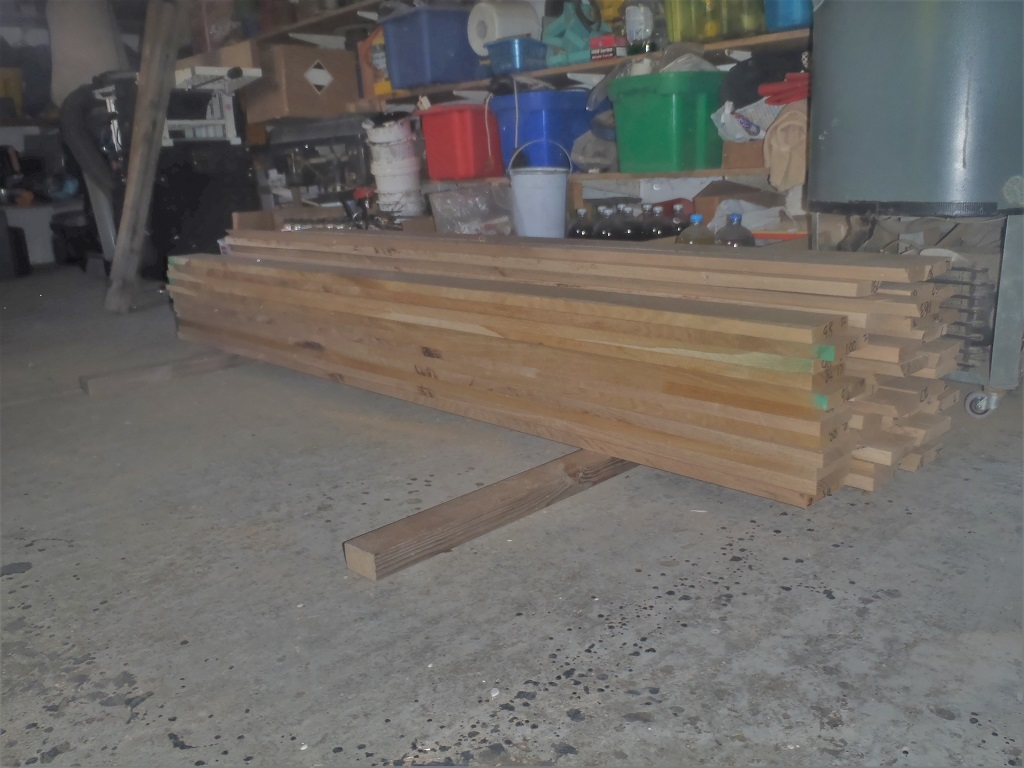
We used our laser level site to get the numbers and we now have three length to make our aluminium posts with top and bottom plates to help spread the load and fix the posts to the wooden beam and also keep it stable on the concrete.
The posts are in the order of 3200mm long, plus or minus 3mm.
It was very hot and we decided to avoid working on the roof until the next day Tuesday.
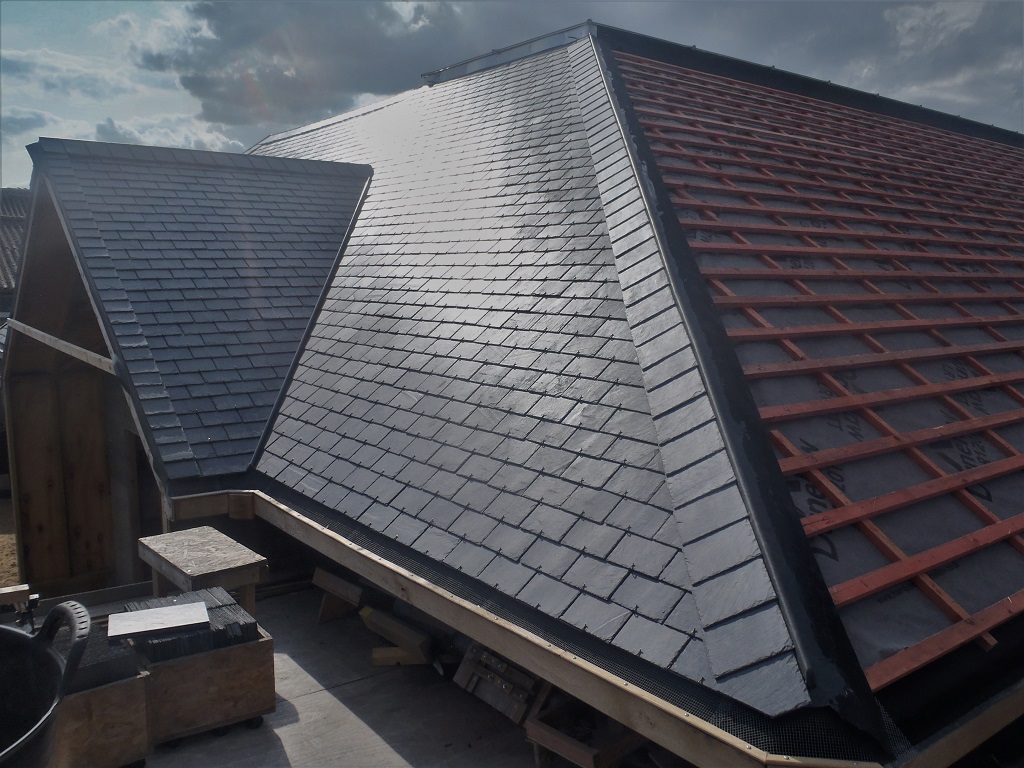
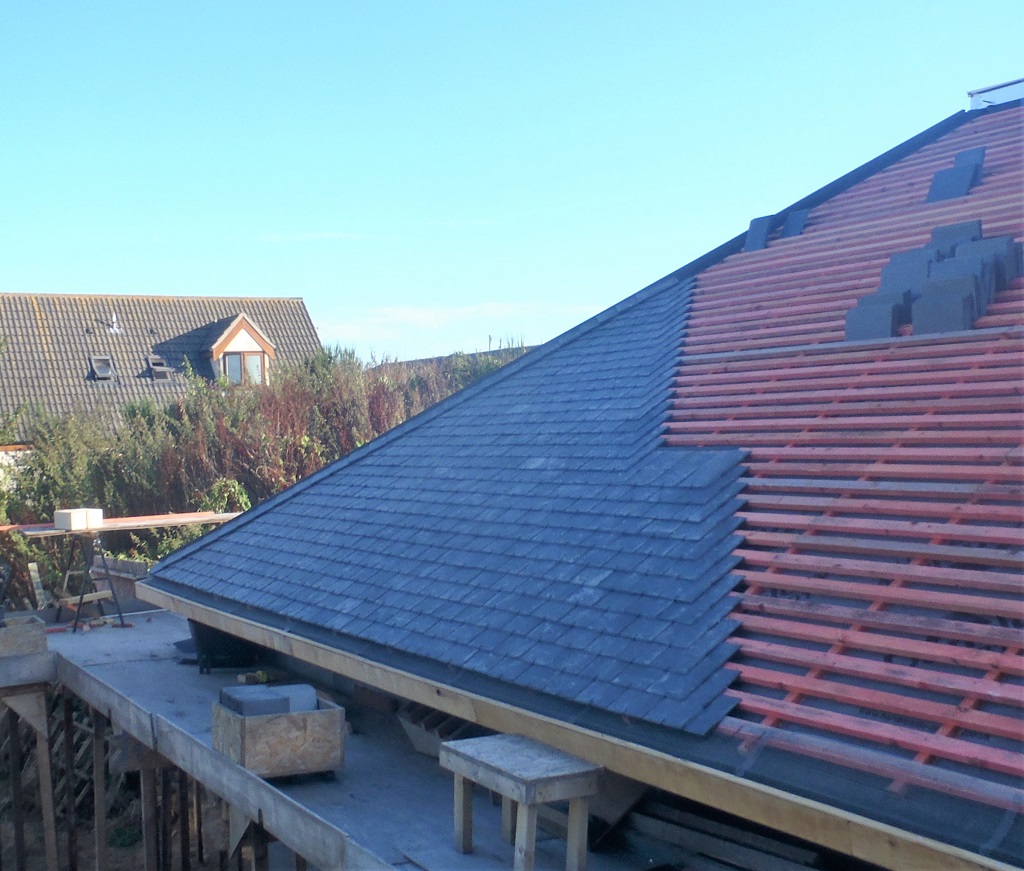
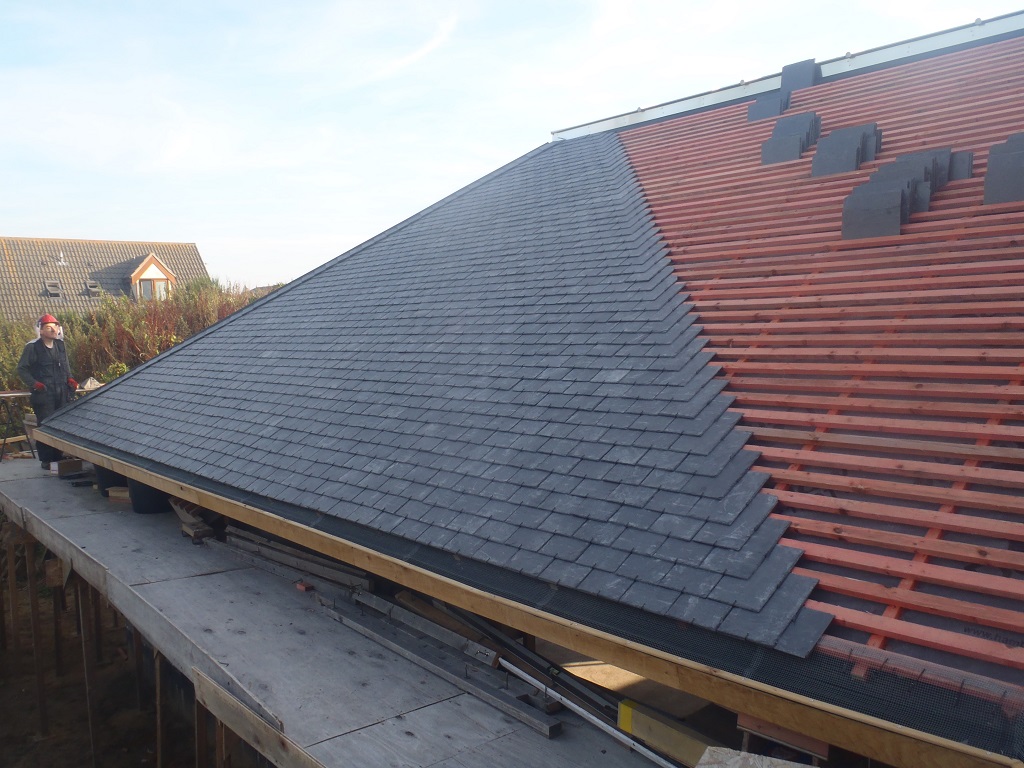
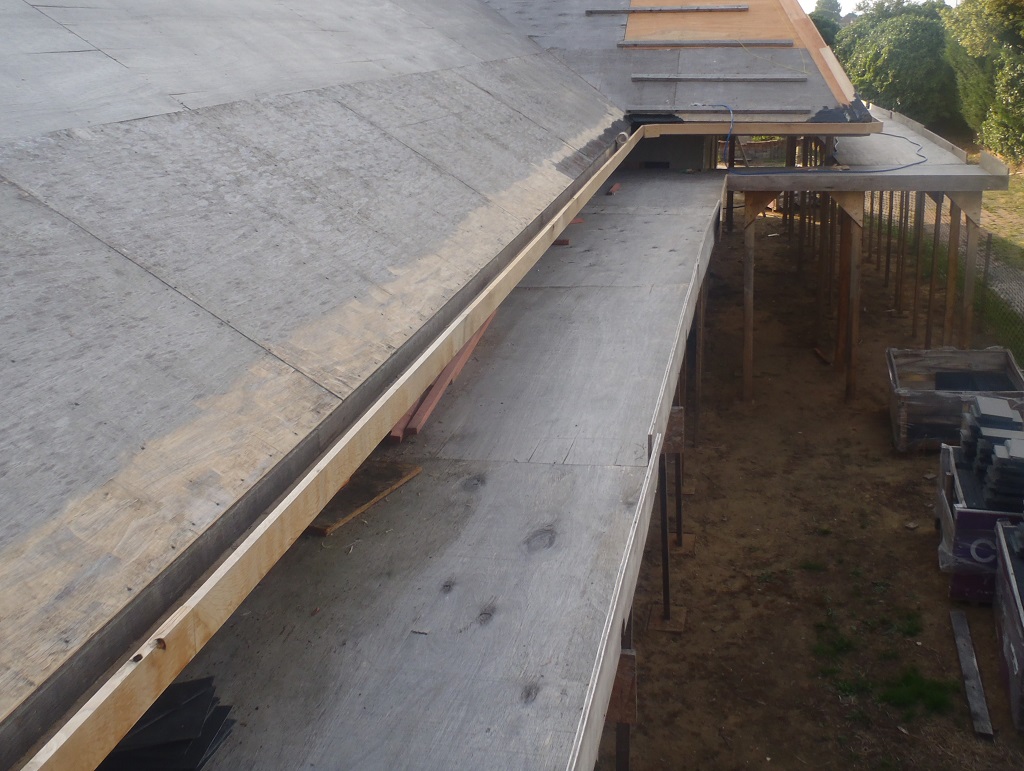
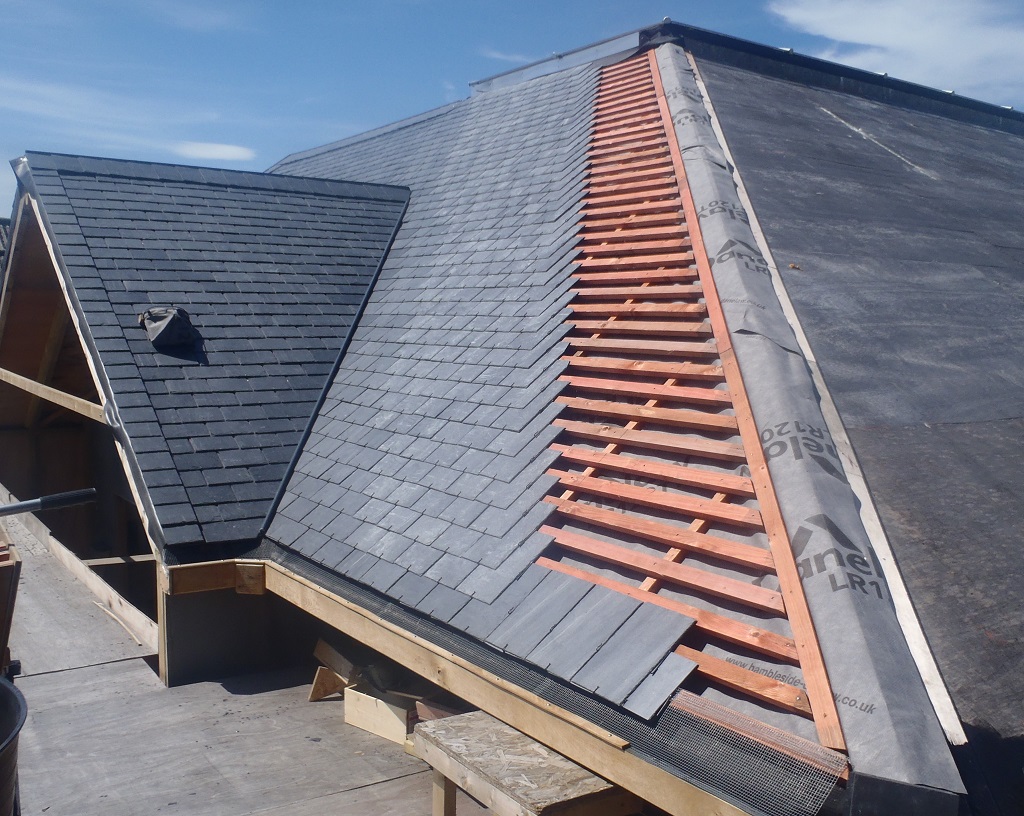
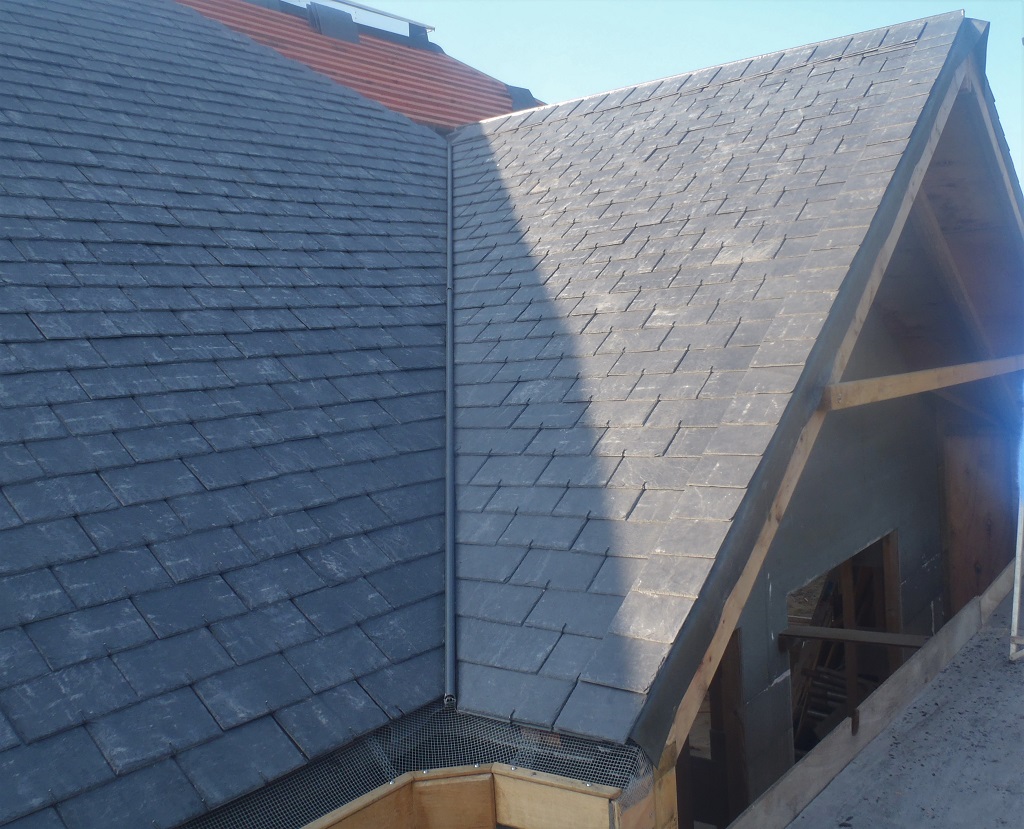
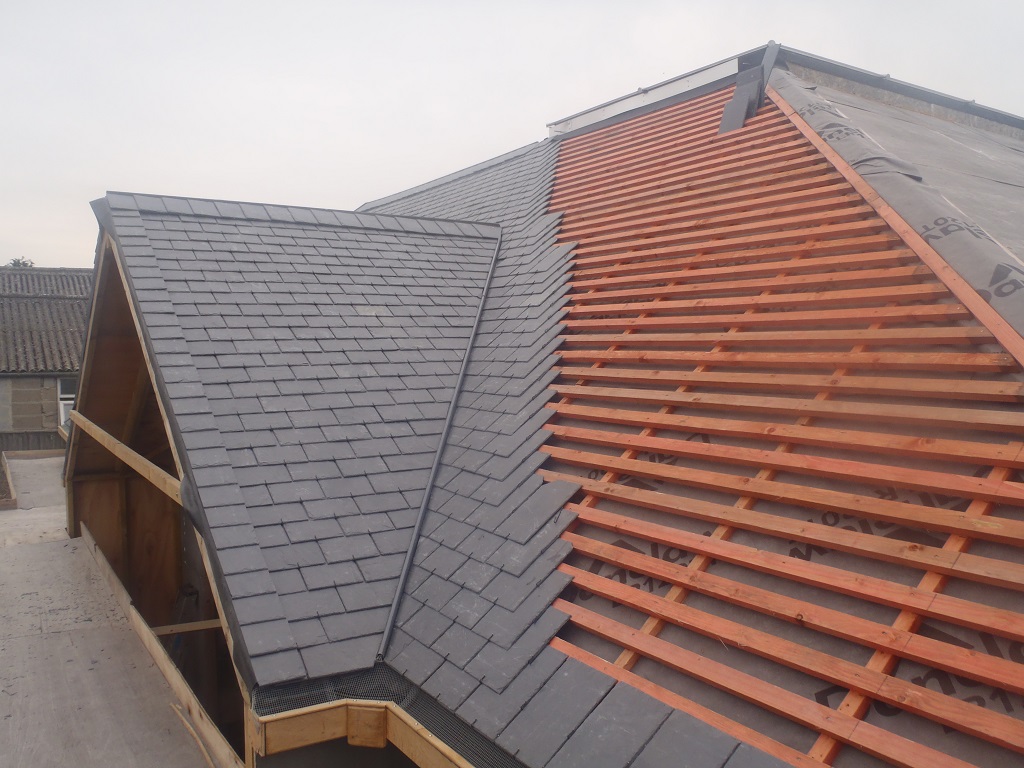
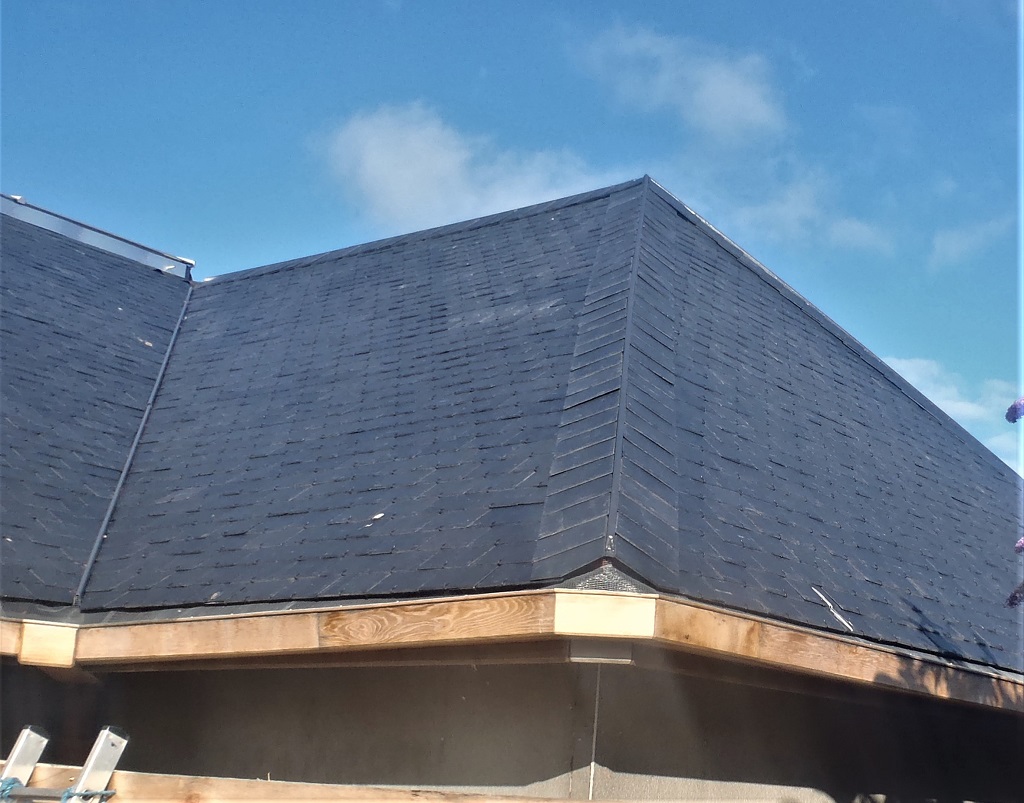
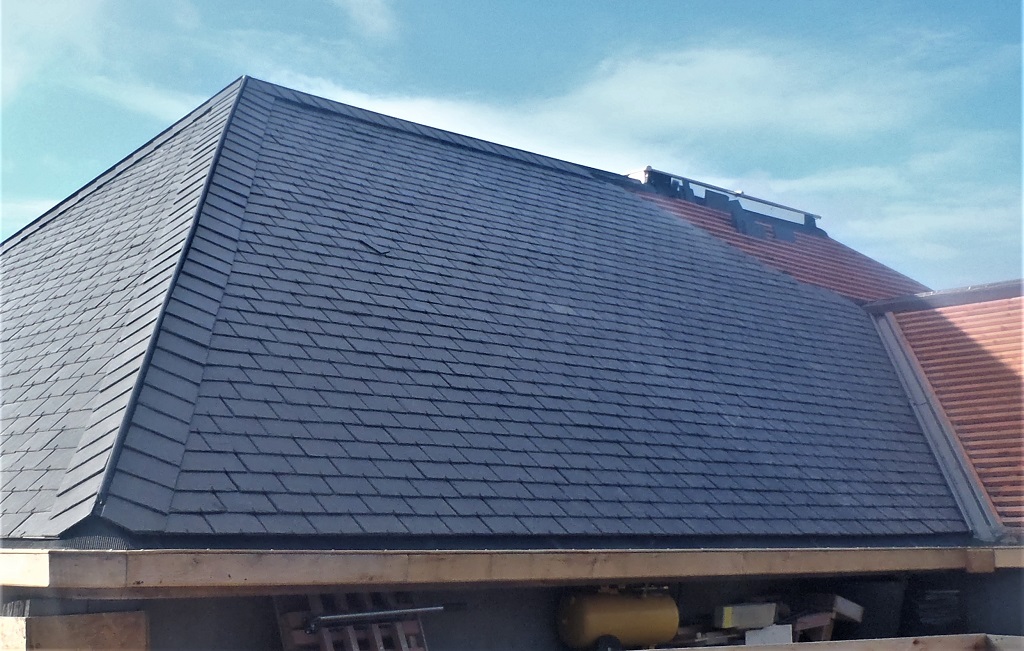
So Tuesday, half a day Wednesday (afternoon) and half a day of Thursday (morning), we got the rest of the largest ‘A’ section all covered in slates, an additional 1,200 of them, making a total of 2,500!
The temperature was still very hot and it climbed to 29°C on Tuesday but was cooler on the following days. We drank lots of water more or less every hour. Phew!
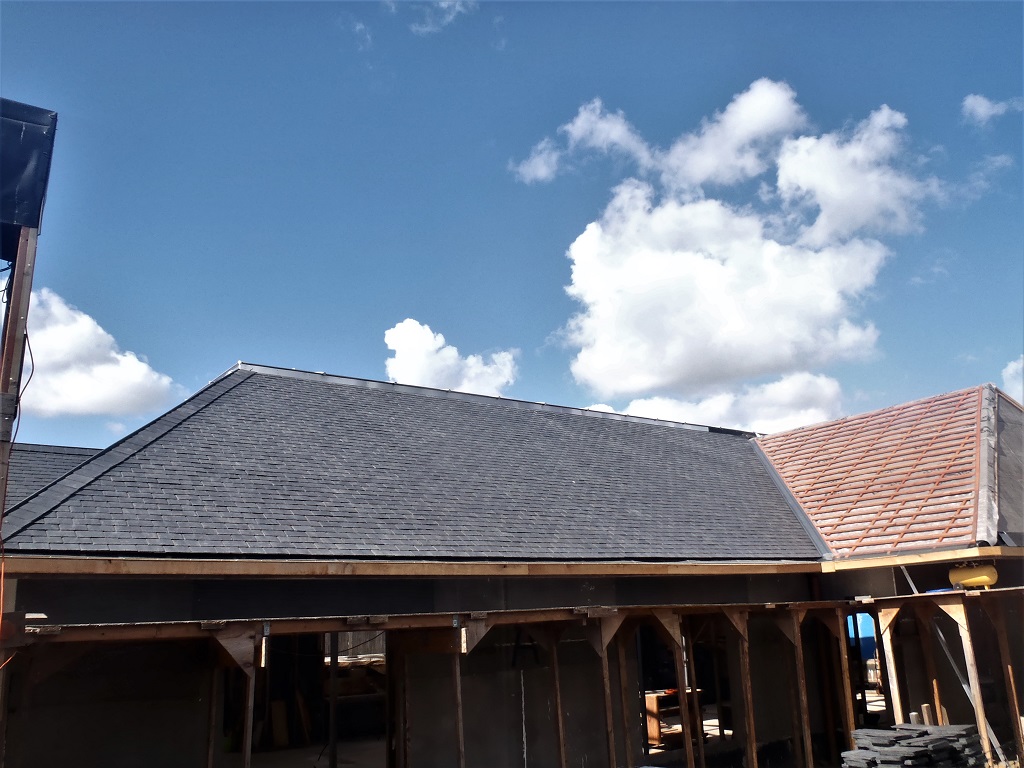
Roof-A-complete
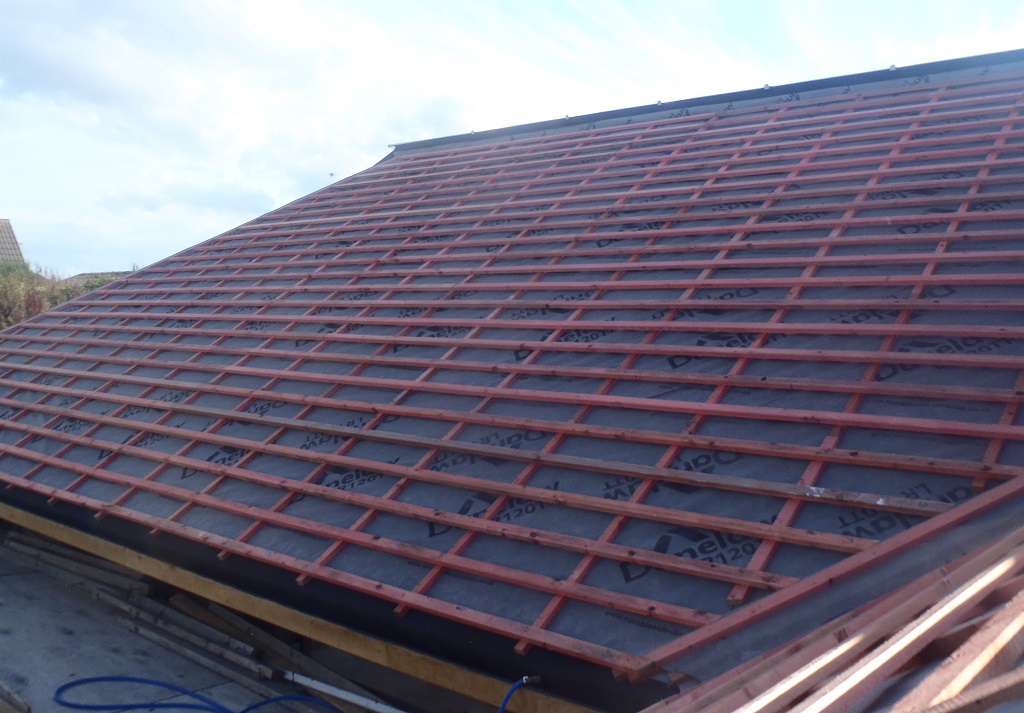
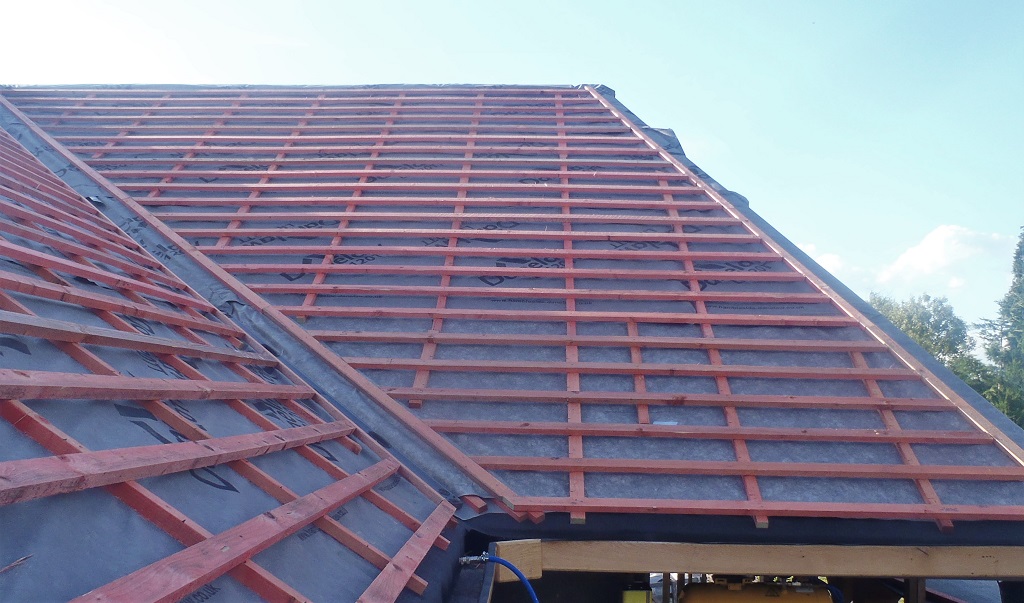
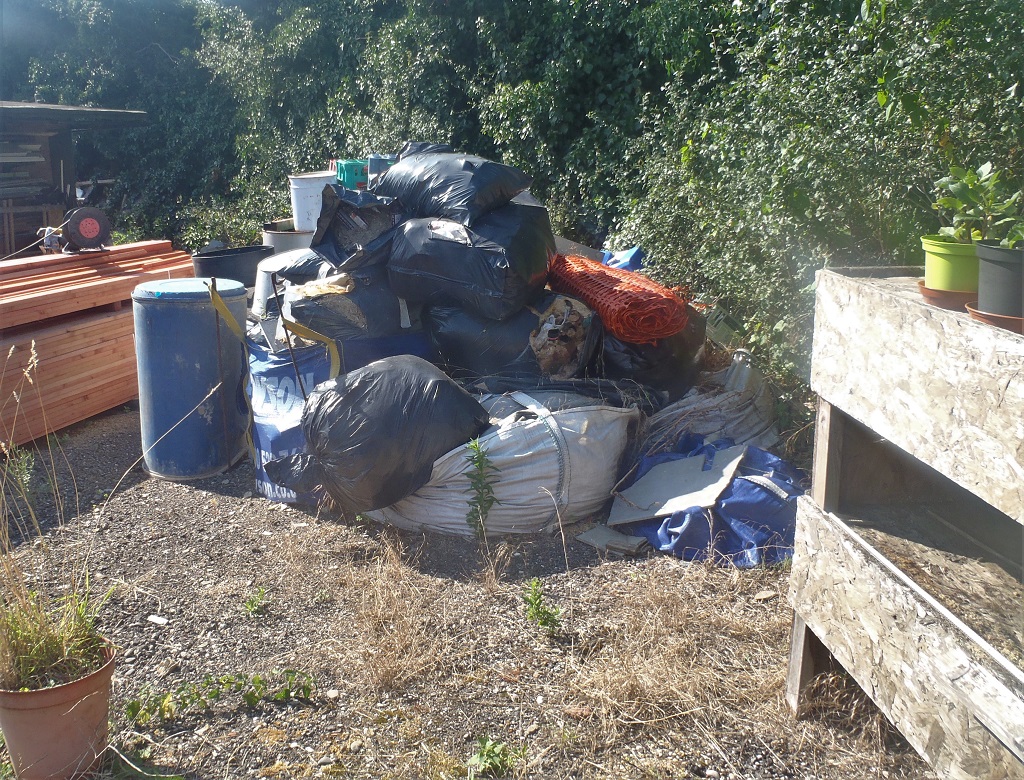
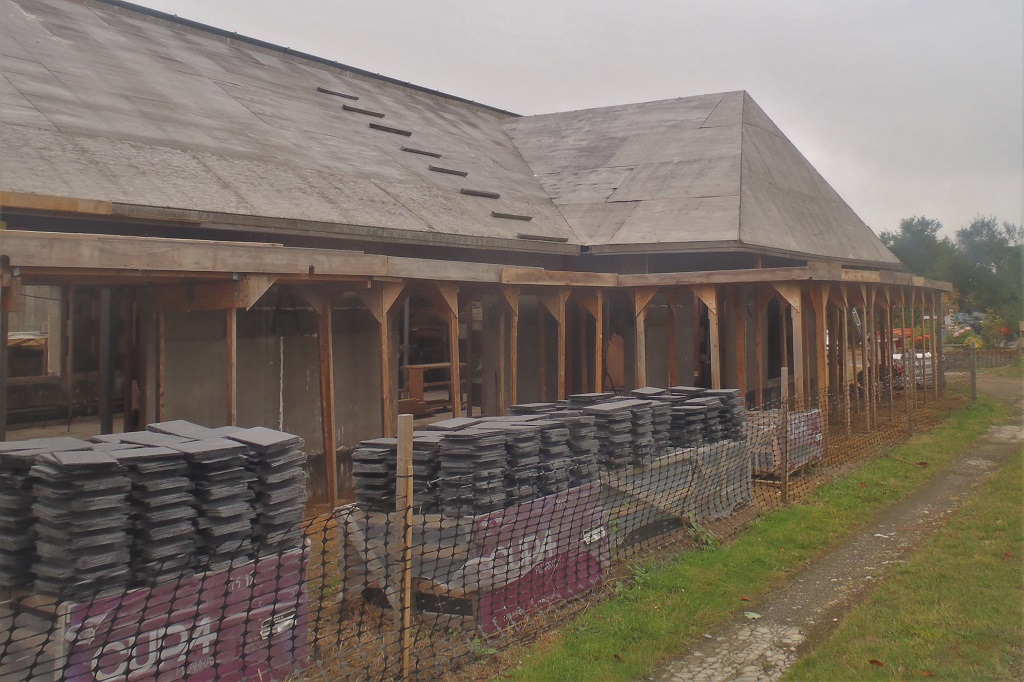
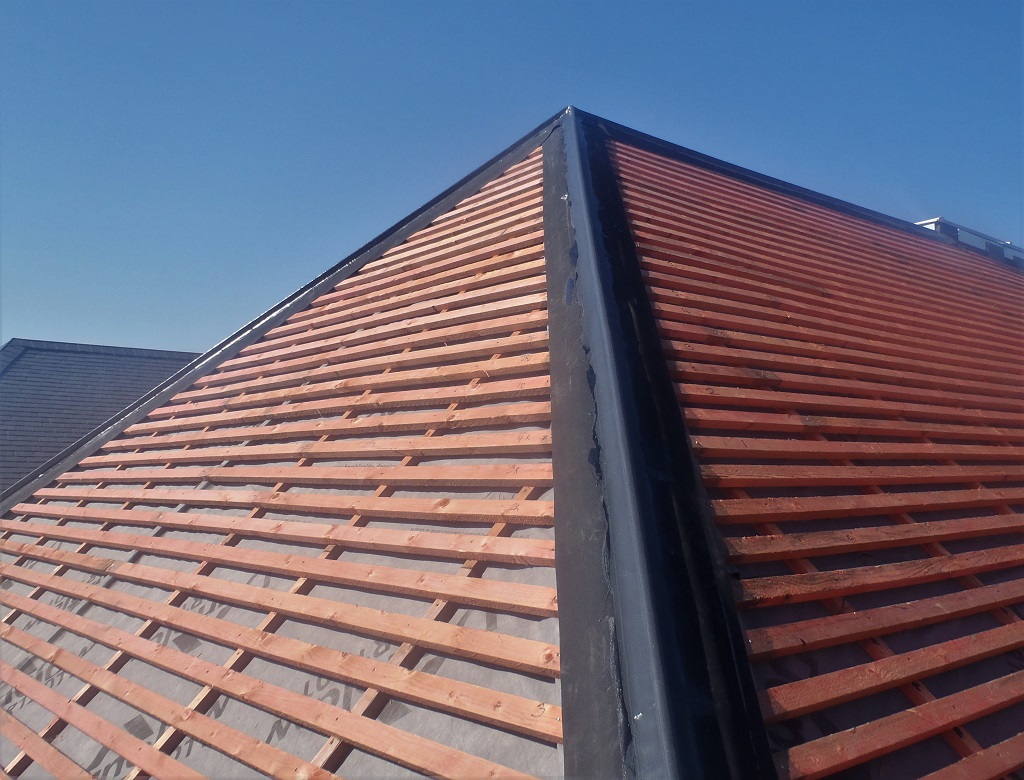
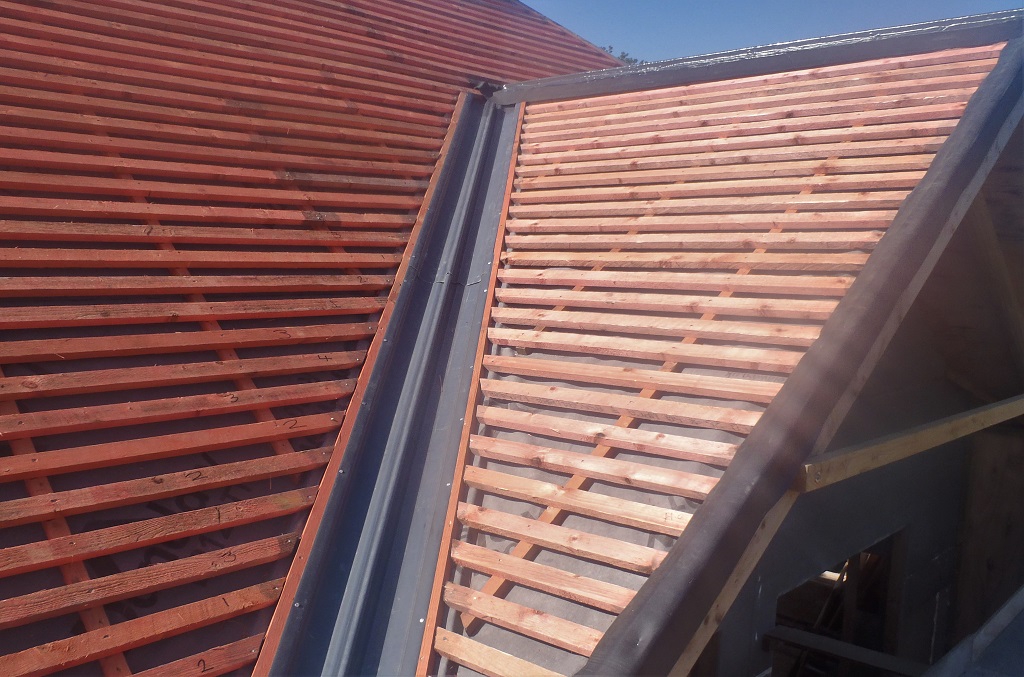
The remaining part of Thursday was spent tidying up our platform walkways, moving the trolleys of slates back to ground level, moving equipment and materials around so we could start undoing the modules along ‘A’ and the ‘P’ sections. We need to do this because we need to gain access to the other half of the main front roof, the ‘E’ section on the other side of the front porch.
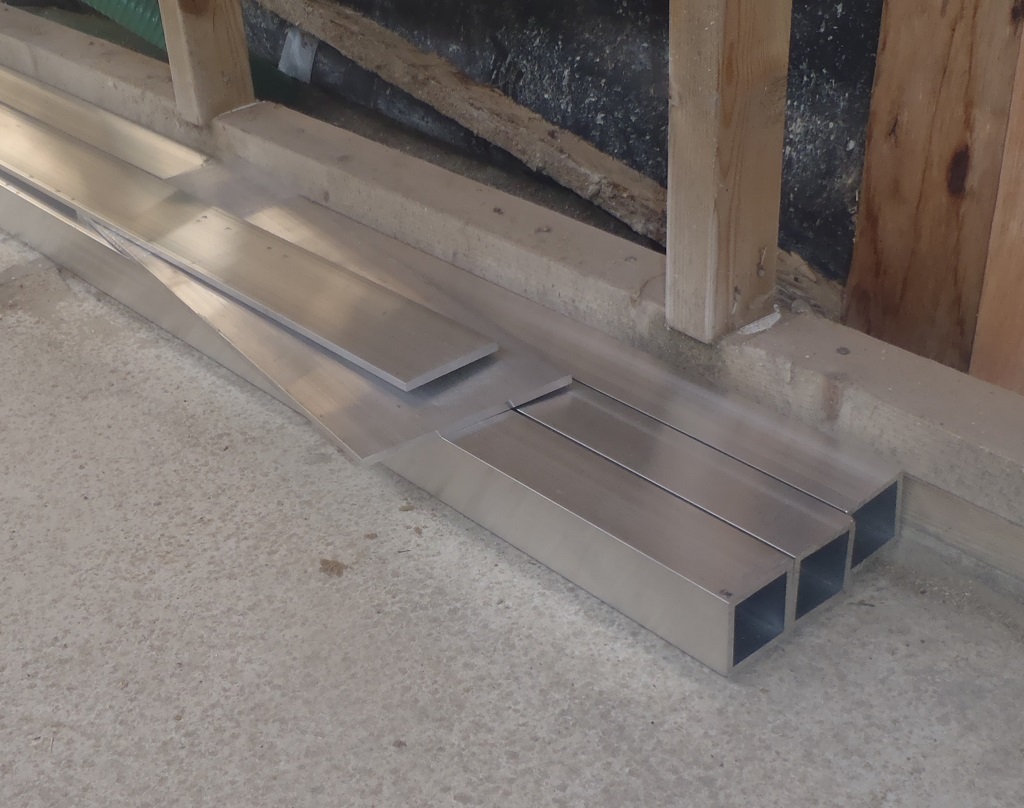
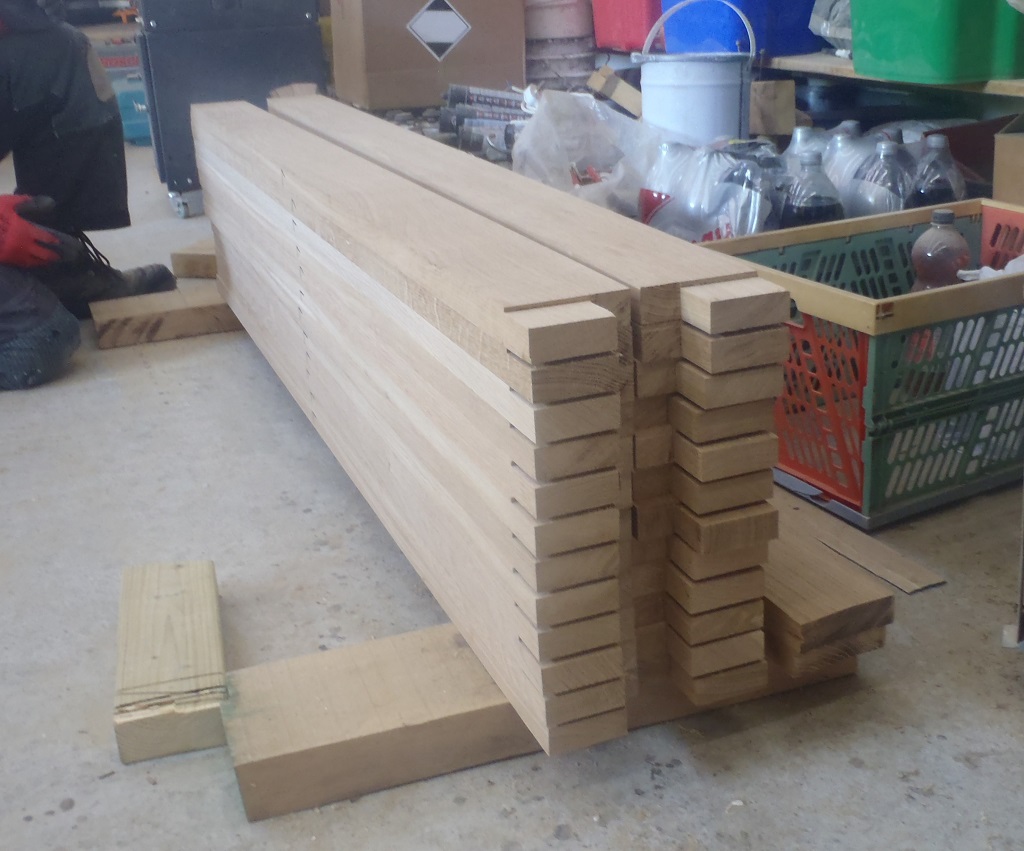
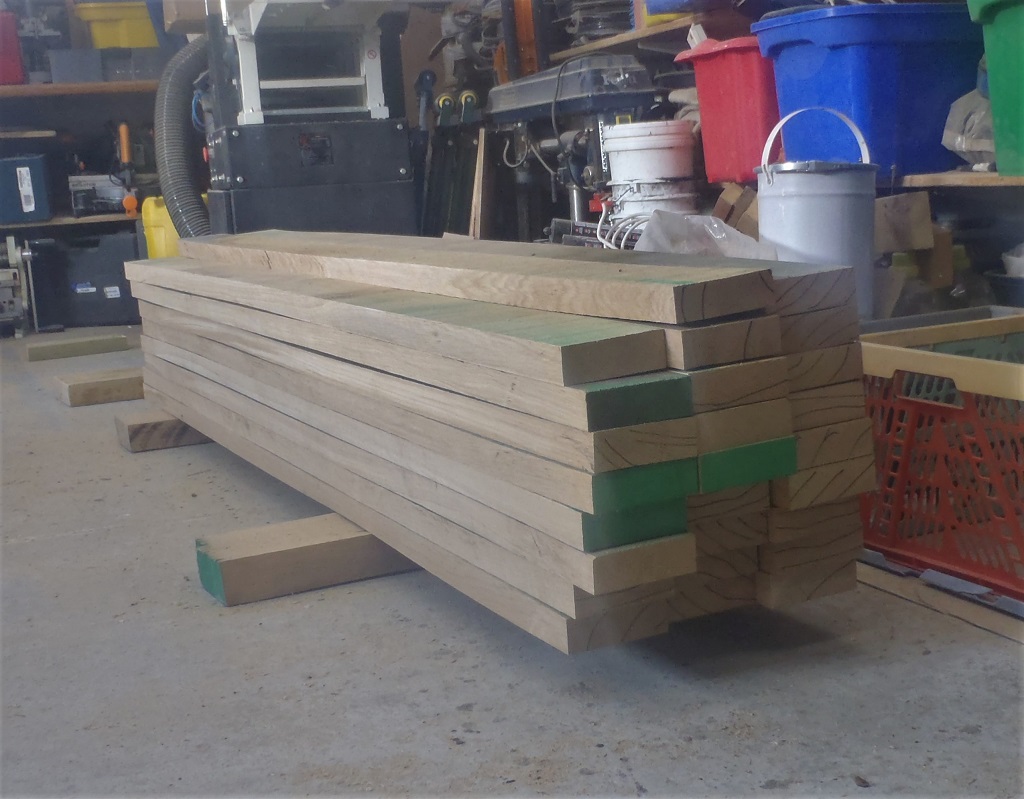
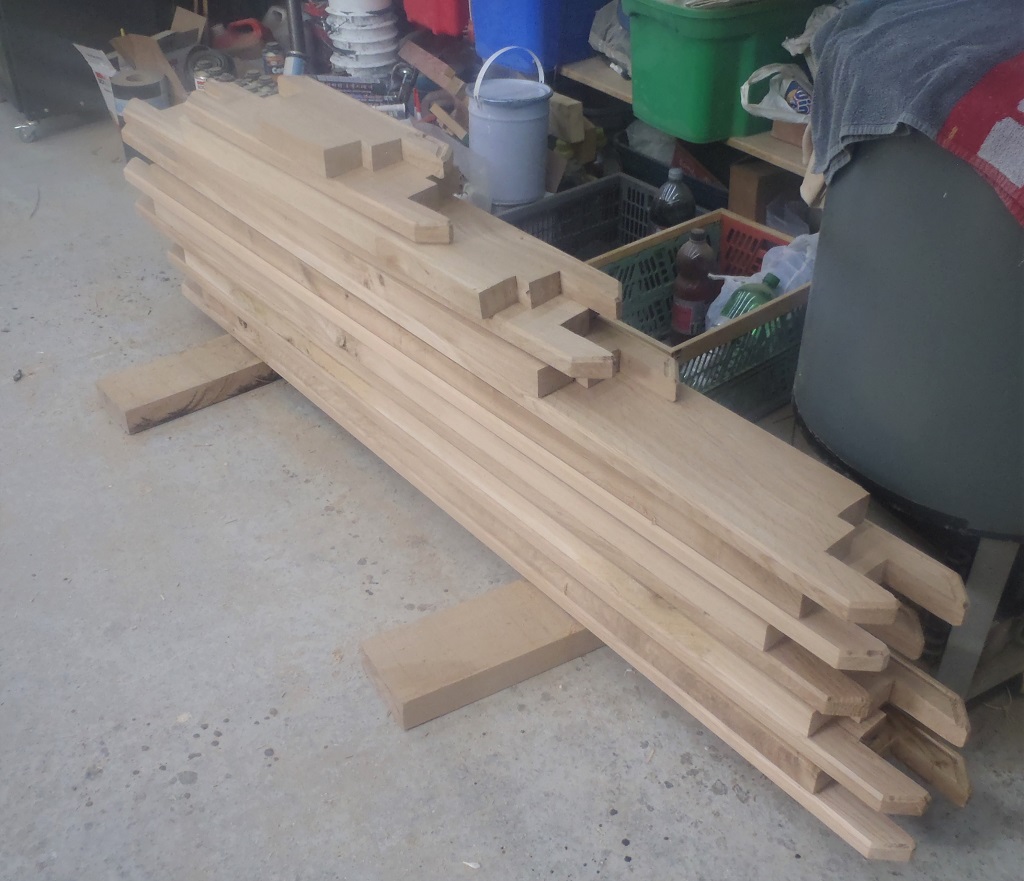
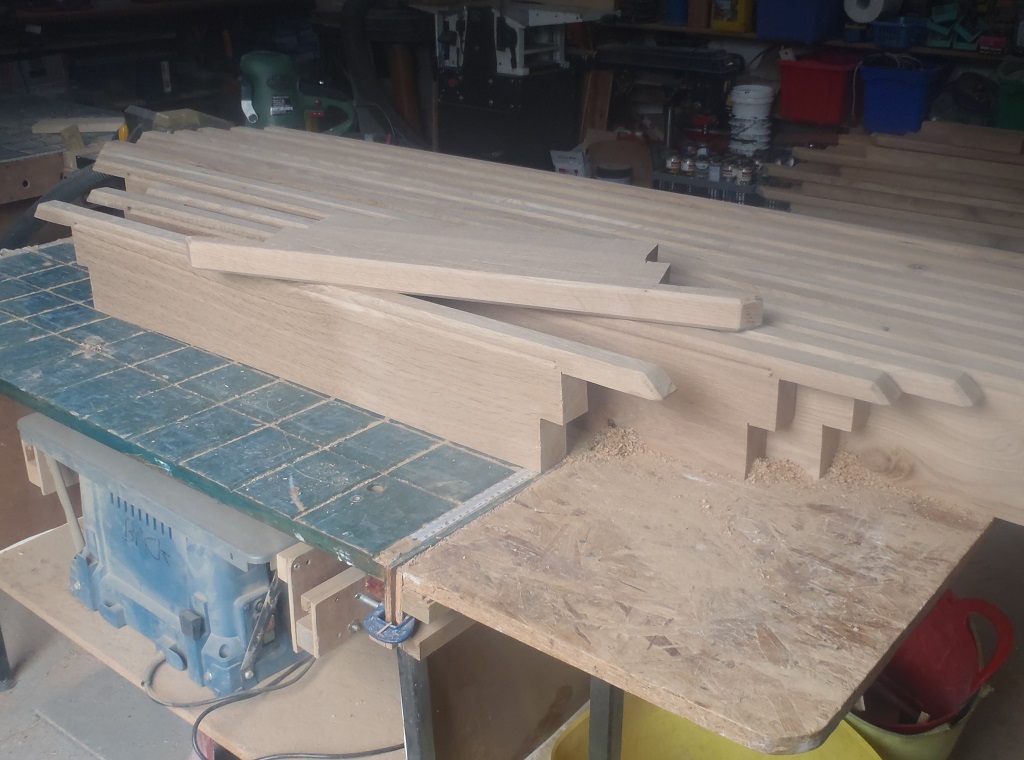
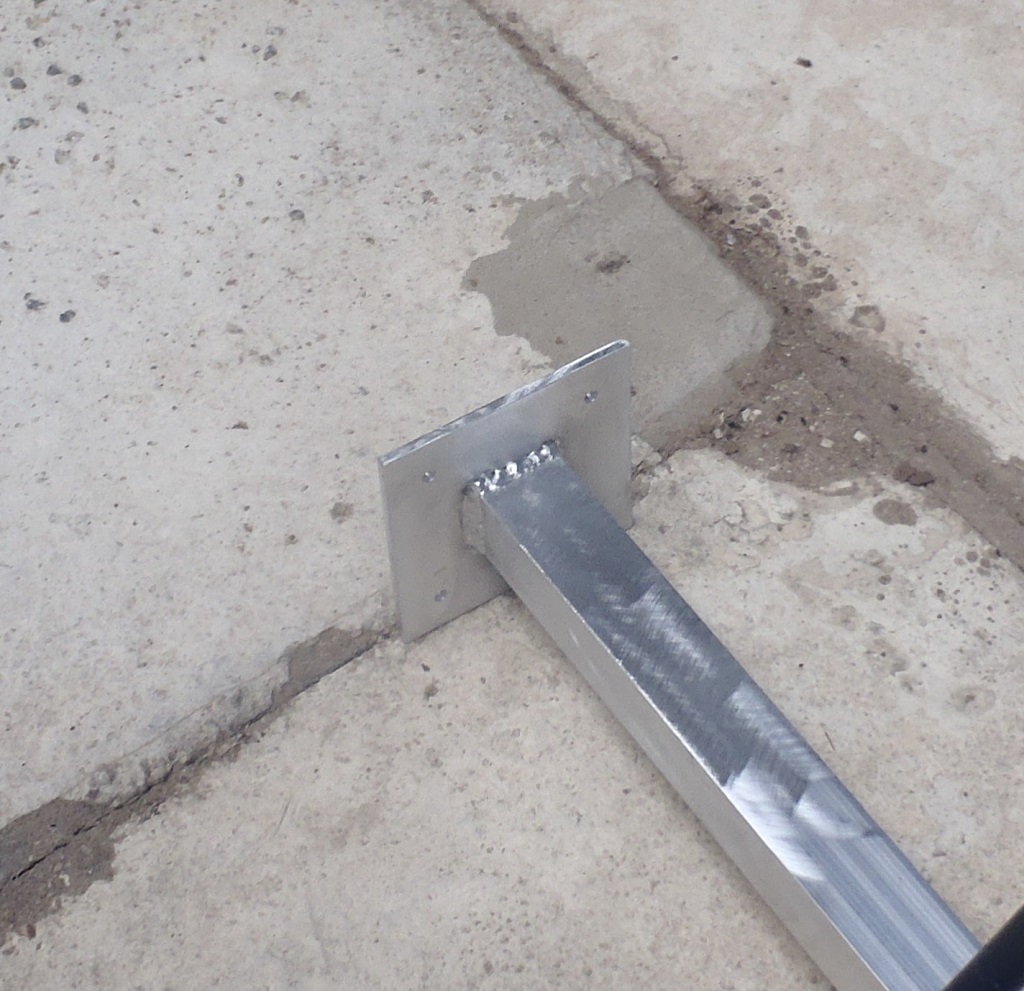
For Friday and Saturday, while one half of the work force was occupied elsewhere, the metalwork was done on the posts for the Front Porch. There are three aluminium square posts, measuring 50mm a side and 3200mm tall. Each end has a flat metal plate welded, to help spread the load across the interface; the concrete pad at the bottom and the wooden beam up inside the porch roof. The bottom pad is a solid 150mm square and 6mm thick and the top piece is 75mm wide and also 6mm thick. The top plates comes in two shapes; a straight one measuring 125mm long for the middle leg, and two L shaped one for the corners. The first thing Stephen need to do was learn how to weld aluminium, this need changes to the welding machine and learning a new technique for the welding. This took up most of Friday morning (doing many practice welds and checking quality)!
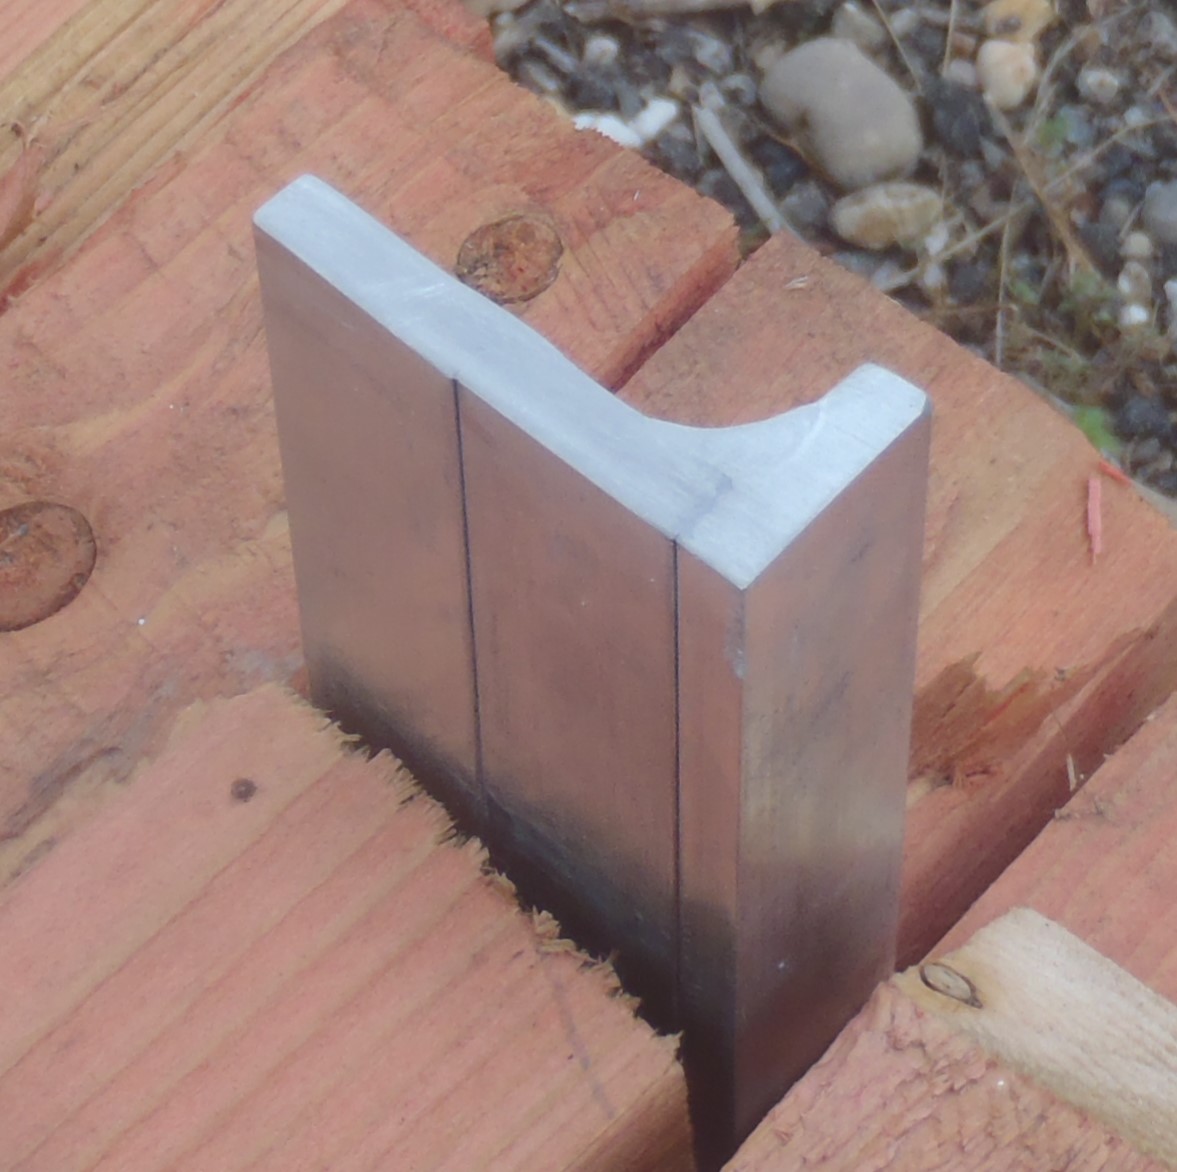
Aluminium-welding-Cross-section
Then the plates were cut and butt welded. The on Saturday the plates were welded to the posts.

Porch-legs-1

Porch-legs-2
Porch-legs-3
We started installing them Saturday afternoon and we got one up in the C-D corner but we were trying to lift up the other corner, the B-C corner, to slide the metal leg under the beam, only 10mm to lift but it is proving difficult to do. We are using a car hydraulic jack but can’t get a stable base to apply the force to lift up the beam and the roof that 10mm.
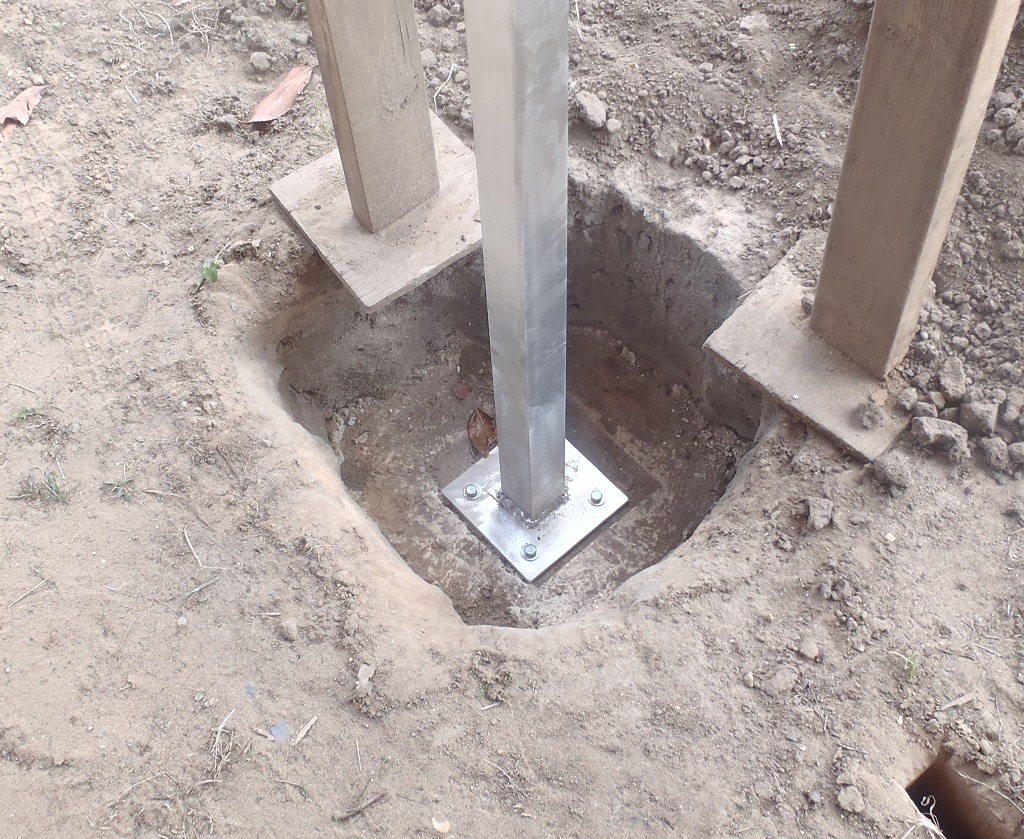
Porch-leg-base
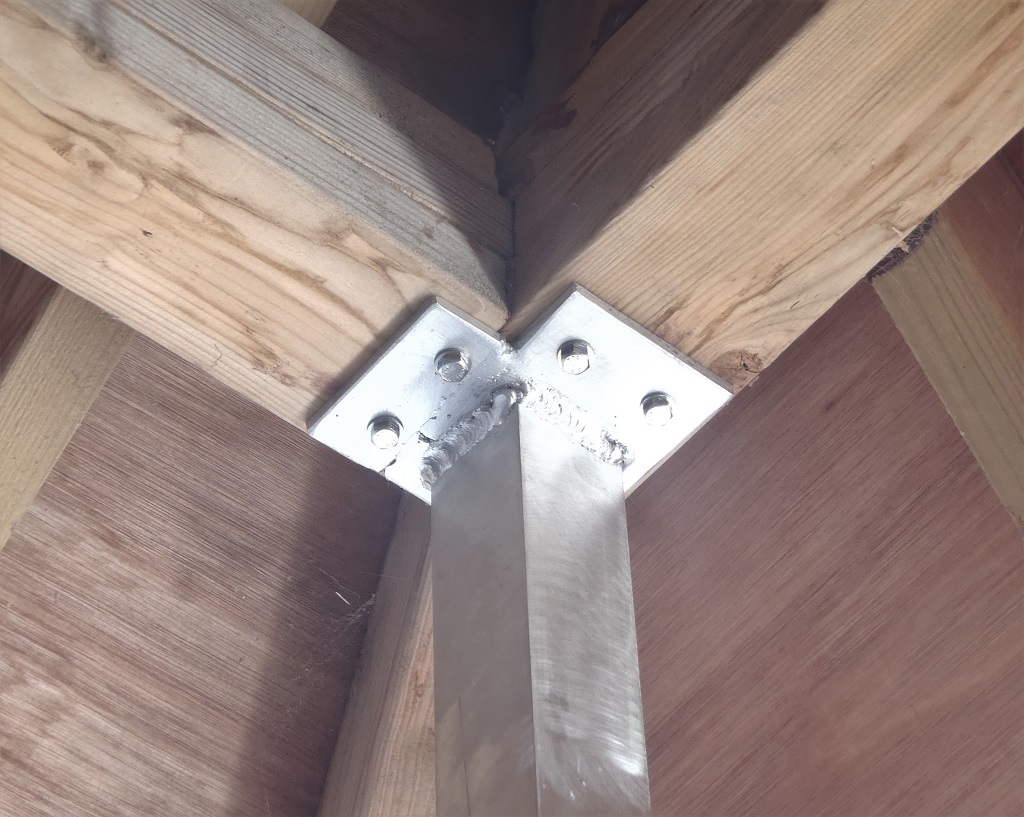
Porch-leg-top
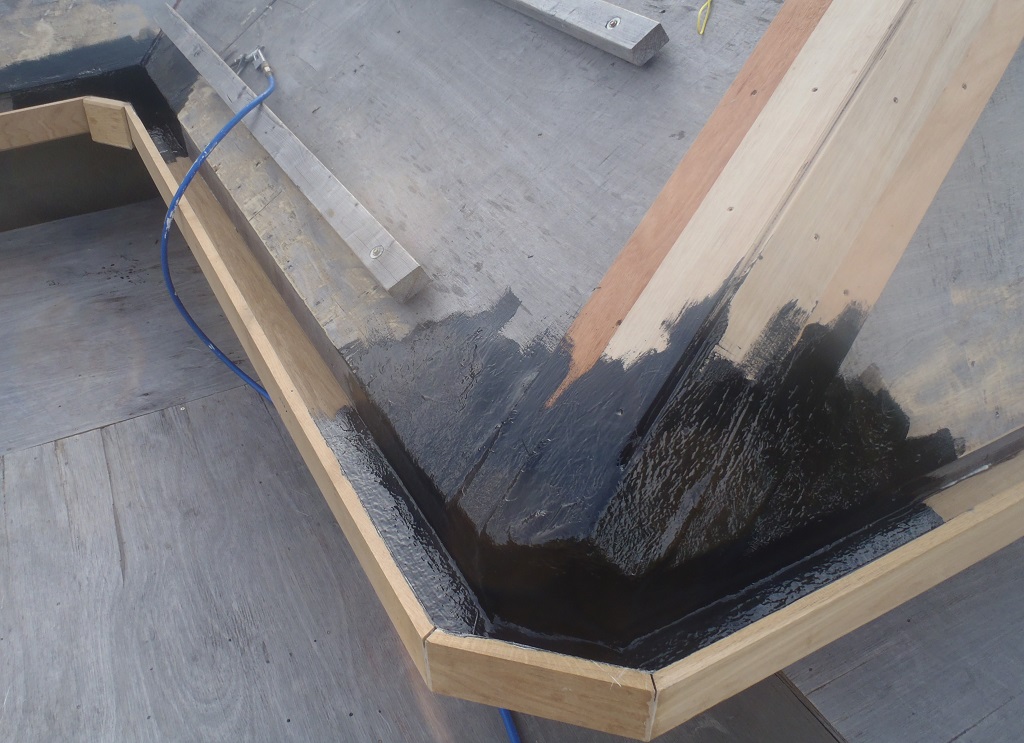
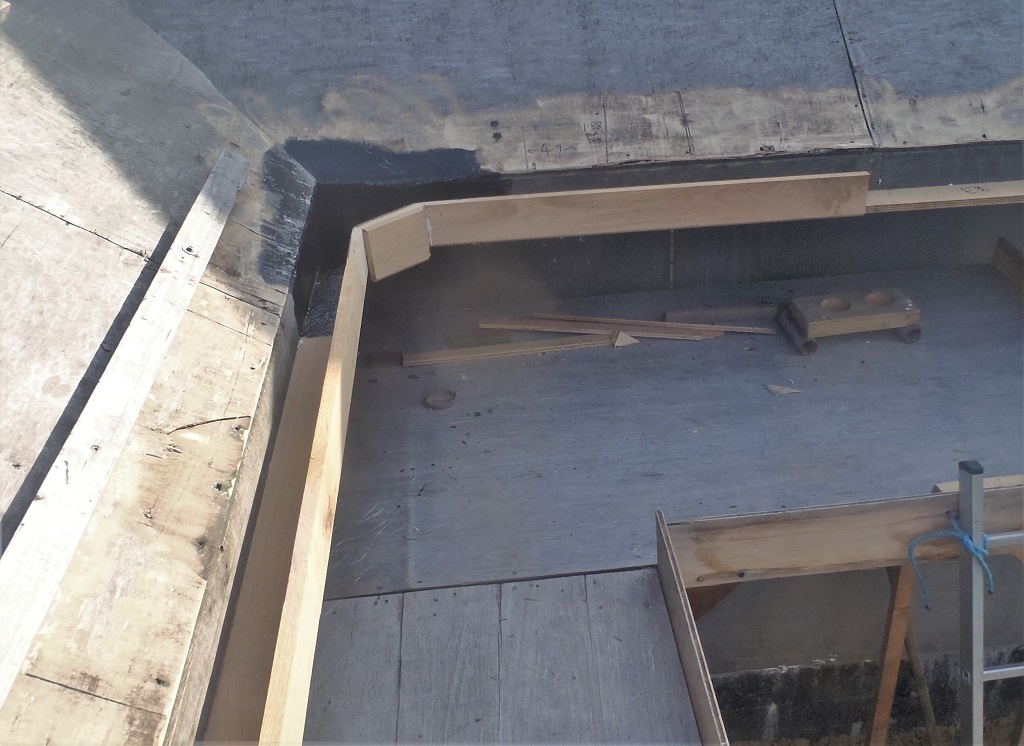
We will resume on Monday! Once the metal posts are in place, we can rearrange the working platform modules again so we can get access to the whole of the ‘E’ section and around along the Side Porch too. Then we can do more guttering and inserting the rubber liner.