We got on with the work we left standing on Saturday, which is putting up the cladding battens onto the walls, ready for installing the Larch cladding.
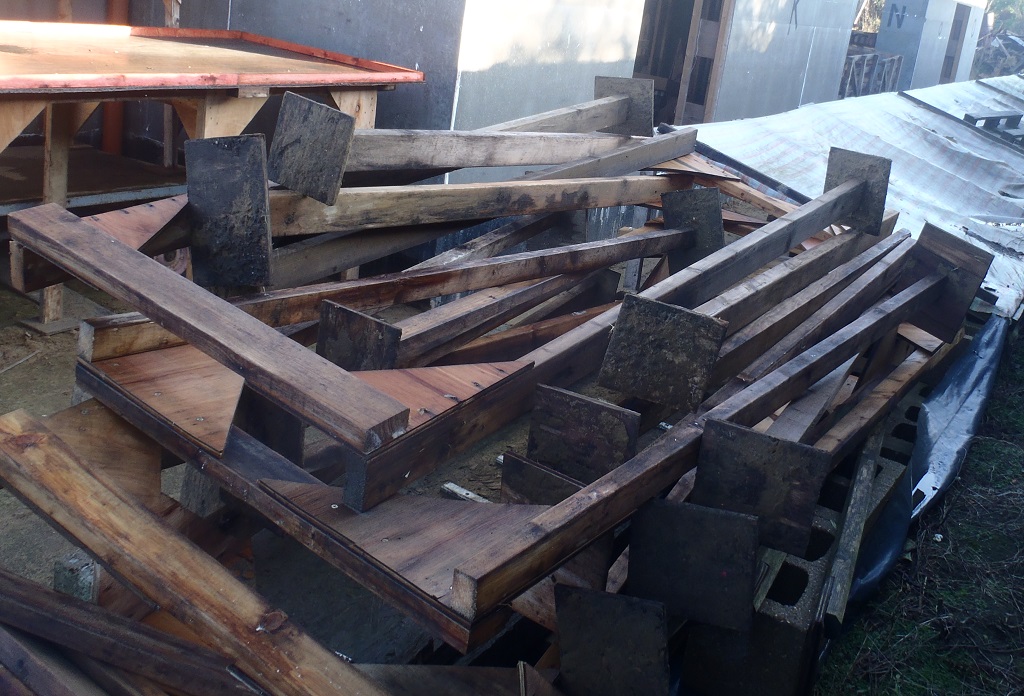
We proceeded by drilling clearance holes top, bottom and middle of each long piece and just top and bottom for the shorter ones. Also the shorter ones were dipped into the timber preservative solution to ensure long life.
Cladding-battens-cut-and-drilled
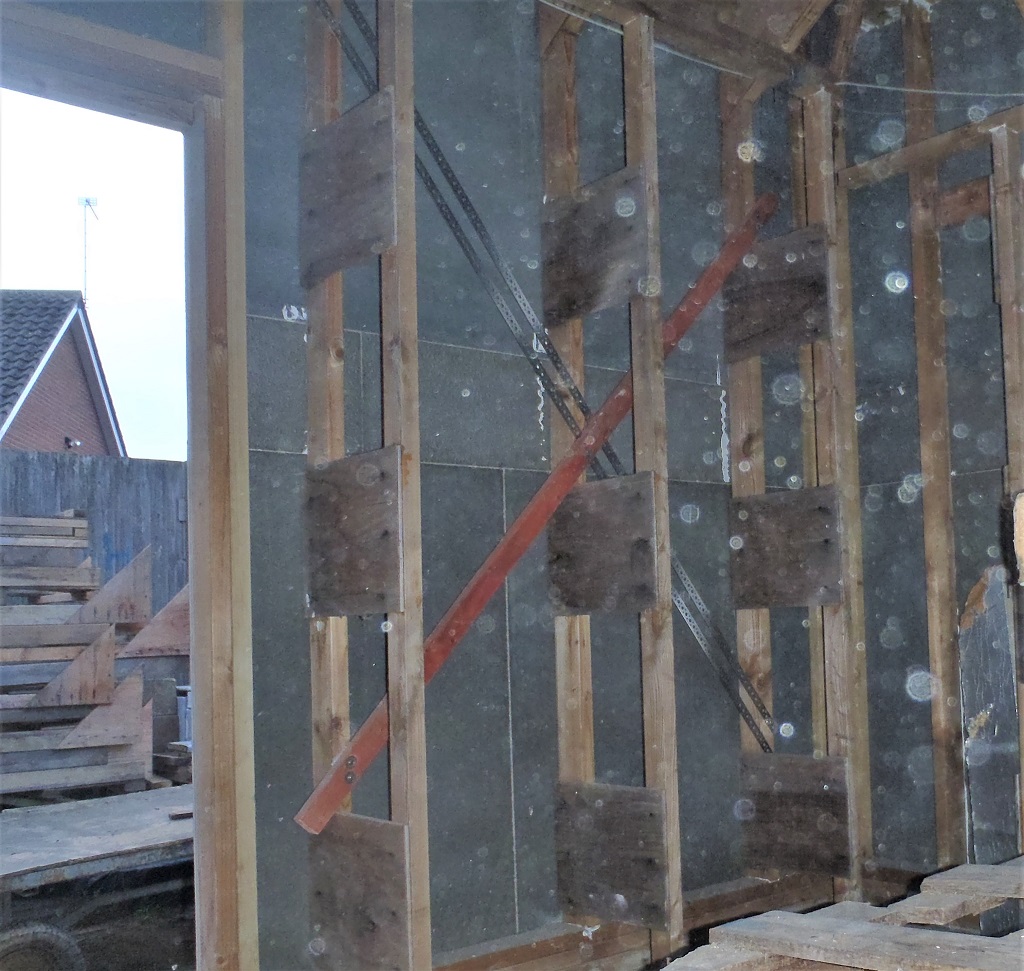
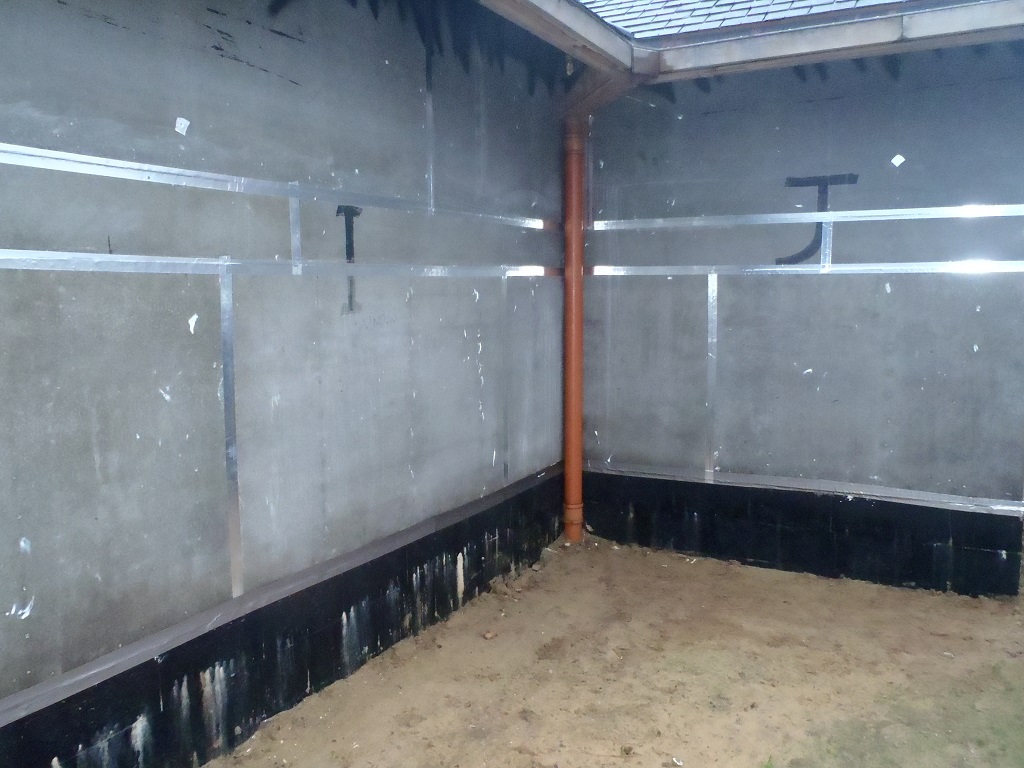
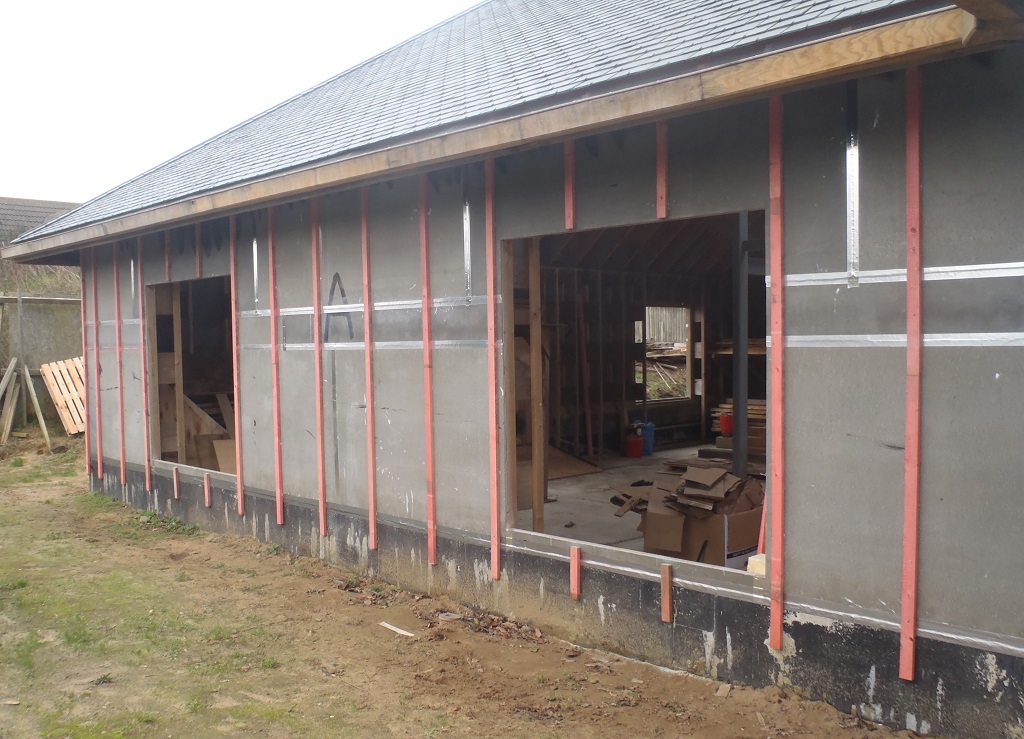
The first wall we tackled was the two back sections, “K” and “O” and after confirming where the bottom of each batten comes down to (overlapping onto the concrete block) and double checking with another batten on another section, we were happy that things were consistent. We used lots of PU construction glue to stick each batten to the cement board, lining up over the nails (fixing the cement boards to each leg) and then screwing down tight the three (or four) stainless steel 70mm long screws.
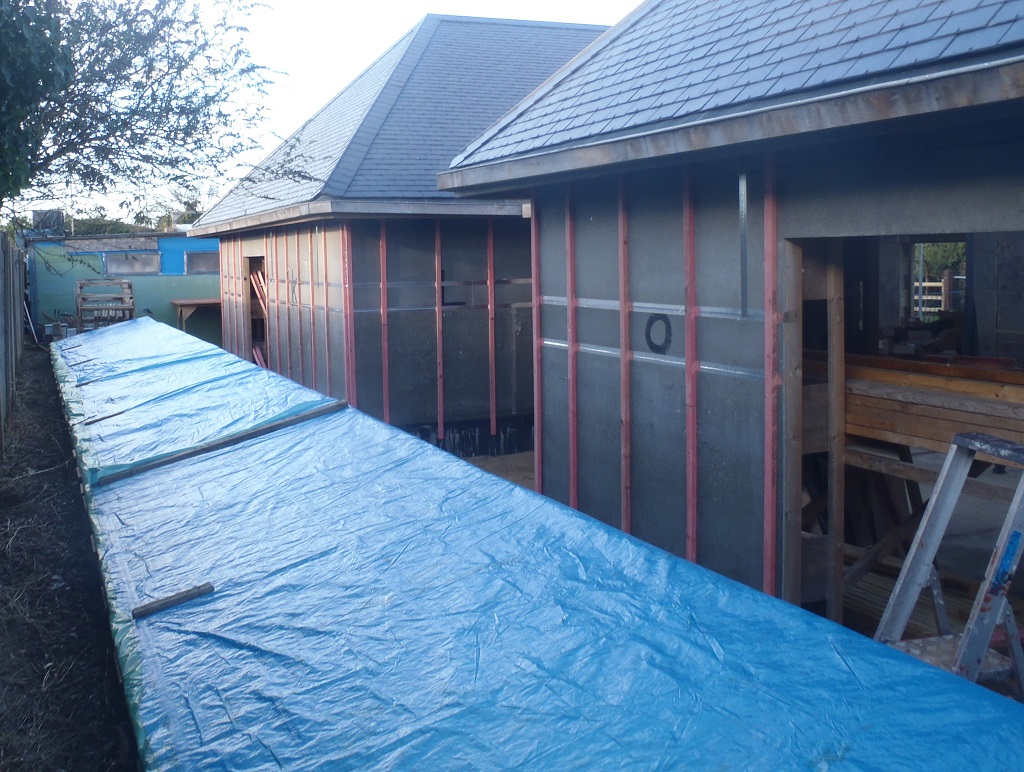
First-lot-of-battens-on-KLMNO
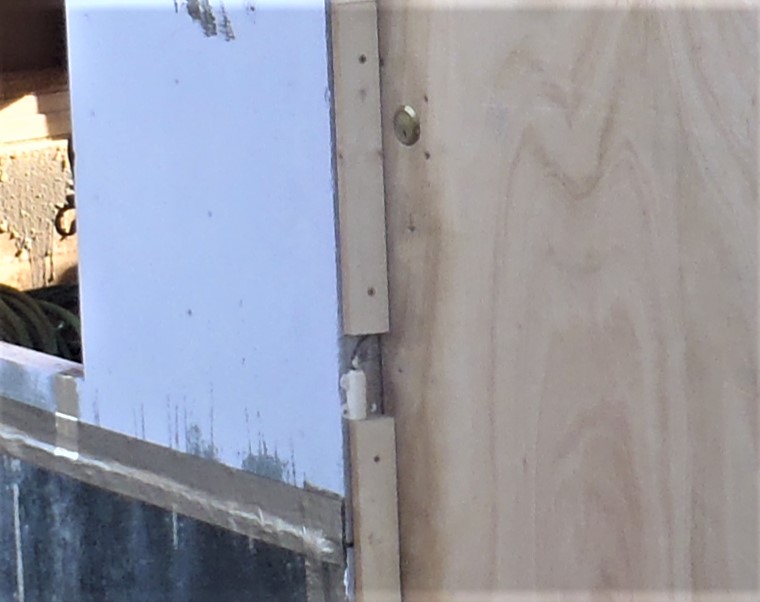
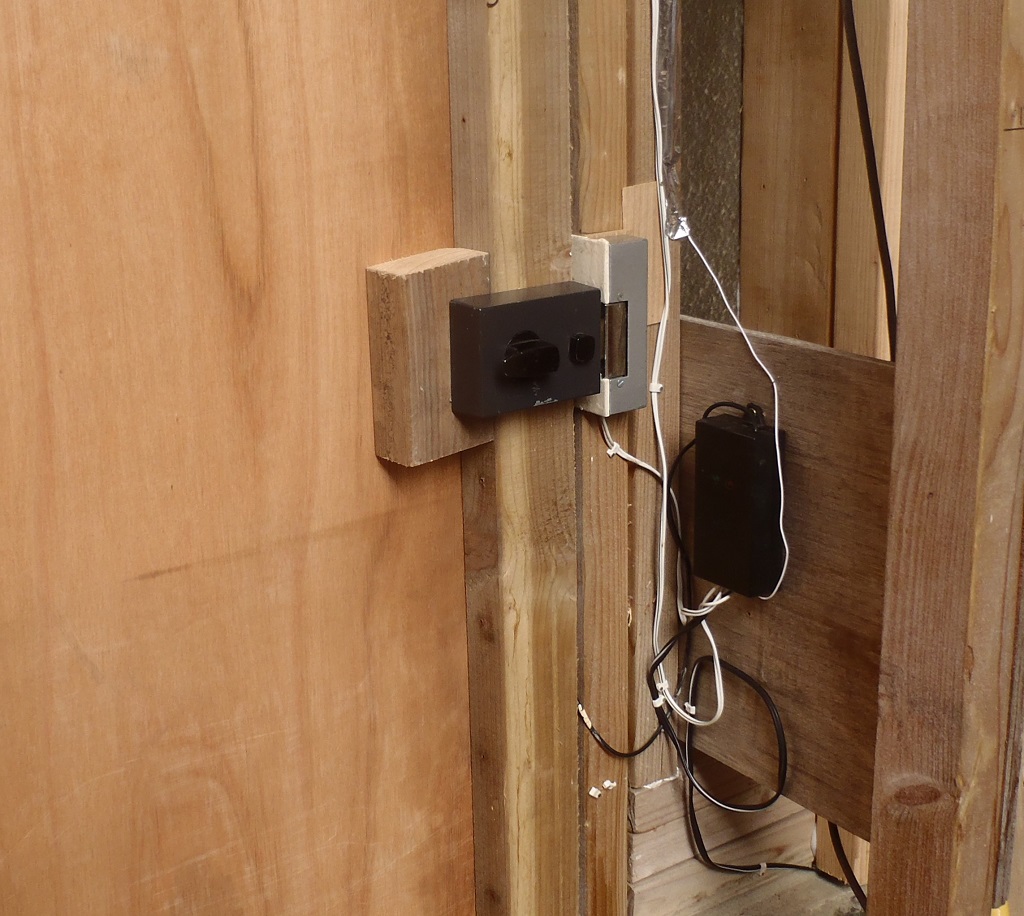
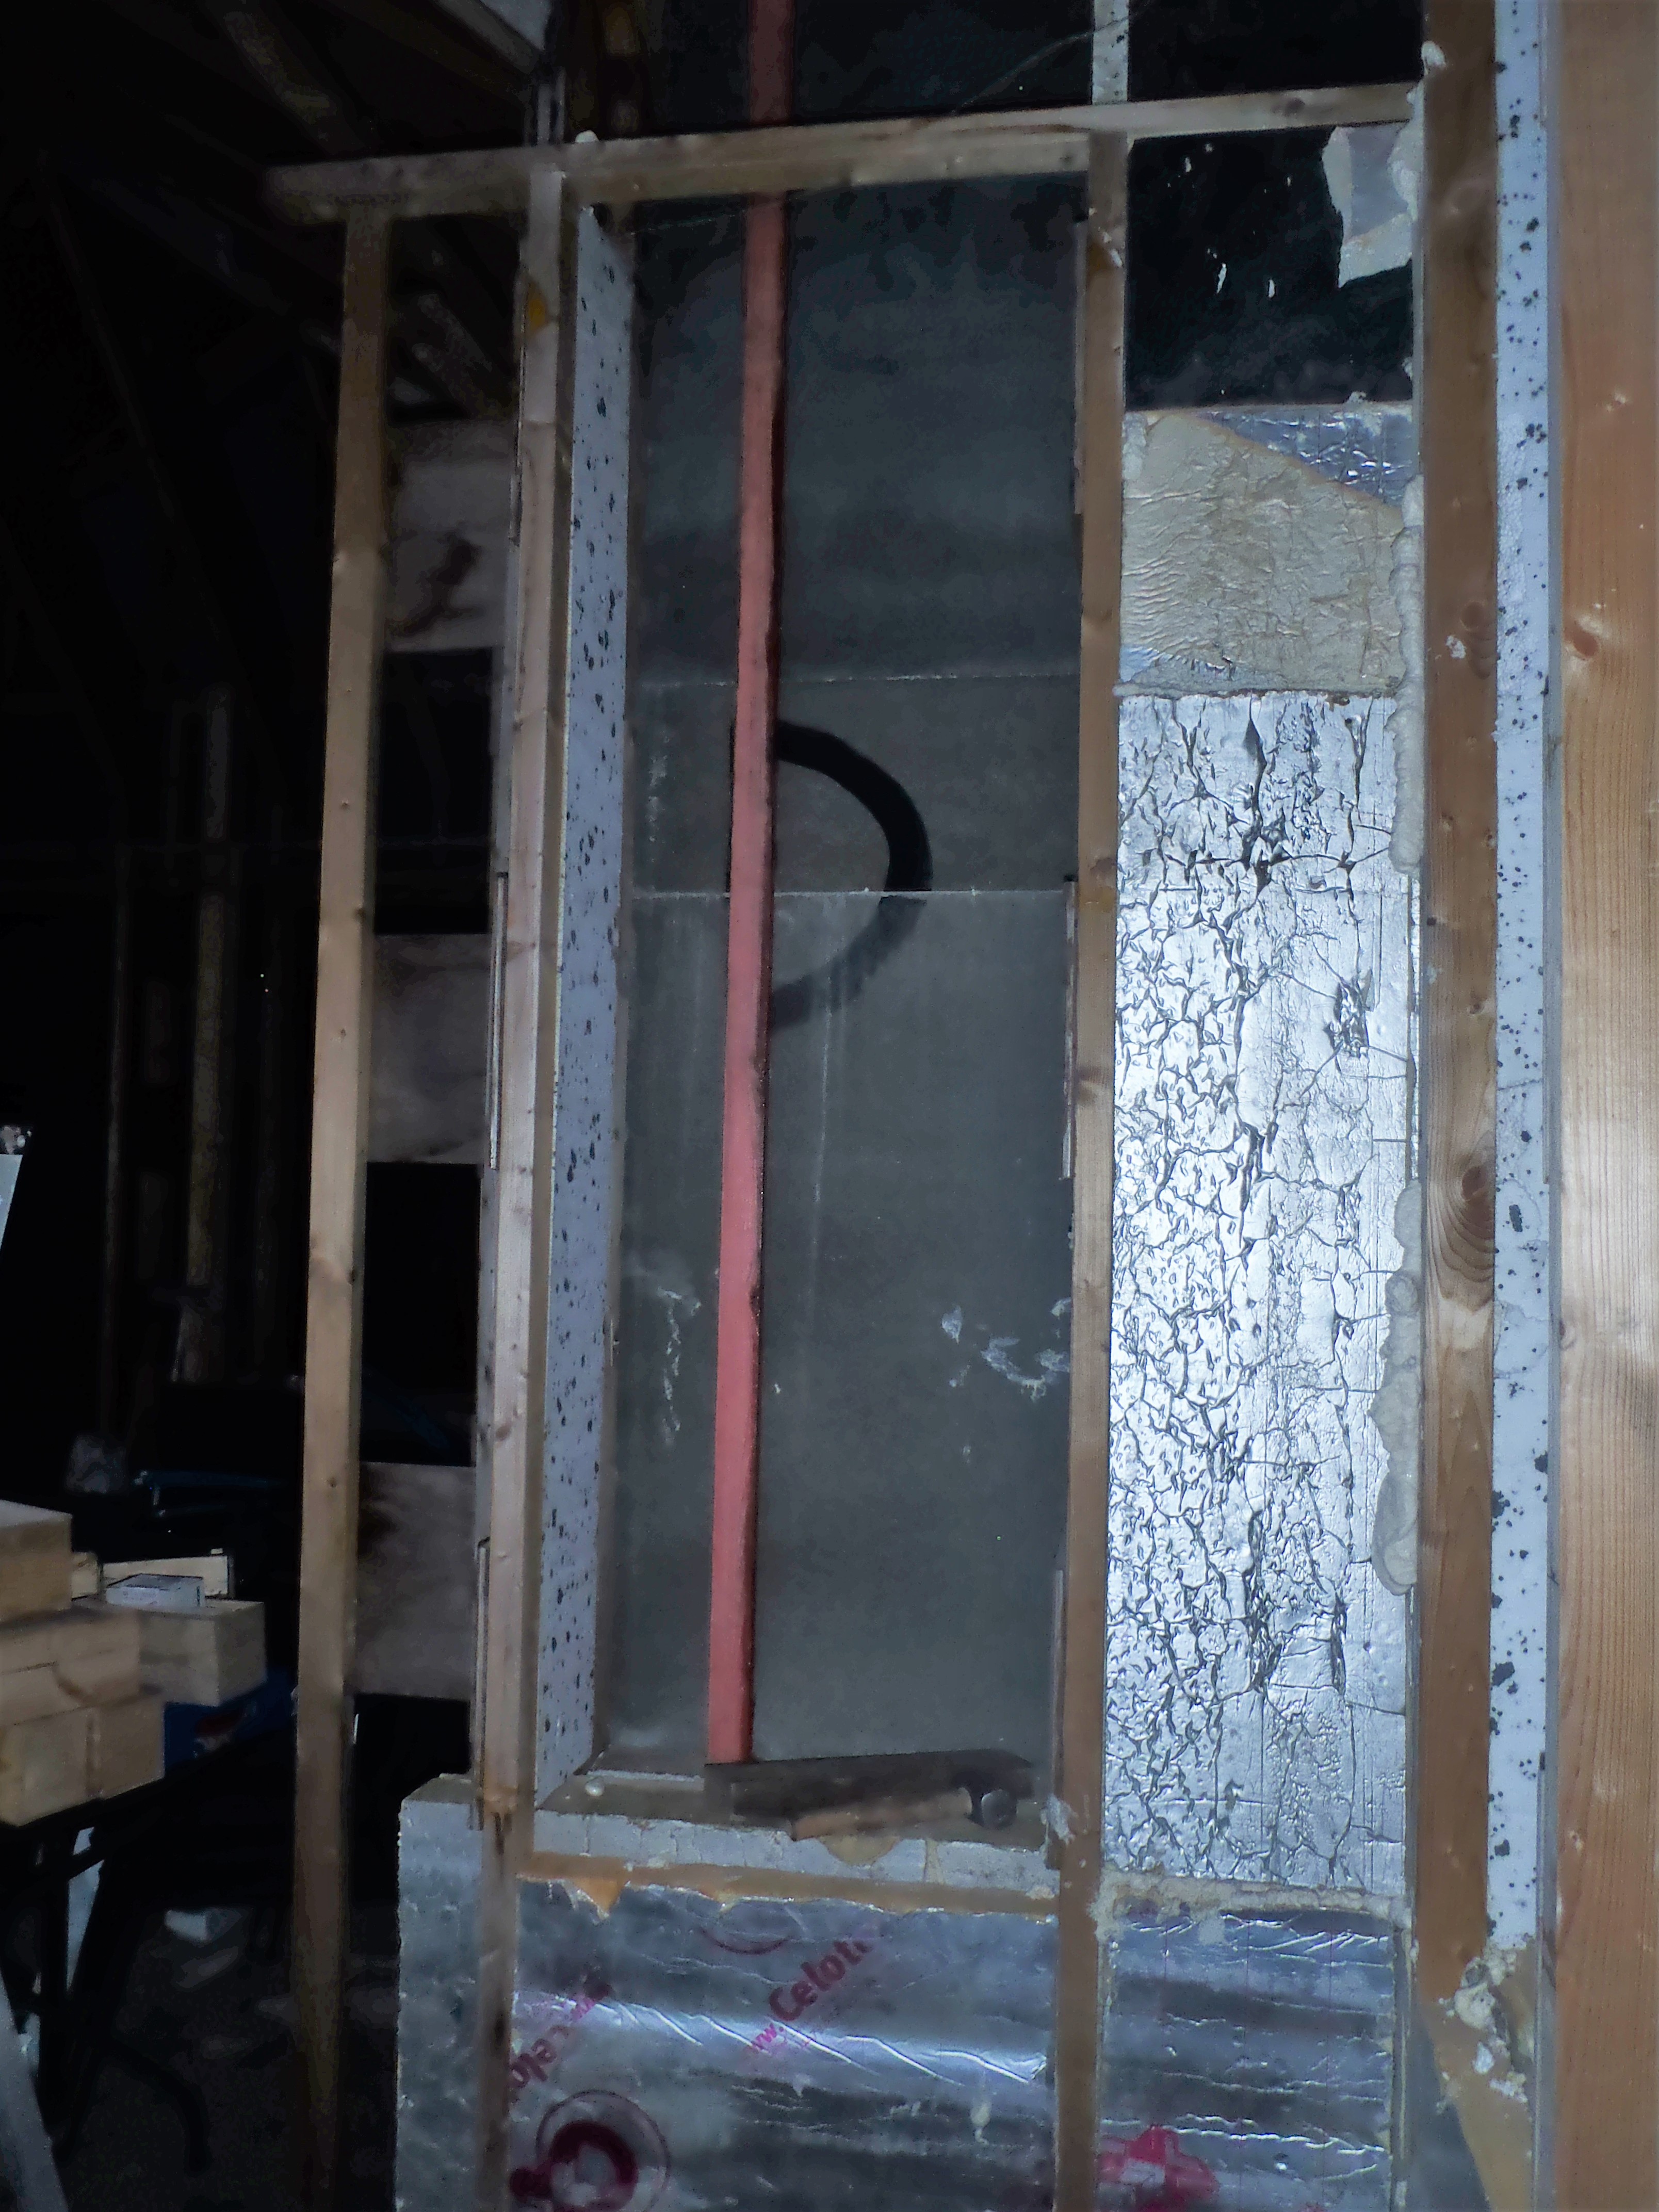
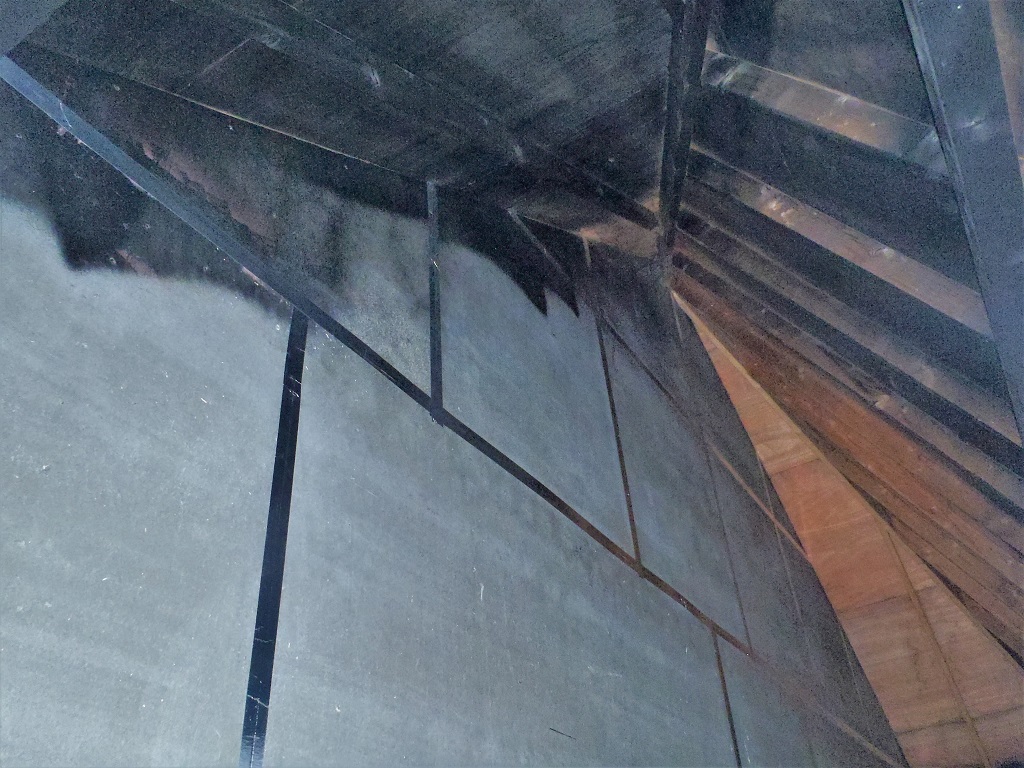
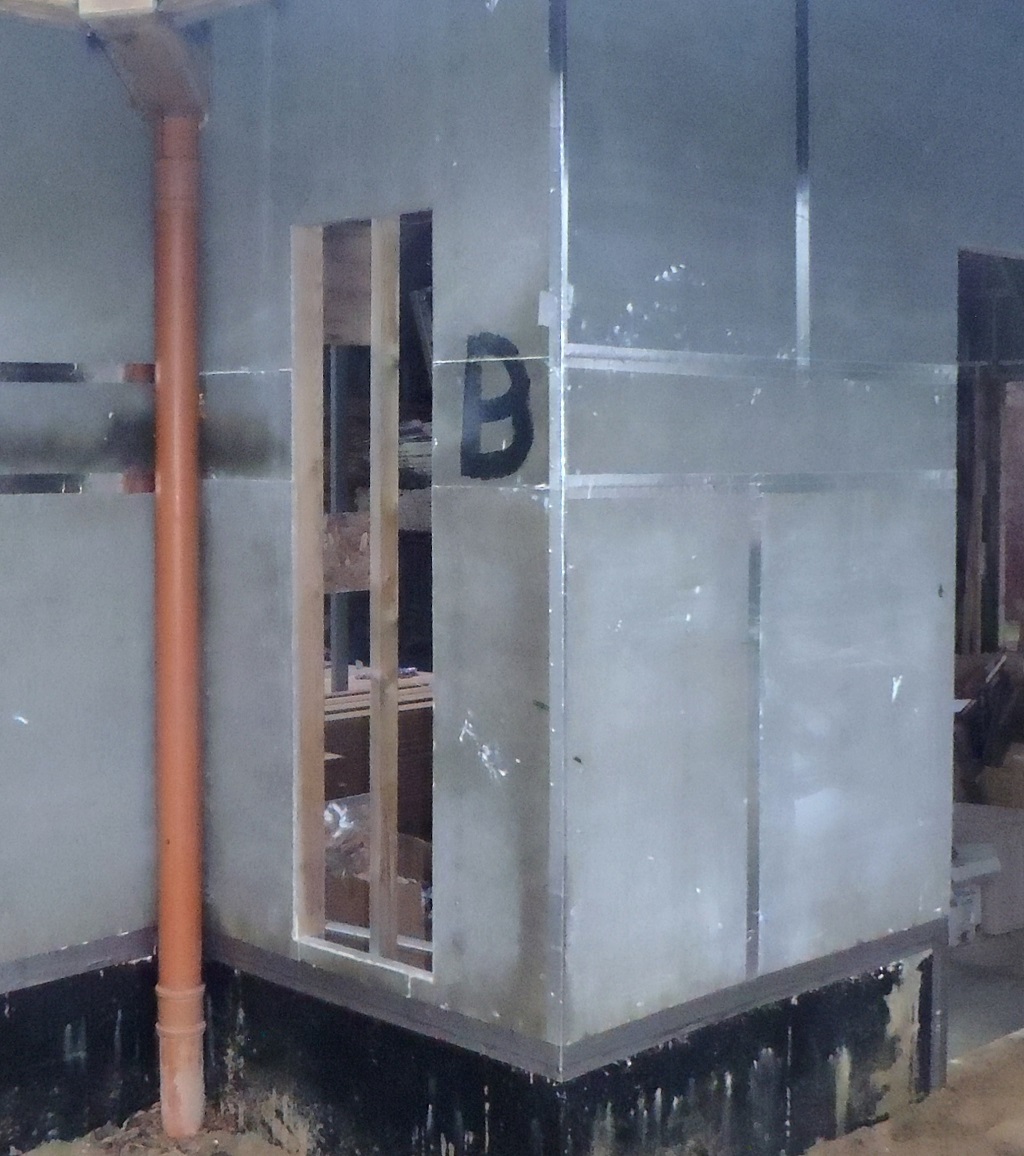
The rain (and one heavy thunderstorm shower) interrupted this process so we got on with predrilling the rest of the battens, dipping the cut ends in the preservative and distributing the battens to various sections around the house. We made extra ones where needed and we also realised that the inside corners where the downpipe channels lie, we need an additional batten to allow us to fix the ends of the cladding around the boxing of the rainwater channels.
After a another day of other commitments plus also rescuing a friend’s pergola that was nearly blown down by Storm Ciara ..
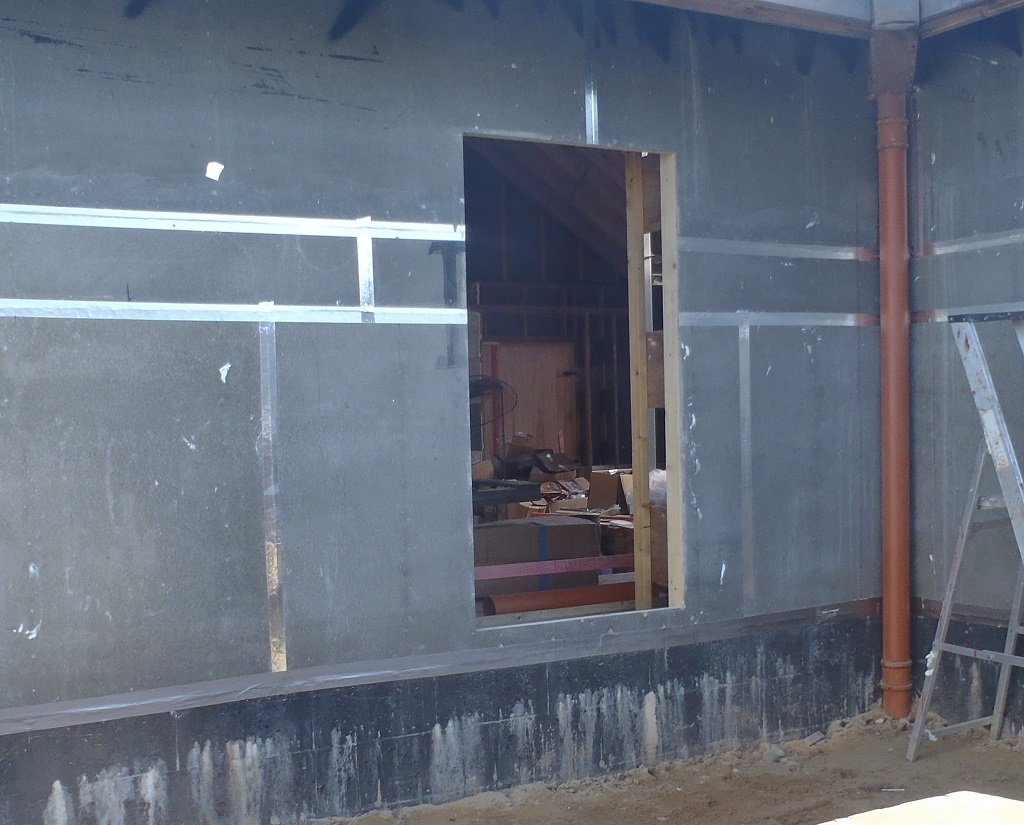
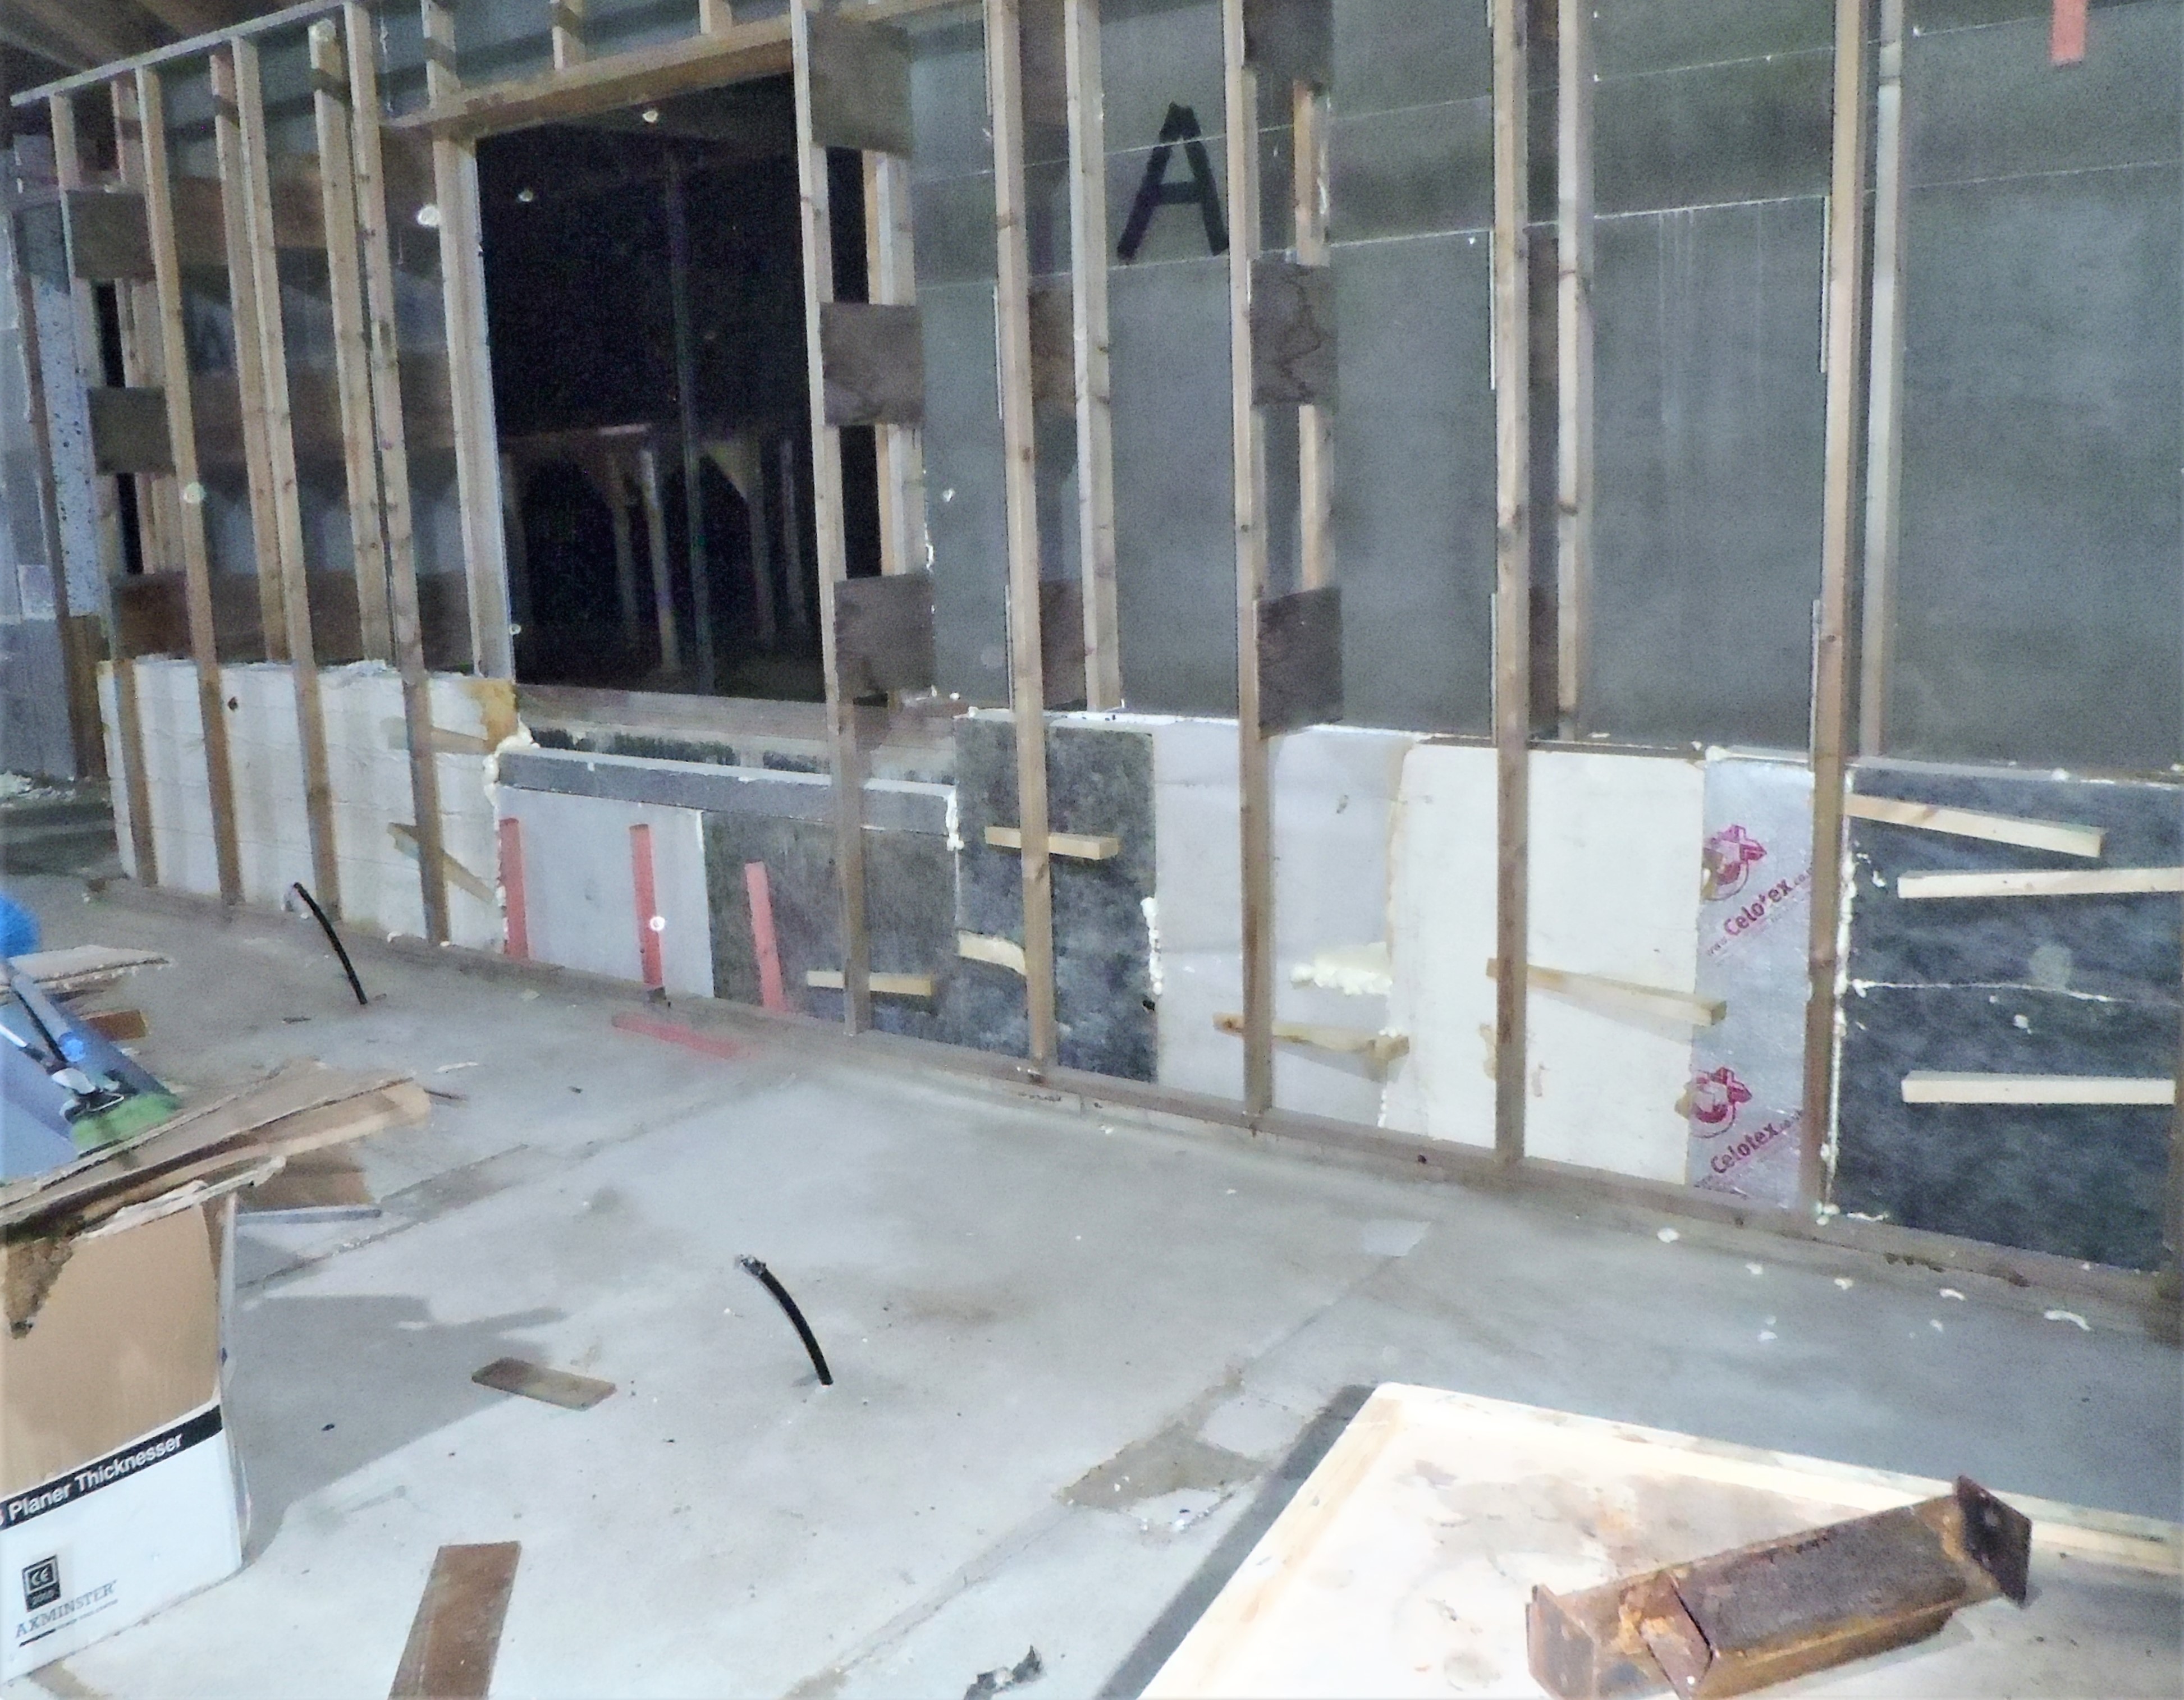
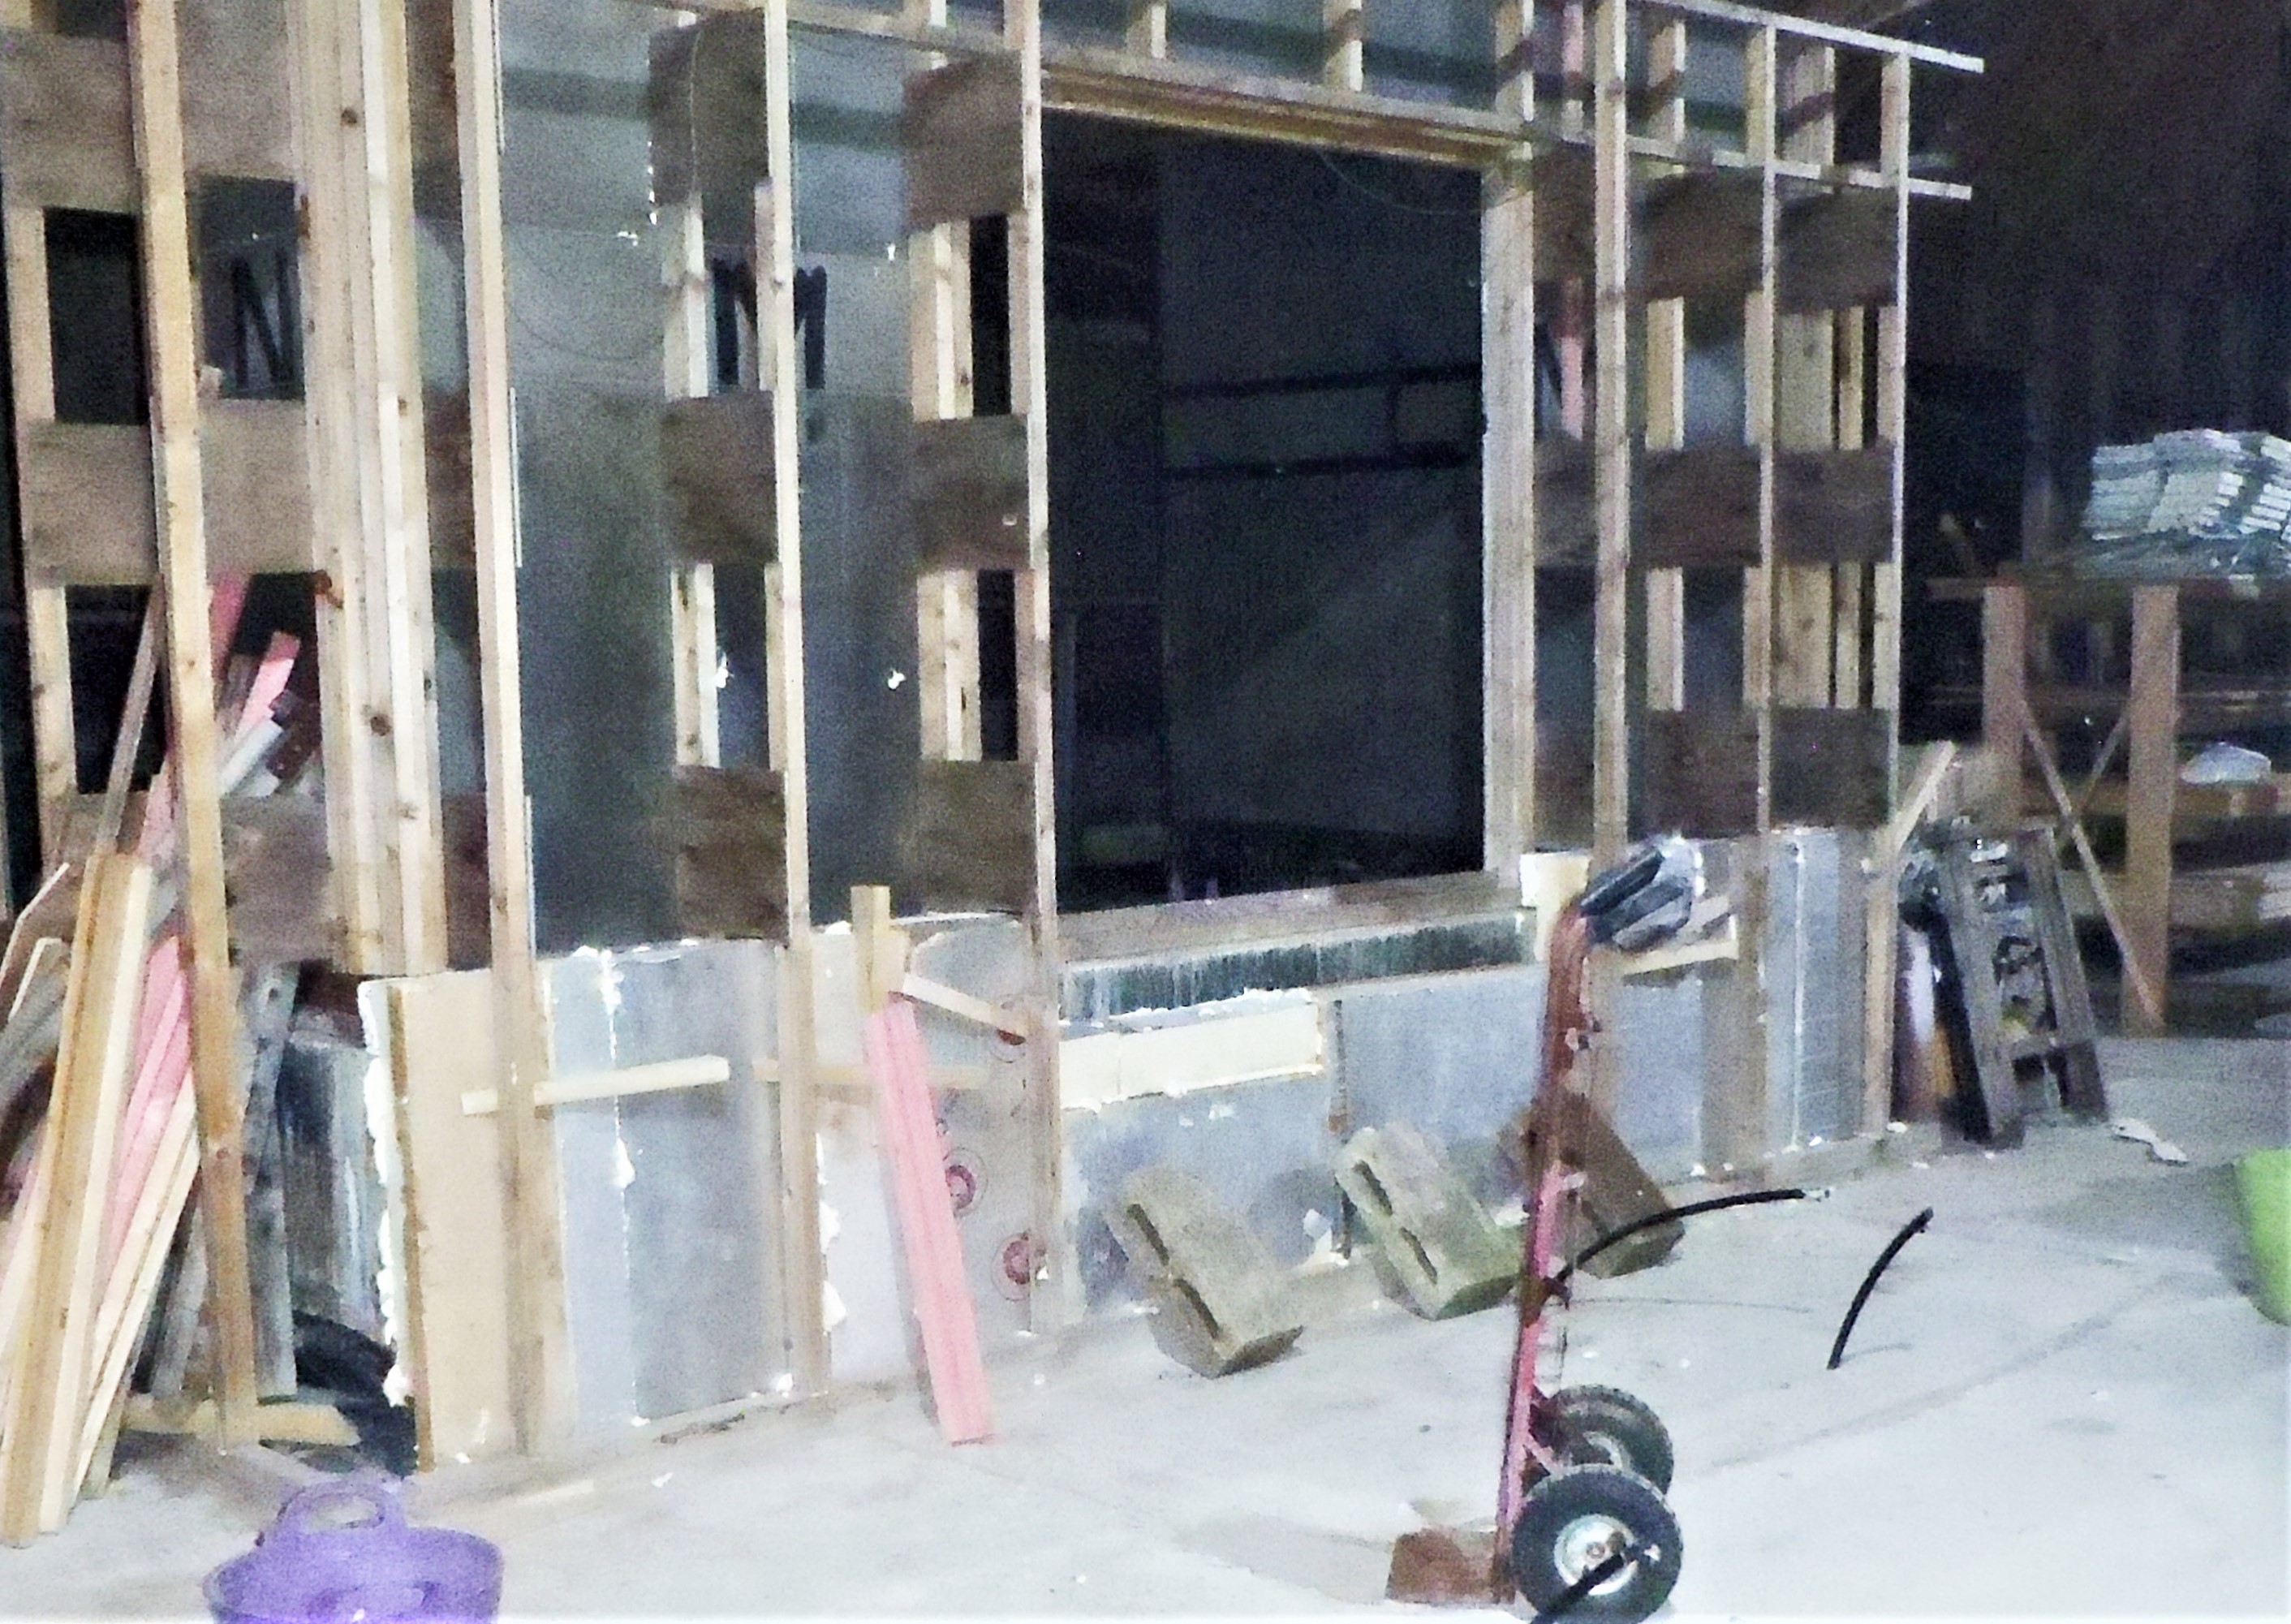
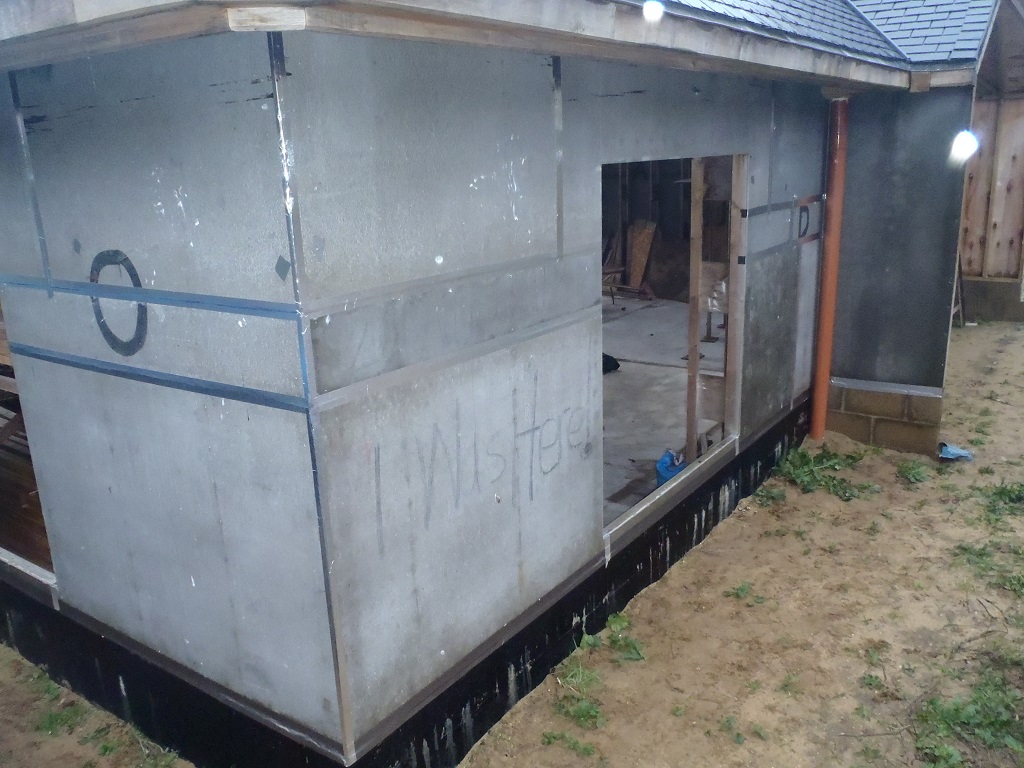
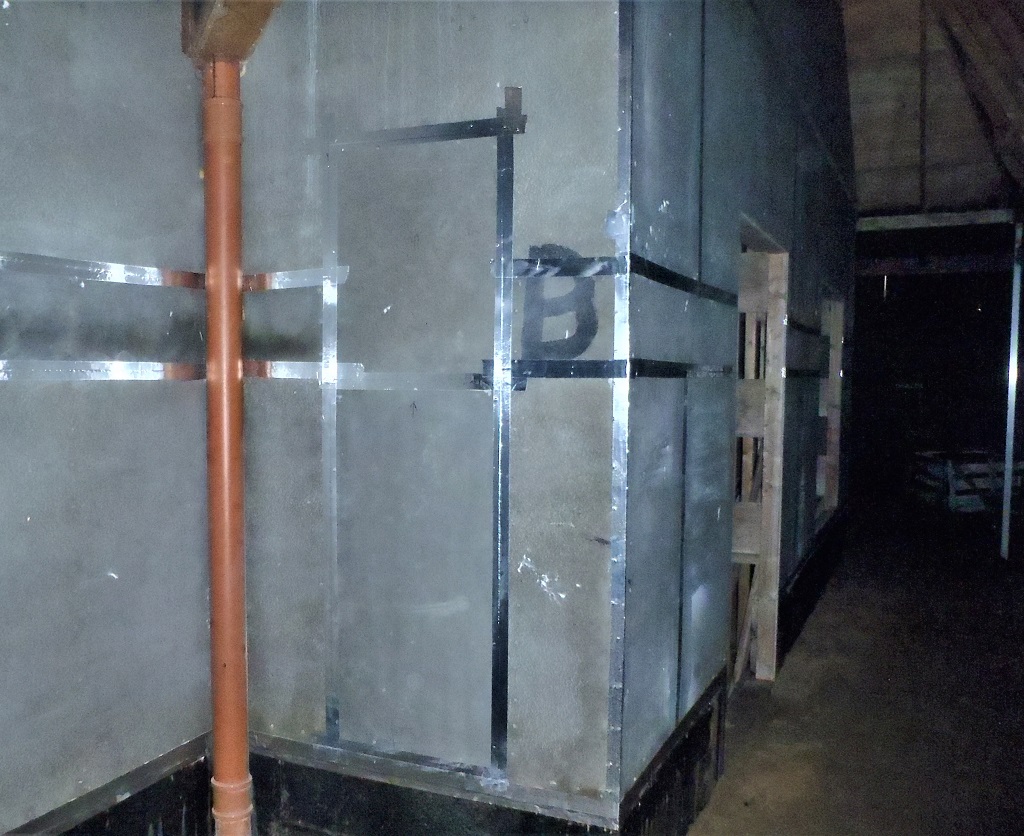
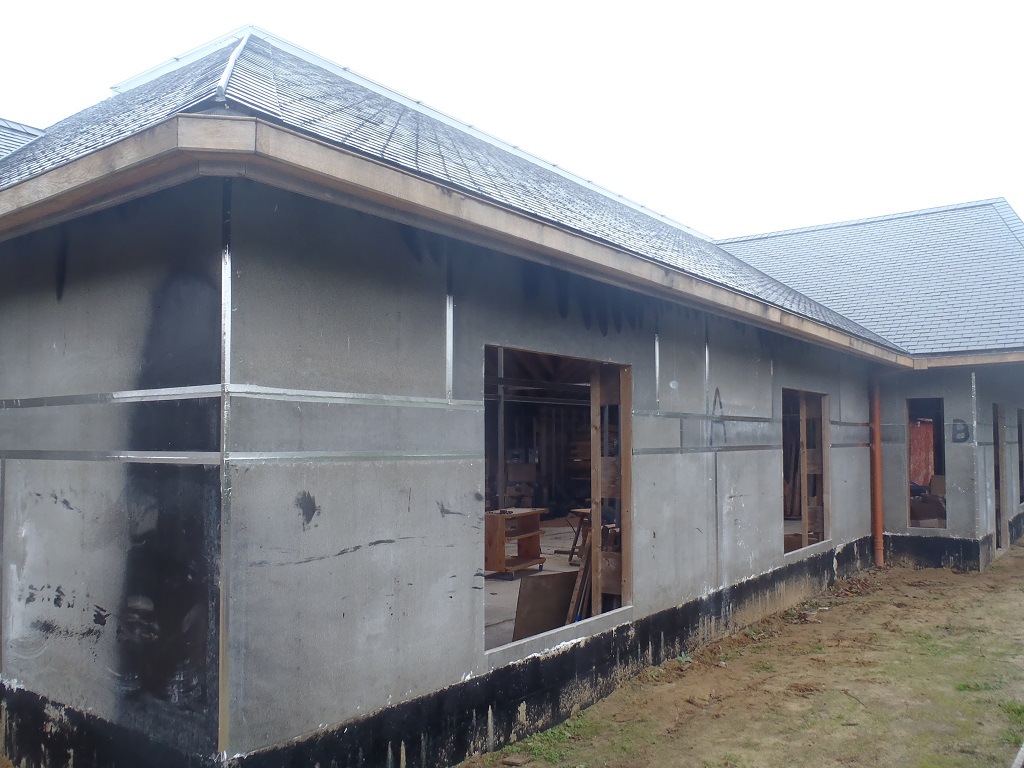
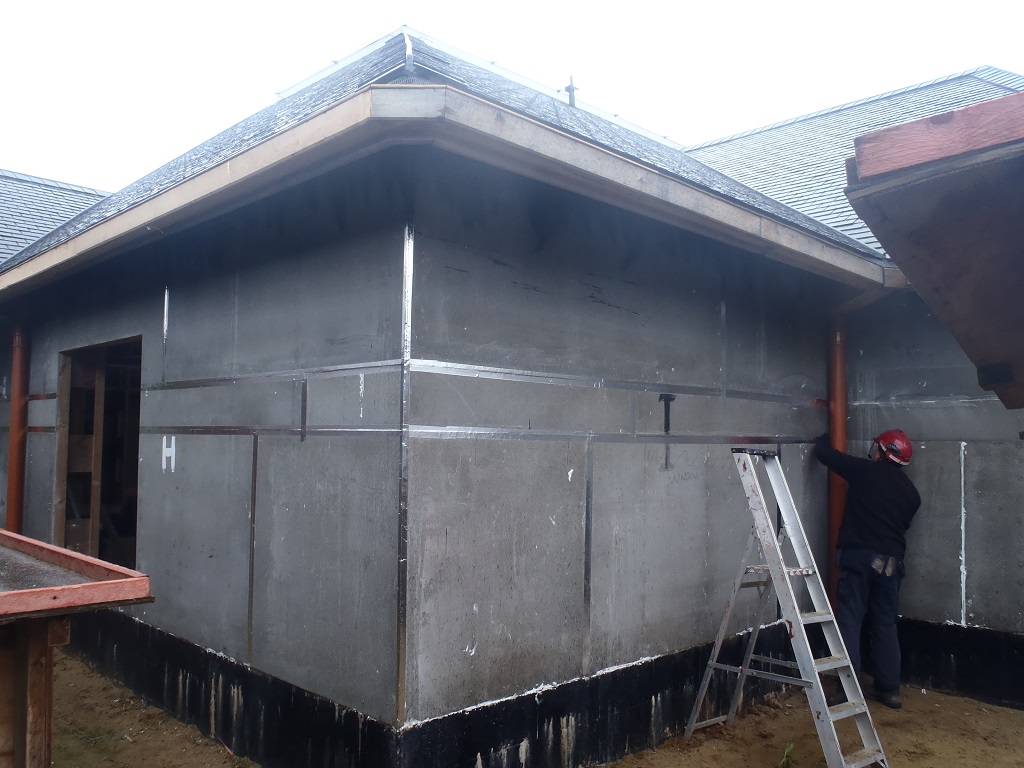
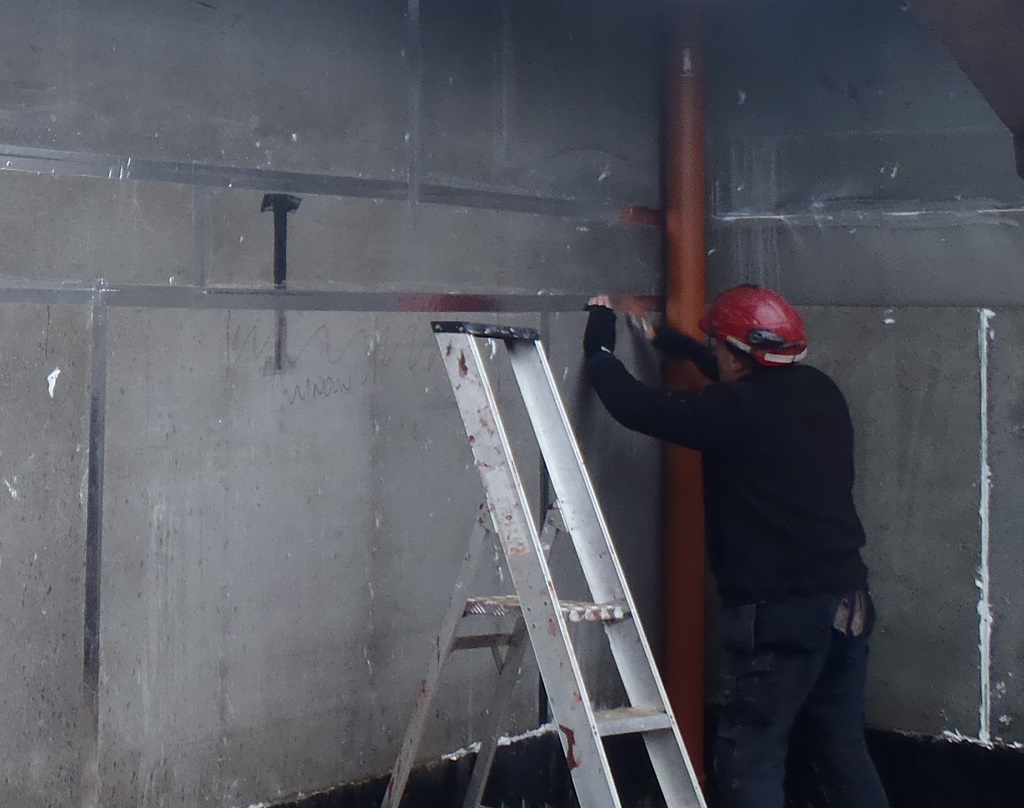
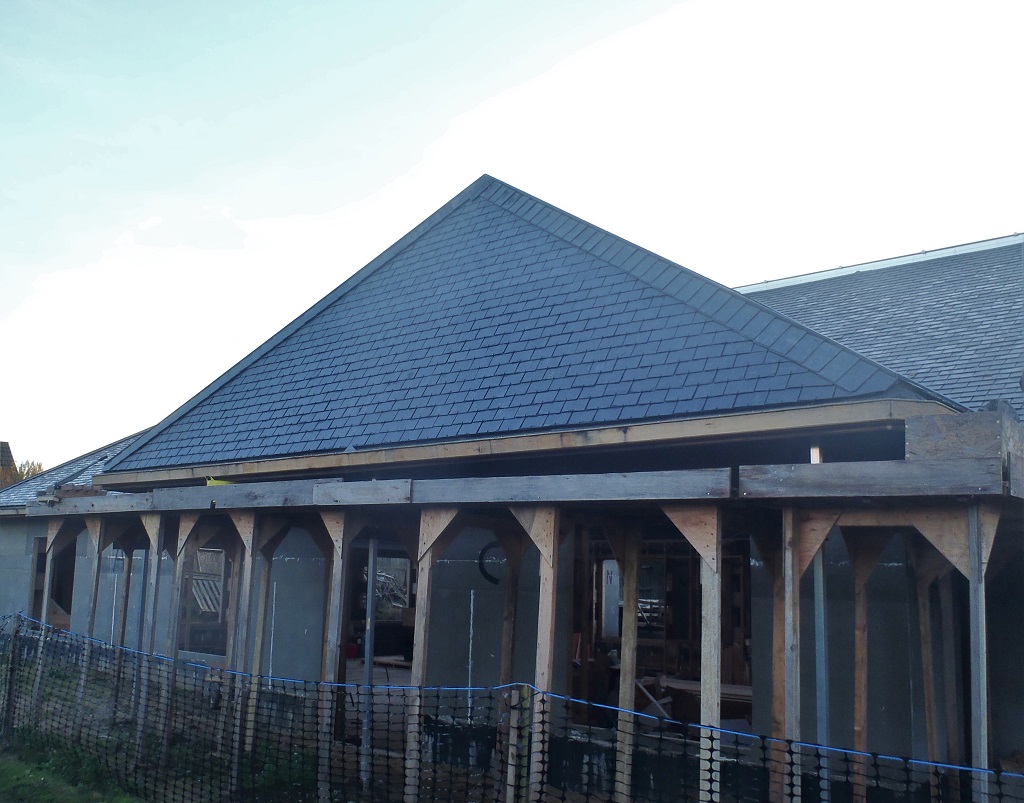
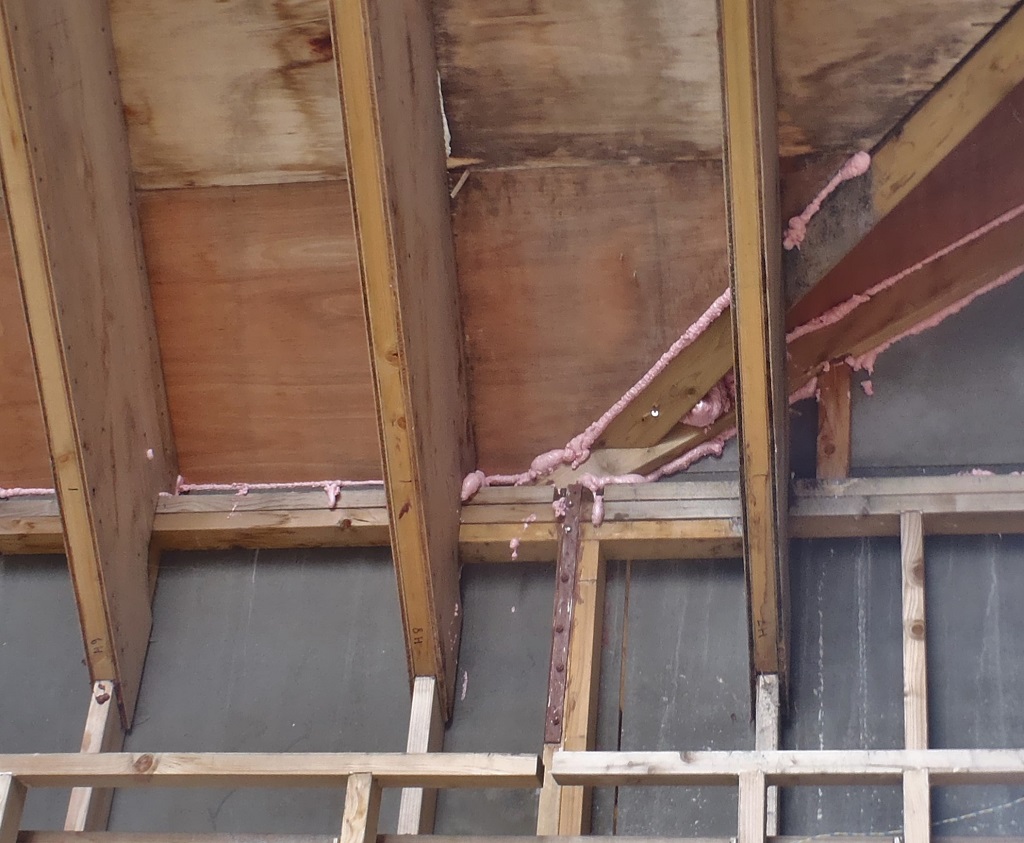
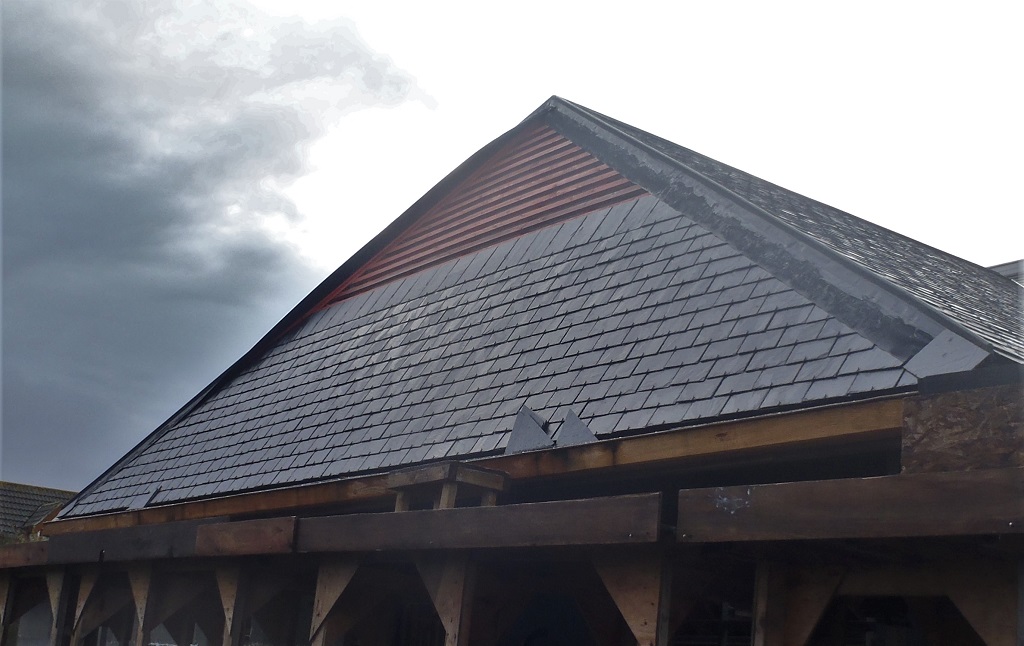
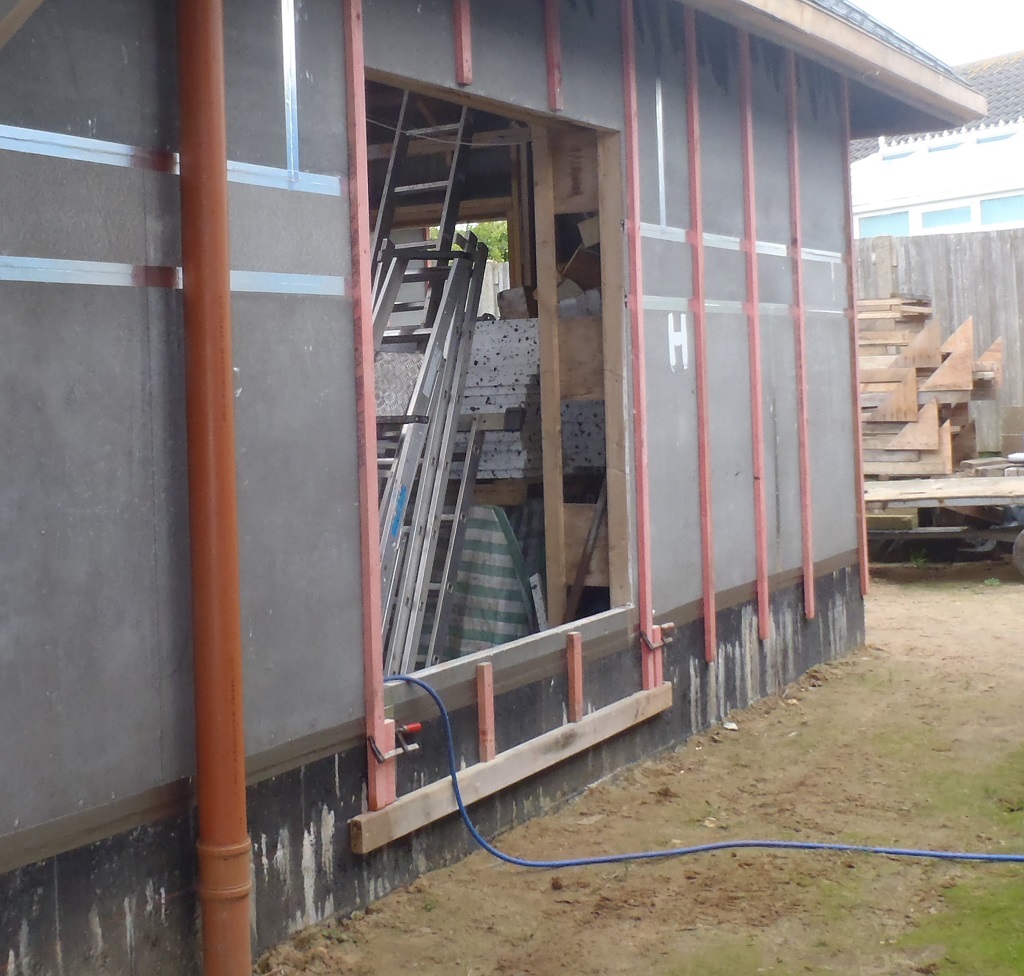
We resumed work Wednesday on putting up the battens on the outside of the house walls. Applying the PU glue and fixing them down using our stainless steel screws, we managed to get all of the “K”, “L”, “M”, “N”, “O”, “P1”, “P2” and “A” sections done before it got too dark .. and blooming cold too!!
All-battens-on-A-wall
Upon the next day, Thursday, with the heavy rain showers in the early morning fast disappearing off over the hill, we managed to get the rest of the walls done with the first set and largest bulk of battens to go up. We had to make some rearrangement of certain battens as we saw that we needed longer ones for particular walls, especially the ones that has porches sticking out. Then, we got on with sorting out the smaller pieces for above and below the windows, drilling holes into the thirty or so pieces and then dunk them into the timber preservative and having them distributed to each window around the house, ready to be installed on Saturday.
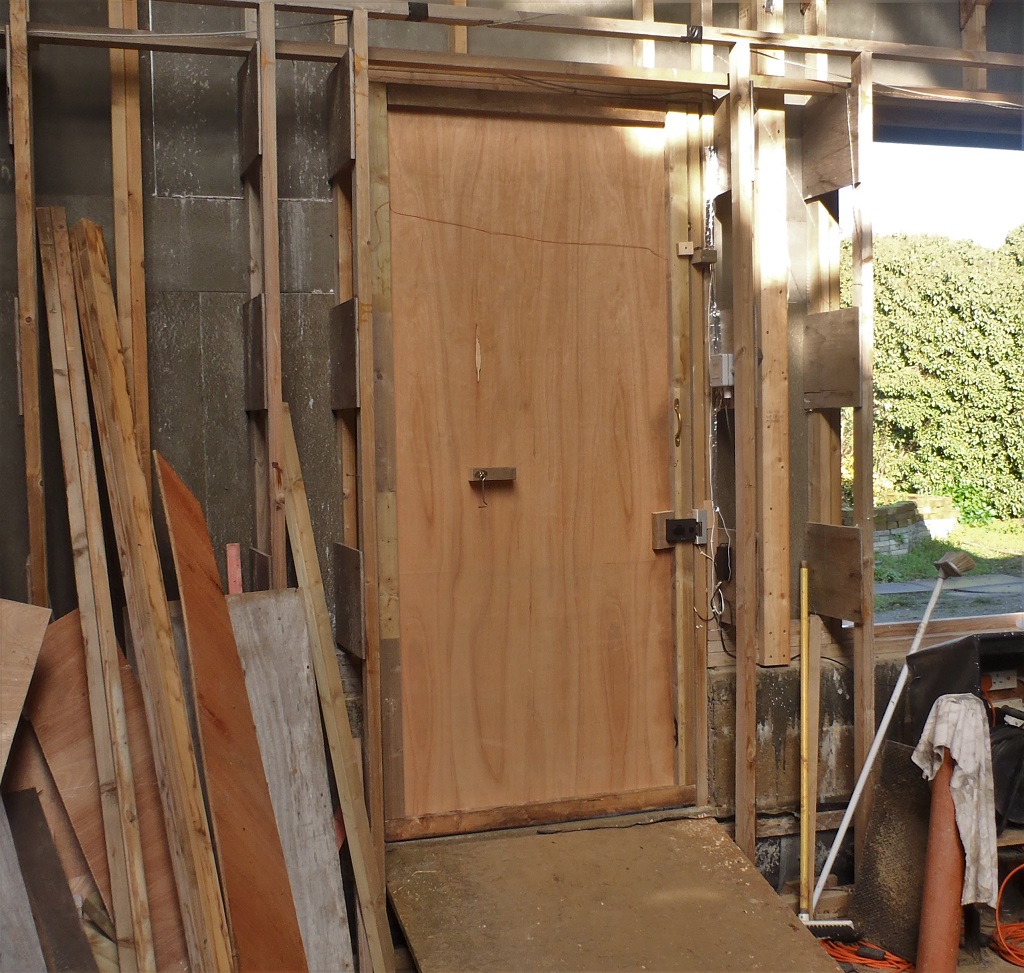
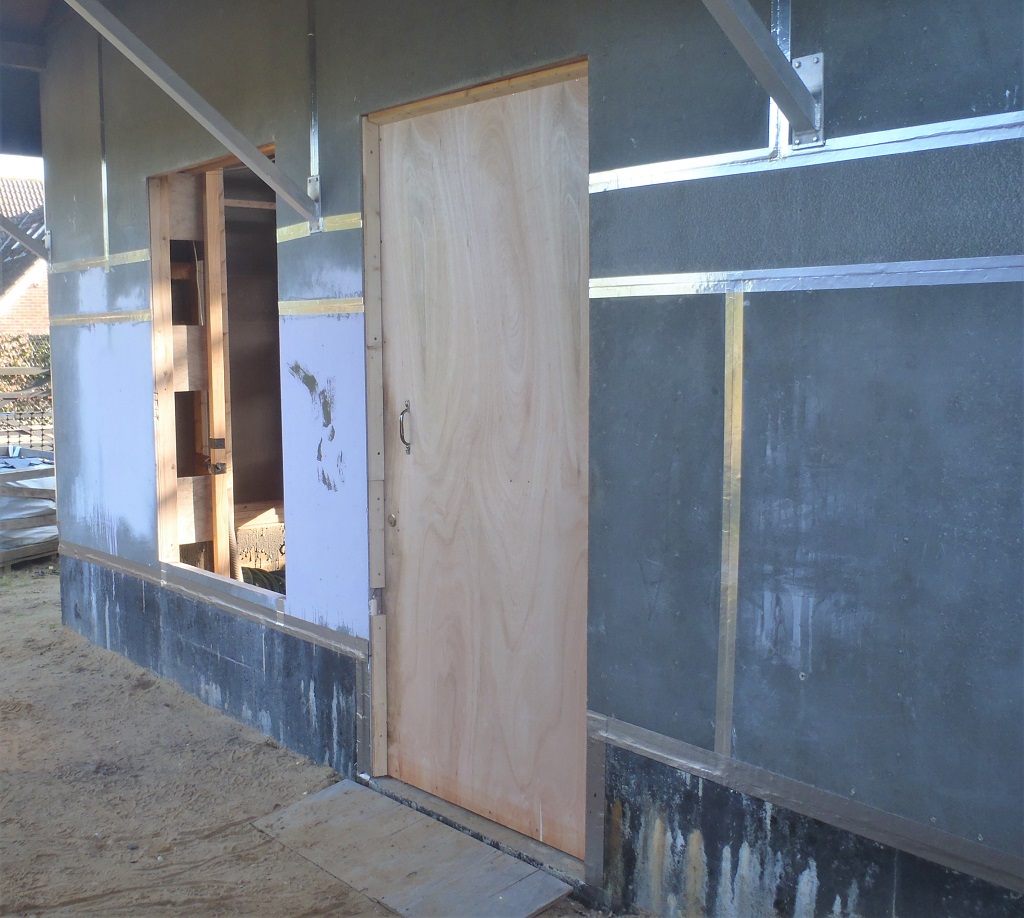
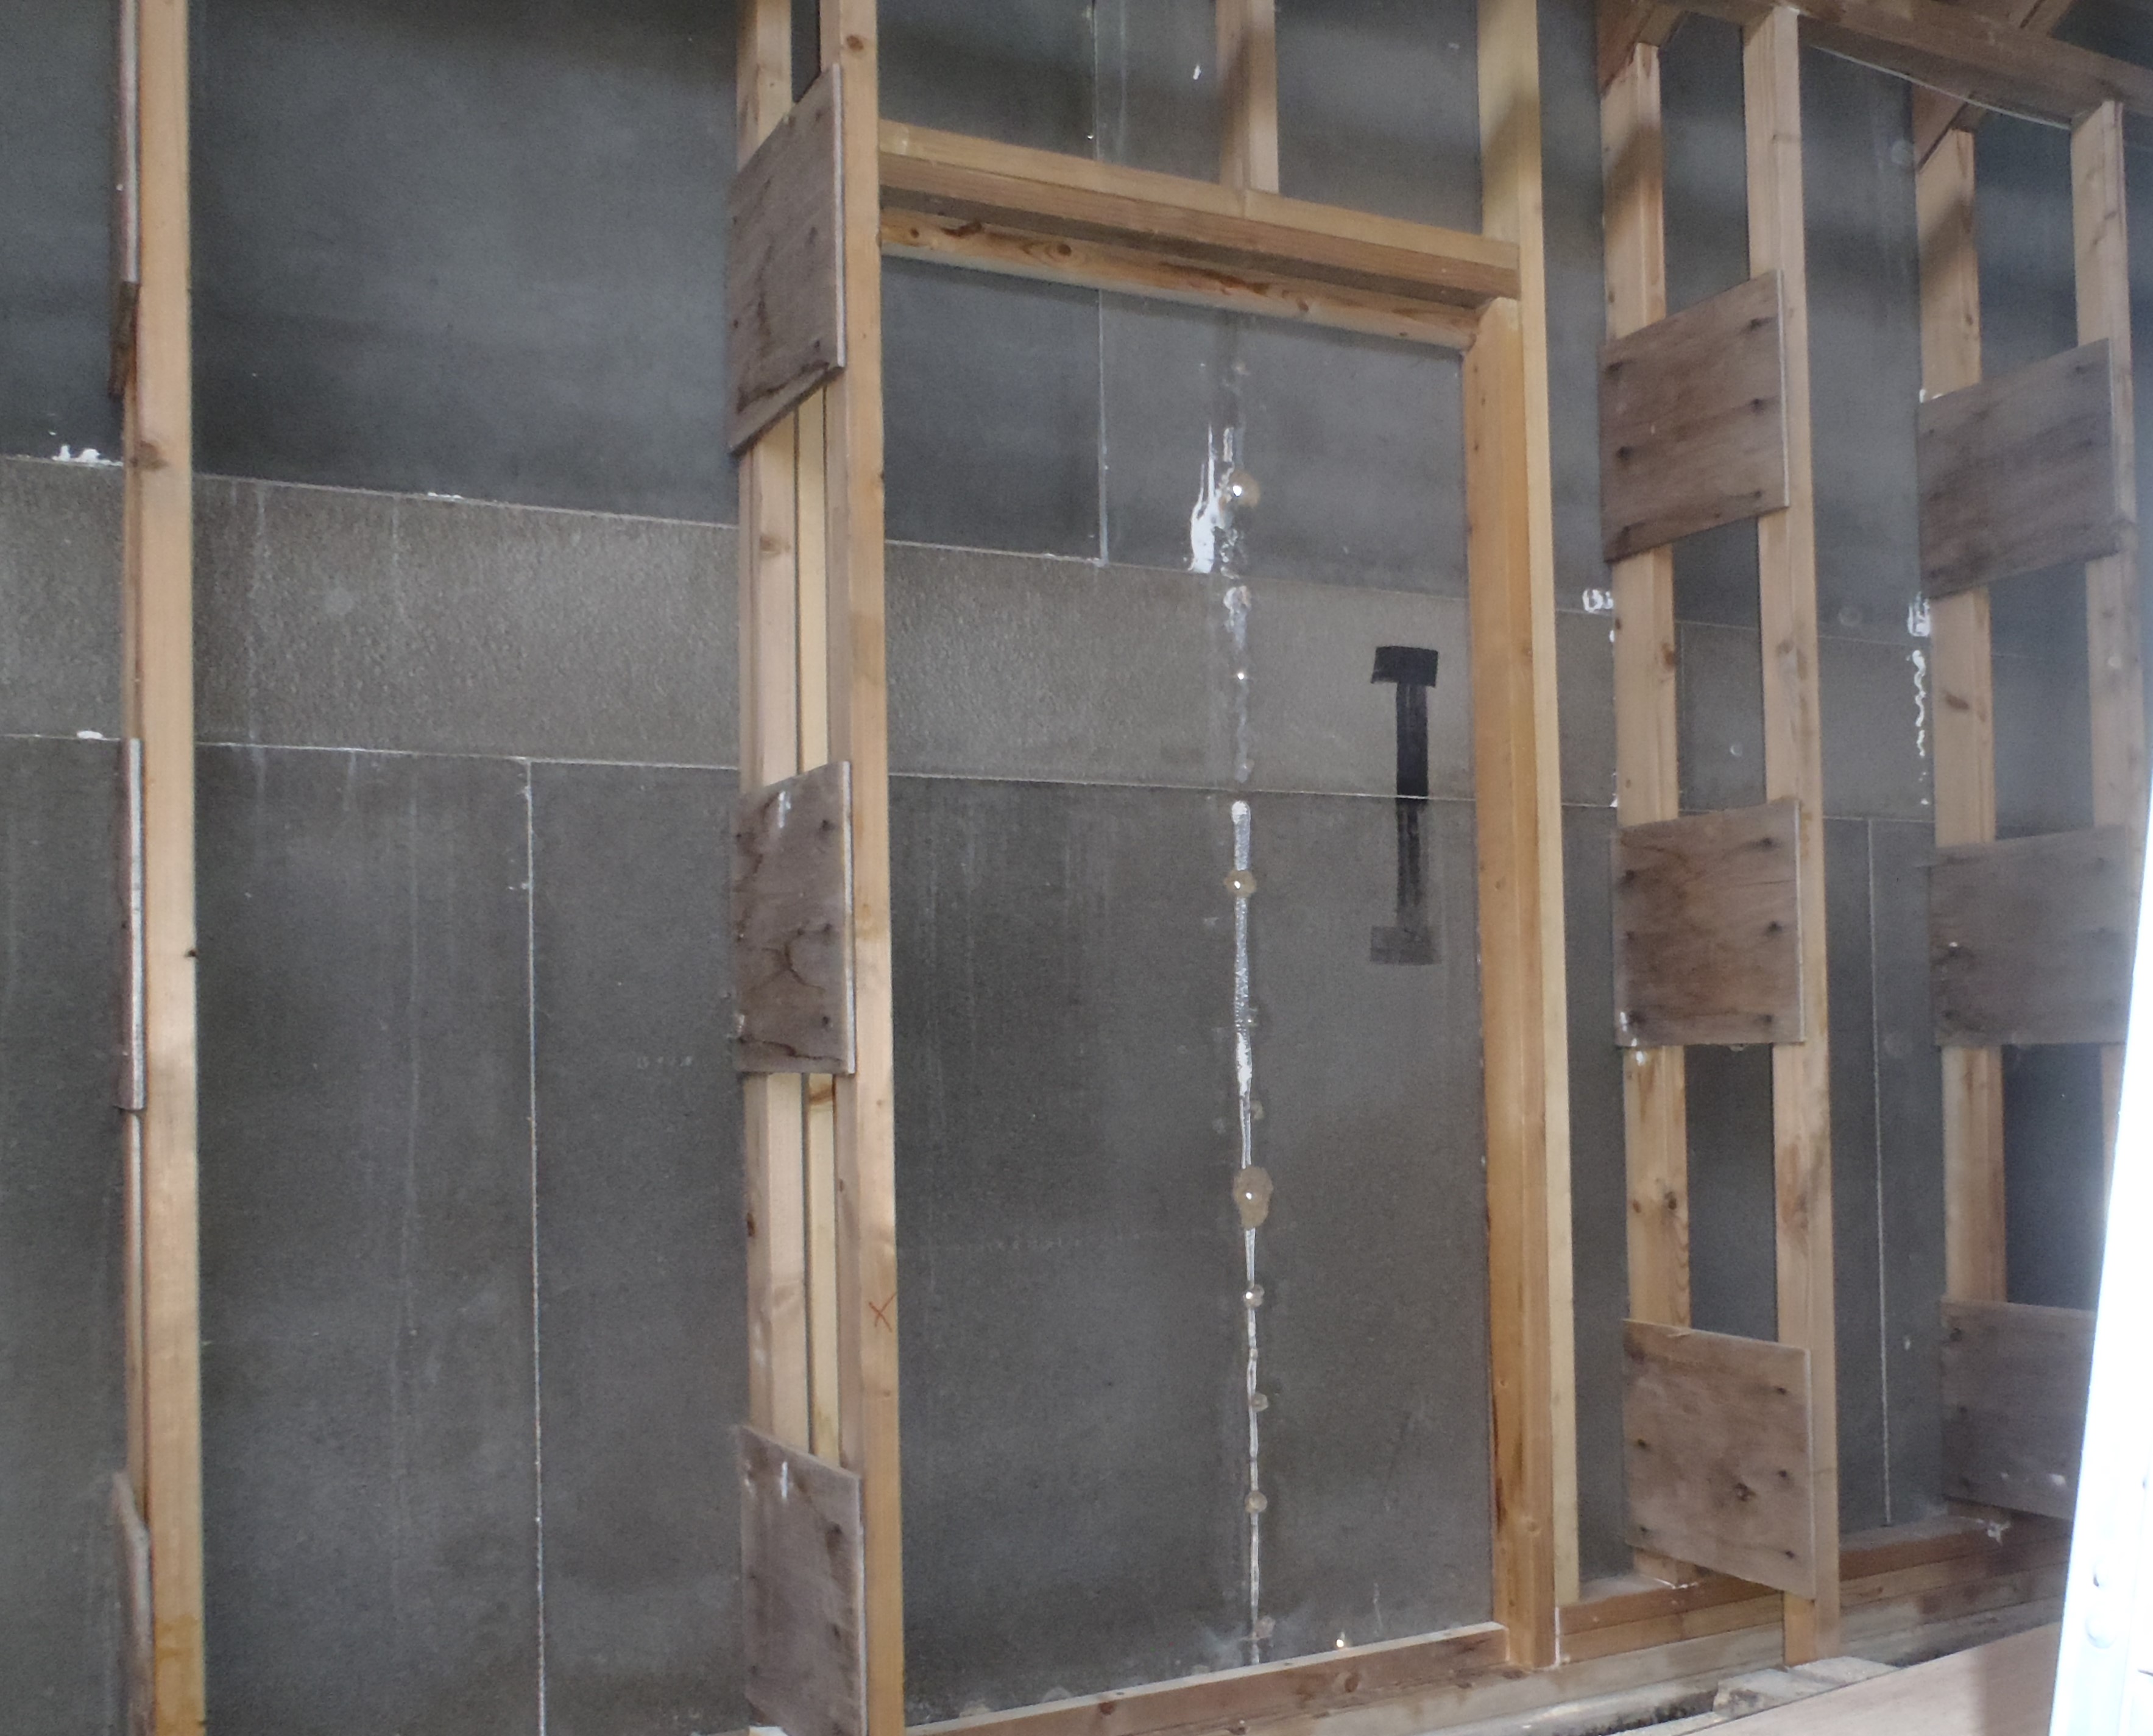
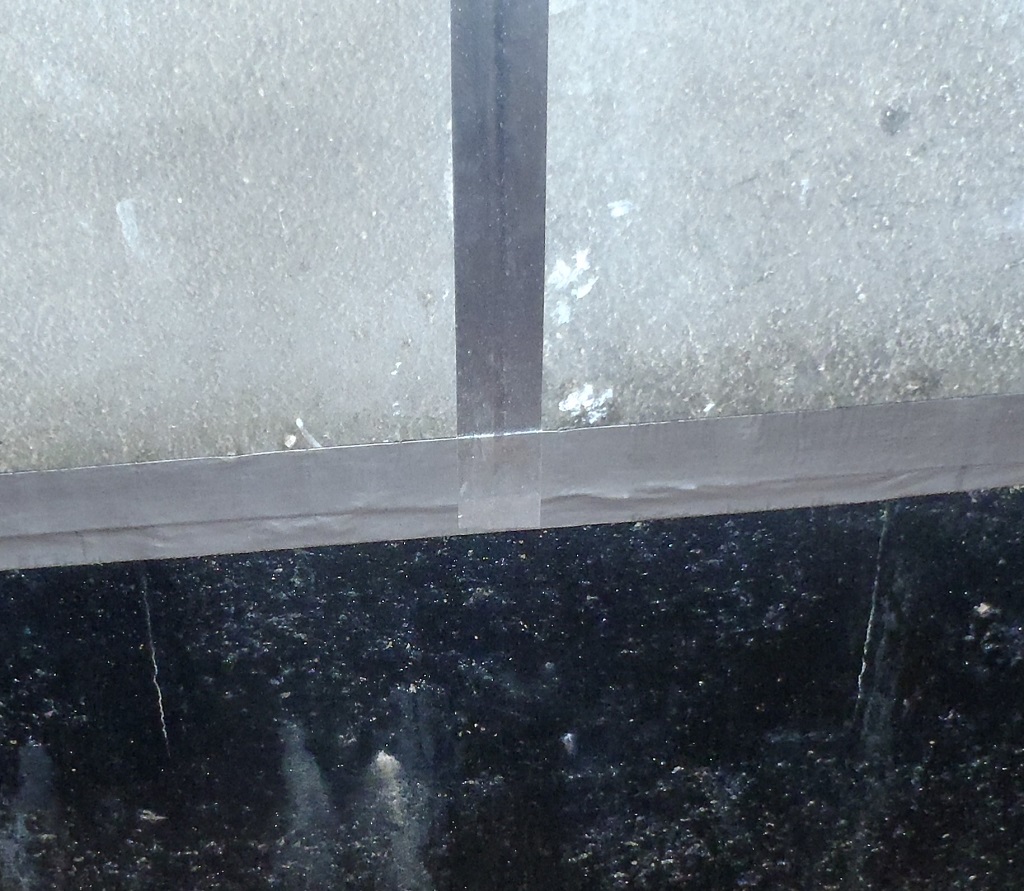
We made a simple guide tool to ensure that the small pieces under each window are aligned up to their longer siblings on either side of the window.
Aligning-battens-under-the-windows
With Friday lost to external meetings again, we resumed on Saturday and finished putting up the smaller pieces of battens underneath and over above each window. The small piece under the window is so small that it needs a concrete screw to be used in place of the traditional wood screw so we had to drill a 5mm hole into the concrete blocks and then screw a 70mm long concrete screw.
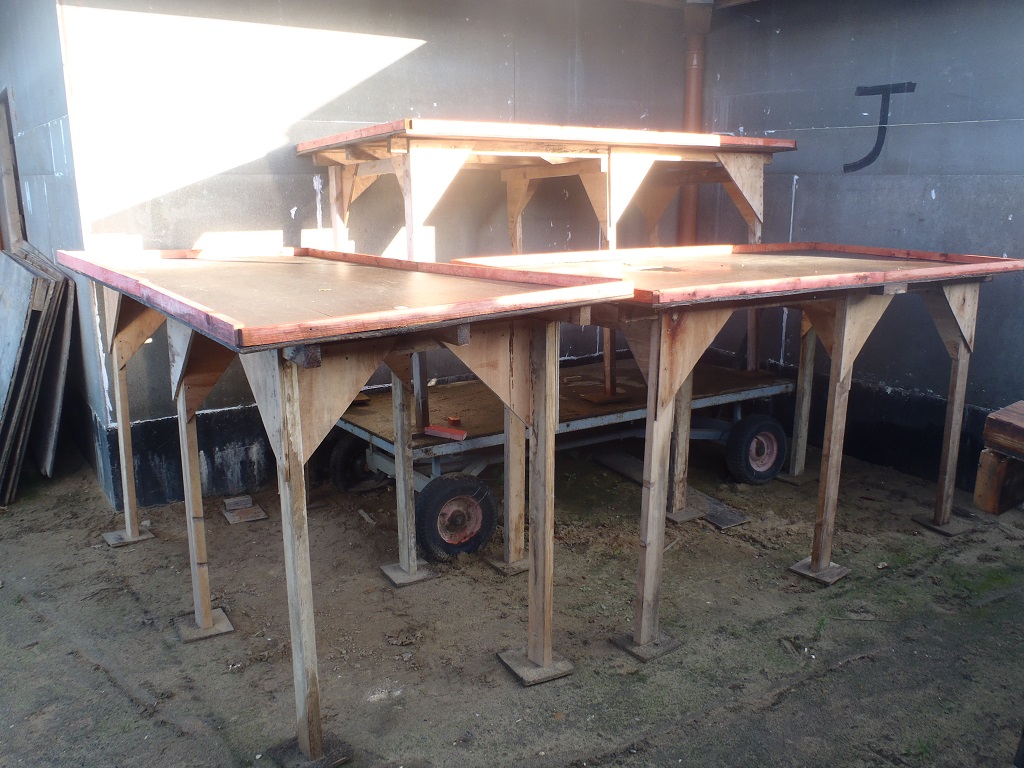
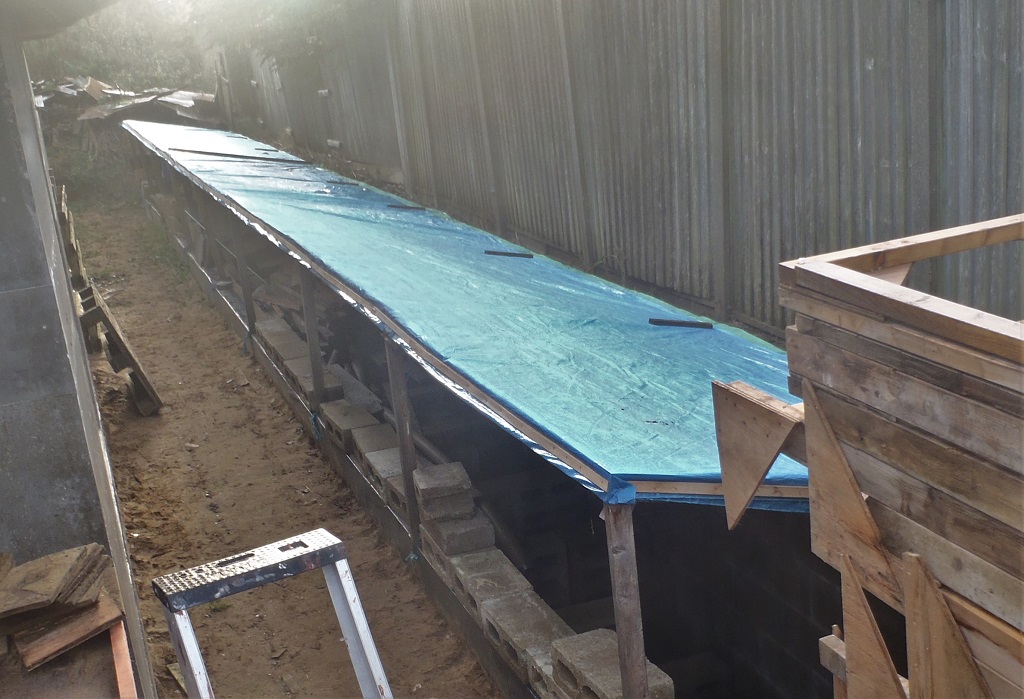
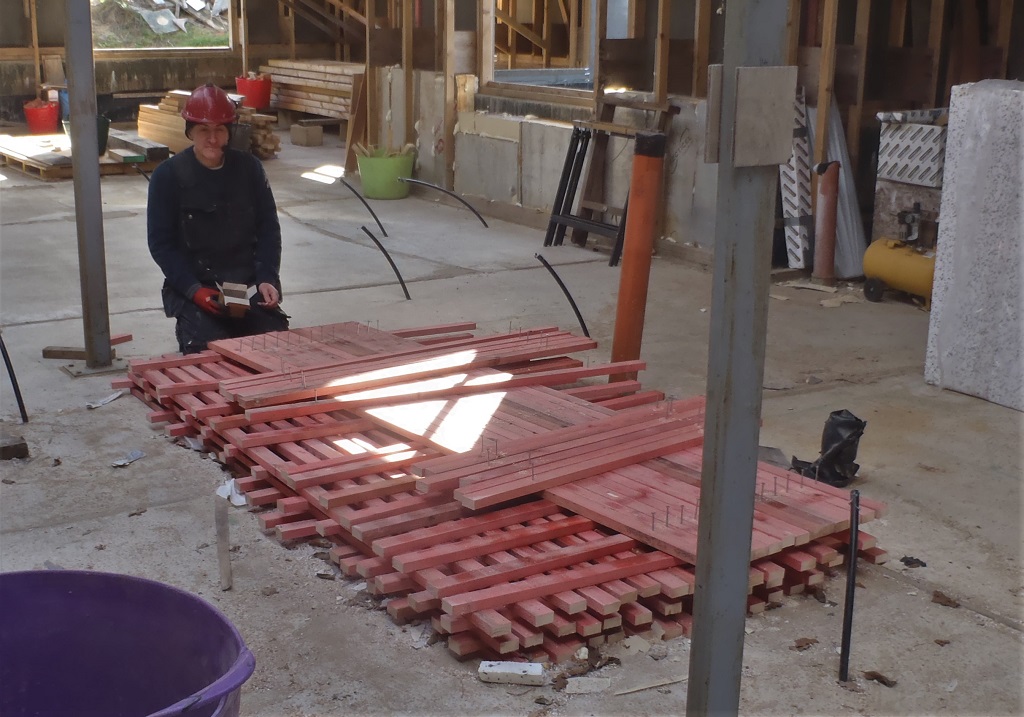
The rest of the day, after lunch, was spent in the workshop (to keep out of the way of Storm Dennis!), to start designing and implementing a set of methods to allow us to assemble our Oak Window Frames in a controlled manner, to achieve exact measures and angles, namely, nice and straight and square! We tried out various screws, counter-sinking tools and methods of drilling and screwing into the oak. We also cut four pieces of our aluminium strip so we can put together our test window frame (it was our old narrow window that we have abandoned), this strip is 3mm thick by 38mm wide and we also tested what will work with aluminium as well.
It was all spent in doing lots of tests and discussions, in ways of mounting the metal strips to each piece of the Oak Framework, in what order and so on.
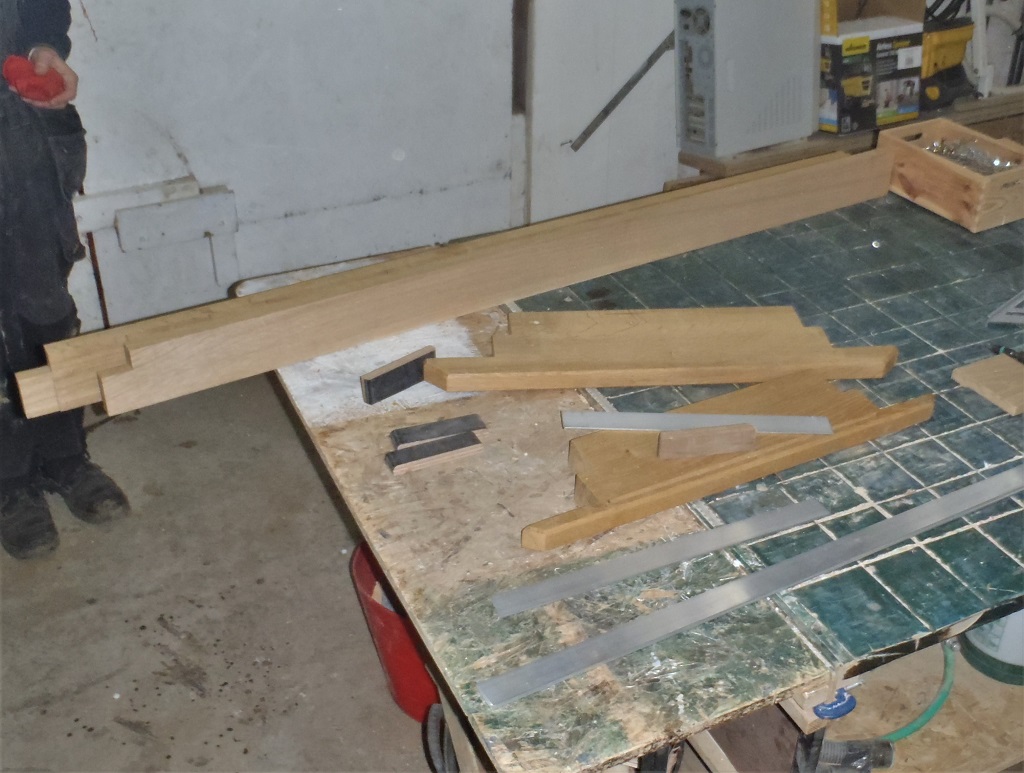
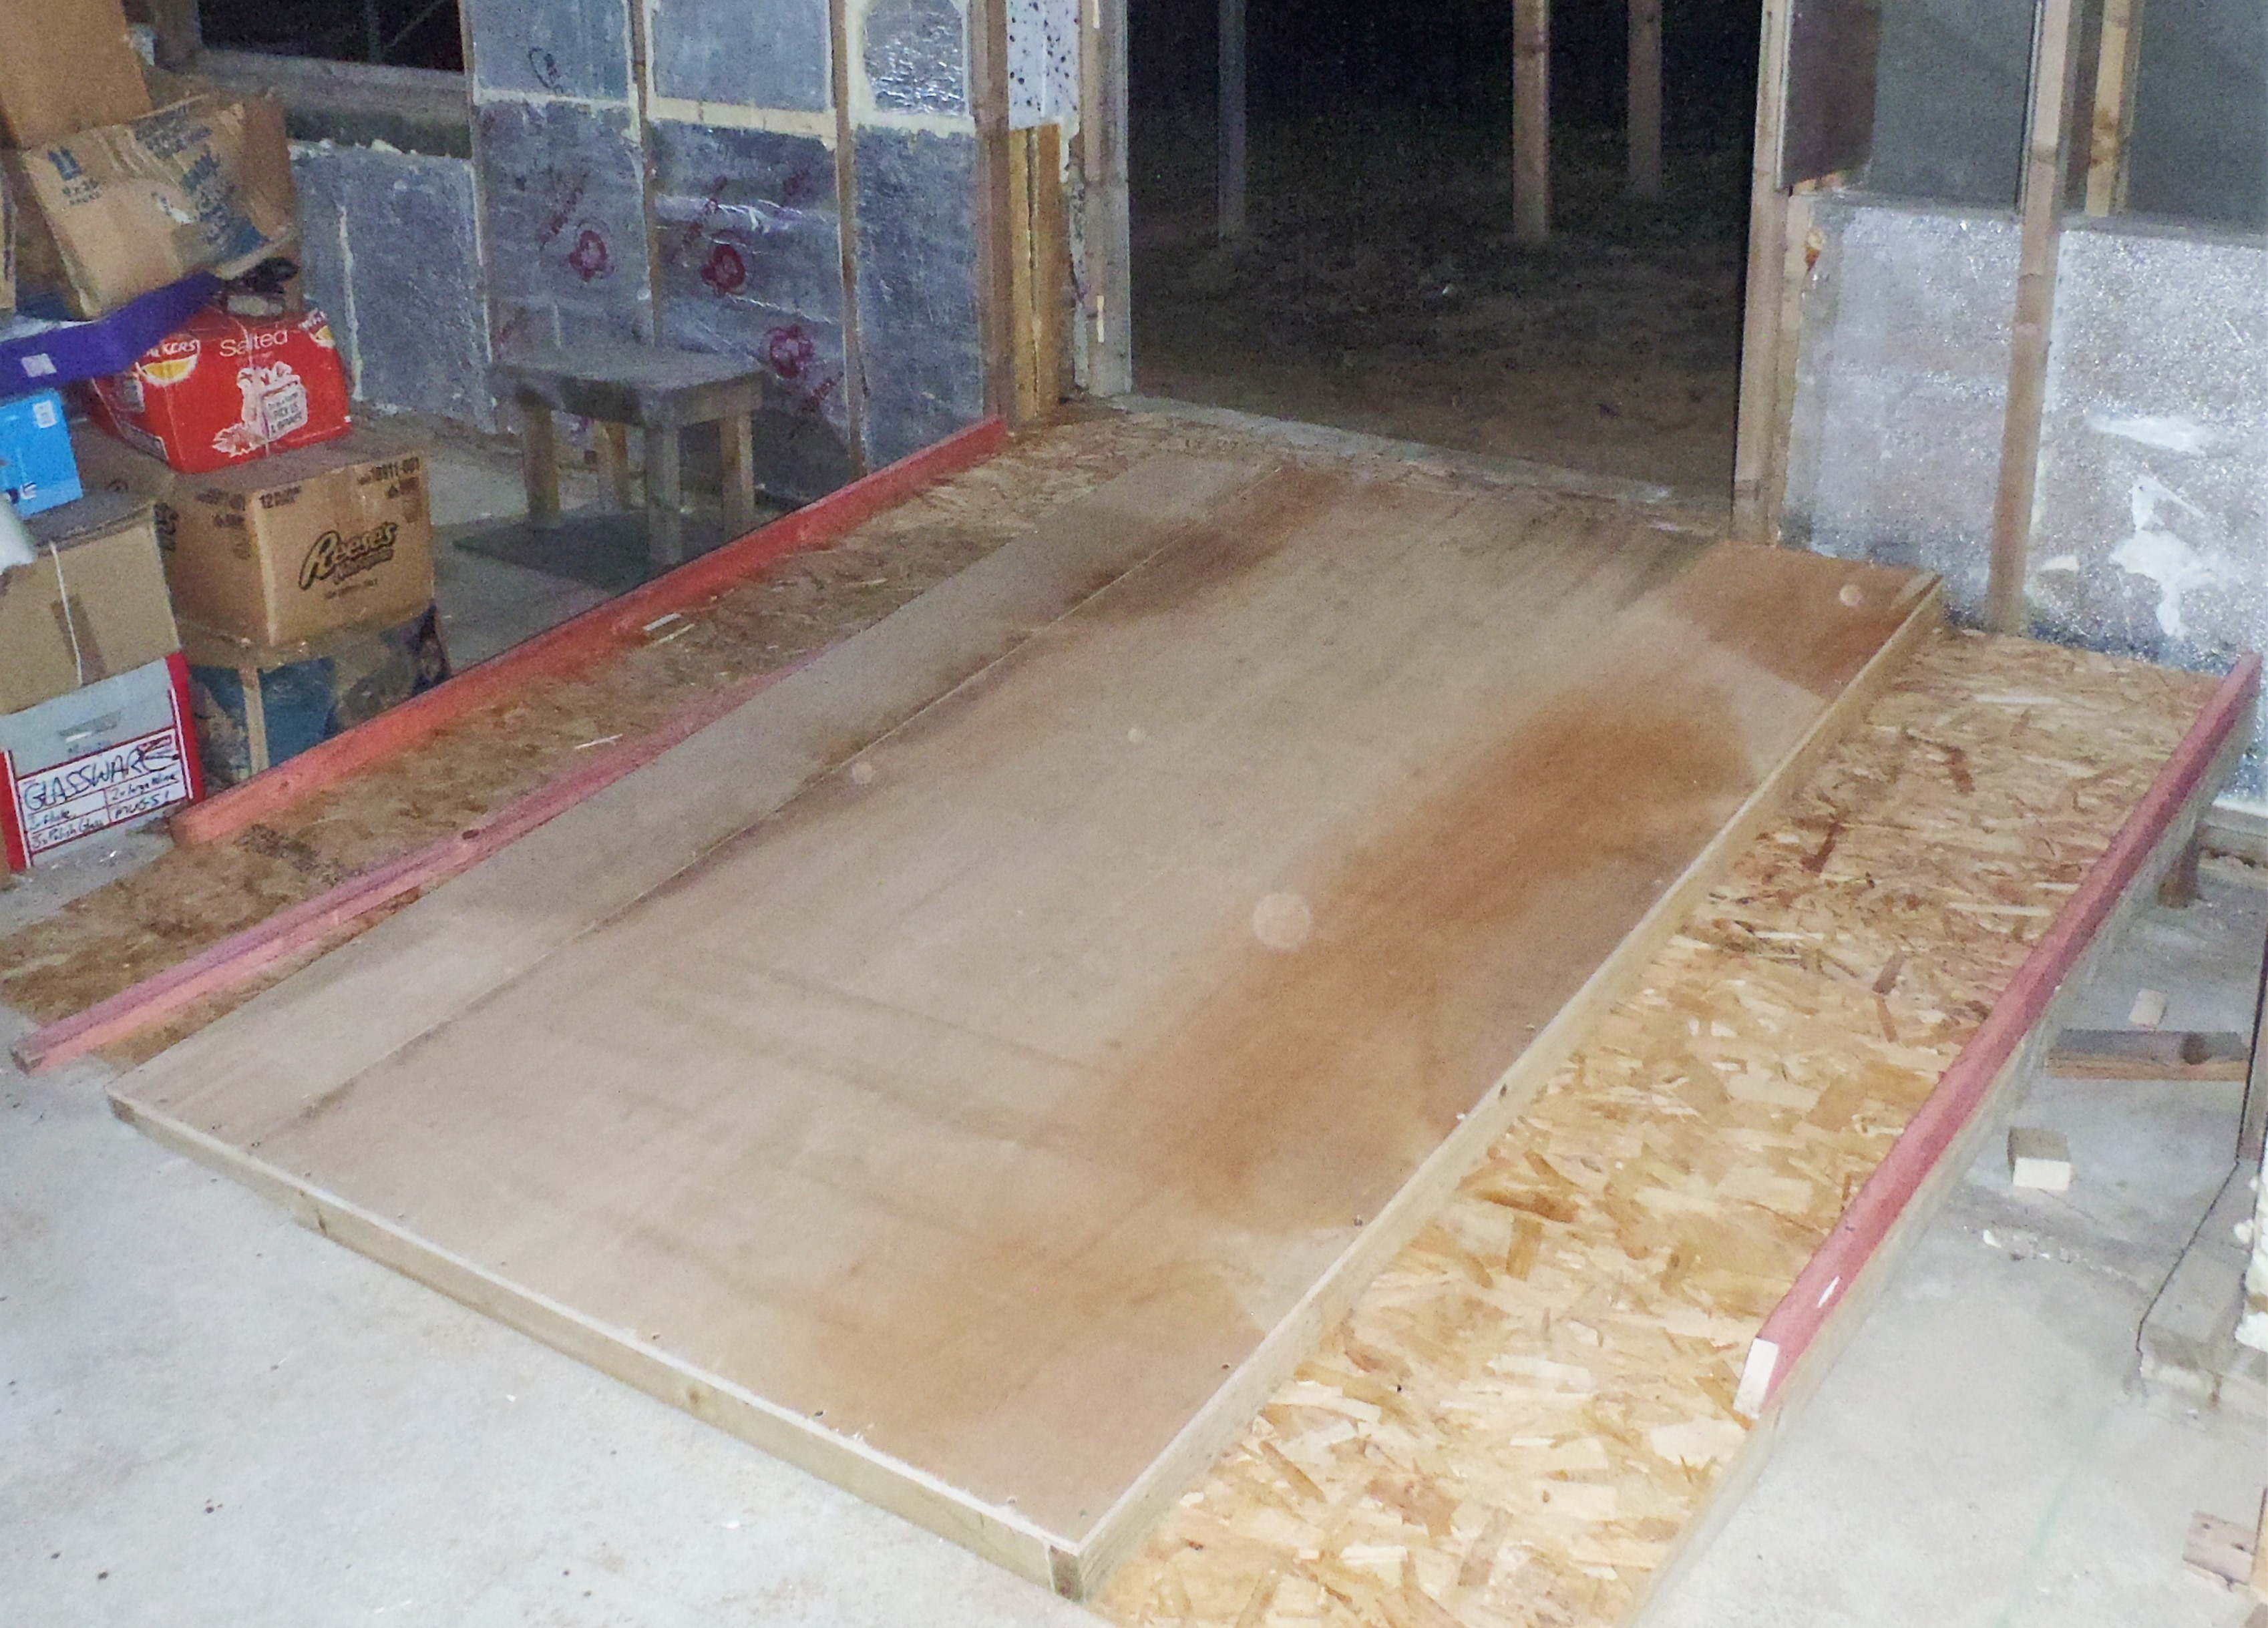
Parts-for-window-assembly-testing
We would carry on with the aluminium strips and oak pieces if the weather is wet and horrible, but for the last part of the task of putting up the cladding support battens, these being inside the two porch sections and we will tackle that job next week, depends on what Storm Dennis brings!! Fingers Crossed!