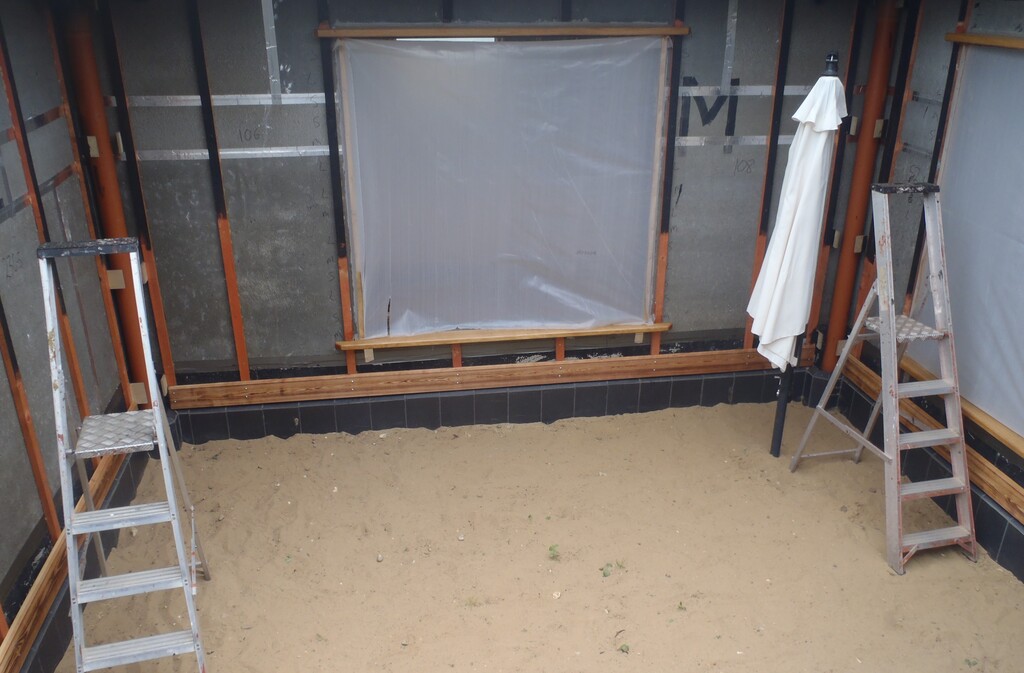
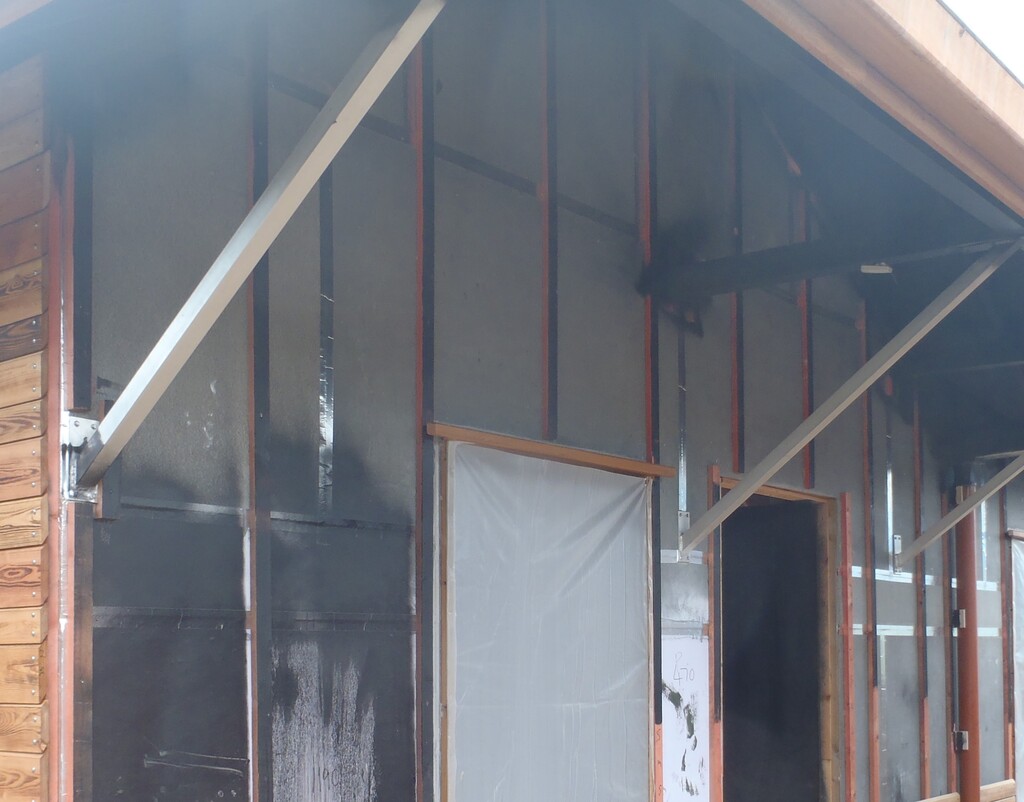
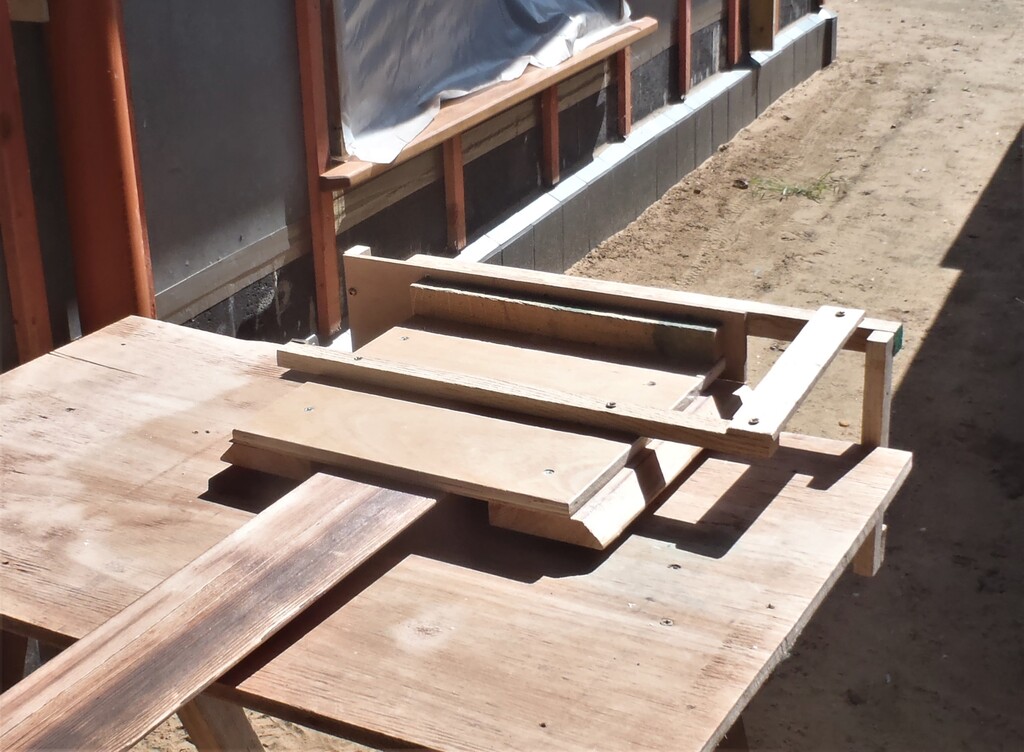
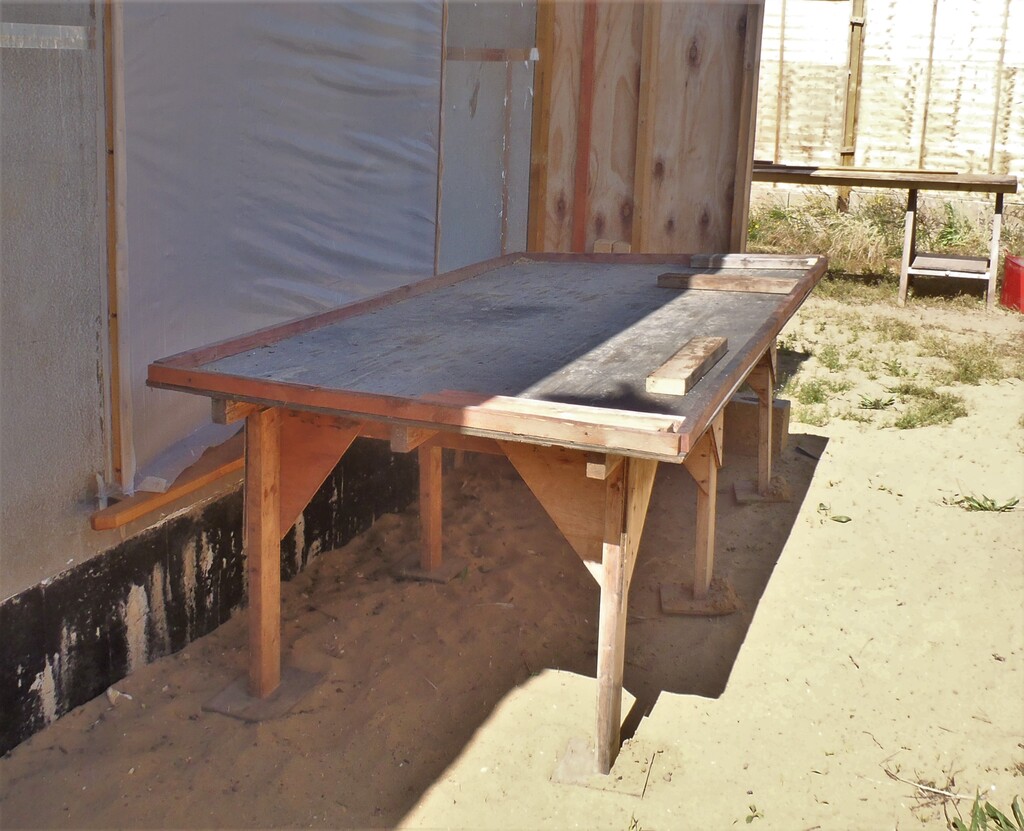
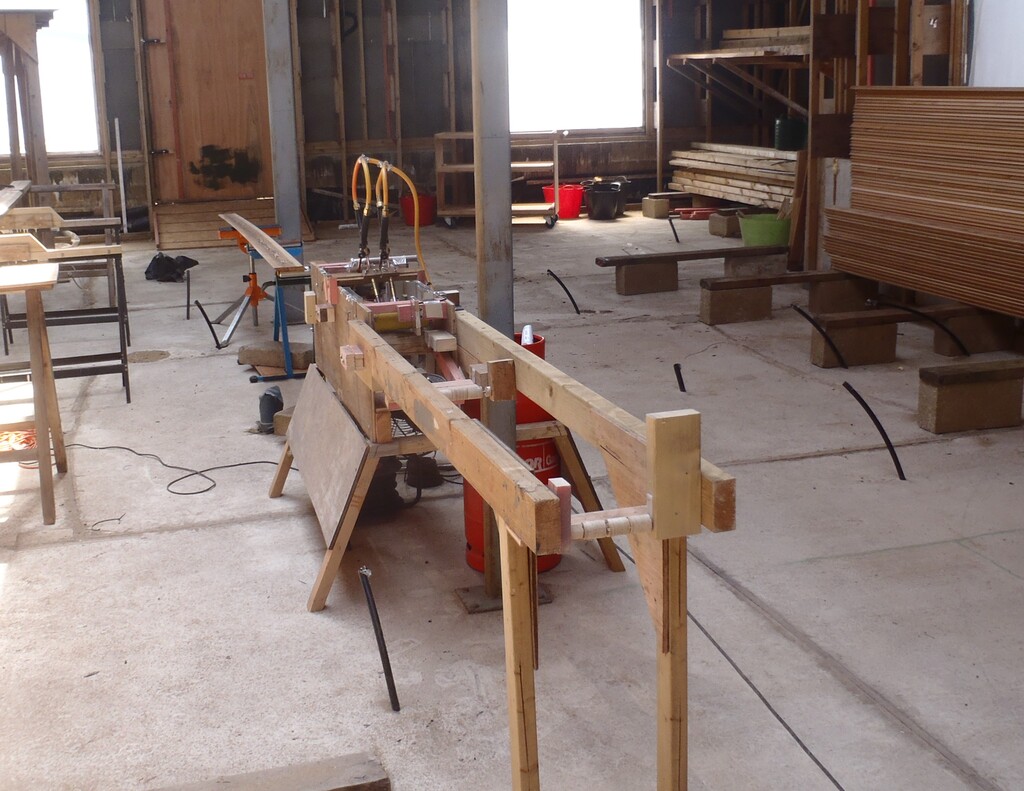
This week, we finished waterproofing our dunking trough, with two layers of thin plastic sheeting we found in the shed and then covered over with a left-over length of our roofing membrane material to provide a scratch resistant surface as we dip each plank in and out.
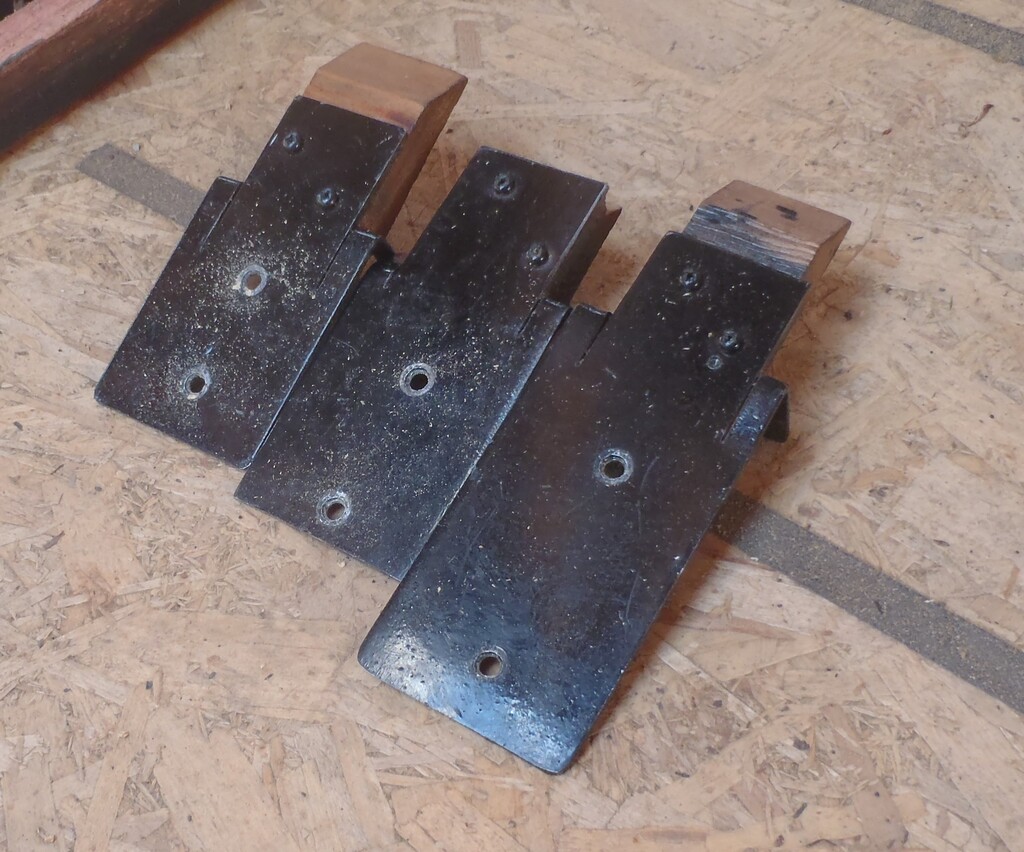
Then we made five spikey drain support strips, spaced apart 1.2metres so we could do every length we had from 3mtres to 5.7metres. Each strip was 1.2metres long and we used forty 100mm standard nails, hammered through the batten via pre-drilled clearance holes, spaced apart by 25mm and this would allow us to handle 39 planks at a time.

Dunking-tank-ready-for-use
The first job was to pour in our Flame Retardant treatment .. no actually, it was to pour in a large trug of water first, about 30 litres and leave it for an hour to make sure we don’t have a leak. We can afford to lose some tap water but not our Flame Retardant Liquid which costs £1000 for three 25litre bottles!!
Link to the product
But we needn’t had feared .. we had No Leaks! Phew!
So we poured in two bottles of the fire stuff and started dipping. We measured the level in the trough at the beginning and it was 42mm high for 50 litres.
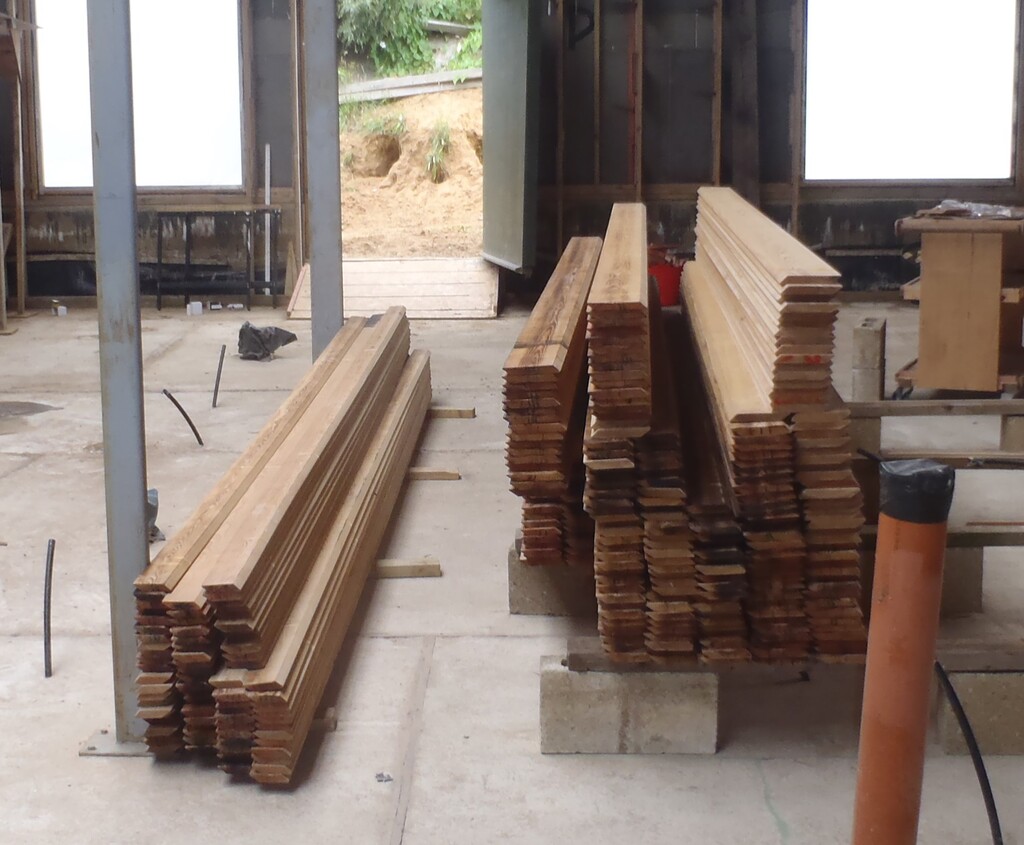
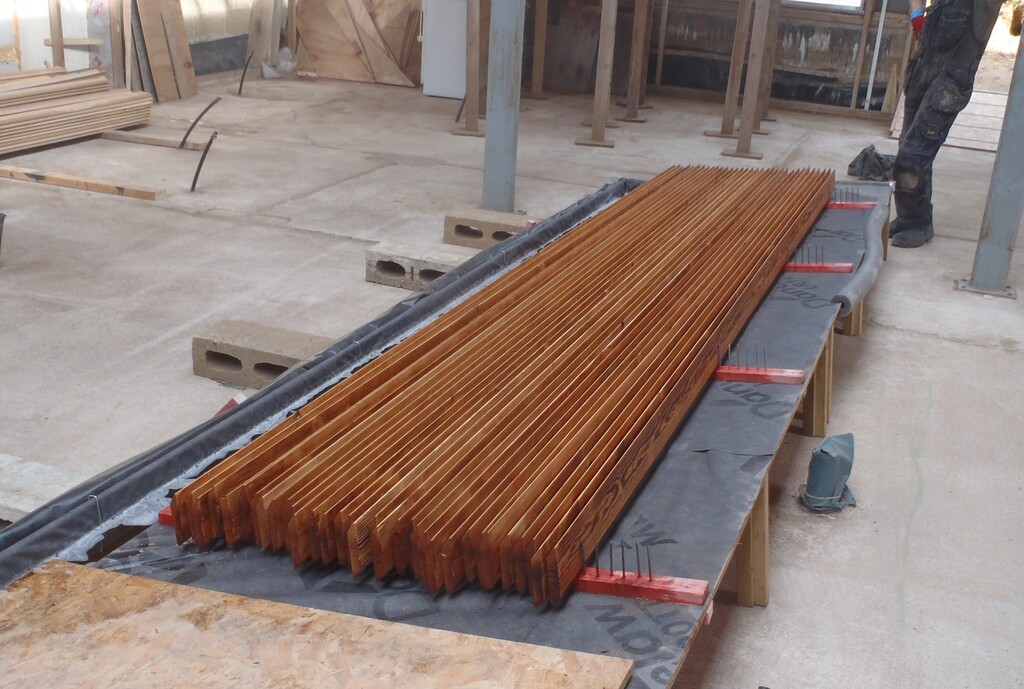
We began with the widest planks first, the 150mm width and all 4 metres long.
It was not too bad a process, dip one in, rotate in the liquid to ensure a full coating and then lift out to drain and repeat.

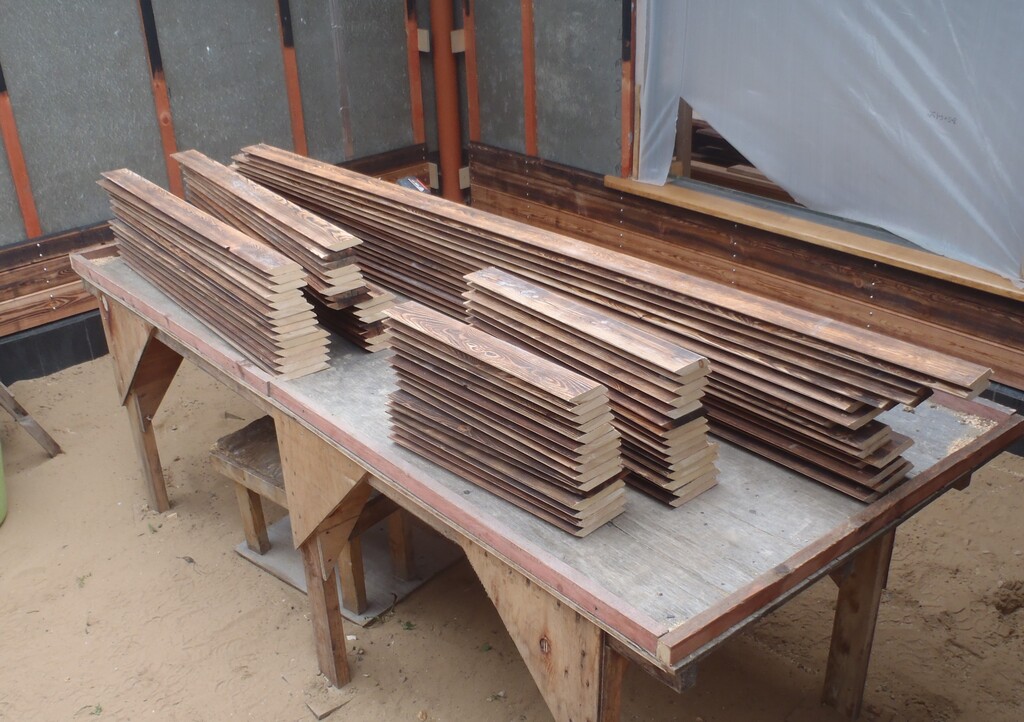
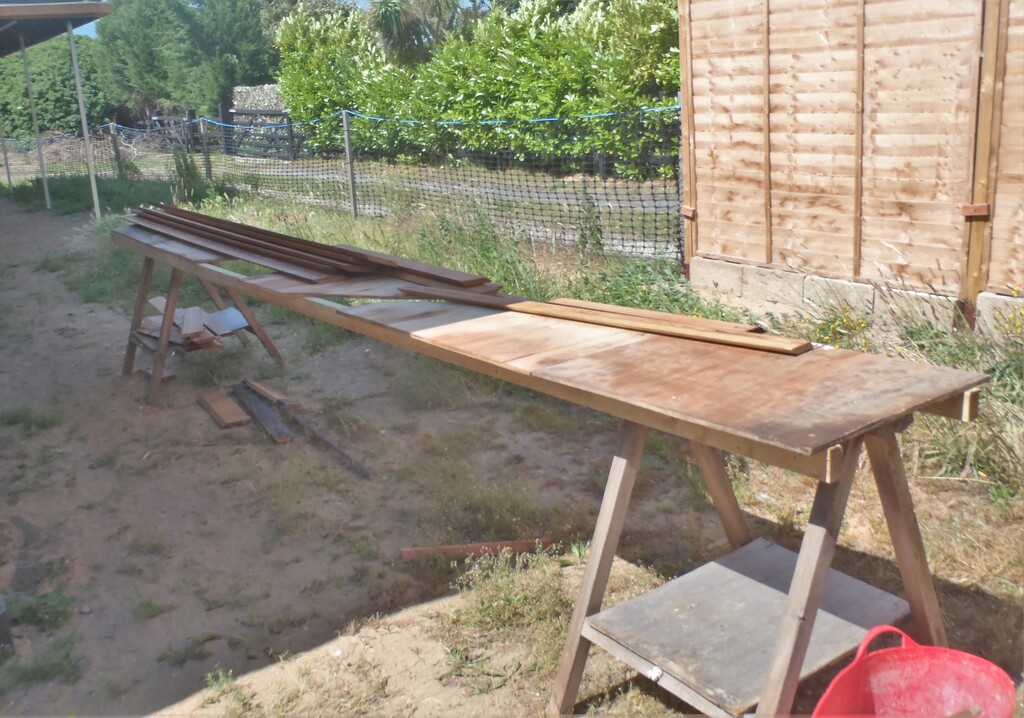
First-batch-of-planks-Fire-Treated
We had started in the afternoon as the morning was spent making the spikey draining prongs. But we wanted to get all 300 planks dipped so that they could and should dry overnight before they get their second and third dunk. It was a very, very long afternoon and we finished just gone 7pm ? Phew!
Fire-treatment-Day-1
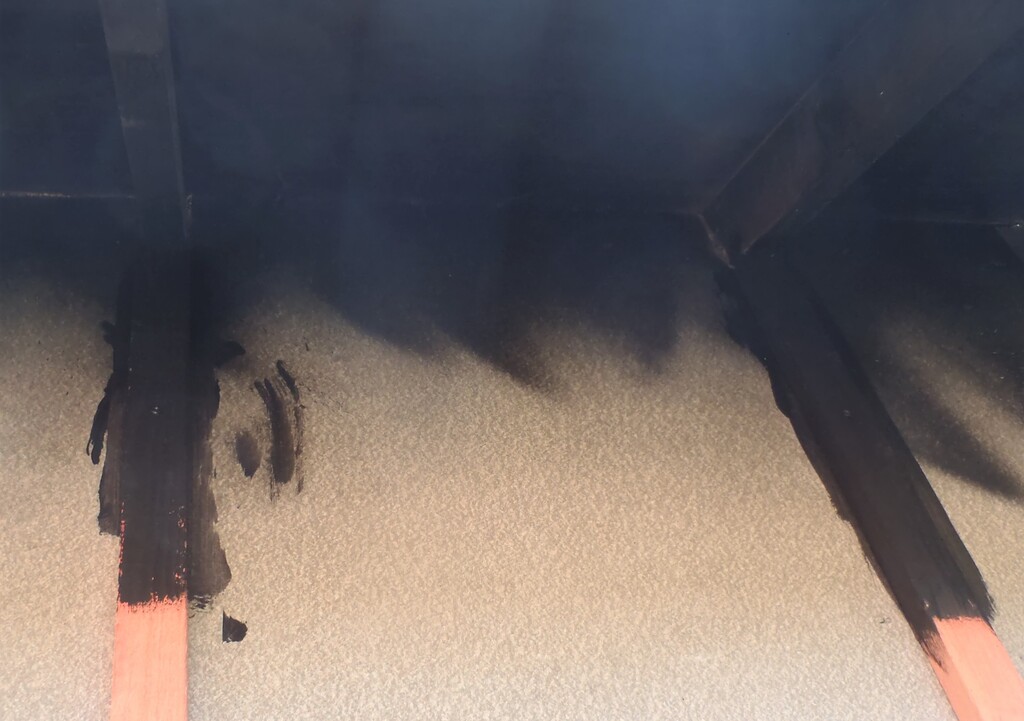
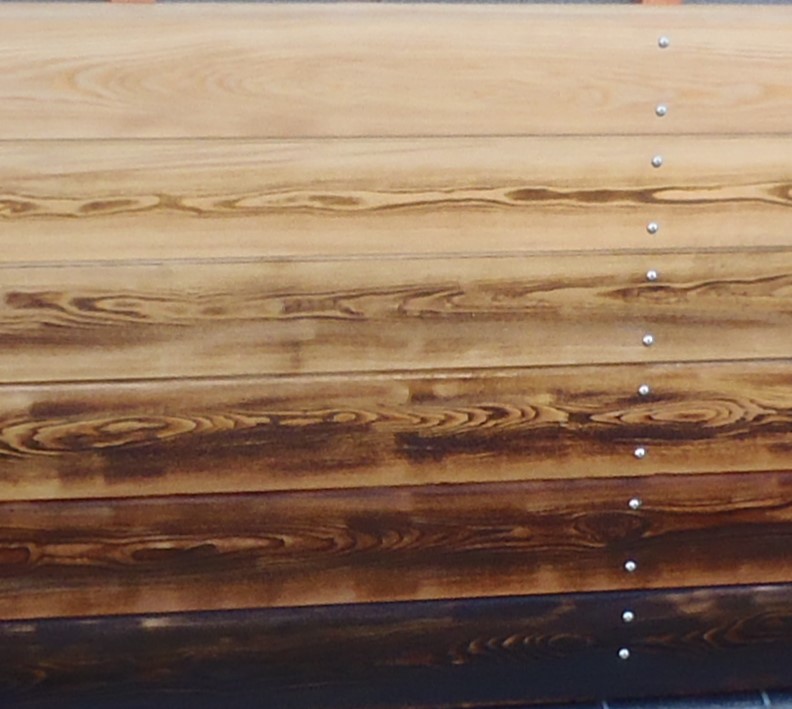
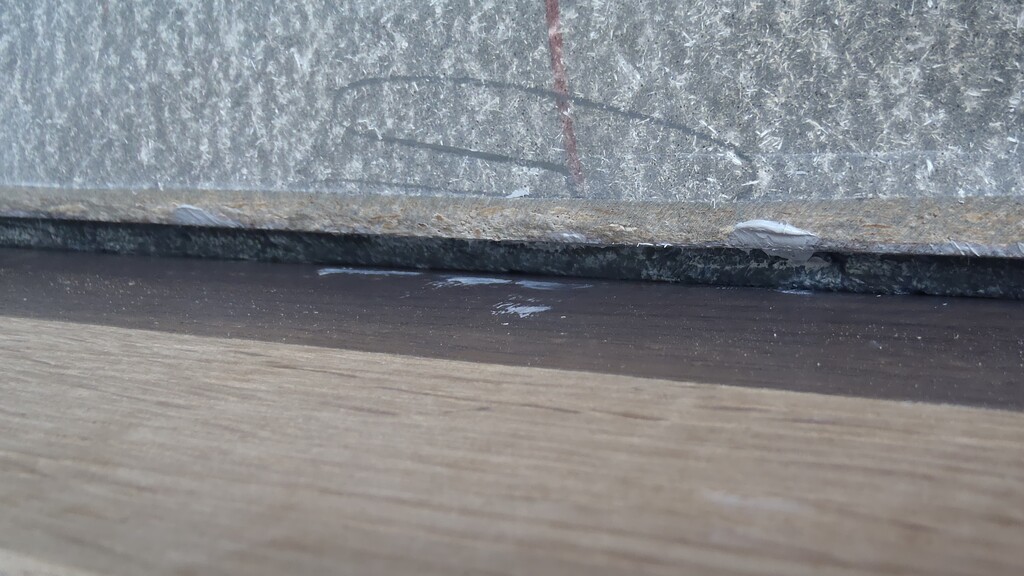
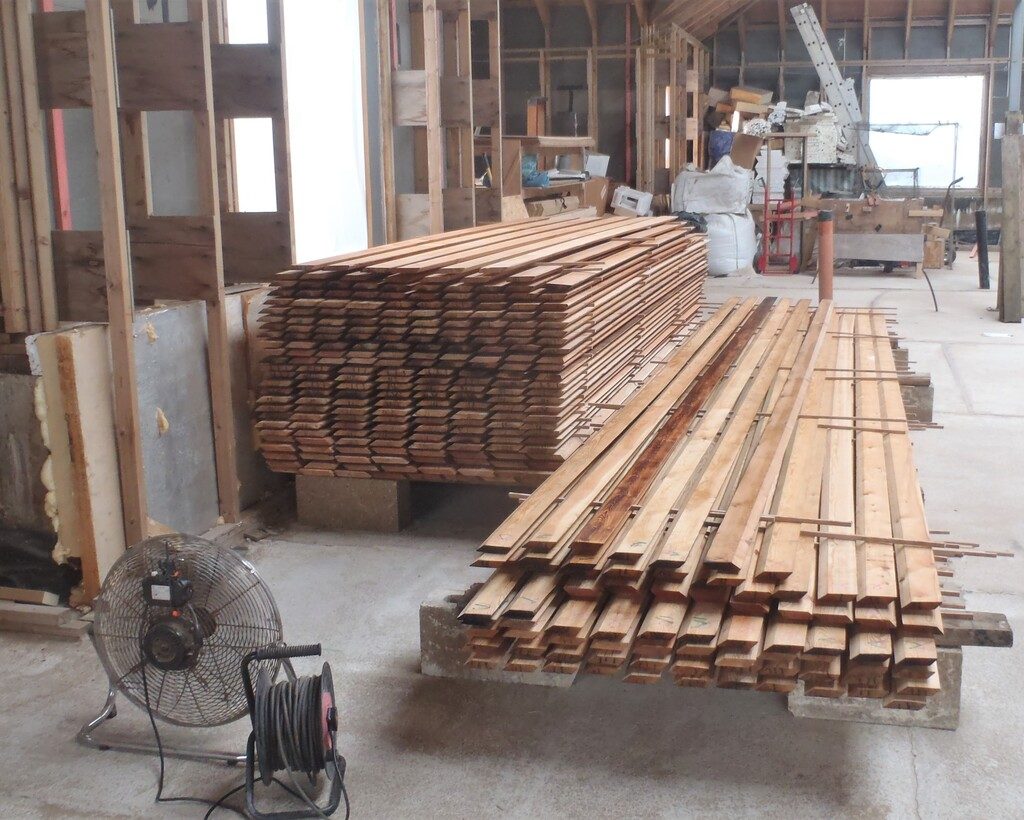
But shock! Horror! We suddenly realised that our nails were corroding and leaving black lines on our nice Larch planks! Oh **** and double damn! The Fire Treatment liquid was water based and we found that the fire proofing chemical was speeding up the whole rusting process! So we needed to clean the nails, dry them off and spray them with black metal paint to protect them. That was done at 9pm! Oh Boy!
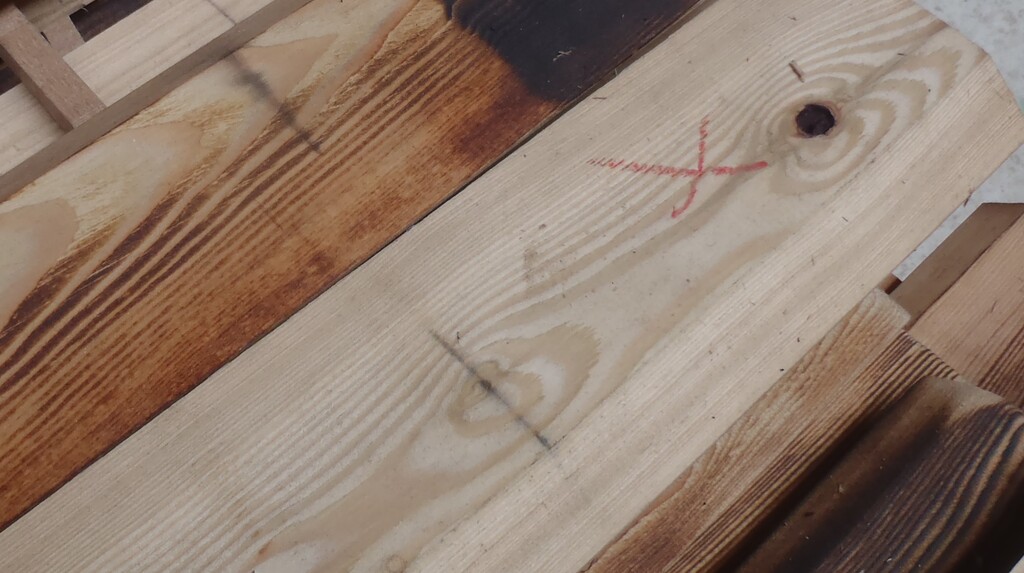
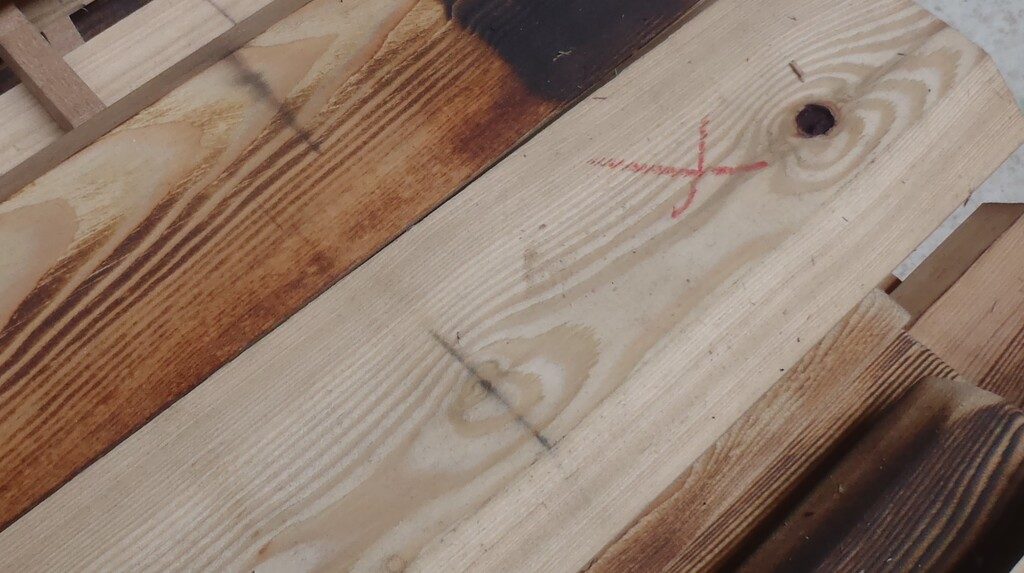
In the morning, Stephen found on the web a solution to remove rust marks from timber by using a solution of Oxalic acid to dissolve the iron oxide and he was all ready to order the necessary chemicals when mum said “look under on the shelf in the kitchen and you will find a fifty year old bottle” and apparently, it was a common laundry solution in getting rid of rust marks on clothing! So making up the required solution, we rubbed the rust marks on the timber .. and they disappeared .. to only leave a bright yellow smear over the spot!! Big Sigh!! What Now??! Roll eyes upwards!!
Black-Iron-marks-on-the-timber
Treated-with-Oxalic-acid
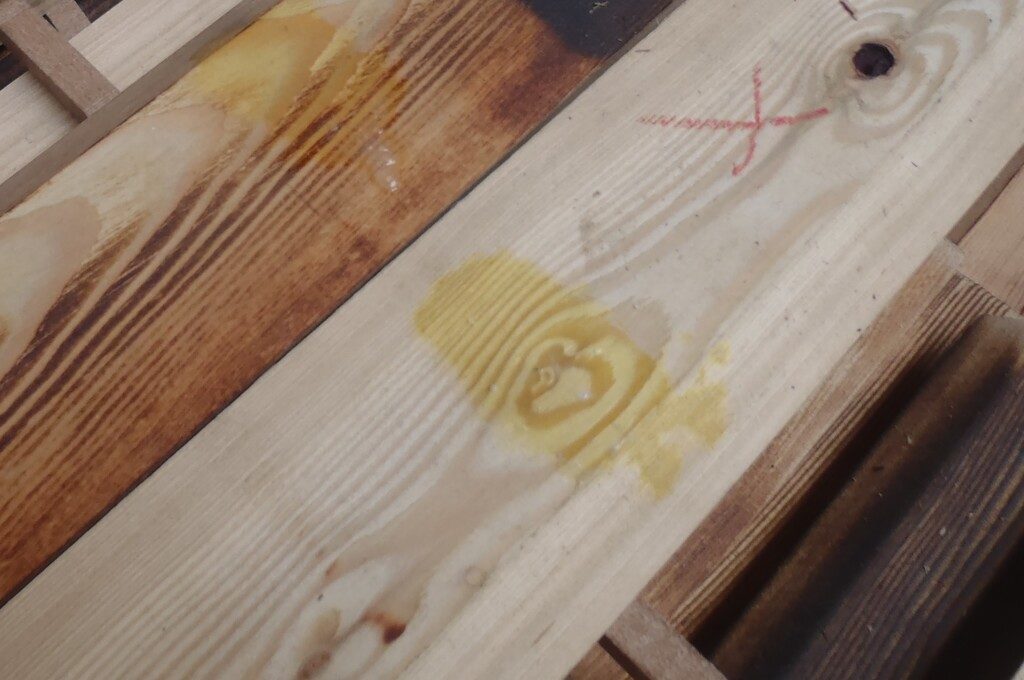
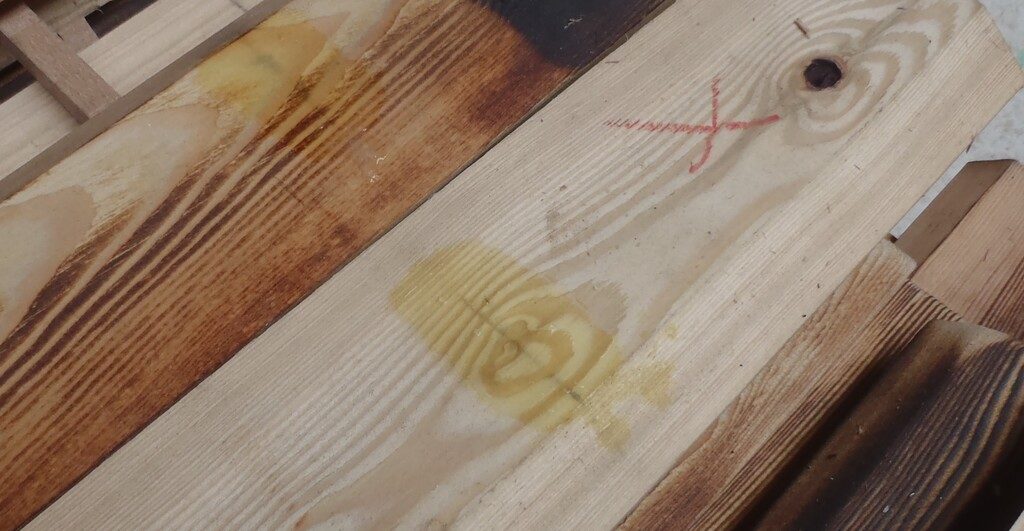
Marks-are-gone-but-
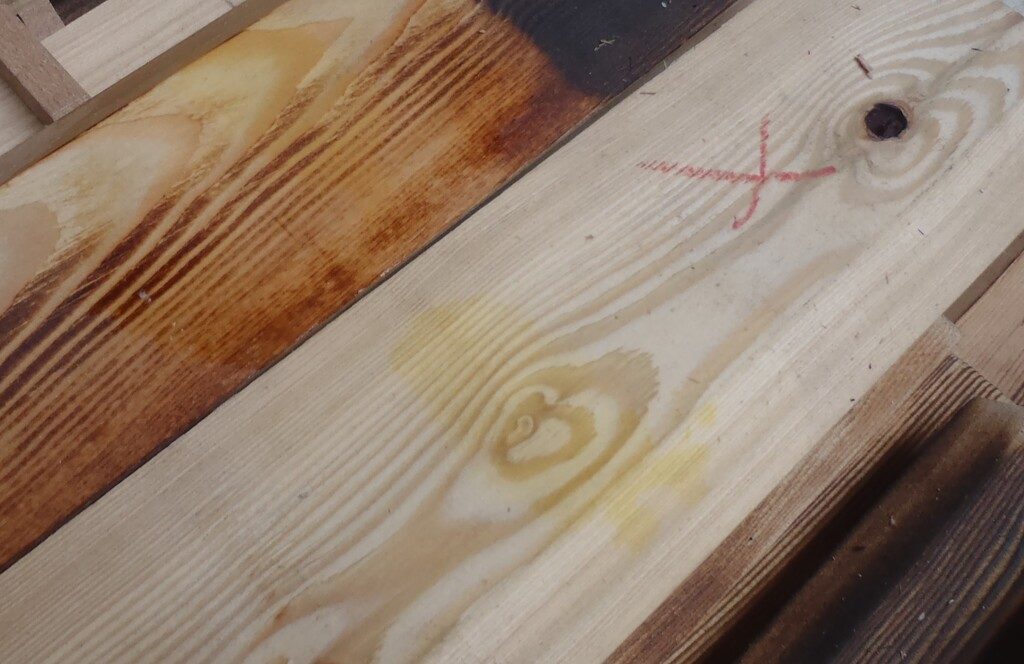
it-leaves-a-yellow-stain
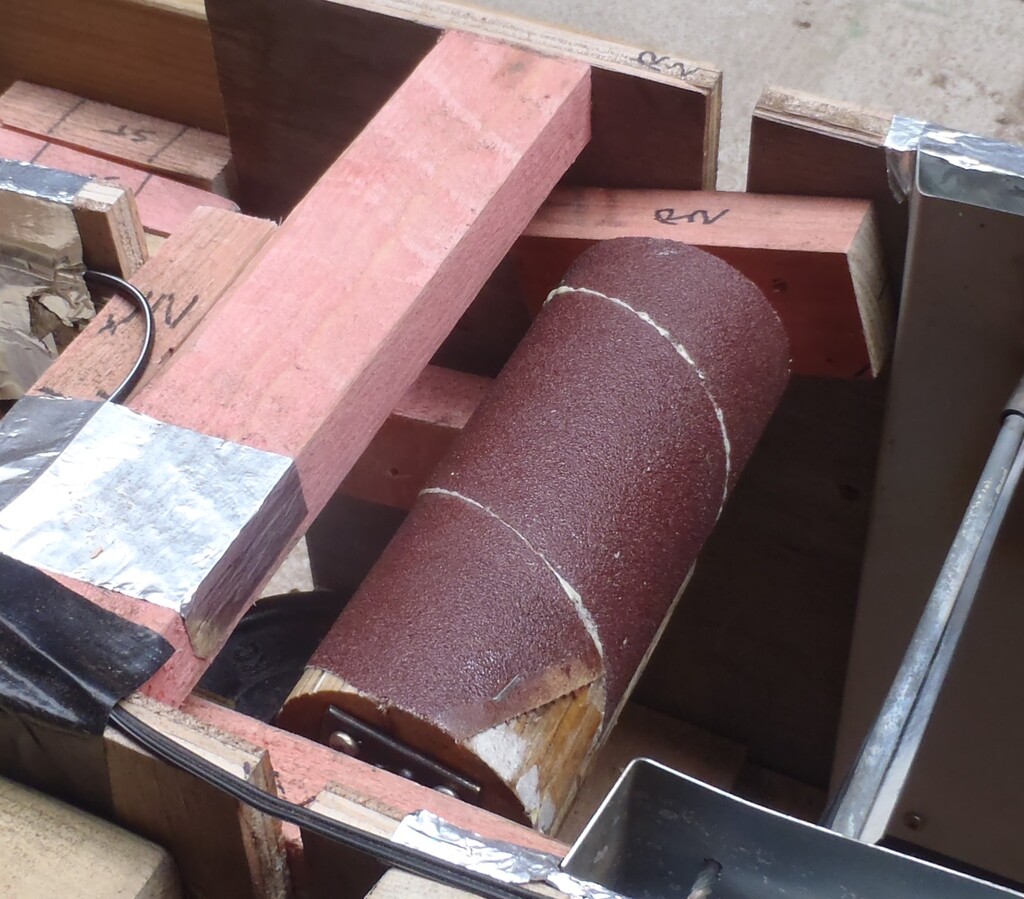
It must be the fire treatment chemicals doing it! Oh Boy! We took some scraps of Larch timber and dipped them into the treatment, wiped them with the rust remover to get the yellow smear and then left them outside in the sun to see if they will bleach away. We were also thinking about sanding the surface or wire brushing it or something to get rid of the rust marks etc. That would have to be done later on.
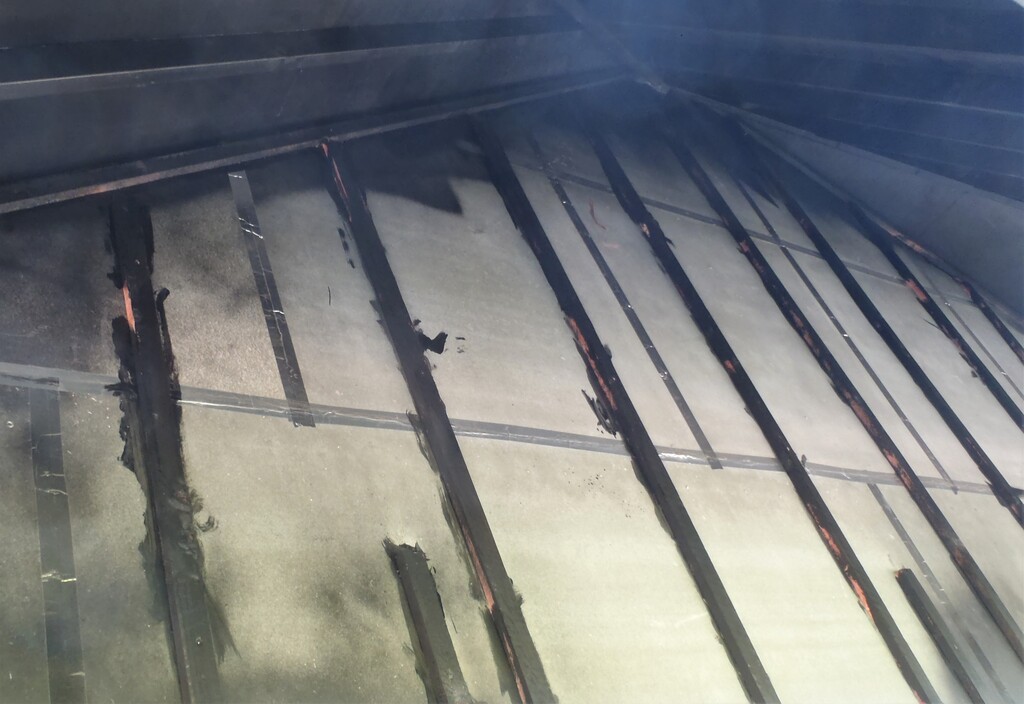
In the meantime, we resumed the dipping process, but in reverse, taking the planks from the drying pile (yes the planks were all dry!) and gave them their second dunk. By lunch time, we had done all the long narrow planks and to our frustrations, we saw that we were leaving black marks on the planks in addition to the rust marks and realised that the black paint we put on the previous night had not survived for some reason. We threw Our Hands Up In The Air!!! Arrgh! So after lunch, We replaced all the draining prongs with 90mm galvanised air-gun nails and made five replacement draining supports, but spaced apart by 30mm this time, affording us to handle 33 planks instead of the 39 before.
So, mid-afternoon, we resumed again, dipping all the remaining planks and finished nearly 7pm again!! Were We Whacked!!! Gee Wizz!

Fire-treatment-Day-2
The third day of dipping, we had some good news to start off with, we saw that the yellow smear had disappeared completely! Hurray!! It seems that the yellow chemical was not very stable, at least, the test pieces we left outside in the sun had lost their yellow!! Yippee!
With a lighter heart, we got on with the final third dip, putting our third bottle of the treatment in the trough and got on with the dunking process.
We had been measuring the liquid level each day and we could see that we were using about 20mm of liquid for each dipping session and that was good. by the end of the third day, we had just a few millimetres of liquid left in the bottom of the trough, we had to wiggle the planks and flip them over several times to make sure they were fully coated.

Fire-treatment-Day-3
We then vacuumed out the remaining liquid, using a fine cloth filter to remove as much of the brown particles that had come off the darker burnt timbers and we manage to rescue about 6 litres, still slightly brown colour but at least, we have some ready to coat on any timber piece we want to make sure it is fire treated.
That was the end of the third day on Thursday!
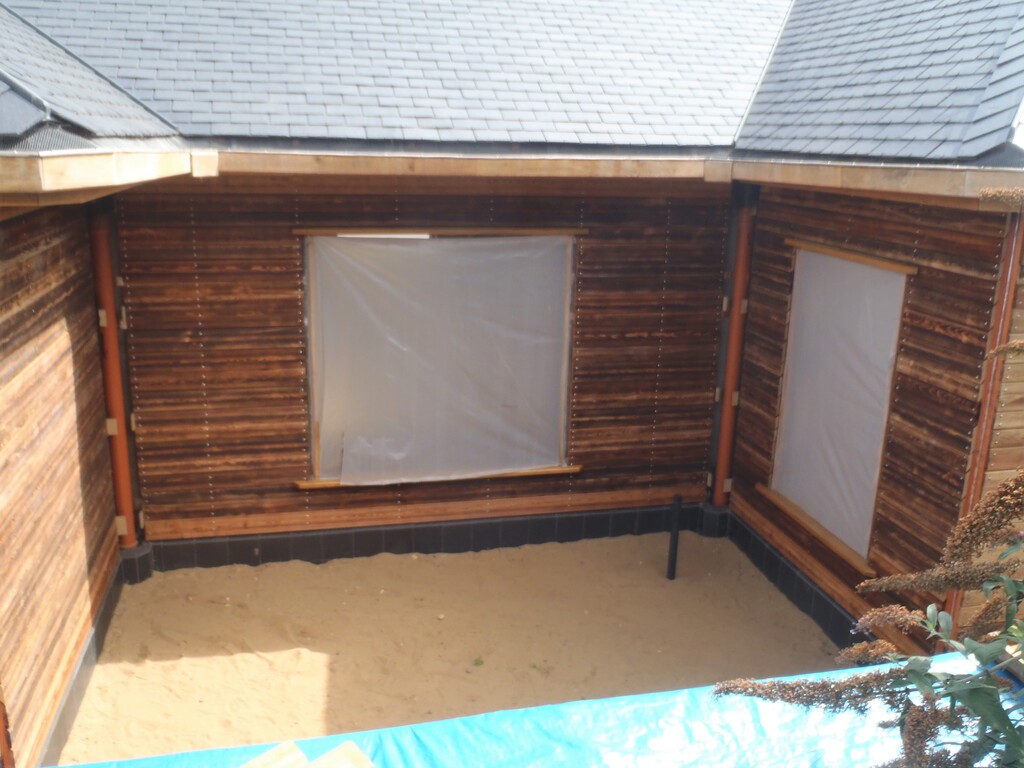
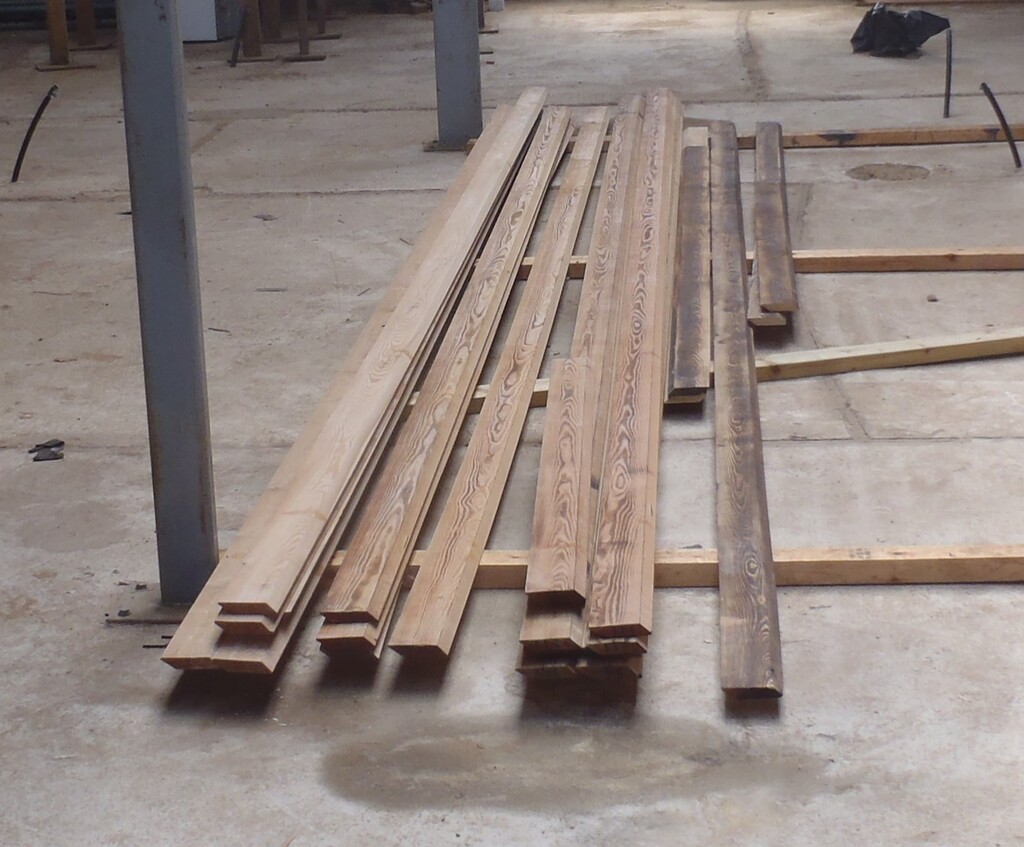
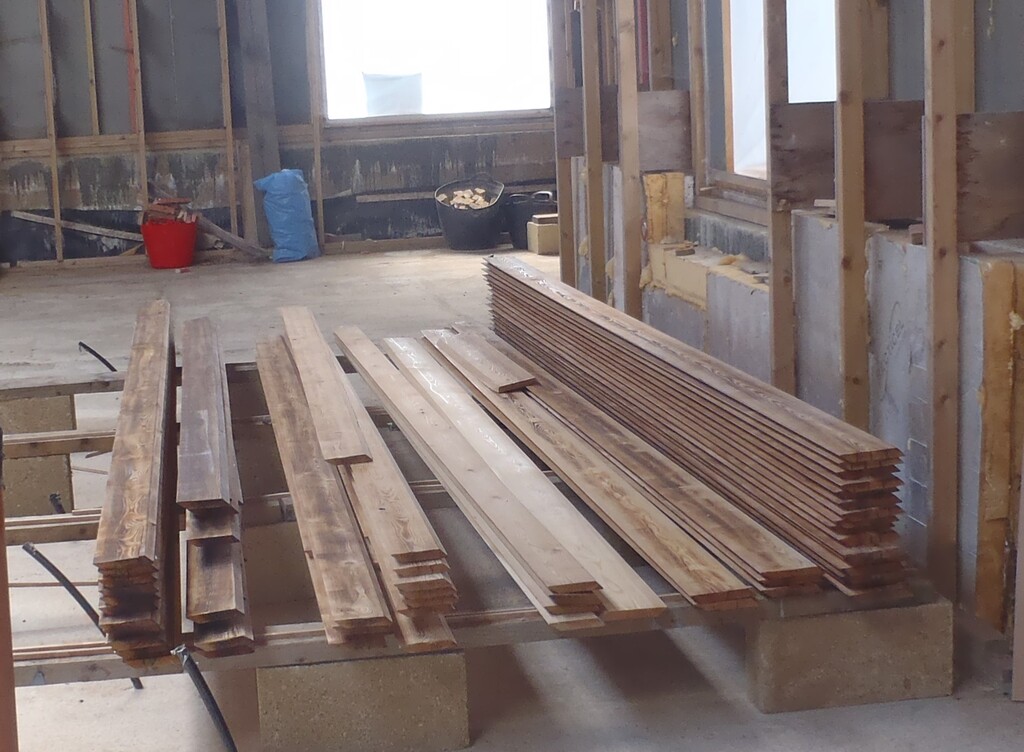
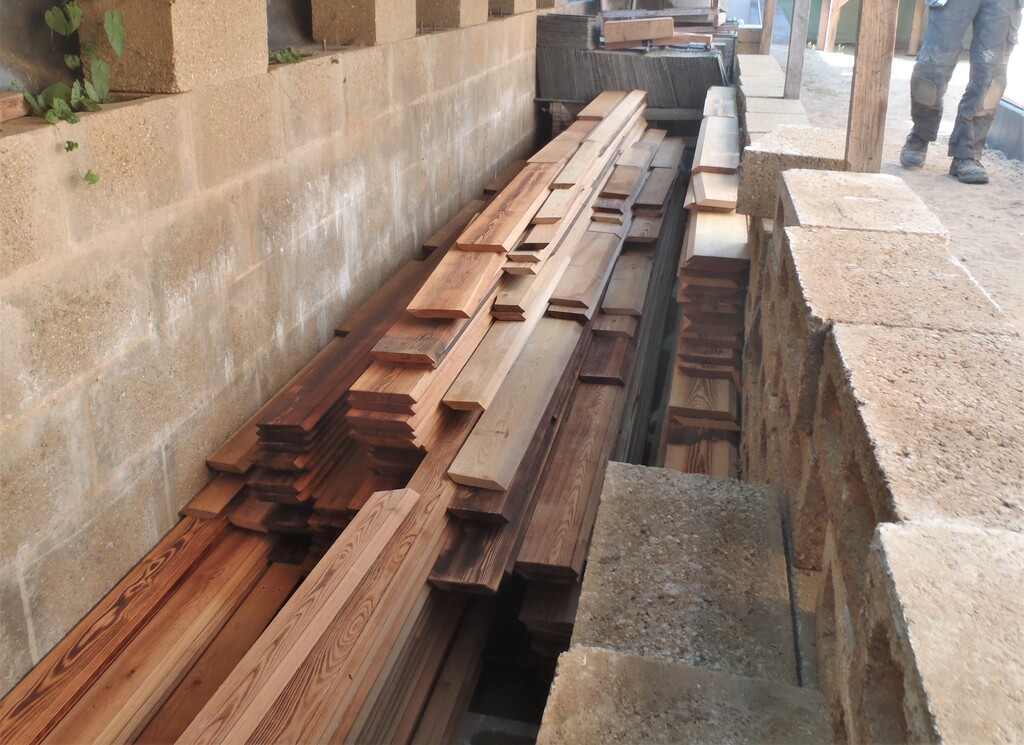
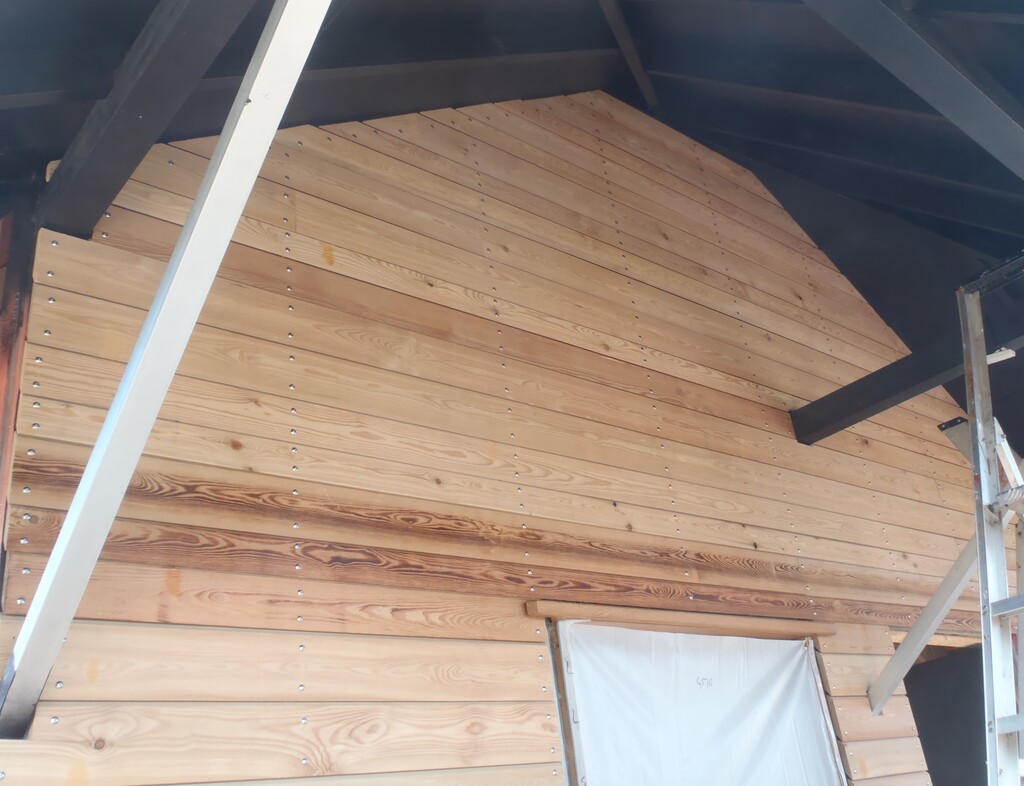
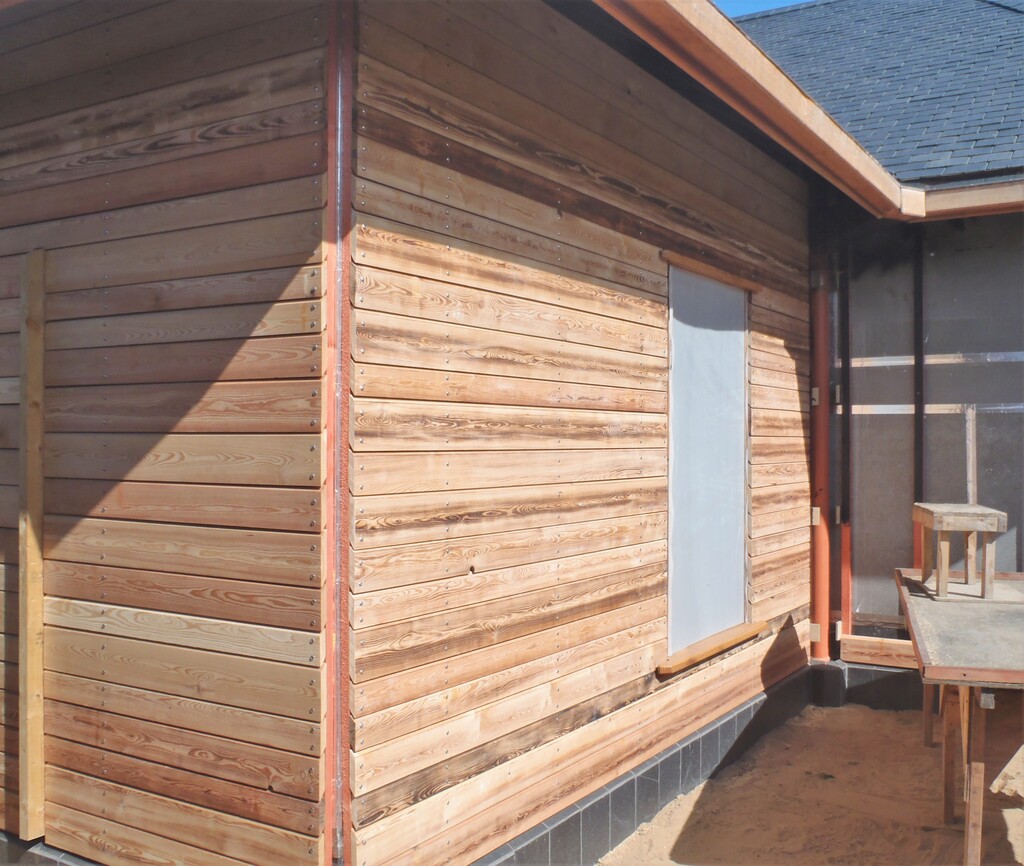
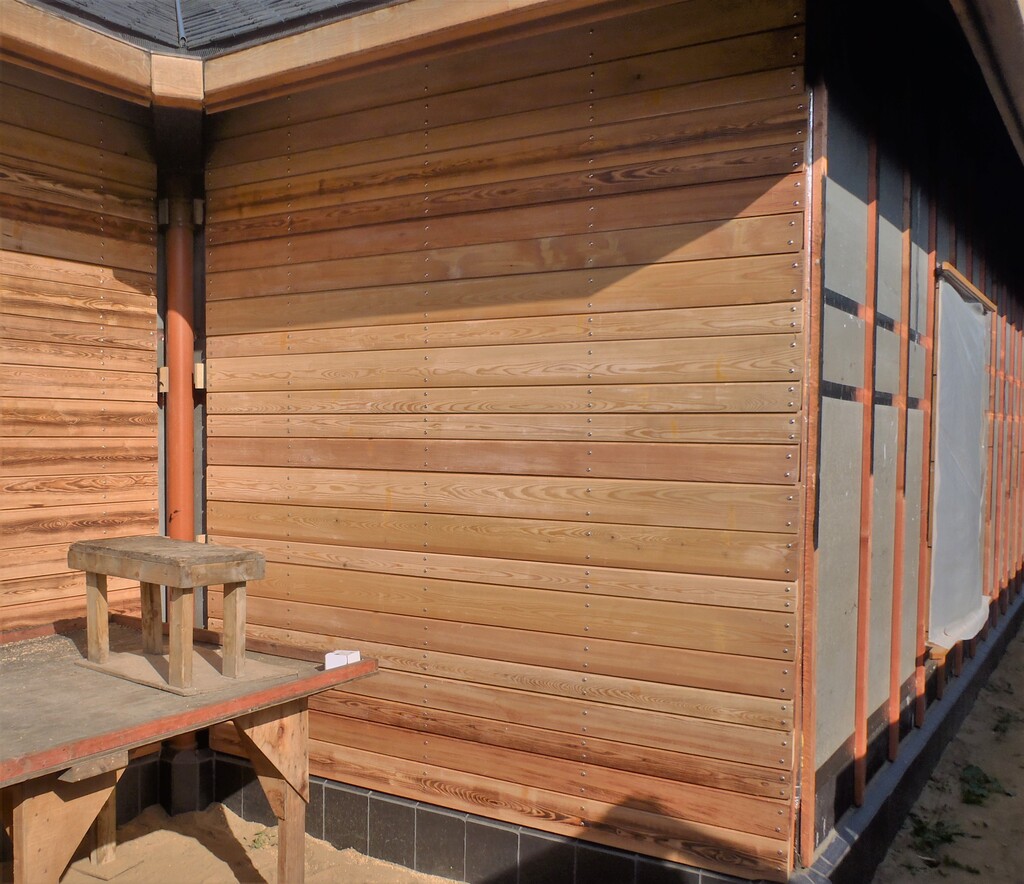
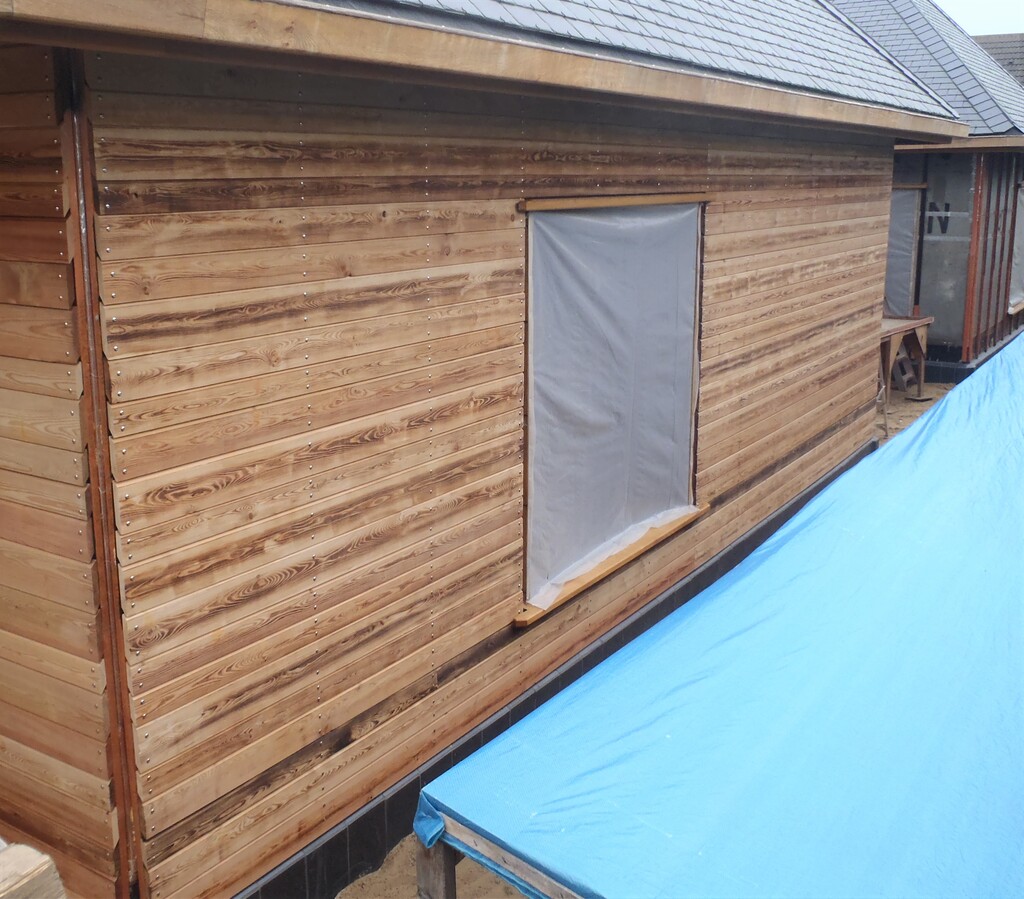
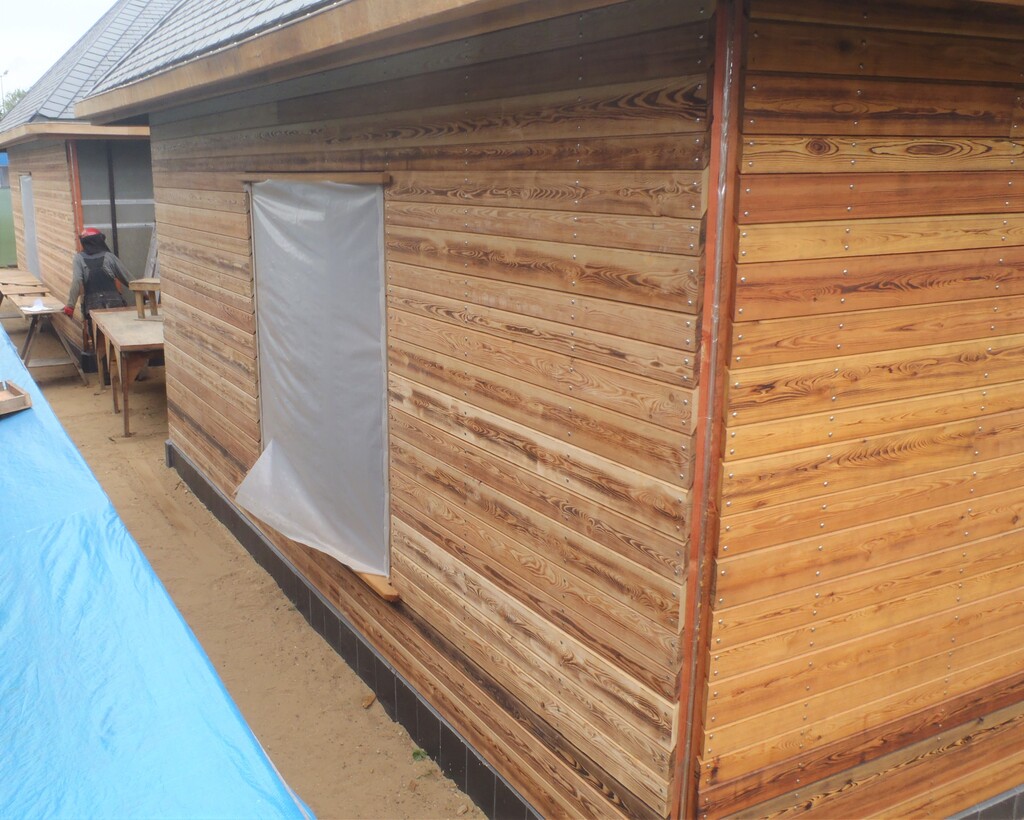
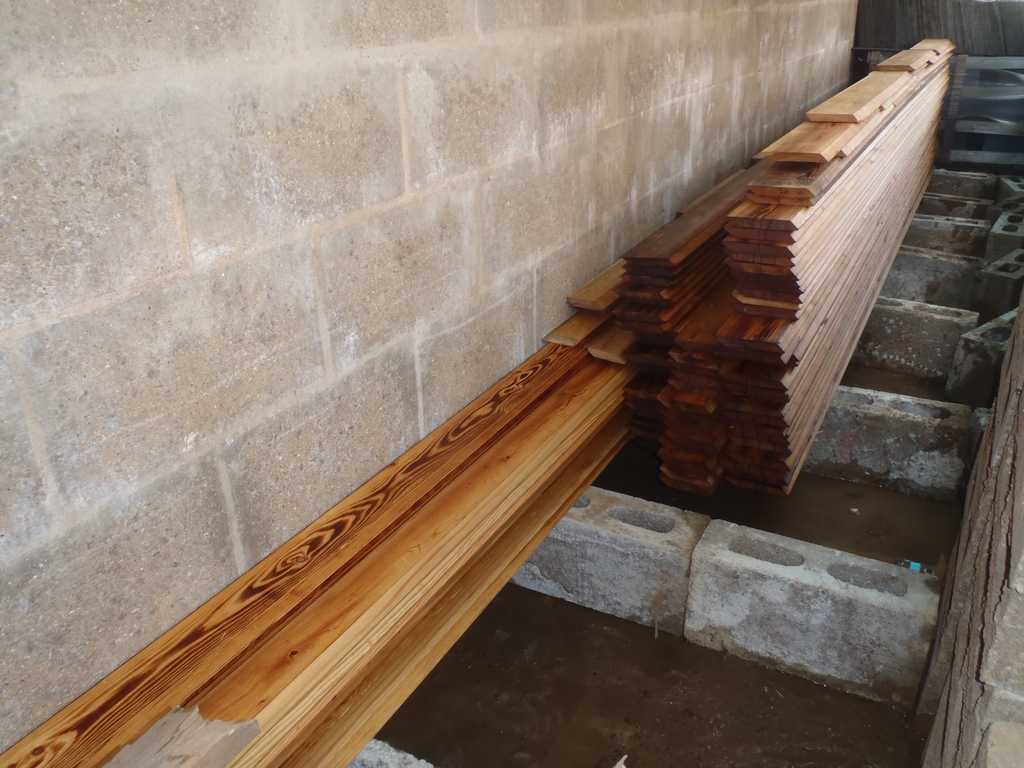
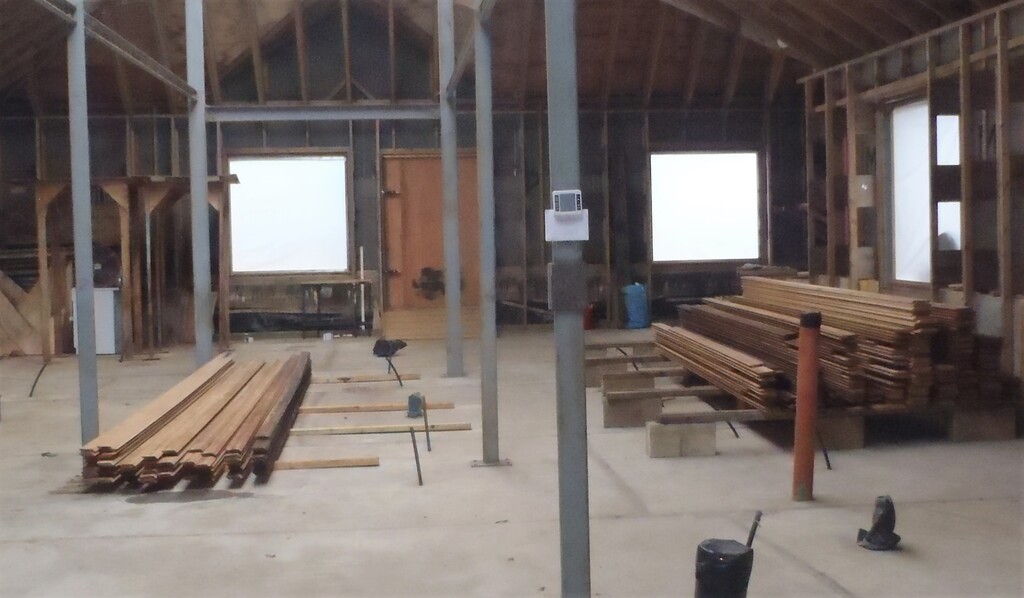
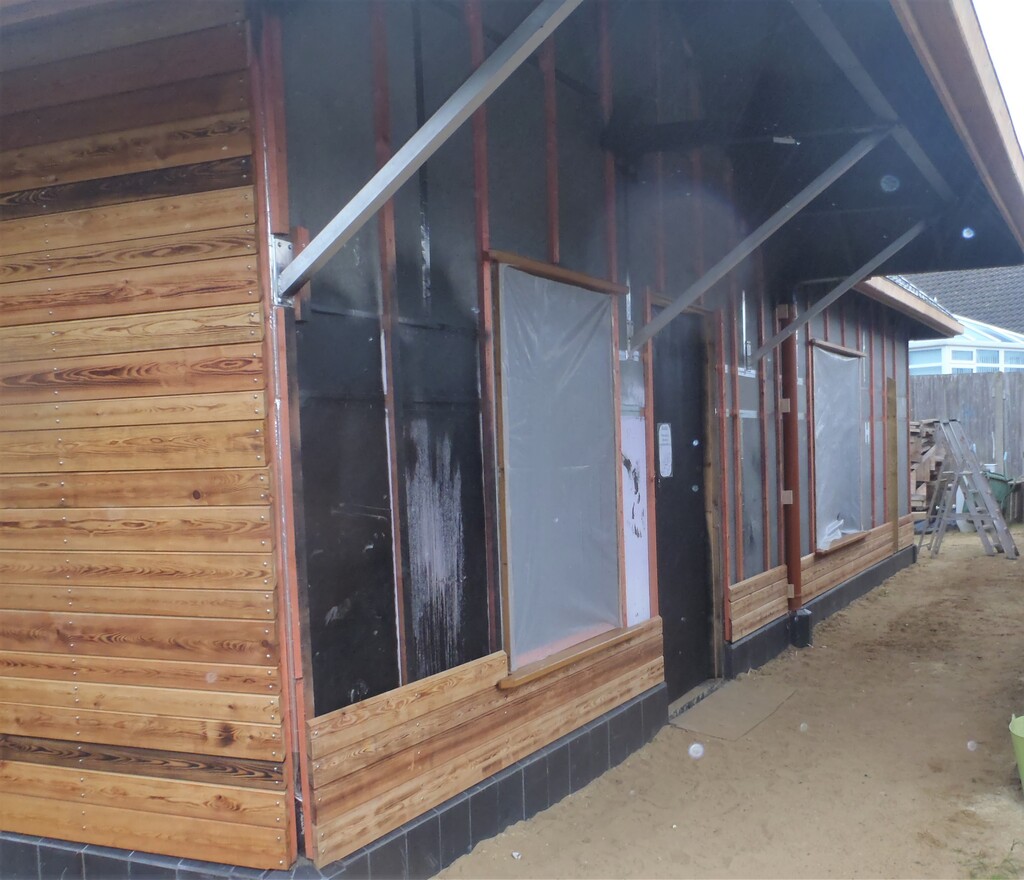
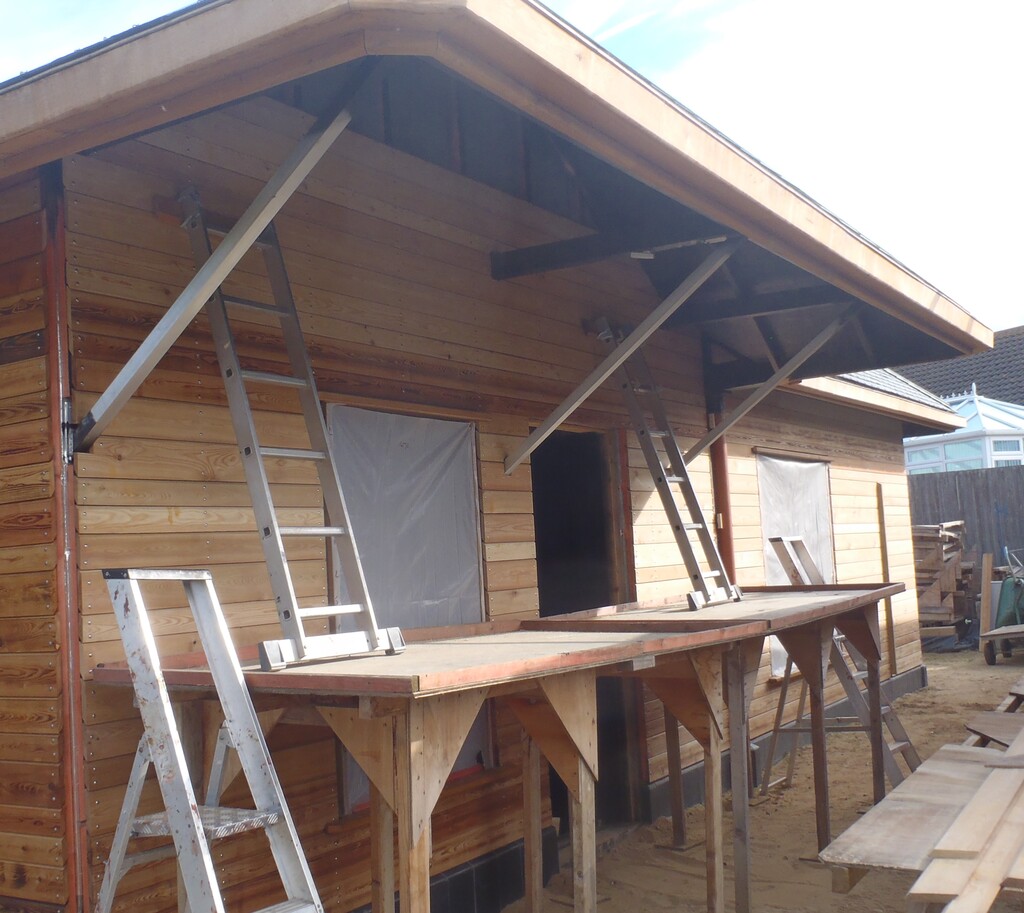
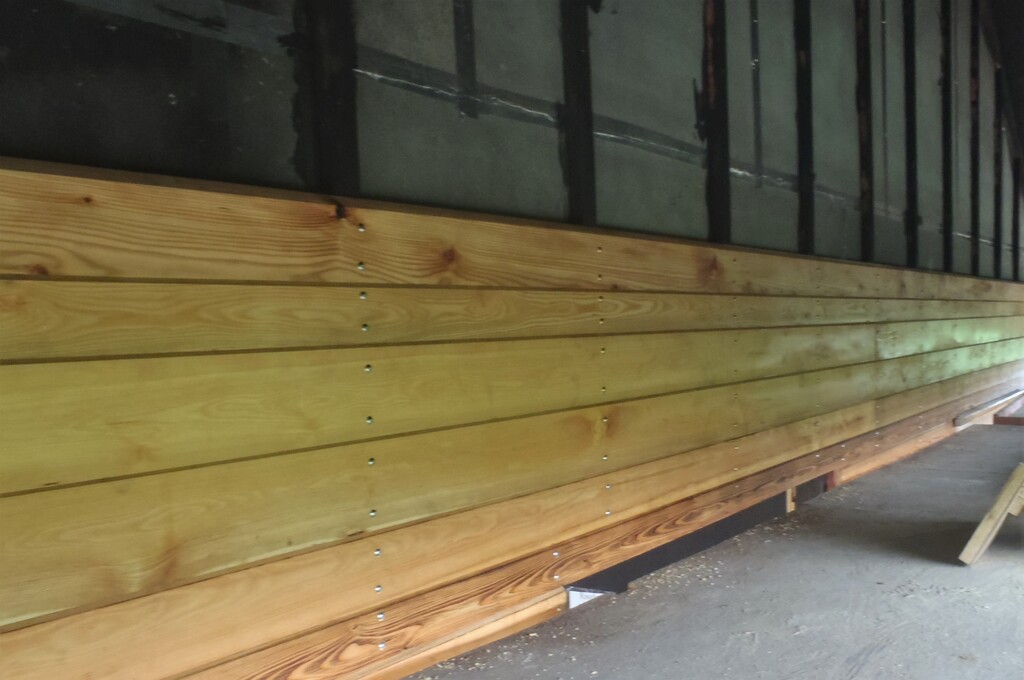
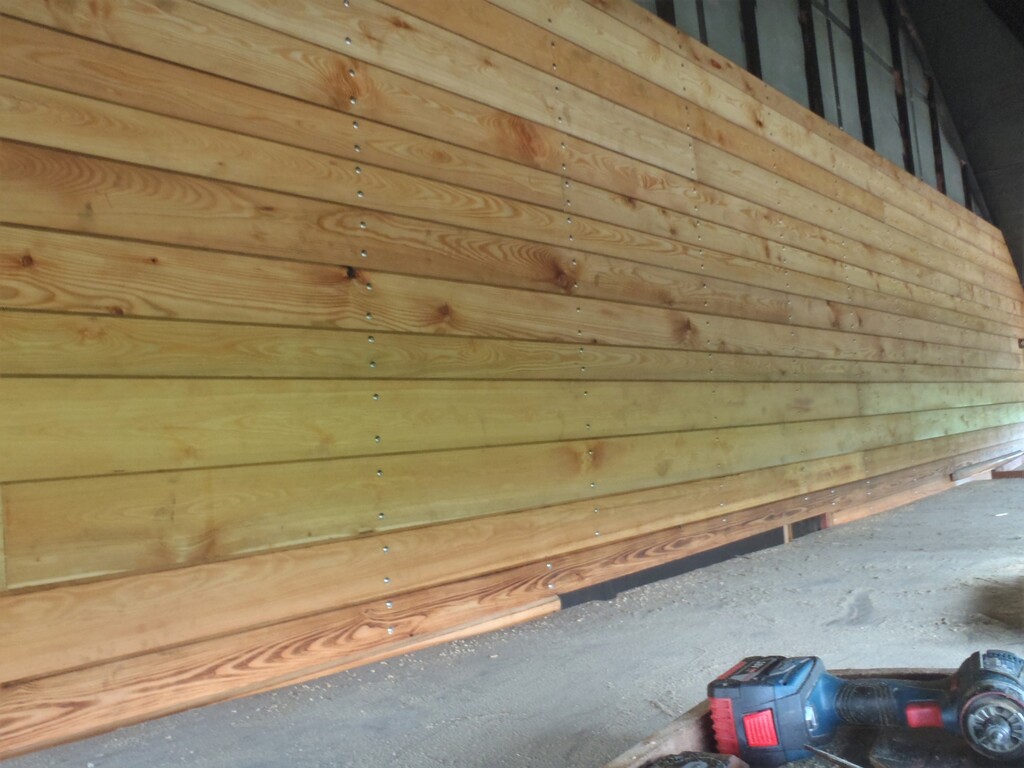
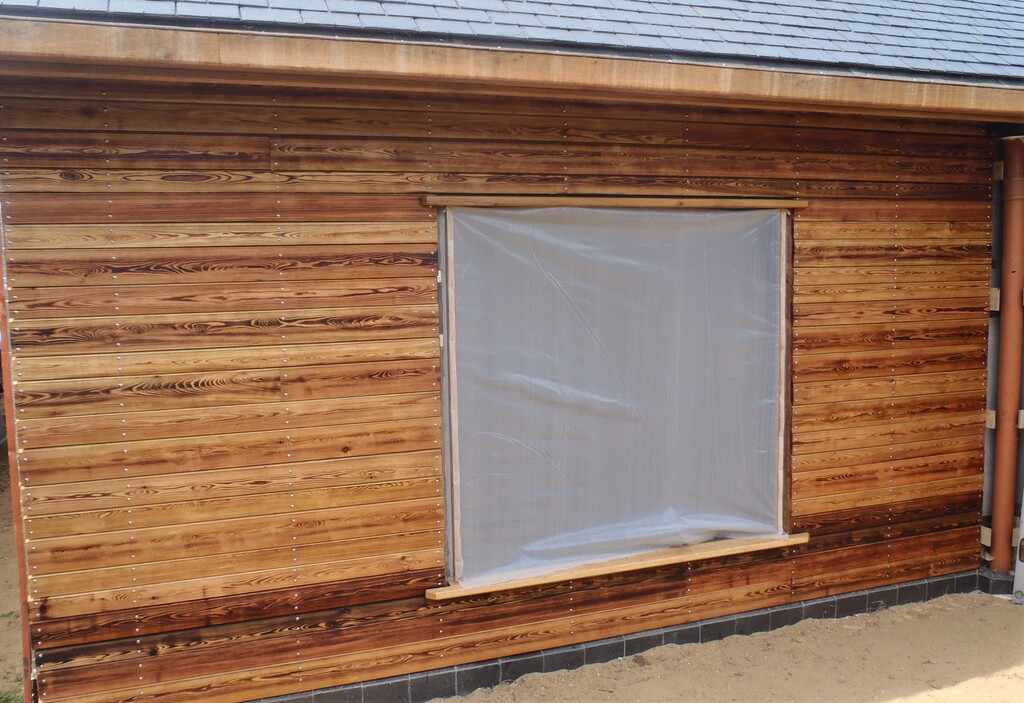
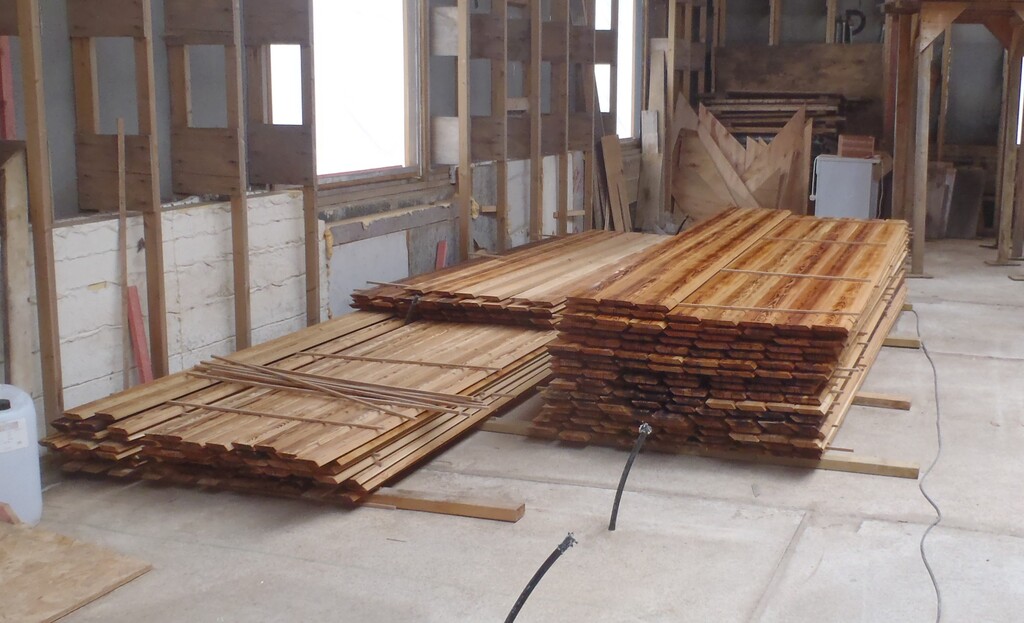
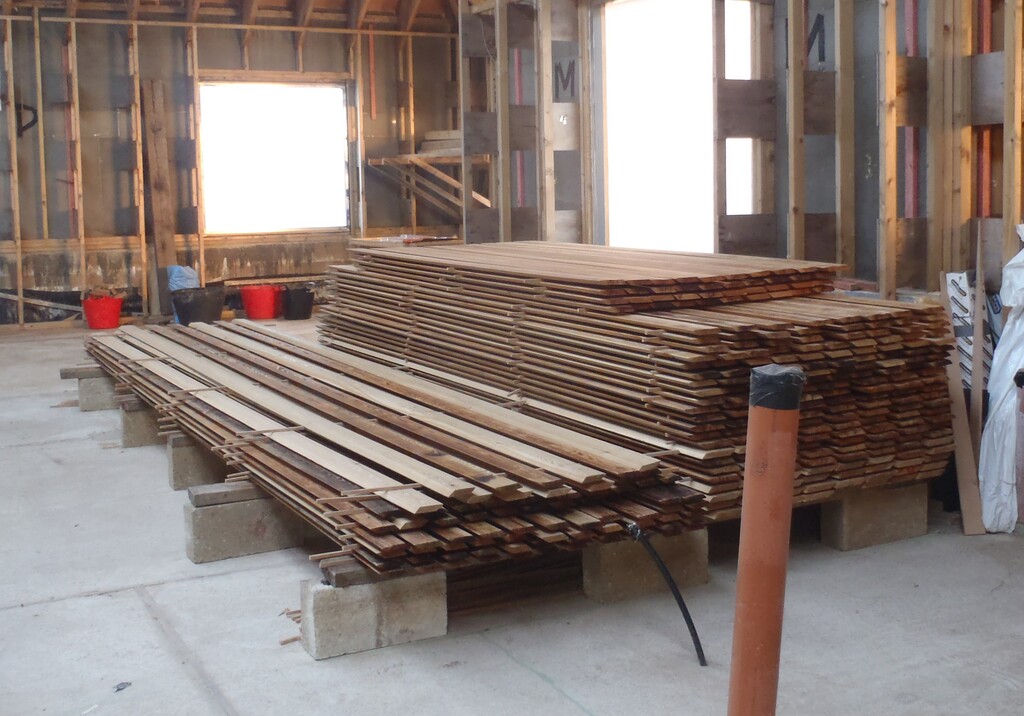
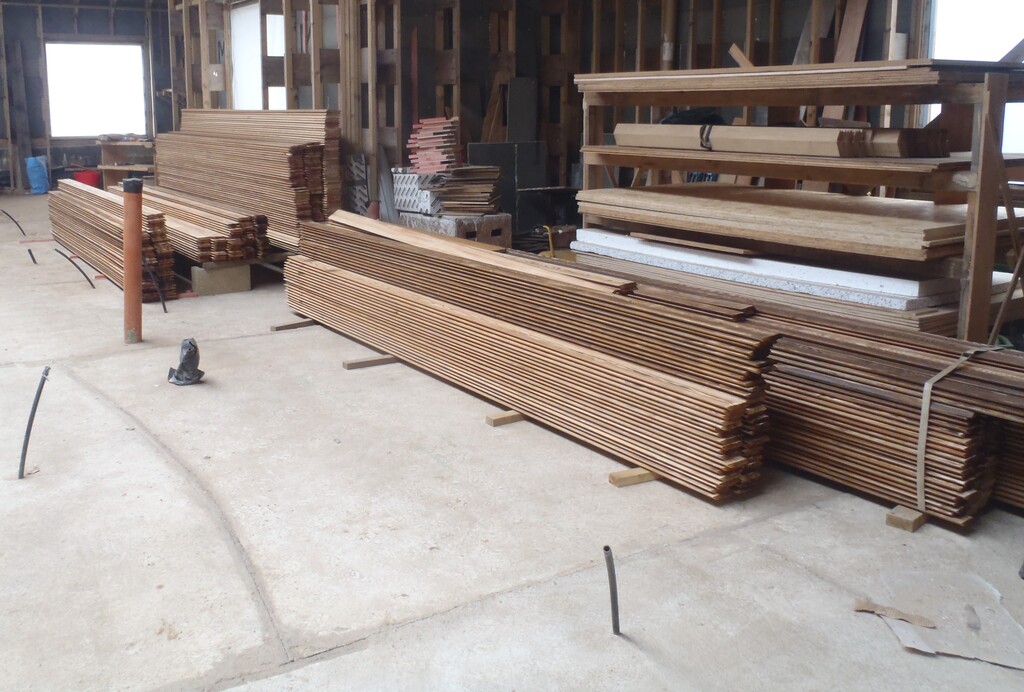
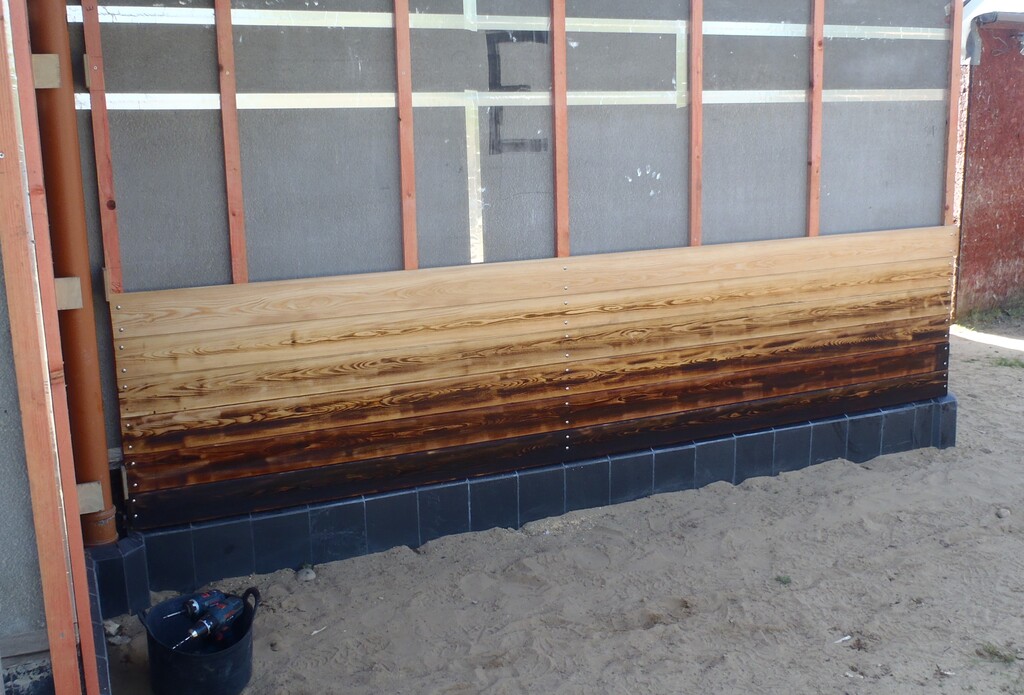
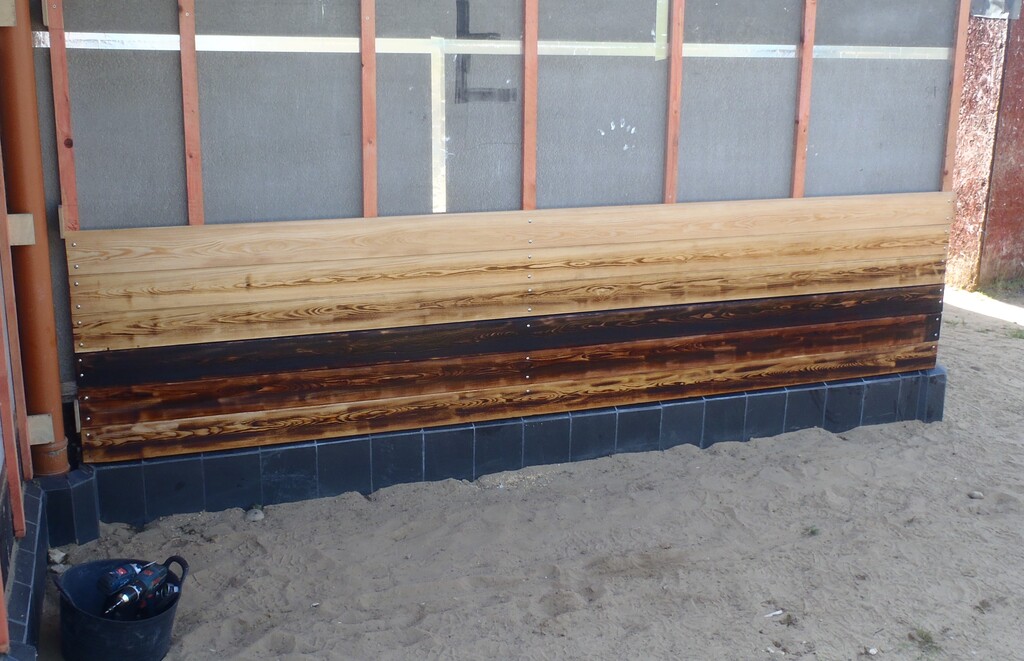
So on Friday, it was the turn of the second pile of Larch timber that is earmarked for the front of the building and didn’t require the fire treatment process and just the oil solution. We poured in two of our four bottles of decking oil into the trough and got on dipping another 300 planks (just shy of 300 actually). It was a bit more slippery! But all were dunked in oil and stacked up over near the front of the building, ready to go outside to be mounted up on the walls.
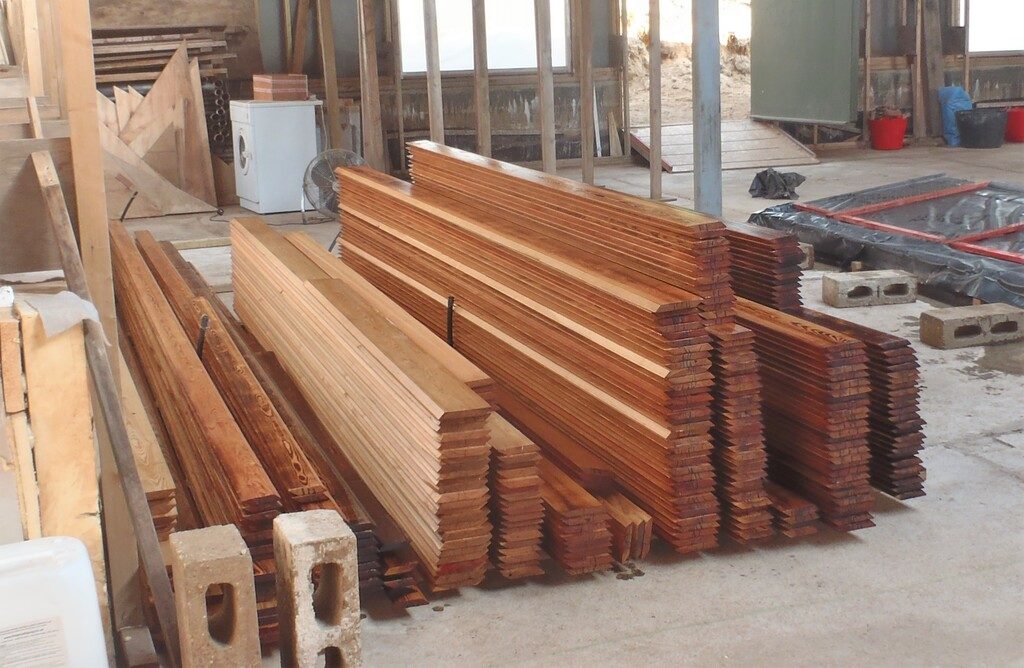
Oiled-planks
That was easy! Sigh!
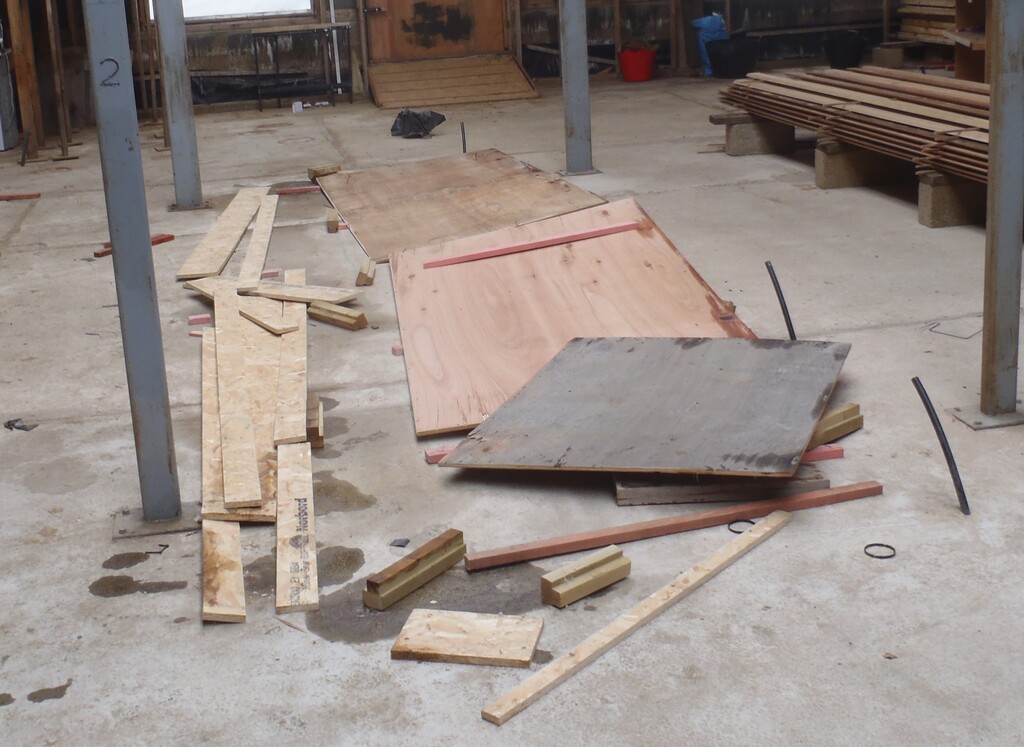
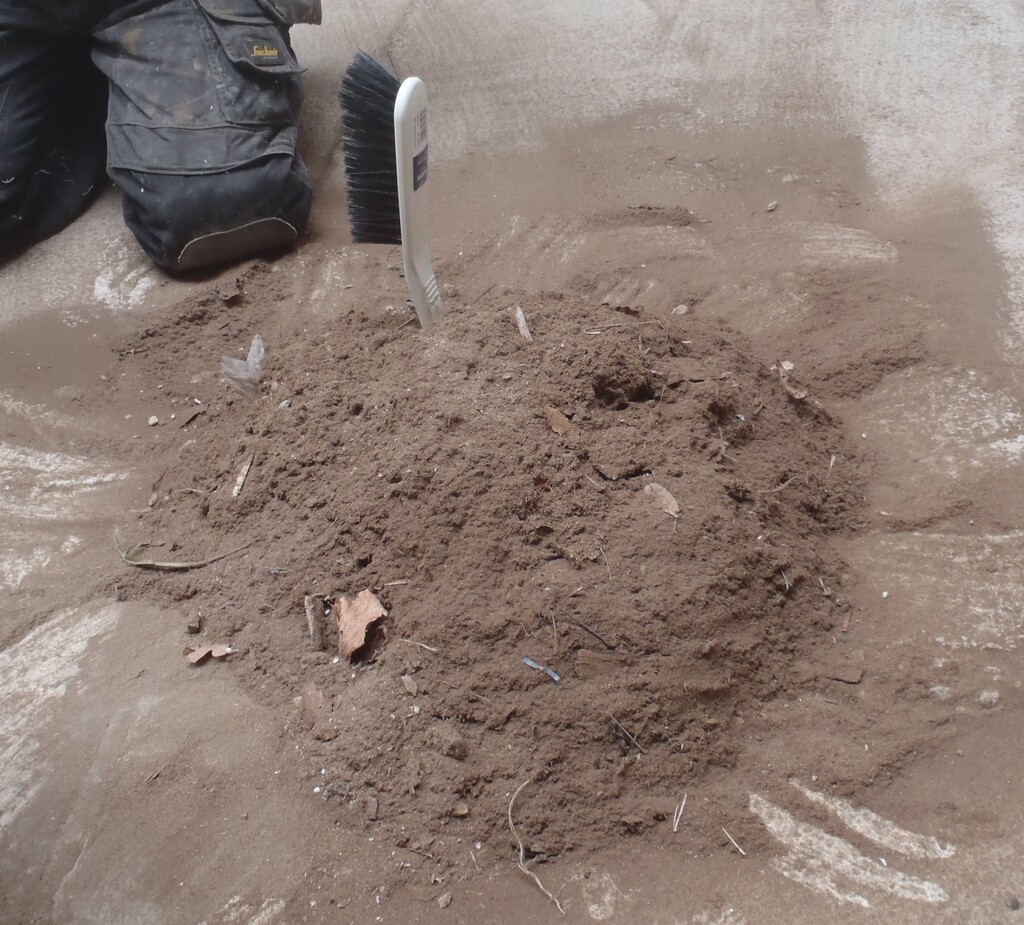
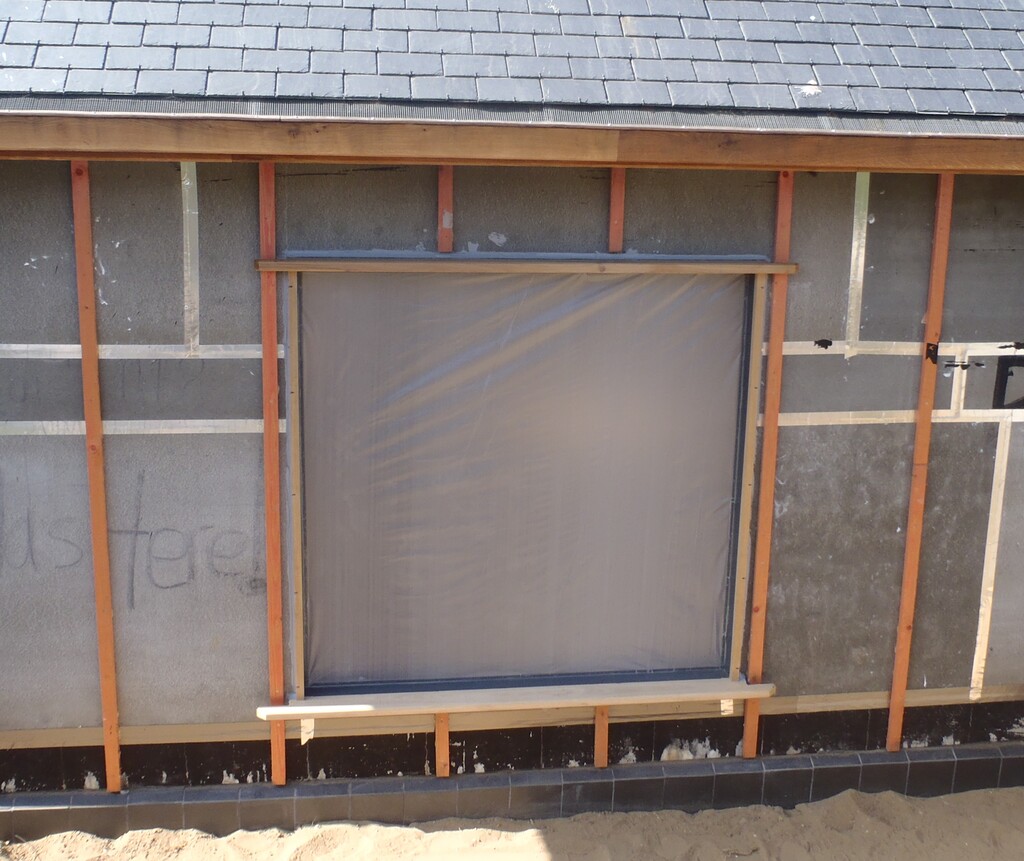
The last day was spent doing a major tidy up job in the workshop, taking out the ill-fated nails, putting tools away and sweeping the whole place. We then install the Sun Shield on the corridor and lastly inspected our water tank we got on top of our garage roof. It hadn’t been inspected for several years so while we were up there, we took a look and it was all fine.
So that concludes our rather adventurous week!! Phew!