We started the new week by moving the remaining oiled standard planks to storage in the swimming lane.
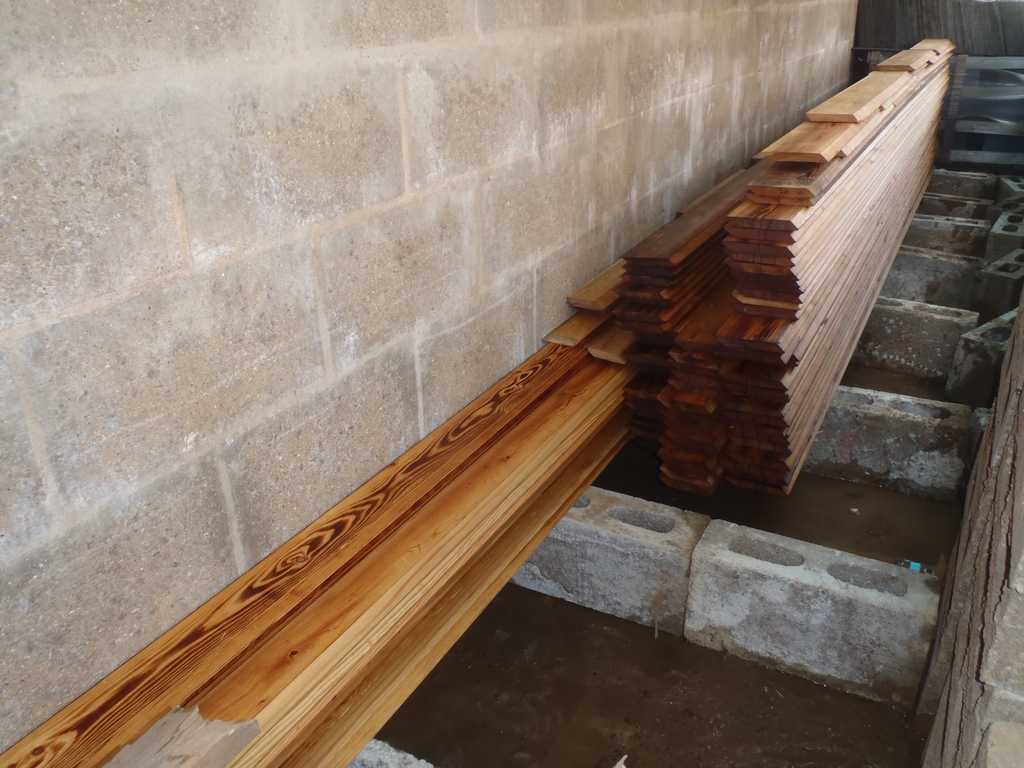
Oiled-Untreated-planks-stored-in-Swimming-lane
Then we started processing our second set of Larch timber that had been dunked in the Fire Resistant treatment a couple of weeks ago. The first job was to remove all the iron stains that we accidentally put on during the dunking process. We had applied the Oxalic acid to each and every stain and then later washed them with fresh clean water to remove as much of the acid solution (which had turned the surface yellow – this fades slowly away).
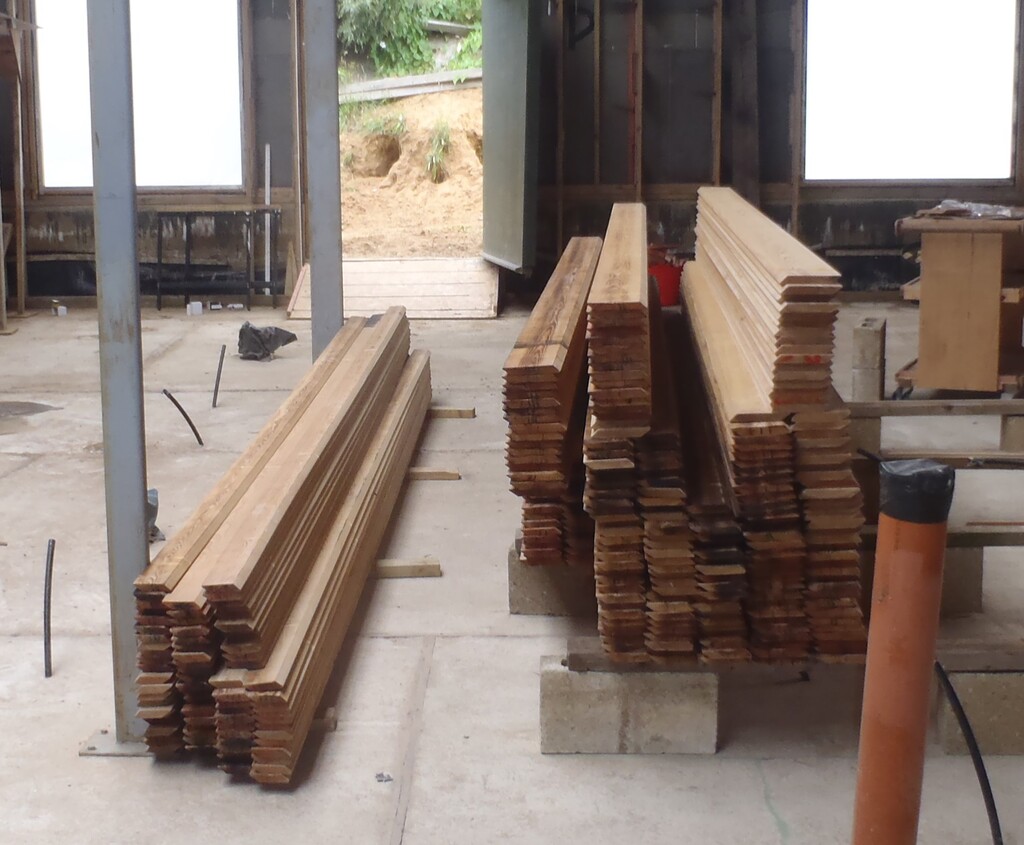
Planks-after-Acid-treatment
Then-cleans-and-sorted-by-Size-and-Scorch
But also we decided that we would drain and dismantle our dunking tank assembly. We don’t need it anymore, so we recovered about 35litres of the oil, the second bottle is more “coloured” but the first one is looking quite clean.
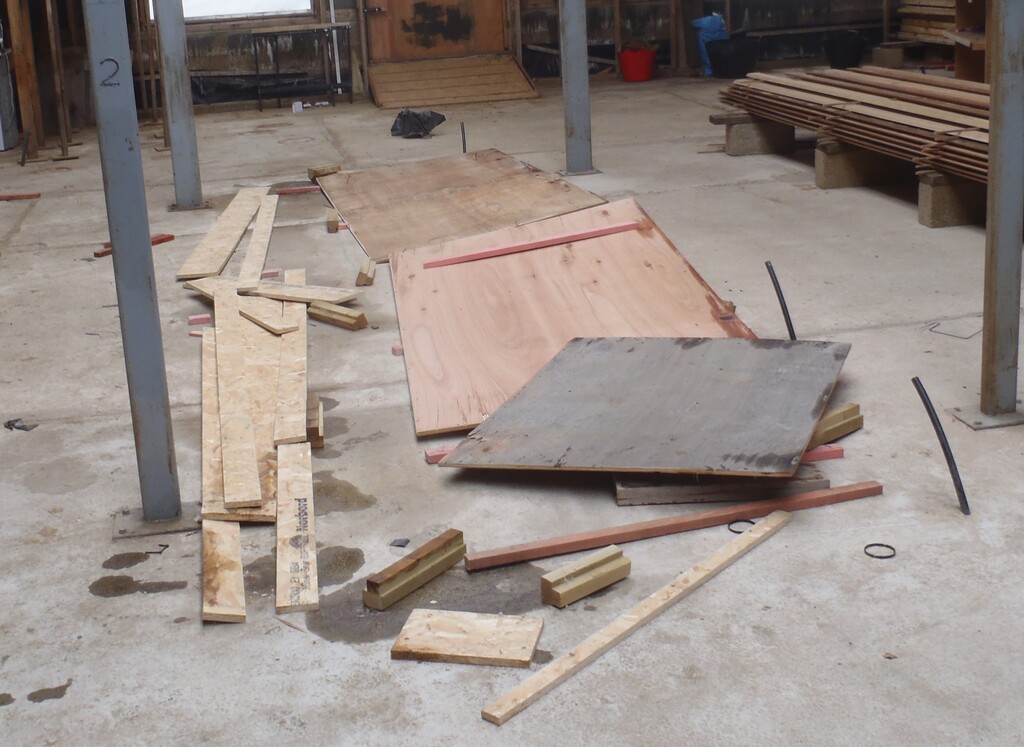
Deconstructed-dunking-tank
Then we got on with the task of mounting planks on to the walls, which we started where we left off, on the “H” wall (the right side of the house going alongside the Garage).
But we also suddenly remembered that we needed to paint the top of the battens black so anyone looking up the wall, and up the gap between planks, cannot see the “pink” colour, just darkness.
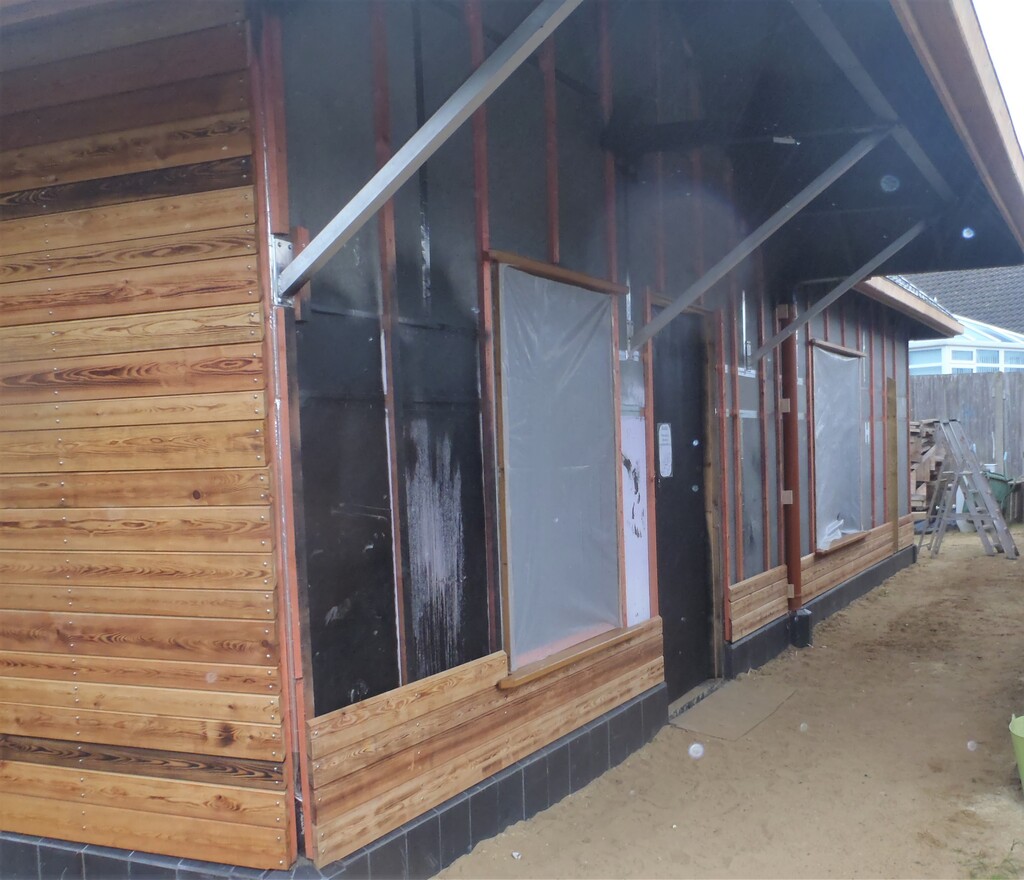
We-started-on-the-H-wall
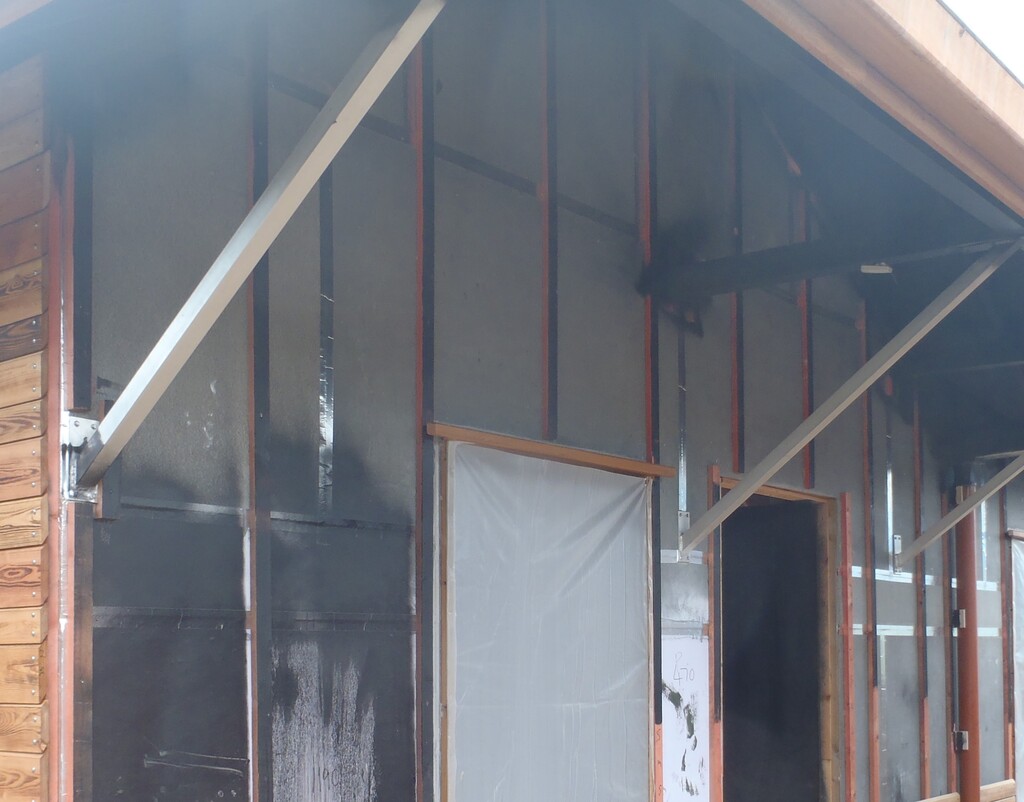
then-remembered-we-needed-to-paint-the-front-of-the-battenms-black
The “H” section of the house includes the Side Door Porch, which is being held up with reinforcing diagonal arms, attached about six feet up the wall. This means that some of the planks had to have notches cut out to fit around these aluminium arms.
We got the second half of the “H” wall all finished, right up to the rafters, and we got as far as the first couple of rows going up inside the Porch’s gable wall section over the Utility Room window and the Side door. It was quite fiddly working around the projecting wooden beams that holds the Porch roof up, including the more awkward process of moving around on the platform and avoiding the metal arms too. We had to keep coming down to cut our planks and slice the lap joints etc. so it was a bit slower in putting up the pieces.

then-we-got-to-the-top-of-the-windows-on-Thursday
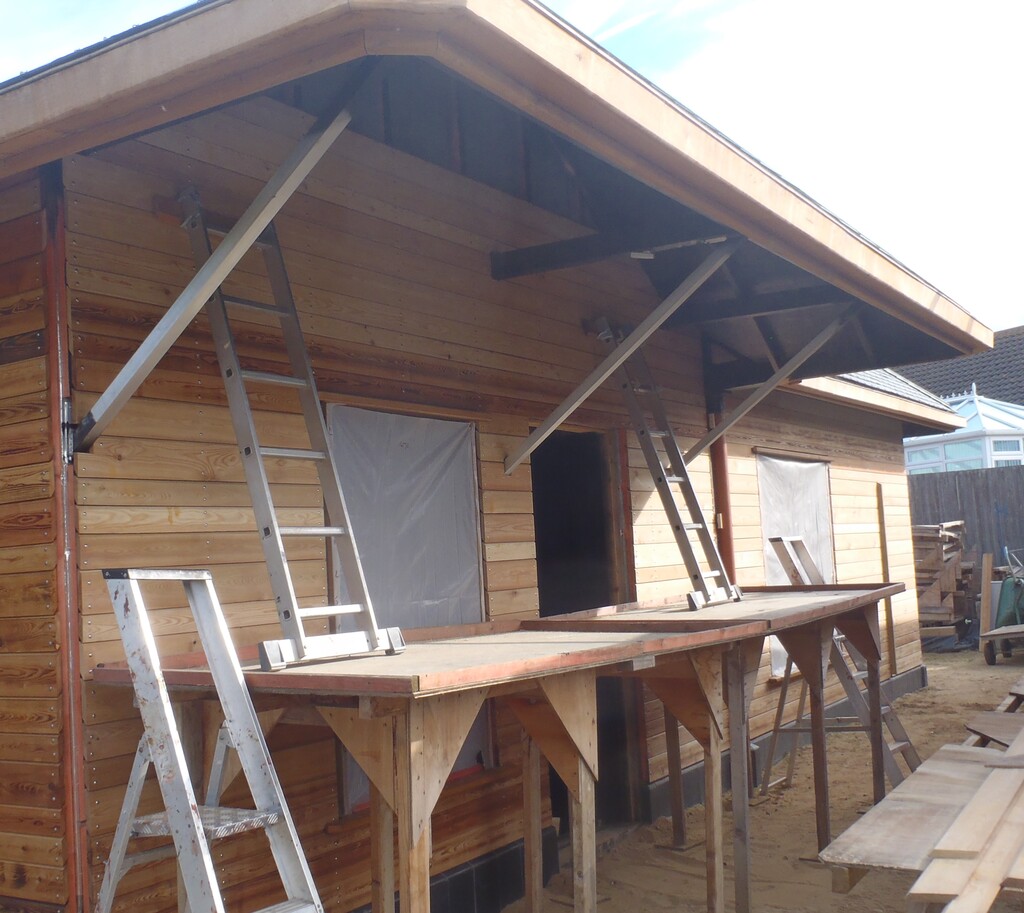
and-most-of-the-rest-done-by-the-end-of-the-week
Next week, we should get the last remaining triangle section finished and then we can move around to work along the back of the house. We might even get that done by the end of the week 😉