After skipping Monday for other commitments, we got on with making doors and ramps for our three entrance ways in our main house.
We finished off the Front Door, putting on the hinges, filing wobbly edges and then mounting the door into place. then putting on door jams. We also put on two sliding security bolts and a little hook to keep the door fixed open when we are using it.
Front-door
Front-door-and-ramp
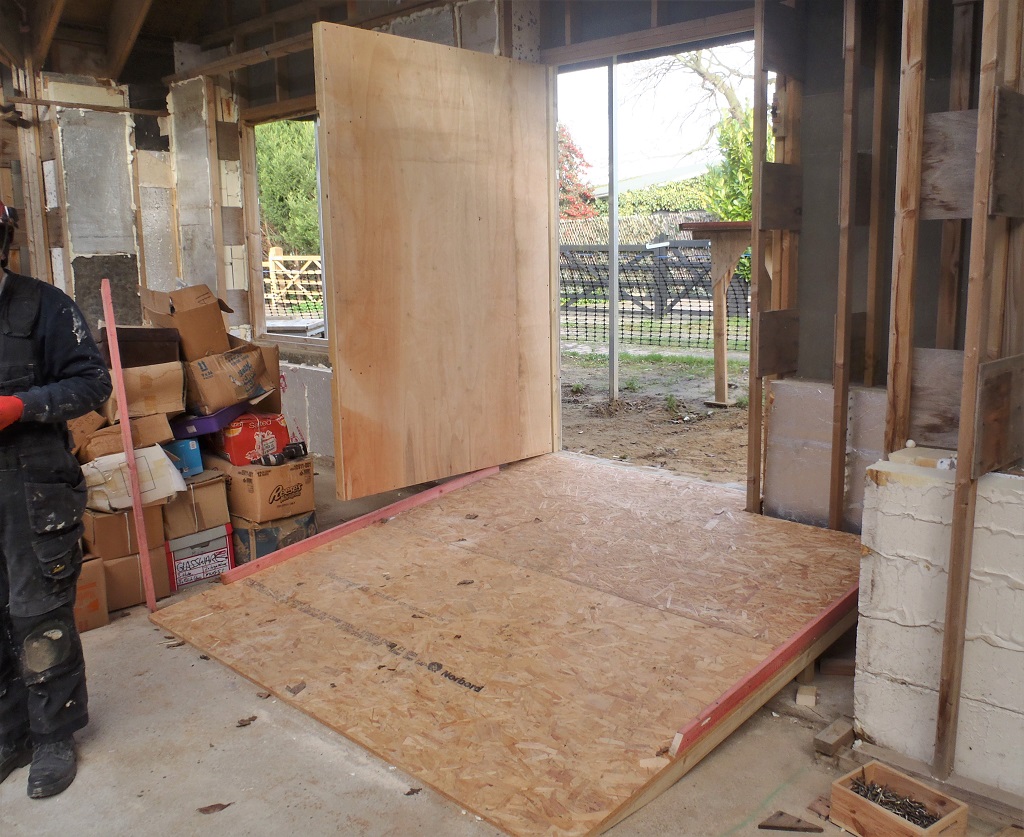
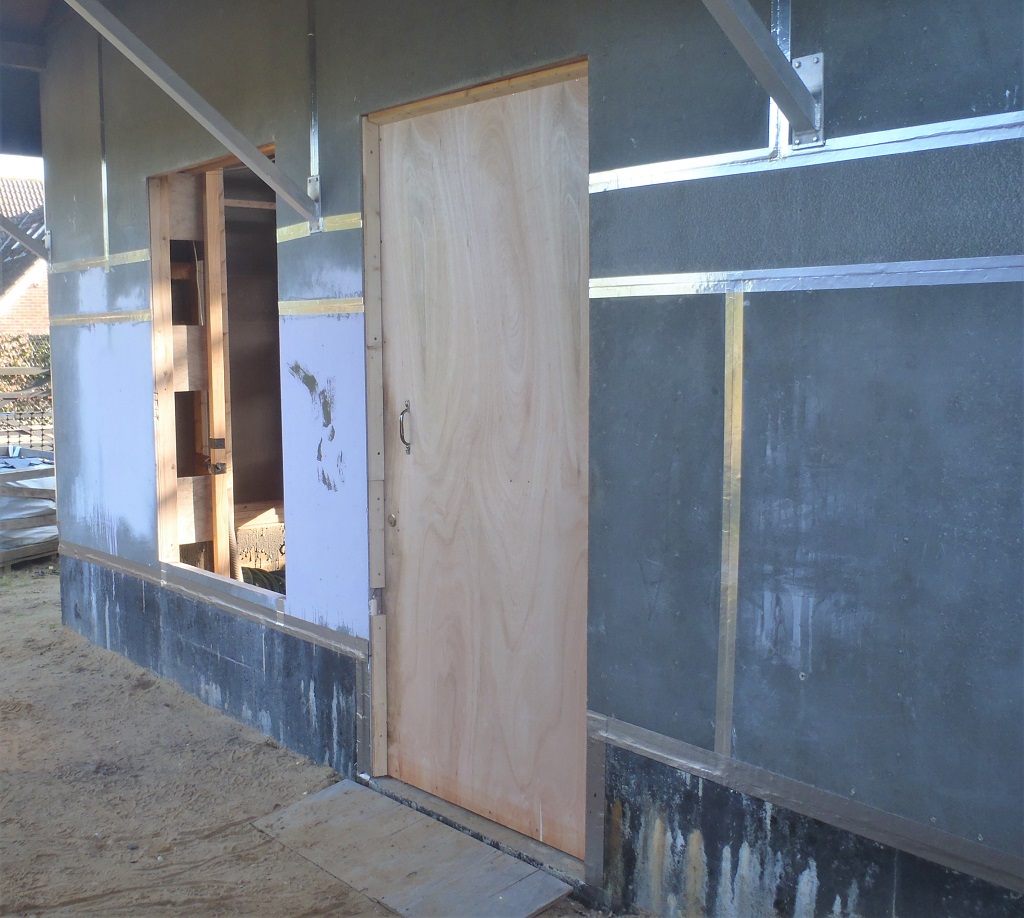
Then, we got on in making the ramp and door for the Conservatory door, which is a very similar size, except that we decided the ramp only needed to be 4feet long, hence it is steeper. We won’t be delivering much building material that way into the house. So the ramp is 1550mm wide by 1220mm slope.
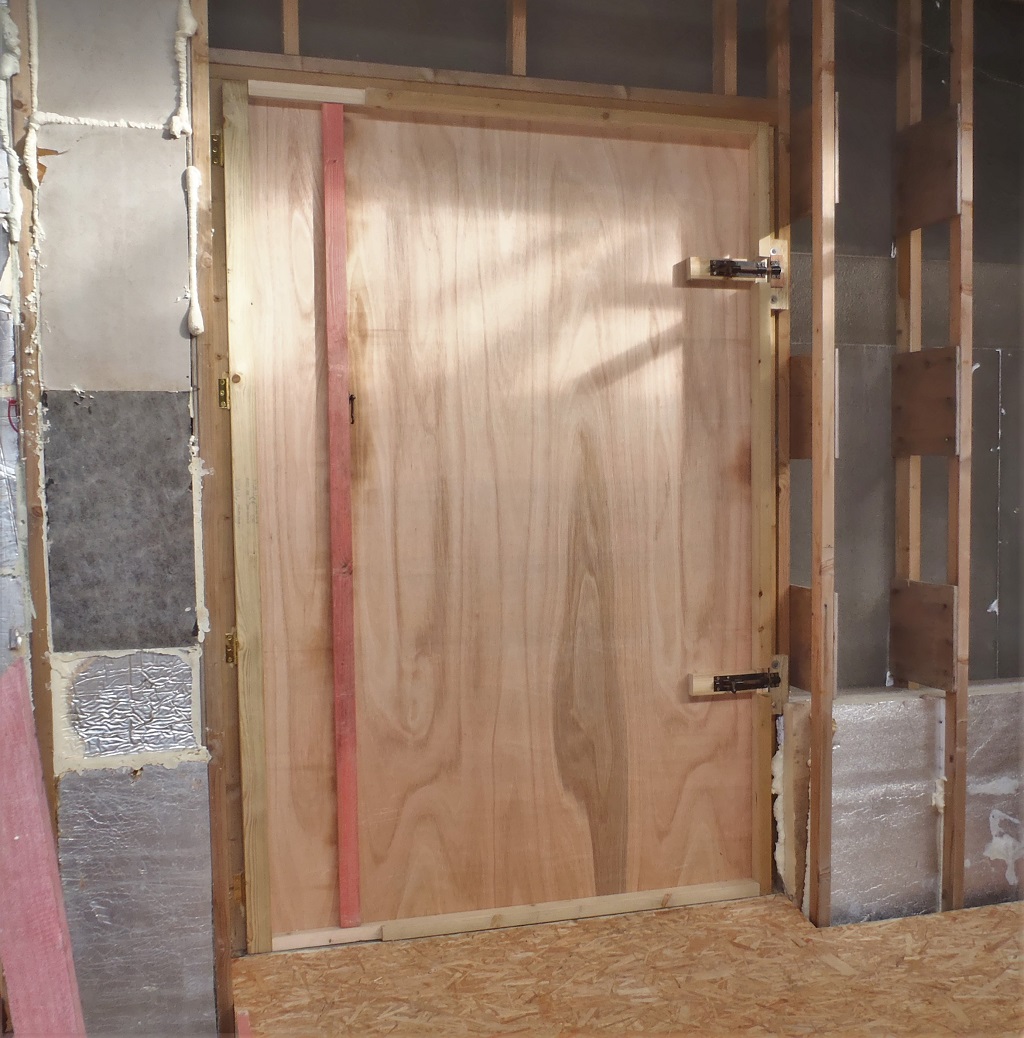
The door is slightly different as we wanted the door to be flushed to the outer surface to try minimise the amount of rain water that may be flown on to the wall and door. This door doesn’t have the same protection (at the moment) compared with the Front Door and the Side Door.
So it was made of two vertical 89mm CLS timber pieces and two 63mm CLS pieces for the horizontal top and bottom edges and the same whole sheet of plywood plus a little strip to make up the total door width of 1490mm. It was the same height of 2240mm.
It was assembled all together and mounted into the frame, using our two little air bags that can be pumped up to lift each side up or down to get it positioned just right. the four hinges went on ok and then put on outside rain guard strips over the joint and discovered that the door wouldn’t close any more.
So on the following day, we put in some spacers behind the rain shield strips to loosen the grip on the door and as an extra accommodation, we also sliced off another 5mm off the width too. All is good now. We then put on two sliding bolts and a hook to secure the door and hold it open respectively. Oh yes, we also put on a rain deflector at the bottom of the door. The whole door then got two coats of a green all weather timber protection paint, to keep off the rain water and stop it absorbing into the plywood and delaminating the layers.
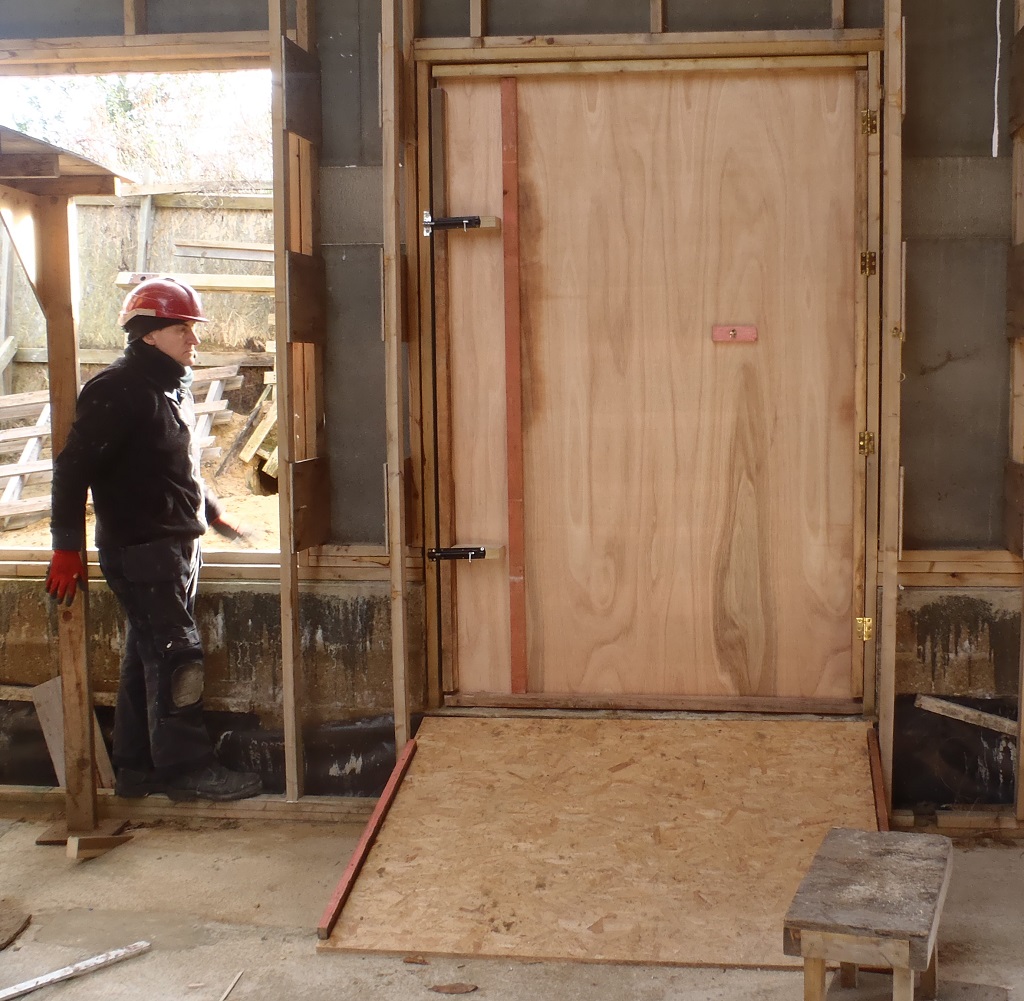
Conservatory-door-inside
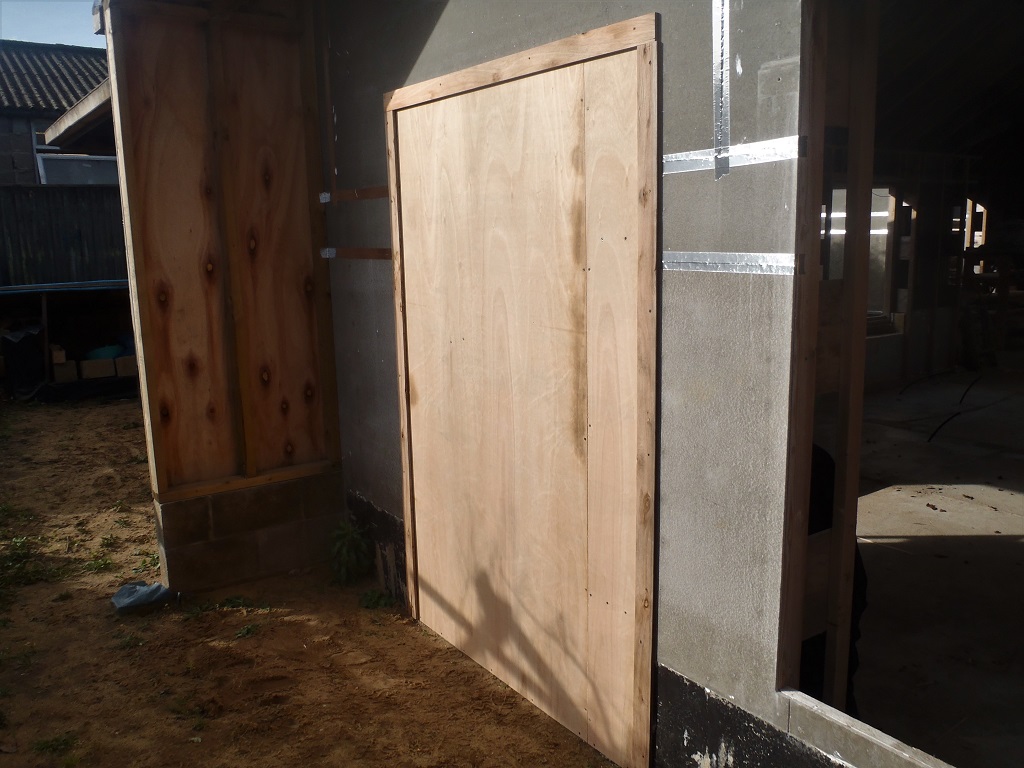
Conservatory-door-outside

Conservatory-door-open
The next job was to install additional racking elements on the inside framework of the “I” wall where we had put in a new window. Because that corner of the building could potentially have the full force of the wind unimpeded and the new window meant that the wall is a little bit weaker so the extra racking elements were required. We put on two metal bands diagonally from the bottom right corner, going up across three legs before reaching the top plate. We also installed a stiff rigid element going diagonally in the opposite direction, from the top left down to bottom left, up to near the new window. This was a piece of wooden batten, glued and screwed into place.
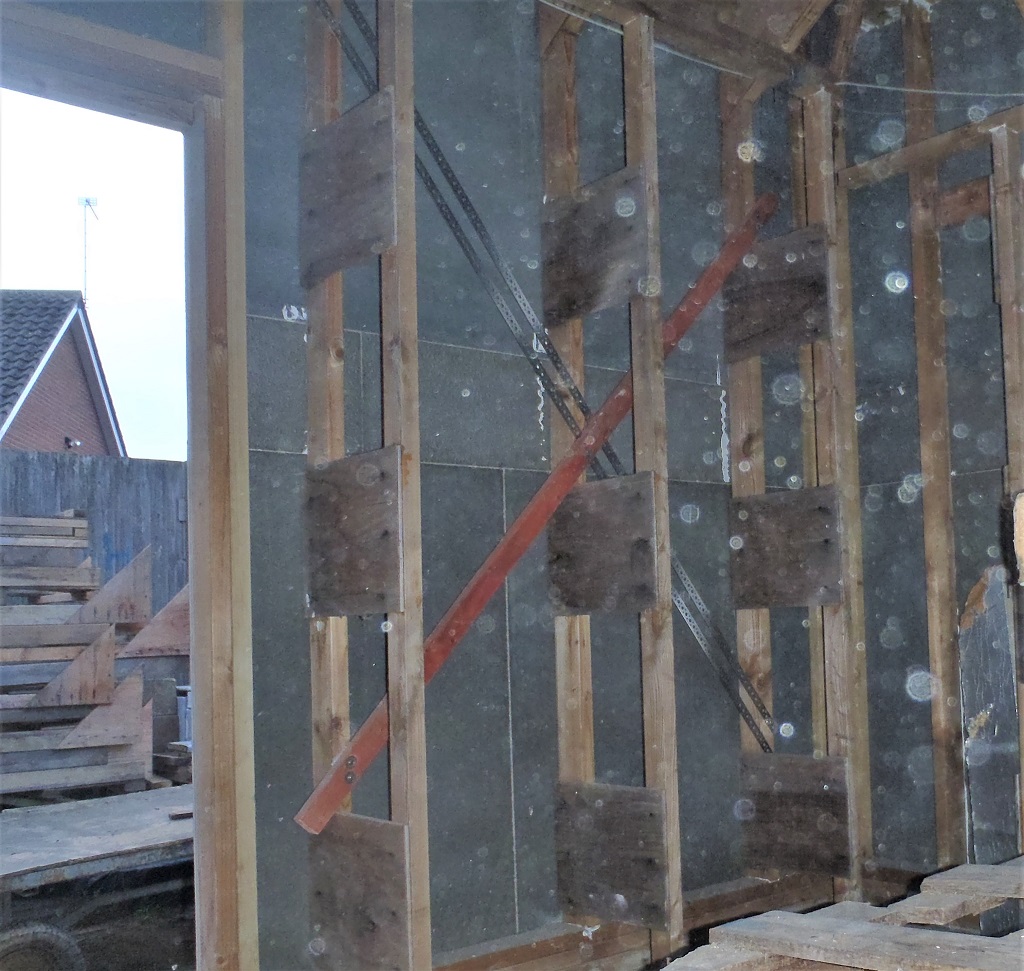
Cross-bracing-on-I-wall (lot's of dust reflecting the flash)
Now we could remove the cement board from the window to open it up. The heavy duty outer was employed with a half inch cutter and went in the clockwise direction to slice away the excess cement boards. We now have a new window hole ready for the Oak sill (which fitted nicely) and the glass.

Window-hole-in-I-Inside
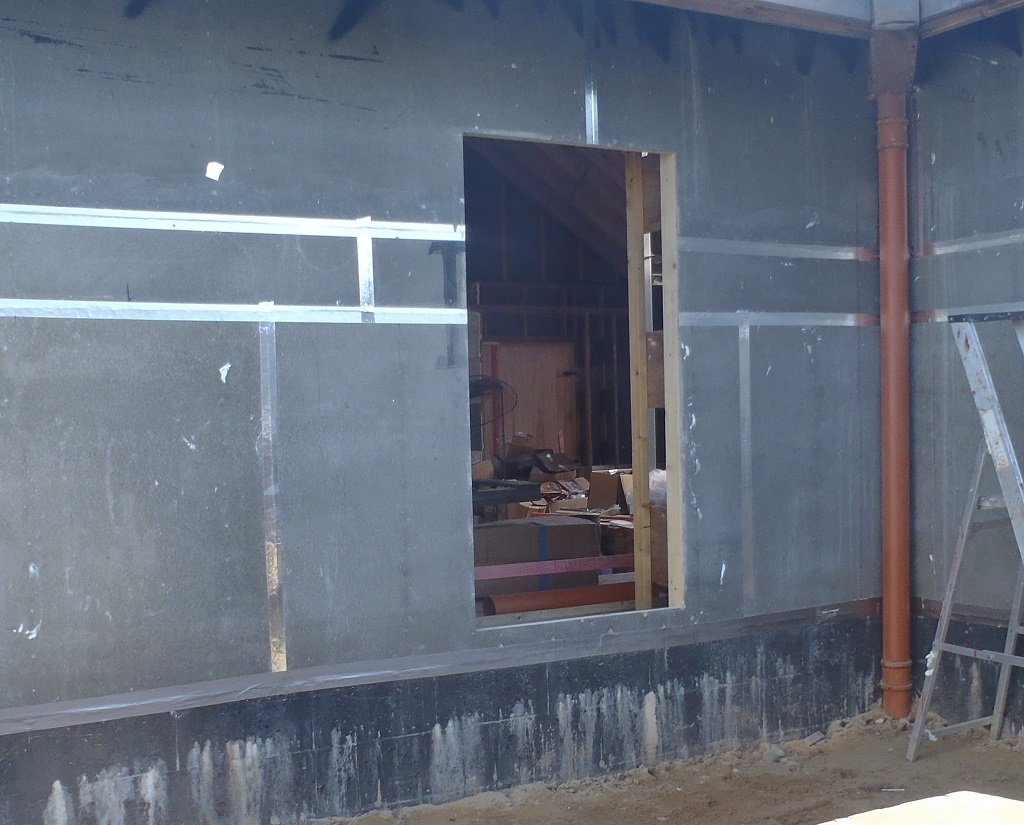
Window-hole-in-I-Outside
We cleared away all the ton bags of insulation foam pieces (two bags of those) and a further 3 ton bags of oak trimmings from our planing of our oak timber. They are all tidied up alongside the “I” section including the slicing table too.
The last job we got to start, was making the third door for the Side Door, which is only 1030mm wide by the usual 2240mm high. We used just the 63mm CLS timber pieces, laid flat around the edges and put on just two hinges (the door is much lighter) and got it mounted onto the wall frame. The last quick job was to put on a door hook to hold it open during the night and stop it swinging in the wind.
Upon the following day, Thursday, was putting on the door jams to limit the swing through the wall and then mount an electronic locking mechanism with a remote sensor to pick up the little portable badges.
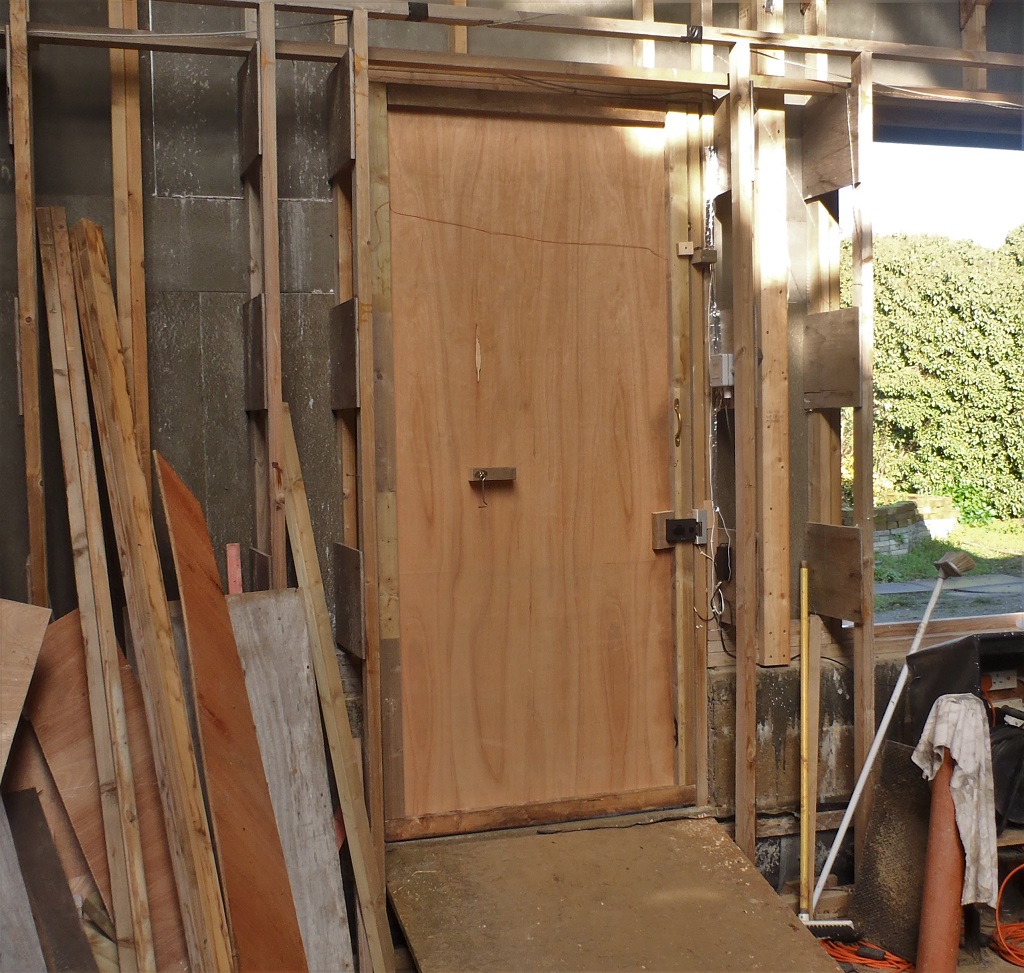
Back-door
Back-door-outside
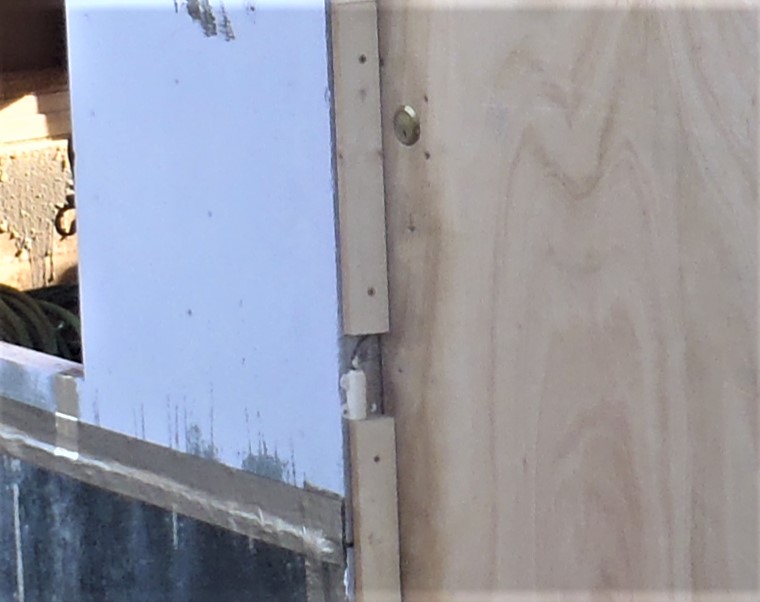
Back-door-lock-sensor
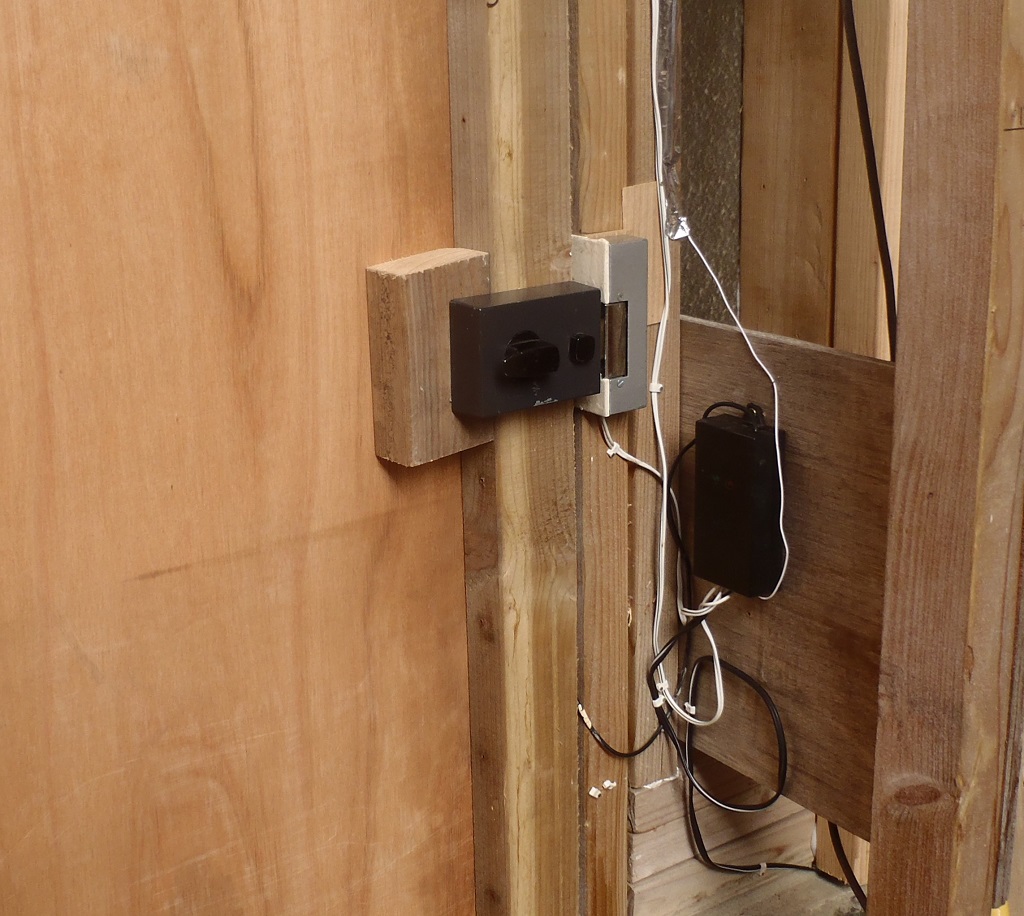
Back-door-lock
We can now open the door easily without having to use a traditional key and even while we are carrying something! SO we now have three doors fitted and when we got the windows installed, we will have a secured building which will allows us to store more equipment in there and not worry so much about items being nicked.
The final couple of days were spent preparing for putting up the larch cladding to the walls. We needed to fix internal bracing battens to reinforce the cement board so when the external batten is installed, it got something far stronger and more secure to hold the external batten up against the wall. The inside corners, where we have the gutter’s downpipes located, need these extra battens. So we did the 7 corners around the house and screwed on 13 pieces. We had already put one up last week when we were doing the foam insulation.
Next, we calculated the length of the external battens we would need, coming down from the rafters and stopping 200mm off ground zero. But because there are three set of angles on our roof (32, 40 and 45 degrees slopes), each batten is slightly different in length. So after analysing each wall, and their windows, we had a list. we set up the chop saw and put together end-stops at each required distances, and proceeded to make 42 pieces at 2740mm long (14 of them were made from two left-over lengths), a further 20?? pieces at 2730mm long and finally 19?? pieces at 2710mm long. All these are full height battens but we need shorter ones that goes over the windows and also underneath as well. The calculations came up with a further 7 pieces at 730mm, 5 at 710mm and another 4 at 700mm long for above the windows and 19 lengths at 290mm long for underneath.
That pretty much concludes the week’s work. We can start on gluing and screwing each batten into place next week.