At the start of the week, we needed to make sure that we had all the required cladding support battens in place, especially around the drainpipes. The cladding needs something to screw into and it turns out that the walls don’t have anything on the inside surfaces (it is just a single 10mm thick cement board) to provide a firm mounting point for the external vertical batten in and around the downpipes.
We analysed the drawings plus we also measured all the downpipes outside on the house, to find the worst case, and make sure that our Oak Octagon covers will fit around the downpipes and have something secure to fix on to.
There were three specific areas to analyse, the outer corners, the inside corners (containing the downpipes) and a special case of a downpipe in the middle of the “H” wall. we drew each Oak Octagon cover and this led to providing measurements to where to put these extra support battens.
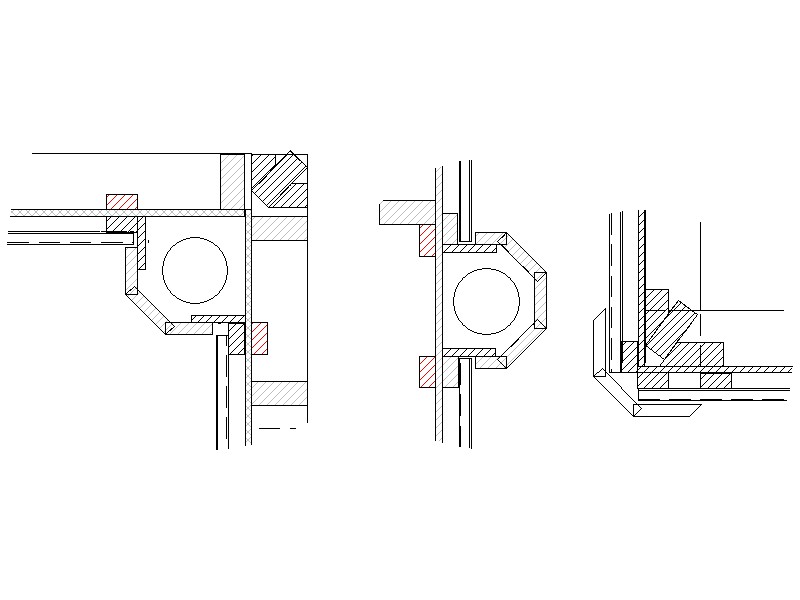
Oak corner and pipe covers
The last part of the day was to draw lines either side of each downpipes to where we need this batten and then drilled clearance holes ready for us to screw into place the internal battens (2inch by 1inch).
We screwed in the extra batten for the “D” wall ..
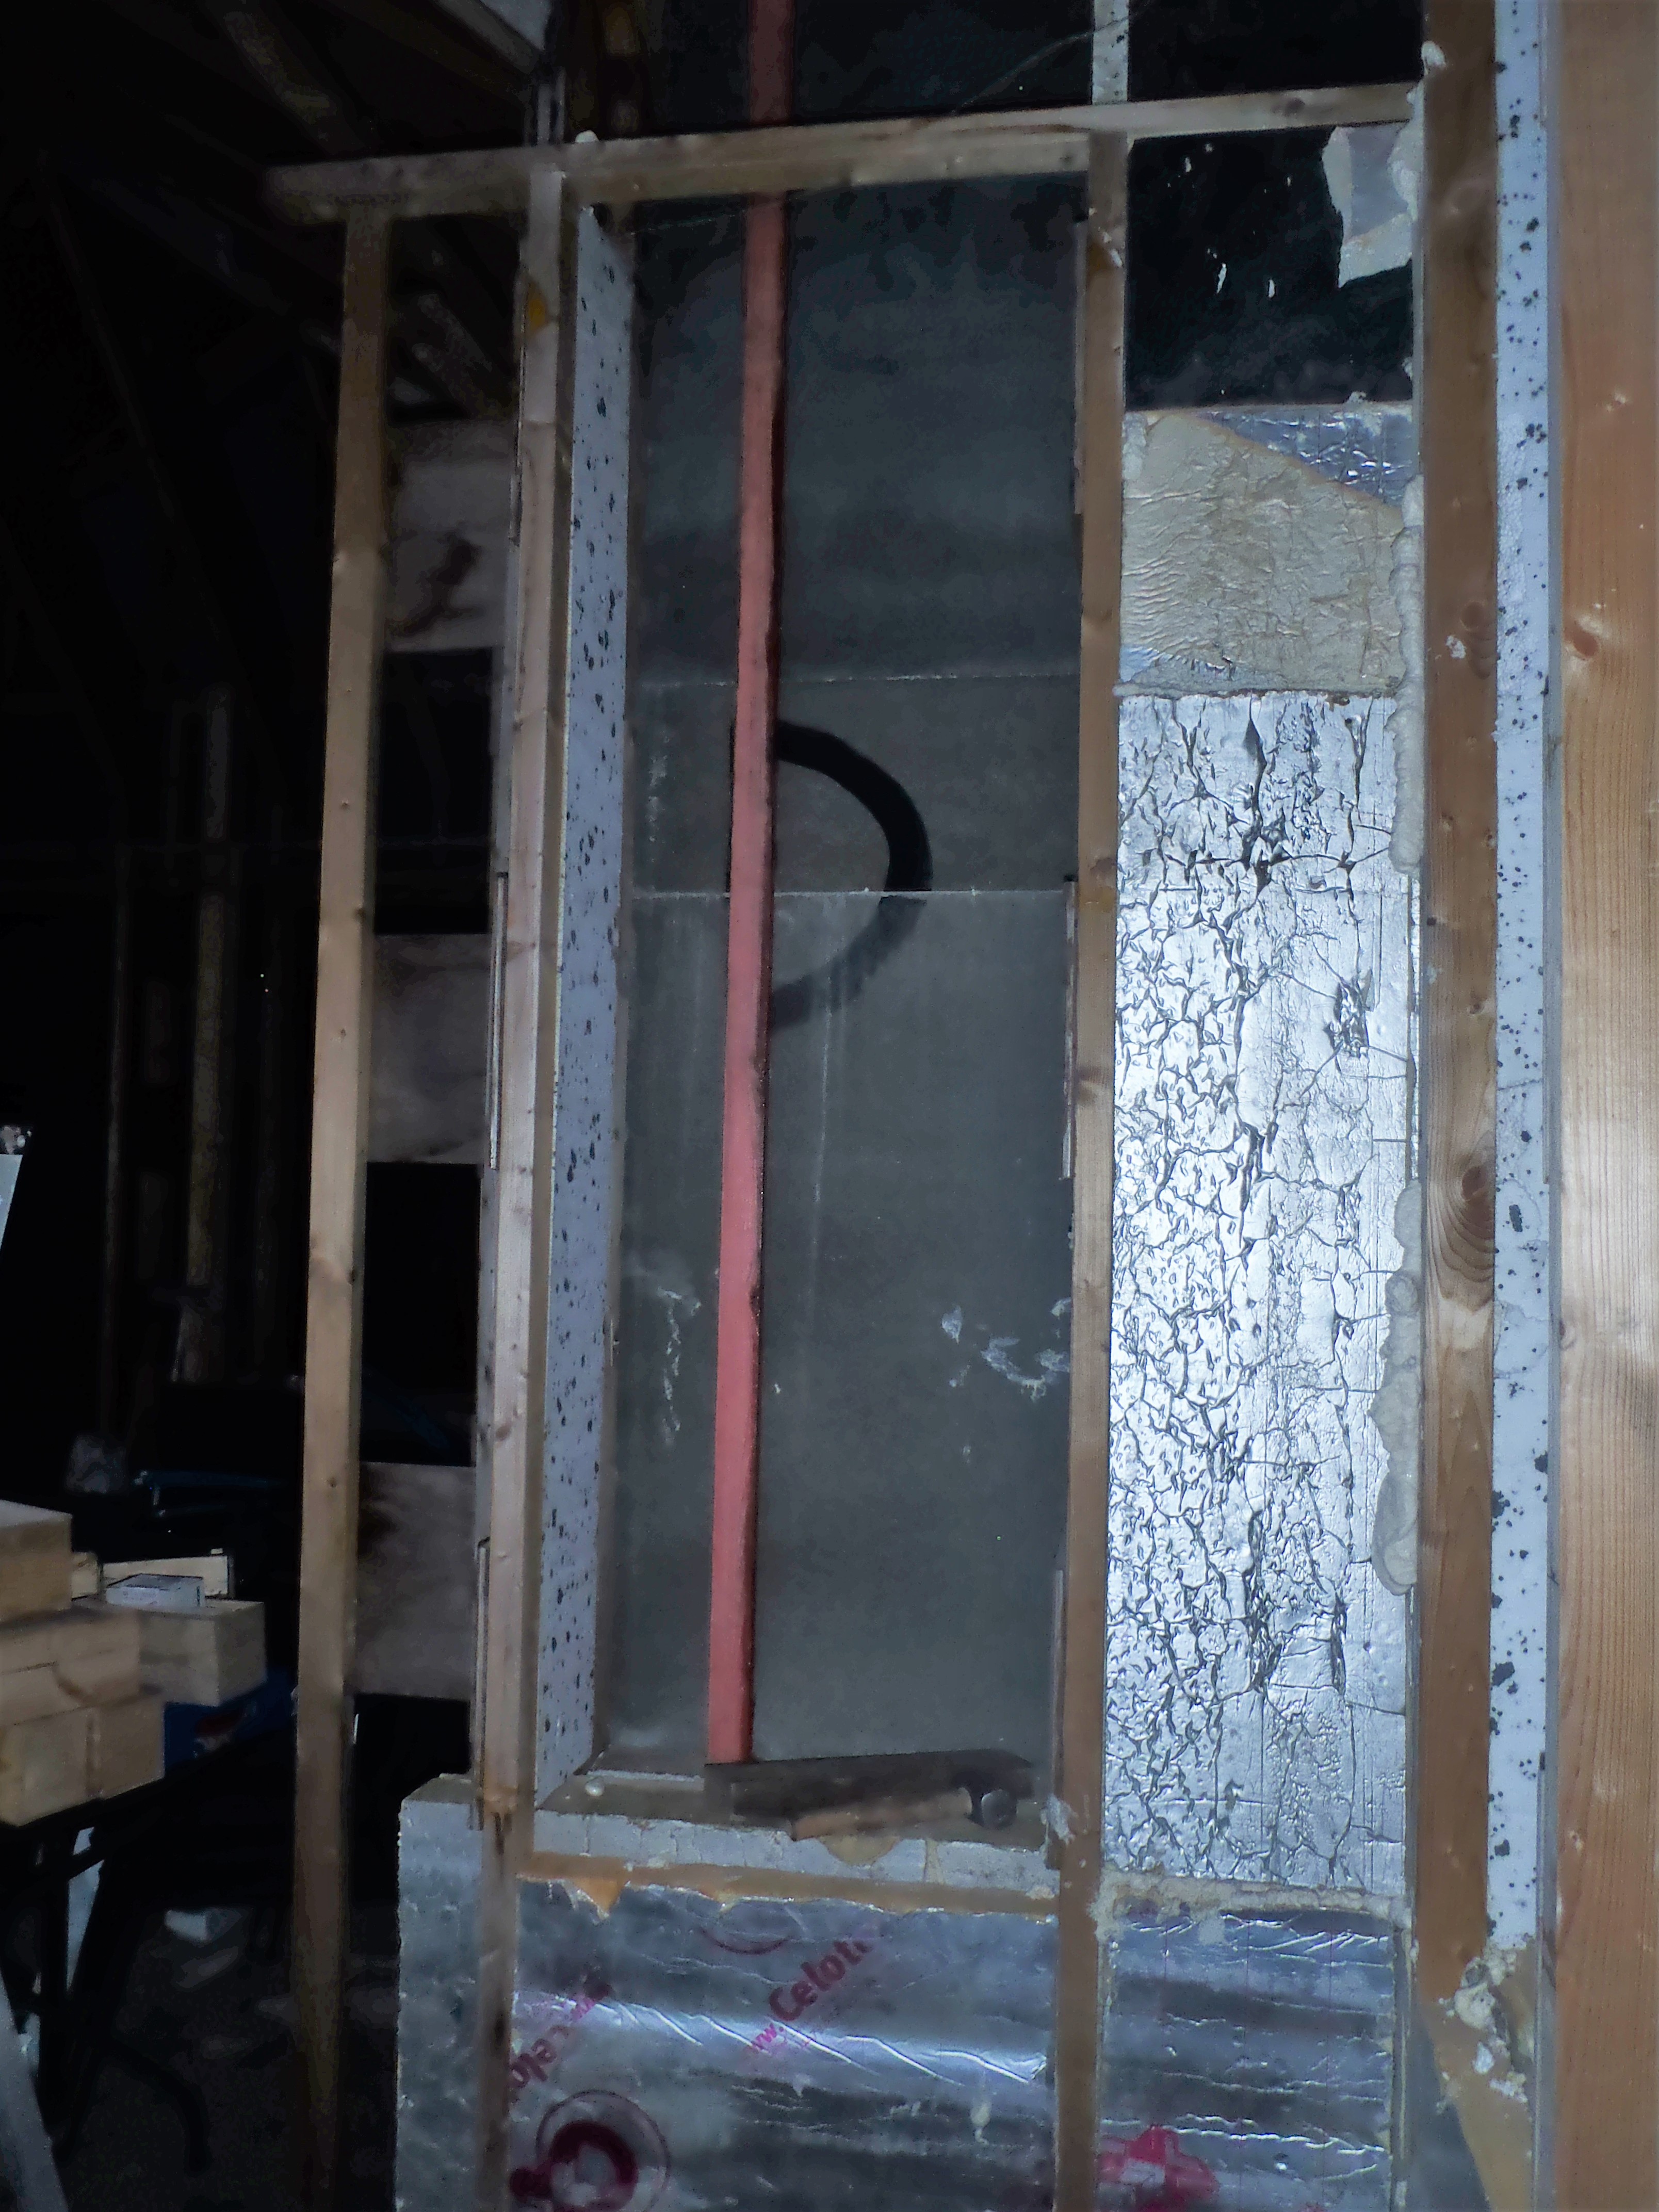
Extra-Batten-to-hold-the-Oak-corner-Cover-
.. so we can carry on filling the wall with more insulation.
In actual fact, we did carry on with this task of putting more insulation foam boards into the walls around the Entertainment Room and by Wednesday, we got that all finished ..

Insulation-in-C-D-walls
And also filled the lower half of the “A” section of wall along with the “M” wall section too.
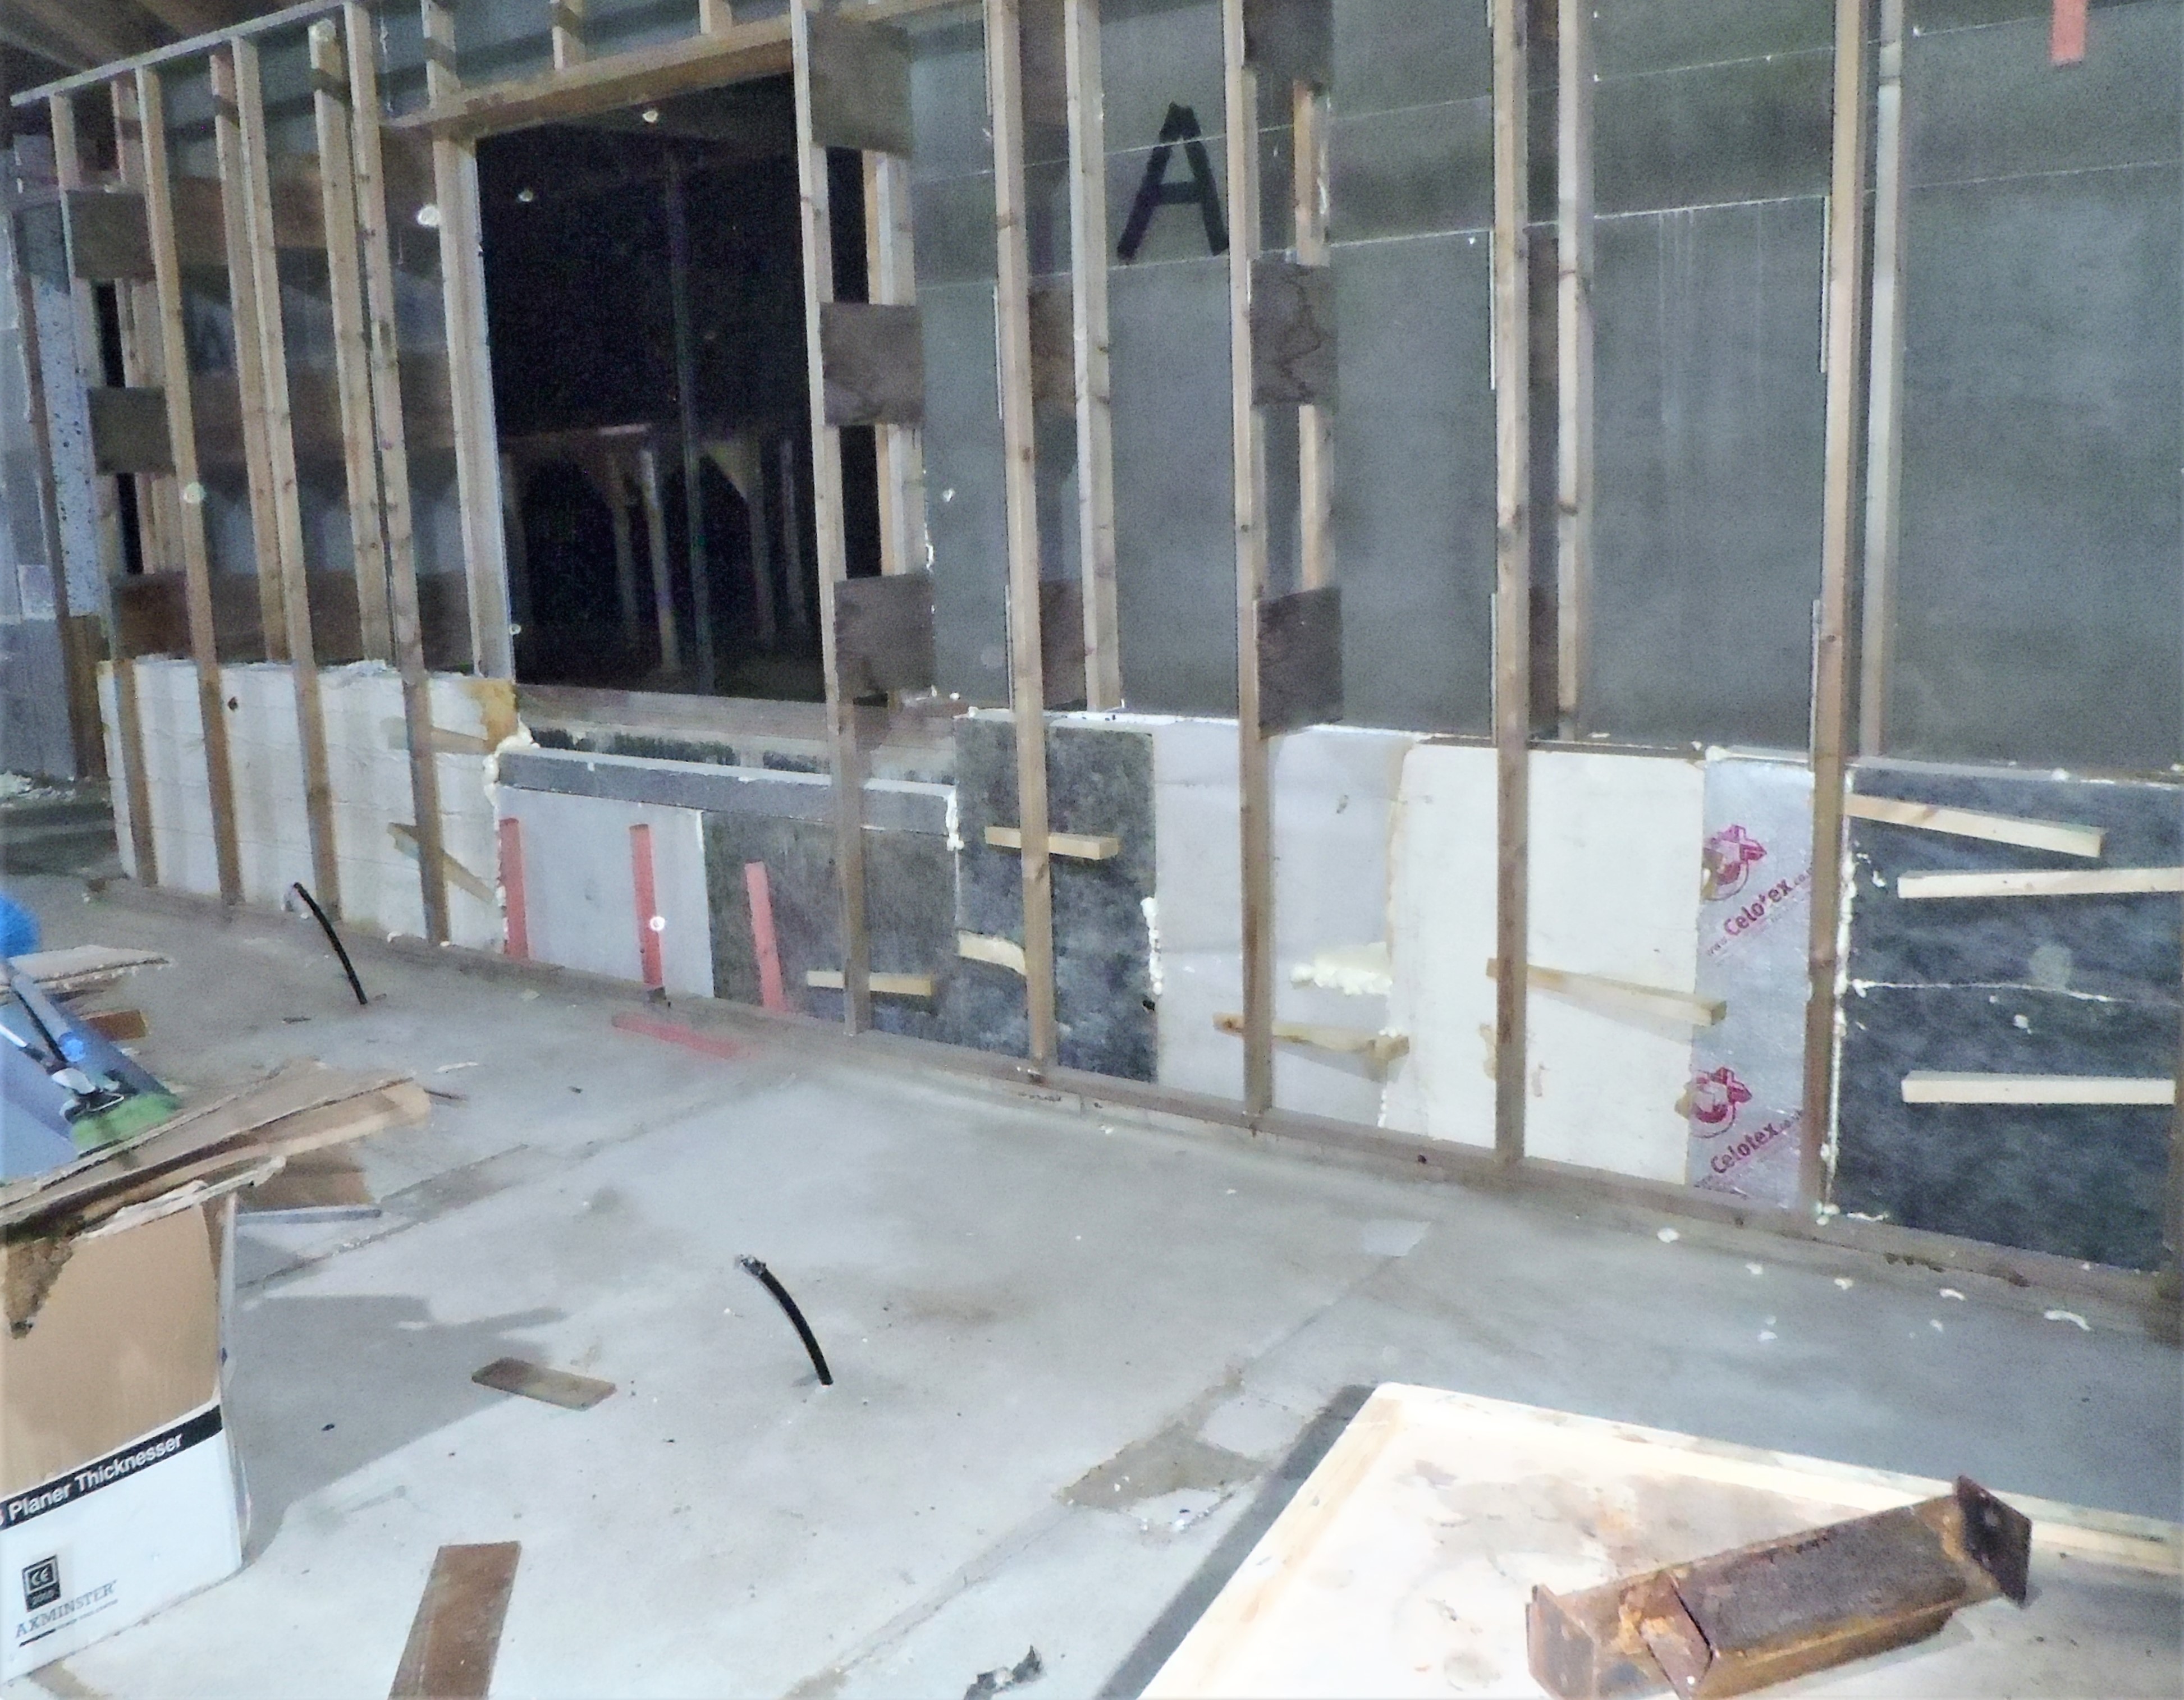
Insulation-in-the-base-of-A
Insulation-in-the-base-of-M
We have now used up most of the loose insulation PU boards and have only smaller pieces left to be used and dropped under the floorboards in the 400mm cavity .
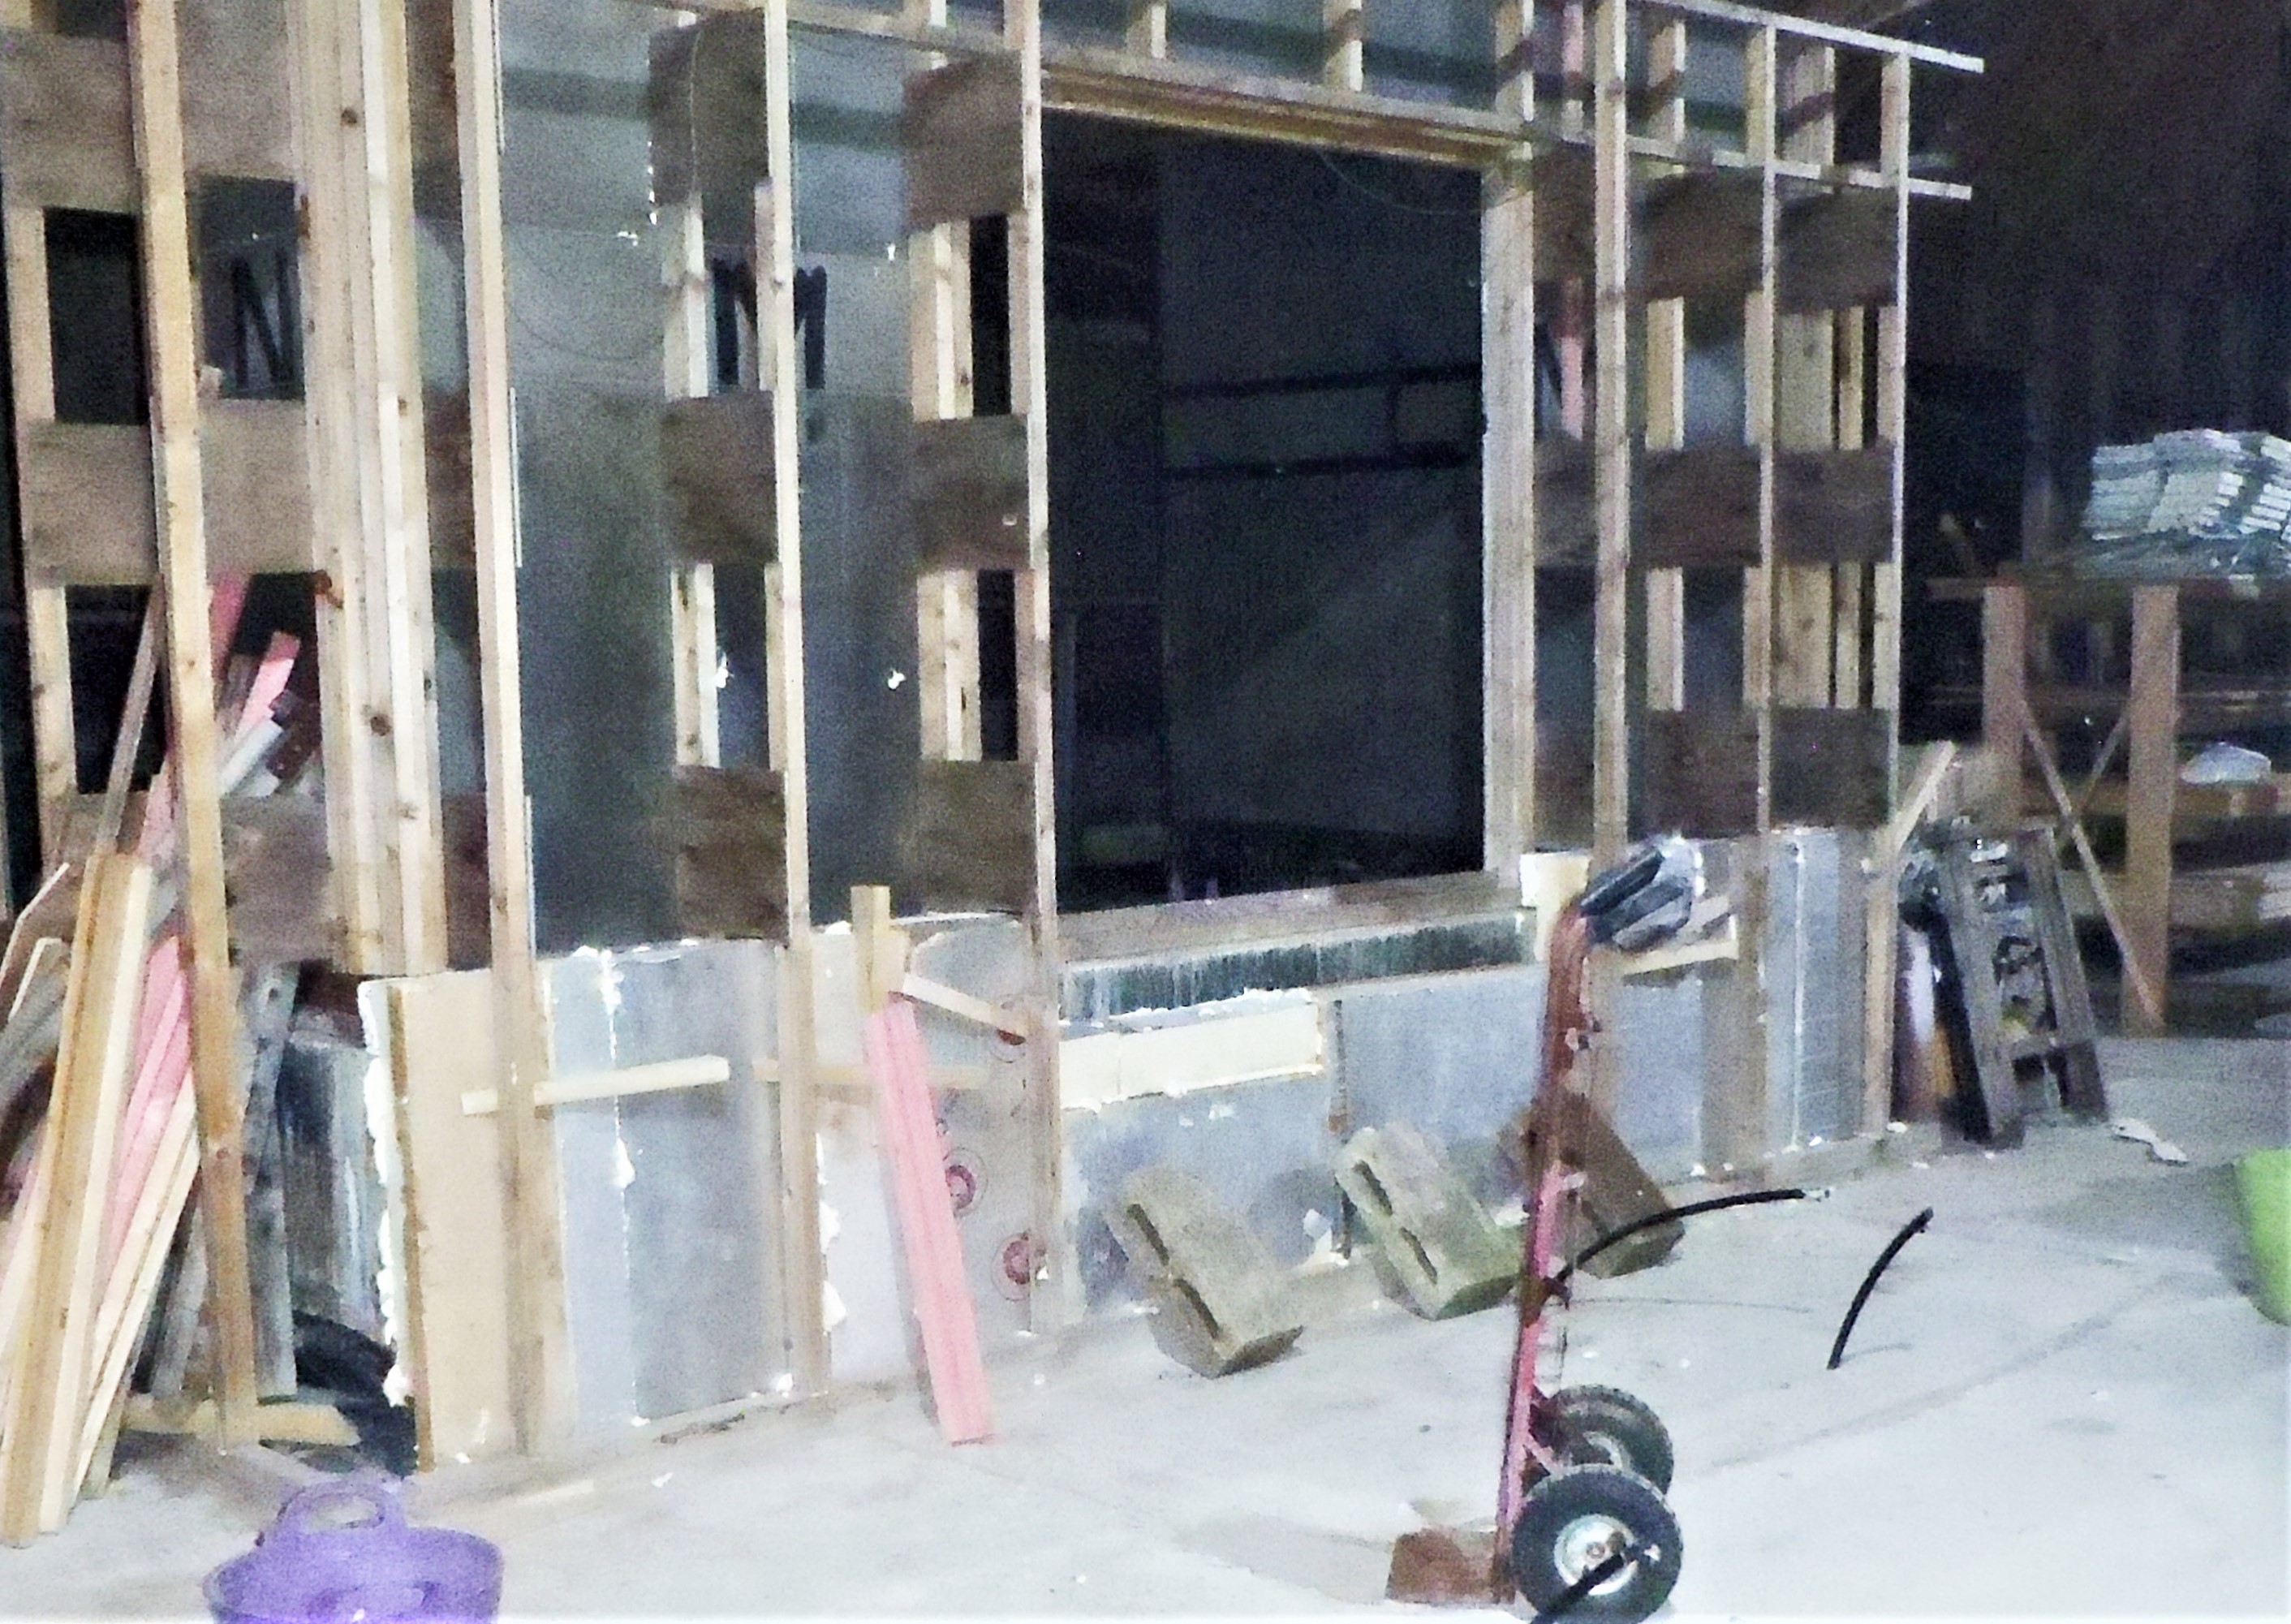
Thursday was a off day doing other things so we started a new task on Friday to make a new window in the “I” wall for Bedroom 3. Now we have gained access to the internal wall (the pile of PU foams pieces was here) and after confirming the precise location (by asking the principal person for her final decision!), we proceeded to remove the middle leg, leaving behind just enough timber that goes above the window when the lintel goes in. The size of the window is 900mm wide and the height of the lintel legs are 1790mm high and a replacement leg is 2384mm tall, all made out of treated 89mm CLS timber . We just had enough left-over pieces! So we got the material ready and test fitting it into place, double checking that we got it absolutely vertical and using our oak sill to make sure it fitted (backwards as the cement board is still there!), we went ahead and glued everything into place against the cement board and put in lots of screws to make sure the cement board were squashed tight to the timber.
The last piece of timber to put in on the following day, was an 89mm by 900mm long piece of timber, sliced in half down the length to make the sill support and room for our window’s blind mechanism. This 43mm by 38mm piece was then glued and screwed into place. that concludes the framework for the new window. We will cut out the cement board when all the glue is set and hard.
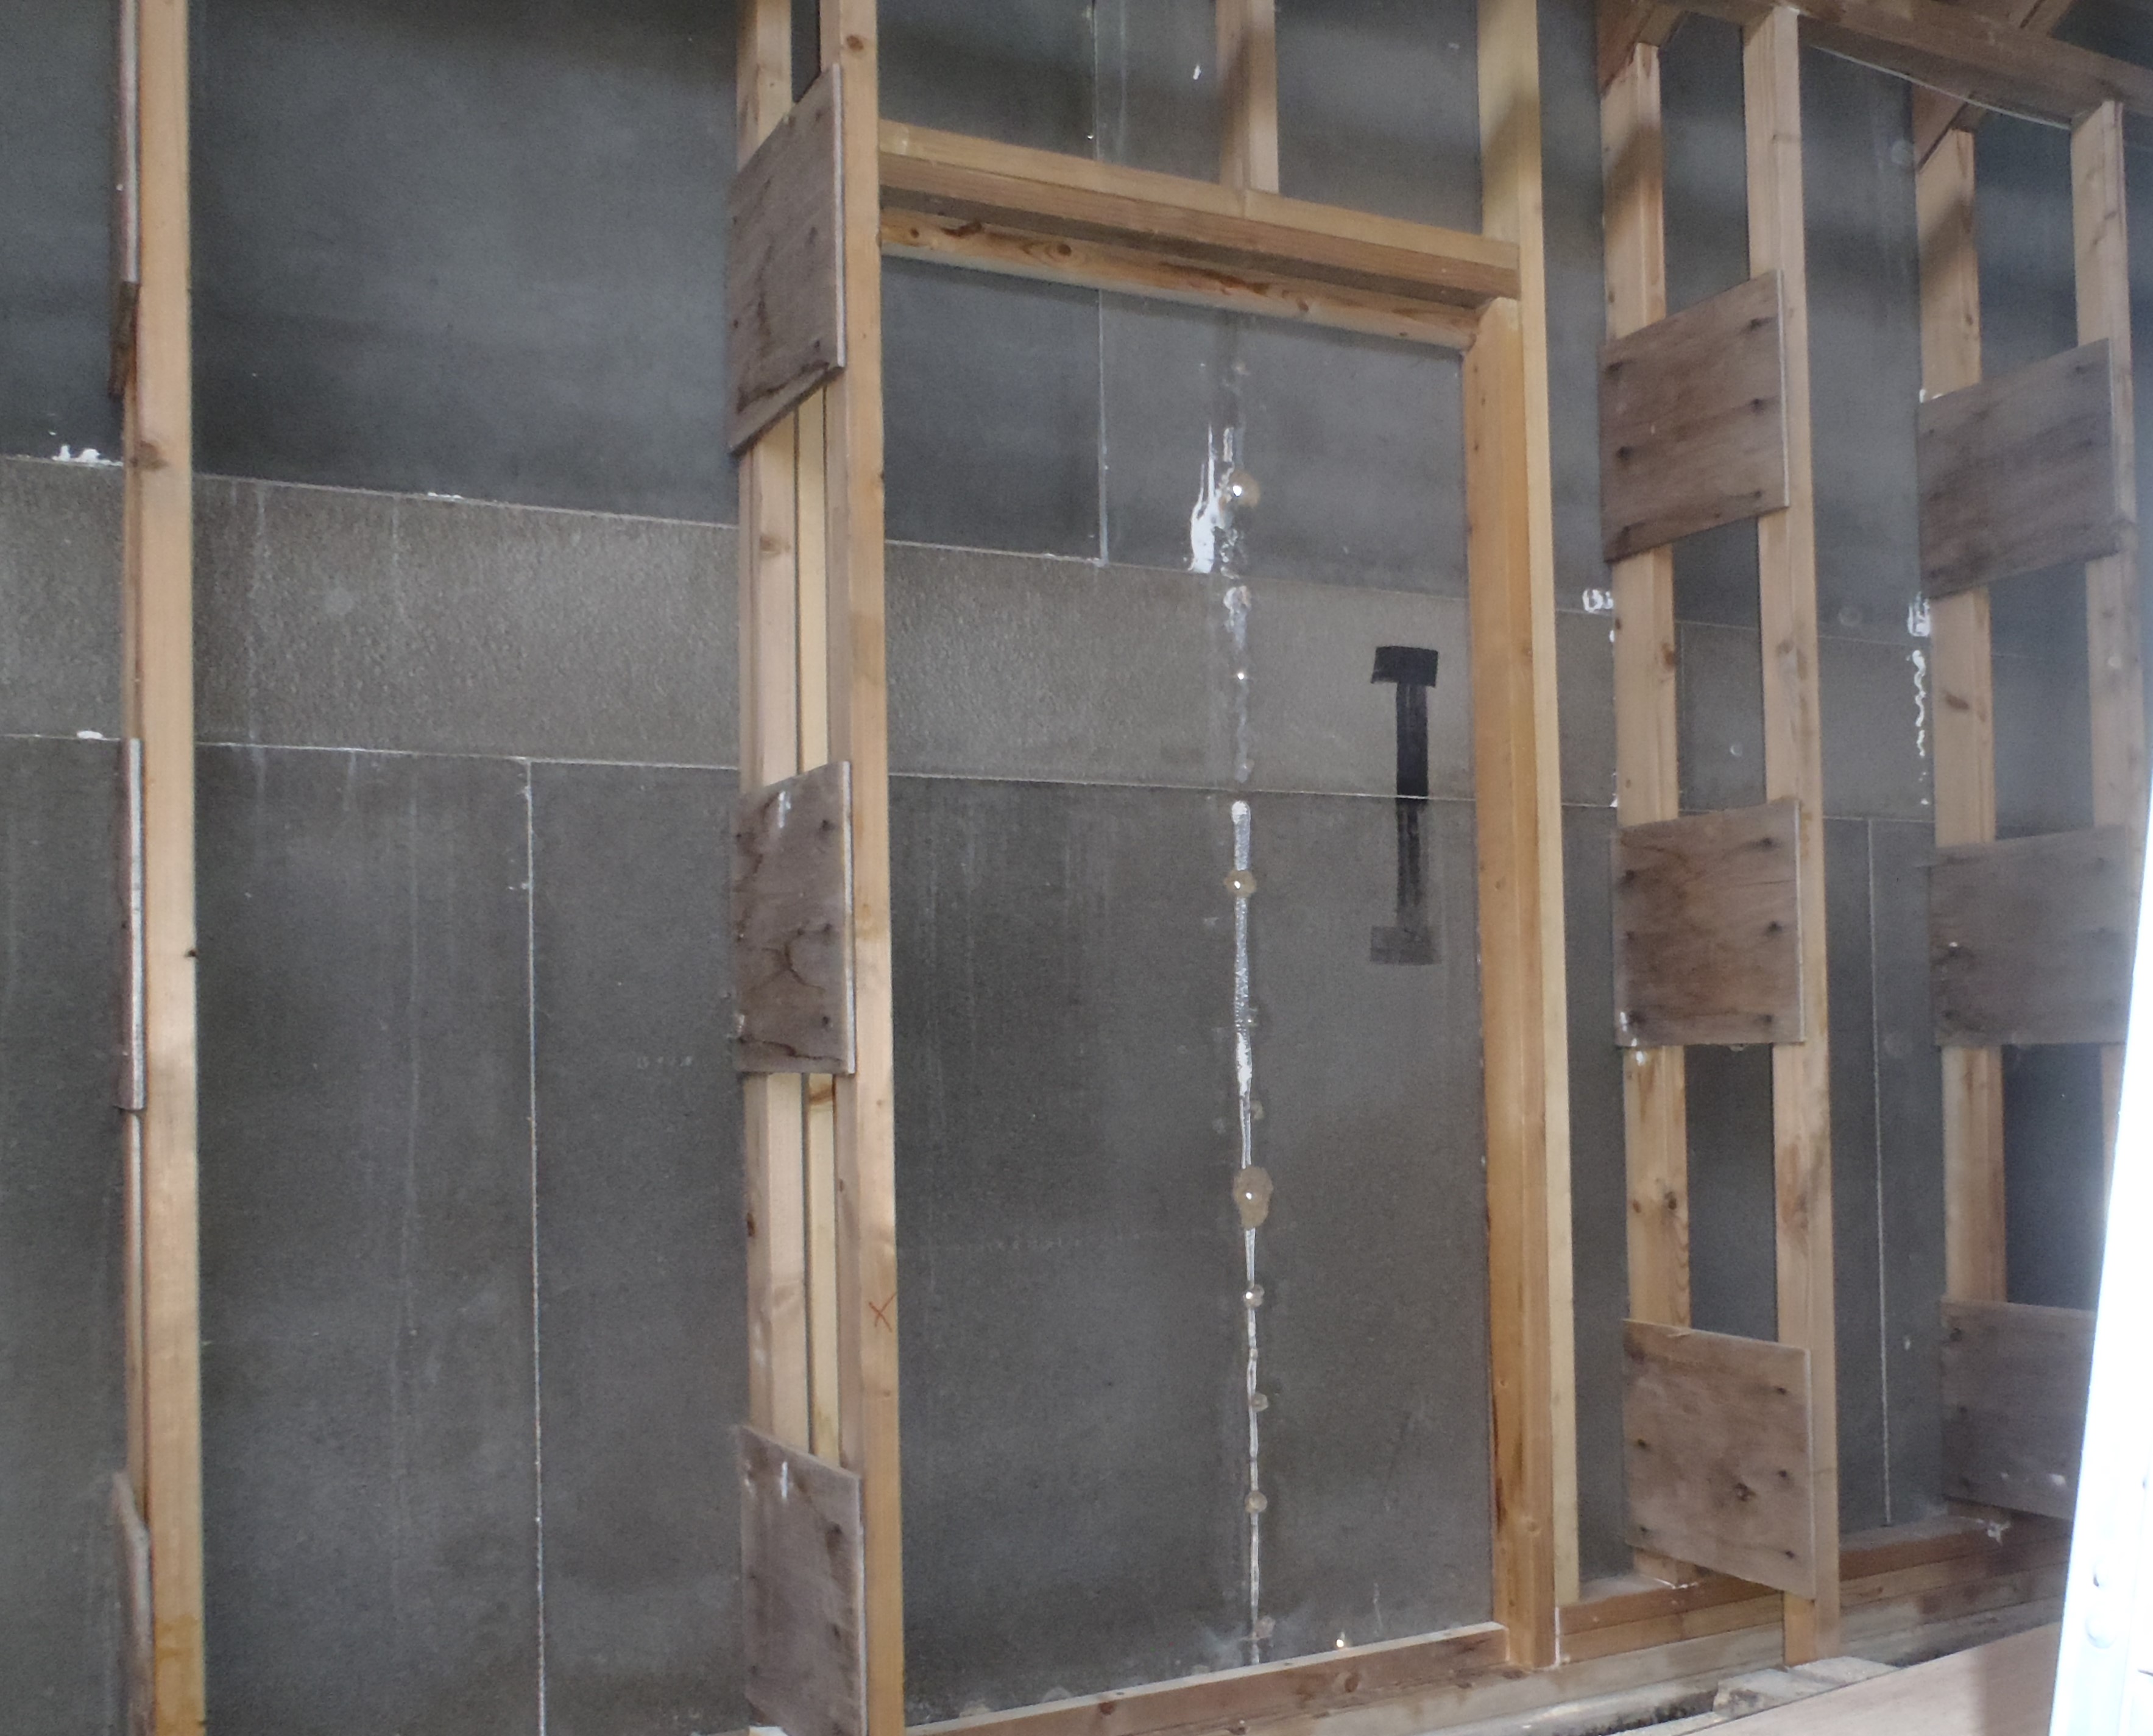
Window-sub-frame-for-new-window-on-I
So we got on with other tasks, like we tidied up all the mess of having sliced up our random pile of PU foam. We loaded up two ton bags of all the trimmings
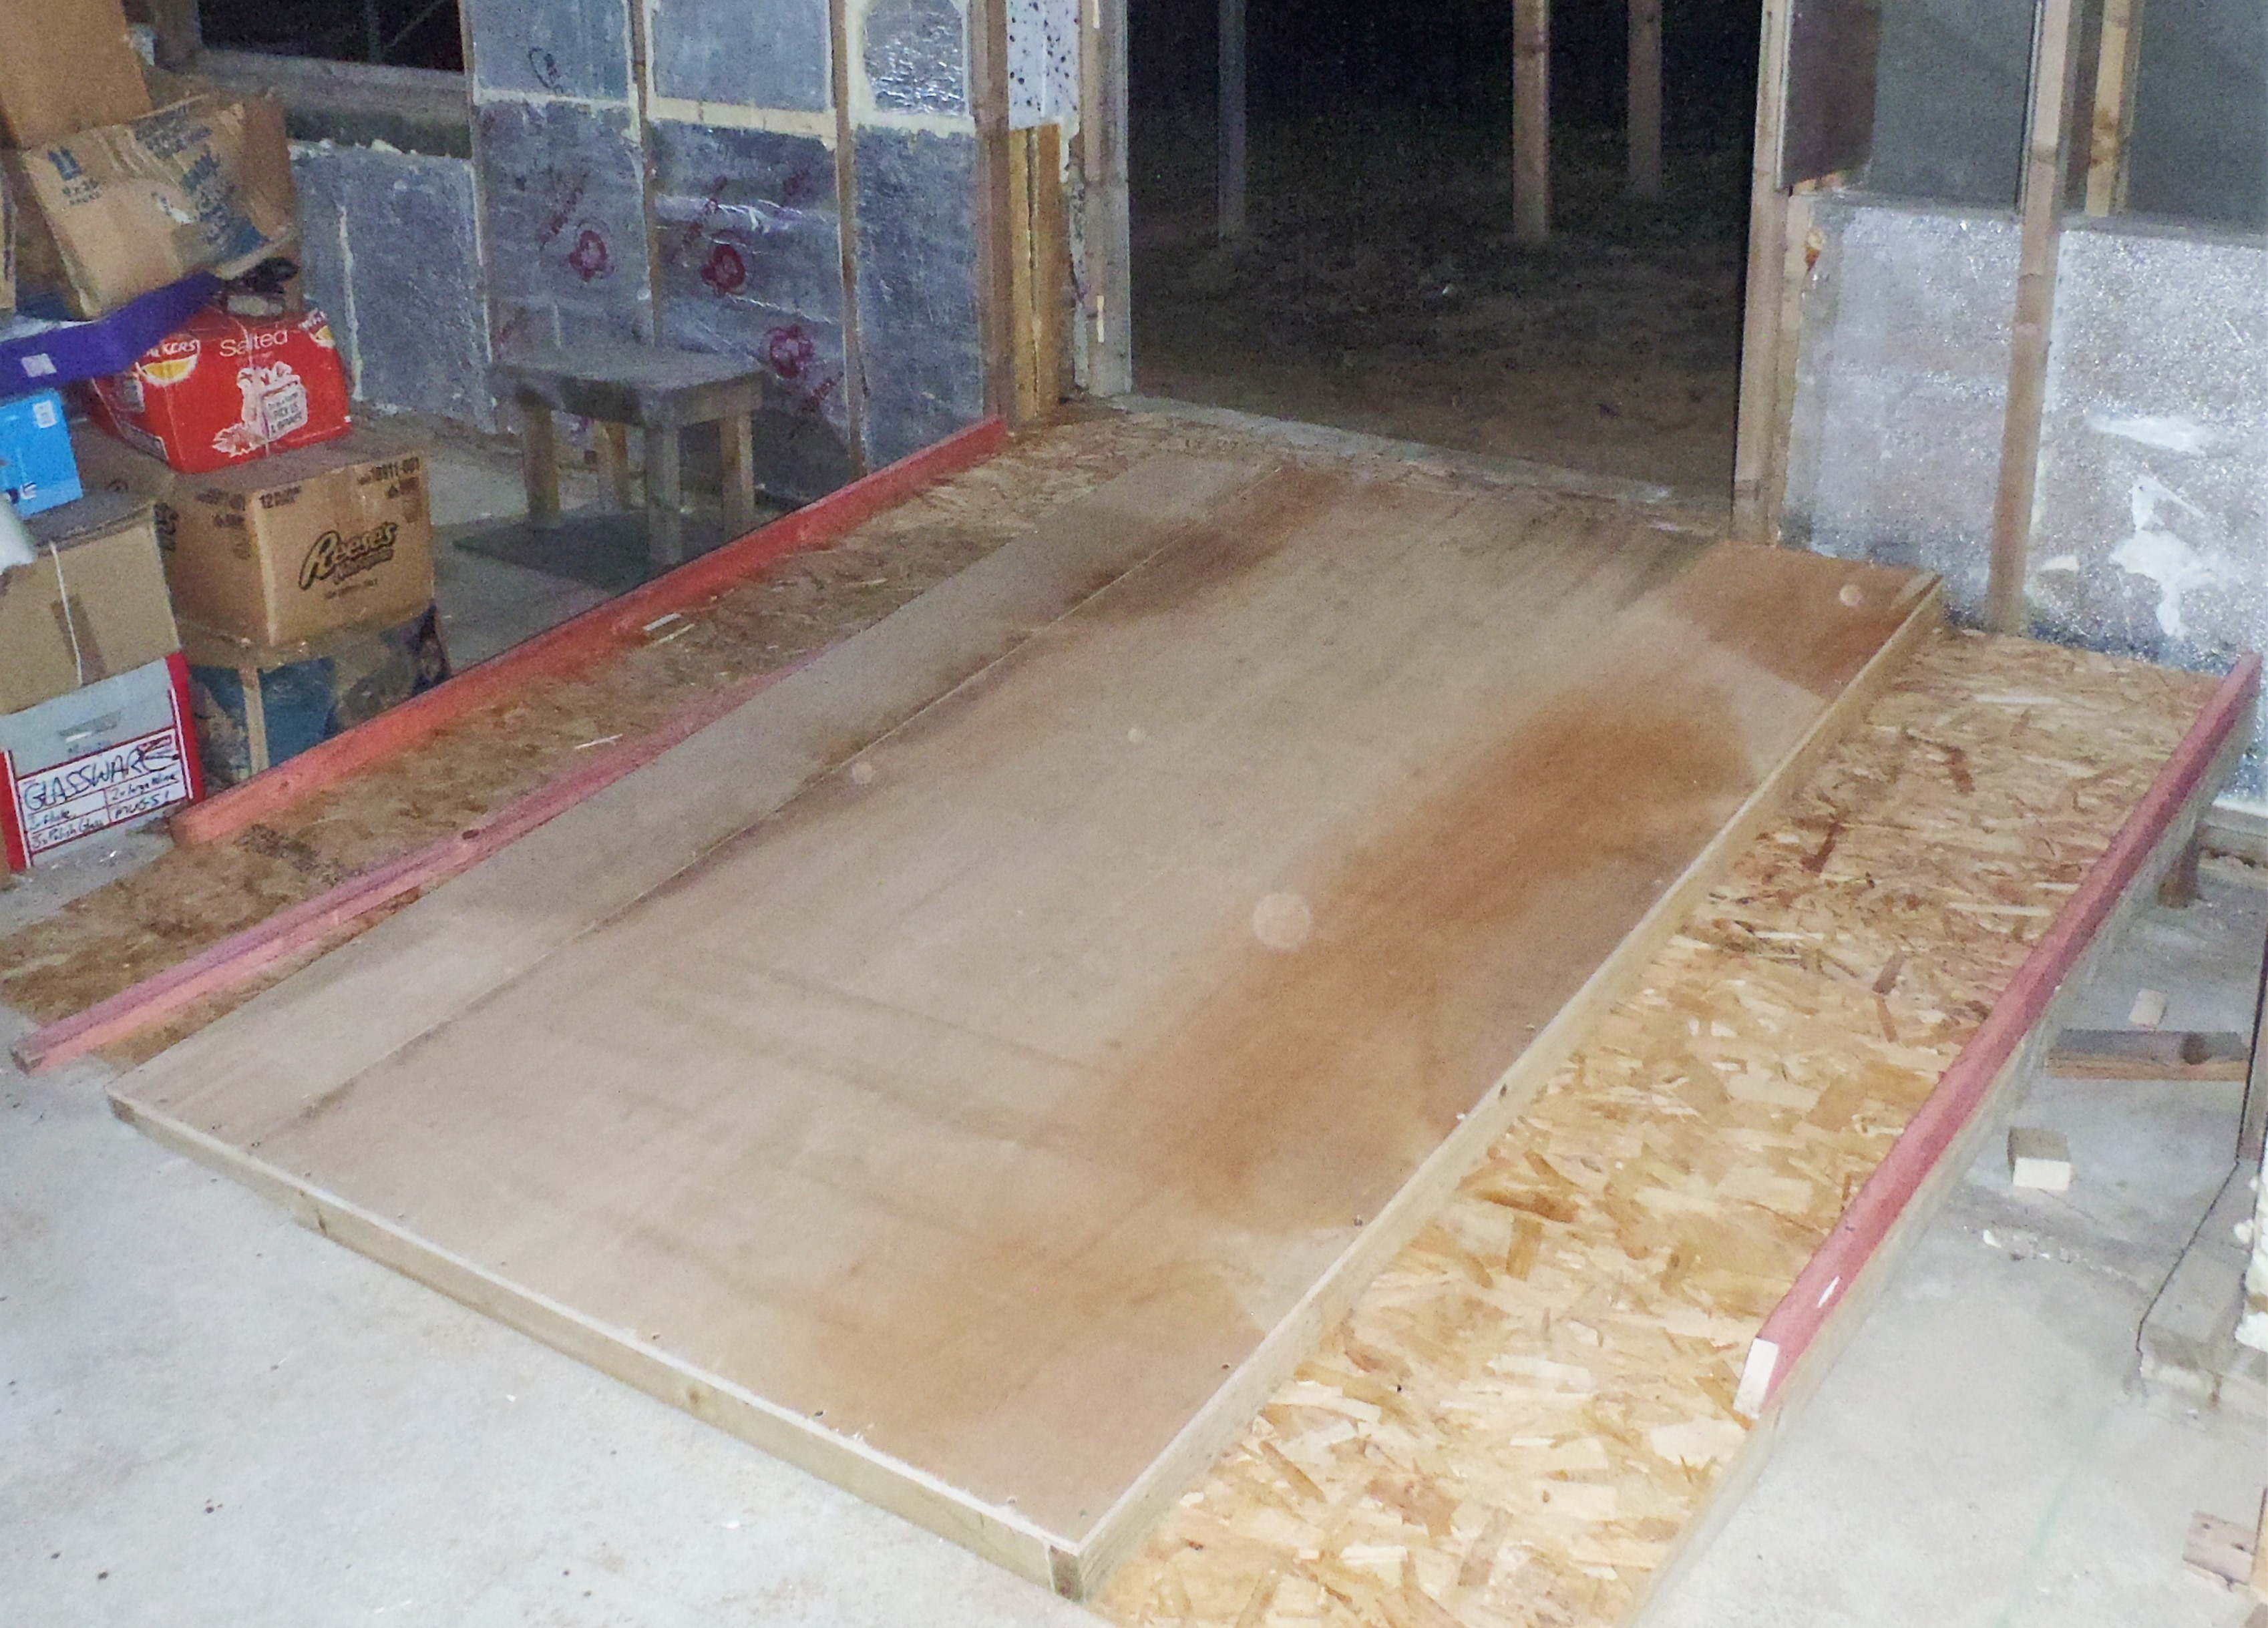
Then we made a 8foot square ramp for the front door, using four long 63mm CLS timber with three short legs per struct and then laid two sheets of 18mm OSB boards across. The alignment was such that the left side of the door is the left side of the ramp as we wanted to make sure we could build the Entertainment Room without having to redesign the ramp again.
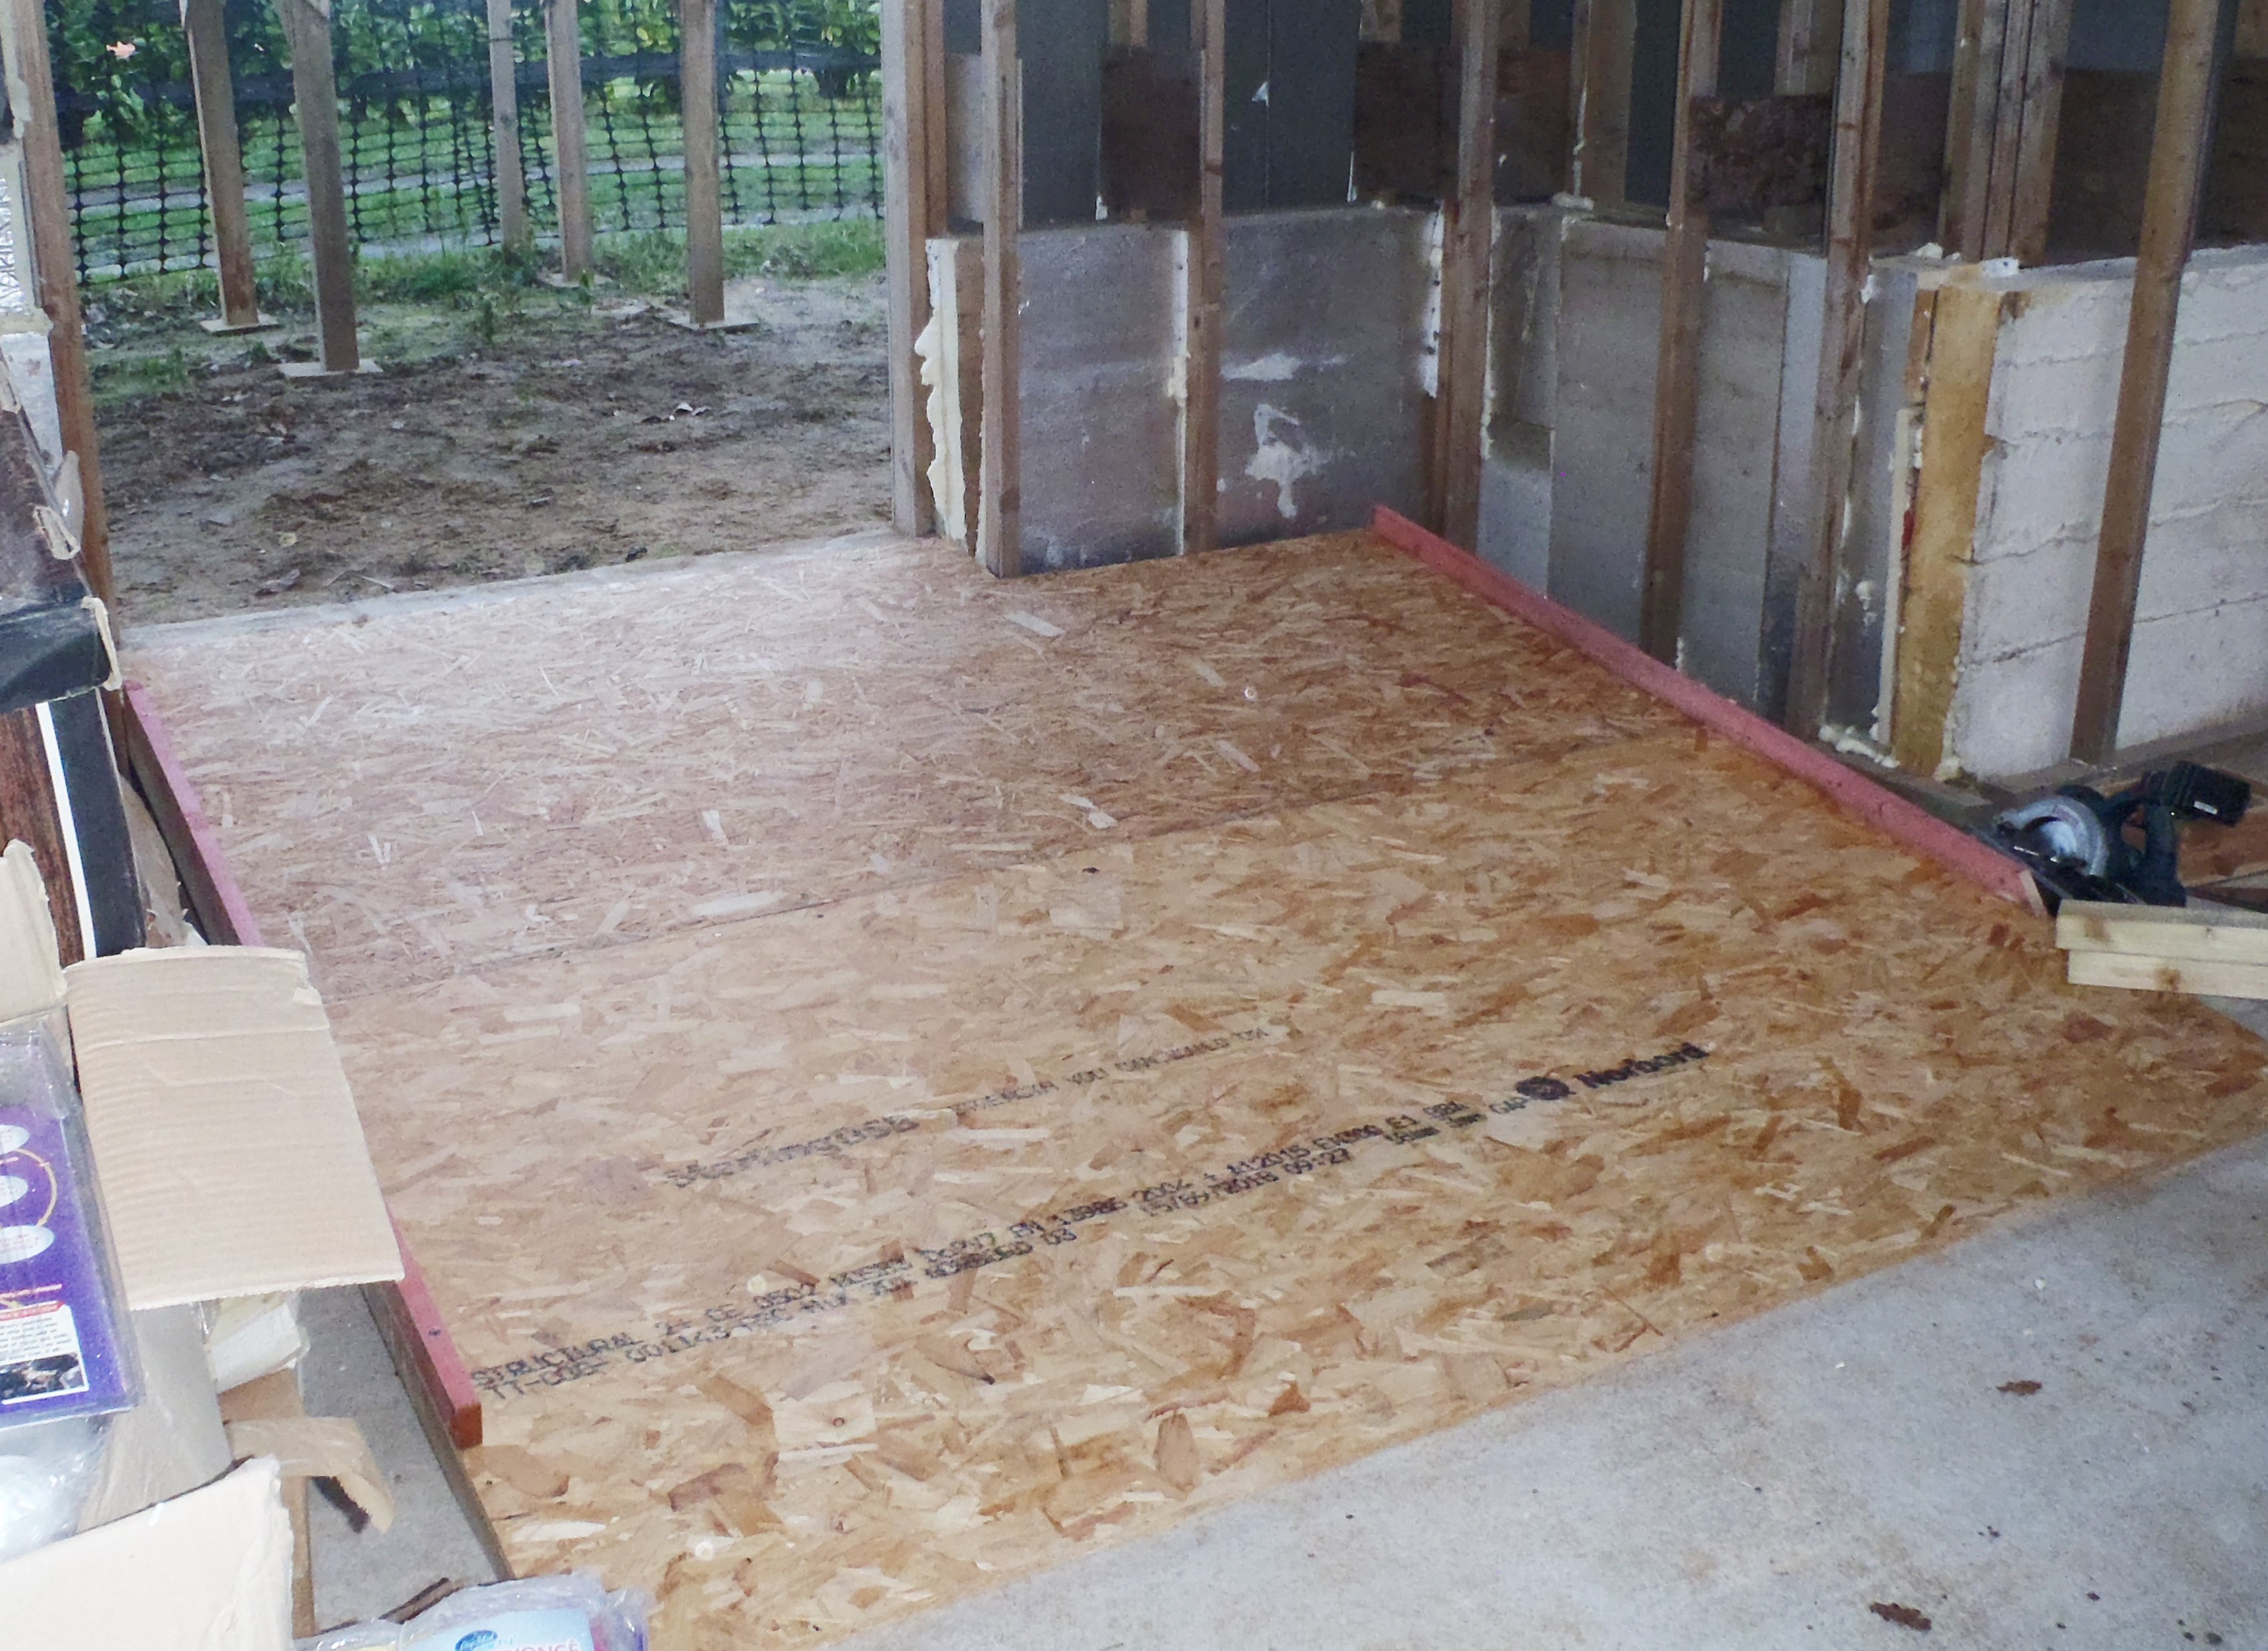
Large-ramp-for-front-door
Finally, we started making a temporary front door to fit in the hole. The hole is 1490mm wide nearly 5 feet, and 2240mm high which is a bit over 7 feet tall. We decided that we would make a single moving door to fit the gap so we got enough 63mm CLS timber and one whole sheet of 12mm ply and a narrow 270mm wide strip off a second sheet. We screwed this lot together and after checking that its fits, we found a set of hinges and proceeded to put on the first half onto the door.
The-new-Temporary-front-door
And that ends our week’s work. More next week!!