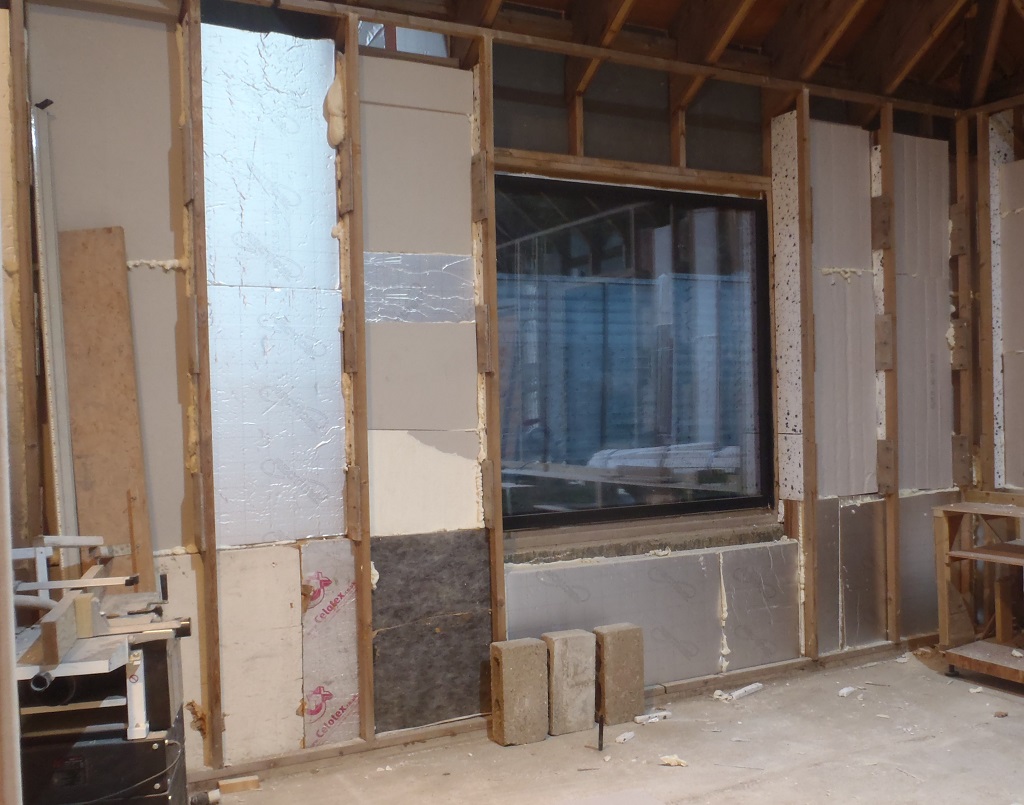
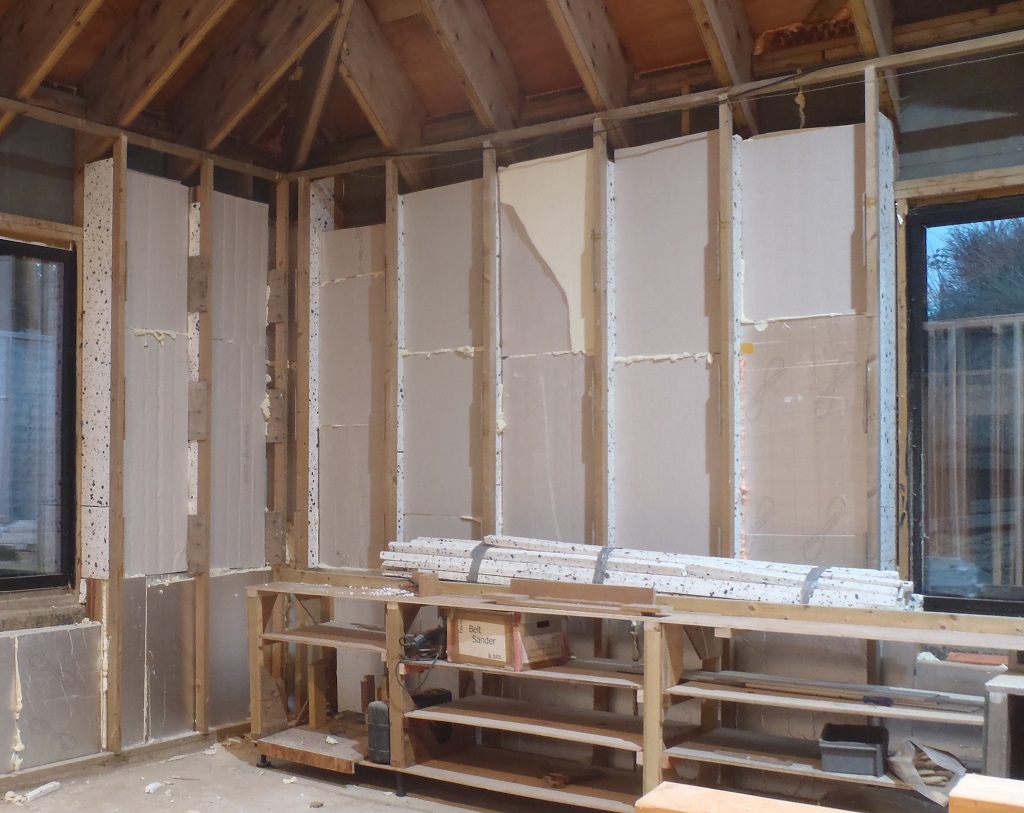
We resumed the task of laying out the footplates for the entire Ground Floor rooms. We had to tidy up all the excess jumble of bits and pieces that used to live in our outside Store room and we moved all of it into our new Entertainment Room, sorting them into related piles. We will also build some metal shelving and place them in the Entertainment room too to aid in more items to store while we develop the internal rooms and installation of all the utilities.
The second half the building (the Cloakroom, en-suites, Bedroom 2 and 3, various cupboards and the Bathroom) was mapped out, drawing our coloured lines straight on to the concrete floor. We then surveyed the height of the concrete slab and discovered that one section had a very high level. The relative height difference was 23mm from lowest to highest spots but there was one even higher local spot of another 10mm! We definitely over-did the amount of concrete when making the floor slab several years ago! So we ground down that spot down somewhat but we will treat this particular slab as a special case and have a different finishing level (which means that we just reduce the length of all the stud posts).
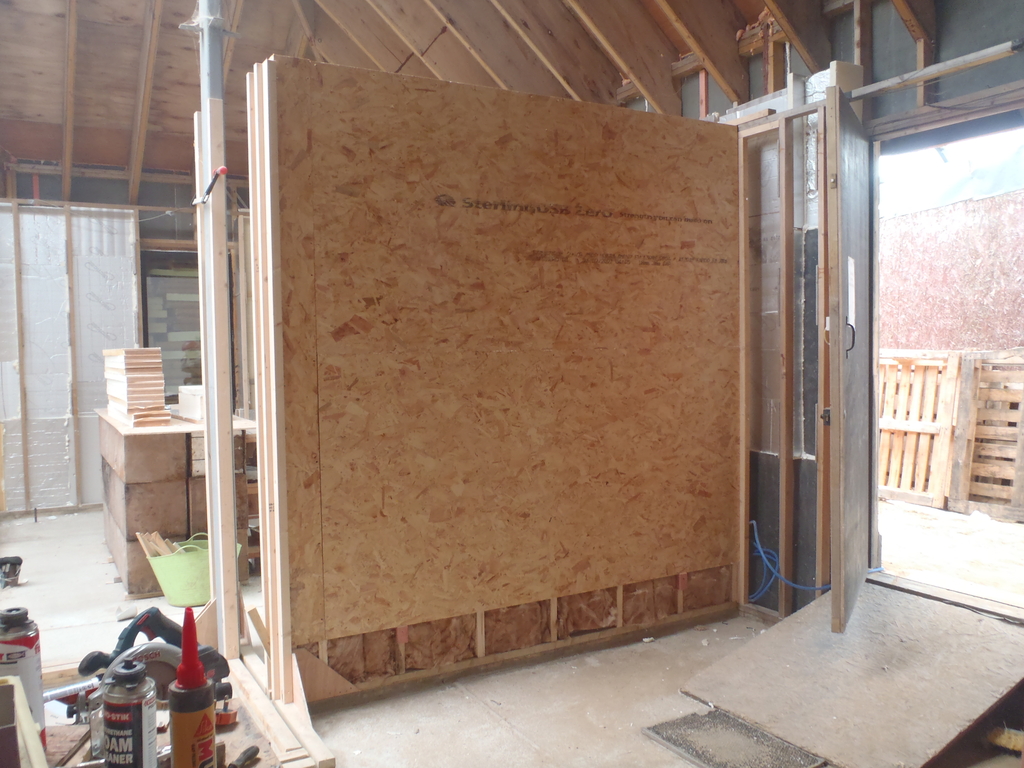
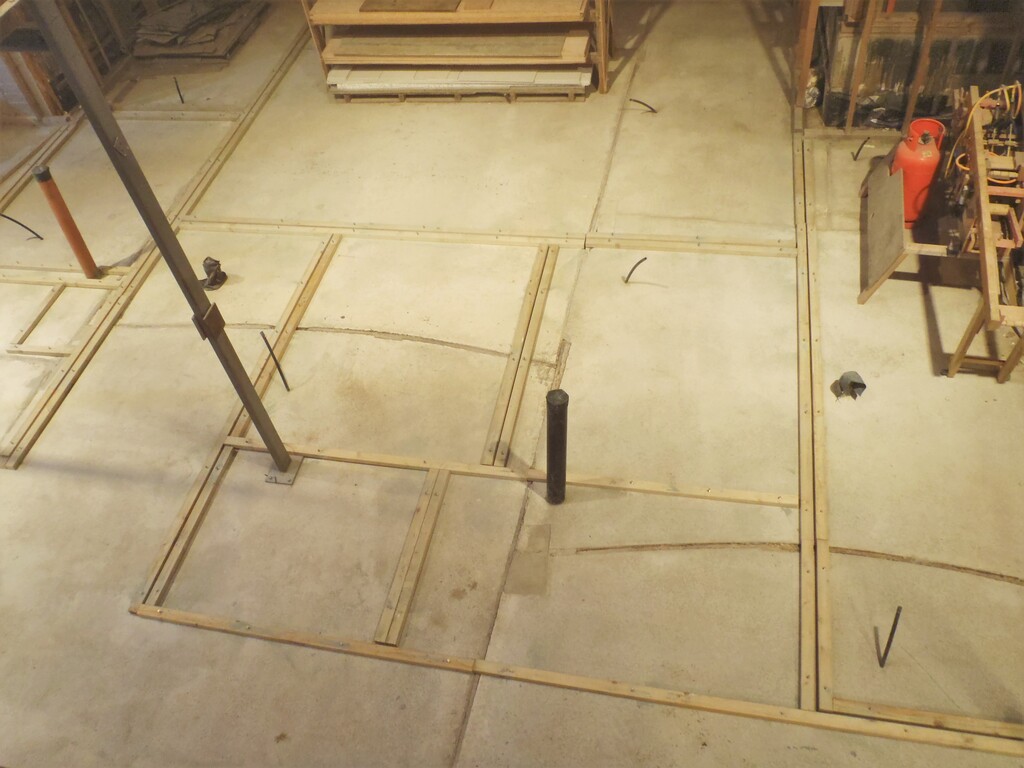
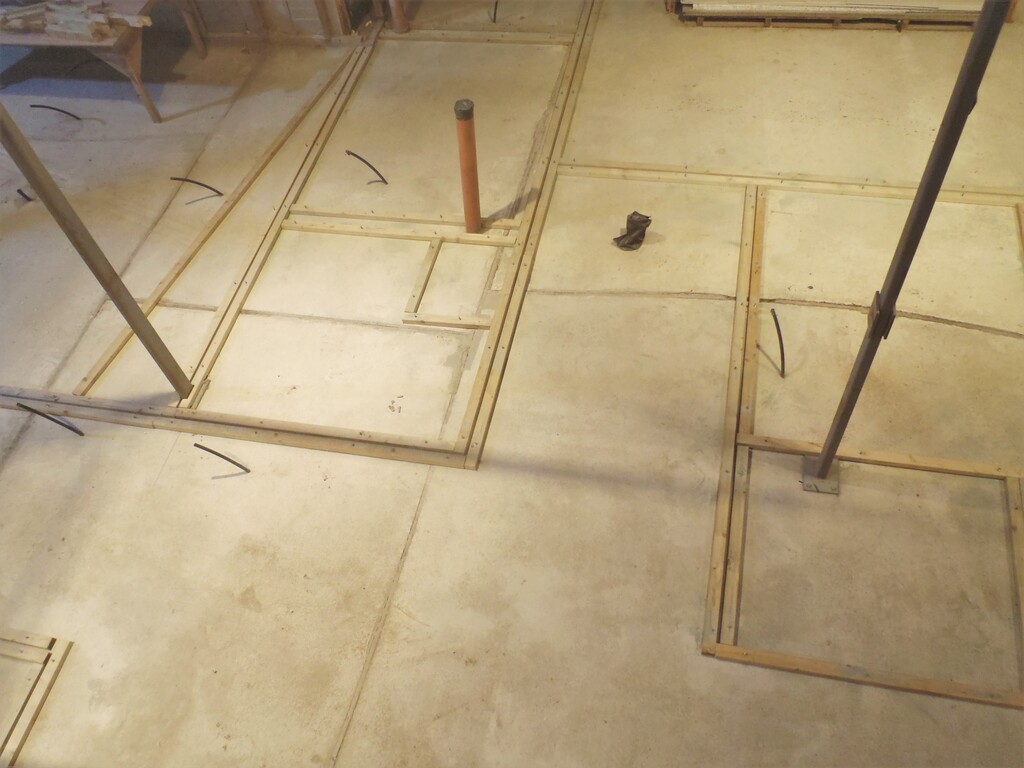
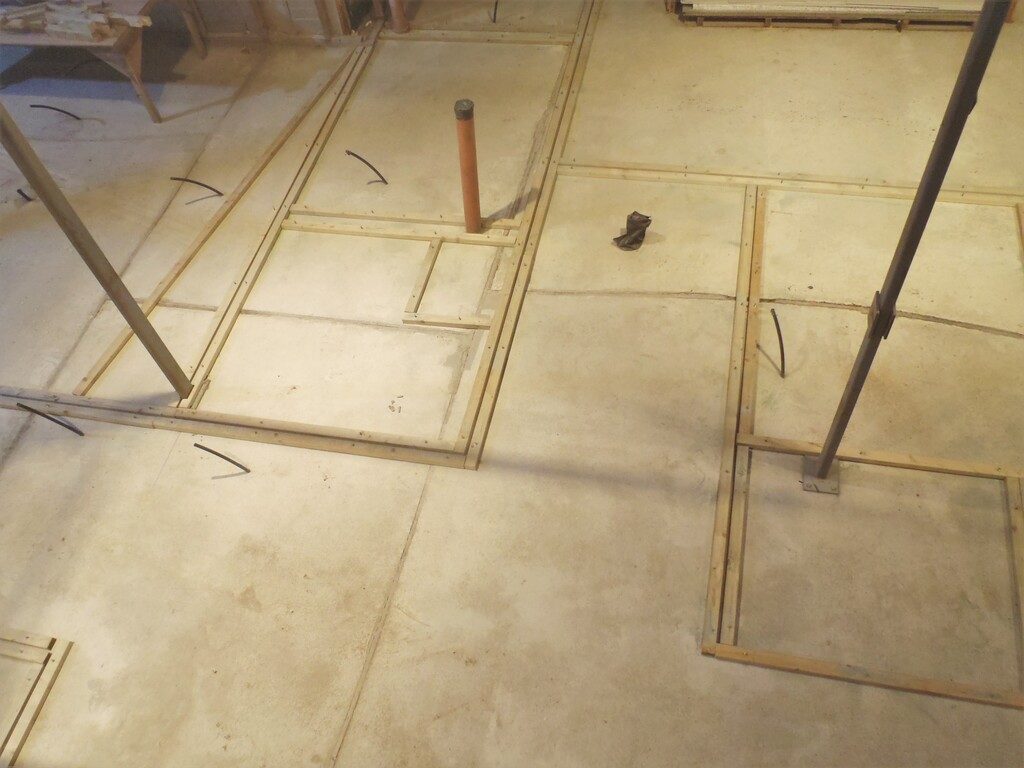
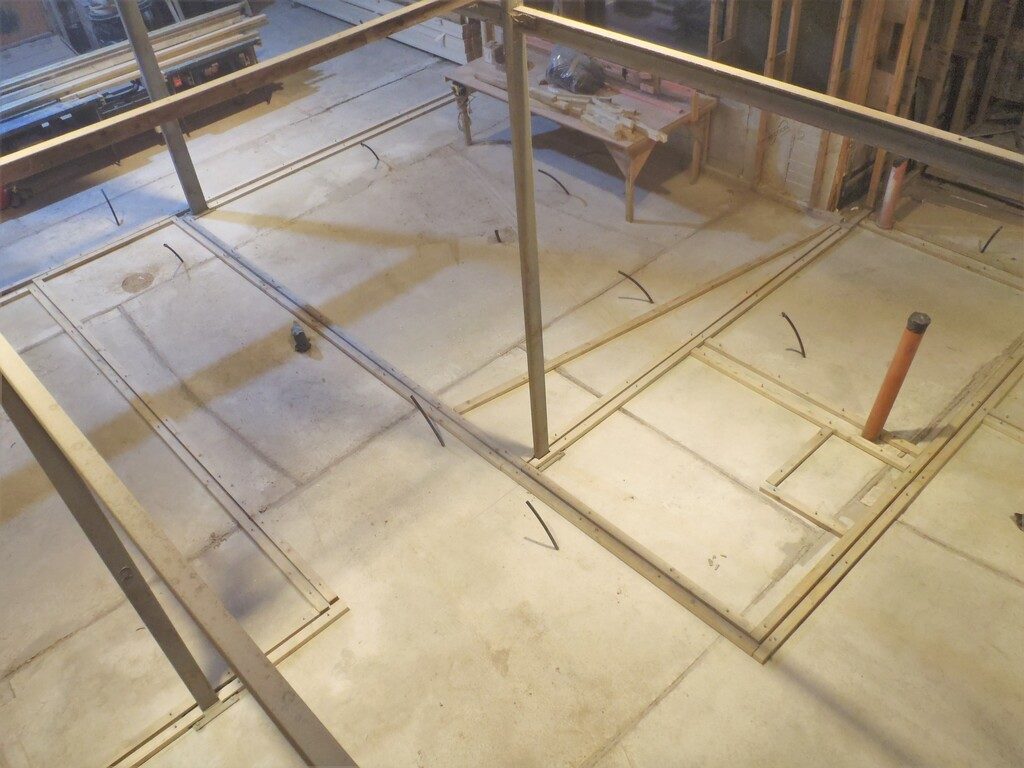
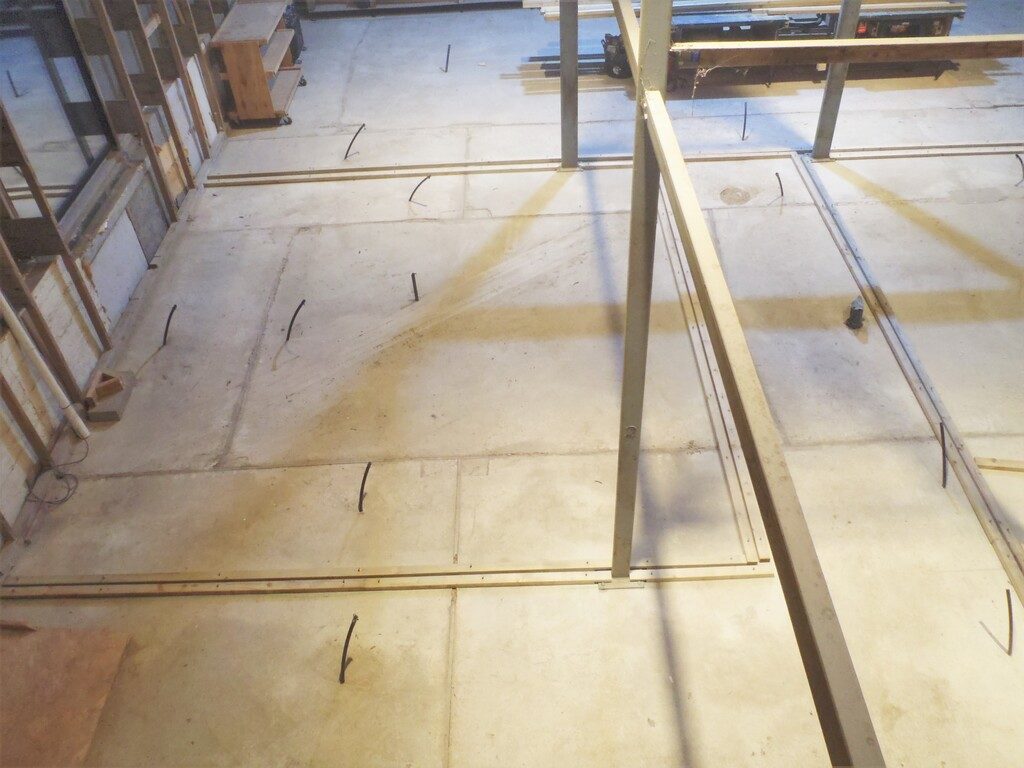
Over the next 2 days We pulled out a heap of 63mm CLS timber planks and laid them out over the entire floor, cutting to fit etc. Next, we did drilled anchorage holes and putting in concrete screws to secure all the timber pieces. We used over 150 screws, each being 100mm long by 7.5mm thick.

Floor-plates-for-all-rooms-fixed-in-place-1

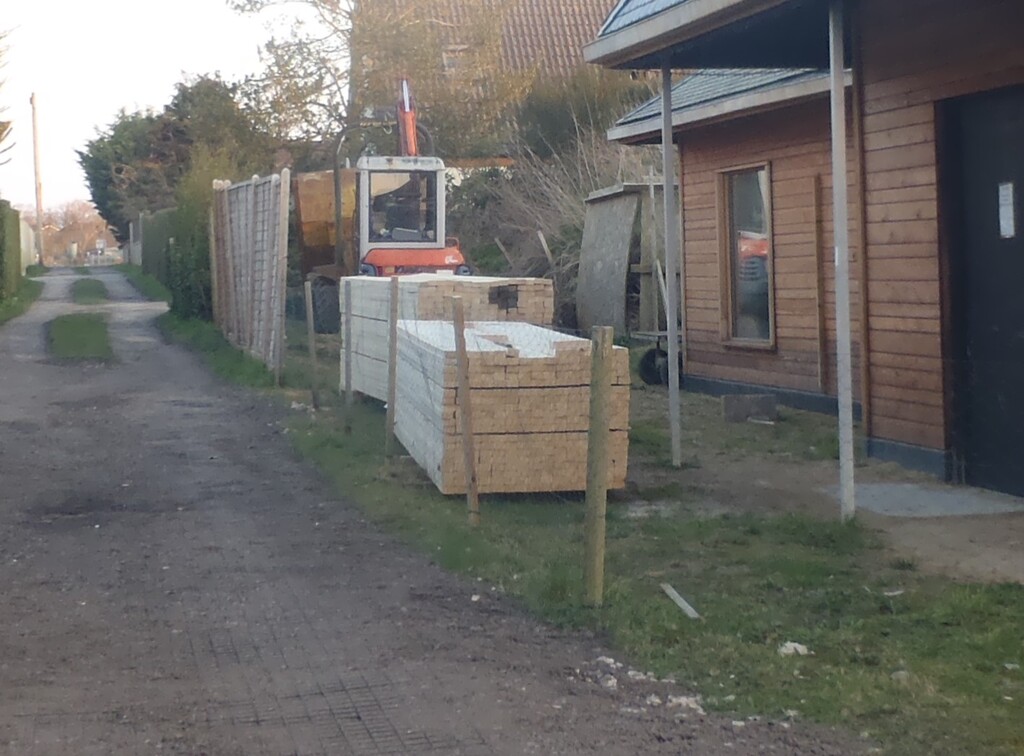
Floor-plates-for-all-rooms-fixed-in-place-2
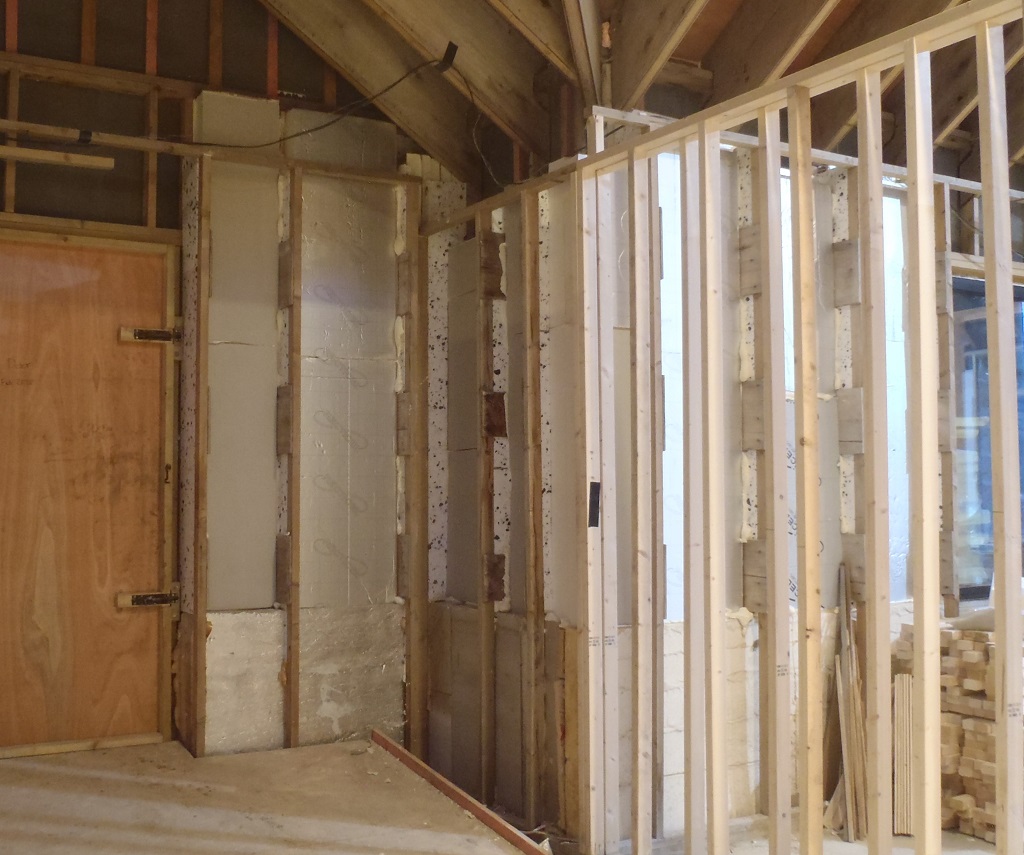
Floor-plates-for-all-rooms-fixed-in-place-3
Floor-plates-for-all-rooms-fixed-in-place-4
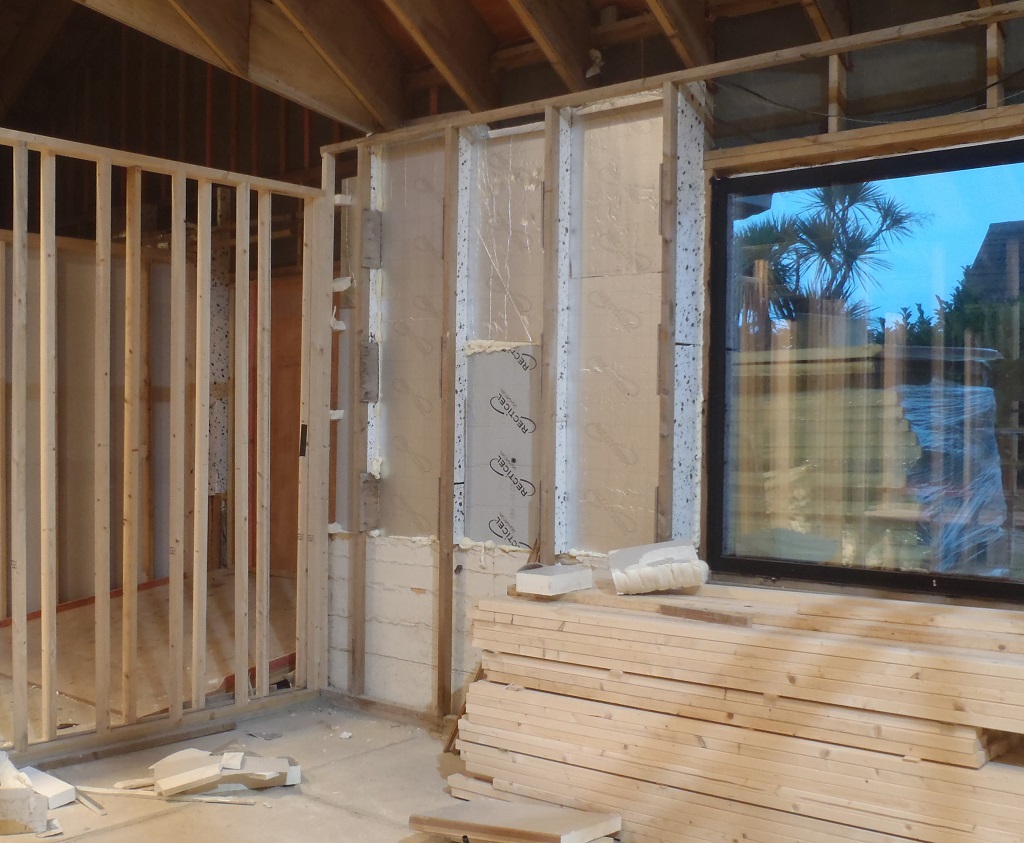
Floor-plates-for-all-rooms-fixed-in-place-5
The final two days was spent packing mortar underneath all the timber pieces everywhere, we needed four separate mixer loads, each having half bag of cement, three builder’s buckets of soft sand (40kg), a handful of fibre strands and a splash of emulsifier, along with the usual water. The laser was kept in one spot at our four way intersection point of our hallways and we used the detector to set all the footplates at the same height in absolute terms. The only exception to this rule was the extra thick concrete slab as mentioned already, and we lifted the detector up by an extra 10mm and set a higher level for the remaining pieces.
And on Saturday afternoon, the final task was to tighten the concrete screws for the footplates that we had put mortar under on the day before (it had set enough) to lock down the footplates and then tidy up the cement mixer machine, hose and other bits and pieces, now that we have finished needing mortar for at least several years, the mixer can go back into storage again, around the back of the building.
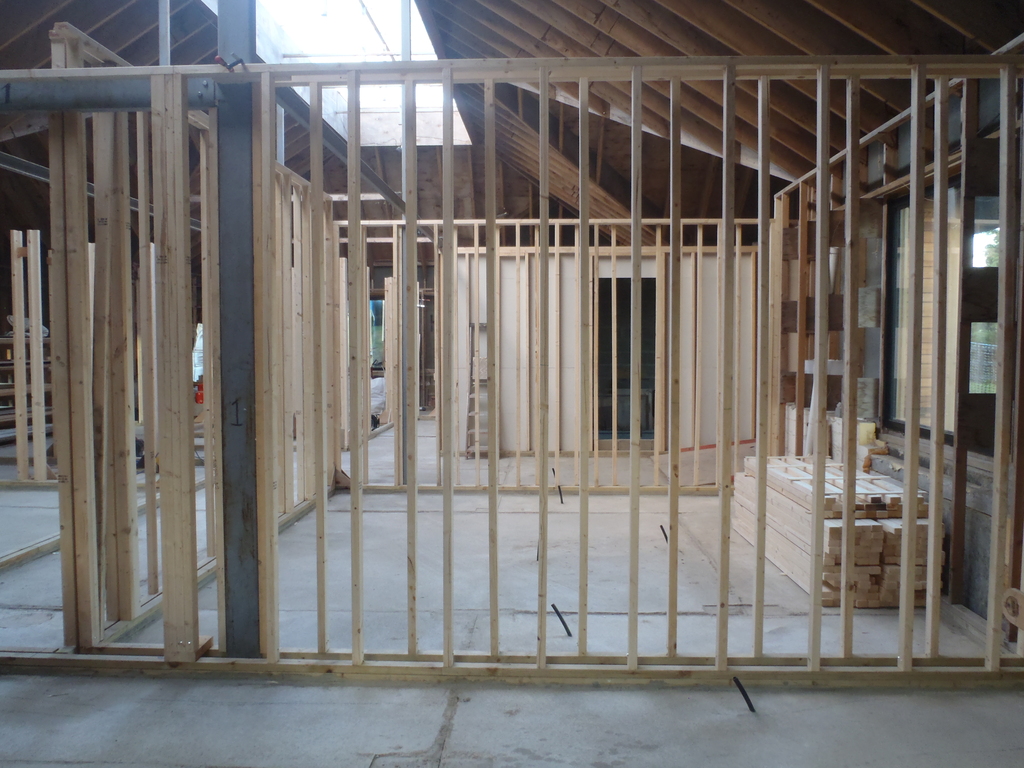
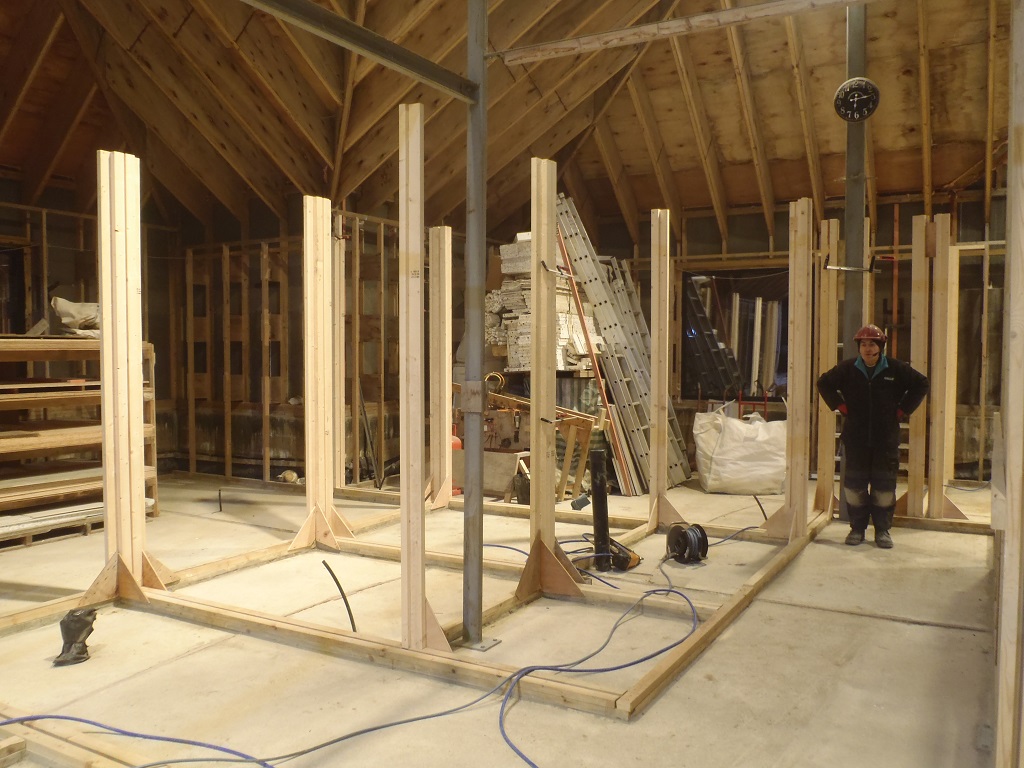
Next week will see us doing the job of pulling out another set of CLS timber to put on the second layer to reinforce the footplates, glued and screwed down, and then start marking out exactly where every single stud post will go, taking into account doorways, cleared sections for utility conduits and pipes to go upstairs and other design requirements too.