For the start of the new week, we both tidied up all the “blobs” of mortar sticking around all the footplates and also tightened all the remaining concrete screws down. This was joined with the task of pulling out a whole heap of further CLS planks to form the second layer of timber to build up the Footplate on the floor, so they are ready to secure and fix the wall structures themselves. The second layer was glued and screwed down, making sure the warping and twisting nature of the timber is flattened out.
Then over the next several days, we marked out all the corners and junctions that forms the various rooms and cupboards etc.
We also ordered another twelve two by six planks (45mm by 150mm regularised timber) to go with the other four planks we already had left-over from when we were building the Skylight kerb structure several years ago. These sixteen planks will divide up into groups of four, in order to build two strong solid pillars to support a steel lintel that is needed at the entrances to all the en-suites rooms plus the bathroom too. It turned out that these four rooms have their entrances in a load bearing walls and we want our en-suites and bath rooms to have sliding doors so there is a lot of floor joists to support (Daphne also want’s a ‘Glass Wall’). We are using left-over pieces of steel 100mm by 50mm legs (the legs that are holding up the Skylight and the roof!).
We have done a similar thing to hold up our cold water header tank up on our first floor and it needs extra load bearing elements and the position for these elements are located over and along Bedroom 2 wall and its doorway, thus we need another lintel built into the structure of this wall, this time using our larger steel leg left-over piece (160mm by 80mm), laid flat and supported by a solid block of 4 63mm CLS planks, all glued together into one block, one at each end.
The final couple of days was spent on building the “pillars” for each corner and mid-wall T-junction, using more 63mm CLS pieces and forming fairly complicated shapes to allow each wall to have support for materials at the ends. Each of these pillars were anchored and locked to establish a good vertical straightness by screwing triangular plywood bracing pieces and putting little pieces at the top to join them together into a nice sturdy block.
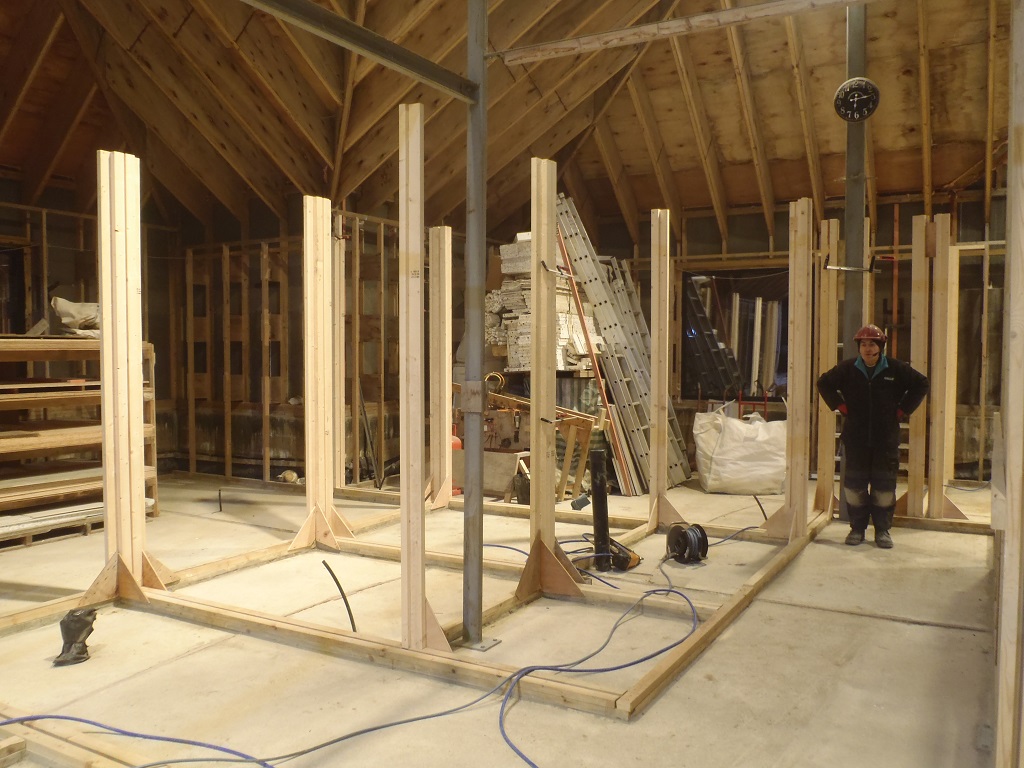
Corners-sprouting-up
These will help in the long run when we come to put up the top-plate horizontal CLS planks as we can ensure that all our walls are vertical and right angle on the various corners etc.
We did ten of these pillars and we got another eleven to go which we will have done next week. We have sliced over eighty planks already, about twenty percent of our stock of timber pieces so it won’t be long before we will have to order another pallet load!!