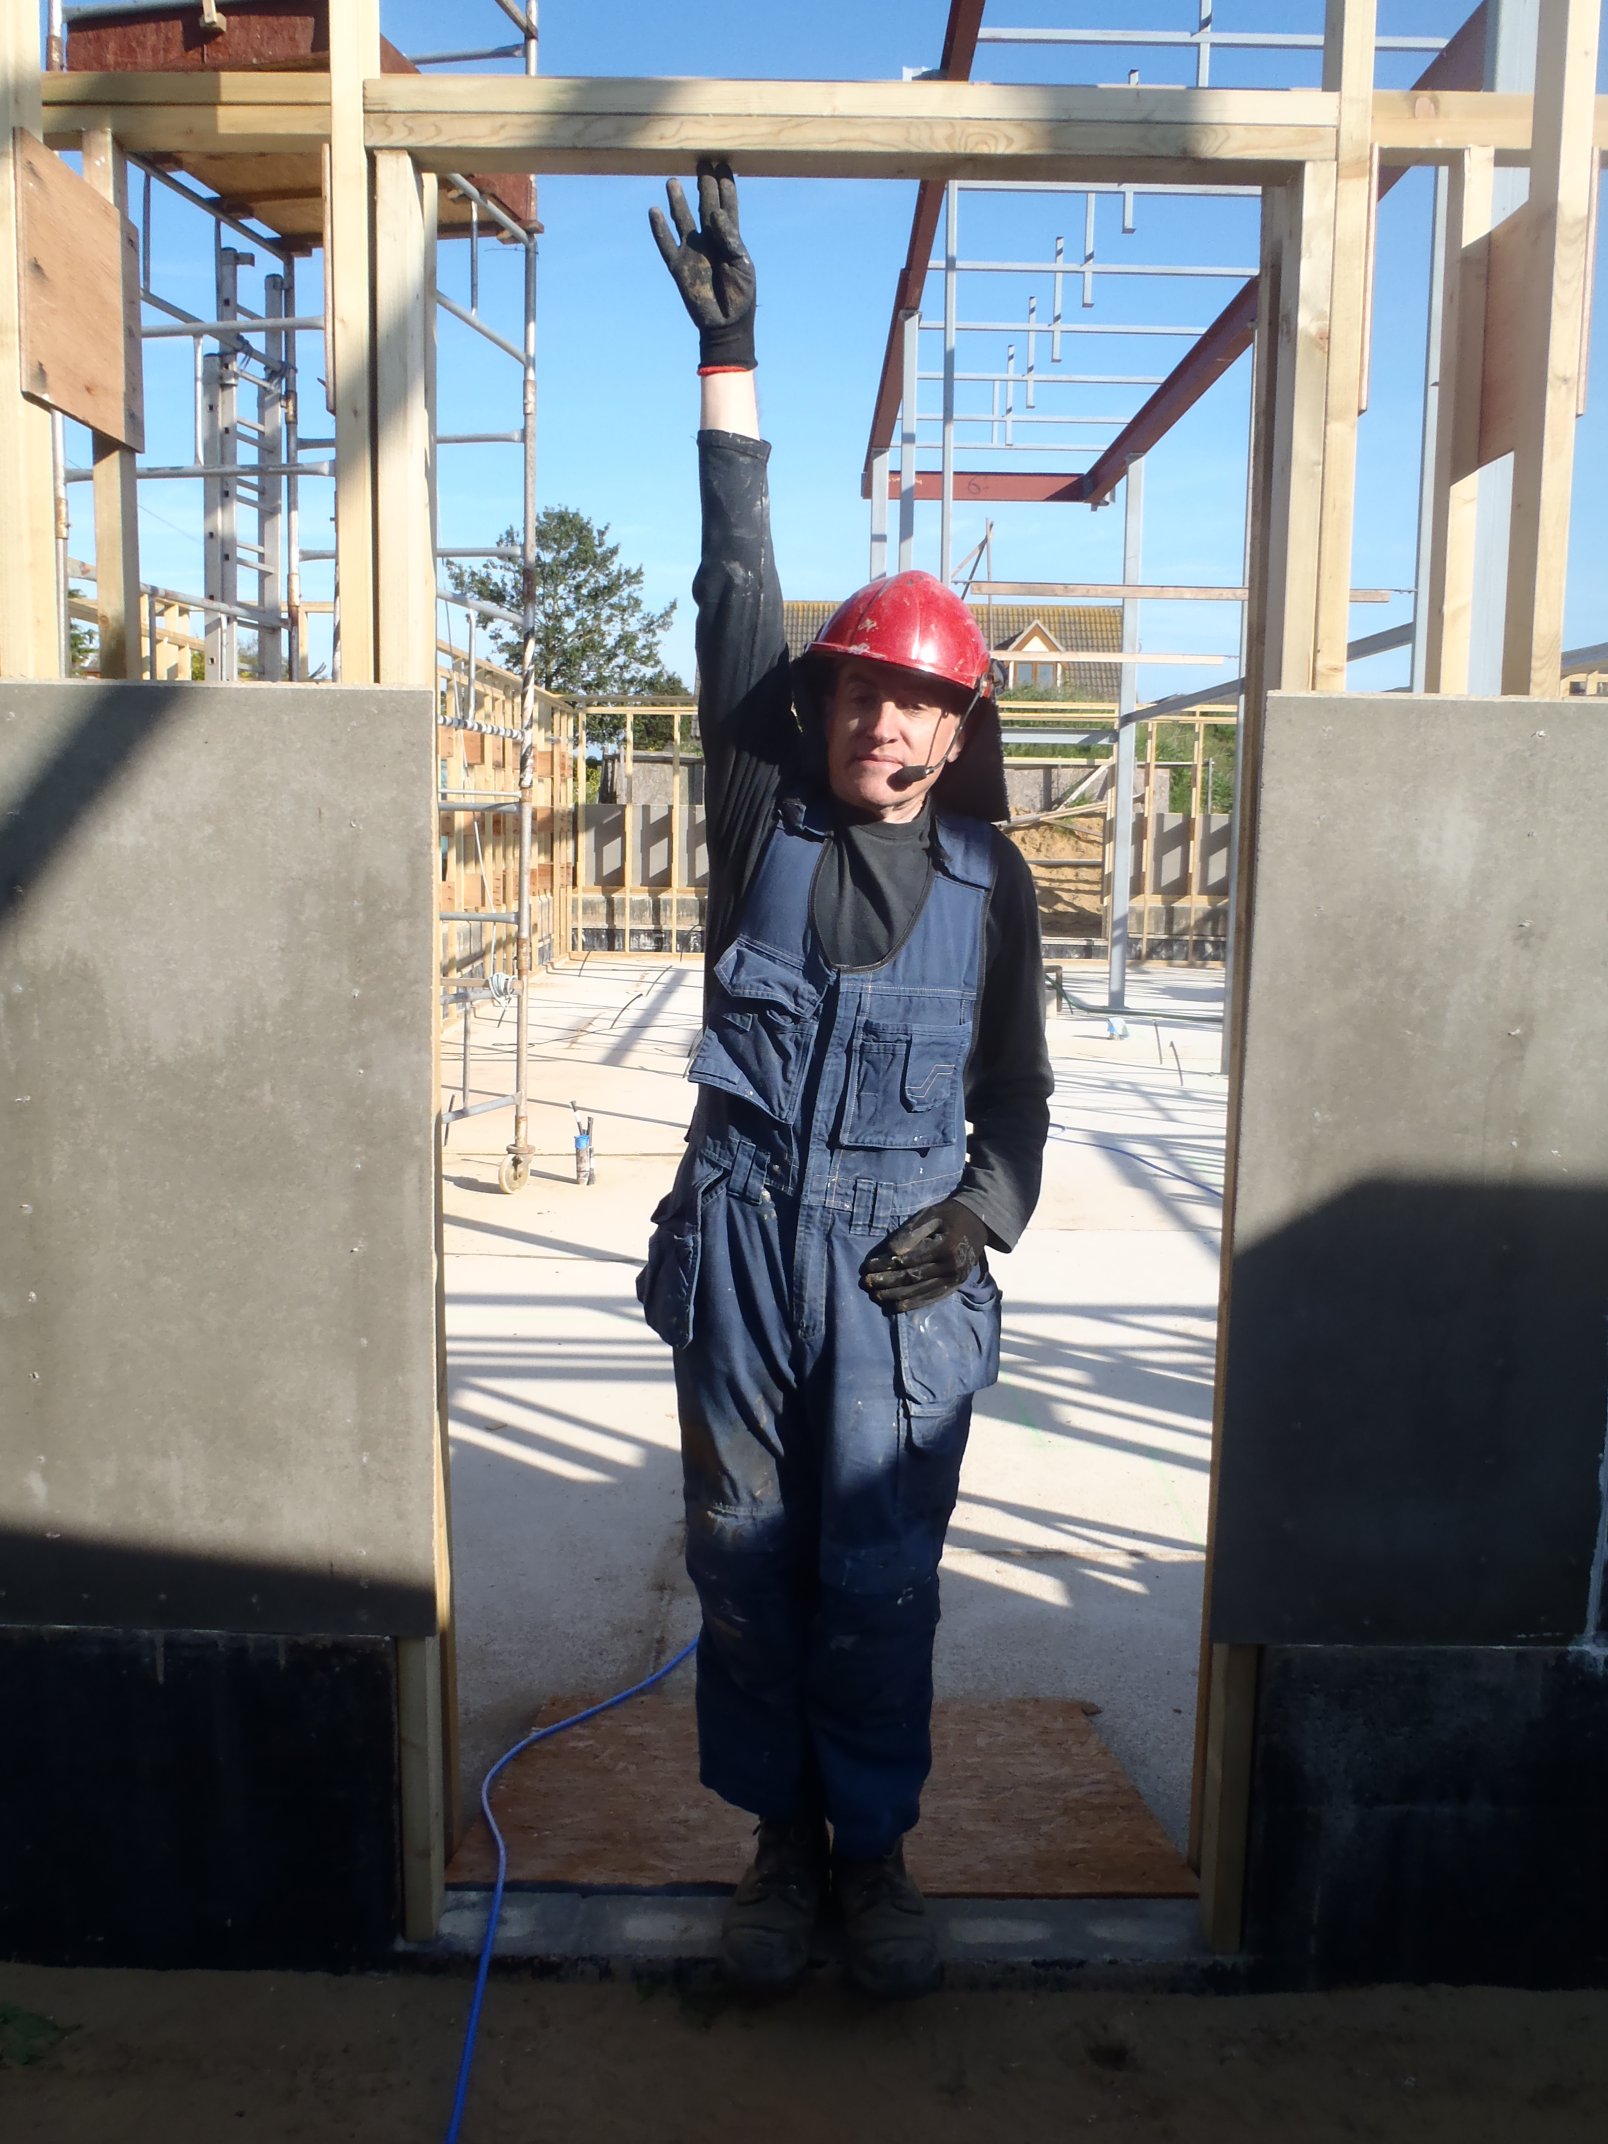
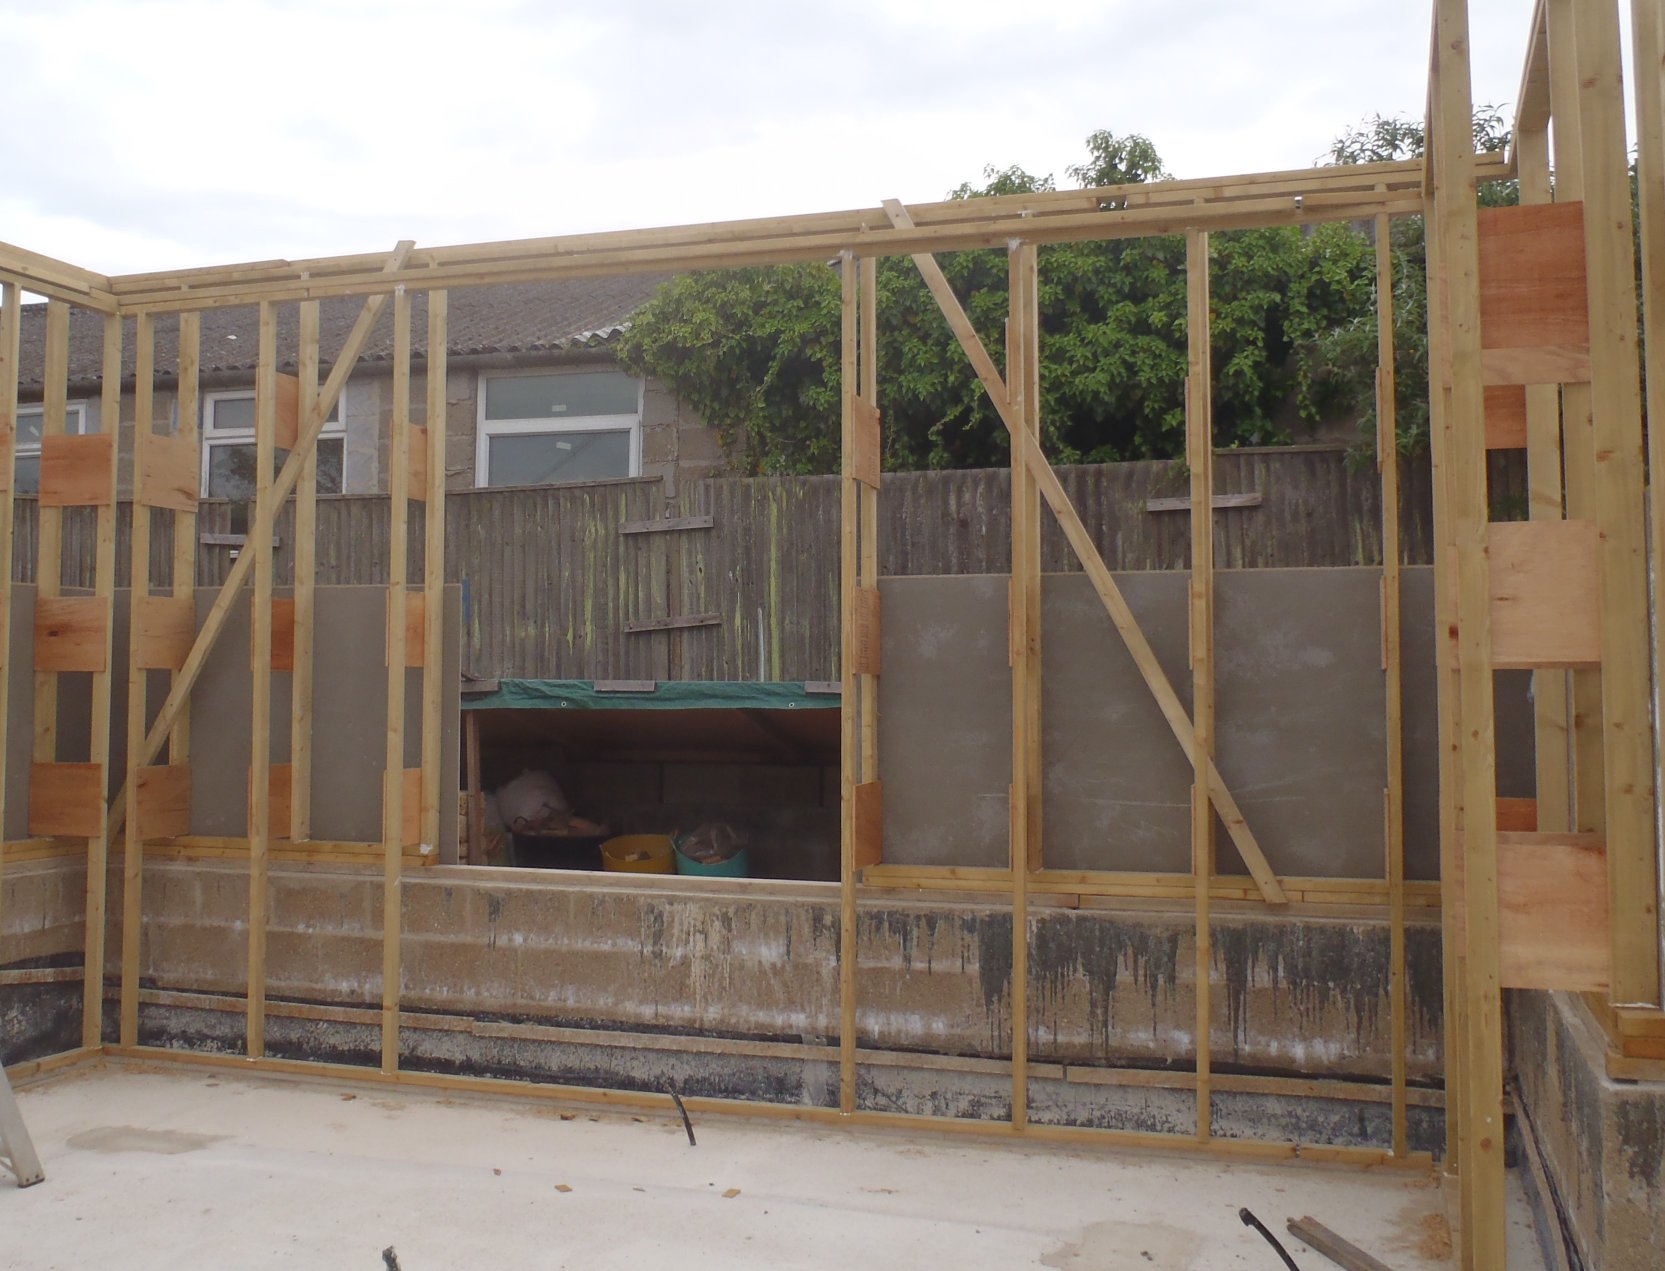
Back to work after two days of interruption’s , we resumed the task of putting together the Lintels and Framework around all the Windows and Doors.
We had 7 more openings to finish off where the short vertical studs are put in above the Lintels and got those done just before lunch.
Then we fetched another five lengths of the 89mm CLS timber off our pallet (we have virtually used up one of the two pallets bar 2 lengths!) and brought them in our workshop to be chopped into:
- 9 x 1711 mm pieces
- 2 x 1100 mm (using the off cuts of above)
- And 1x 480 mm piece (also taken from the left overs of above)
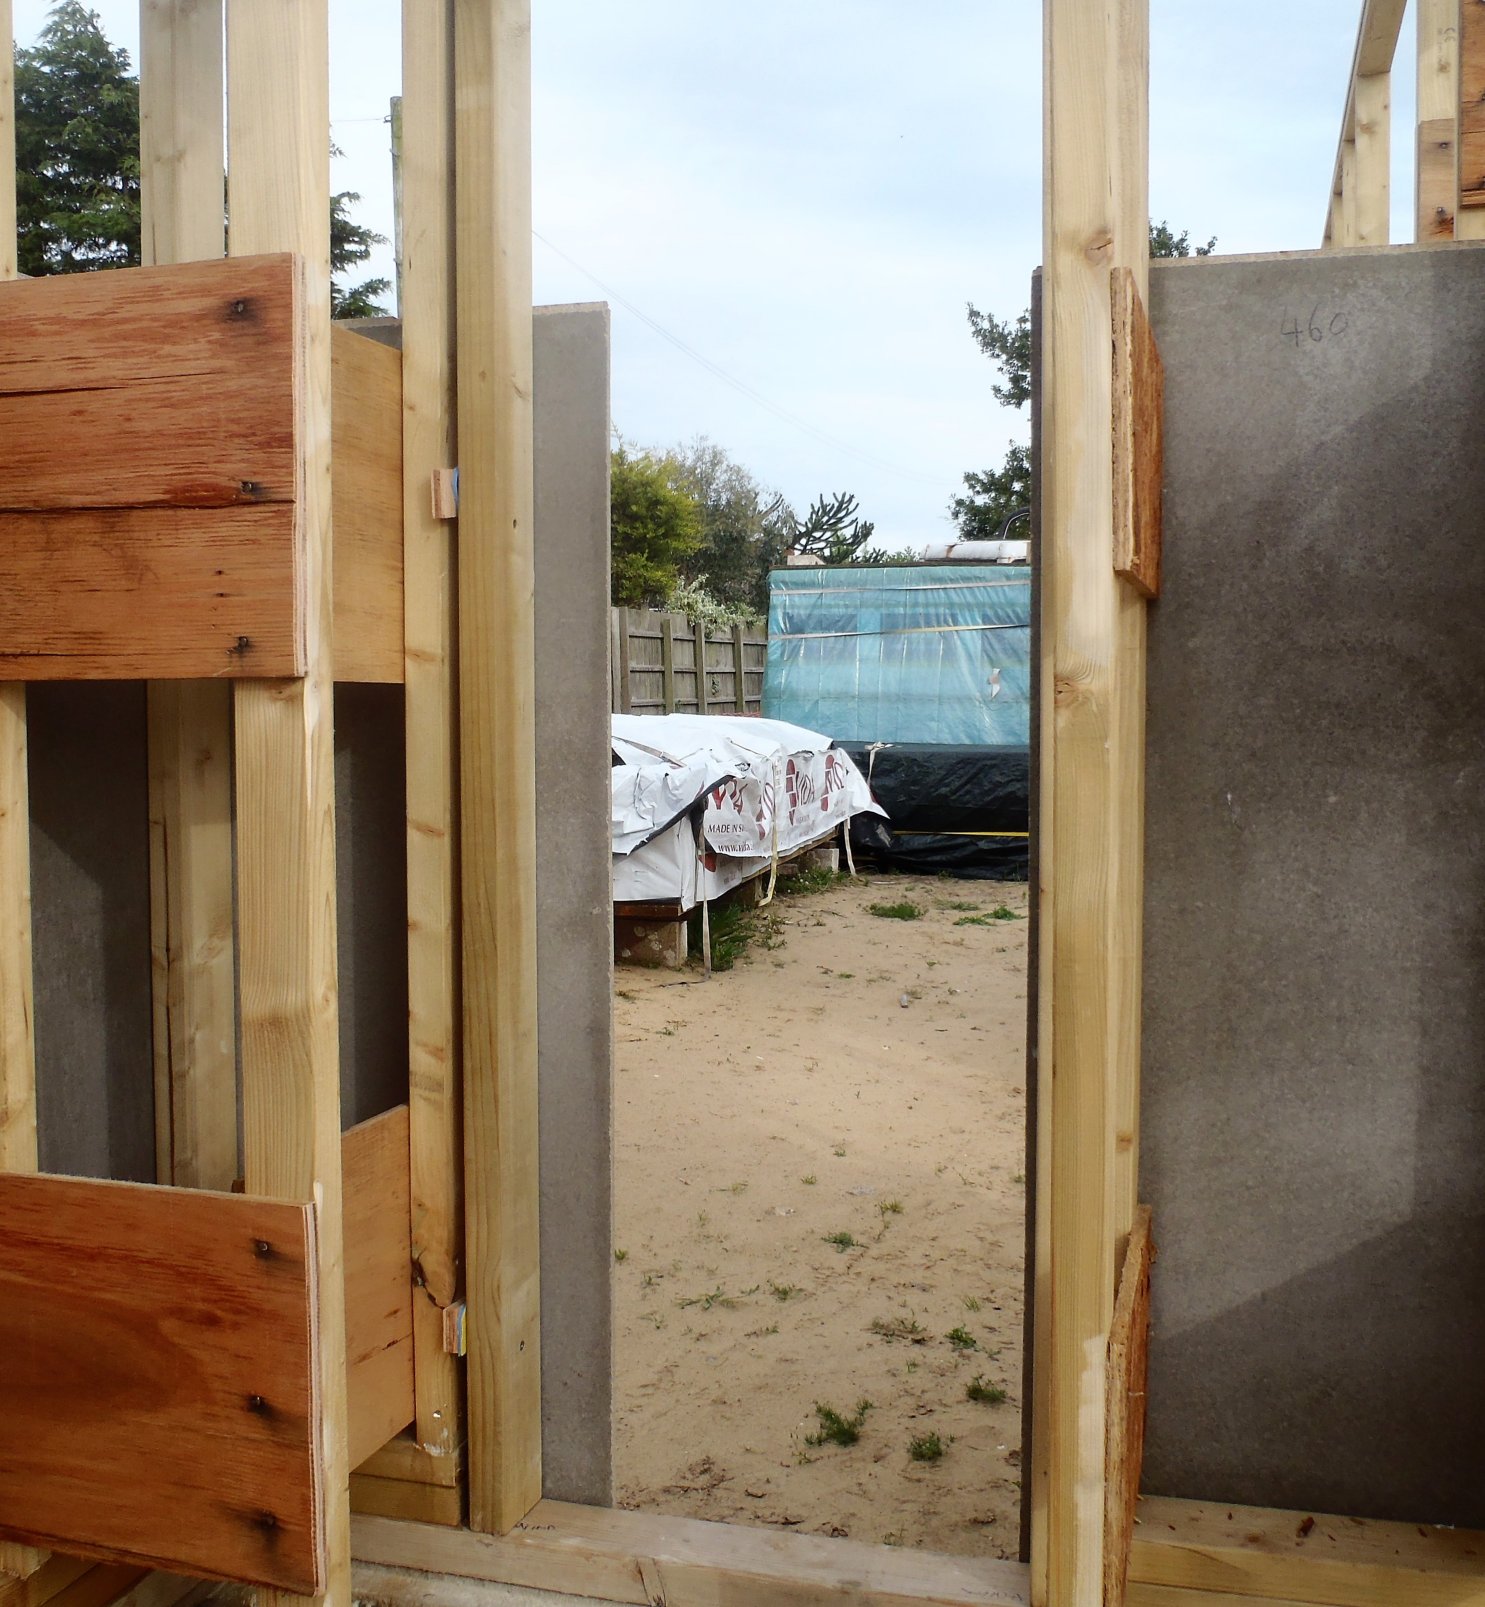
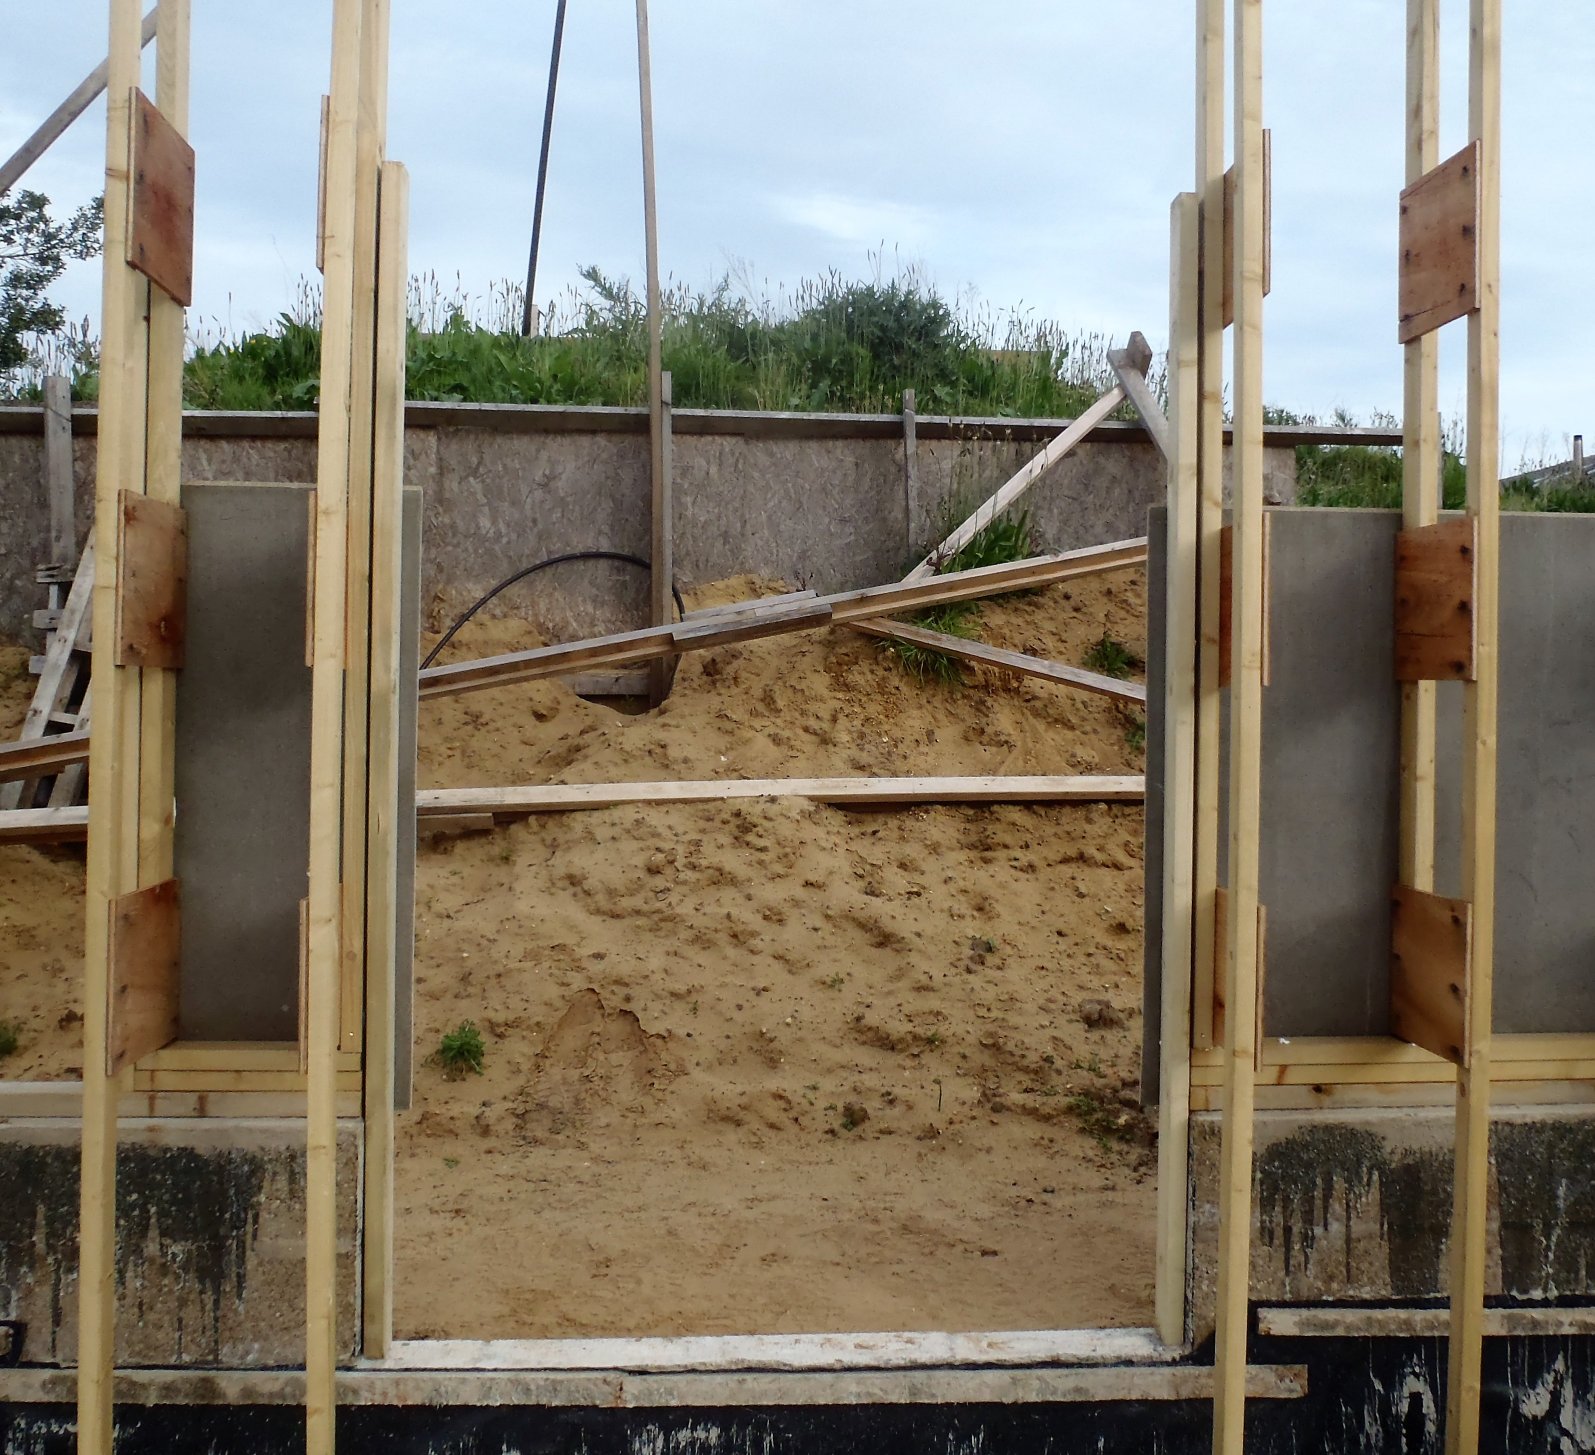
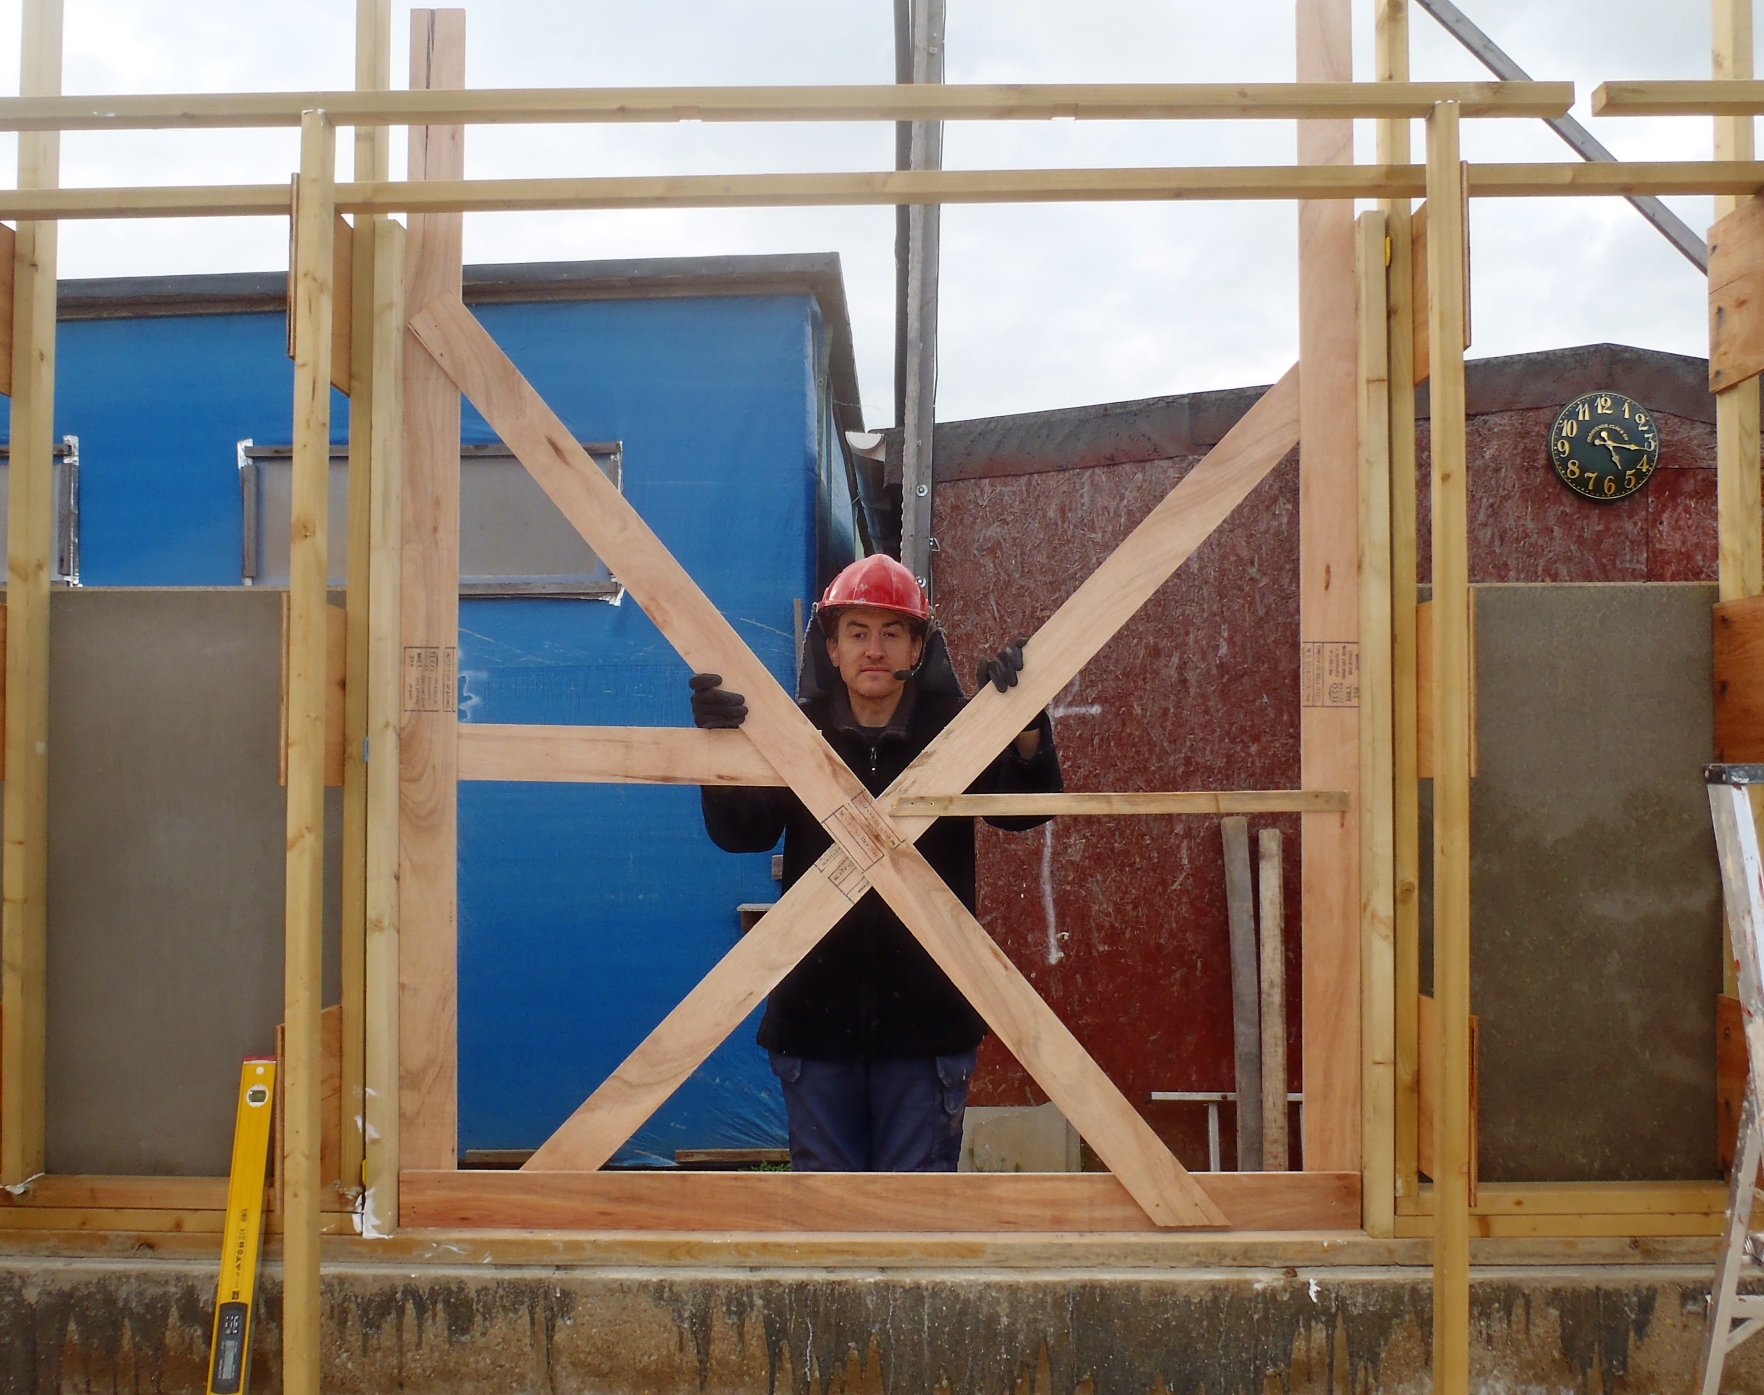
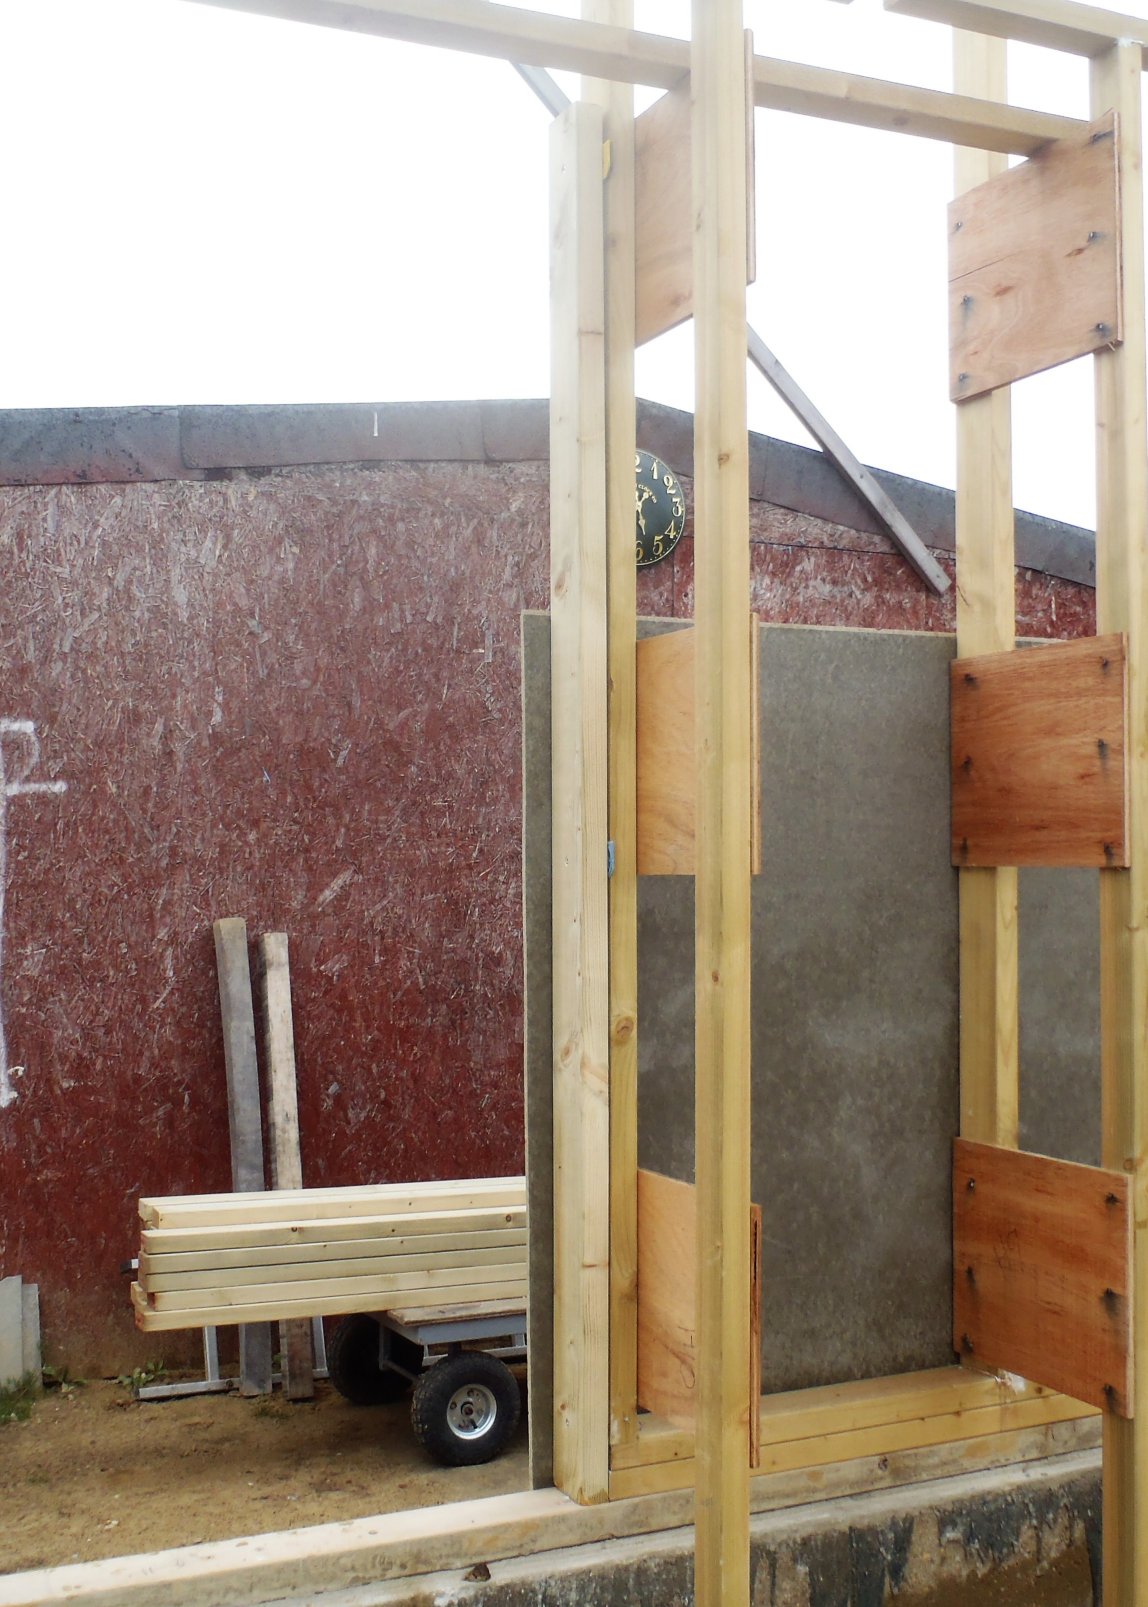
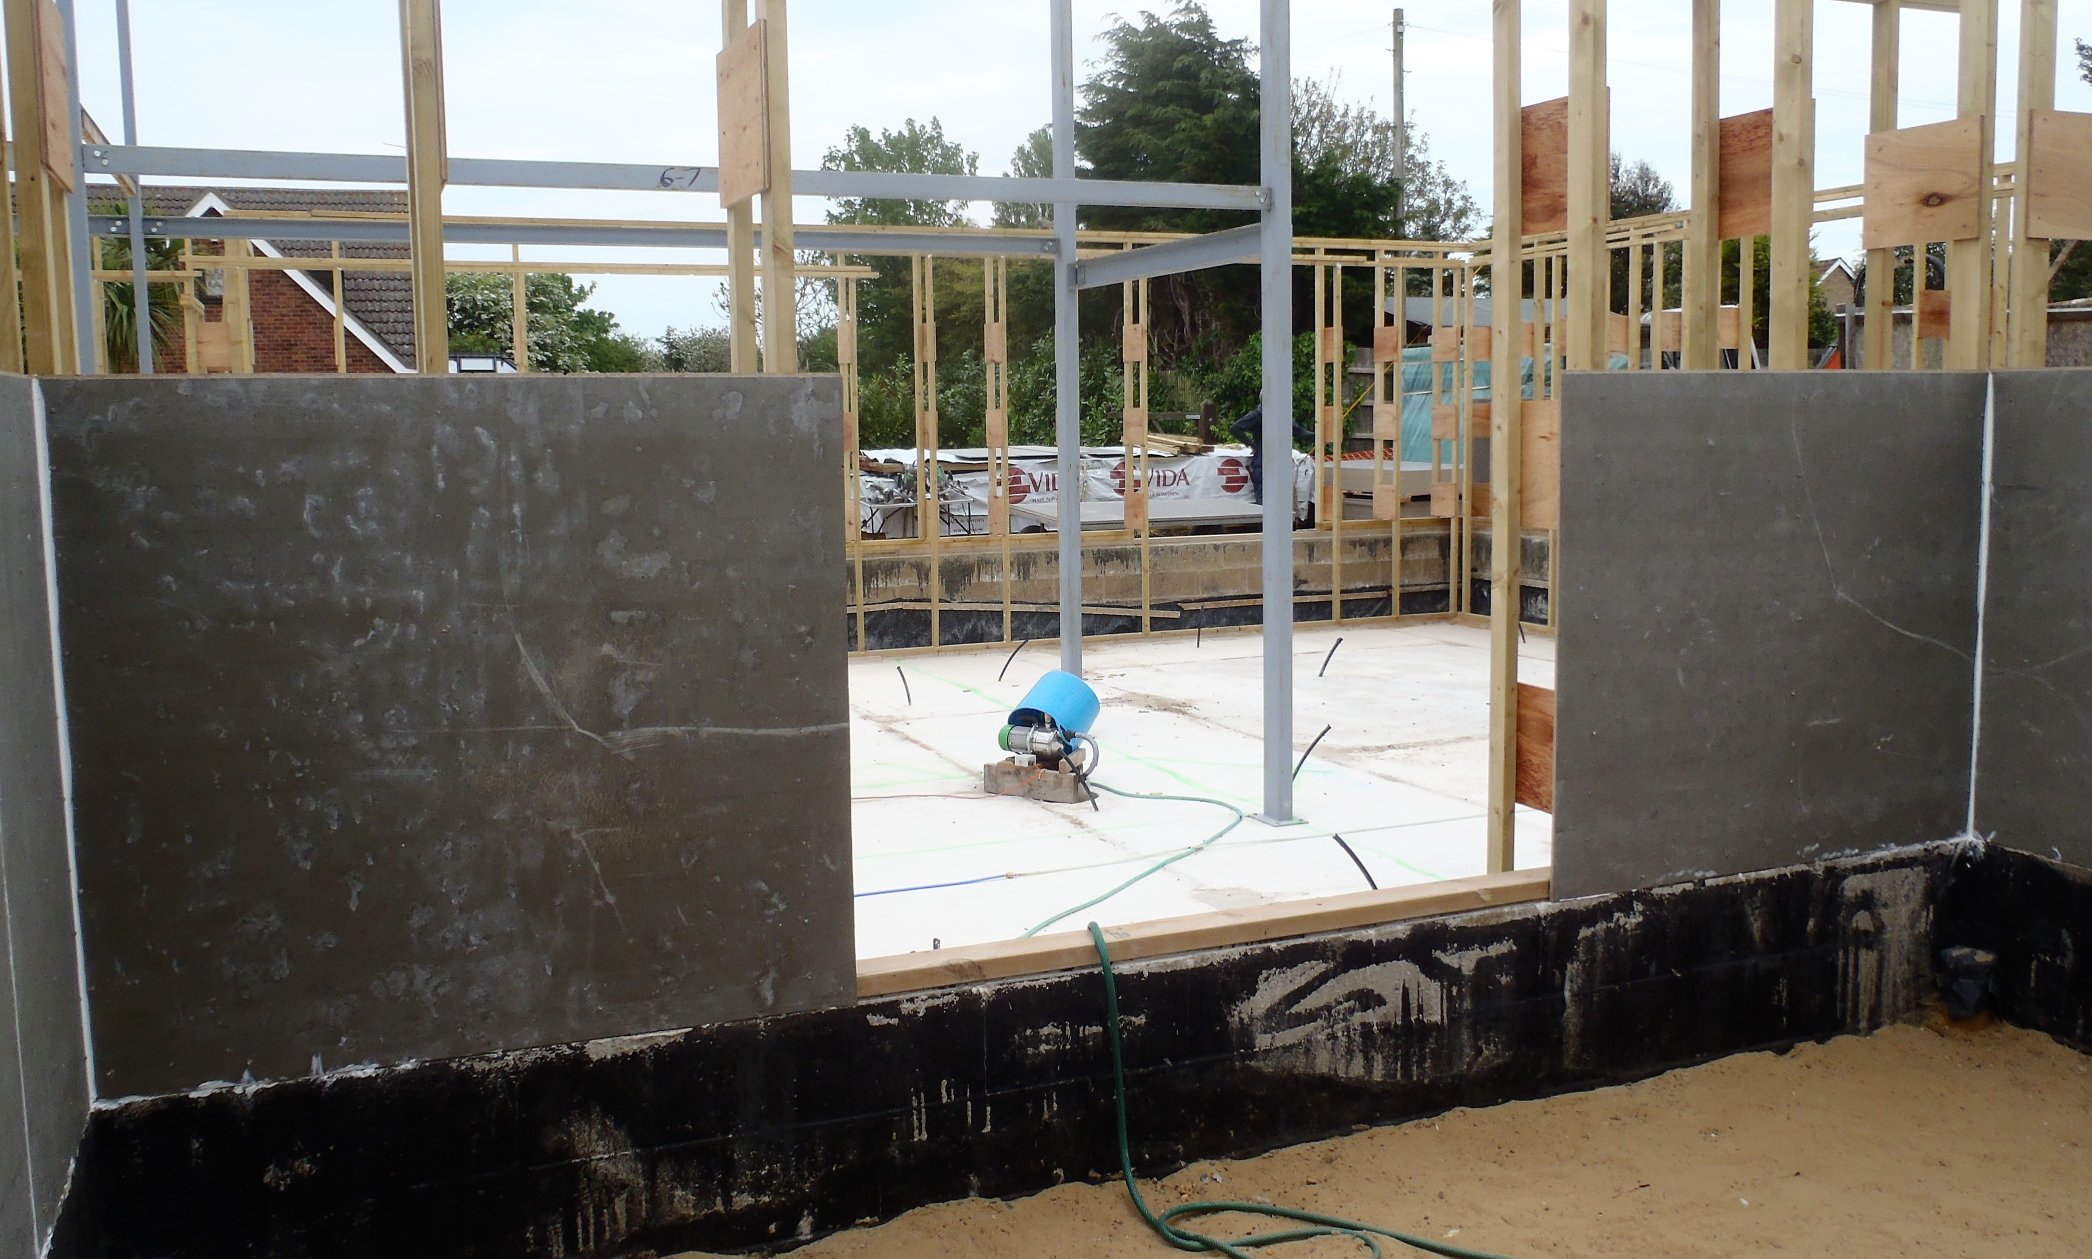
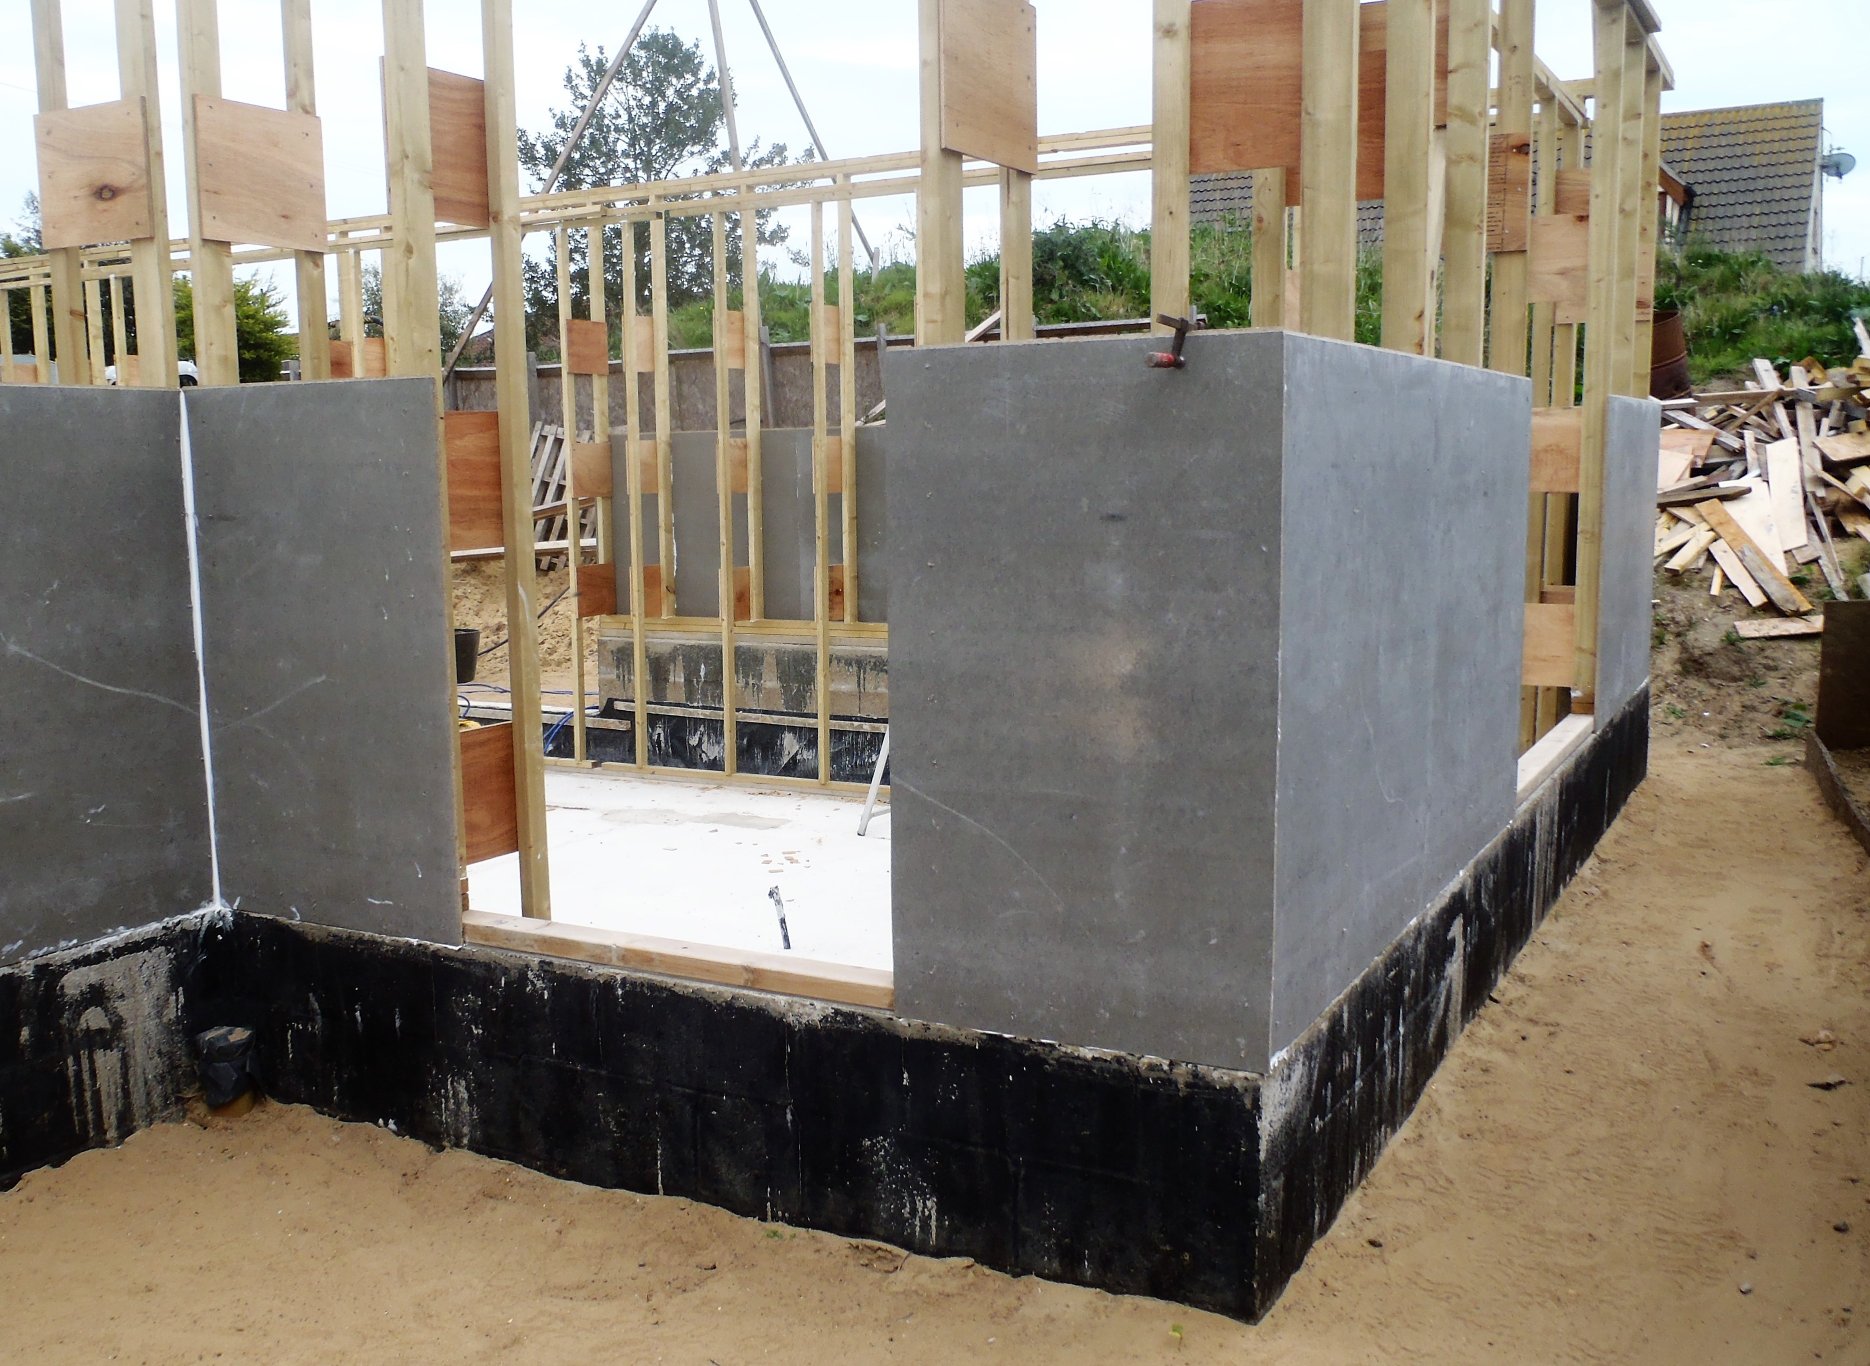
We then ripped down the middle of the timber planks, to make equal sized (about 43mm wide) pieces. One would go on the bottom sill on all the 12 windows, and the other half went up on the underside of the lintel. These pieces are designed to allow us to have space for roller blind mechanisms to be fitted below and above the window unit.
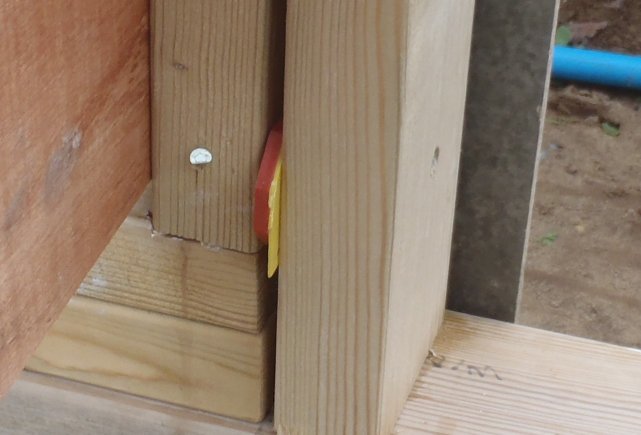
After lunch, we went around fitting all these half pint pieces on all the windows, trimming them down so they just fitted in nice and tight, glued into place and then screwed down in several places (four points for the widest windows, three for the medium sized ones and two fixing points for the narrowest).

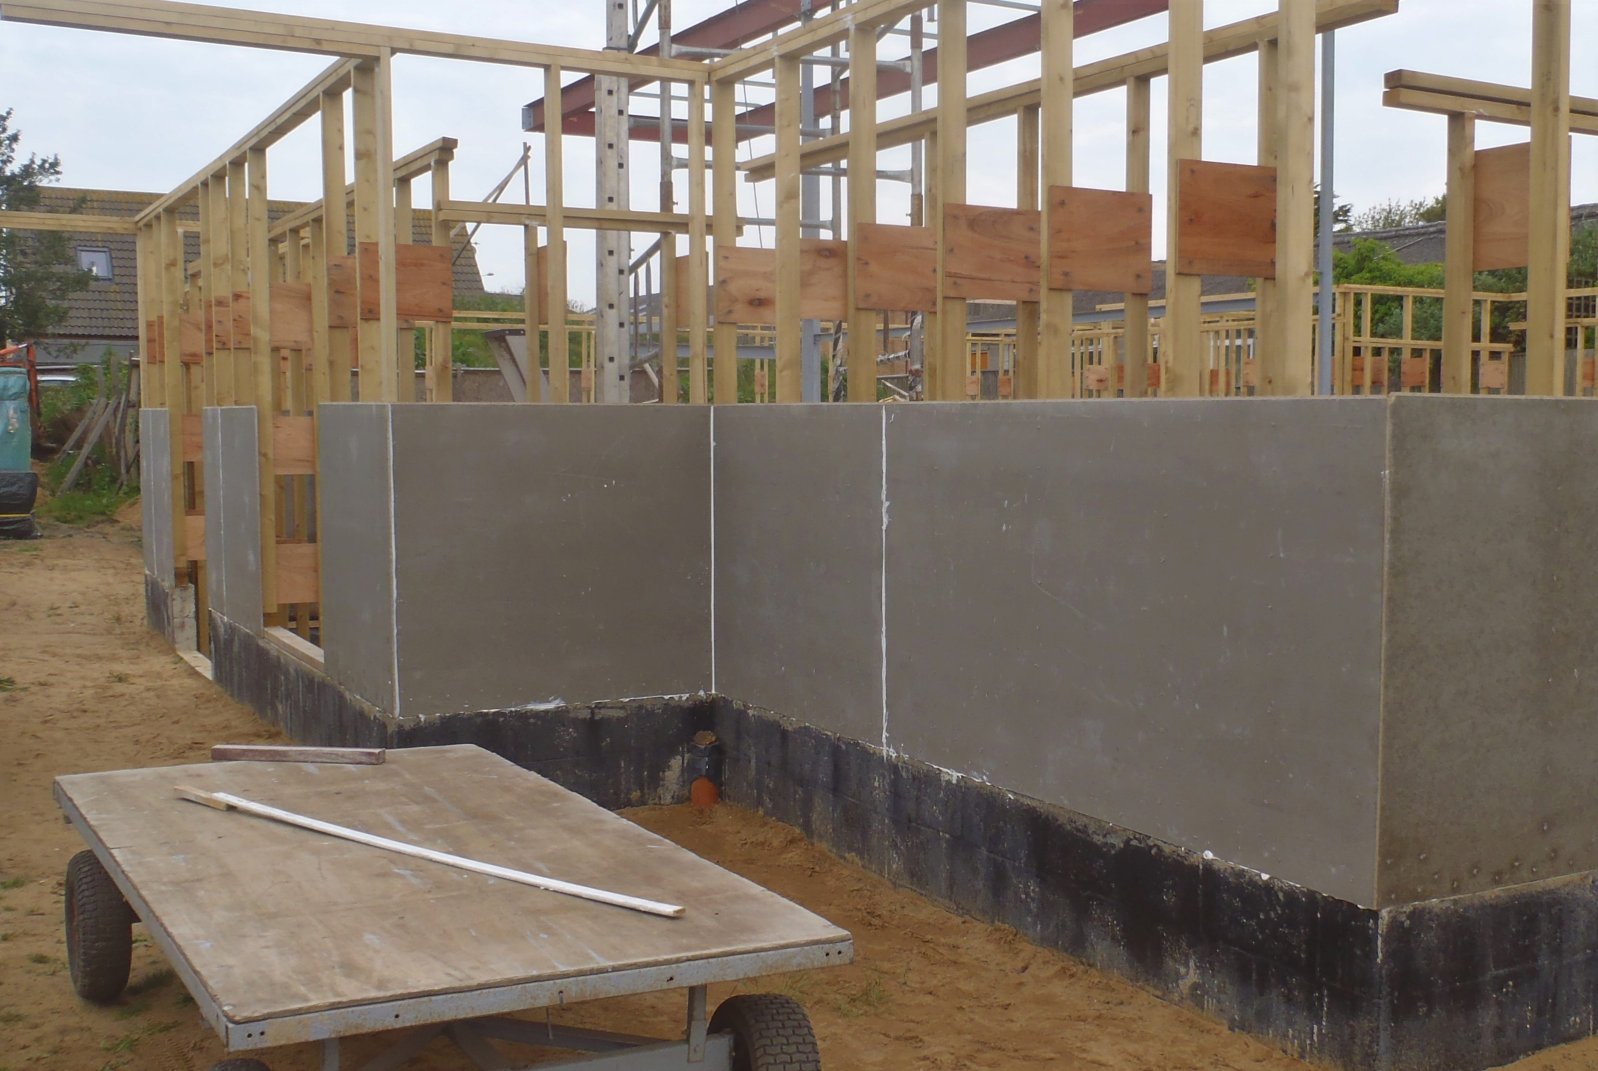
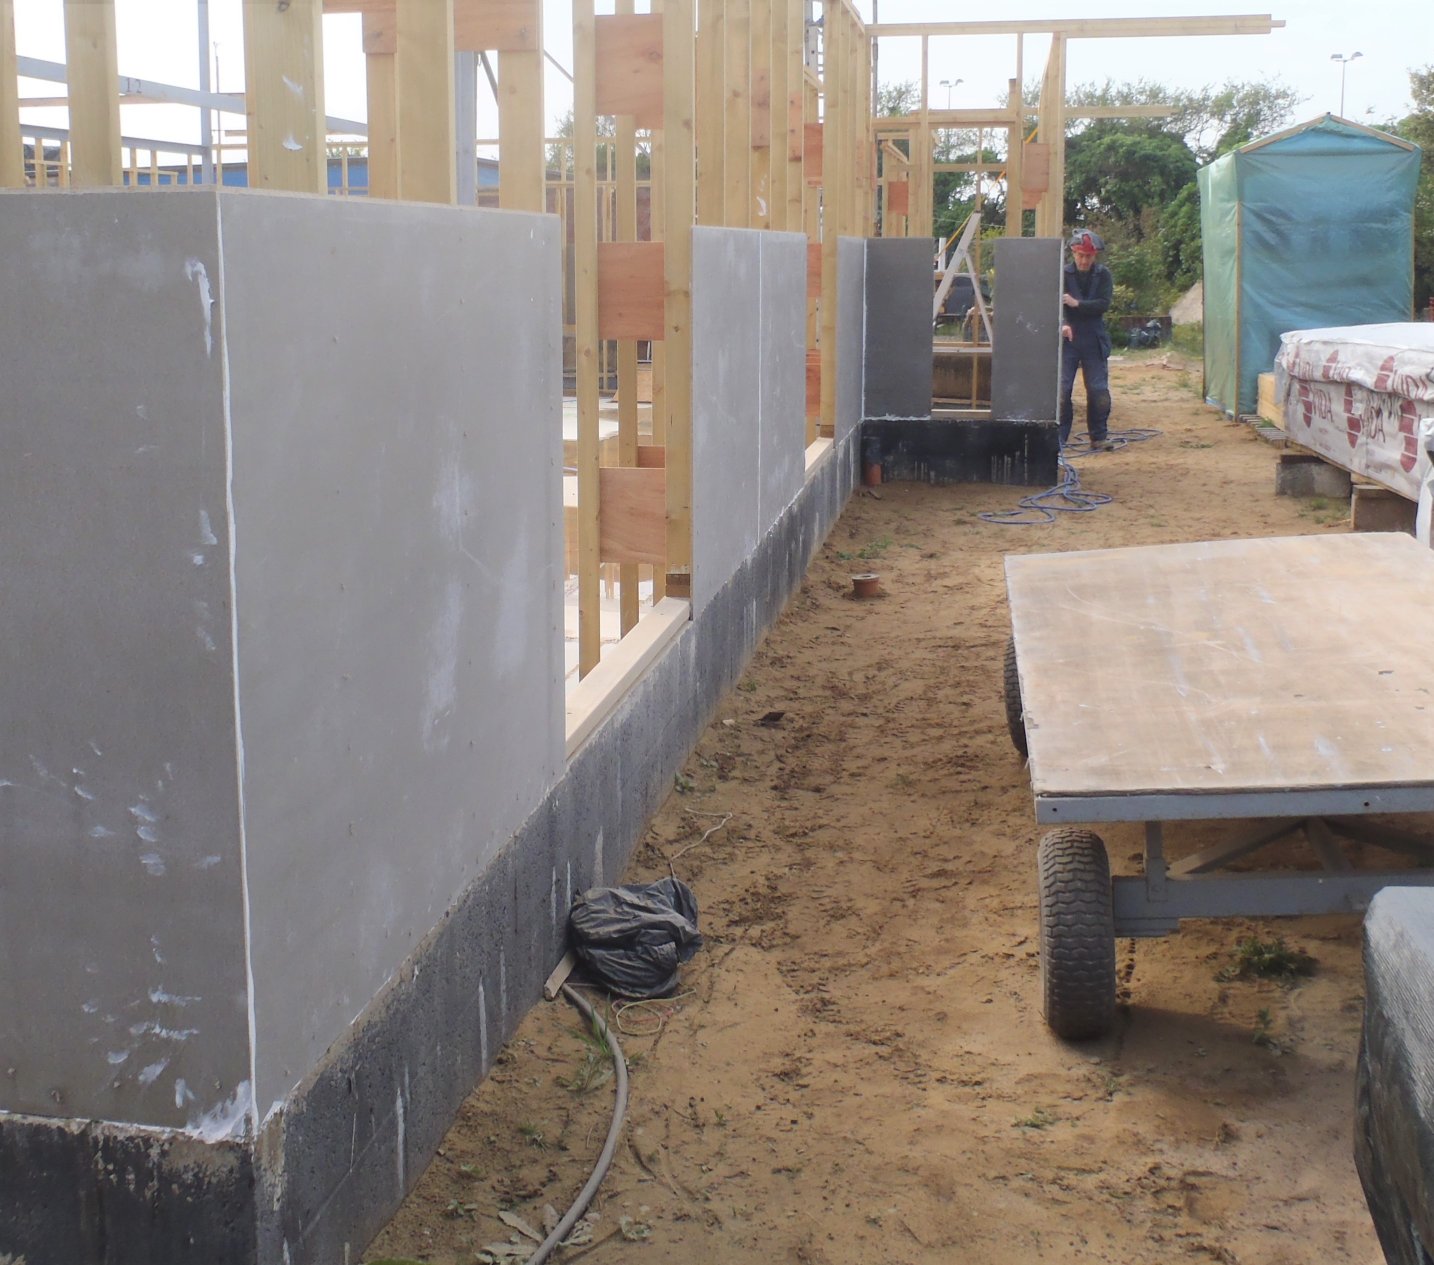
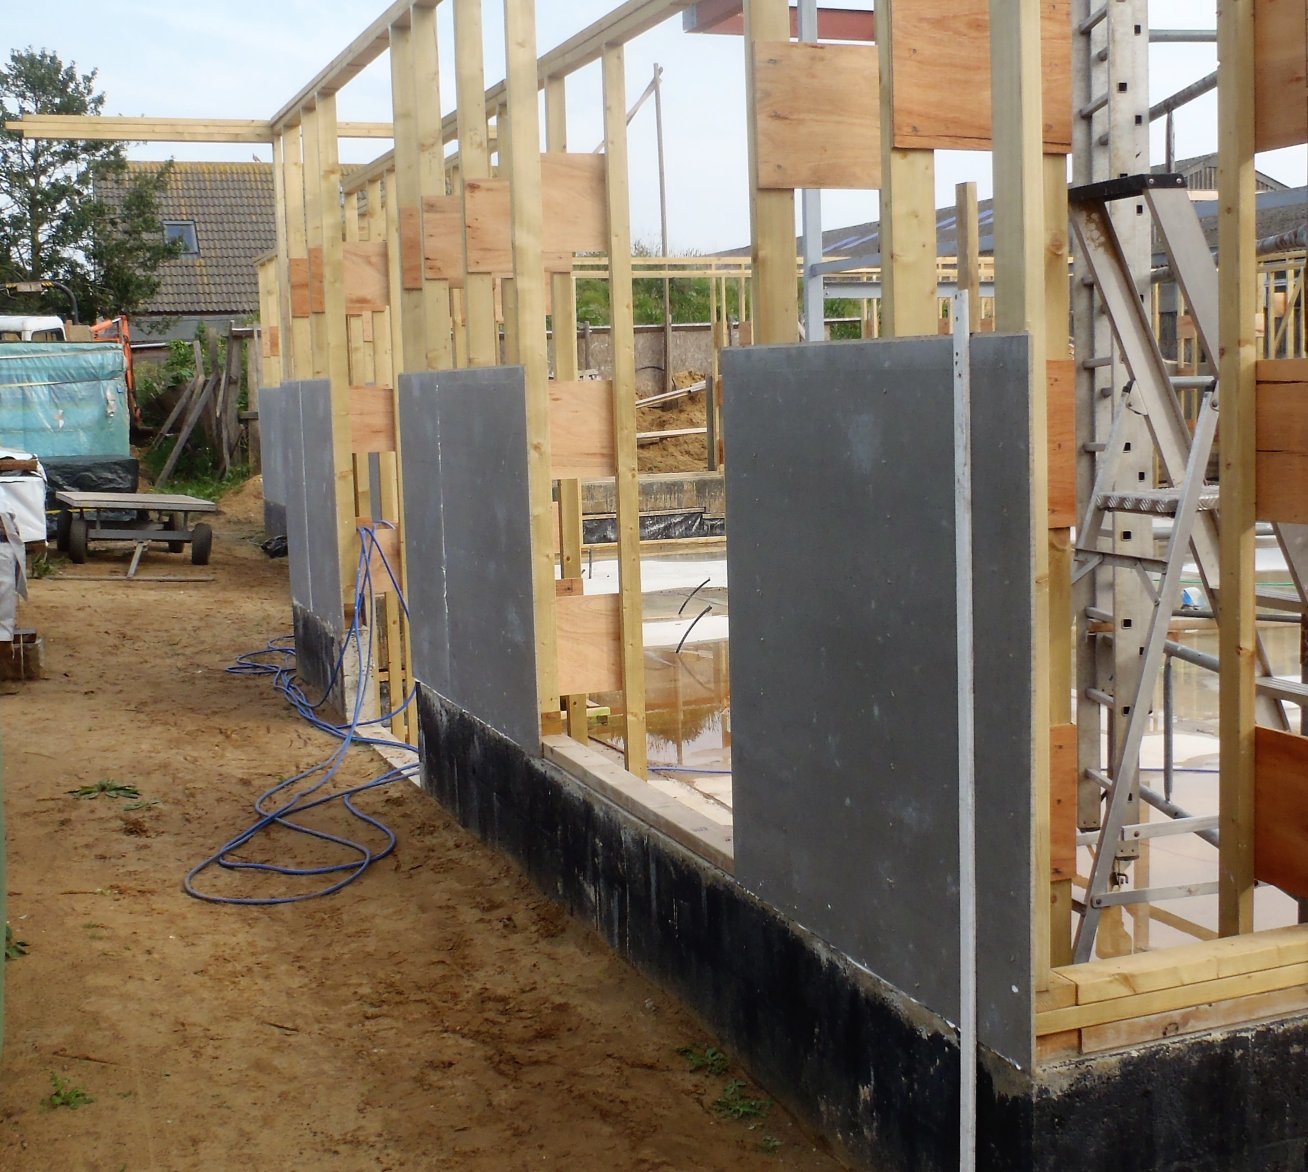
Final-parts-of-Window-Subframes-1

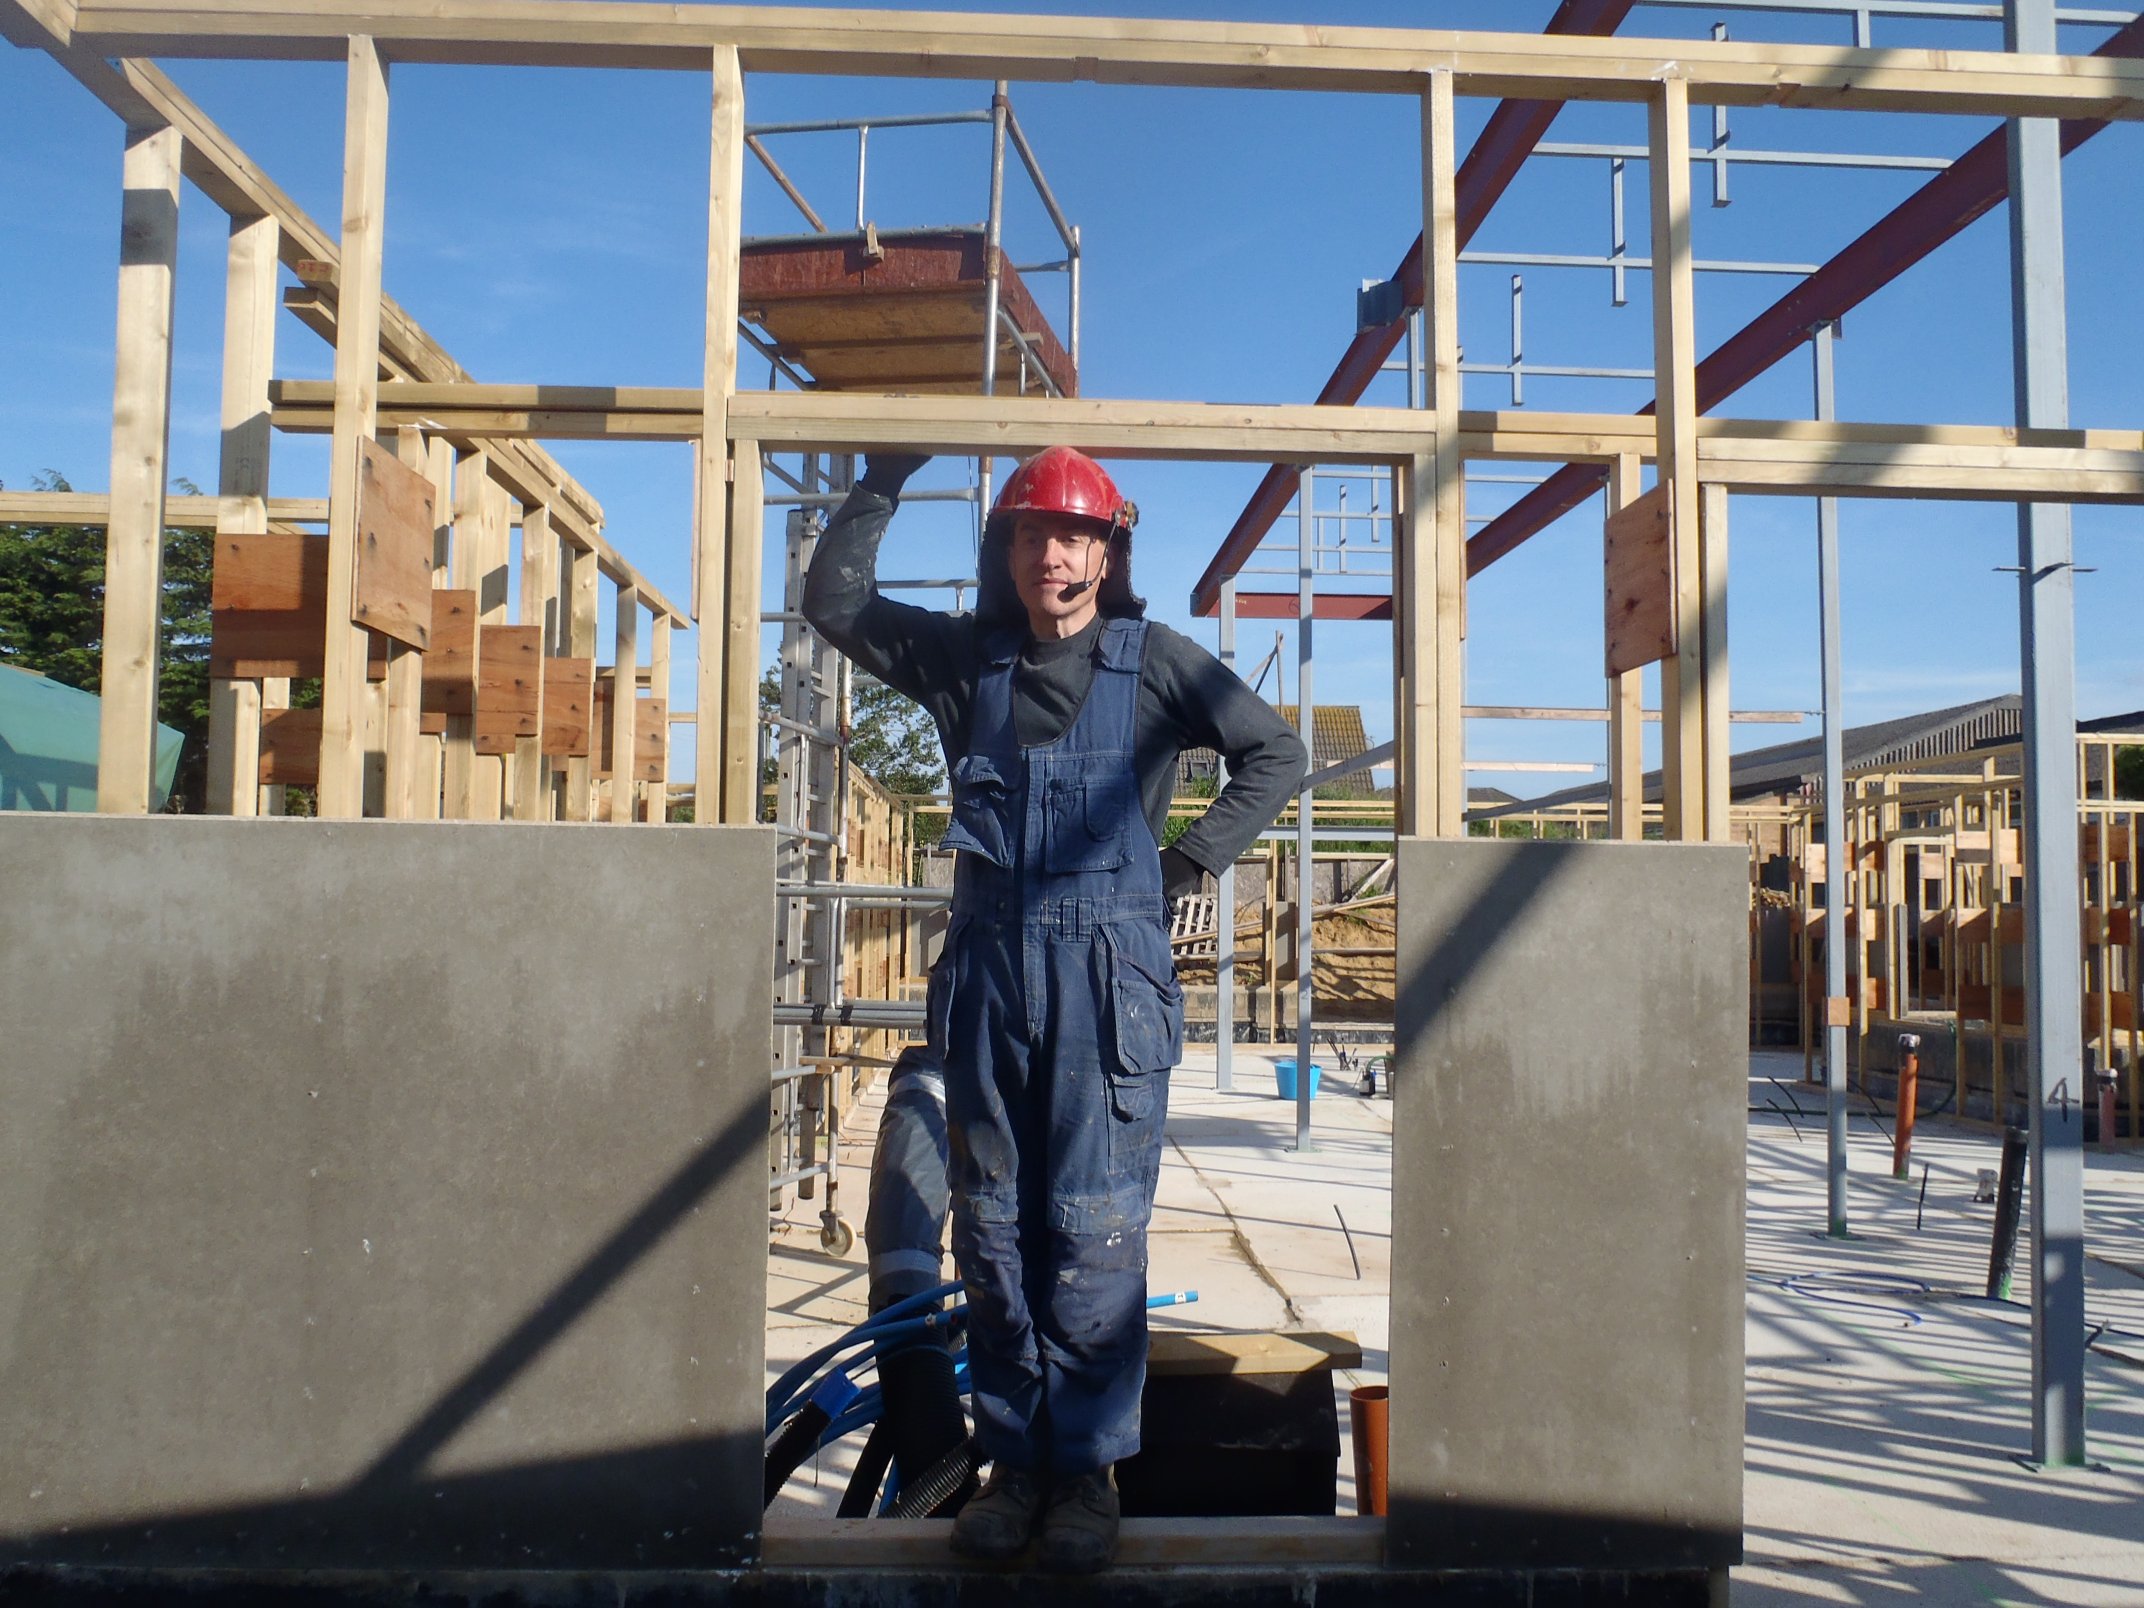
Final-parts-of-Window-Subframes-2
We finished off the day by dismantling one of our scaffolding towers and moved the 2 castors over to our existing tower to make it much easier to move around.
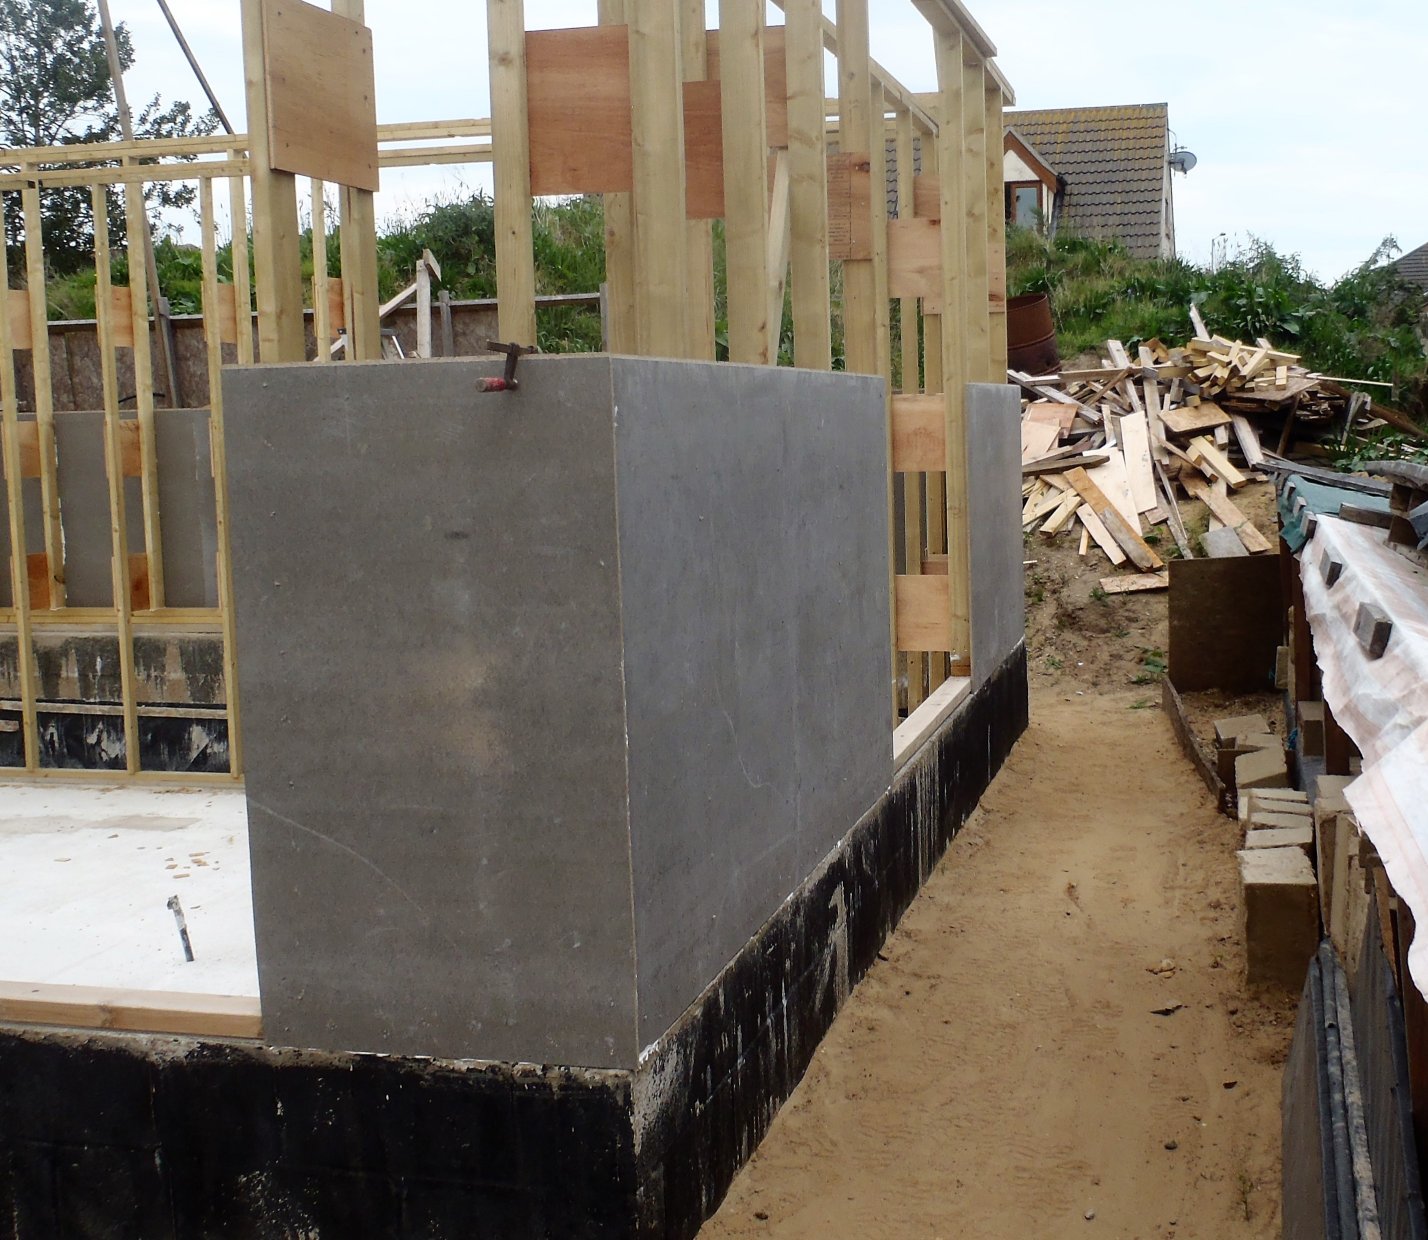
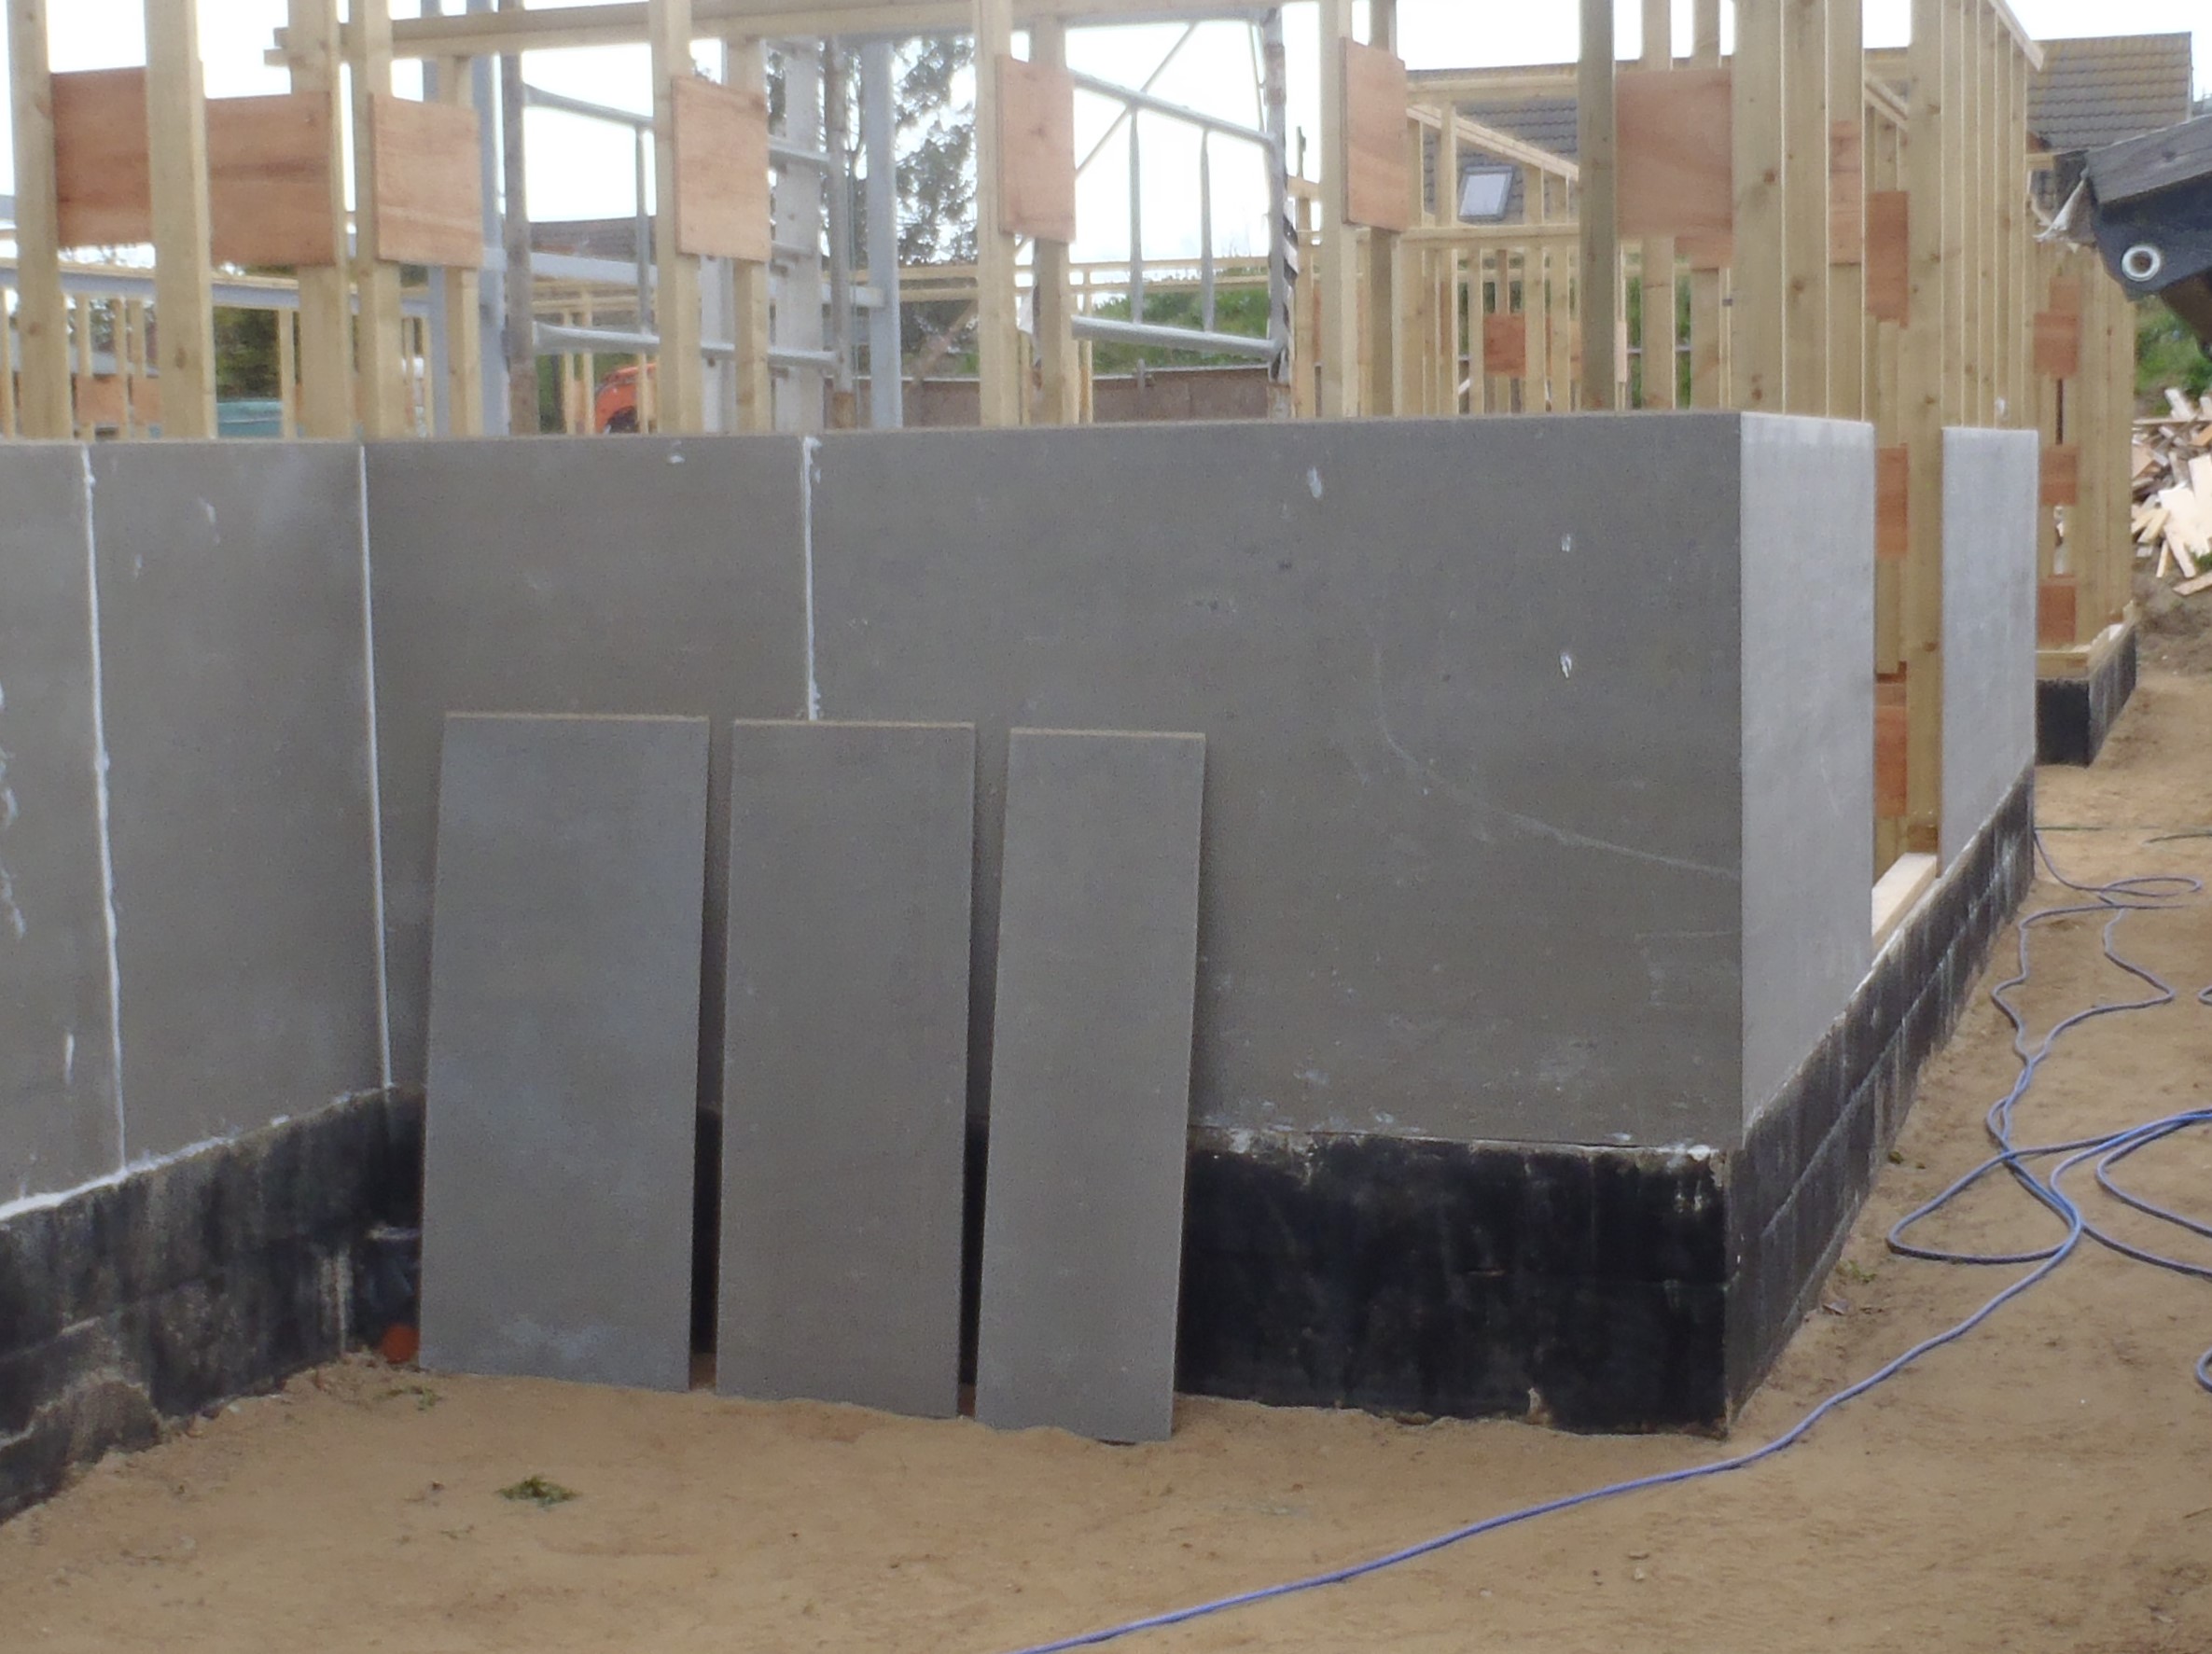
The next job is to slice up half a dozen cement boards into narrow strips of about 300mm wide and go around the whole building putting on the second layer and after that, the final third layer using whole sheets again, but making sure whole sheets bridge completely over each Window and Door for maximum strength and racking, without any joints in the middle.