Also today, we were continuing with the task of cutting the vertical slots that will allow the rafter top flange to come through to form the support for the eves.
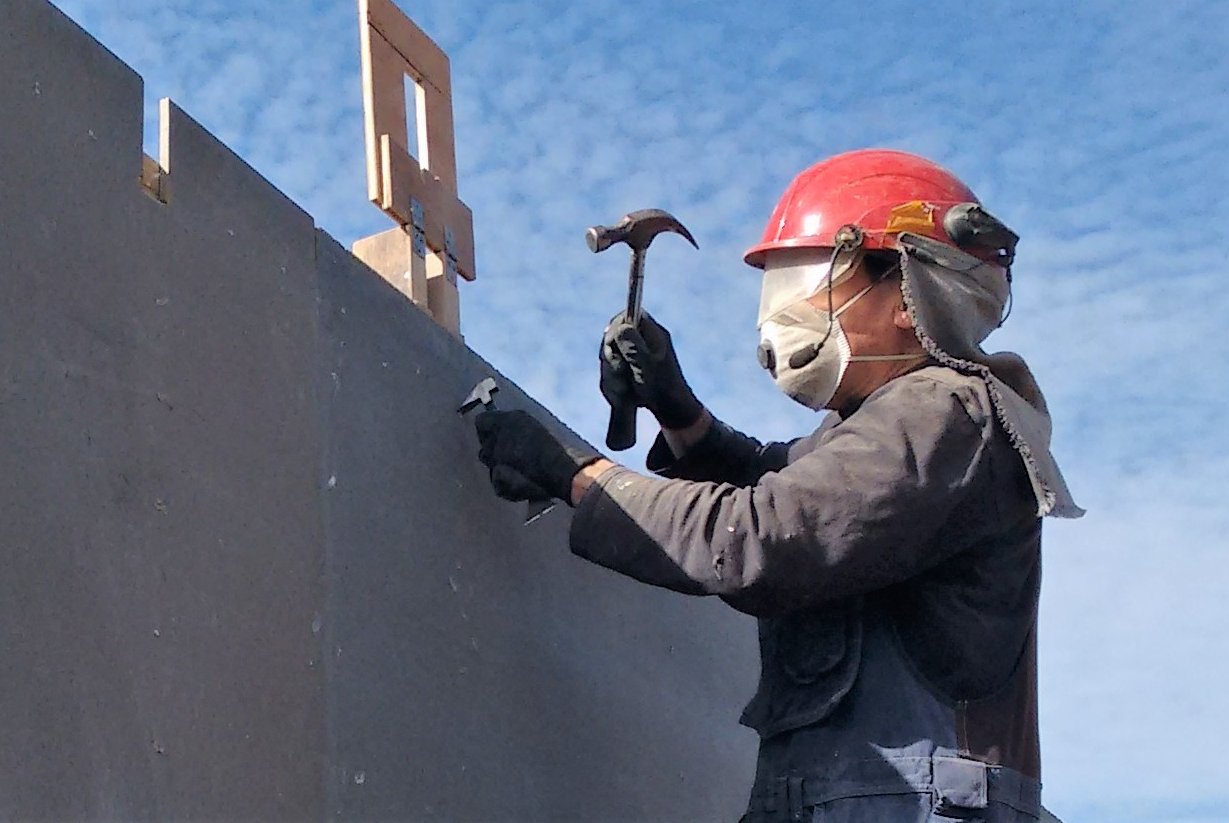
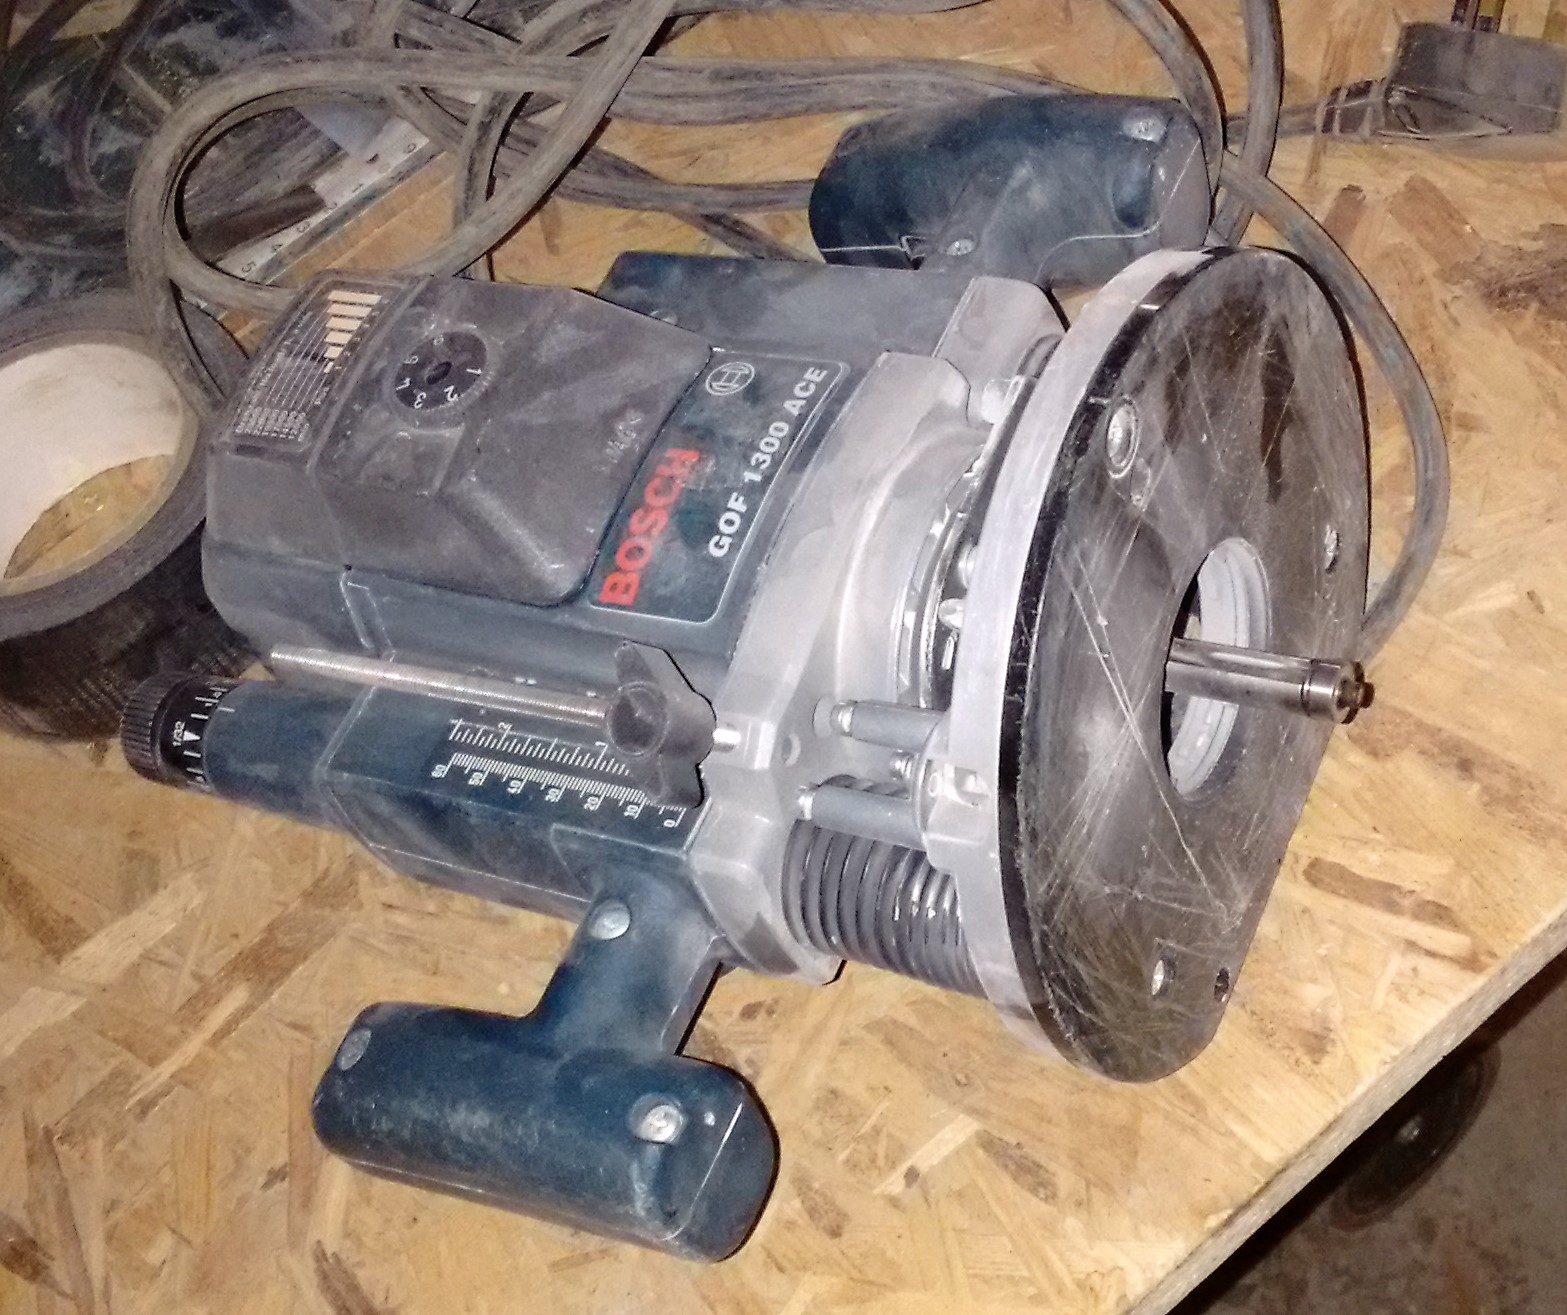
Removing-a-nail-before-routing-a-slot
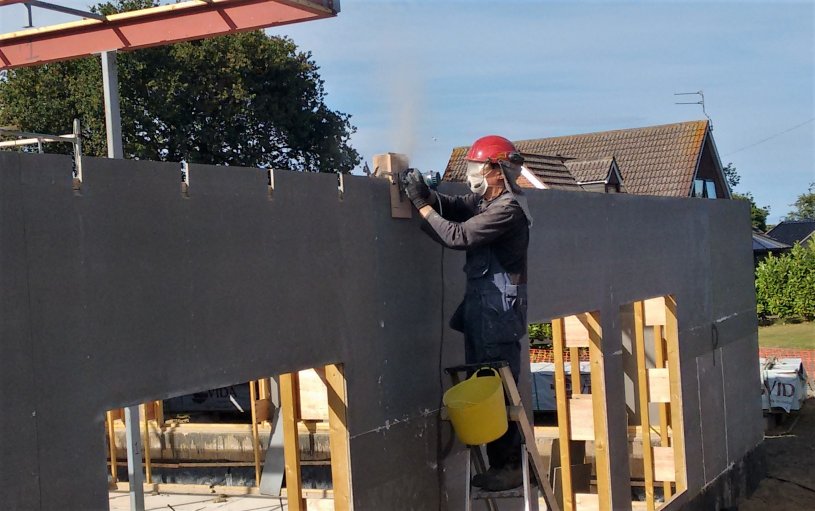
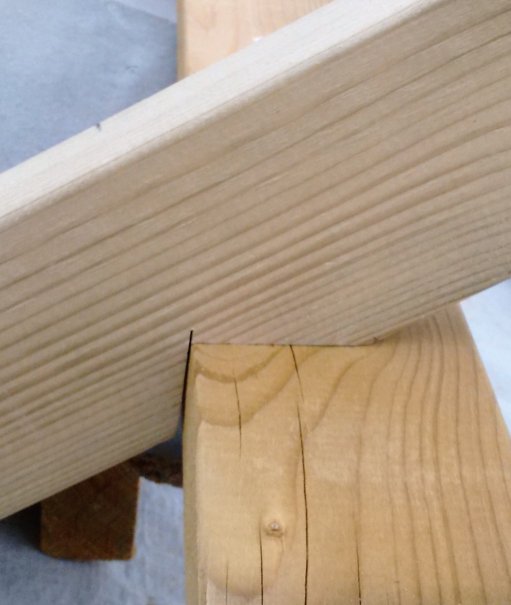
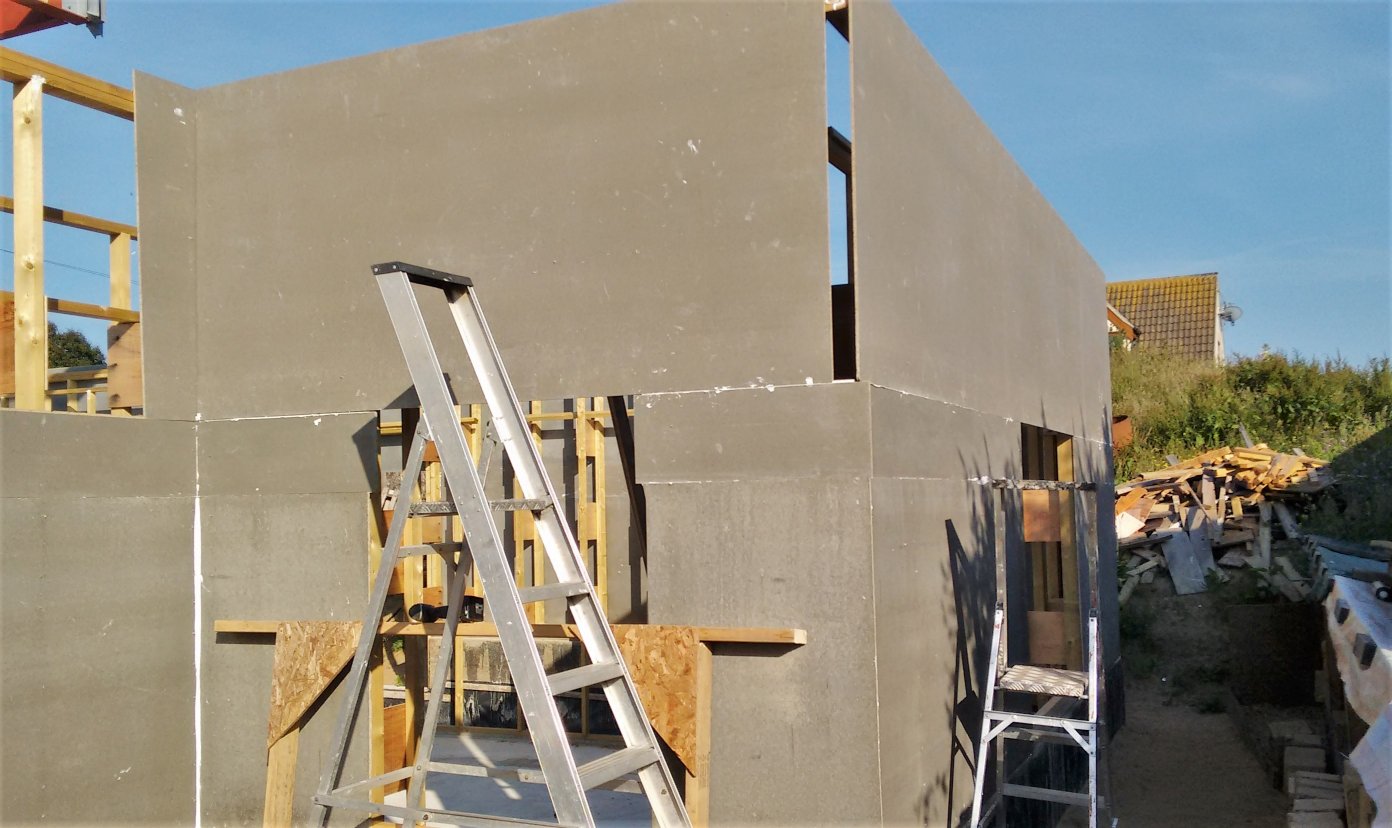
Routing-slots-in-top-of-the-wall
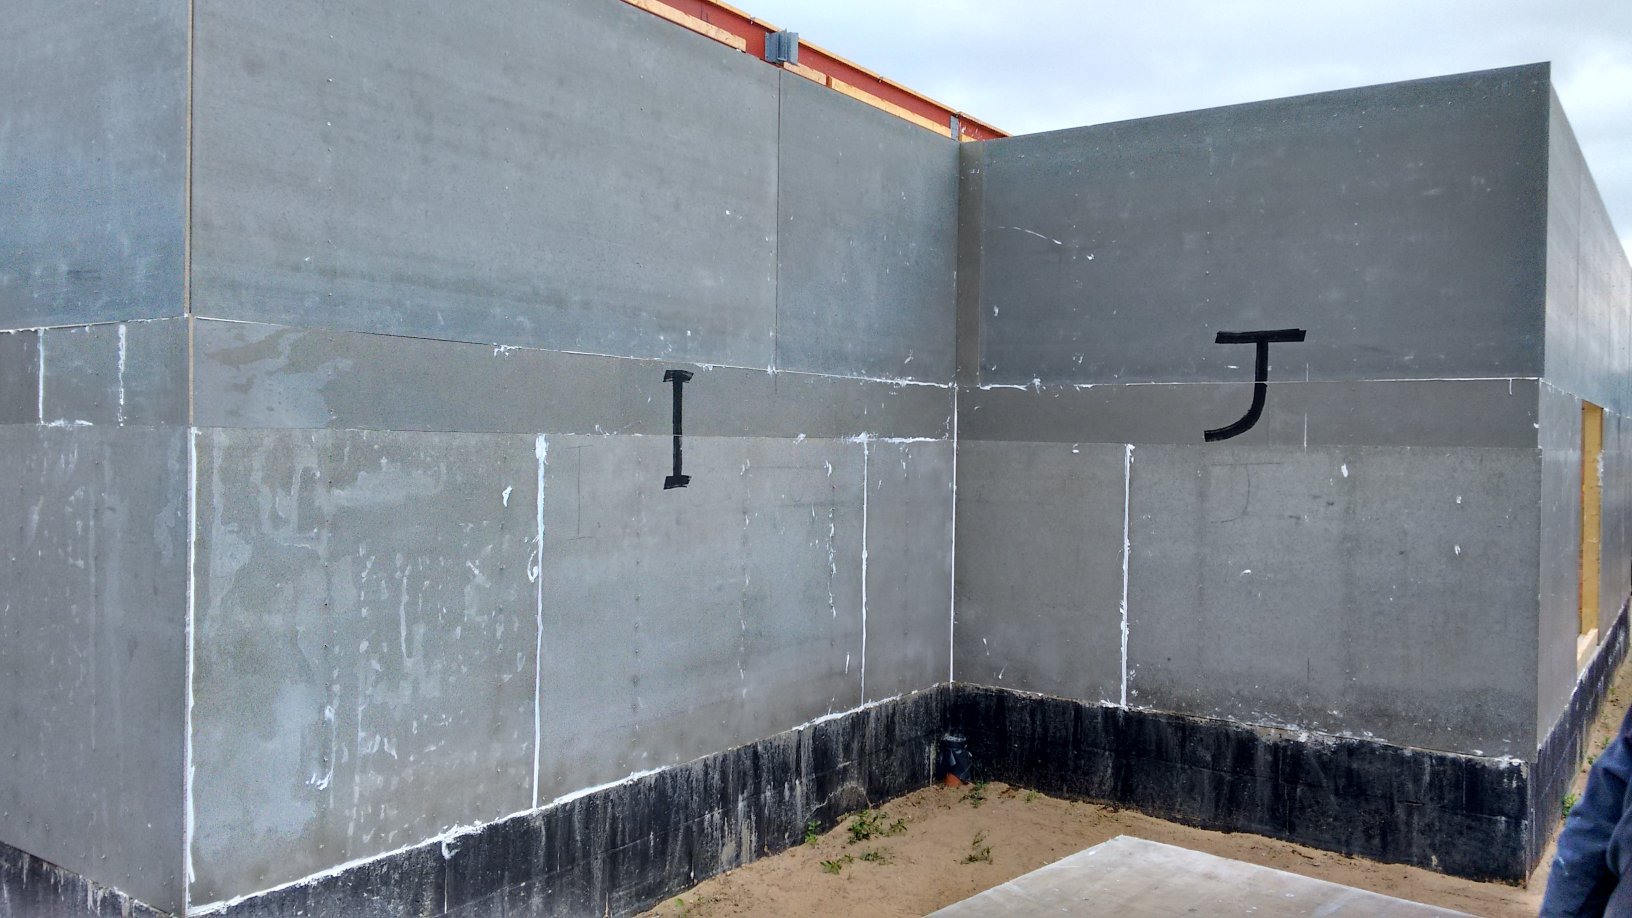
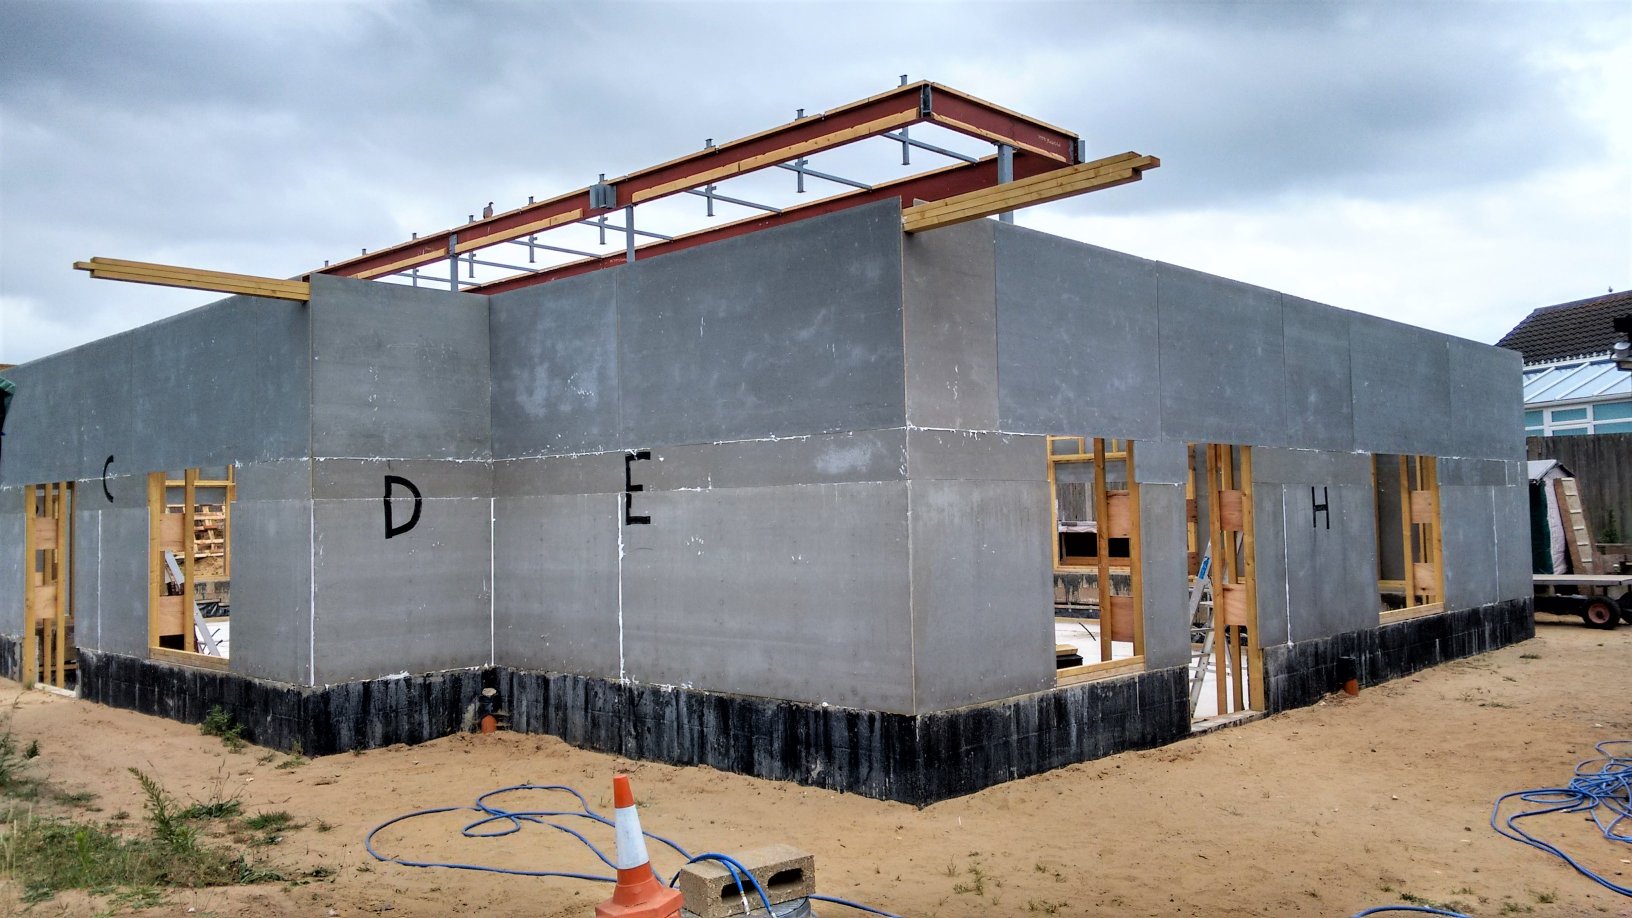
We finished wall L and Wall J and I. Then around to wall E and finally wall D, a total of about 15 slots in all.
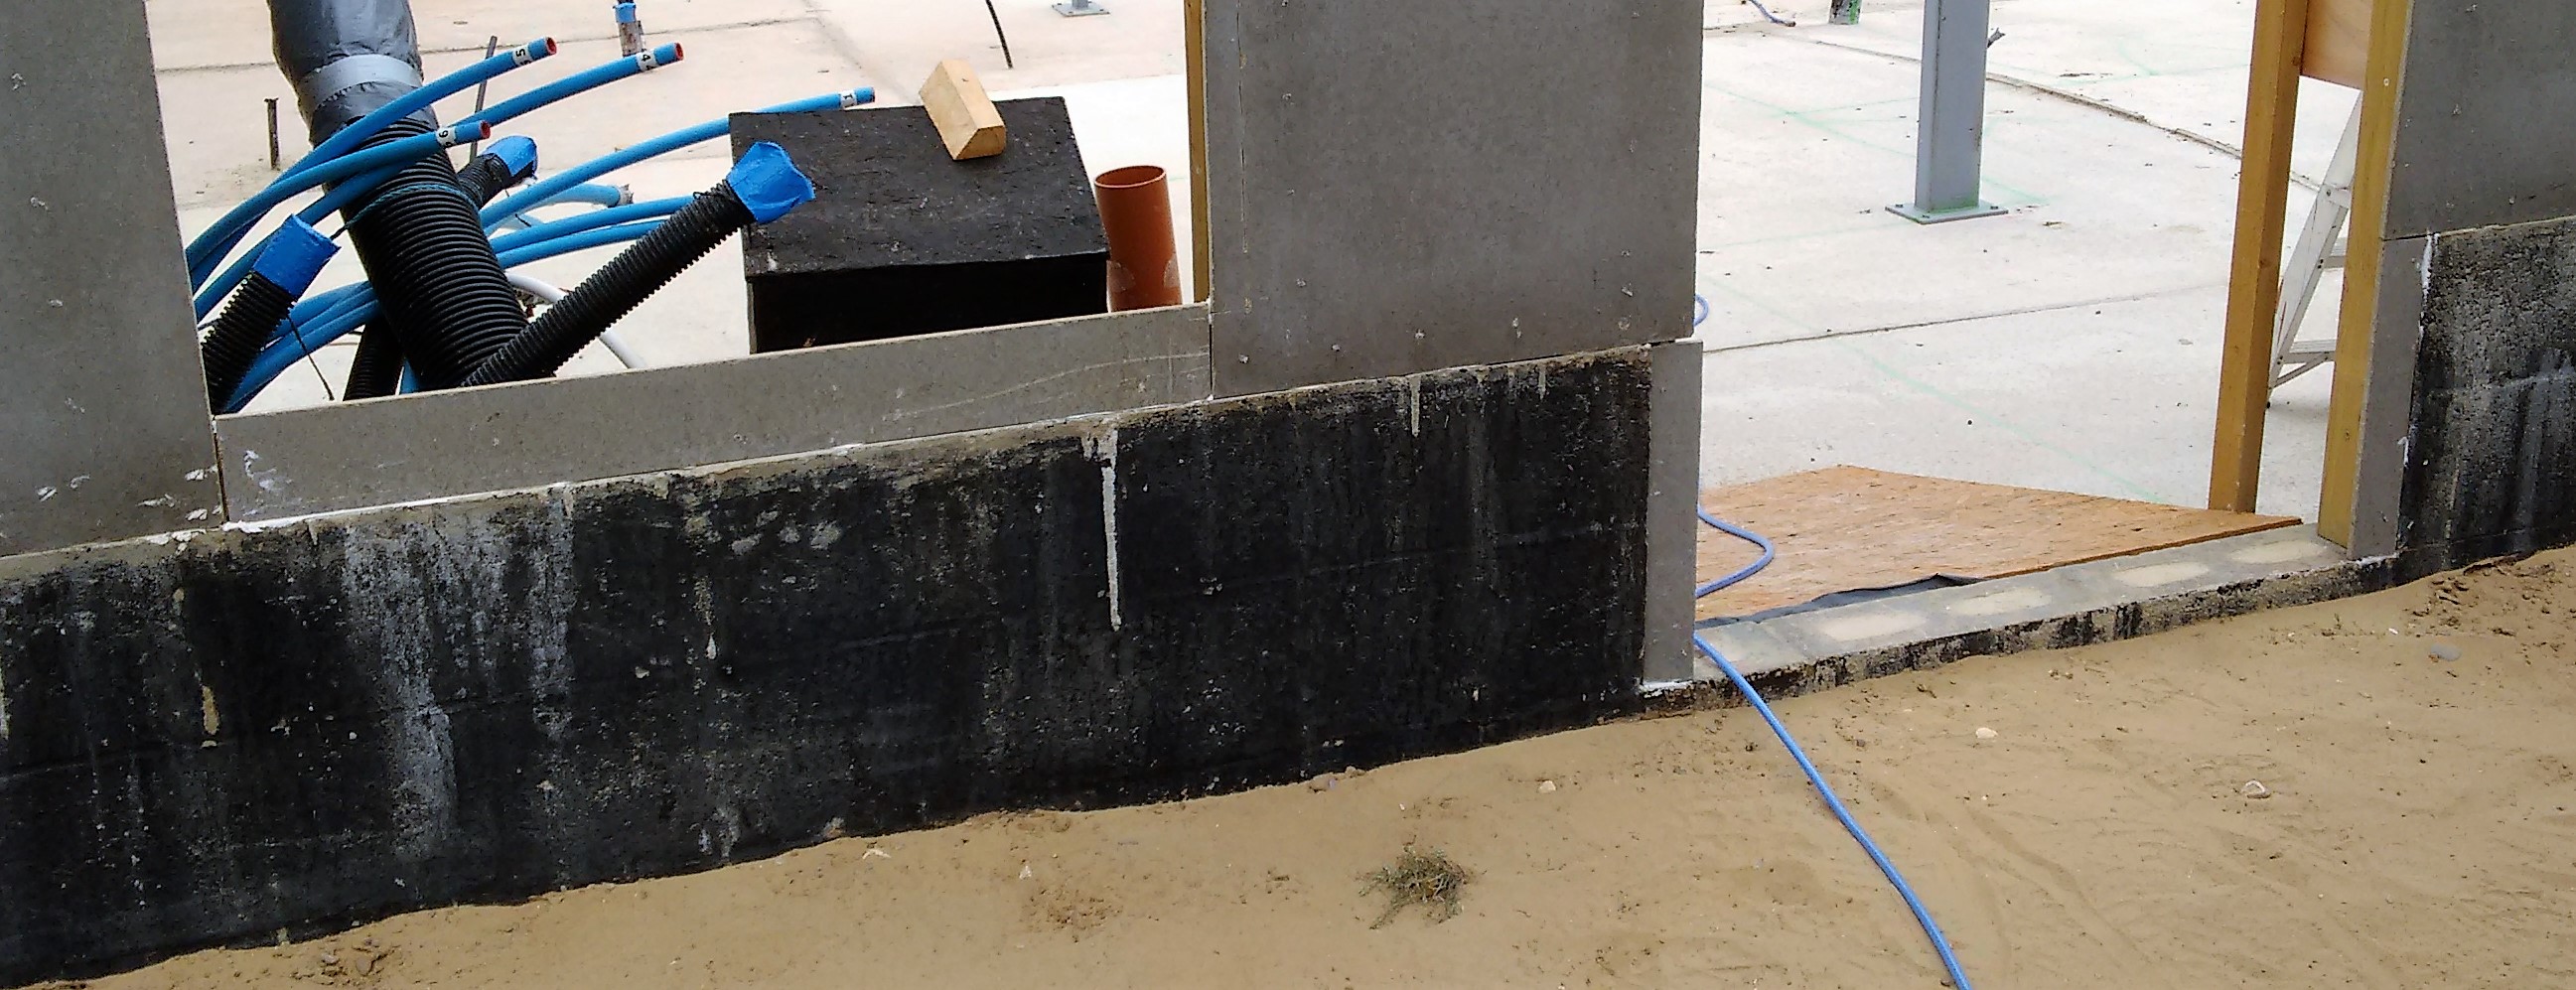
After lunch, the template was adjusted for the next size and angle of the roof which is 40 degrees which means the bird mouth has to be bigger hence the slots needs to be deeper down the cement panels to allow the rafters to fit properly.
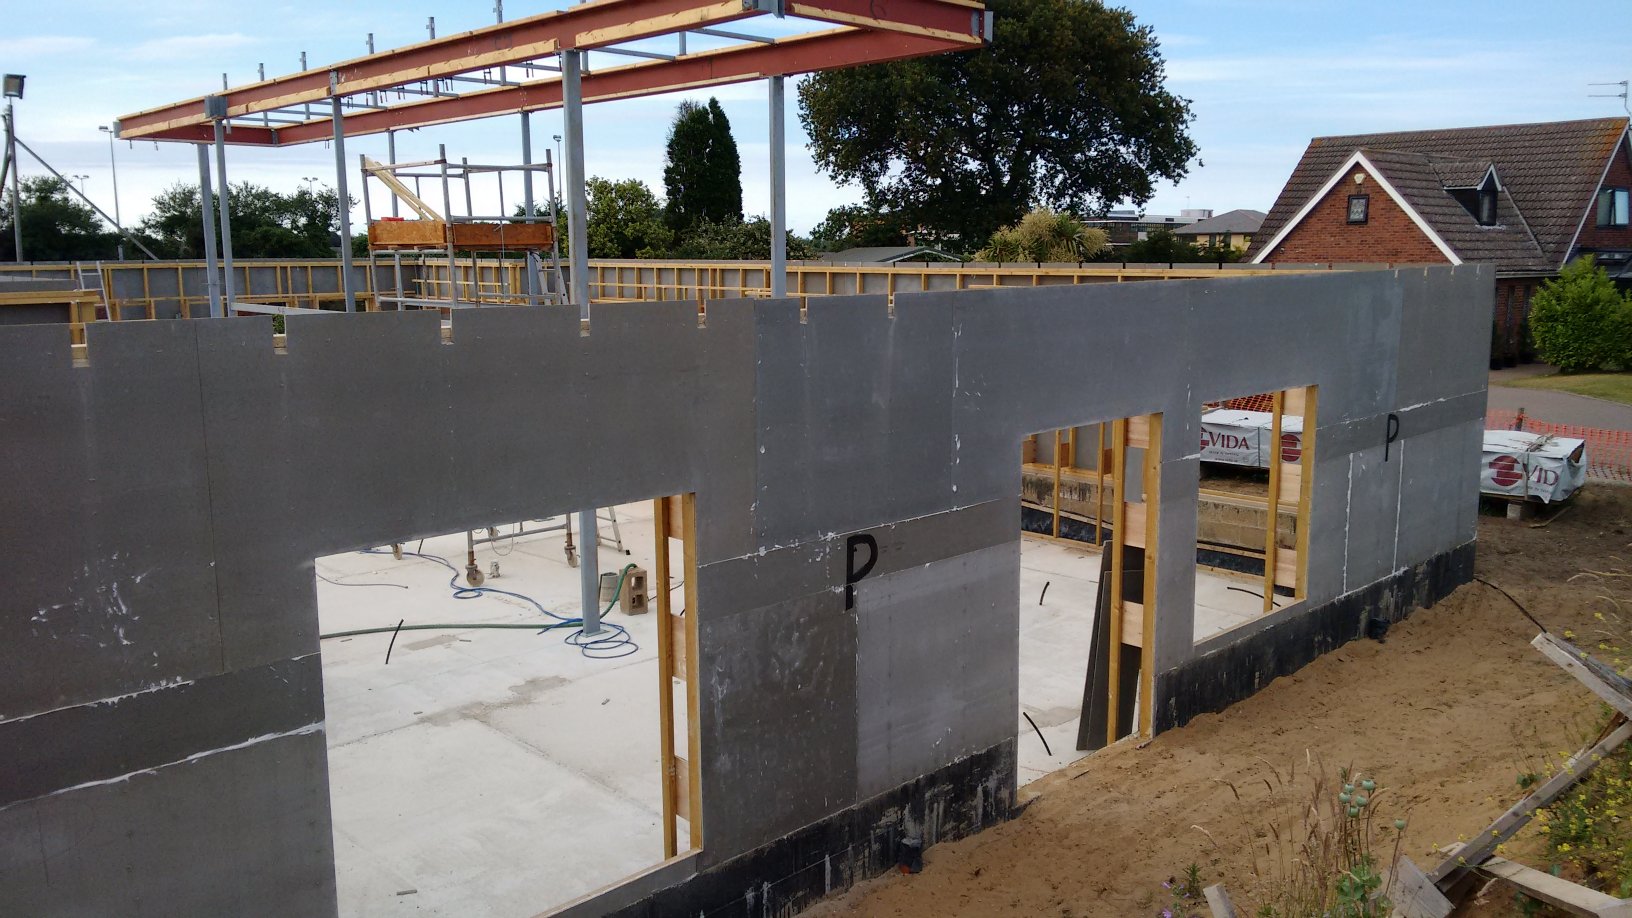
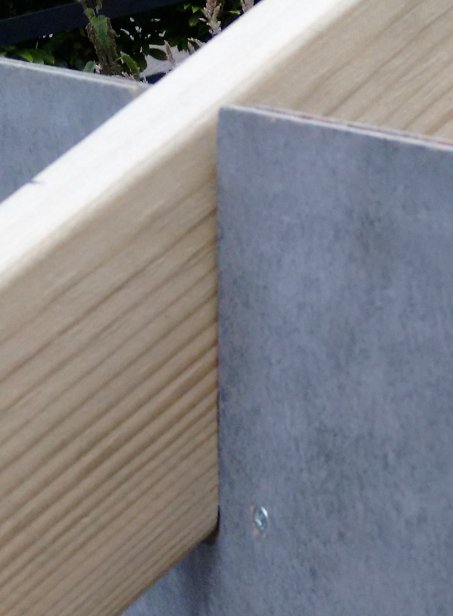
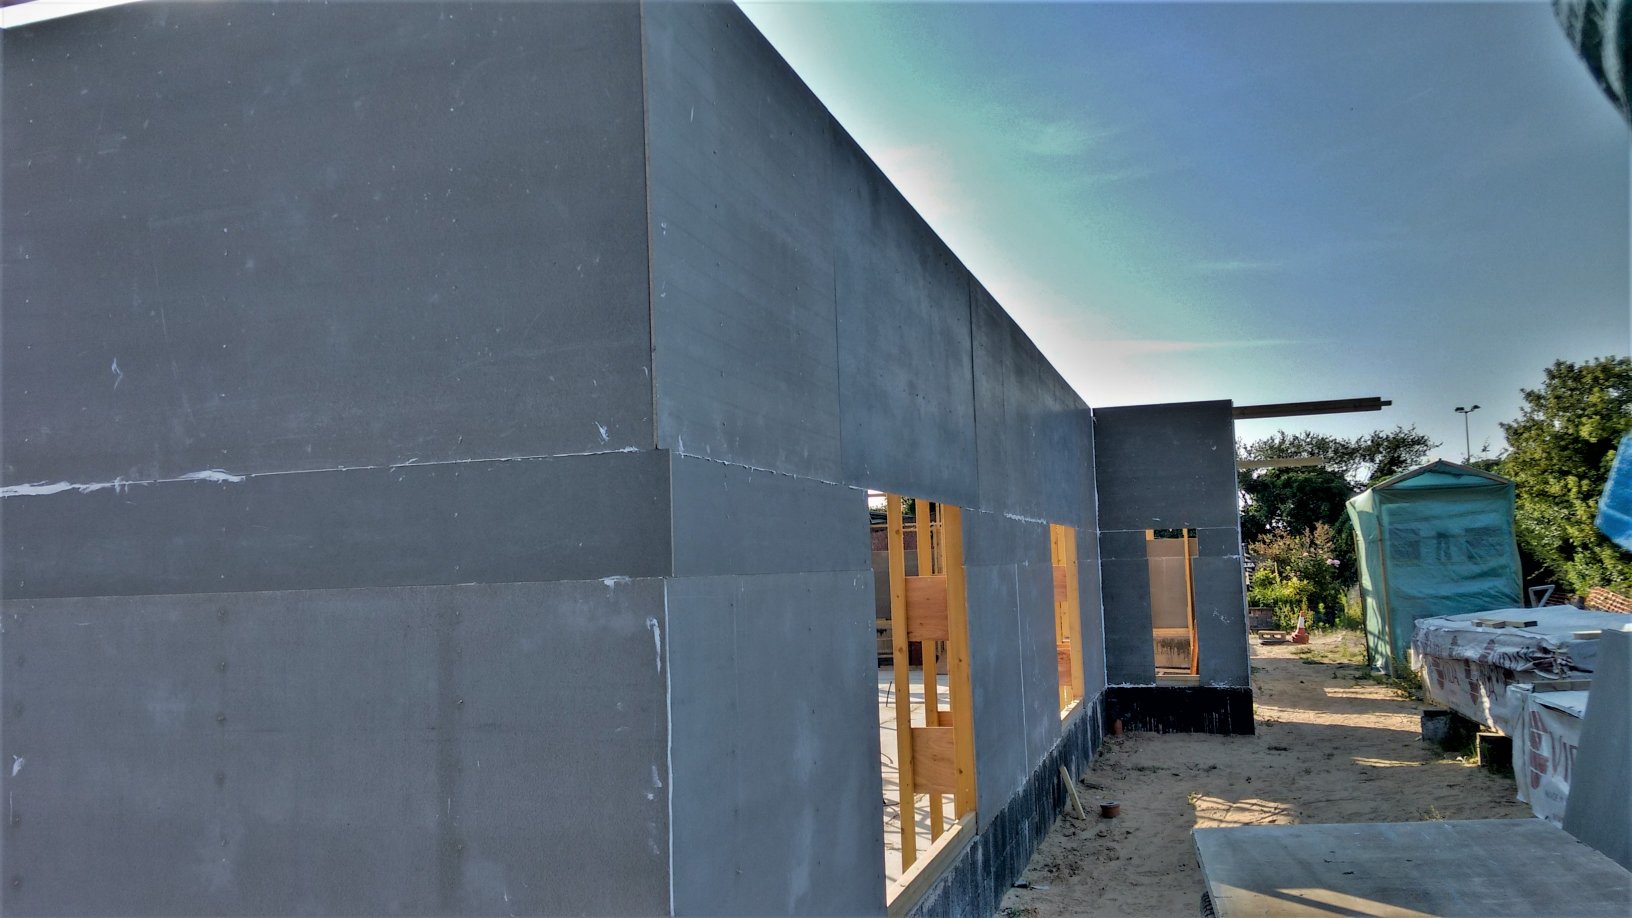
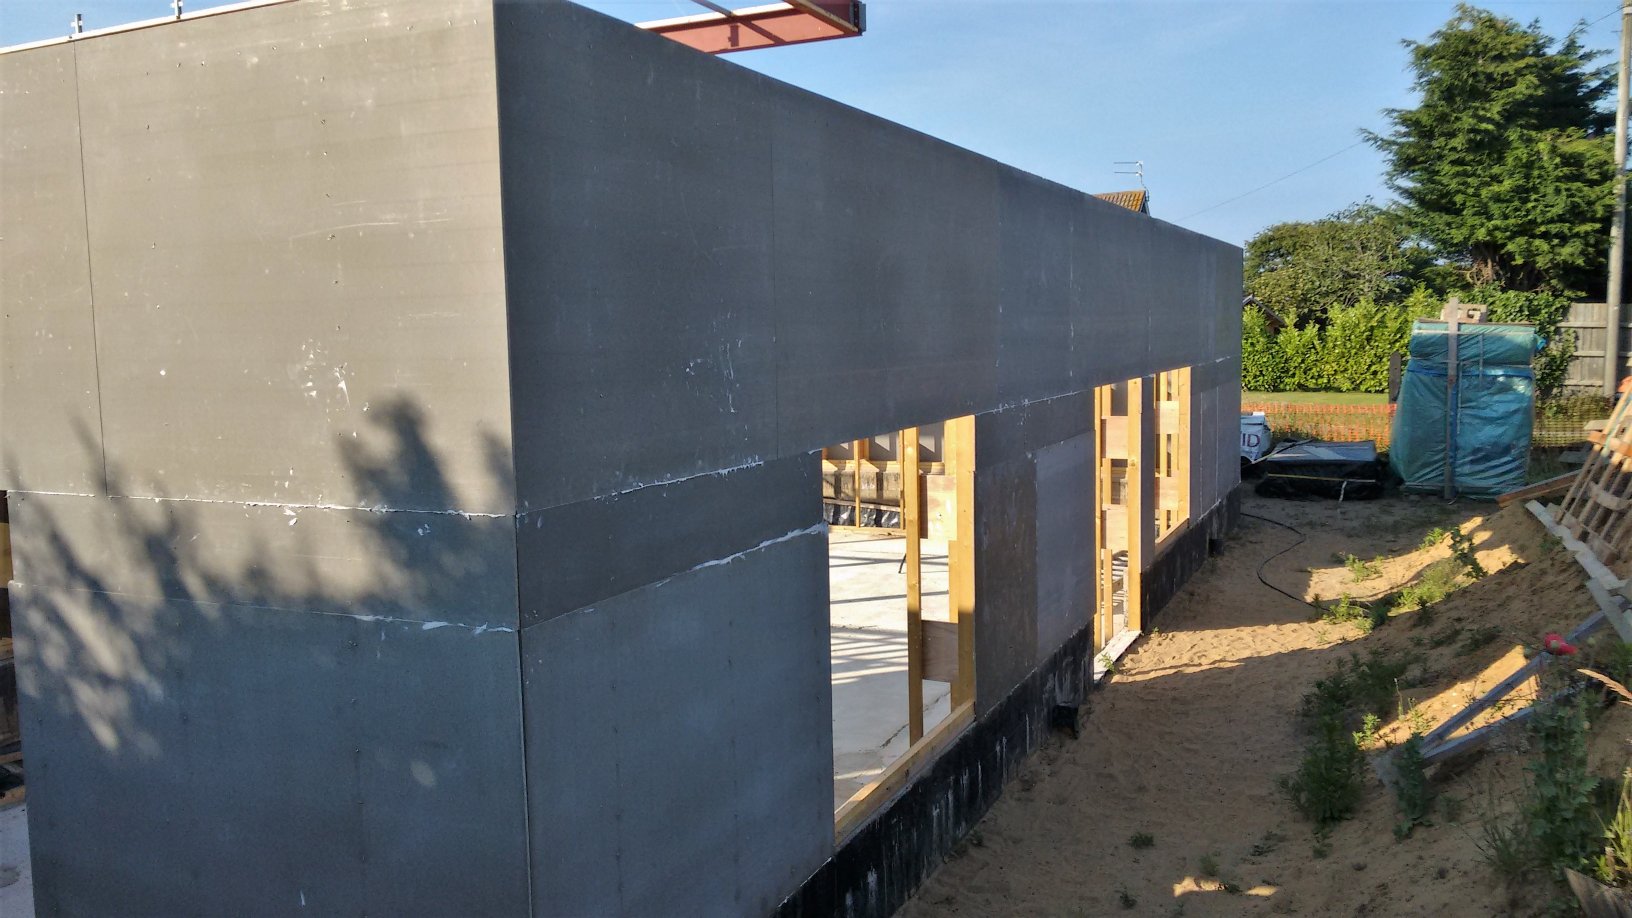
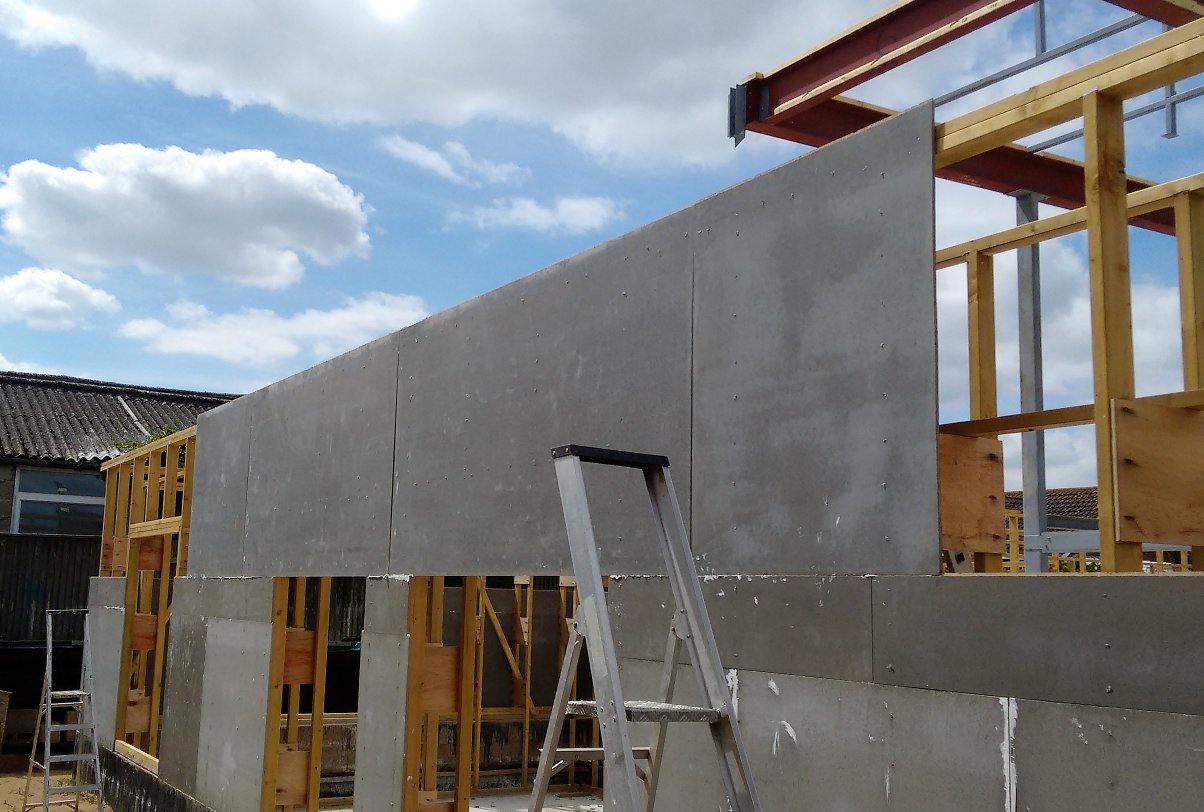
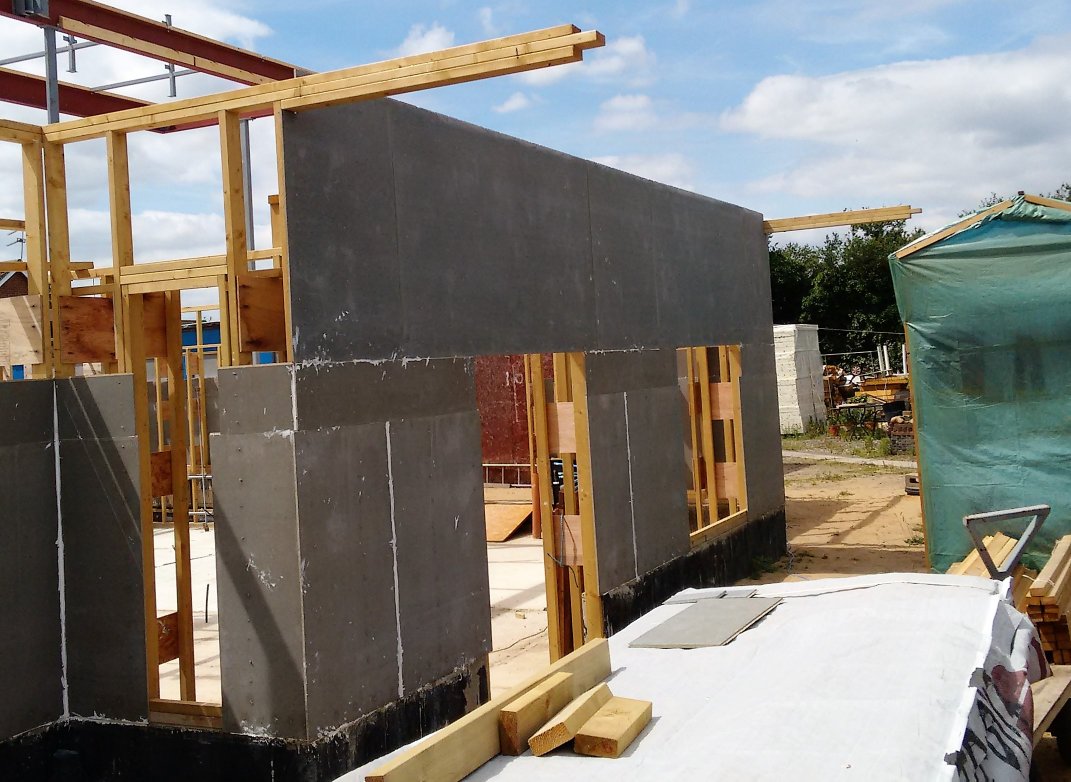
Wall-P-with-rafter-slots
We then continued on Wall H and Wall N and finally finishing wall P, a total of another 20 slots. Tomorrow, the template will be changed again to the last setting, ready to do the roofs which have an angle of 45 degrees which are the two back extension (wall K and wall O) facing the swimming lane.