We had more rain overnight so we decided to leave off doing the last 2 sections of External Wall until the afternoon session. So instead, we started on doing the Window Framework for our 12 windows around the house. Each Window has two vertical posts measuring 1790mm high which will then have a horizontal lintel (made of two layers of 89mm CLS timber) sitting on top of these side posts and two further shorter vertical posts to bridge the gap up to the Top-Plate that is running around the whole wall.
We first went around to double check the absolute level of each window sill using our spirit level and most were quite flat and level with only some having a 1mm per metre angle error. That is very good!
So we fetched in 10 more lengths of the treated 89mm CLS timber from our pallet and then chopped them down into the required length in our workshop.
We started on the Utility Room’s window and using plastic spacers, combined in different layers to provide the necessary adjustment to ensure that both posts were as vertical as possible. These plastic spacers comes in 3 different thicknesses: 1mm, 3mm and 5mm. You can then combine any of these to make any thickness from 1mm upwards.
We then carried on and did Bedroom 3’s window, around the corner and did Bedroom 2’s window to finish before lunch.
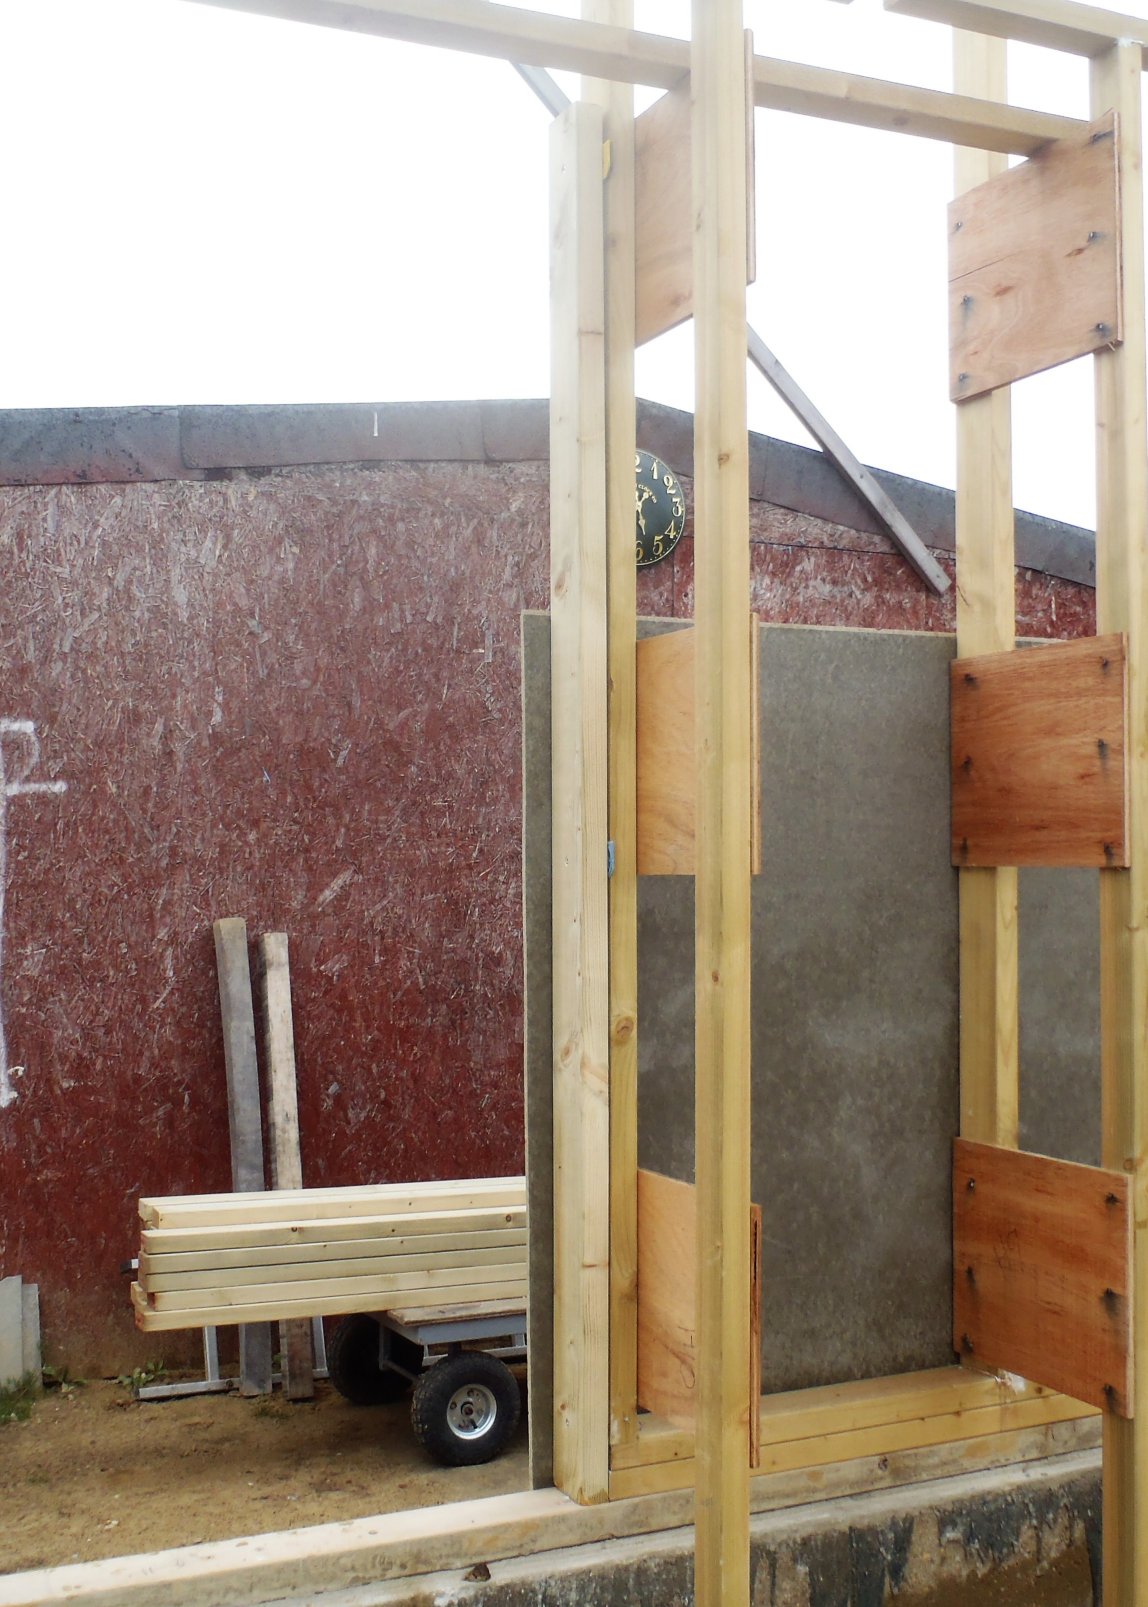
Window-side-frame
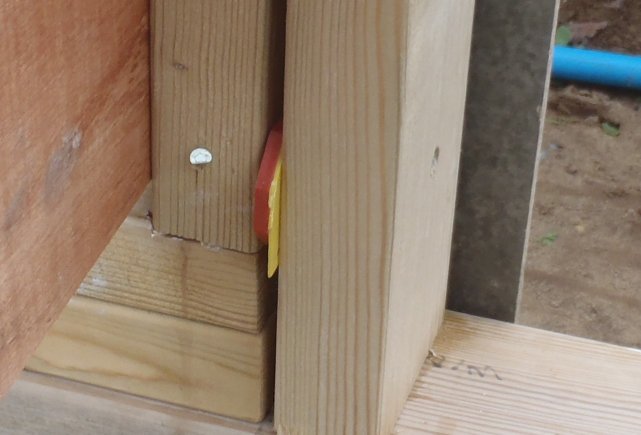
Spacers-in-window-frame
After lunch, we had the delivery of our new sump pump to replace the worn out old pump. So we spent the next couple of hours installing the new one, including replacing the drain hose pipe with the new 32mm (inch and a quarter diameter) flexible pipe, connected from the pump itself and travels across the concrete and out Bedroom 1 window to then connect to some rigid plastic pipe to go to our rain soakaway downpipe. We will bury this rigid pipework into the sandy soil to keep it out of the way of our building work.
We had about 15mm of rainwater from the rain showers we had yesterday and the new pump quietly did the job of shifting about 3500 litres of rainwater in about an hour flat! So much better than the old one!!
The only problem we discovered was that the water would drain backwards once the pump stops so it would fill up the sump hole and switch the pump back on which of course would empty it and .. repeat the cycle again! We didn’t realise that the new pump come without a non-return valve that the old pump had. We couldn’t use the old one because it was designed to fit 38mm connectors (inch and a half) and the new pump takes 32mm (inch and a quarter) connectors, so we had to order on the web a smaller non-return valve.
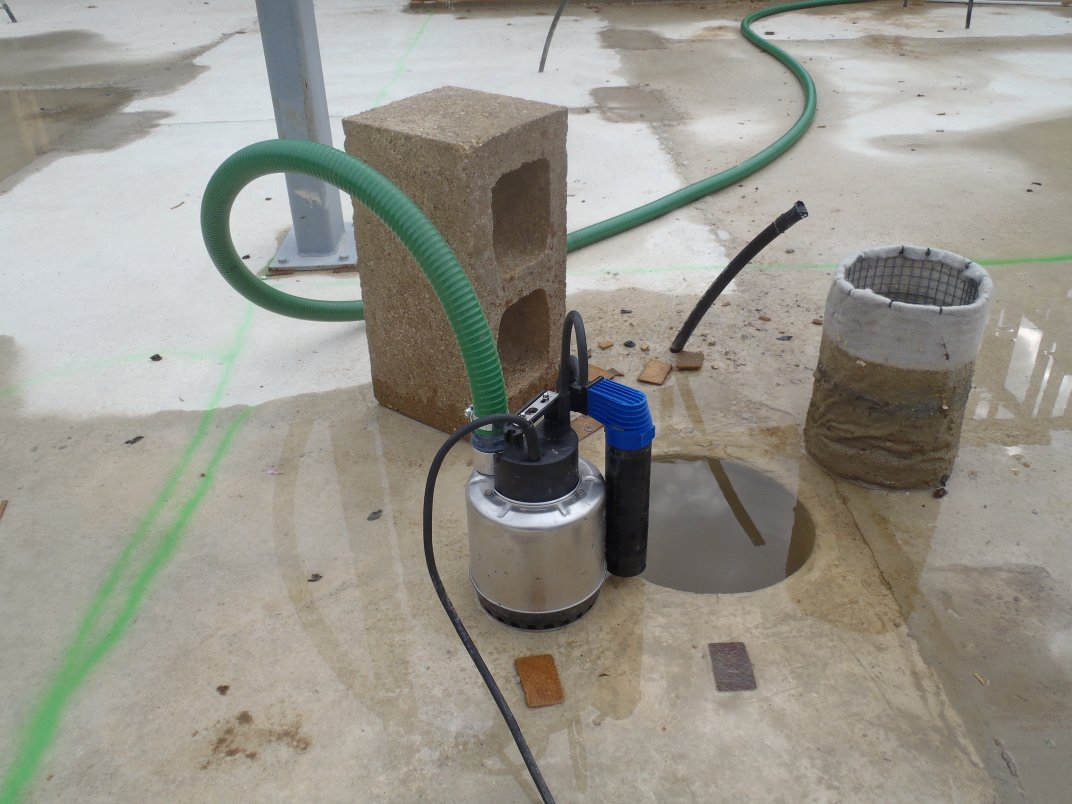
The-new-sump-pump
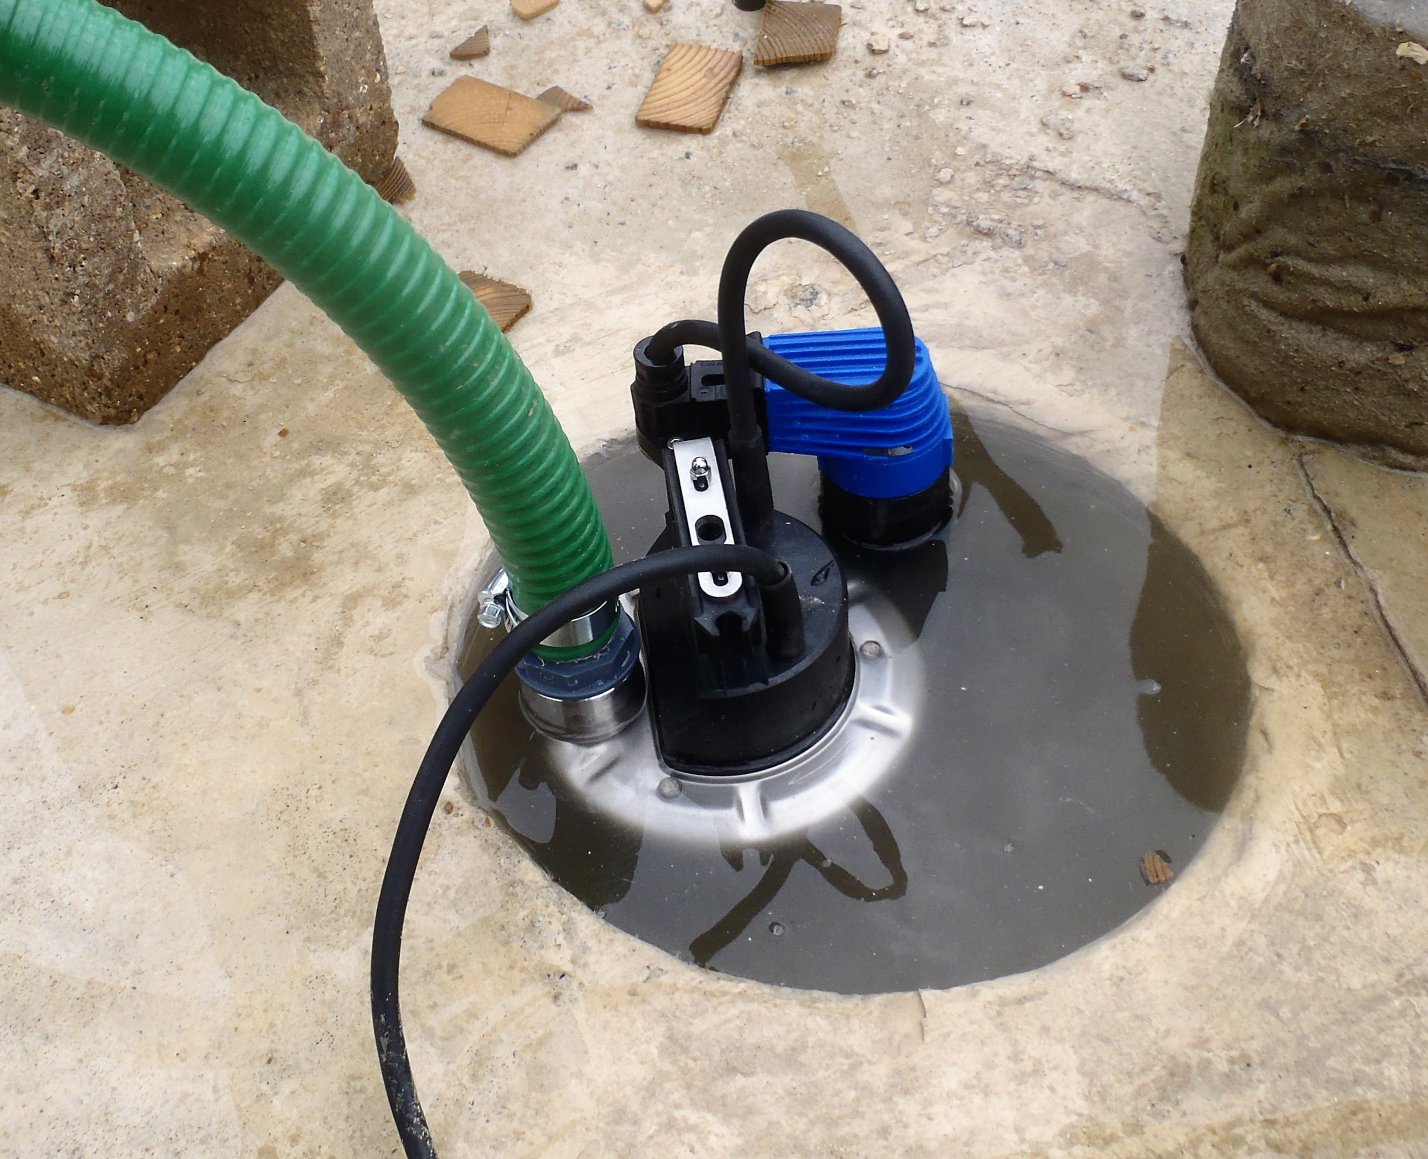
New-pump-in-the-sump
Finally, we got to finish off the first line of the cement board on wall “D” and wall “E”. It took only another three sheets to complete the full circuit of the External Wall.
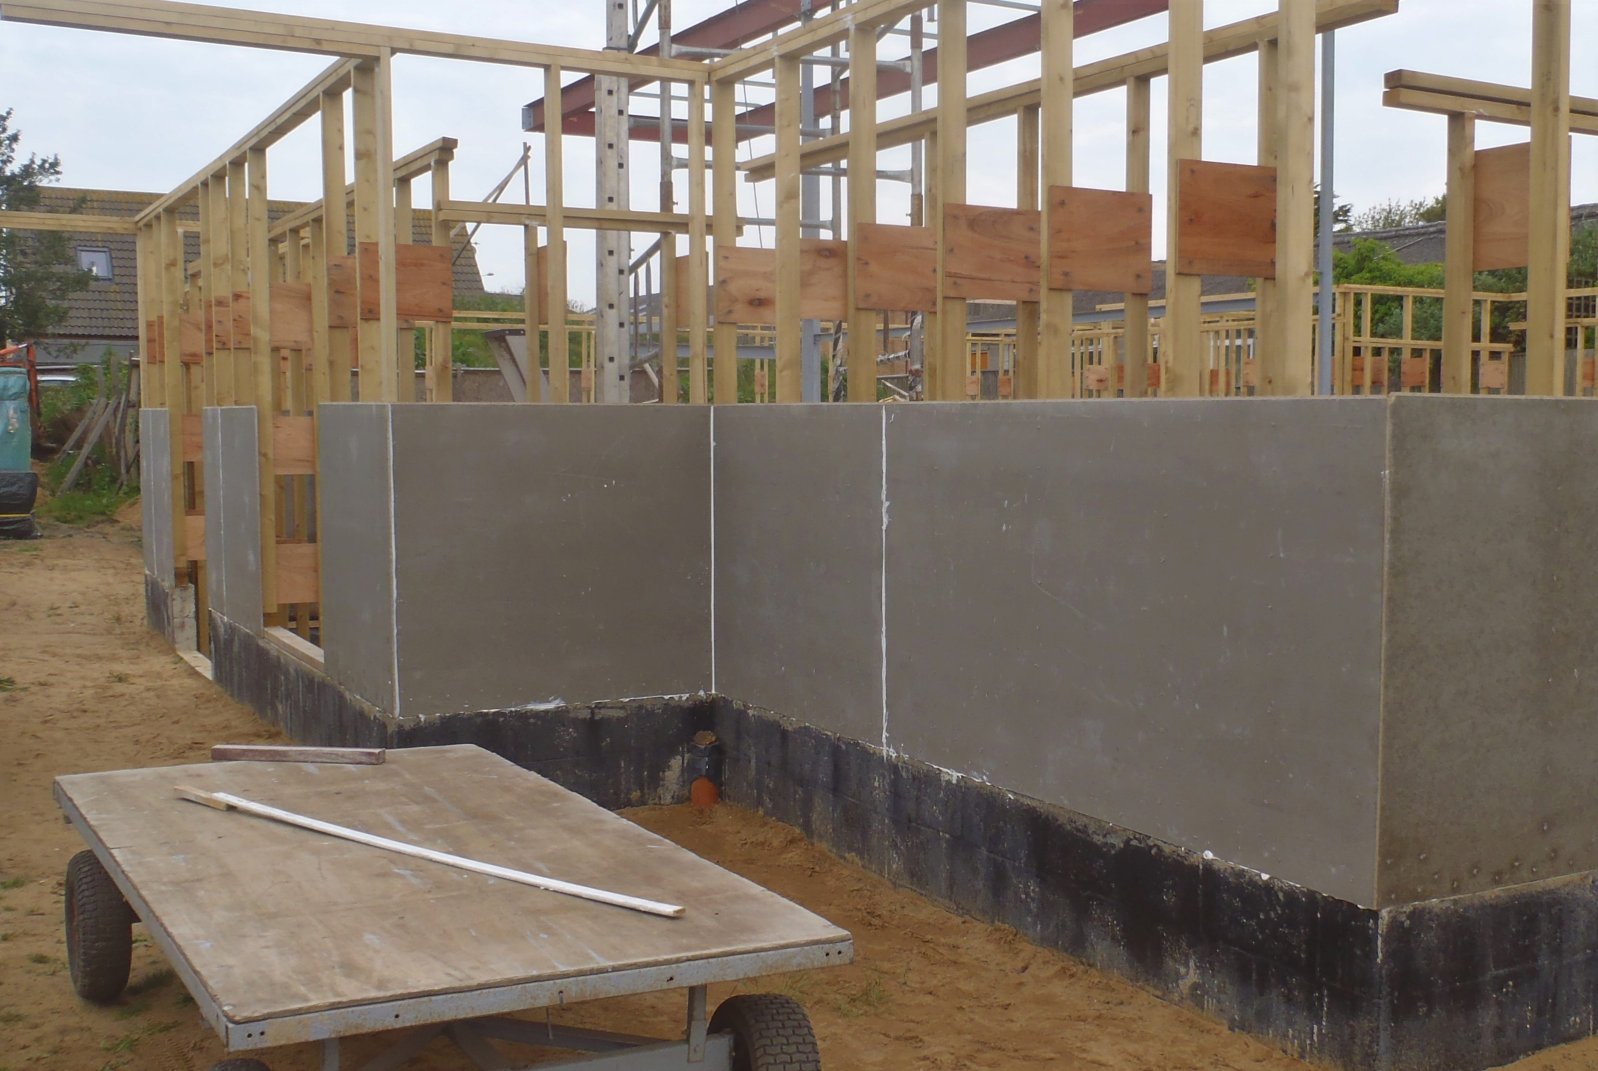
Walls-D-E-Lower-boards-
Tomorrow, we will carry on doing the Window framework and making additional adjustments to the width of the grouped sized windows, for example, we have 9 nominal 6 foot wide windows, 2 x 4 foot wide ones and 1 x 2 foot wide window. We want to make sure that all these three common sizes are all the same so we can order the same sized double glazing units and not worry about each window having to be a unique size.