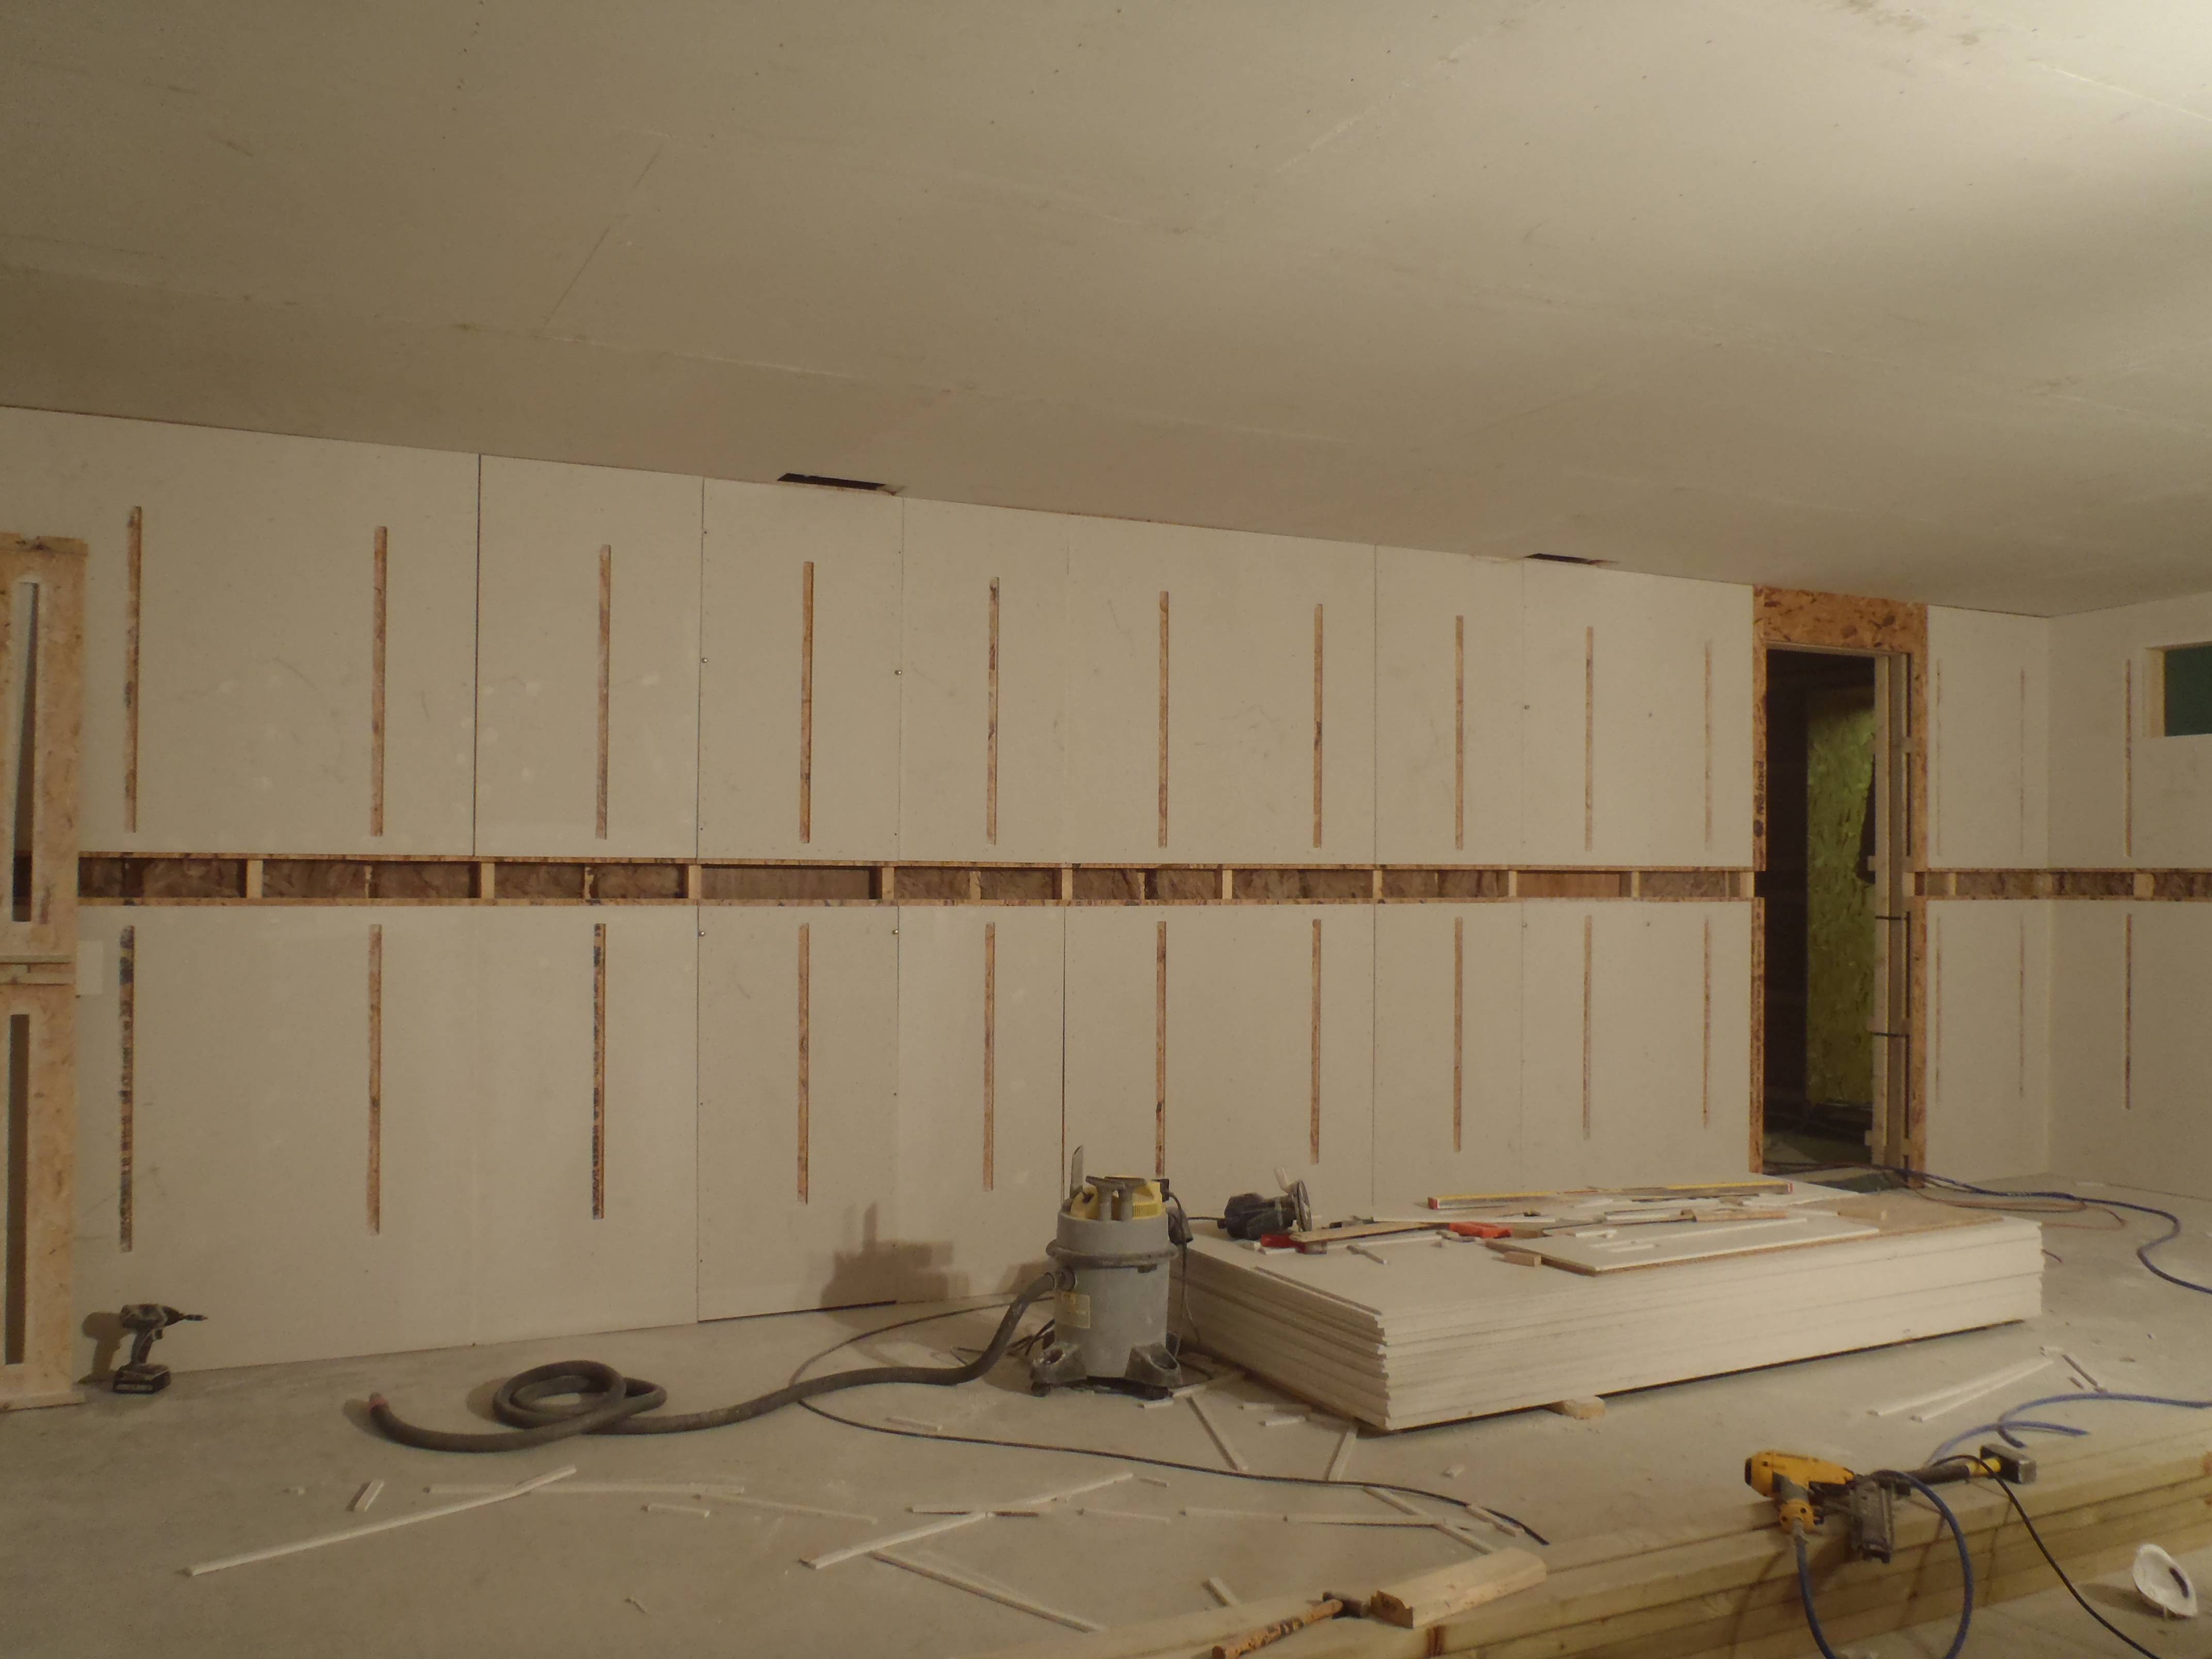
We have finished slicing the walls up! All the slots for all the metal upright brackets are now done and ready for them. There are in total 64 individual uprights to screw up spread all over the three main walls and two smaller sections on the front wall. A rough calculation shows that we could have well over 120metres linear distance of shelving! That hopefully will be enough!
Author: Shaun
-
Slicing the Walls Up!
We have been slicing up the walls in the last three days! We have cut out the windows (again) to let in the daylight, trimmed around the counter weight panels coverings

We are slicing vertical slots to recess the upright shelving brackets (this reduces that annoying gap at the back).
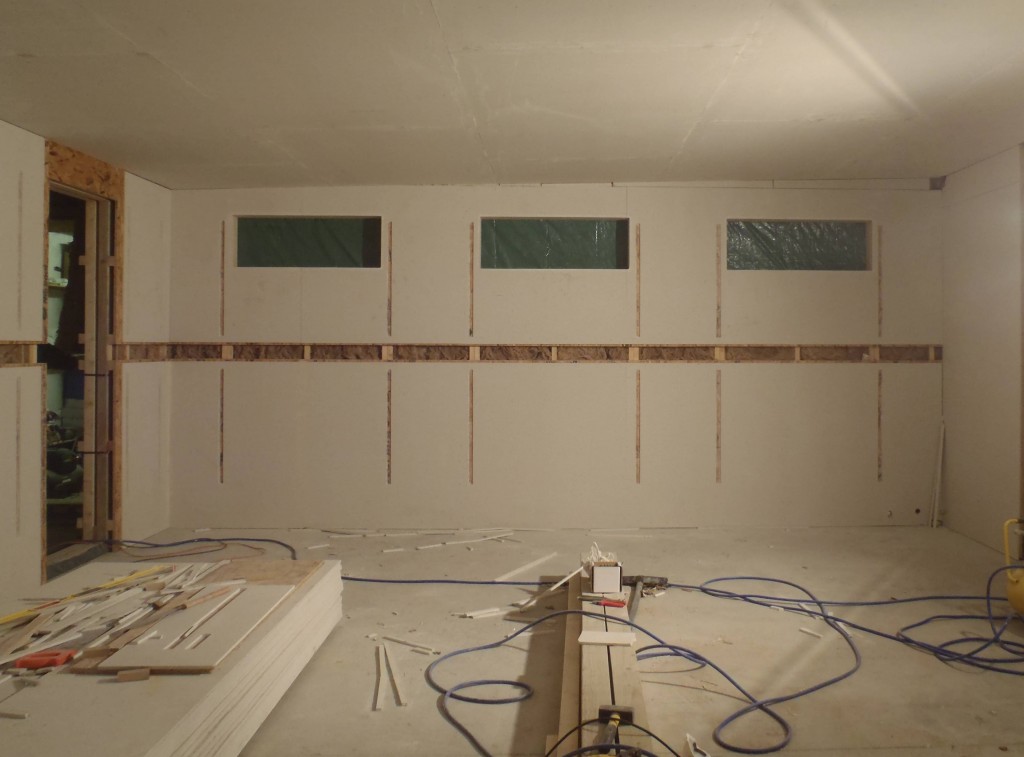

The garage is the place where all sorts of things will be dumped and we are making sure we have plenty of shelves to store the “Junk”!
Just one more day of slicing slots into the last side wall and front wall then we can mount the metalwork!
-
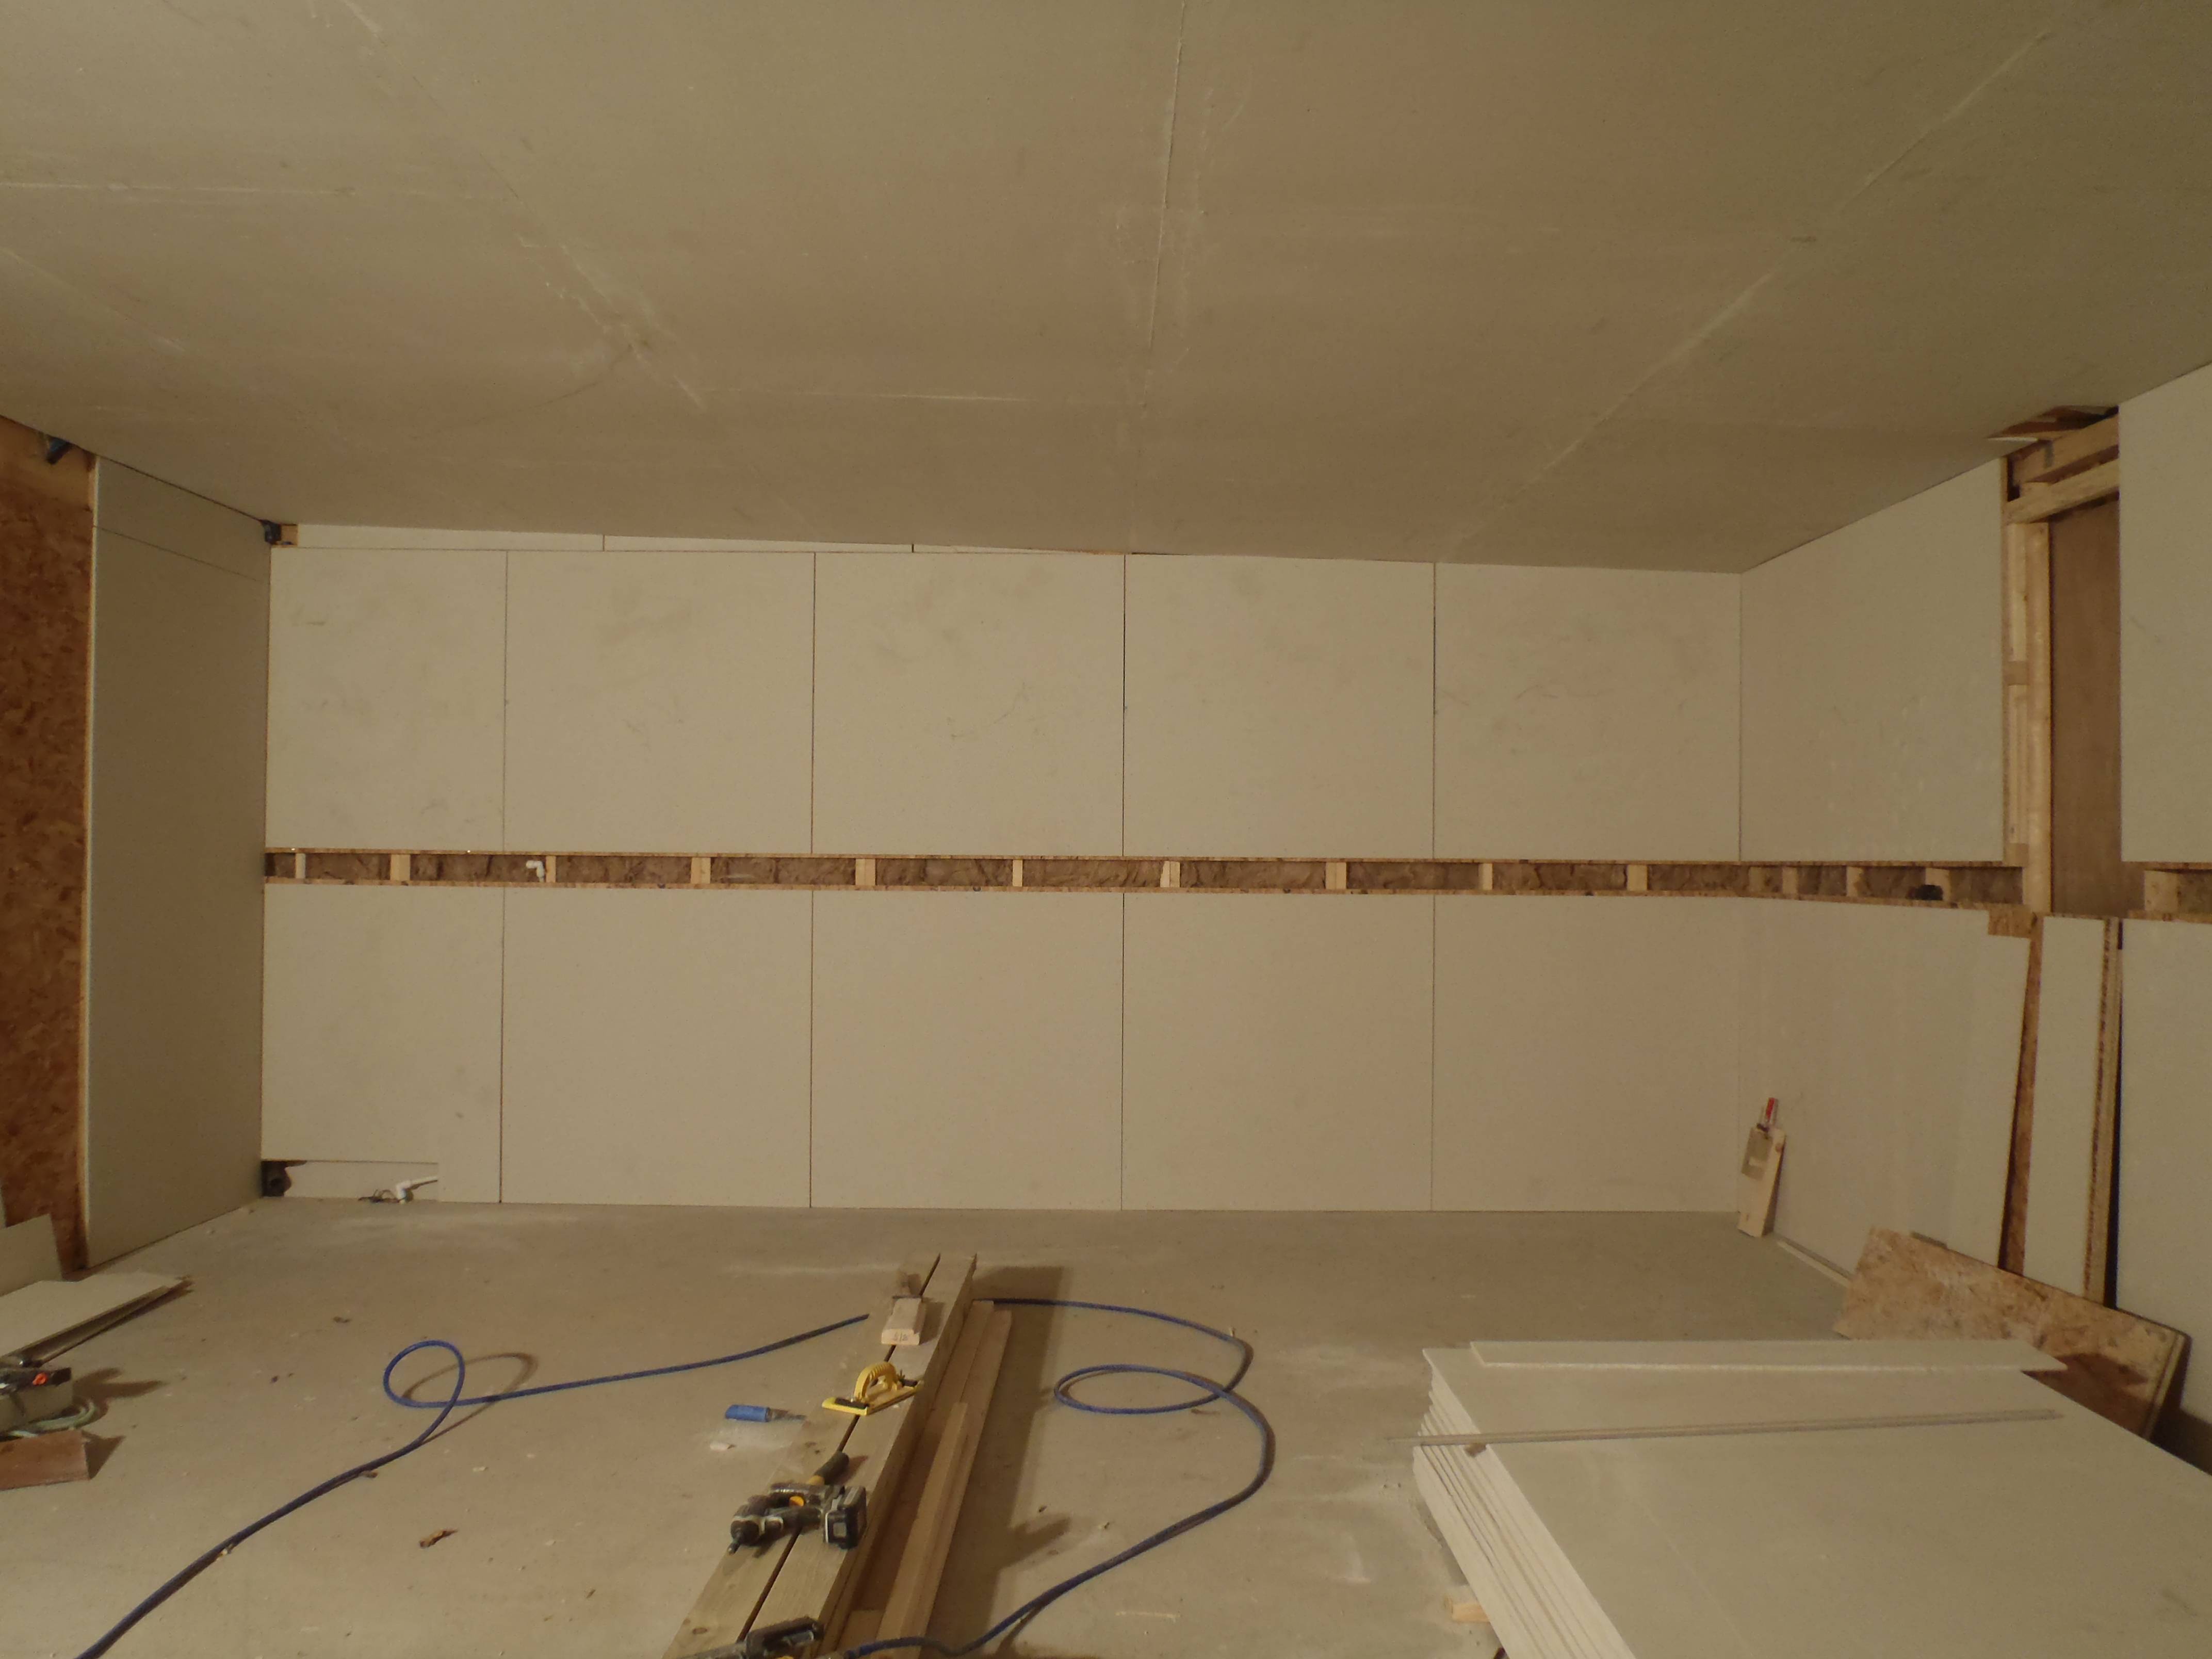
Fermacell Mounted!
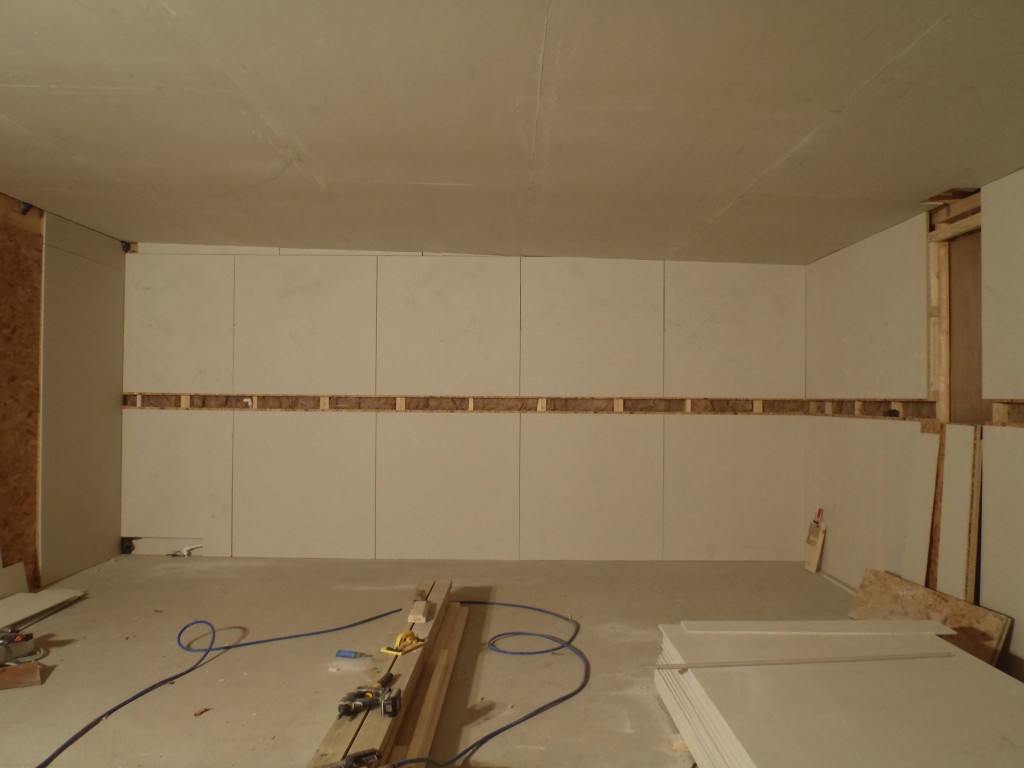
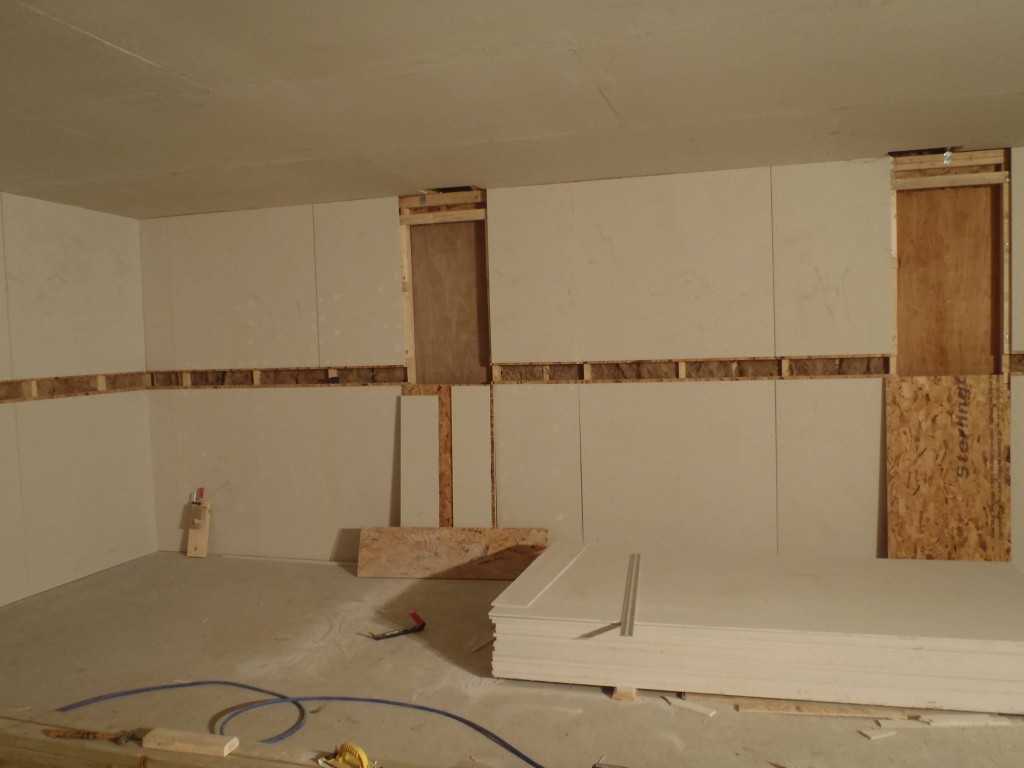
We have spent the last three days putting up the Fermacell sheets on the walls of the garage. Virtually all four walls of the front half of the garage is covered now.
Garage Fermacell on walls LF
Garage Fermacell on walls ML

Garage Fermacell on walls MR

Garage Fermacell on walls RF
We started using 38mm staples but decided to switch to the shorter 25mm staples as they seem to be holding just as well and the majority of the thickness (made of 18mm OSB and 10mm Fermacell) is only slightly deeper than 25mm! it is working very well so far.
Next we will have to fill in the staples holes and the joints between panels, we did a small test today and we are wondering if the filler supplied by the Fermacell people is the same as Polyfilla. We are planning to do further tests to find out.
The technique of snapping the boards at the cut line seems to be working ok as long as the “waste” piece is large enough to bend in one piece without breaking into smaller pieces. Just a quick wipe with the Surform to smooth off the slightly ragged edge and that is it. No flying dust from a circular saw! Thank goodness!
The boards are very flat and very regular in thickness and are joining together very well. It is looking good! Can’t wait for the finished article!
-
Monster Plastic shopping Order finished!
After all the analysis of design and everything, we come to a final list of plastic pipes, tubes and crates. It adds up to over £6500! The lion share are the AquaCell crate modules for our energy storage system. We have ordered most of what we need for phase 2 of our build and that would represent about £500 saving in the next six months and we would never get that kind of interest rate on any saving account out there!
Phew!
Now back to the grind and back to the garage interior work!
-
Monster Plastic Shopping Order
We have been working on building up a shopping list of all the plastic pipework, crates and other plastic items. We were told that the prices for these will be going up by 8% on 1st March probably caused by the higher oil price. So we sat down to analyse our house design to quantify what we need in the following areas:
. Central Vacuum system
. Hot water
. Cold water
. Sewage above ground & underground
. Rain water underground & downpipes
. Energy storage modules and connections to and from each underground tanks
We have done quite a bit of analysis so far but a few more days to go. We are taking a break for a change of scene and are back to working in the garage.
-
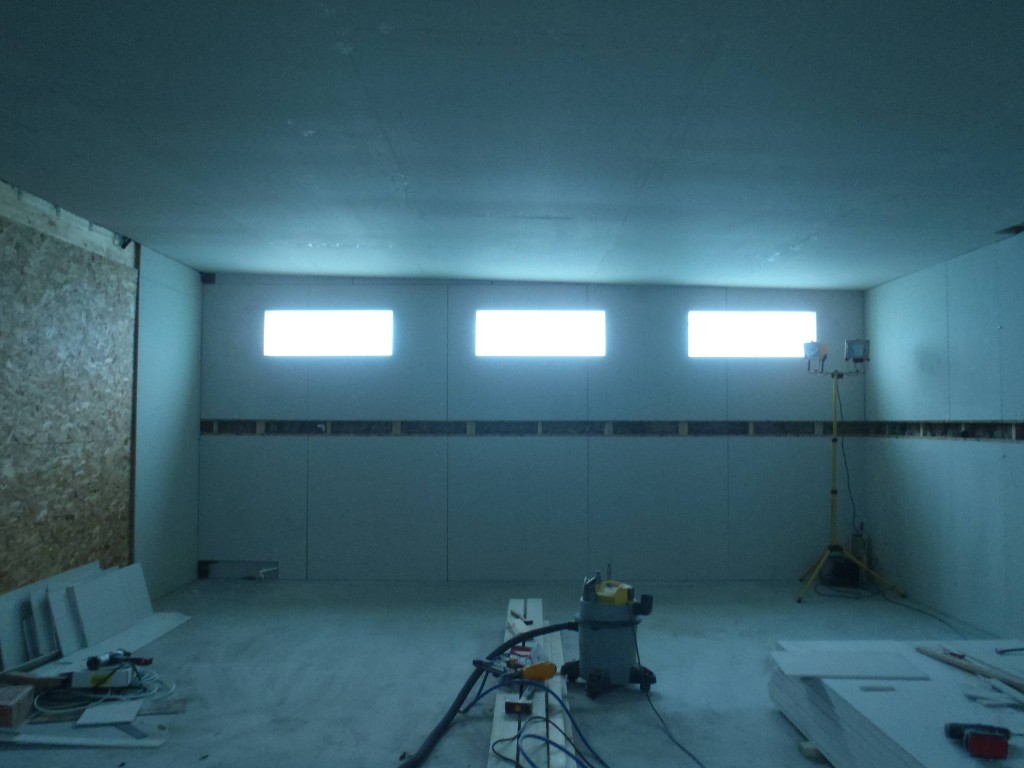
Day 2 – Fermacell All Up!
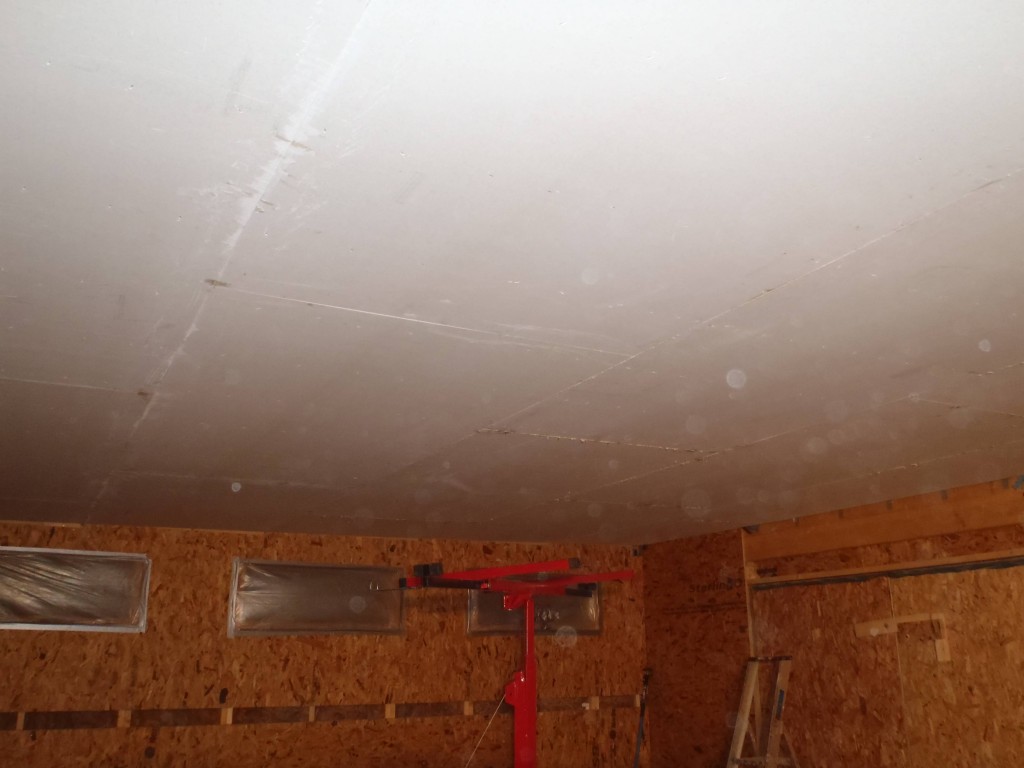
At last! All the Fermacell boards are now up on the ceiling in the front half of the garage! It was a long day and we didn’t finished until just before 8pm!!
Garage Ceiling Day 2
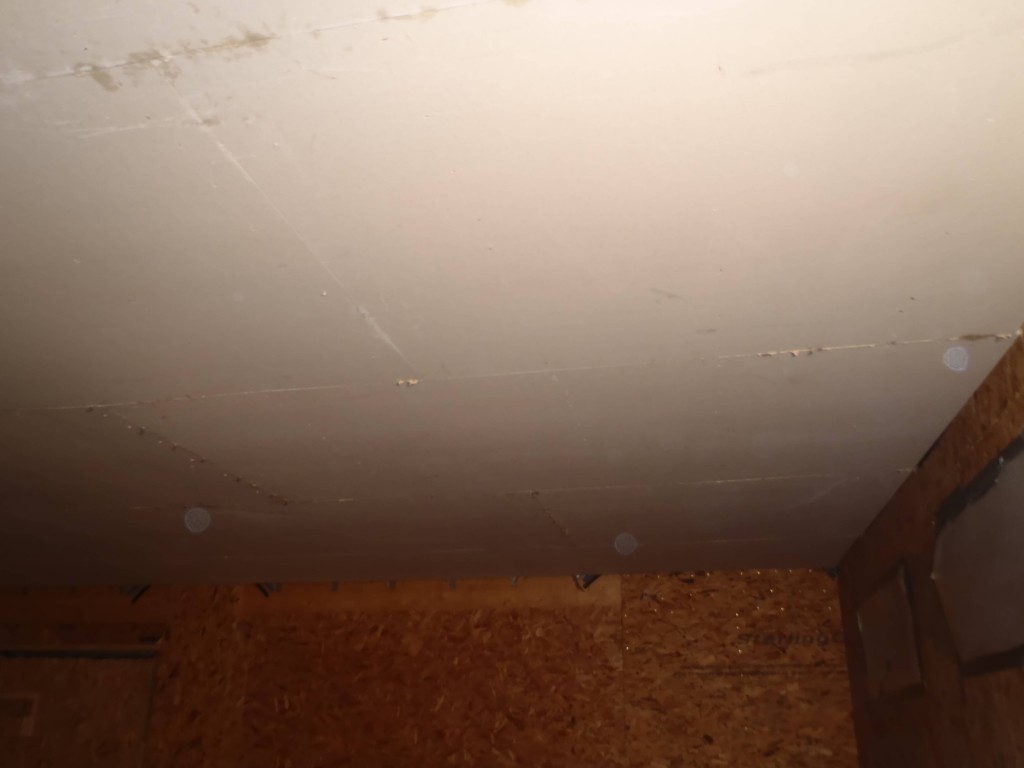
Garage Ceiling Day 2
Thank goodness for the lifter!
-
Day 1 Fermacell panels going up
We have started the task of sticking up the Fermacell sheets on to the ceiling of the garage. It is quite hard, working above one’s head and each Fermacell sheet weighs over 35kg! fortunately we have a “lifter” specially designed to lift sheets up and allow us to position the sheet in the correct place.
We have completed 2 rows out of the 5. We are speeding up as we learn techniques and developing a procedure so we should get the final 3 rows finished tomorrow.

Garage Ceiling Day 1
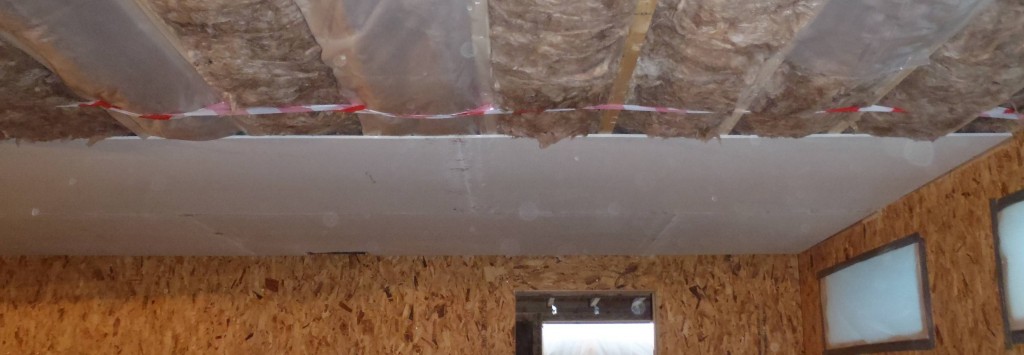
Garage Ceiling Day 1
-
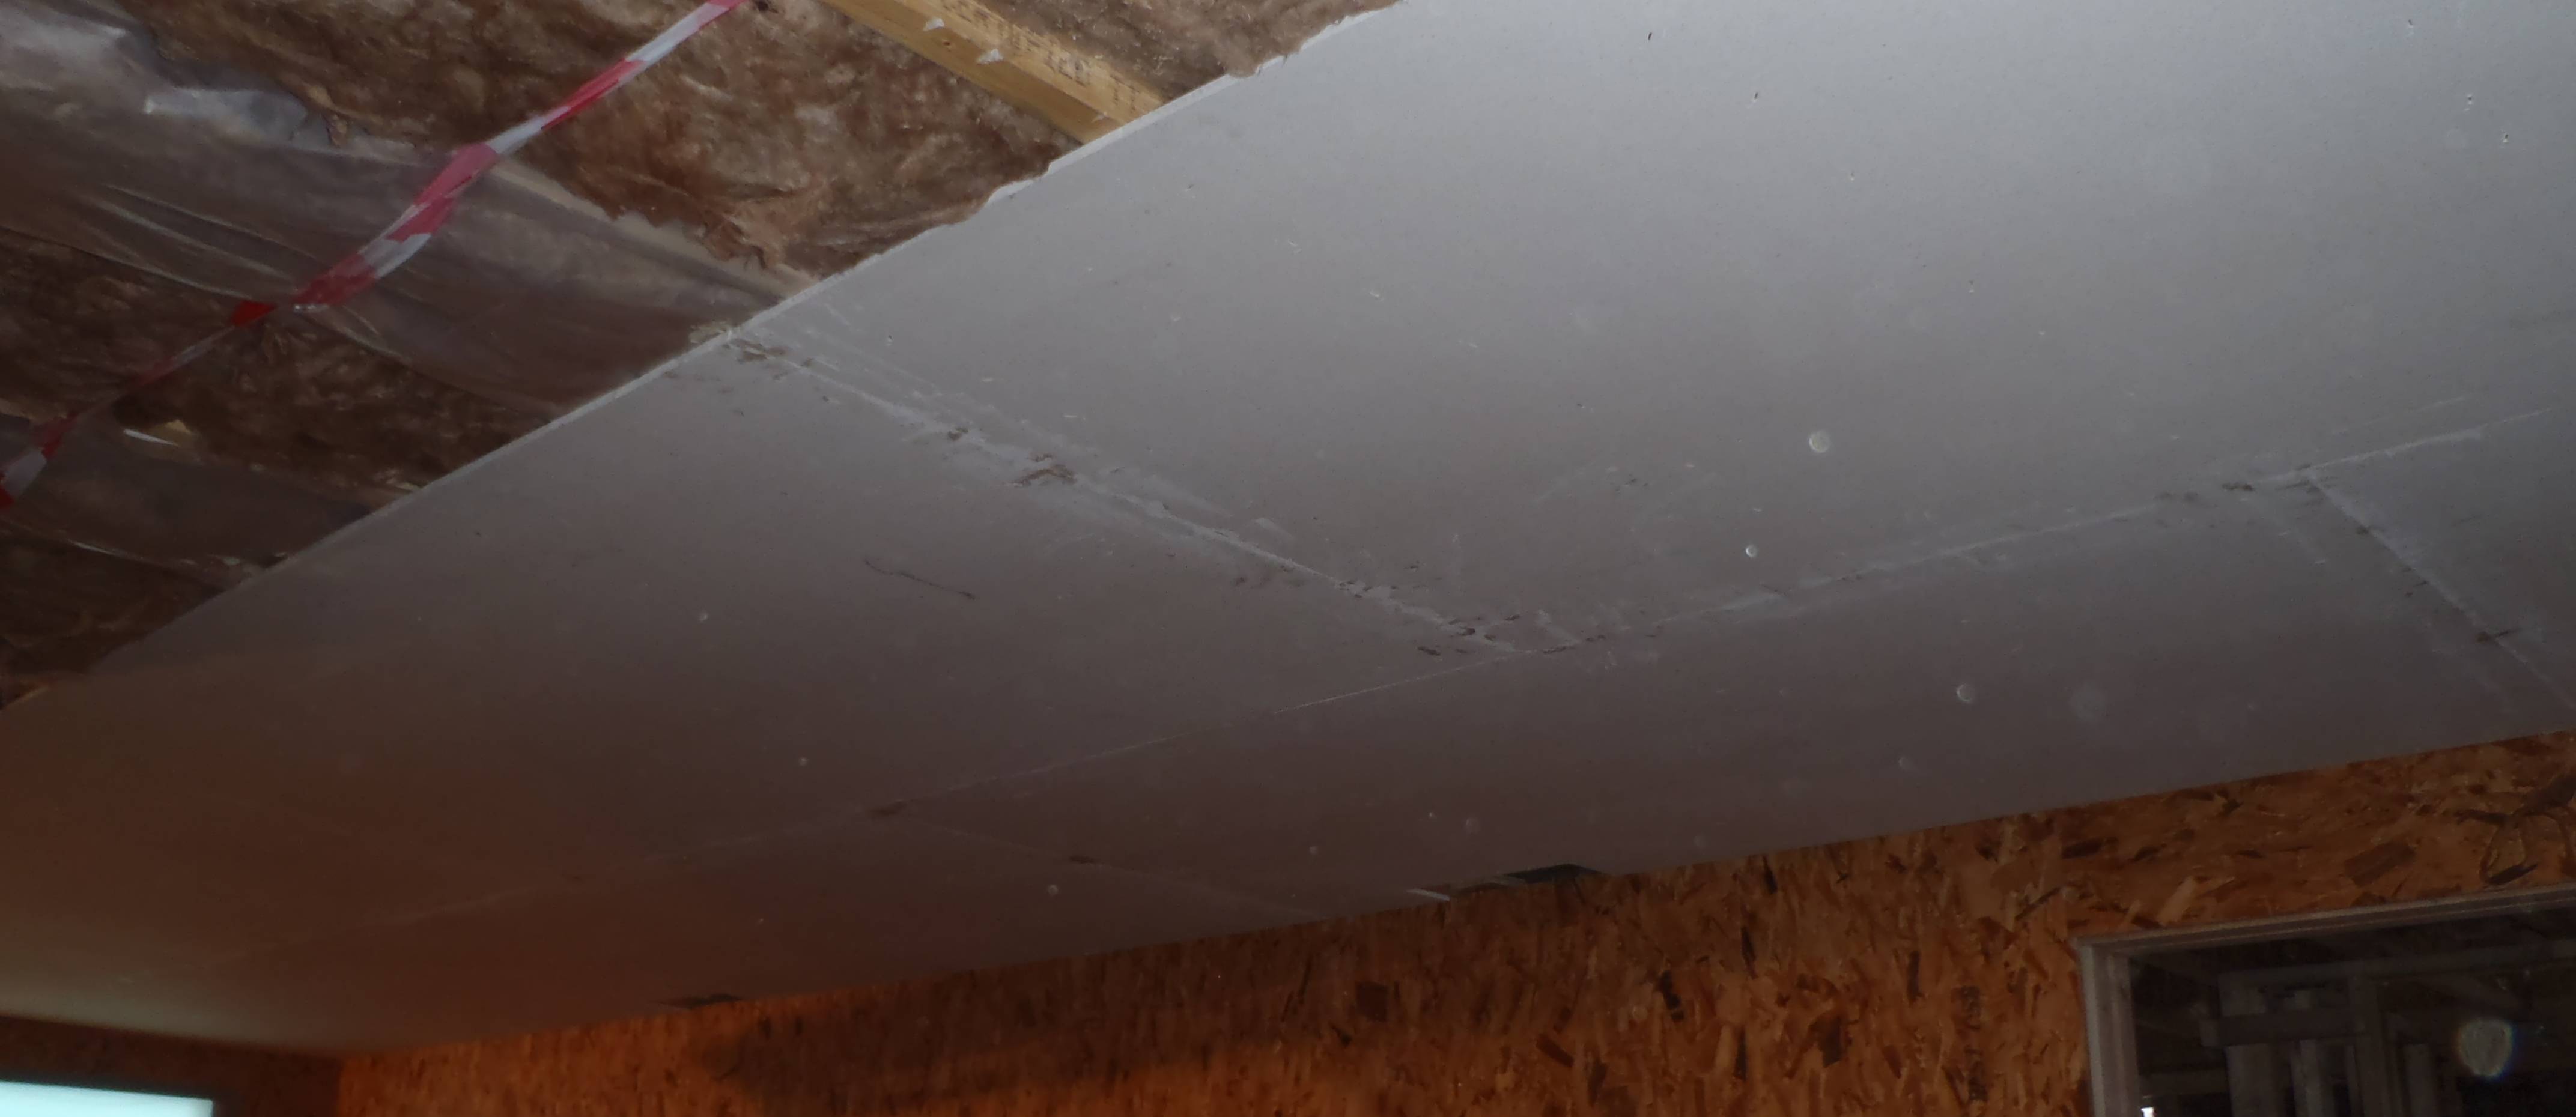
Glass Wool!
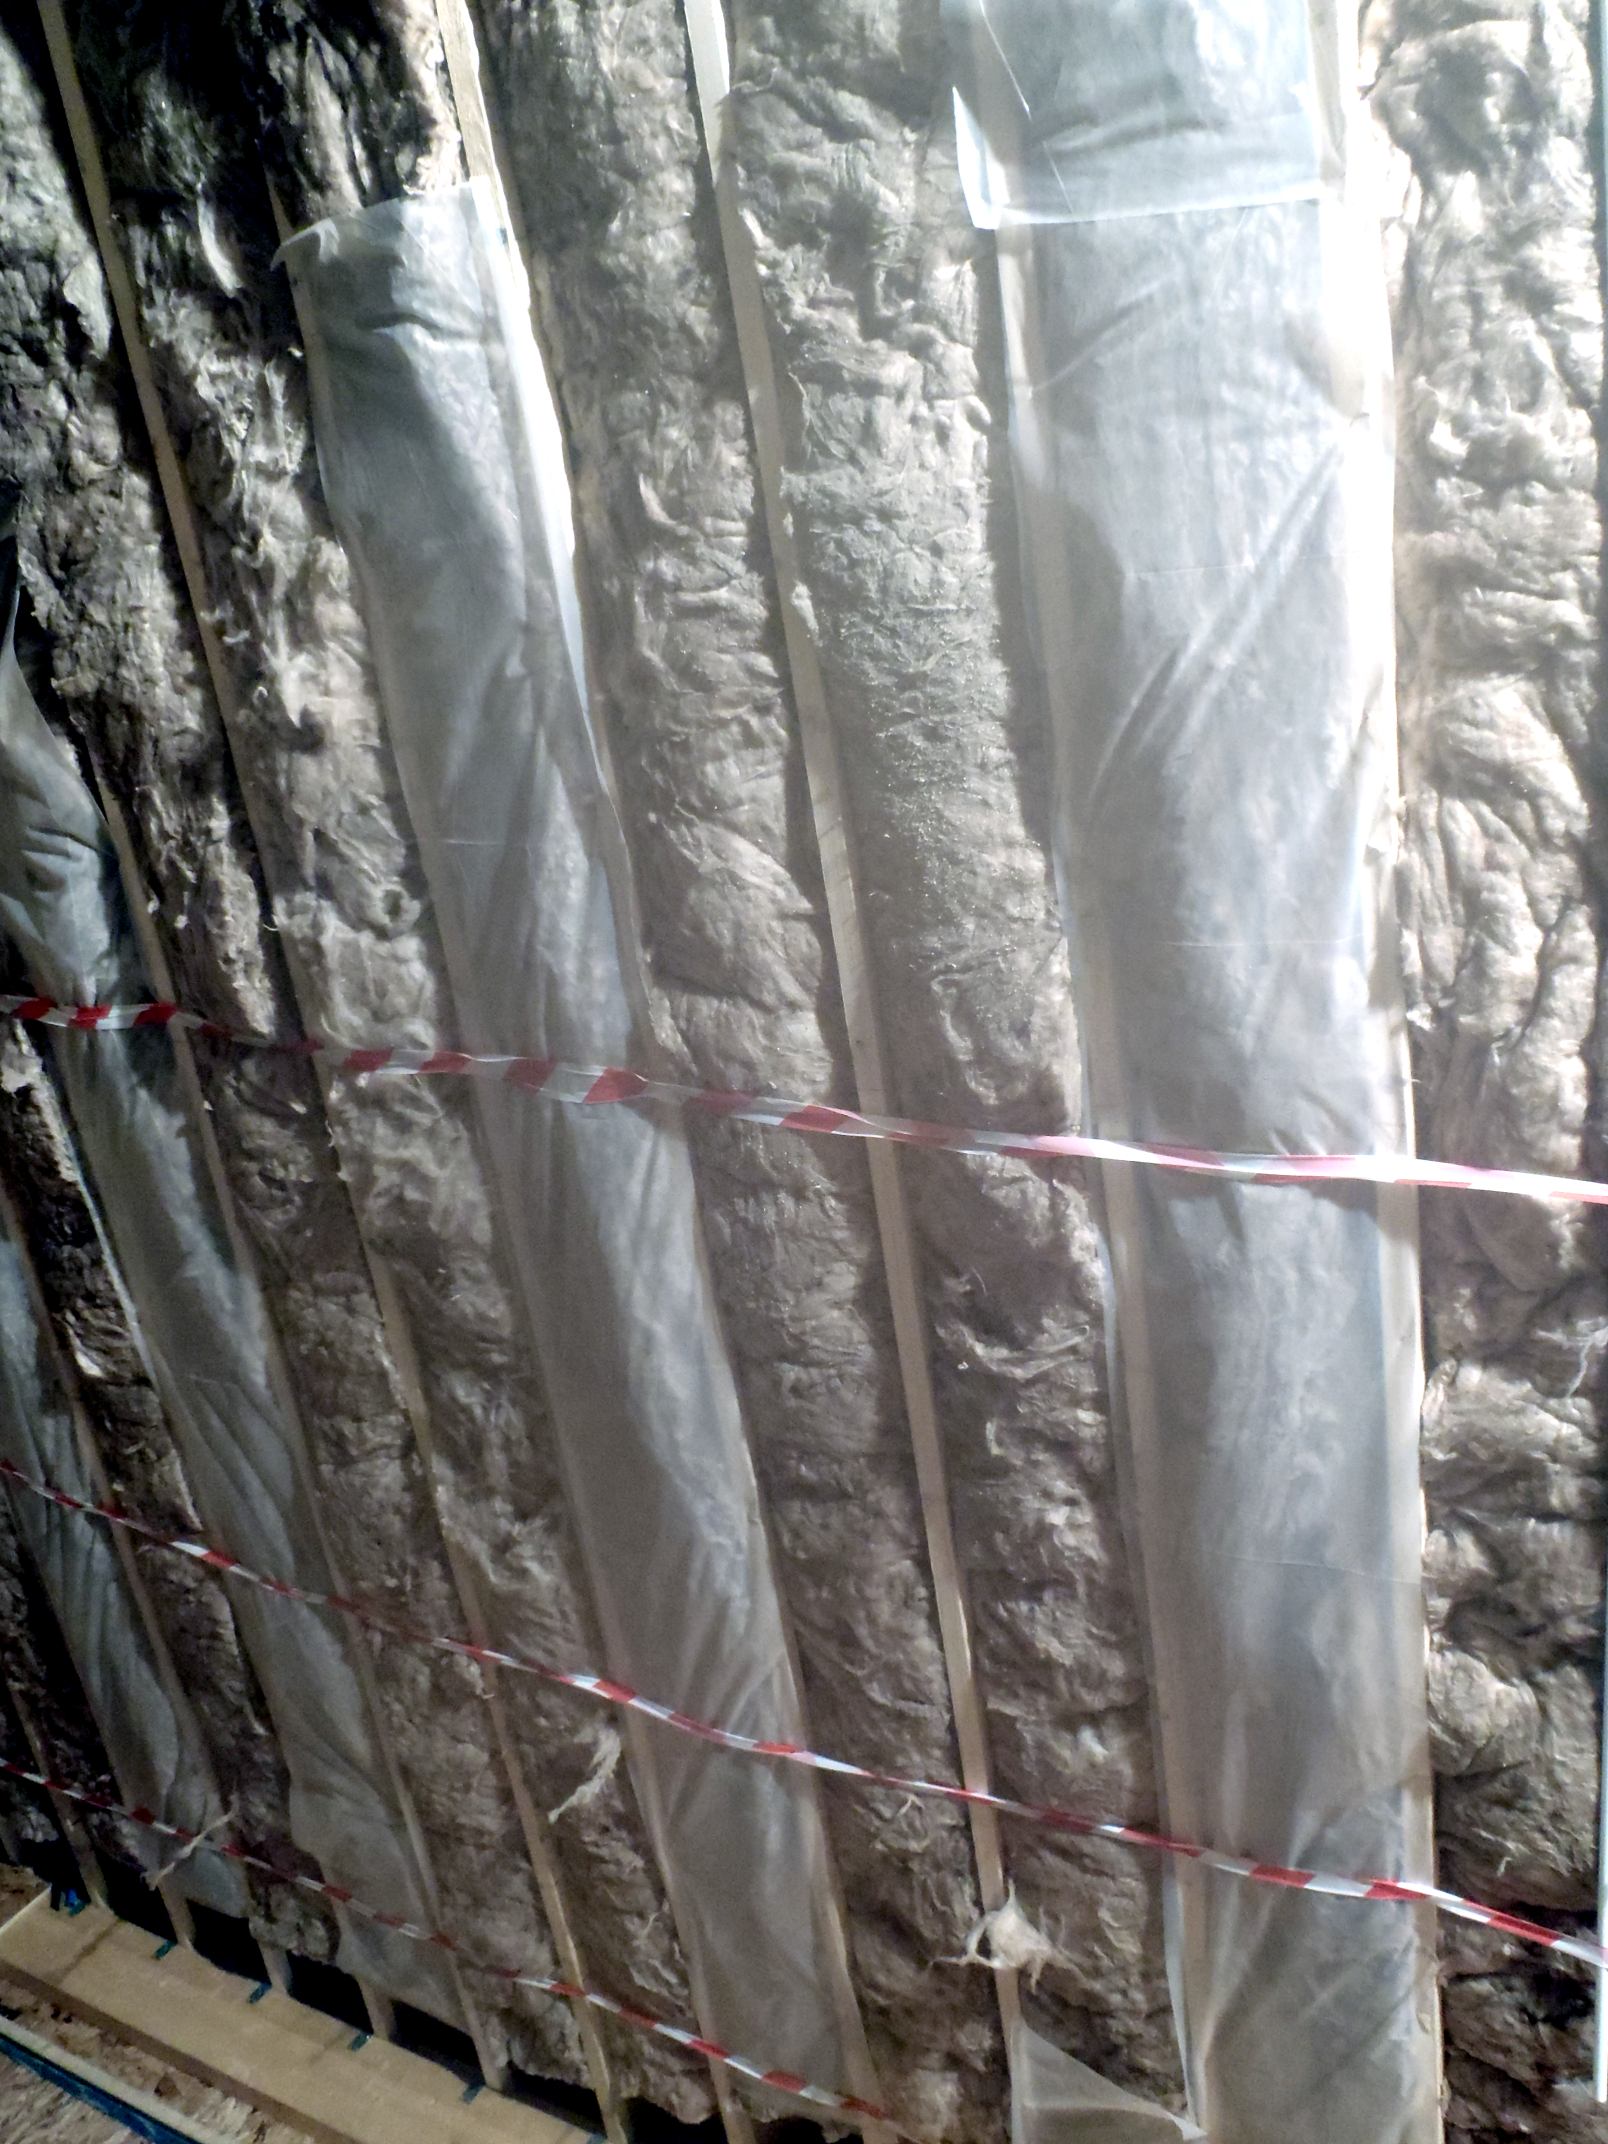
O boy! The Glass Wool is up, up and away in the roof space! The 170mm thick wool is nasty stuff and we wore our one piece dust suits and dust masks!
The rolls split into three segments at their pre-cut points and mostly they fitted ok except for the middle segment where there was another pre-cut point on the original roll with caused the wool strips to start falling apart! We had to resort to stapling up strips of plastic sheets to hold up these awkward pieces!
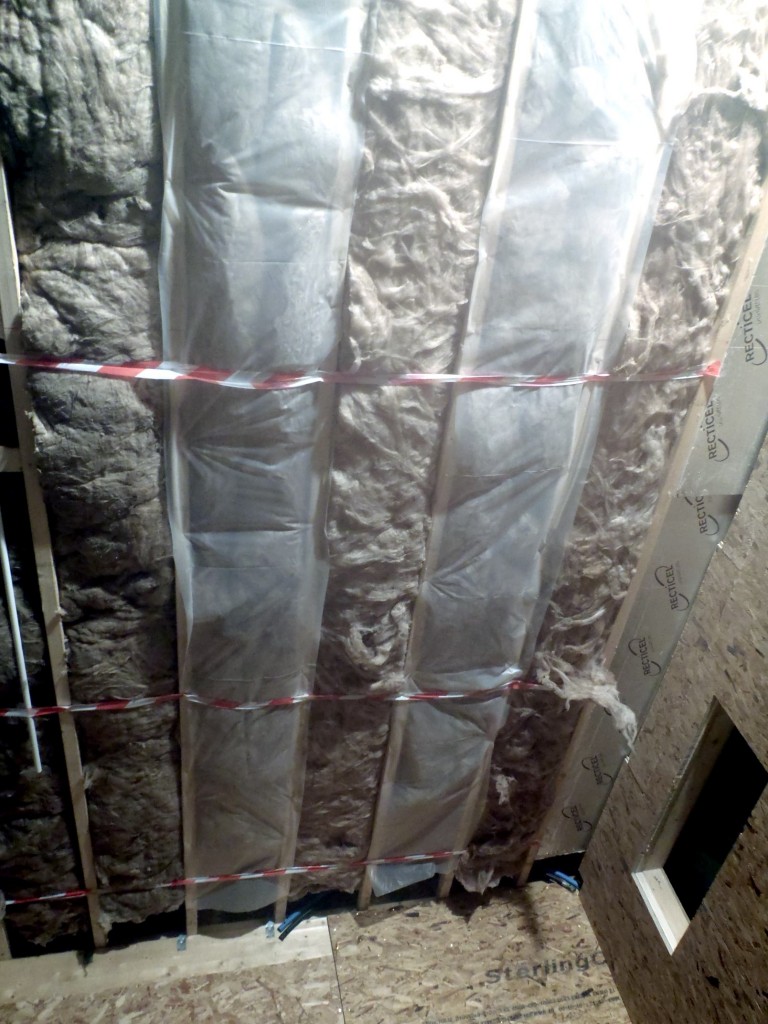
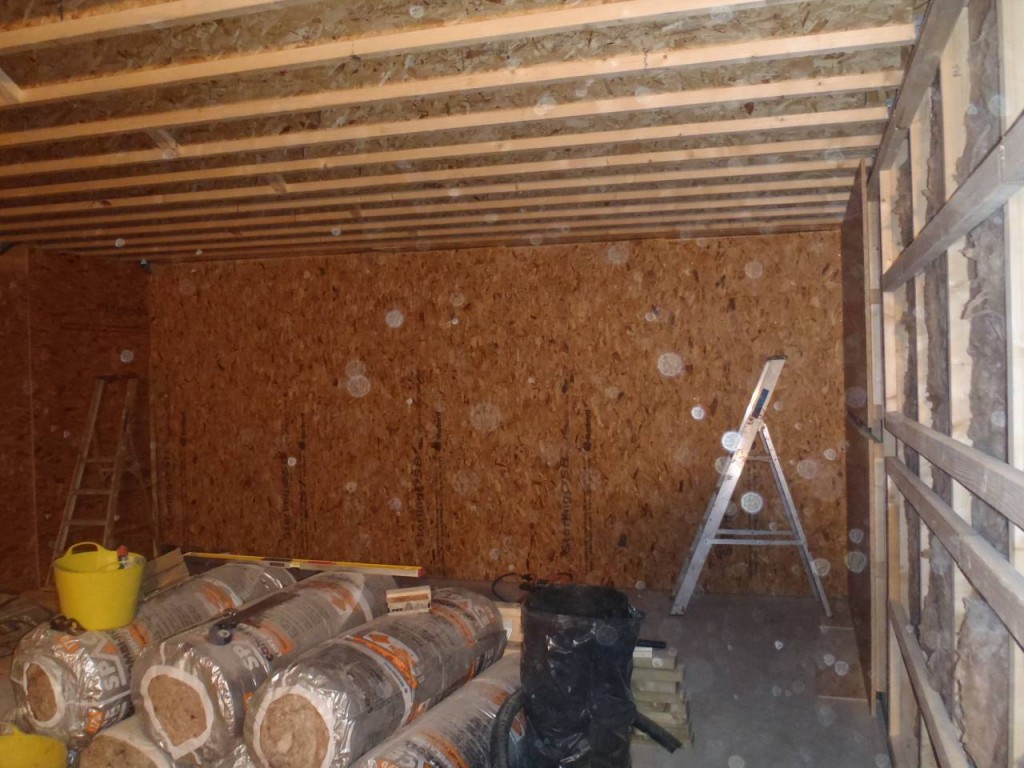
Insulation in garage celing

Insulation in garage celing
We finally, for extra insurance against any strip falling out, we criss crossed the ceiling a hazard white and red tape we had lying around!
We are glad that it is all done, very tiring working above your head! Tomorrow it is the Fermacell turn to be put up! O boy!
-
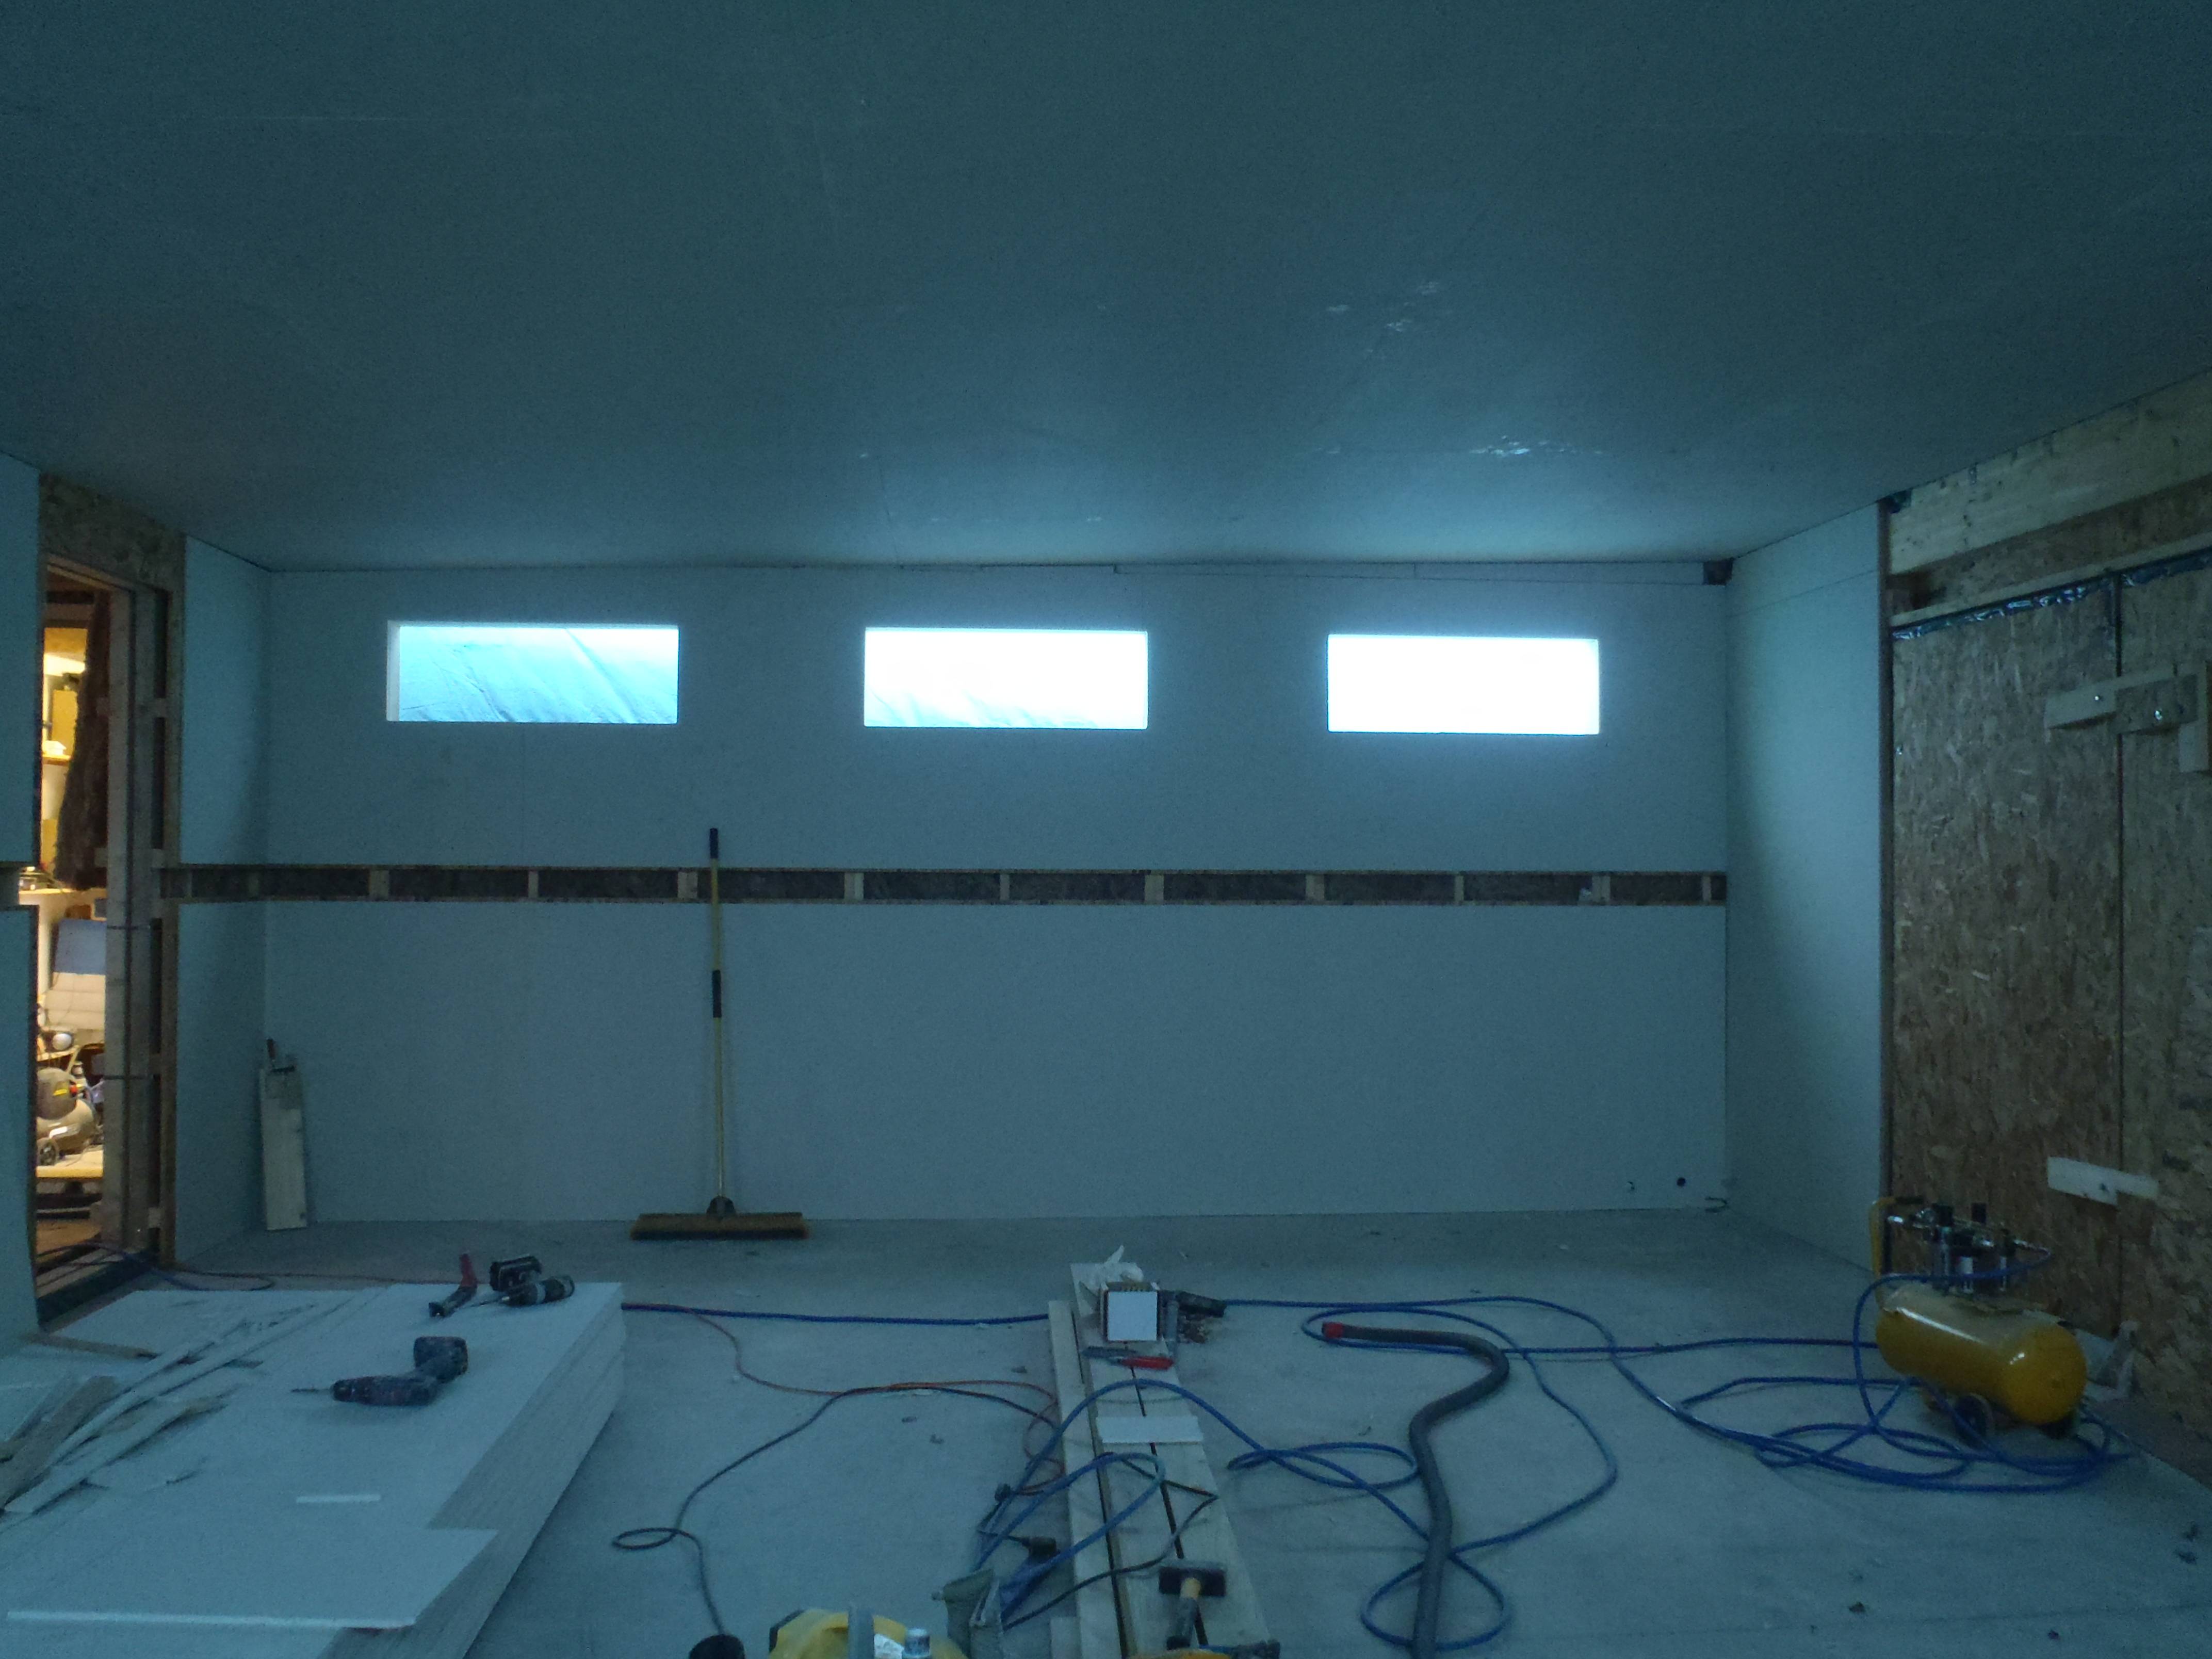
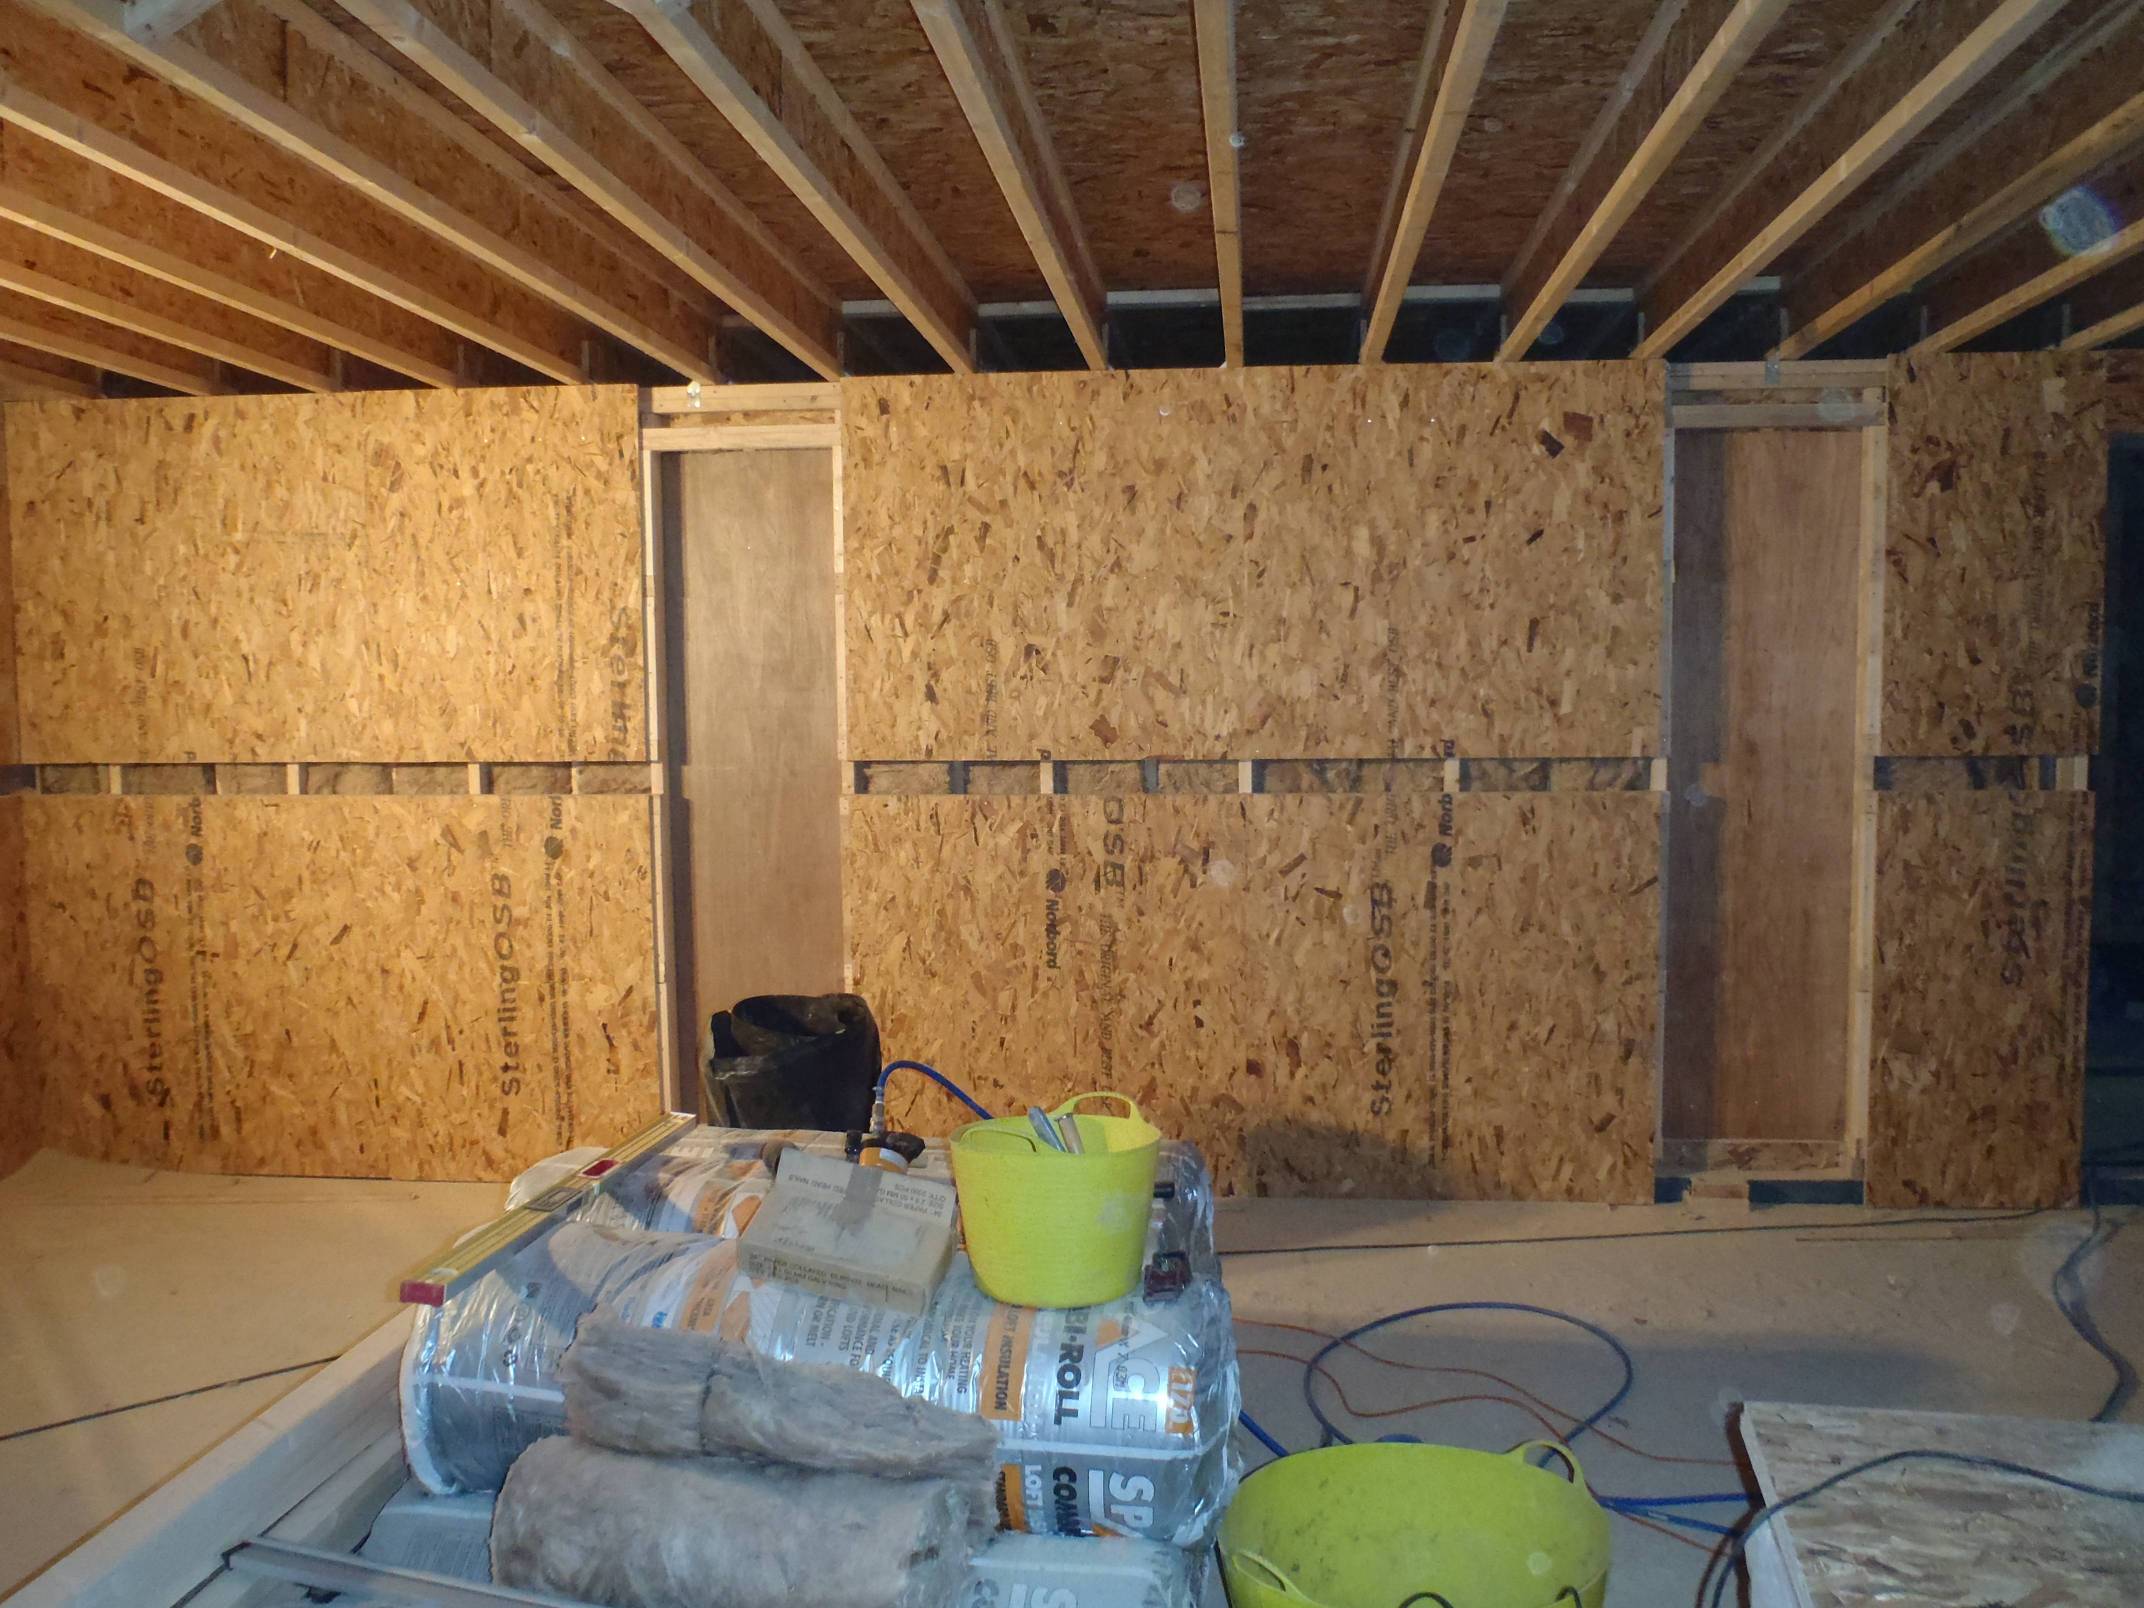
First stage of interior wall completed
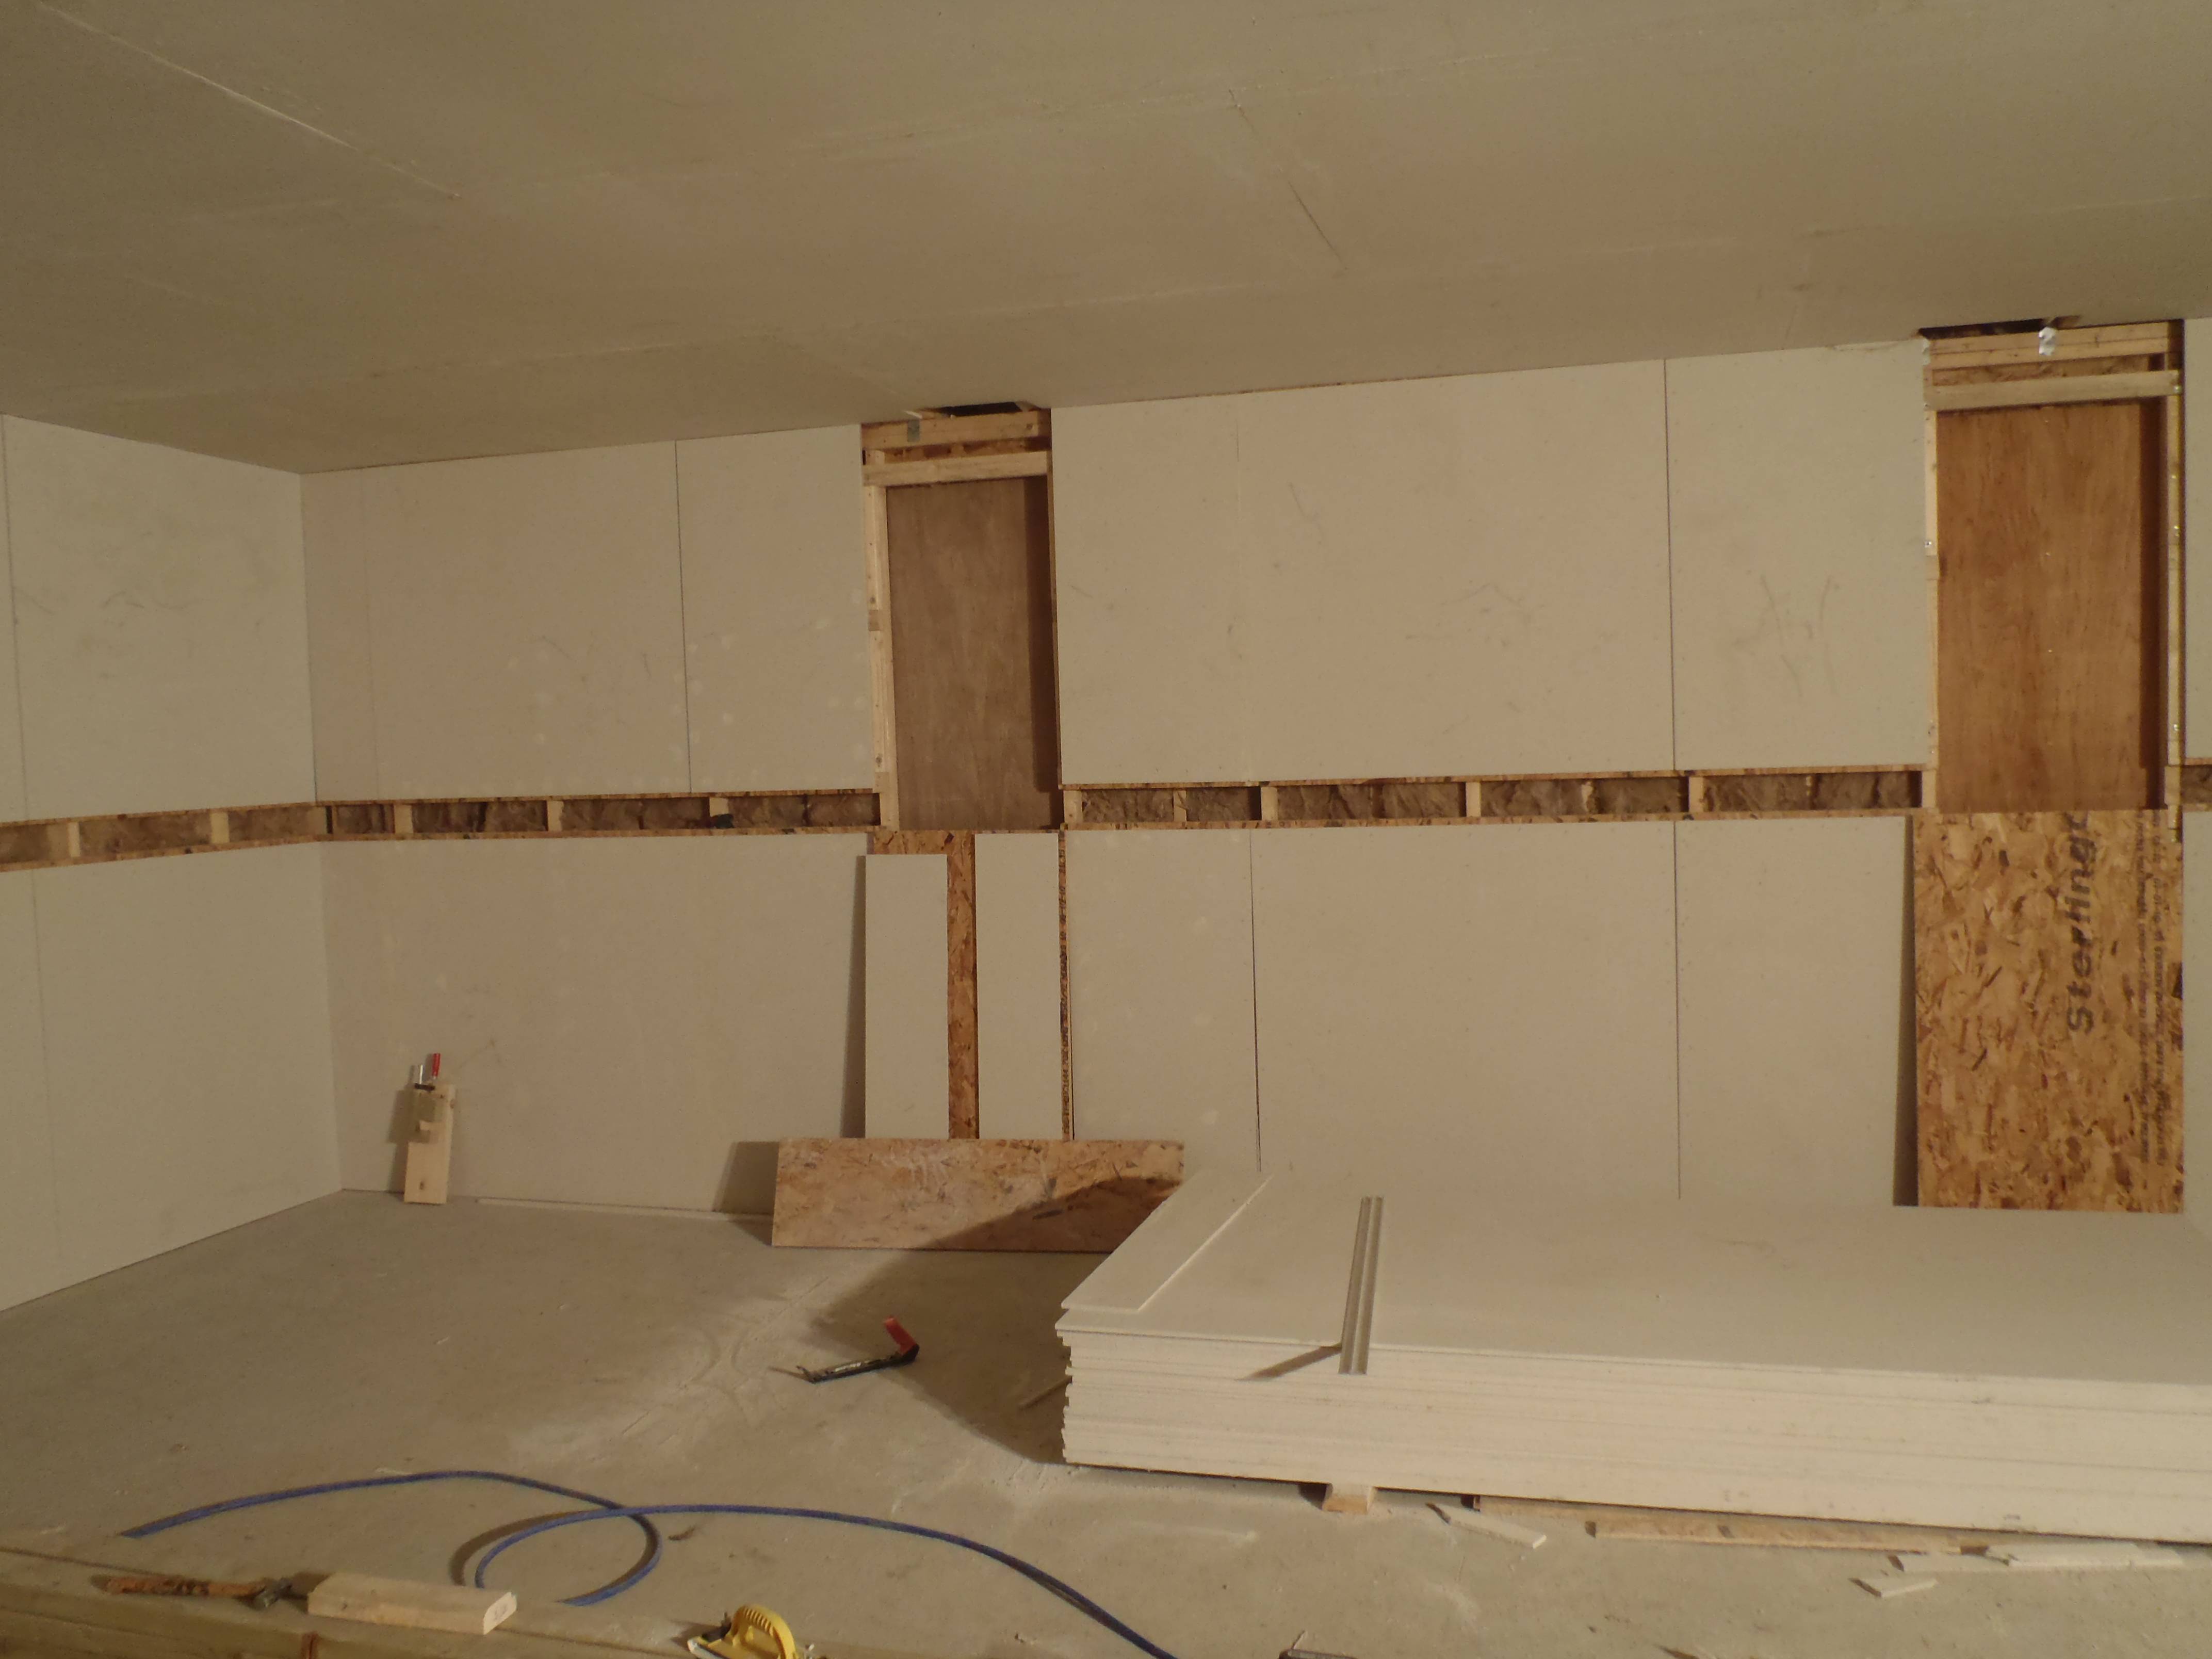
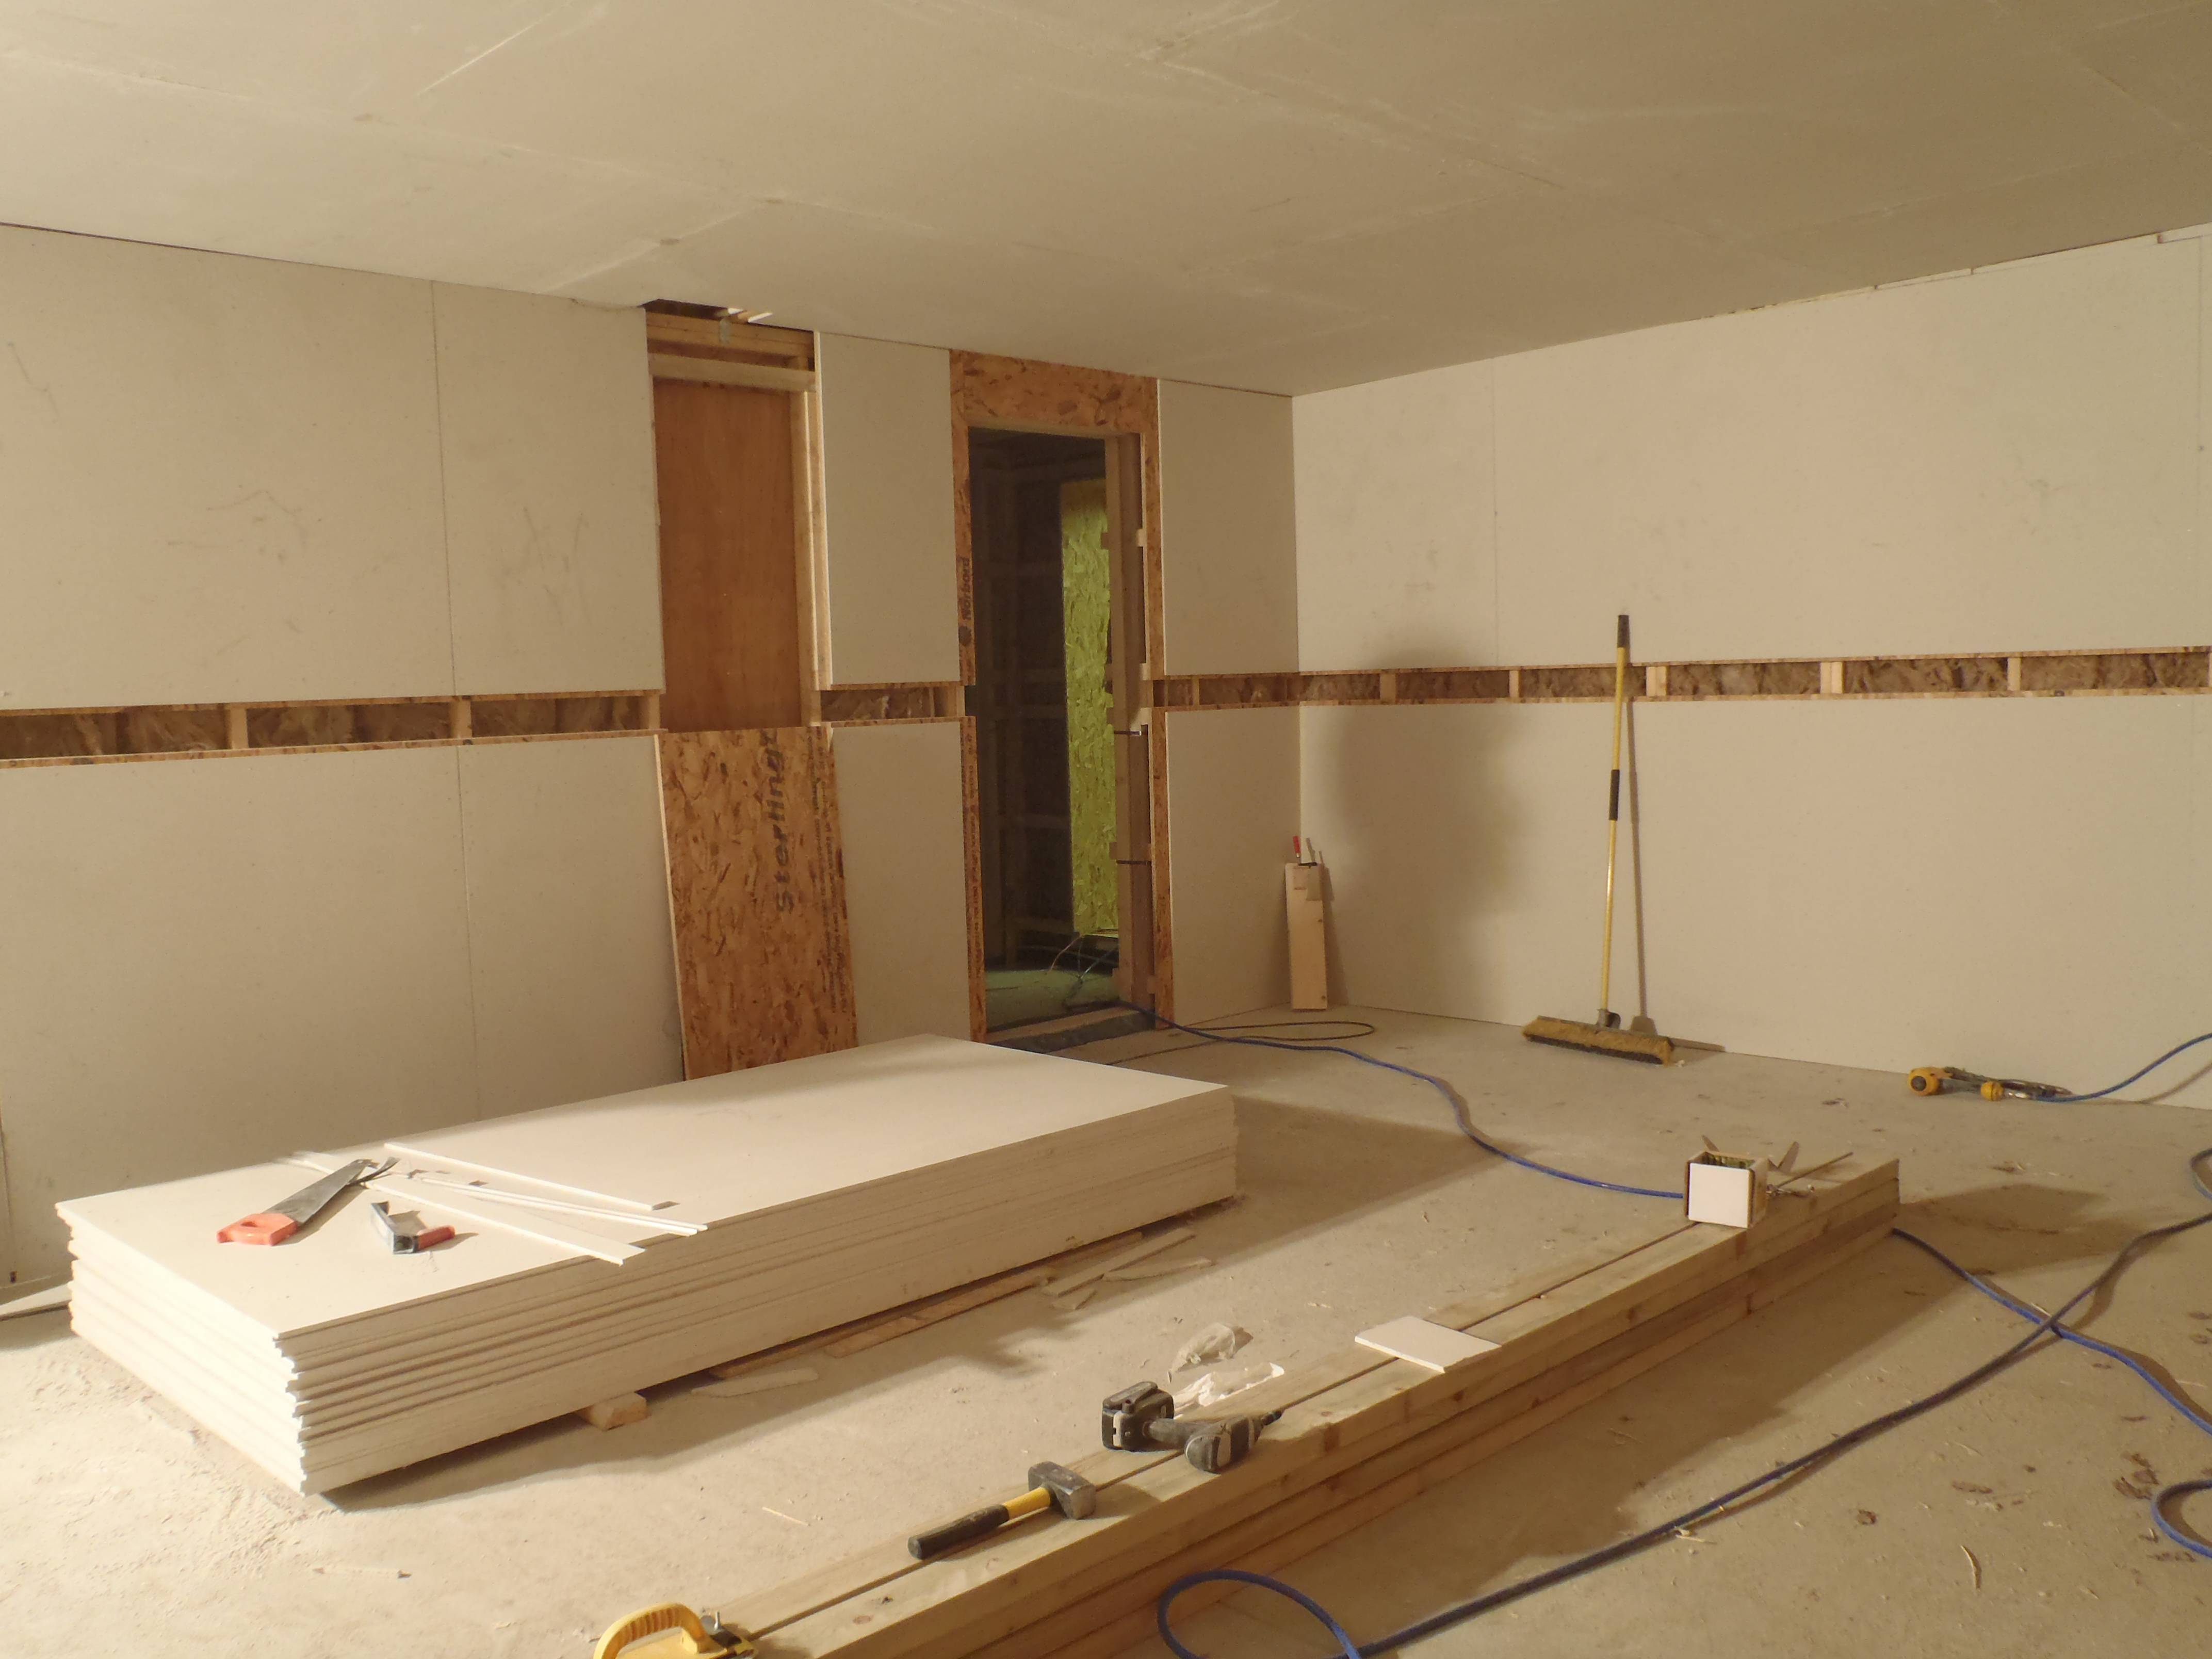
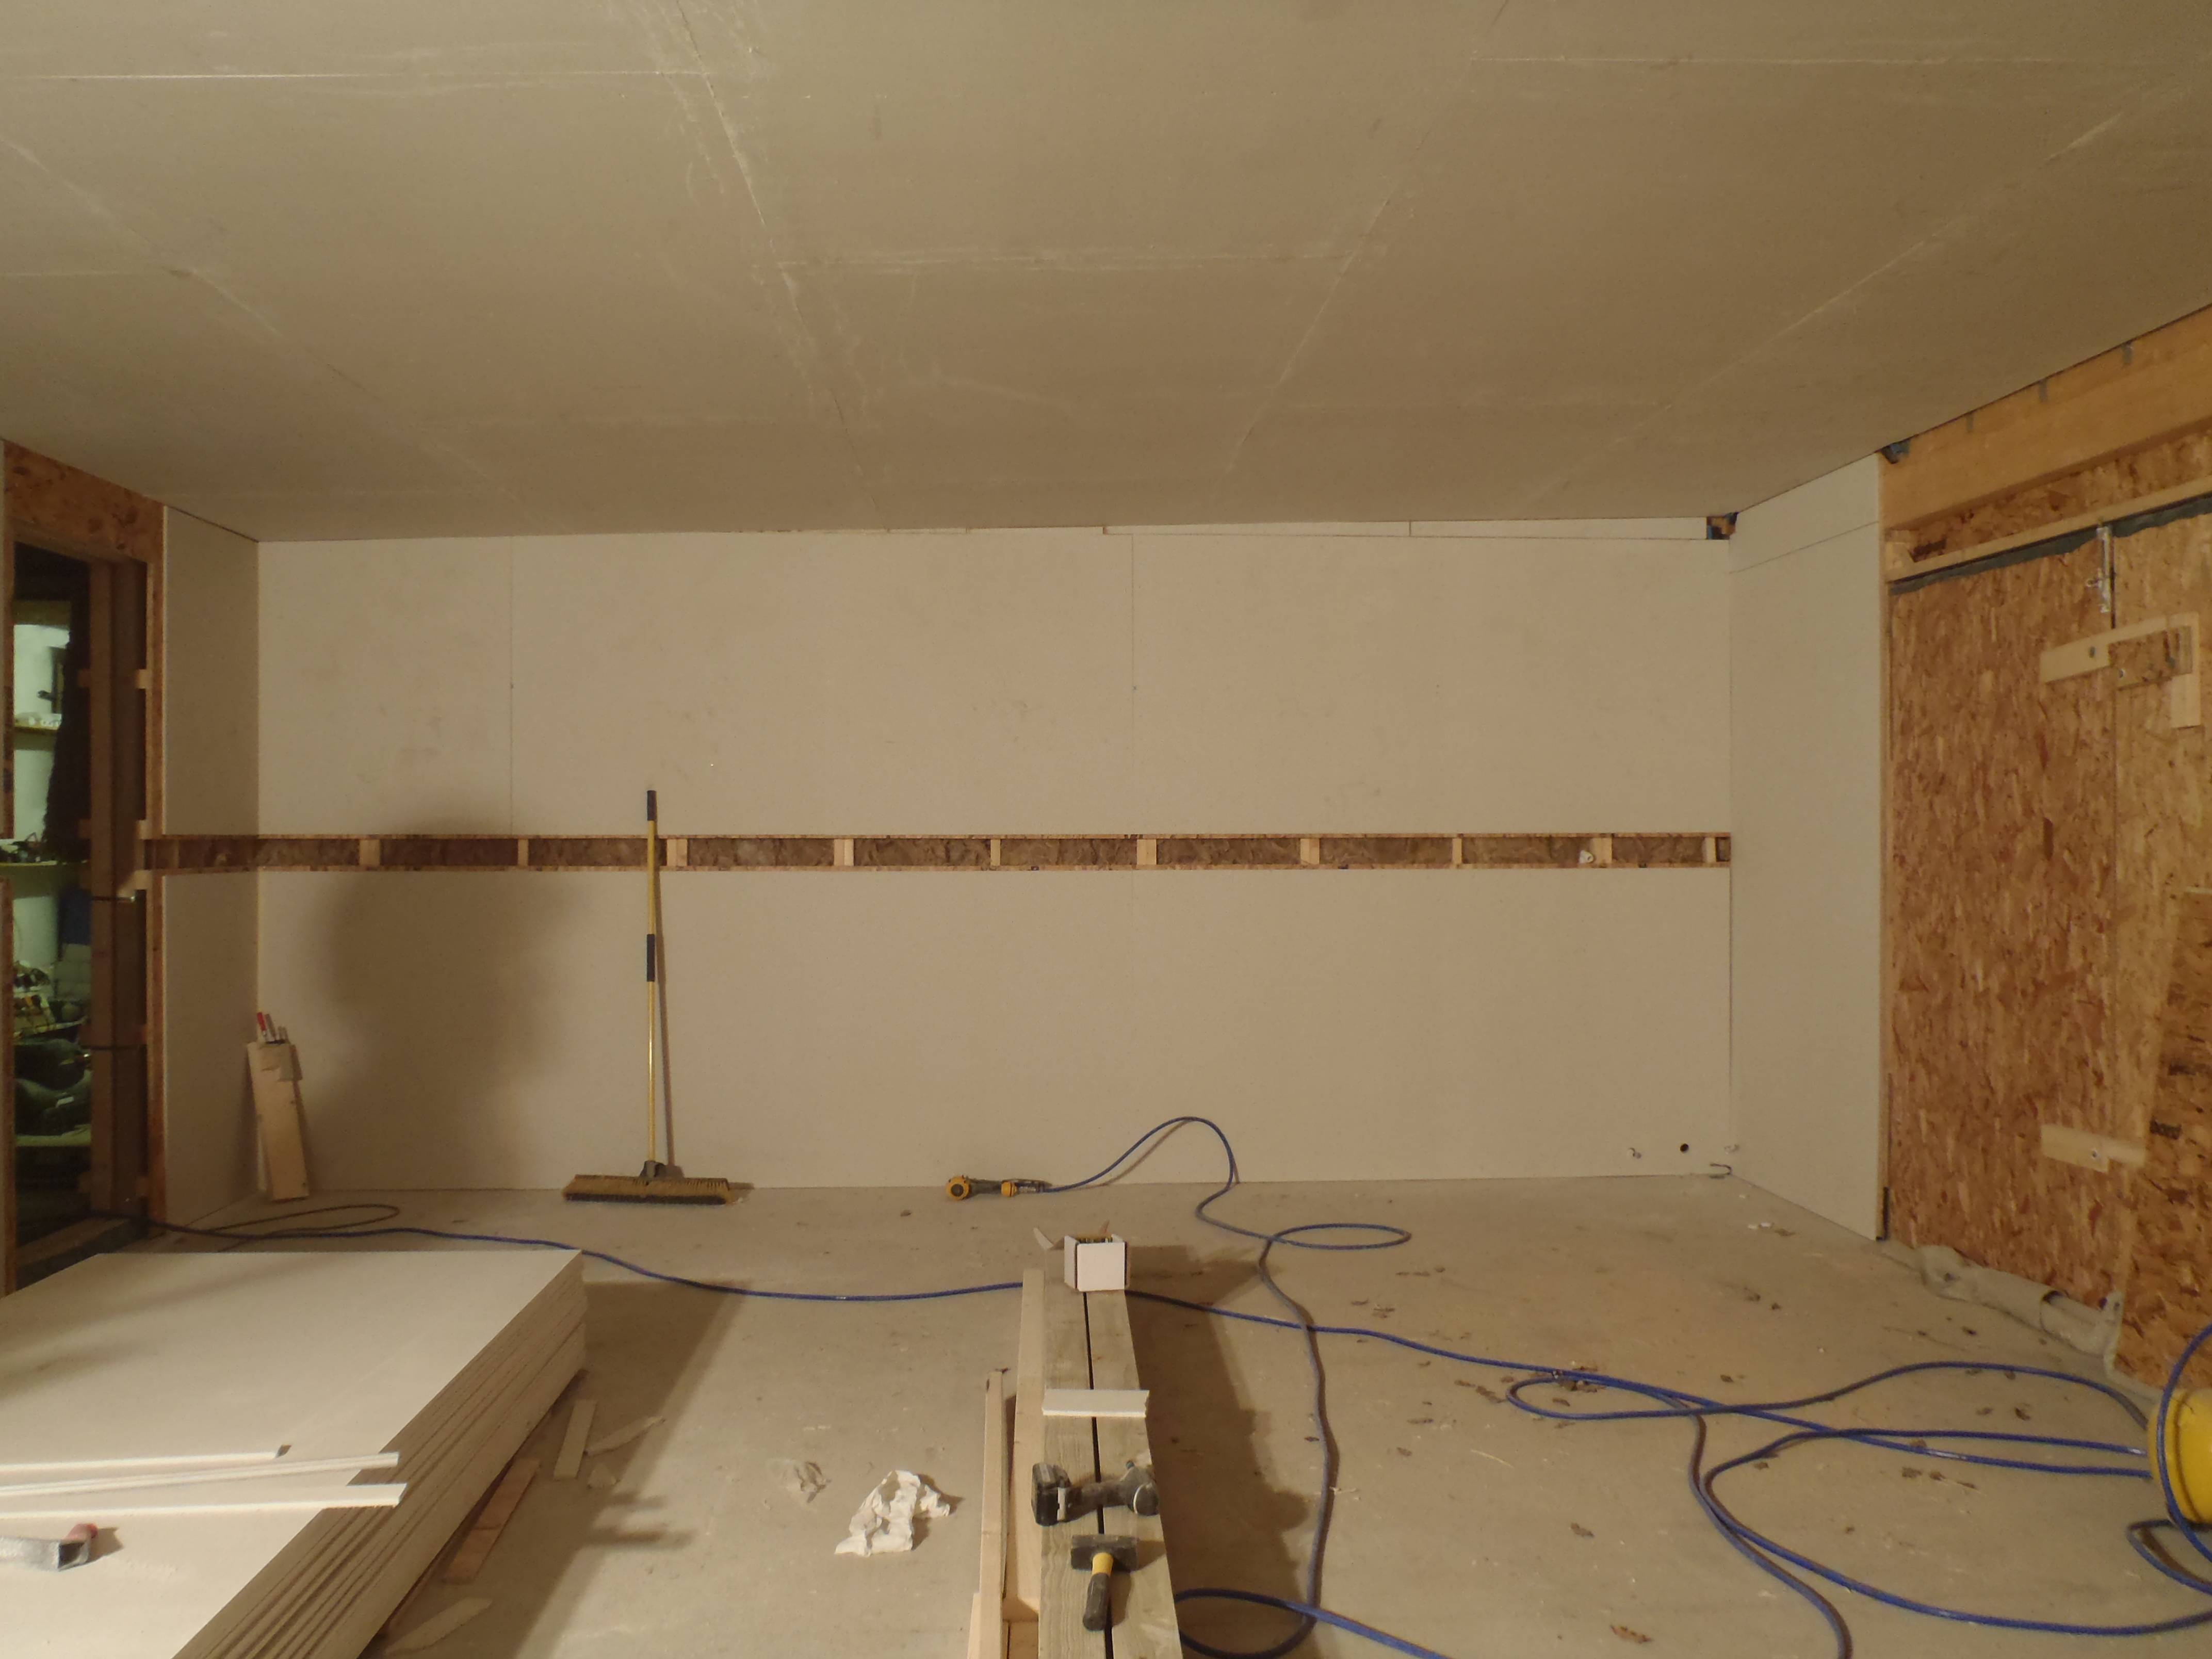
The first stage of the interior assembly of the walls is completed, well at least the front part of the garage is!

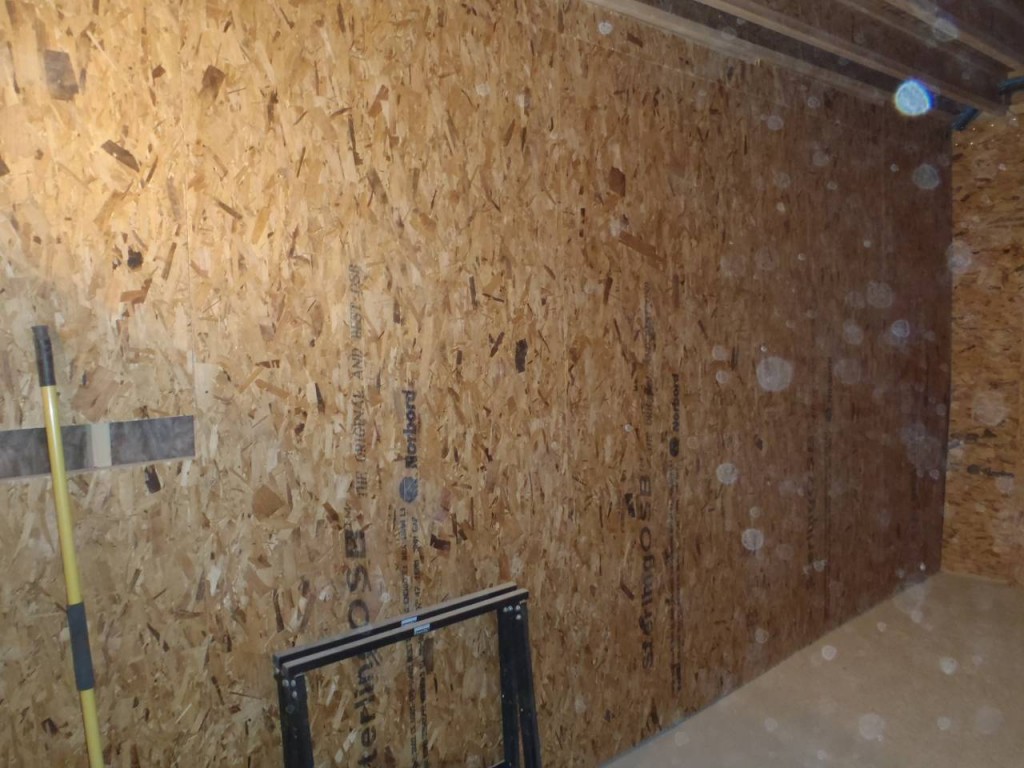
OSB Lining complete

OSB Lining complete

OSB Lining complete
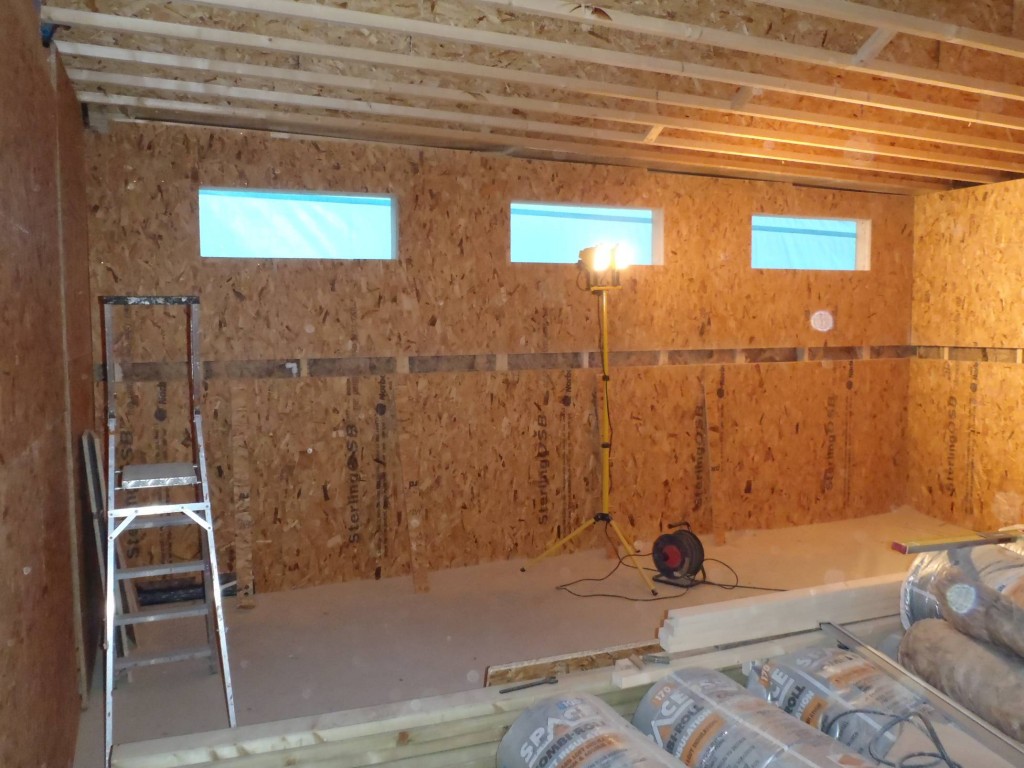
OSB Lining complete
As you can see, there is a slot half way up the wall, called the The Utility Rail, open and ready for the electrical cables etc. It is a 100mm (4inches) high cavity all the way around the garage. This will allow us to have sockets anywhere we want as well as compressed air outlets, data network connections, vacuum ports and anything else we might think of in years to come!

Drift of sawdust
It was a pretty dusty environment we were working in but we had dust masks and thank goodness we had especially when we were sweeping the sawdust up!
The Fermacell will go up on the ceiling first tomorrow and then on the walls themselves in a few days time. This will create almost the final finishing surface! Just nice brilliant white emulsion paint as the finishing touch!
P.S. The light splotches on the photos are air born dust reflecting the flash.
-
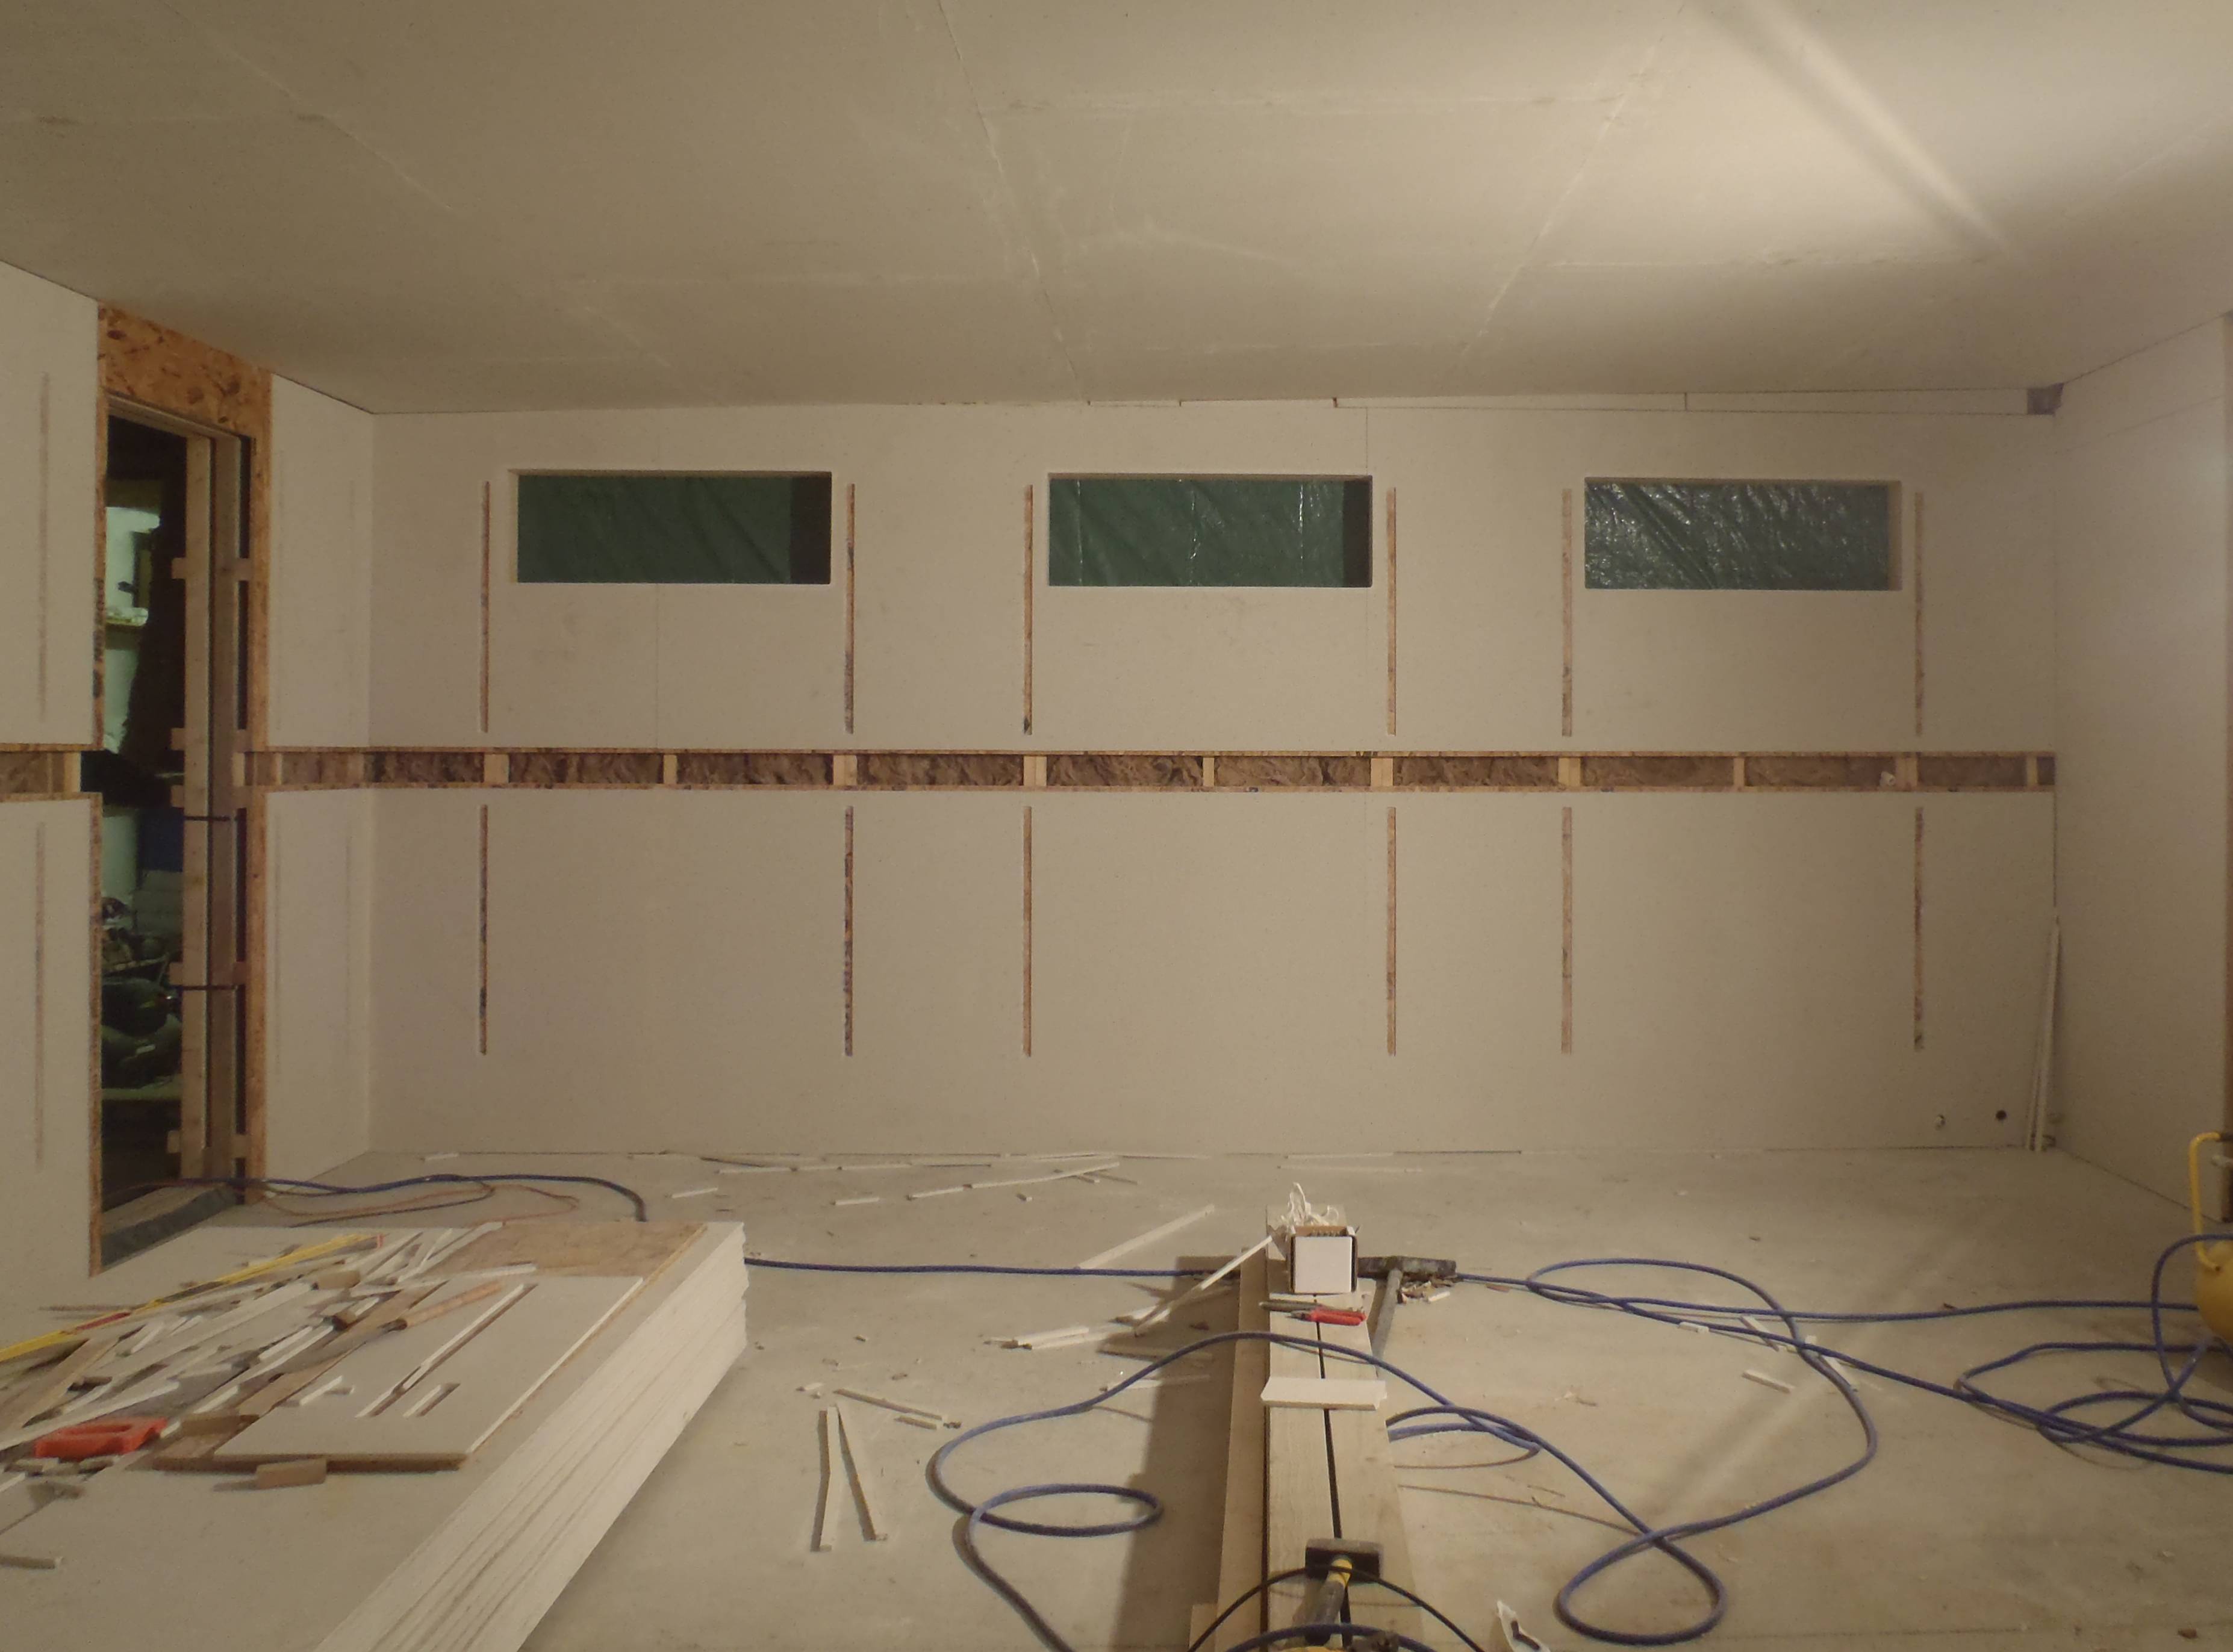
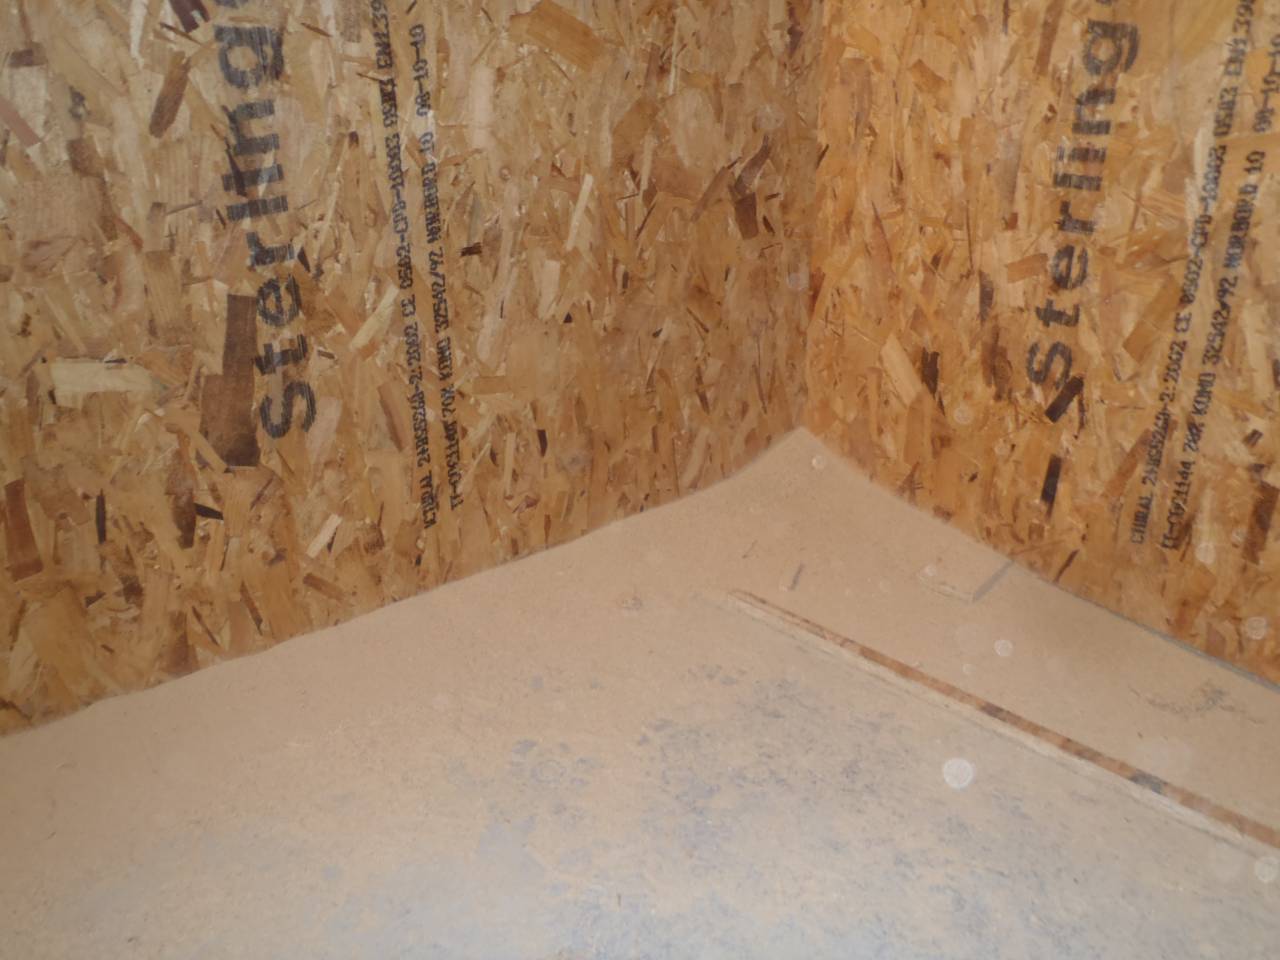
First Layer of wall boards is going on!
In the garage, the front part, we have been putting up the first layer of wall boards. This layer is made of sheets of 18mm OSB with the edges cut to form tongues and grooves interlocking structures to make a very strong joints without the need to keep aligning the sheet’s edges onto the horizontal battens.
We have done the left and right hand side of the garage and have started on the middle wall.
OSB lining on outside walls
OSB lining on outside walls
Once we finished the middle wall, we will then insert the glass wool insulation into the roof space and cover it all up with our new Fermacell. Then go around to place more Fermacell on the walls too! That would make the front part of the garage pretty much finished, apart from the lights, utility rail and electrical cables!