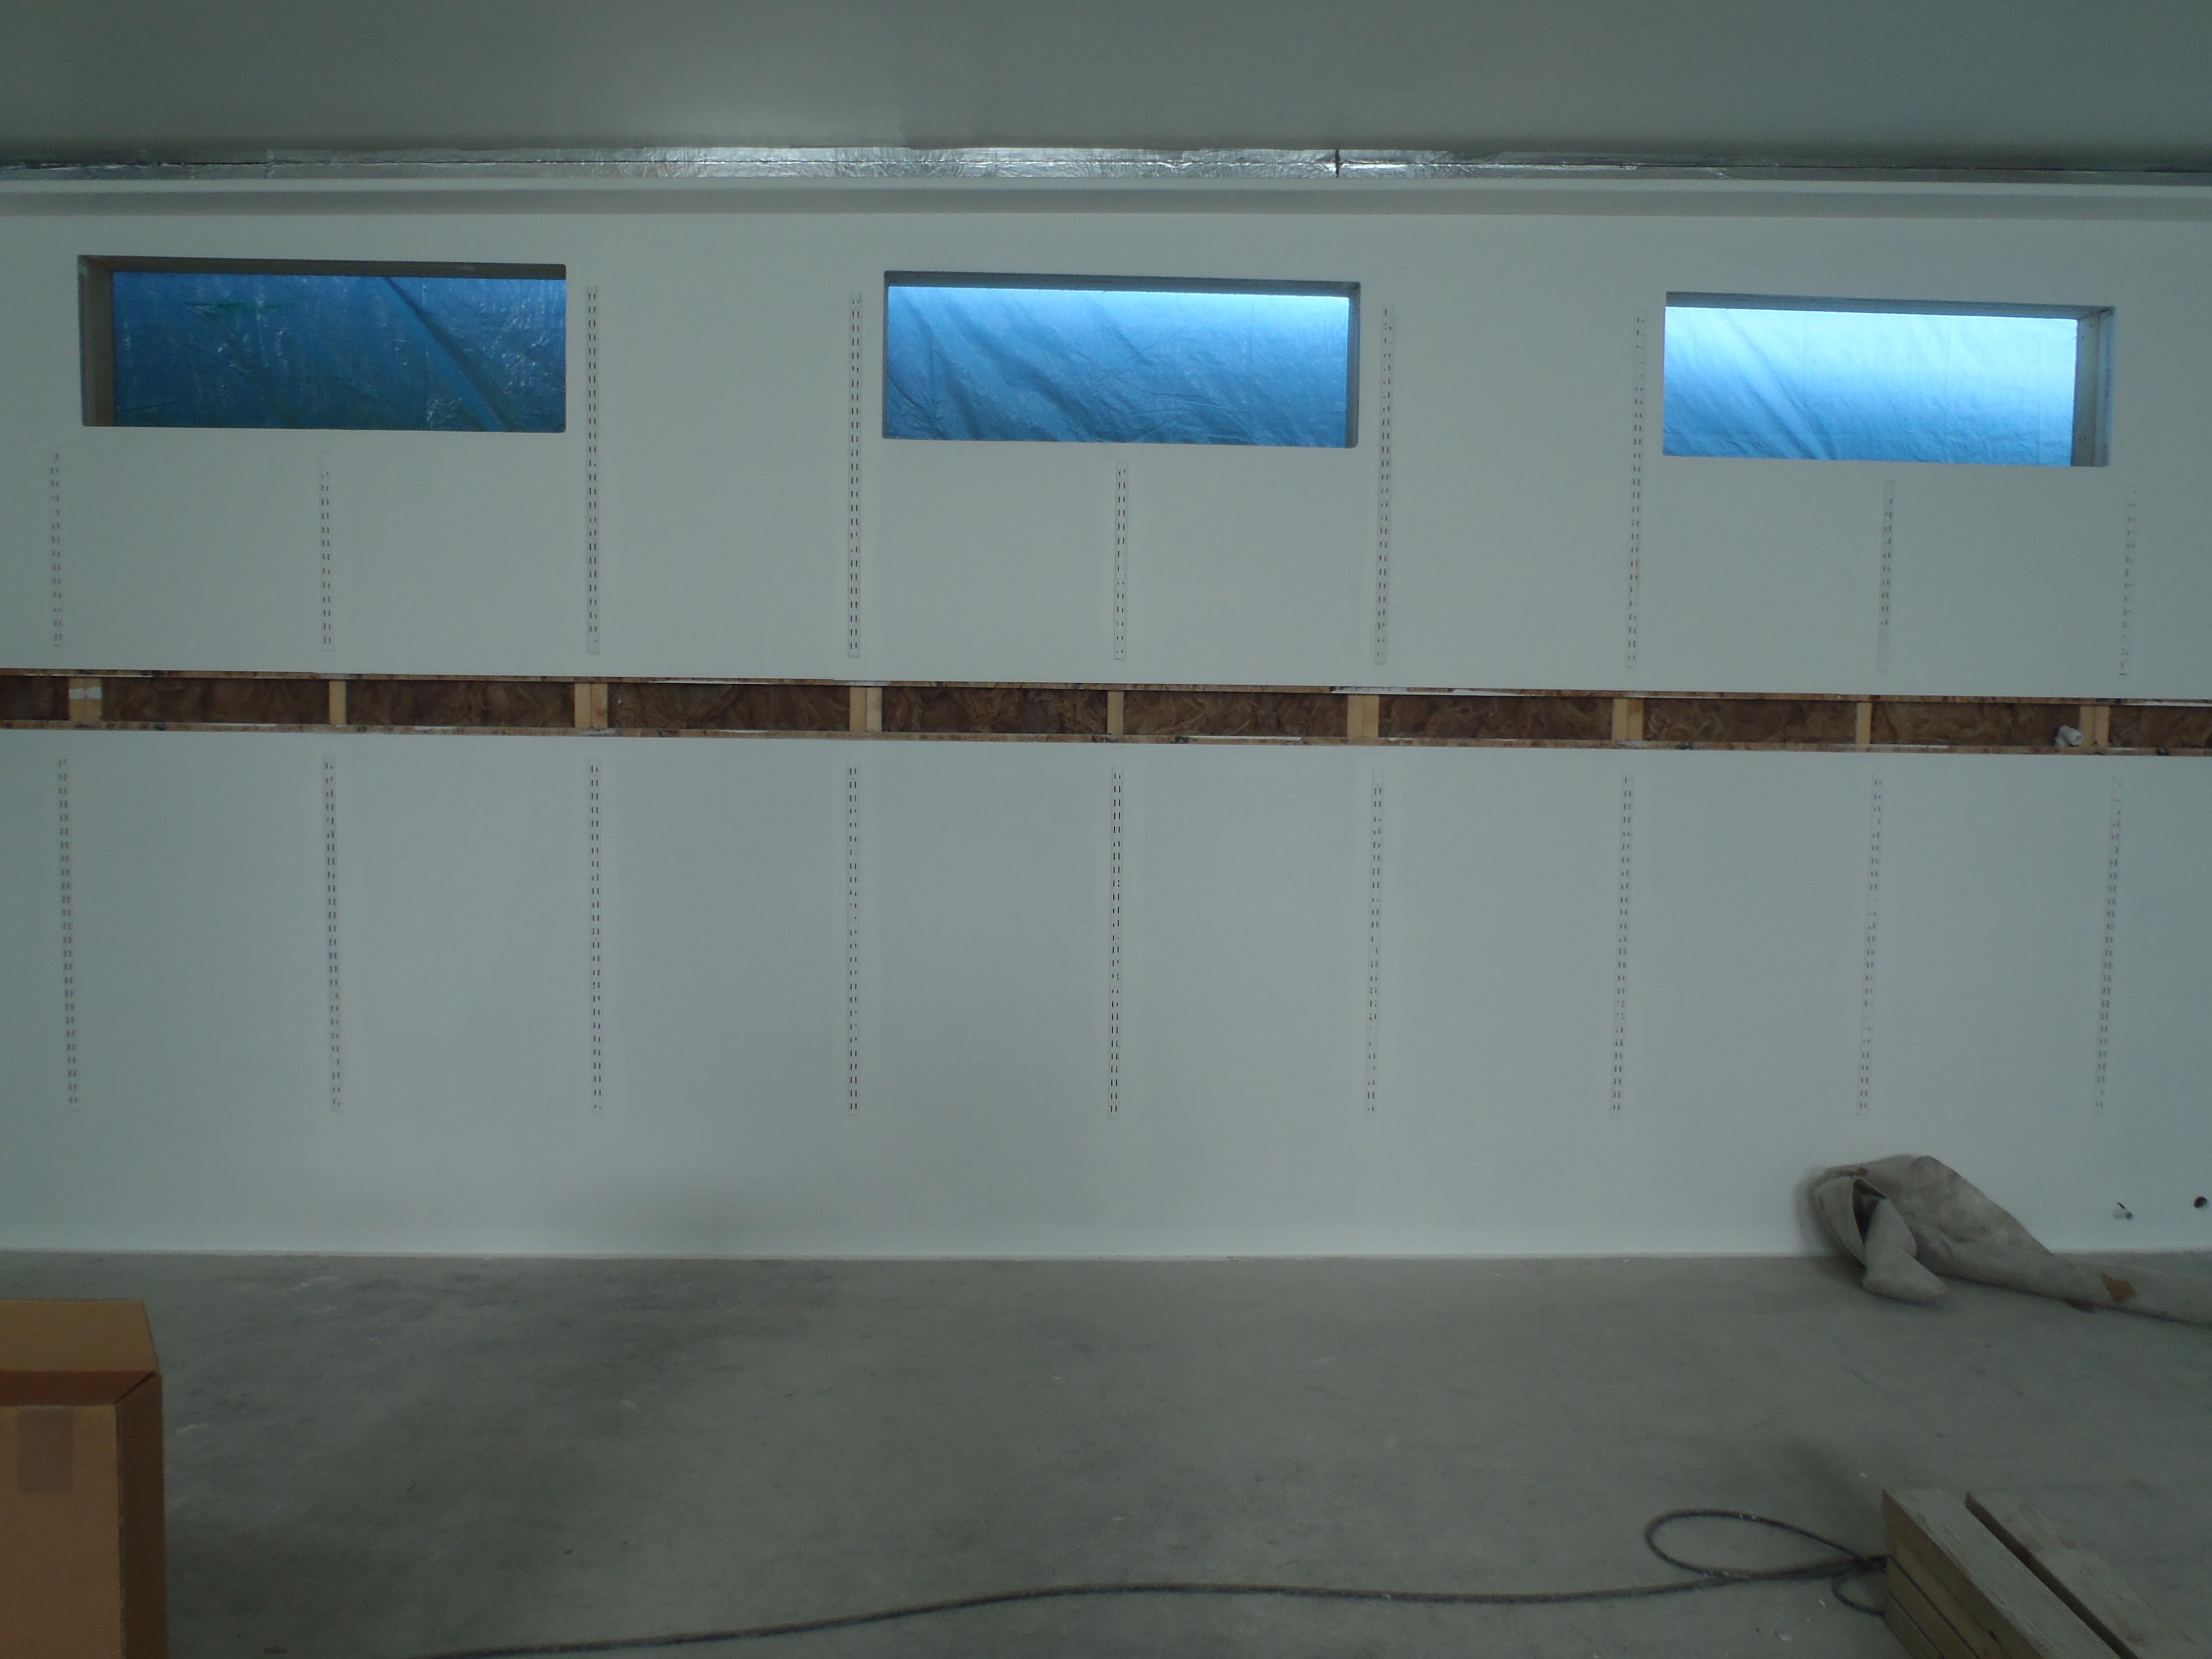
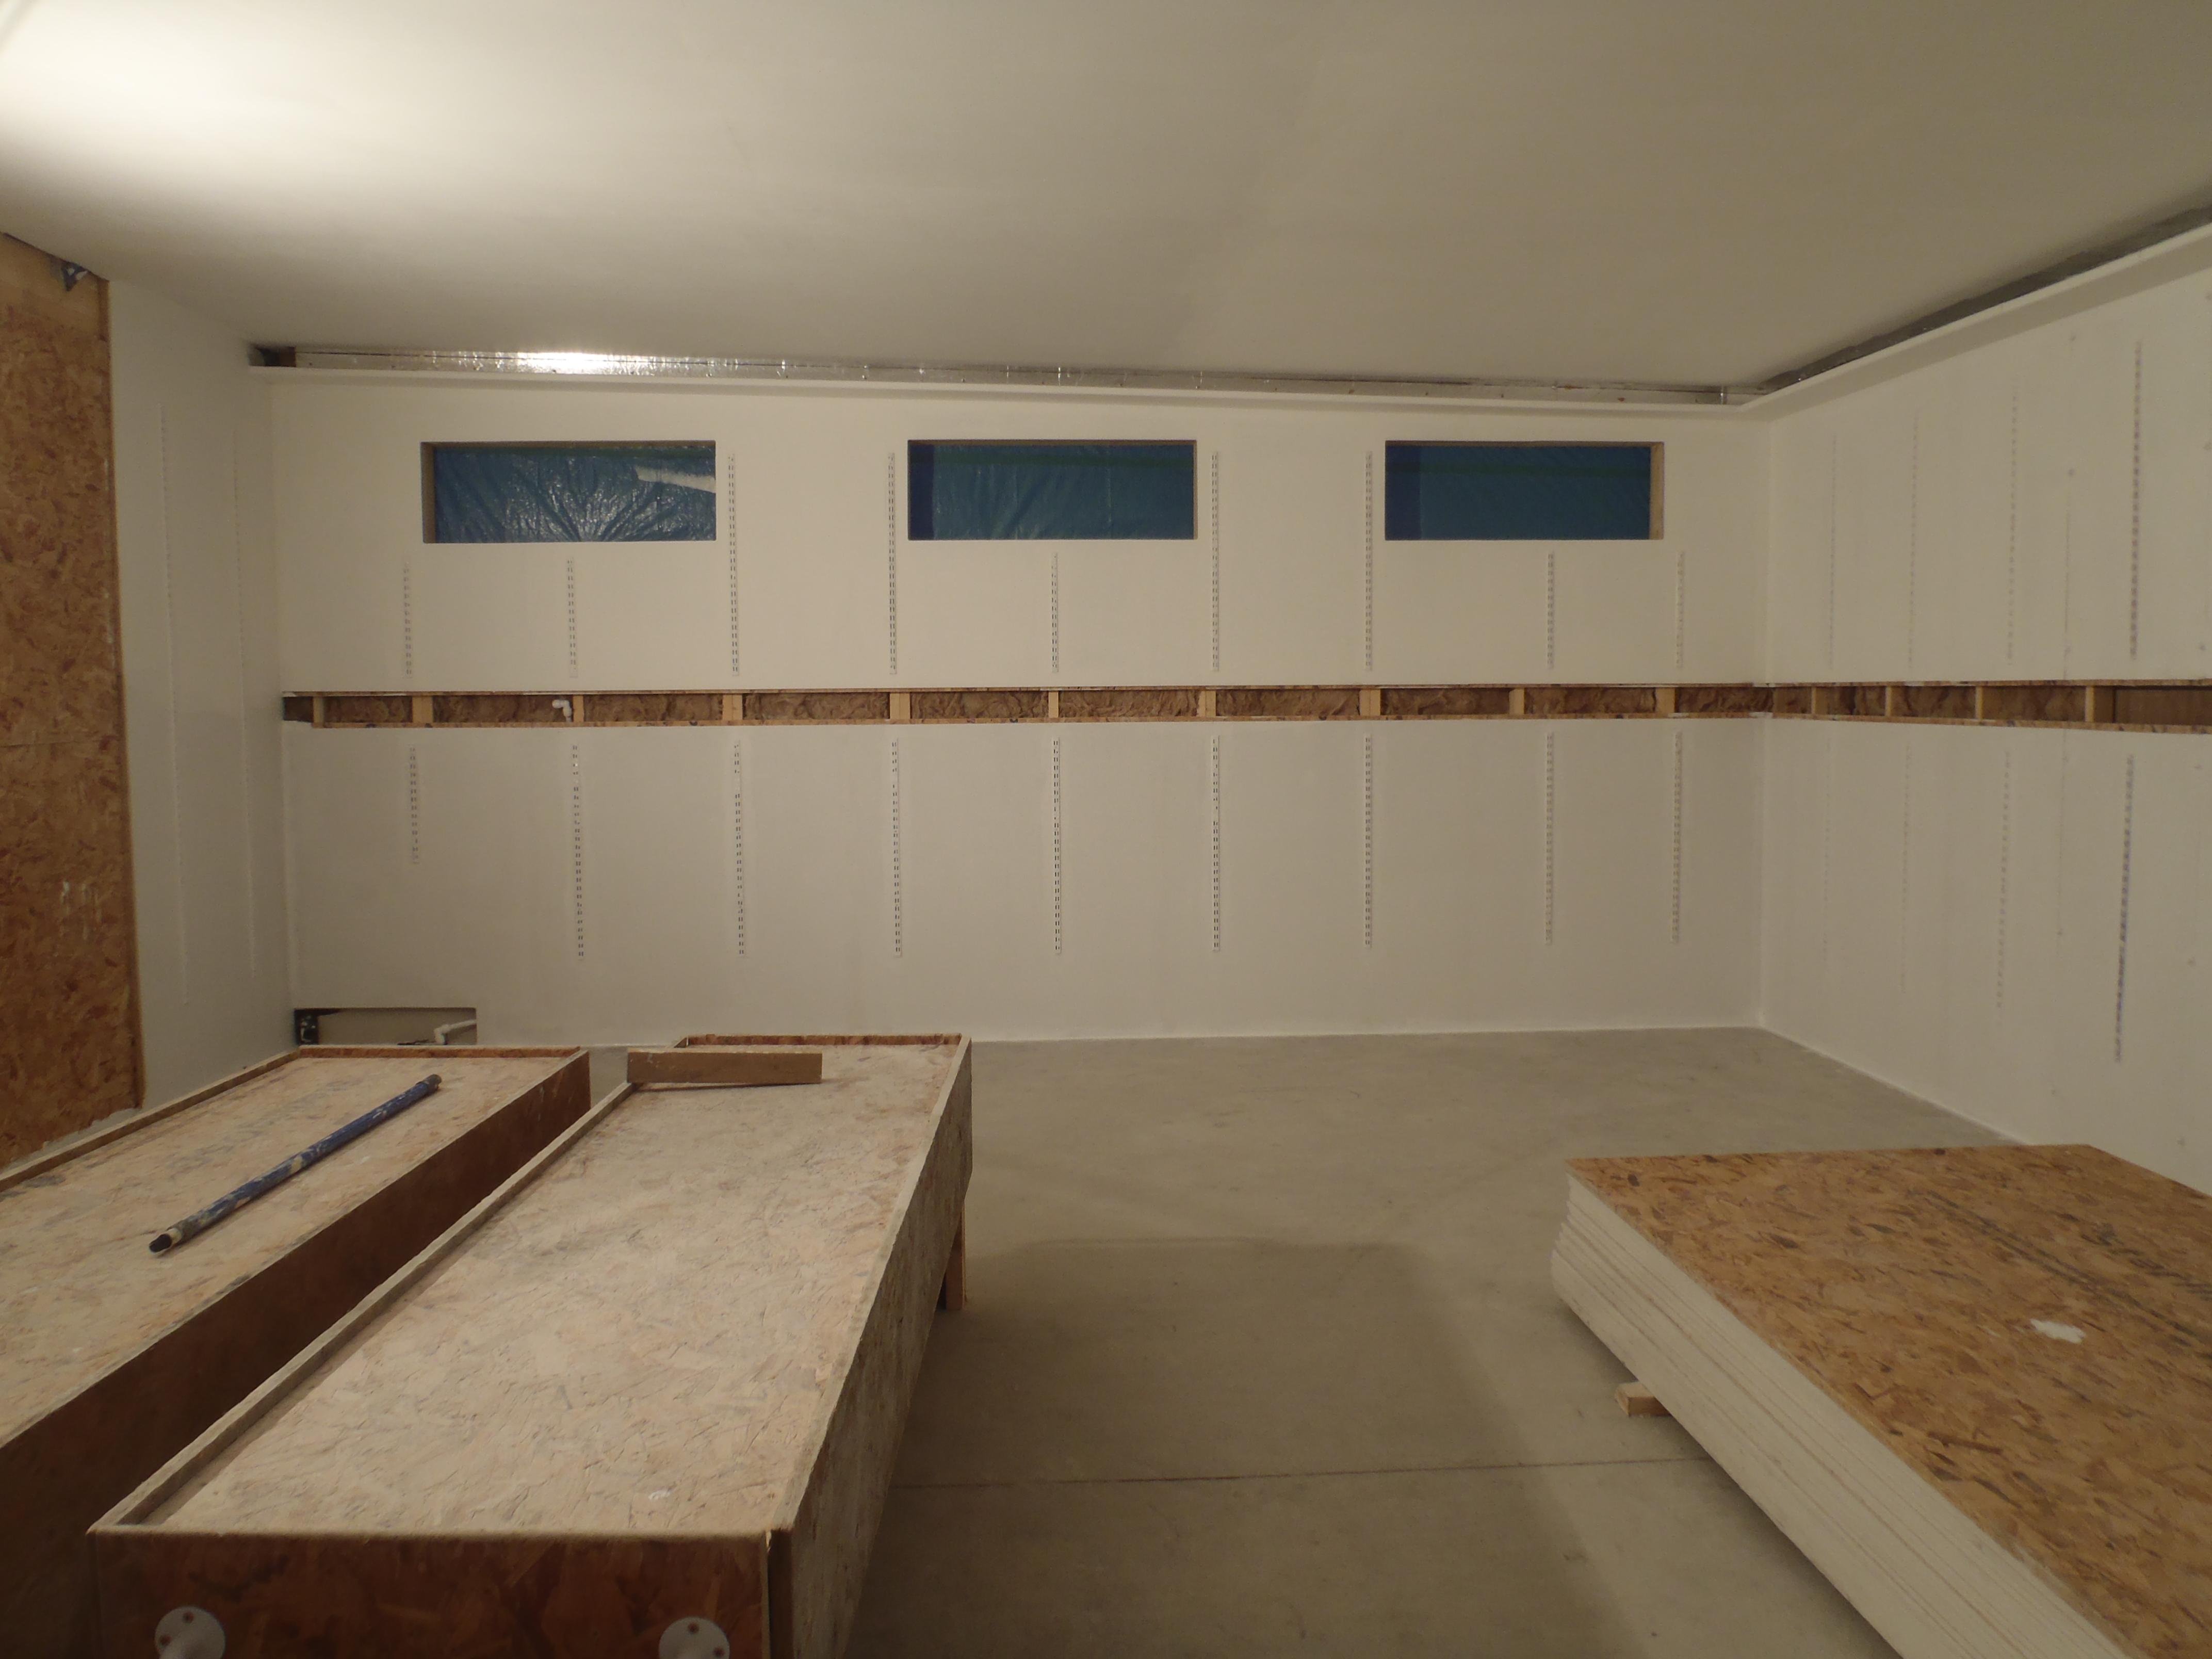
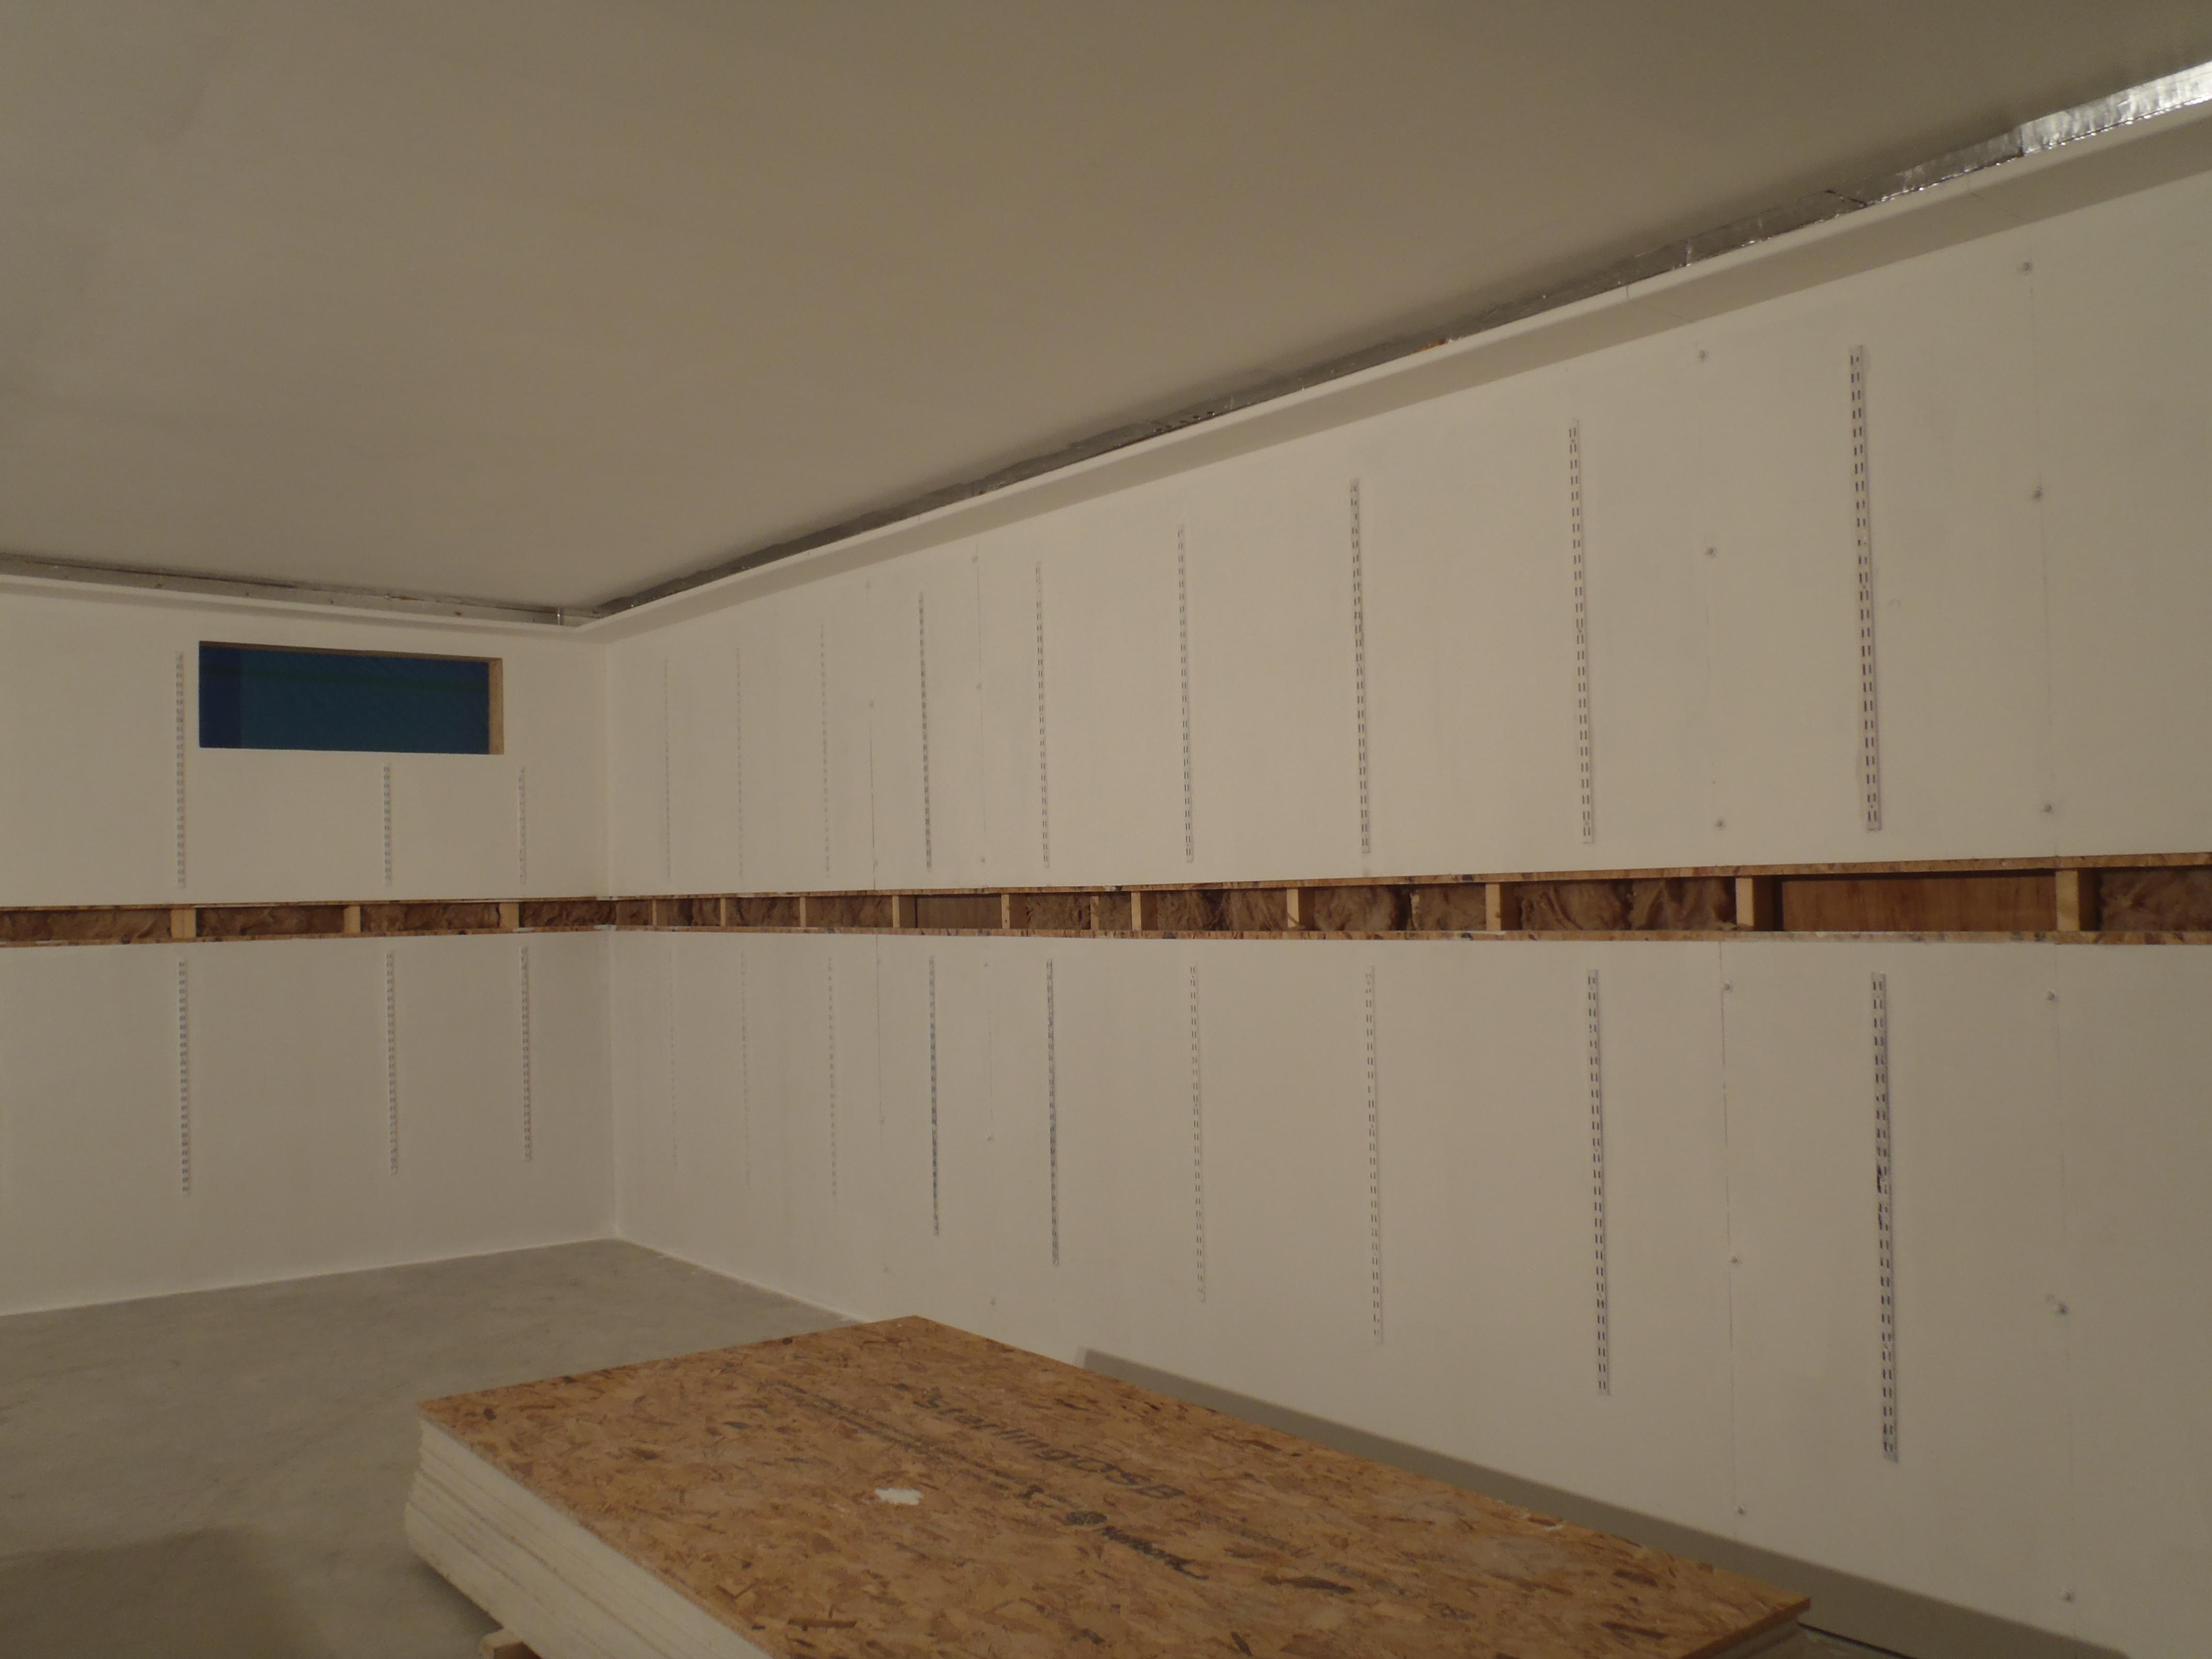
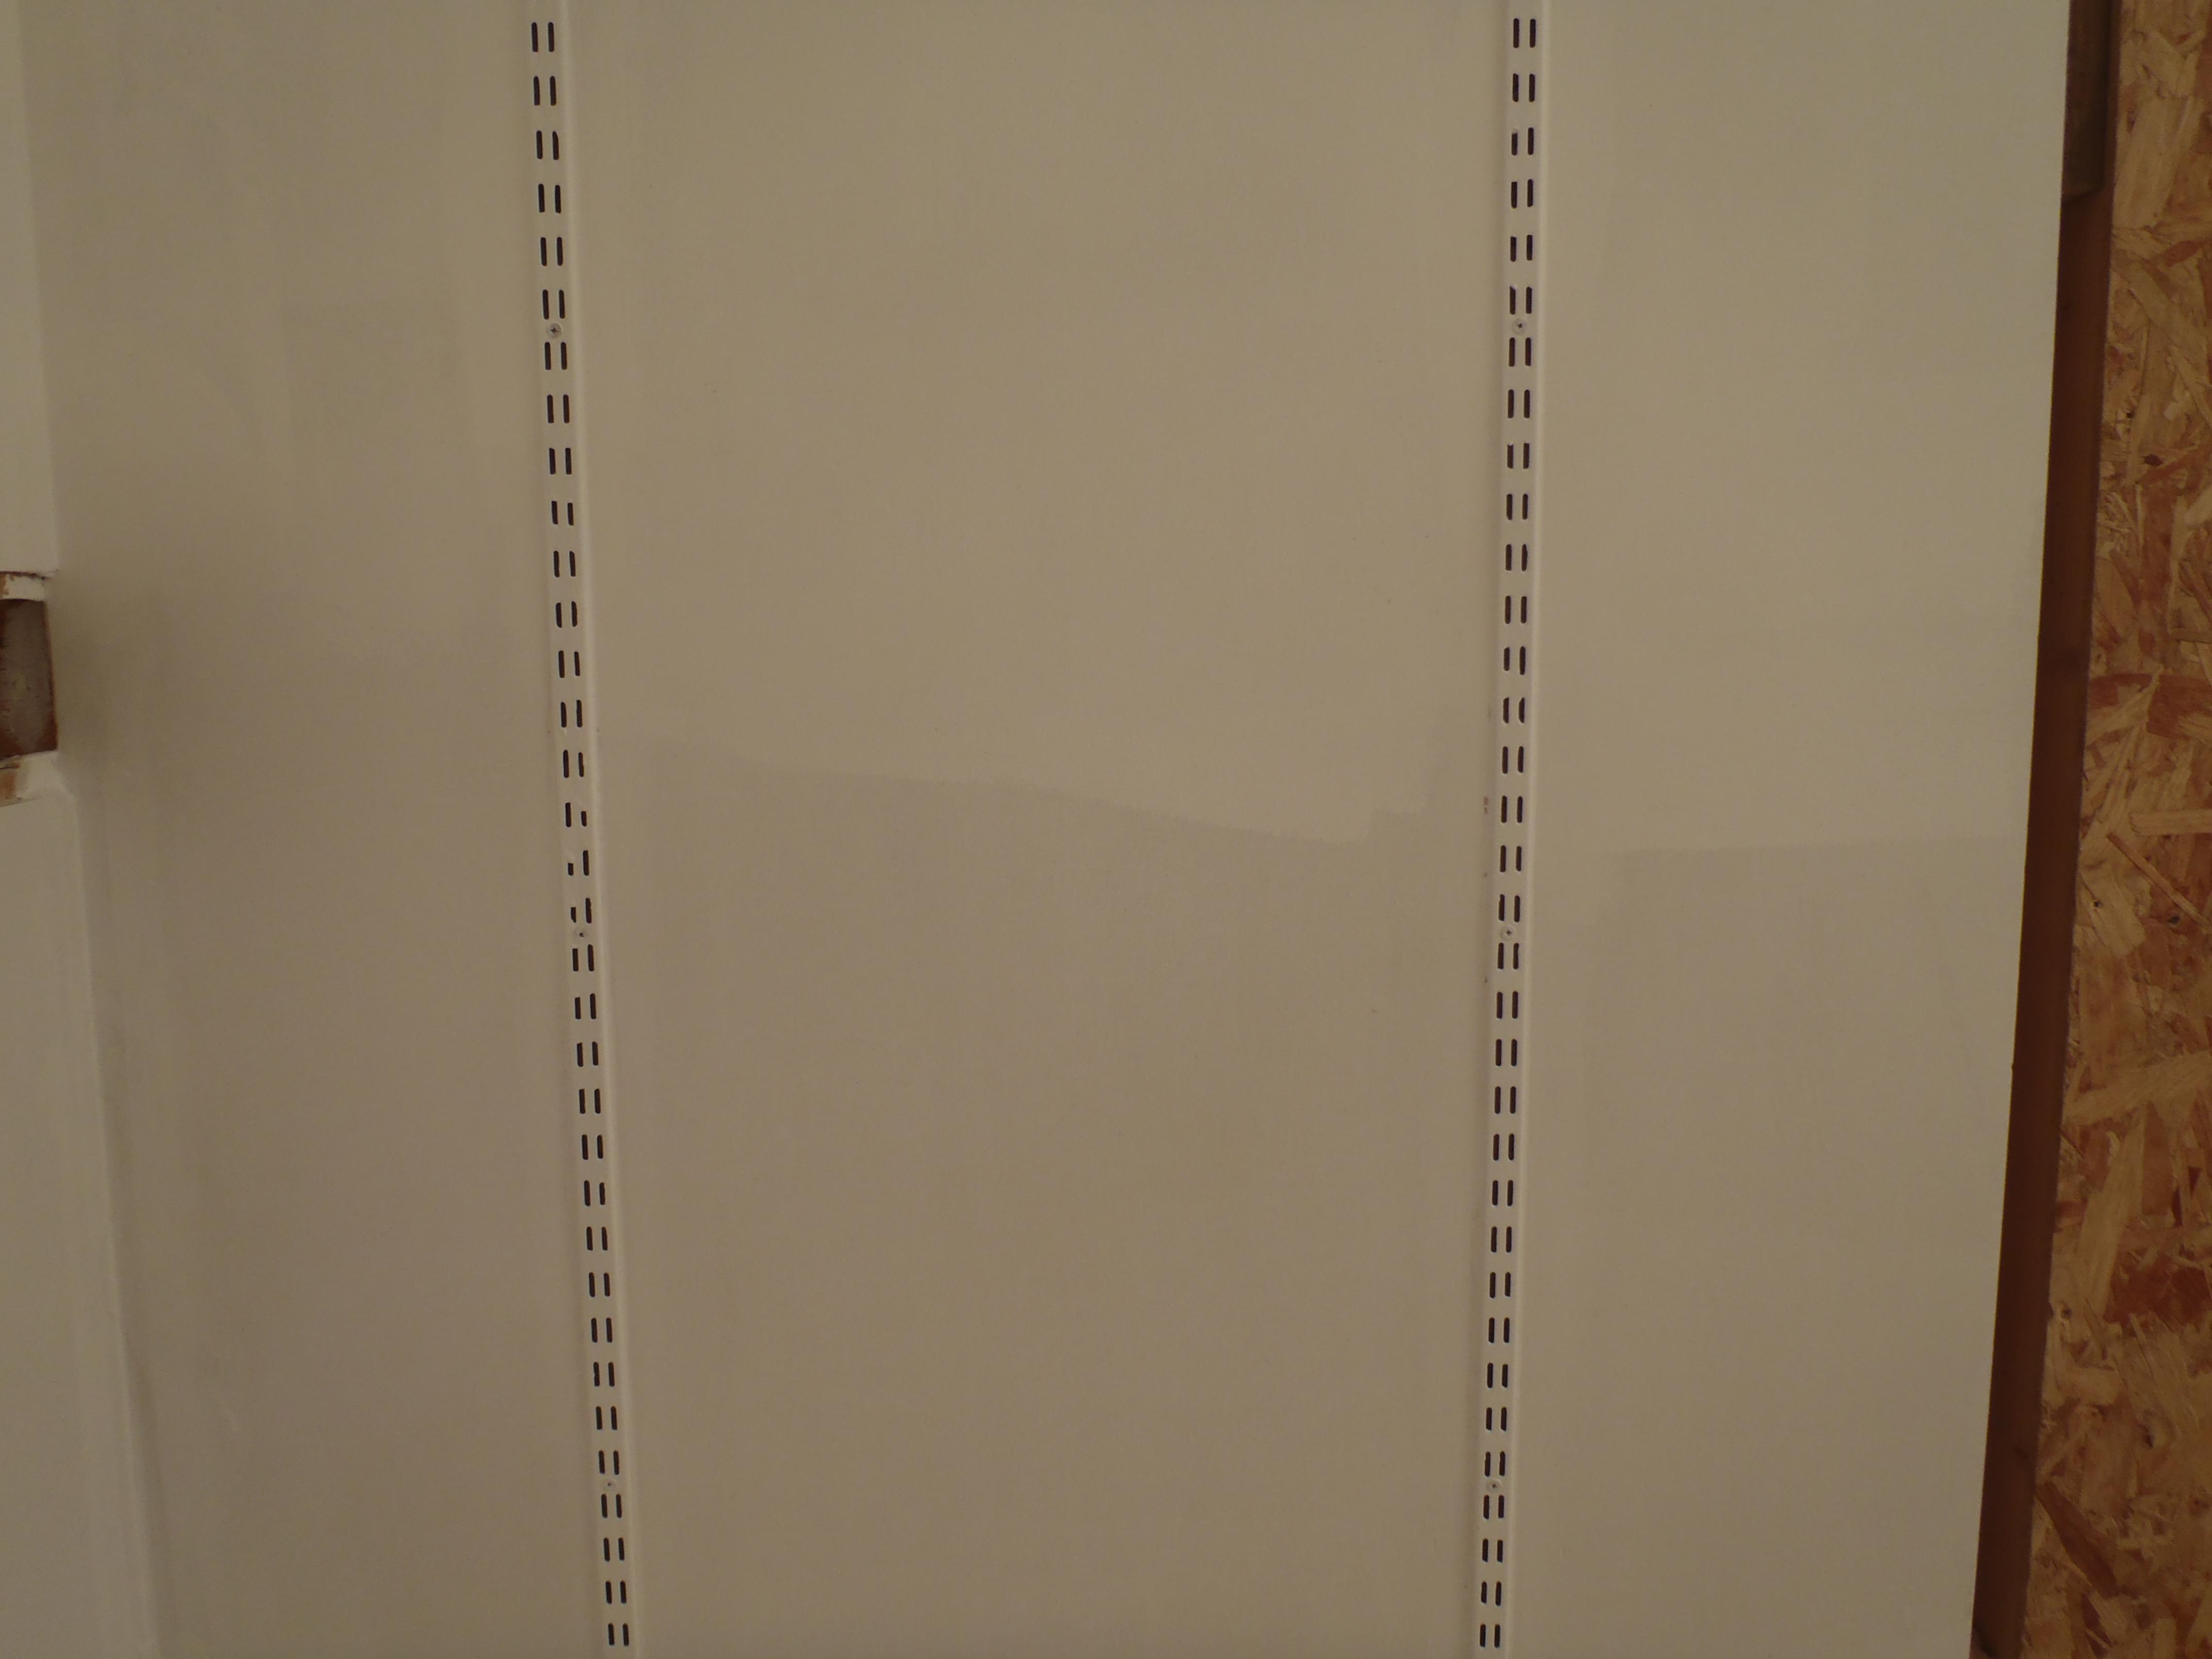
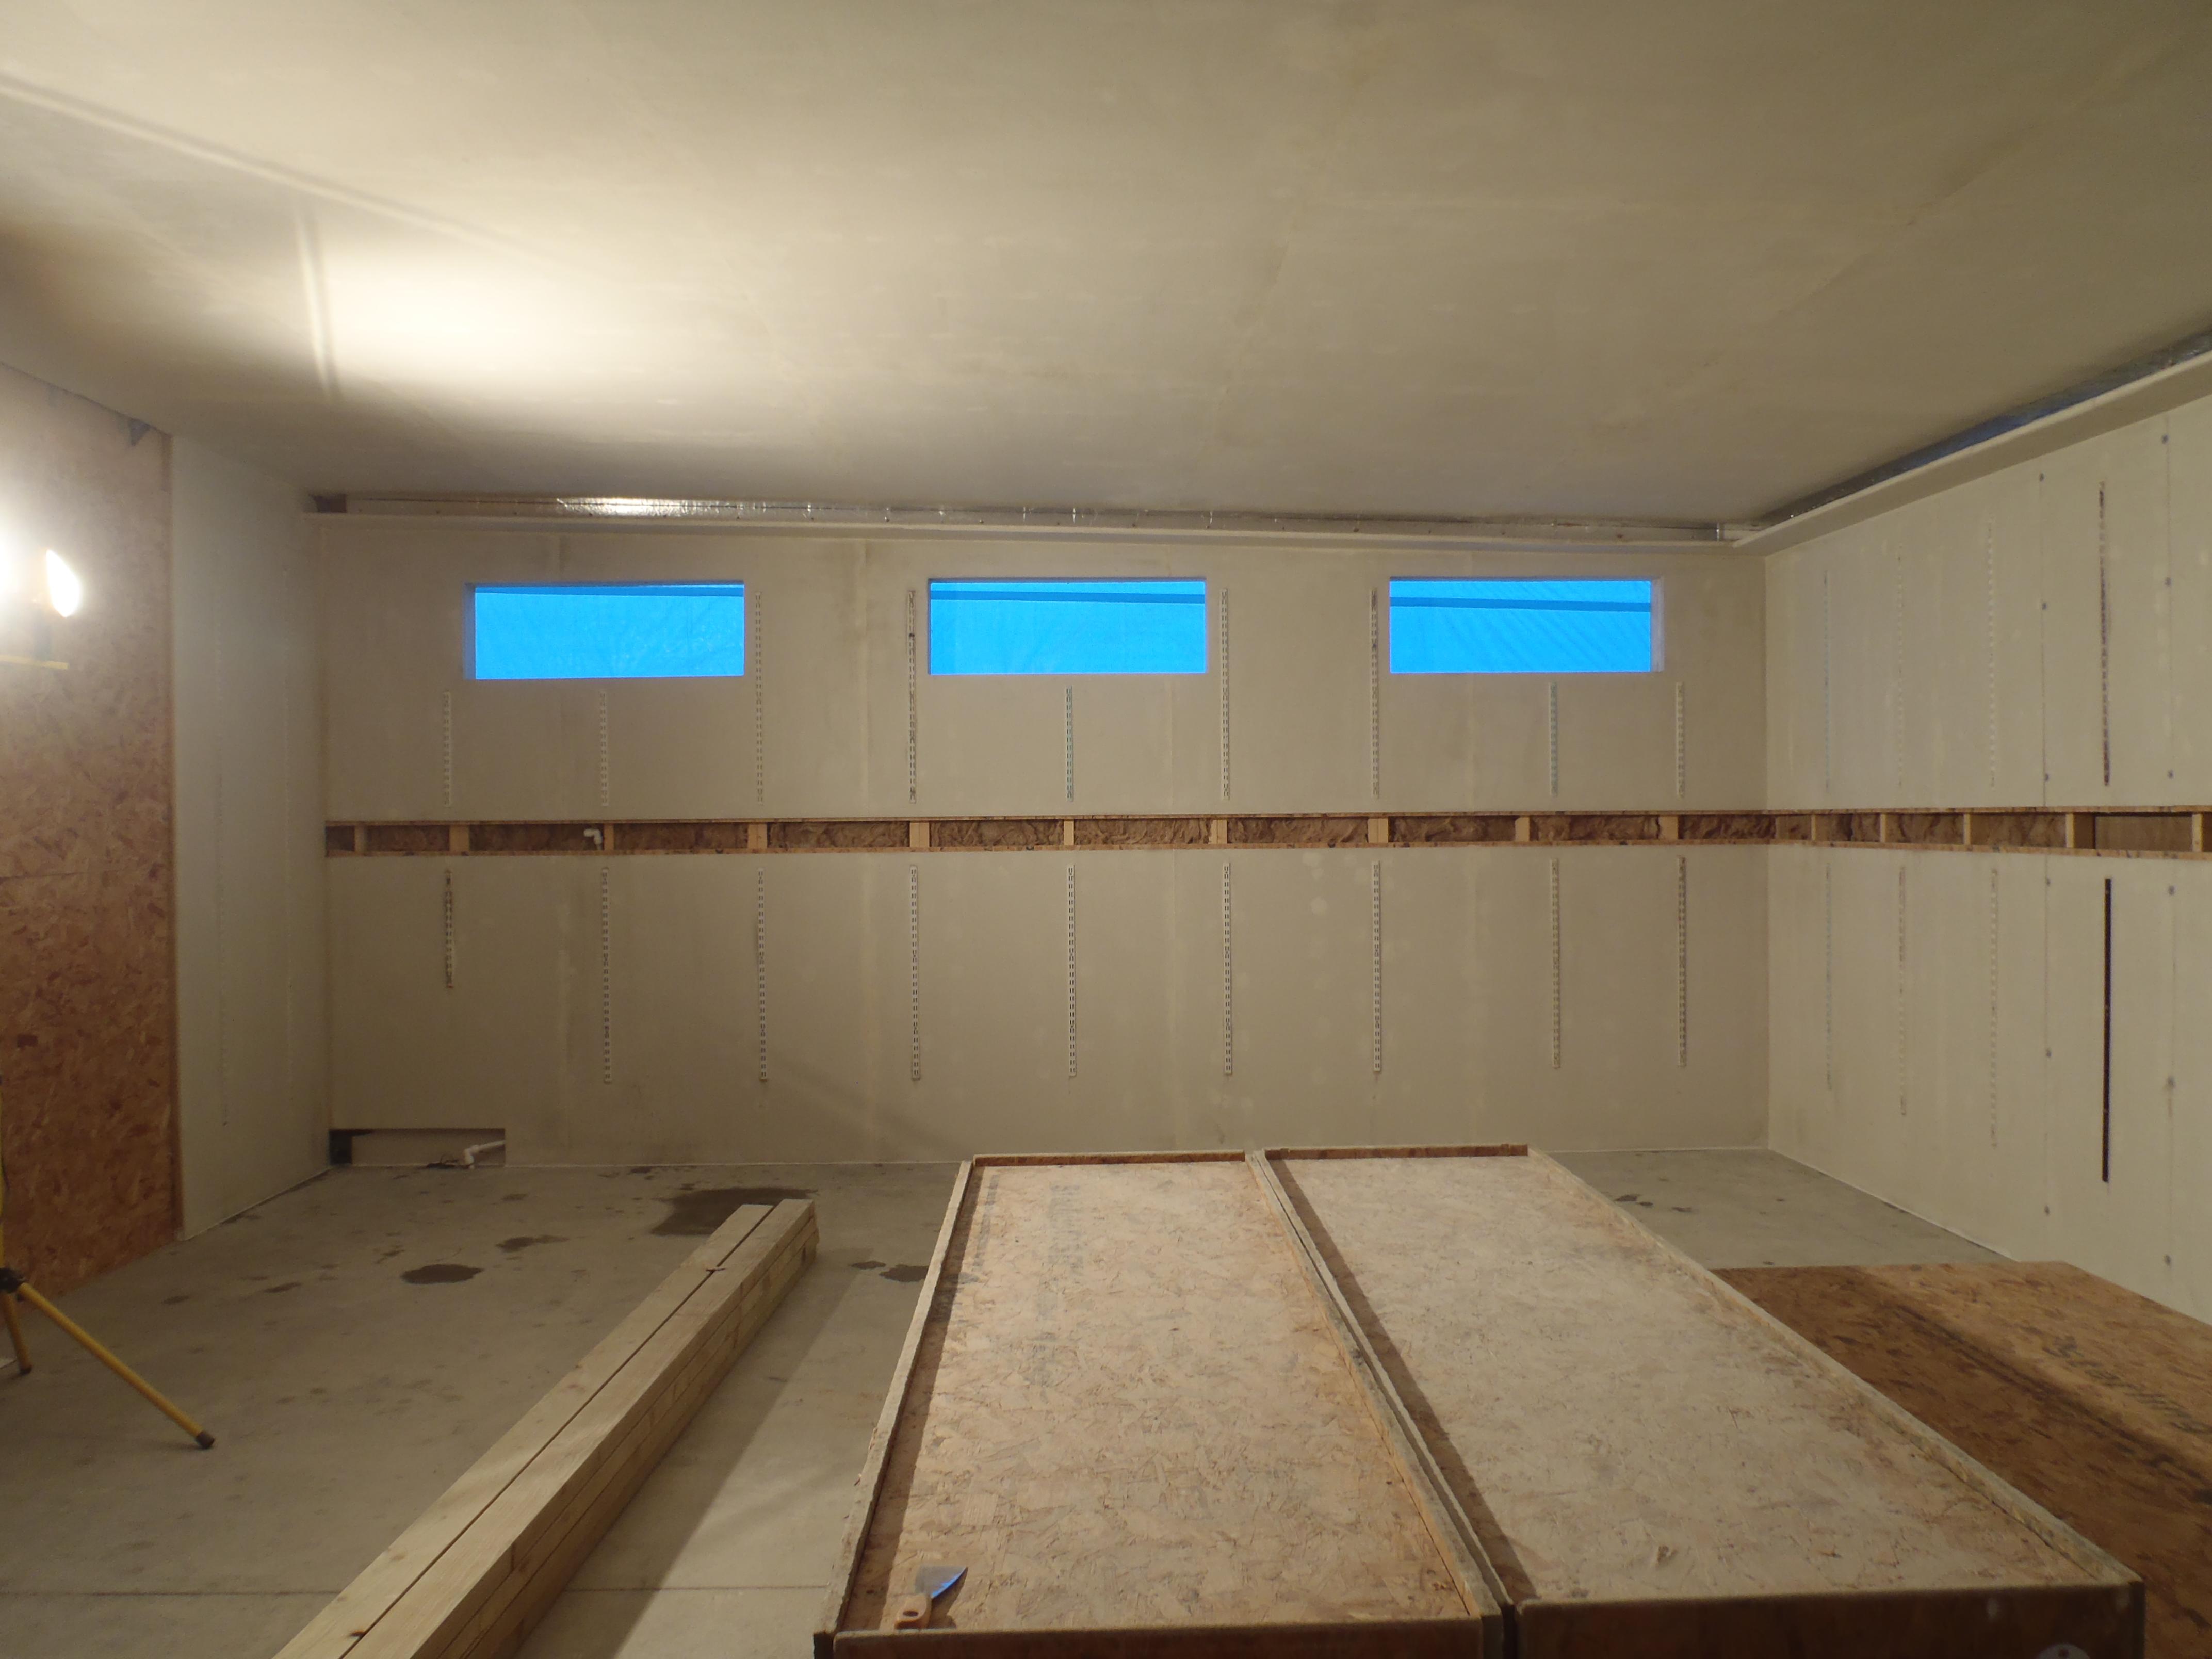
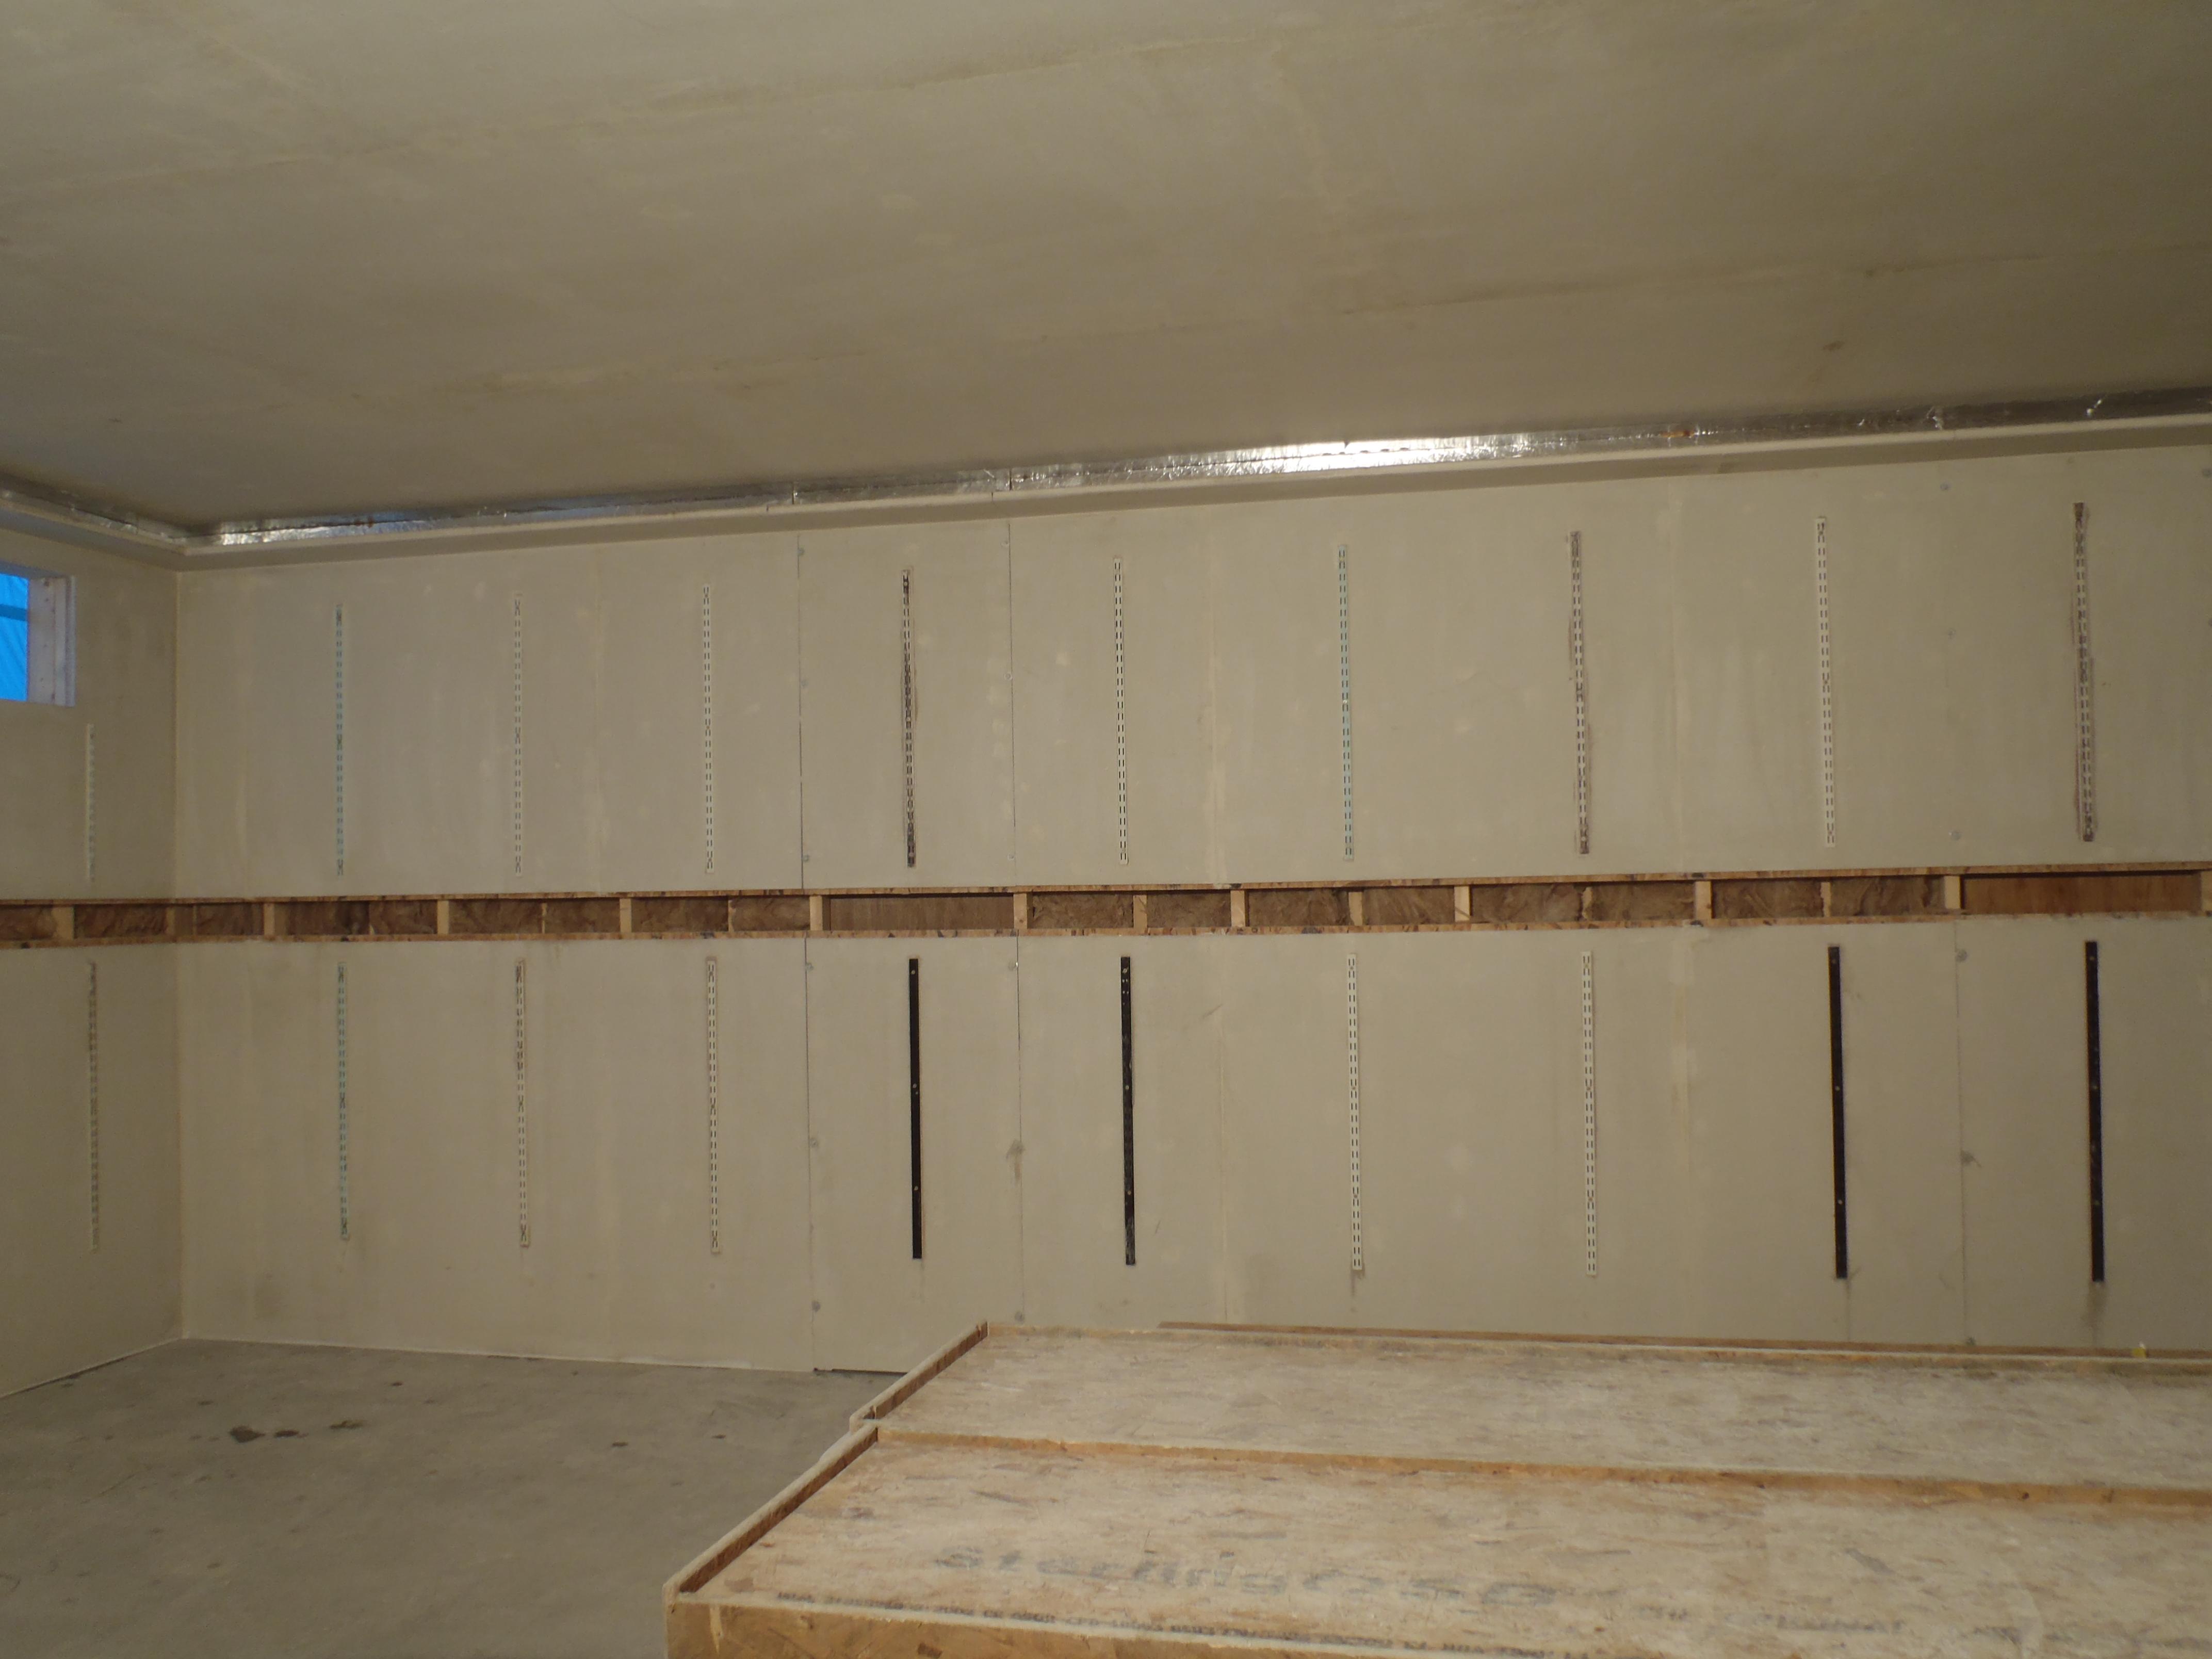
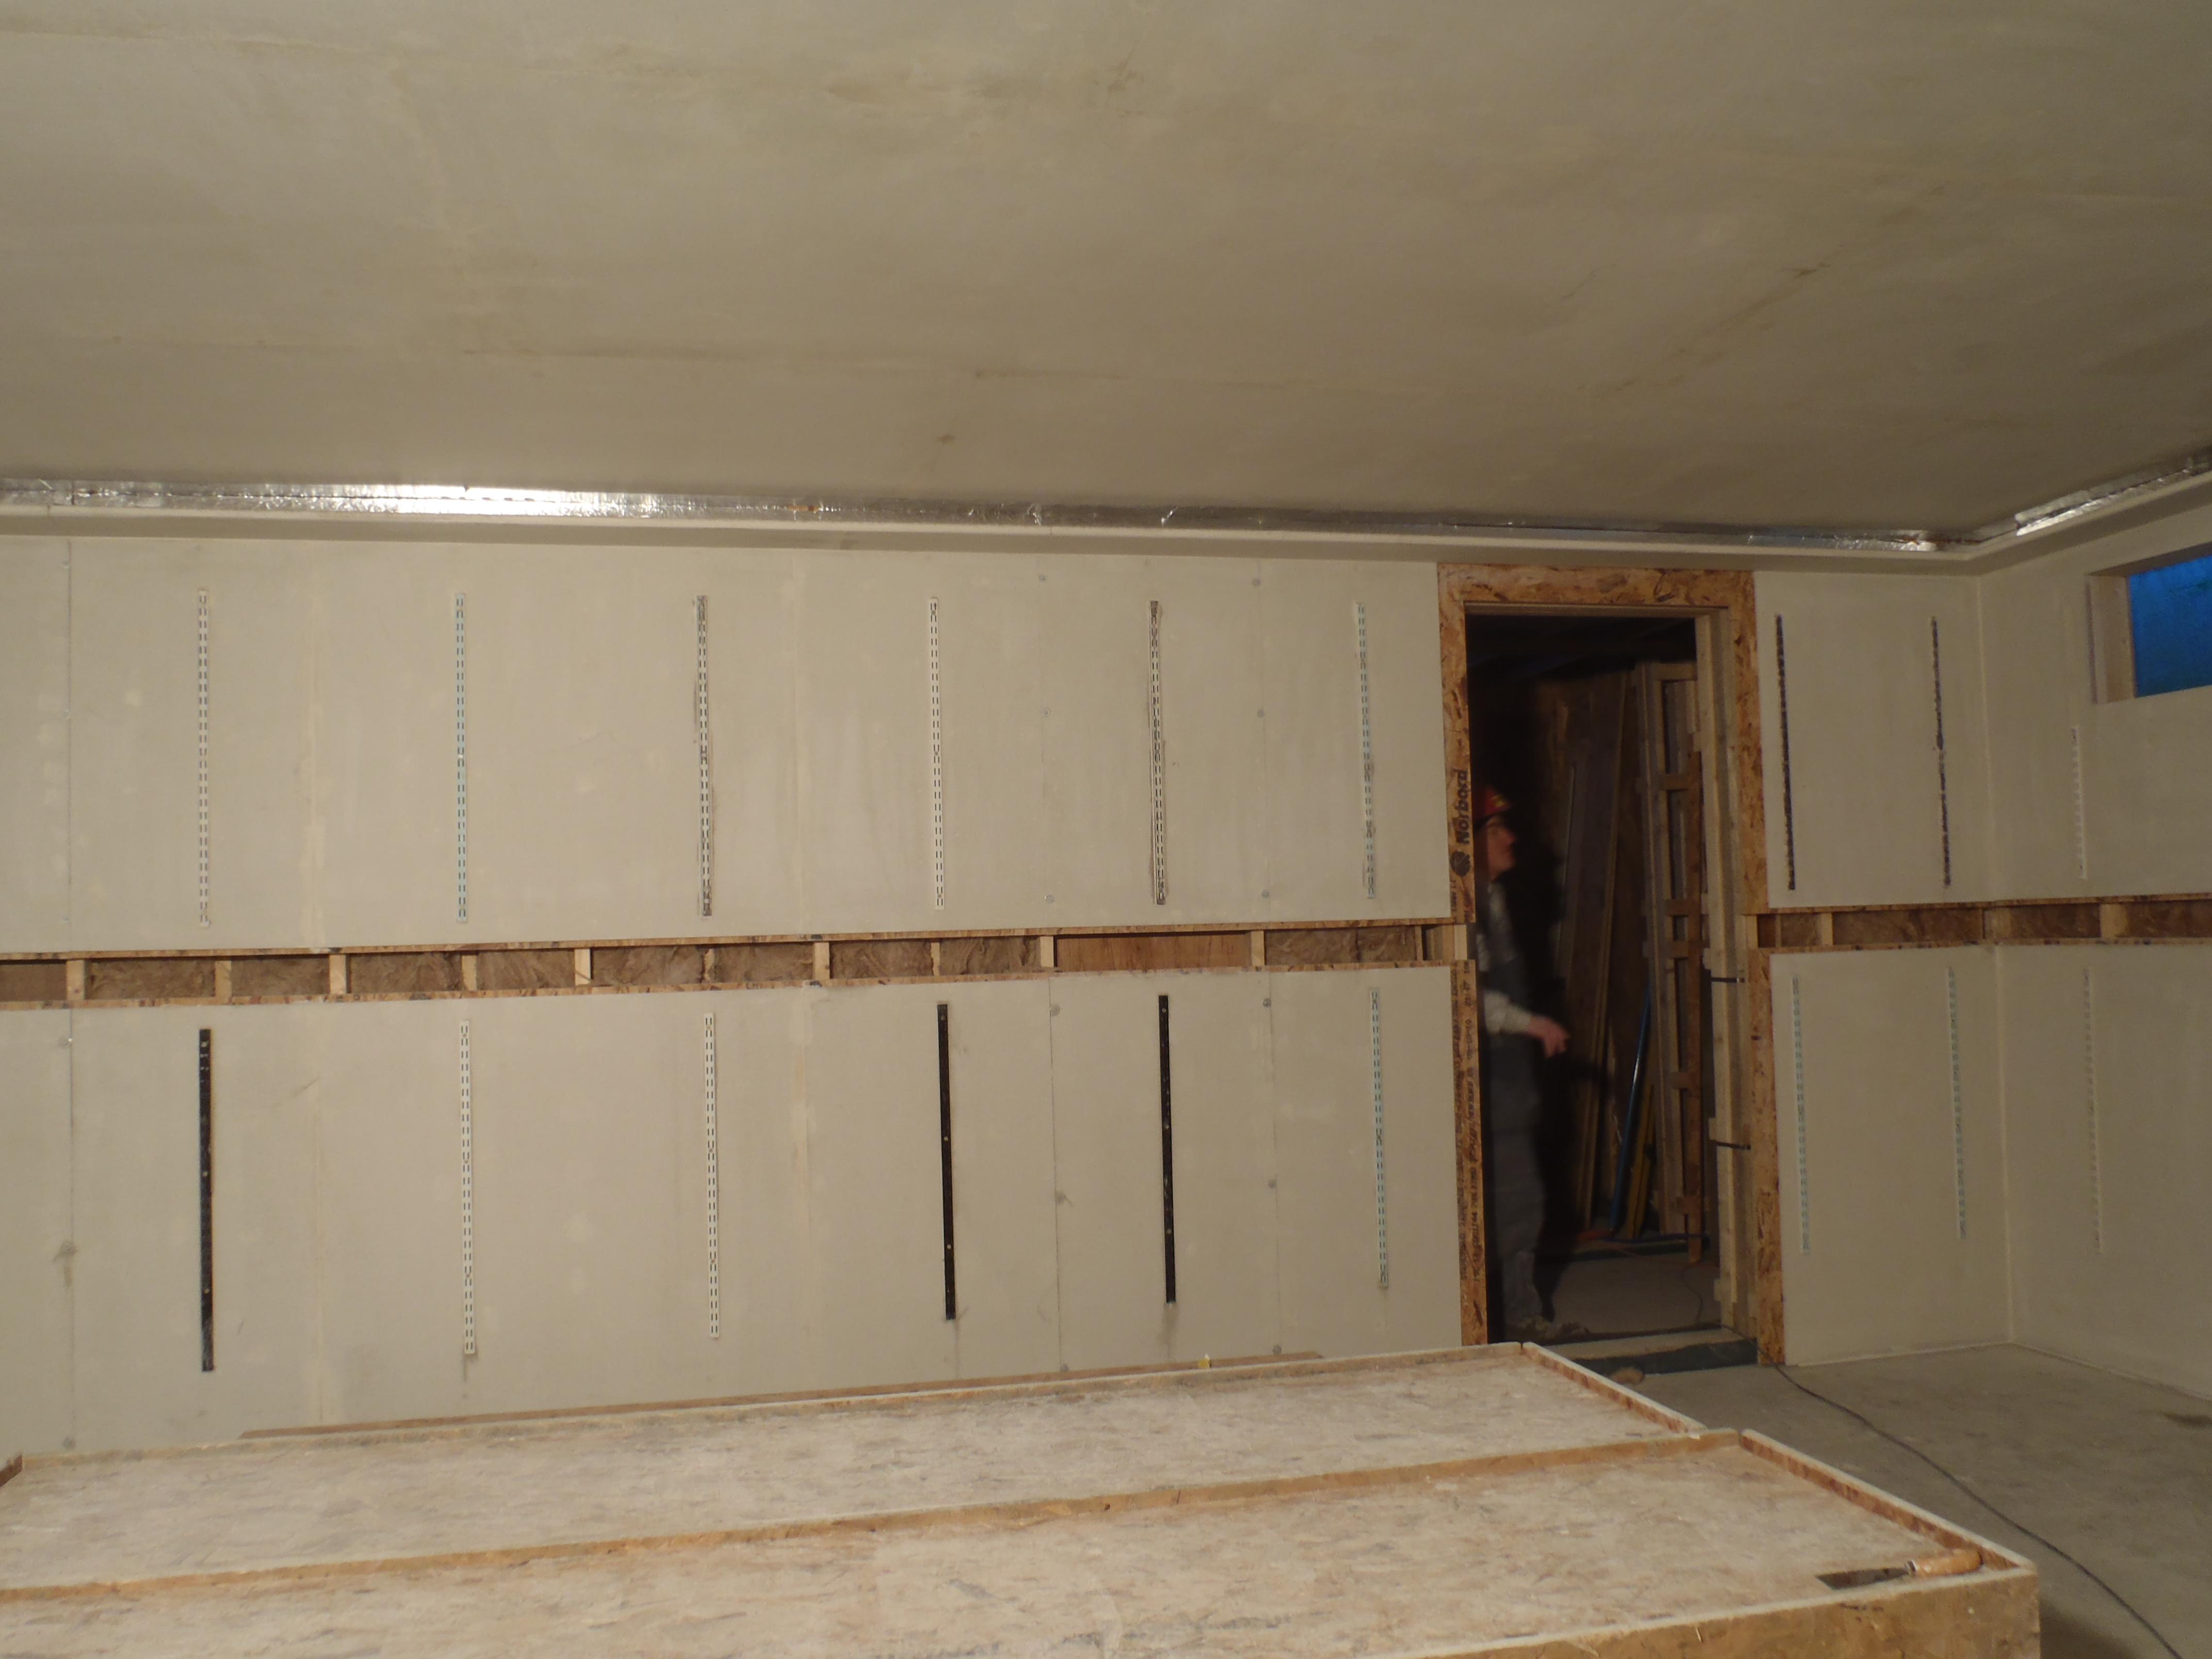
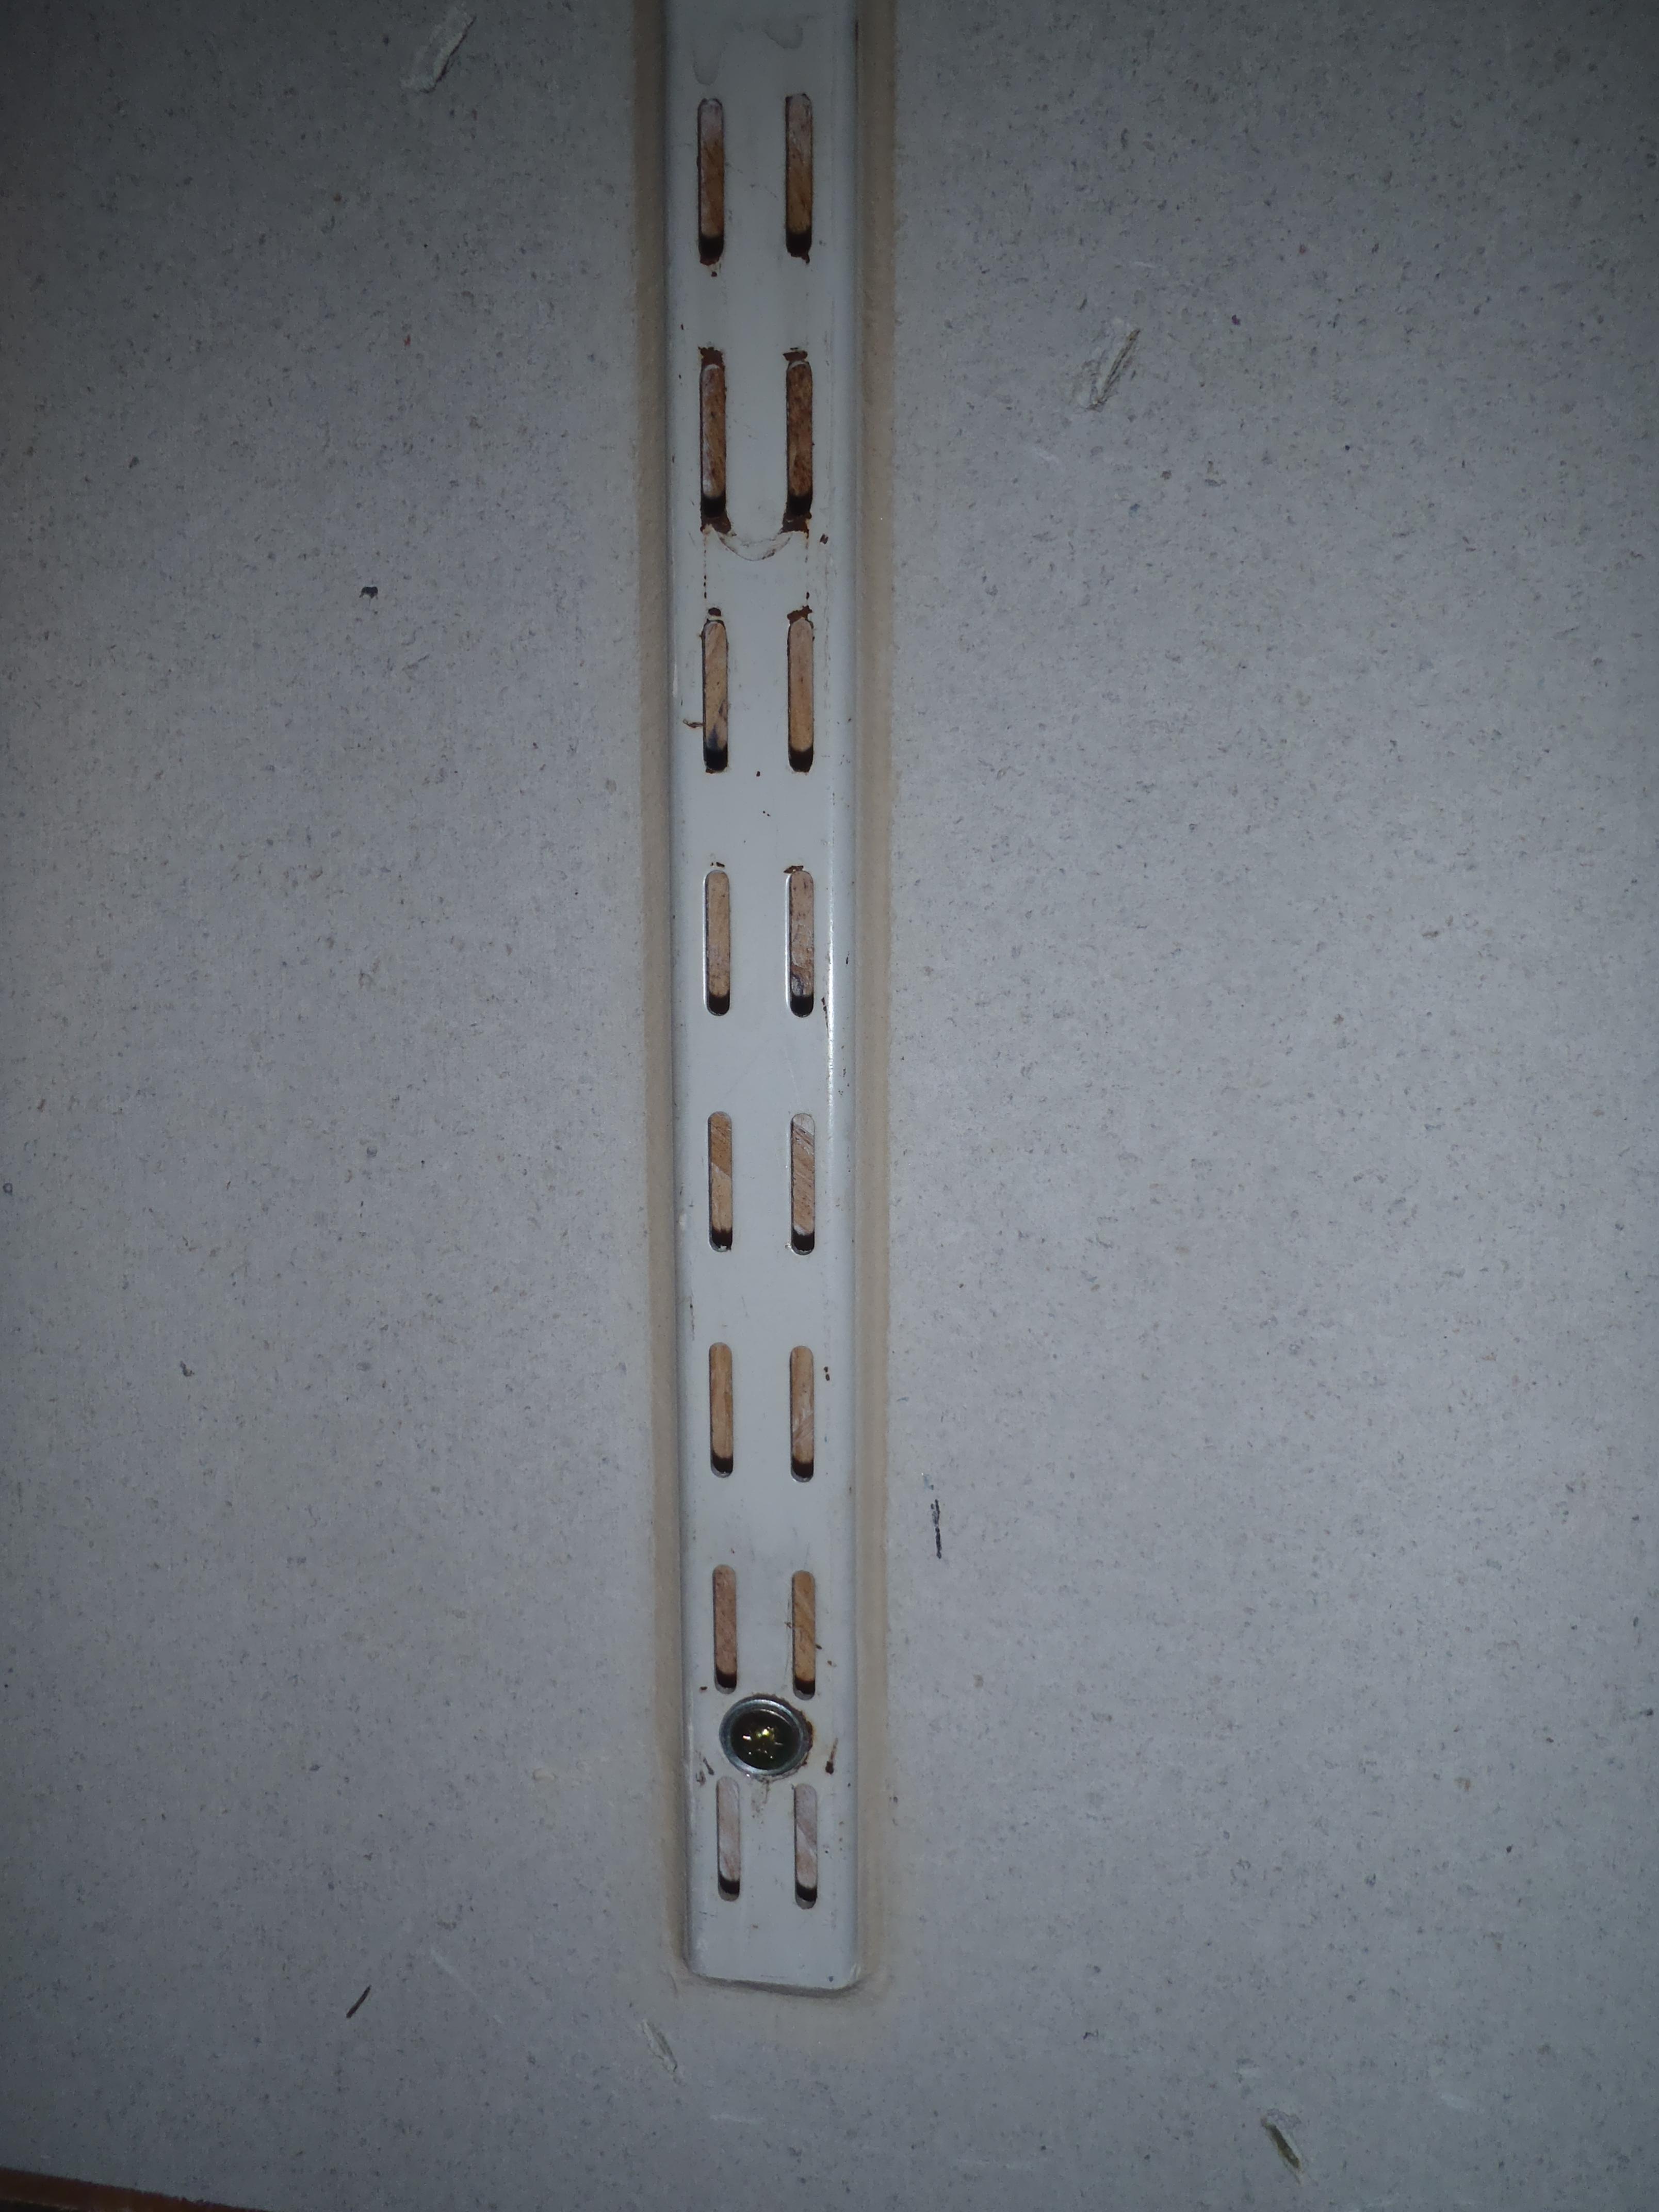
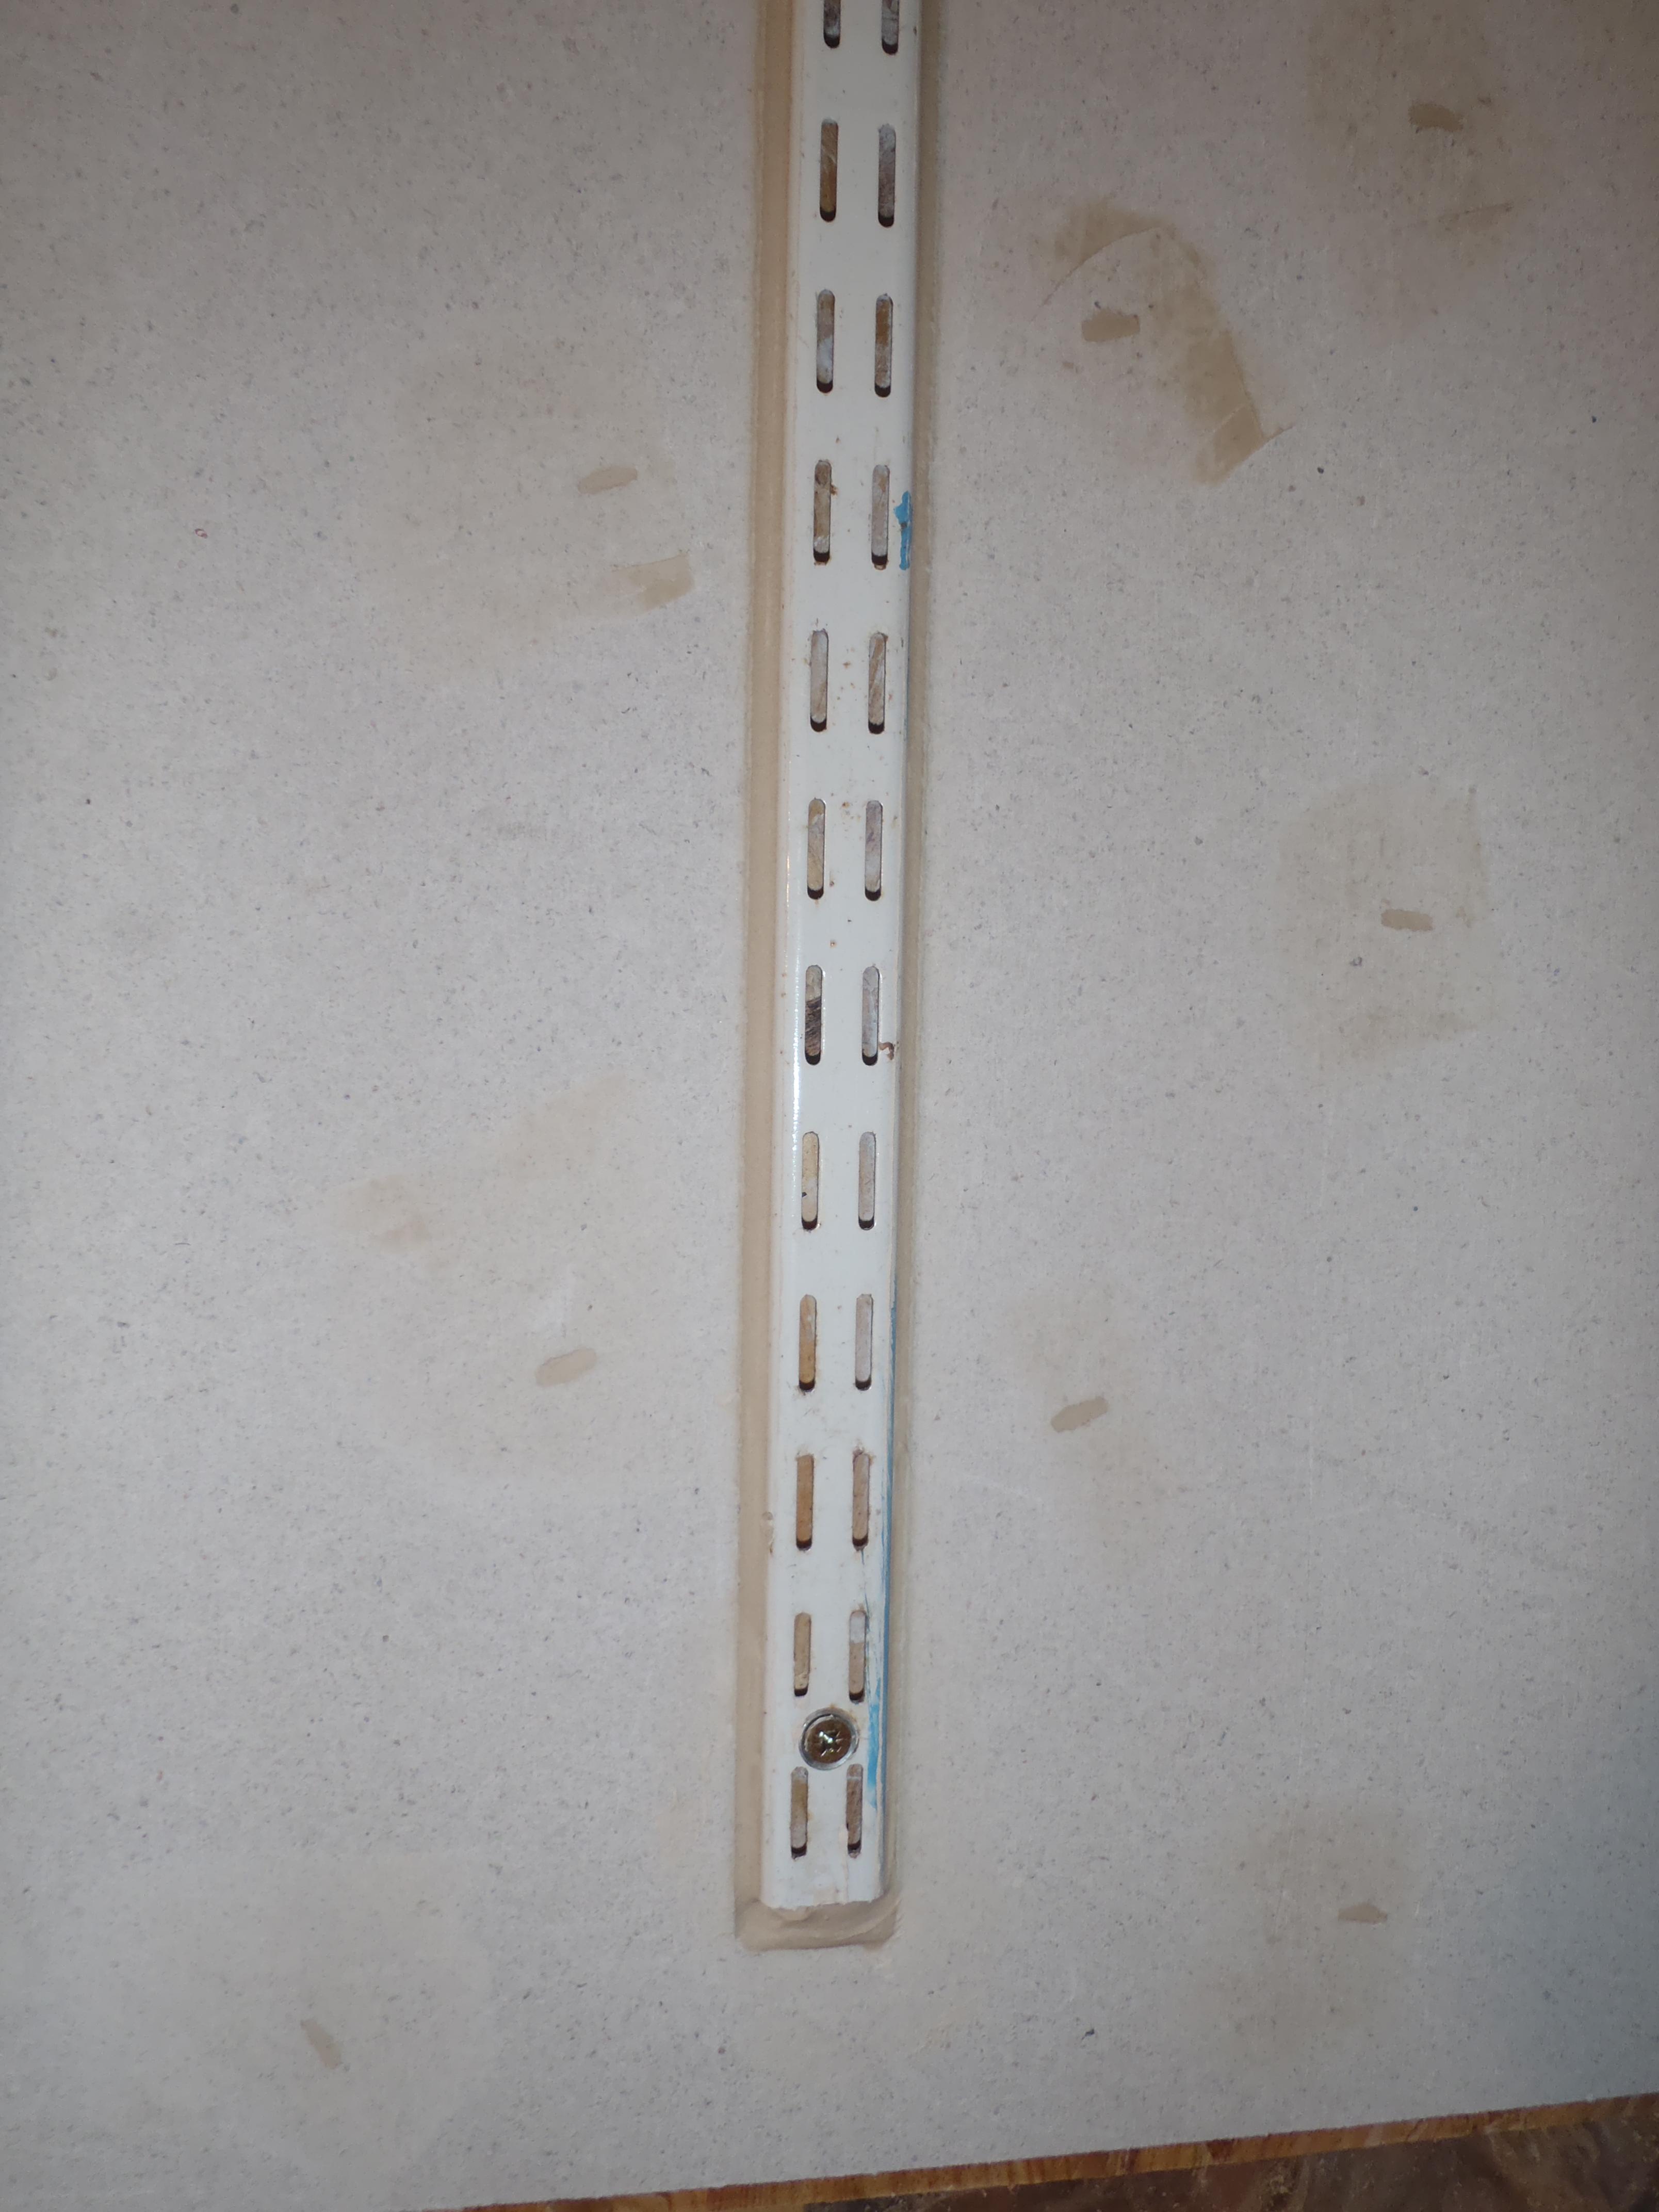
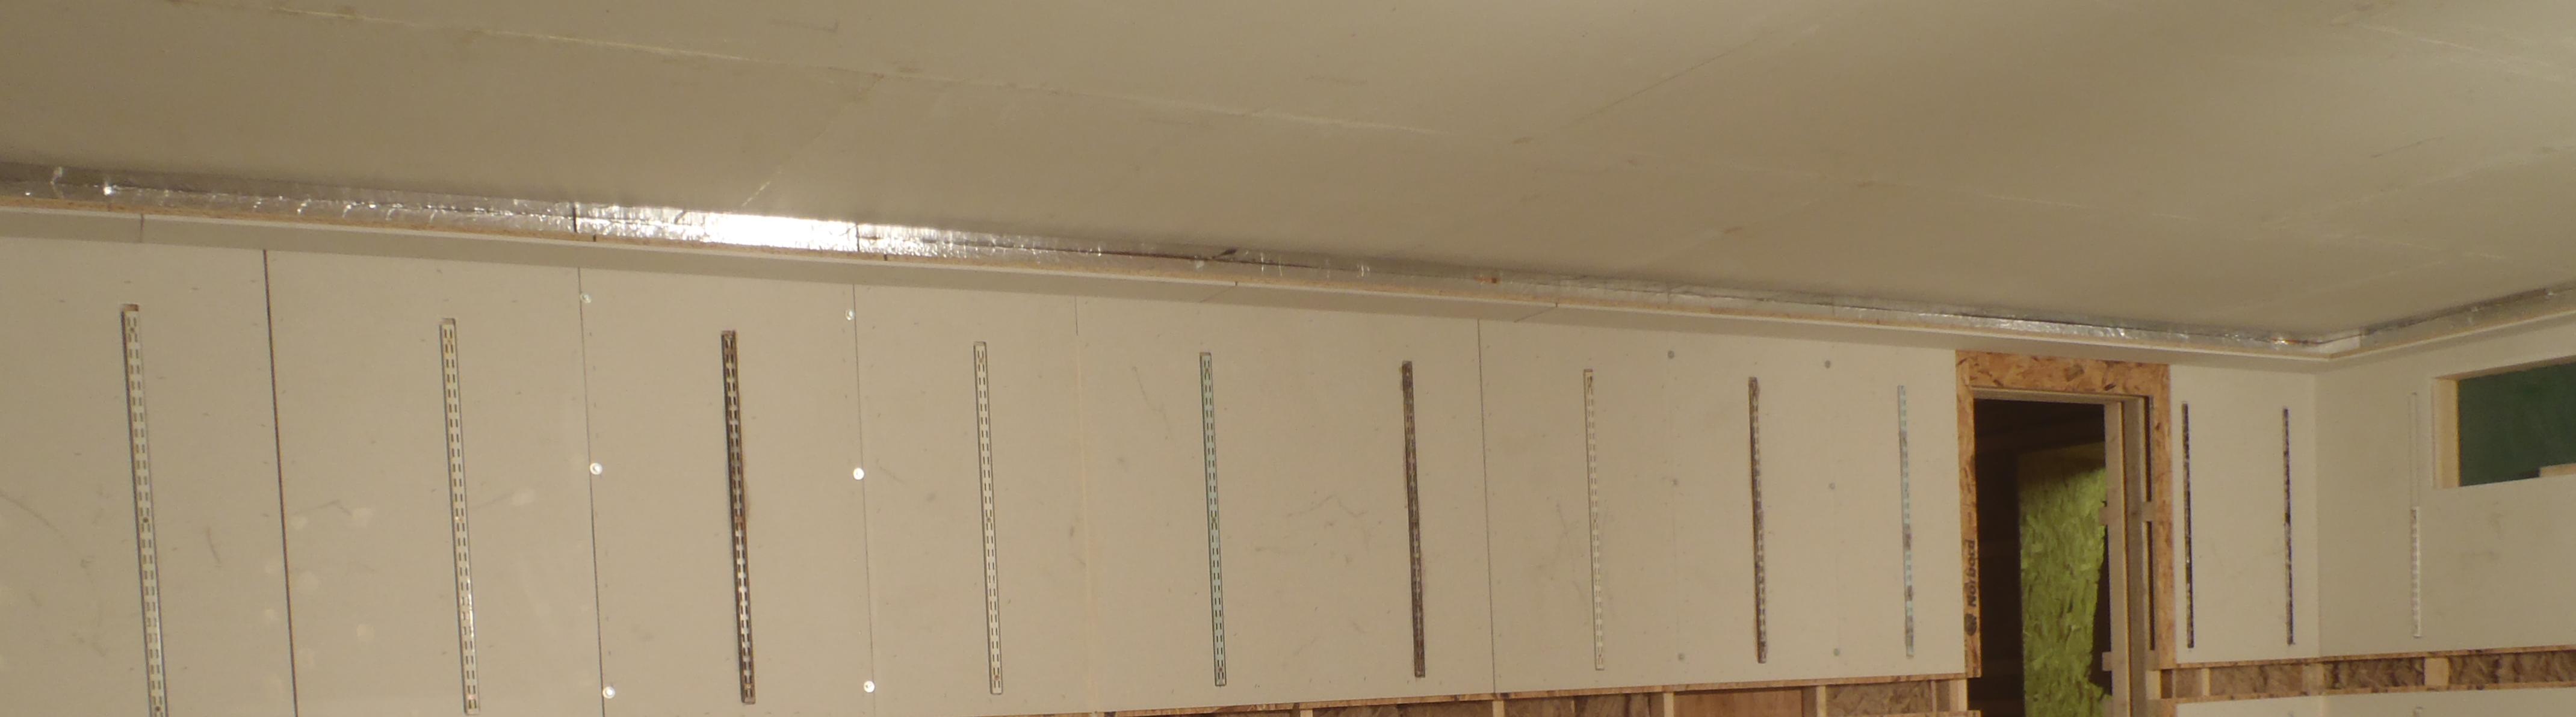
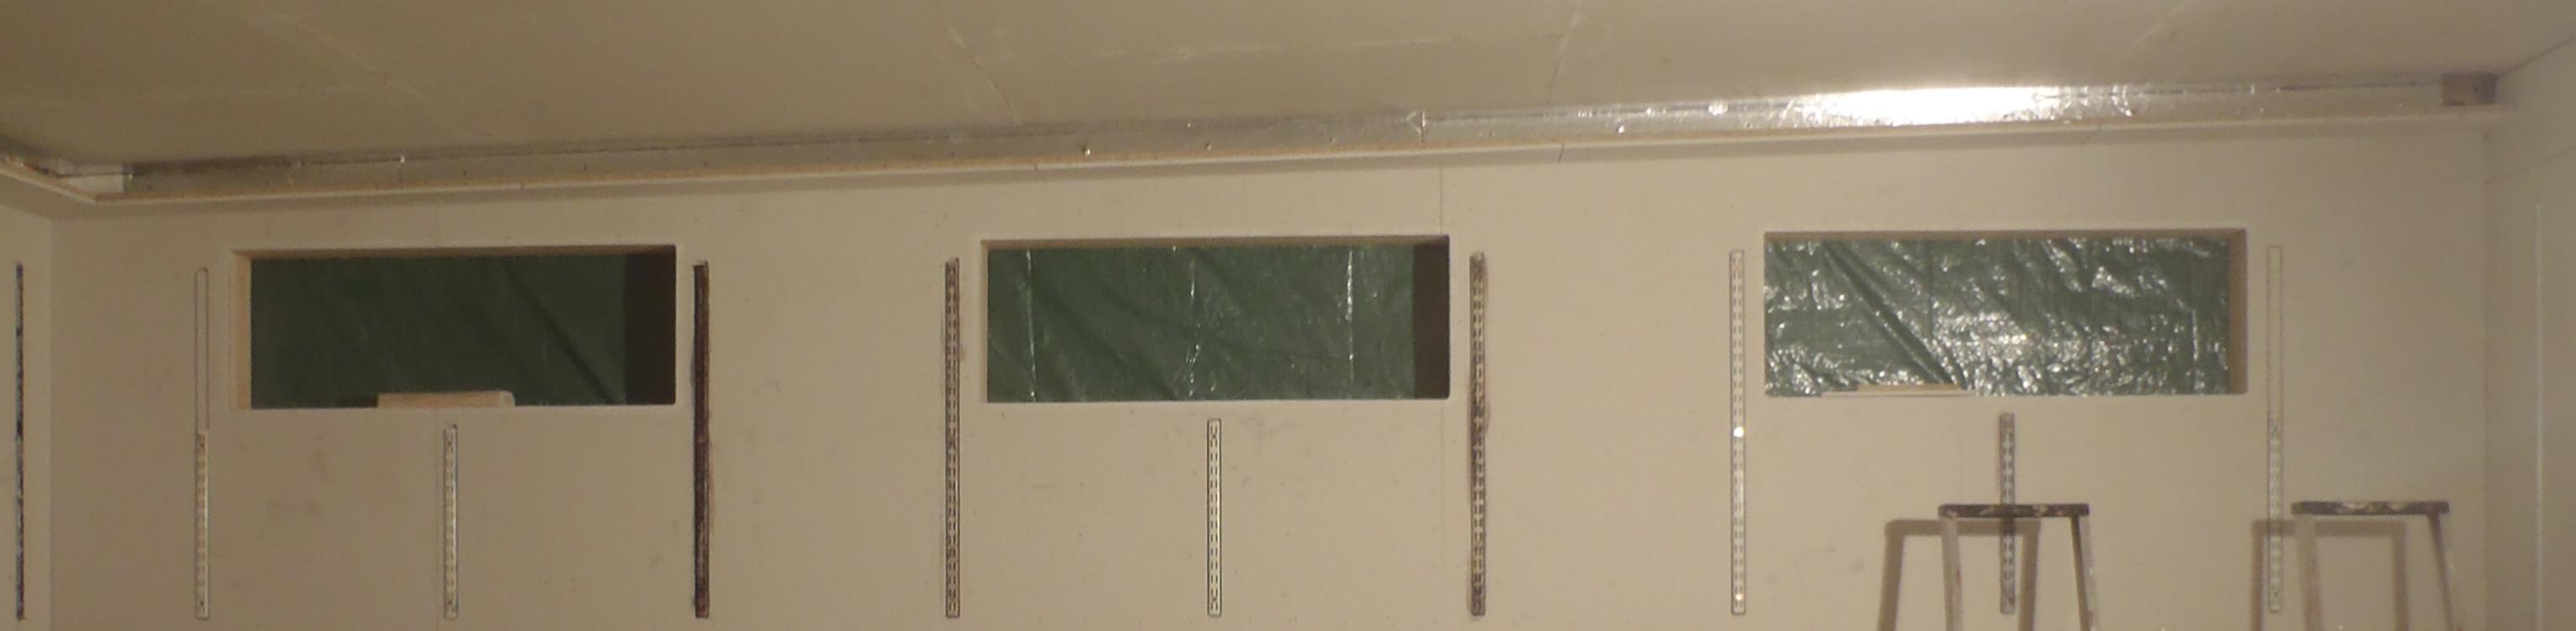
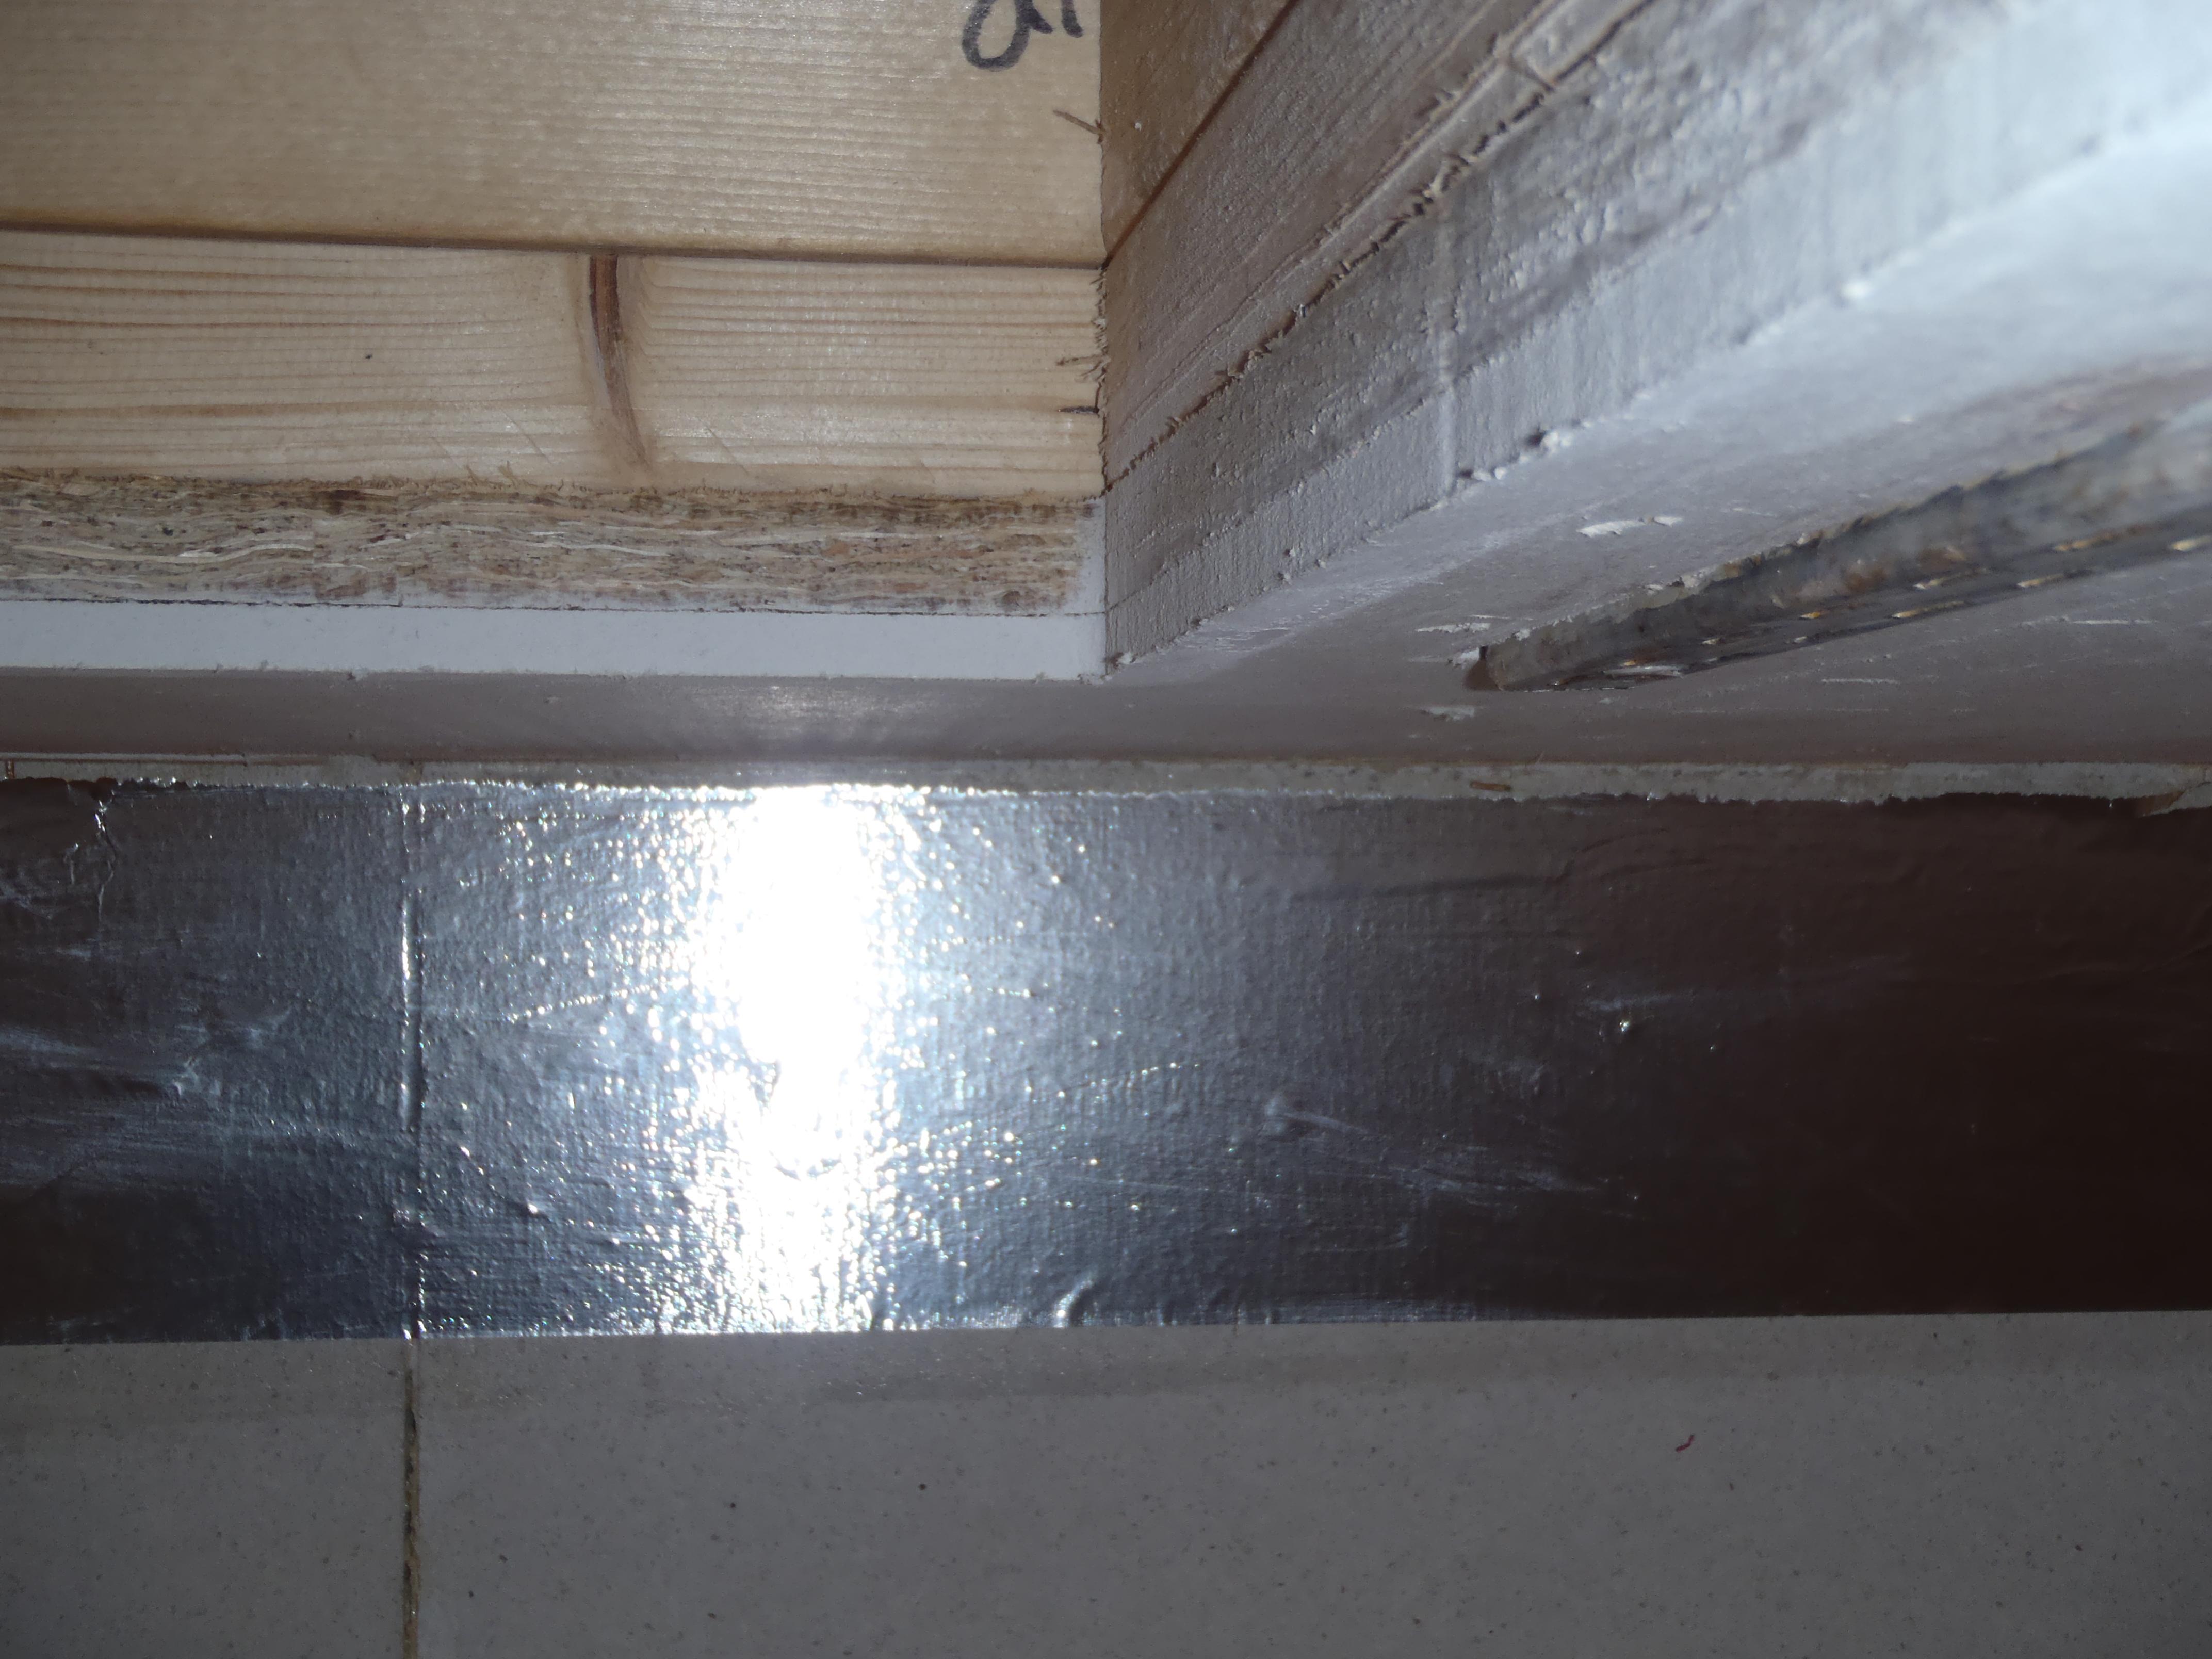
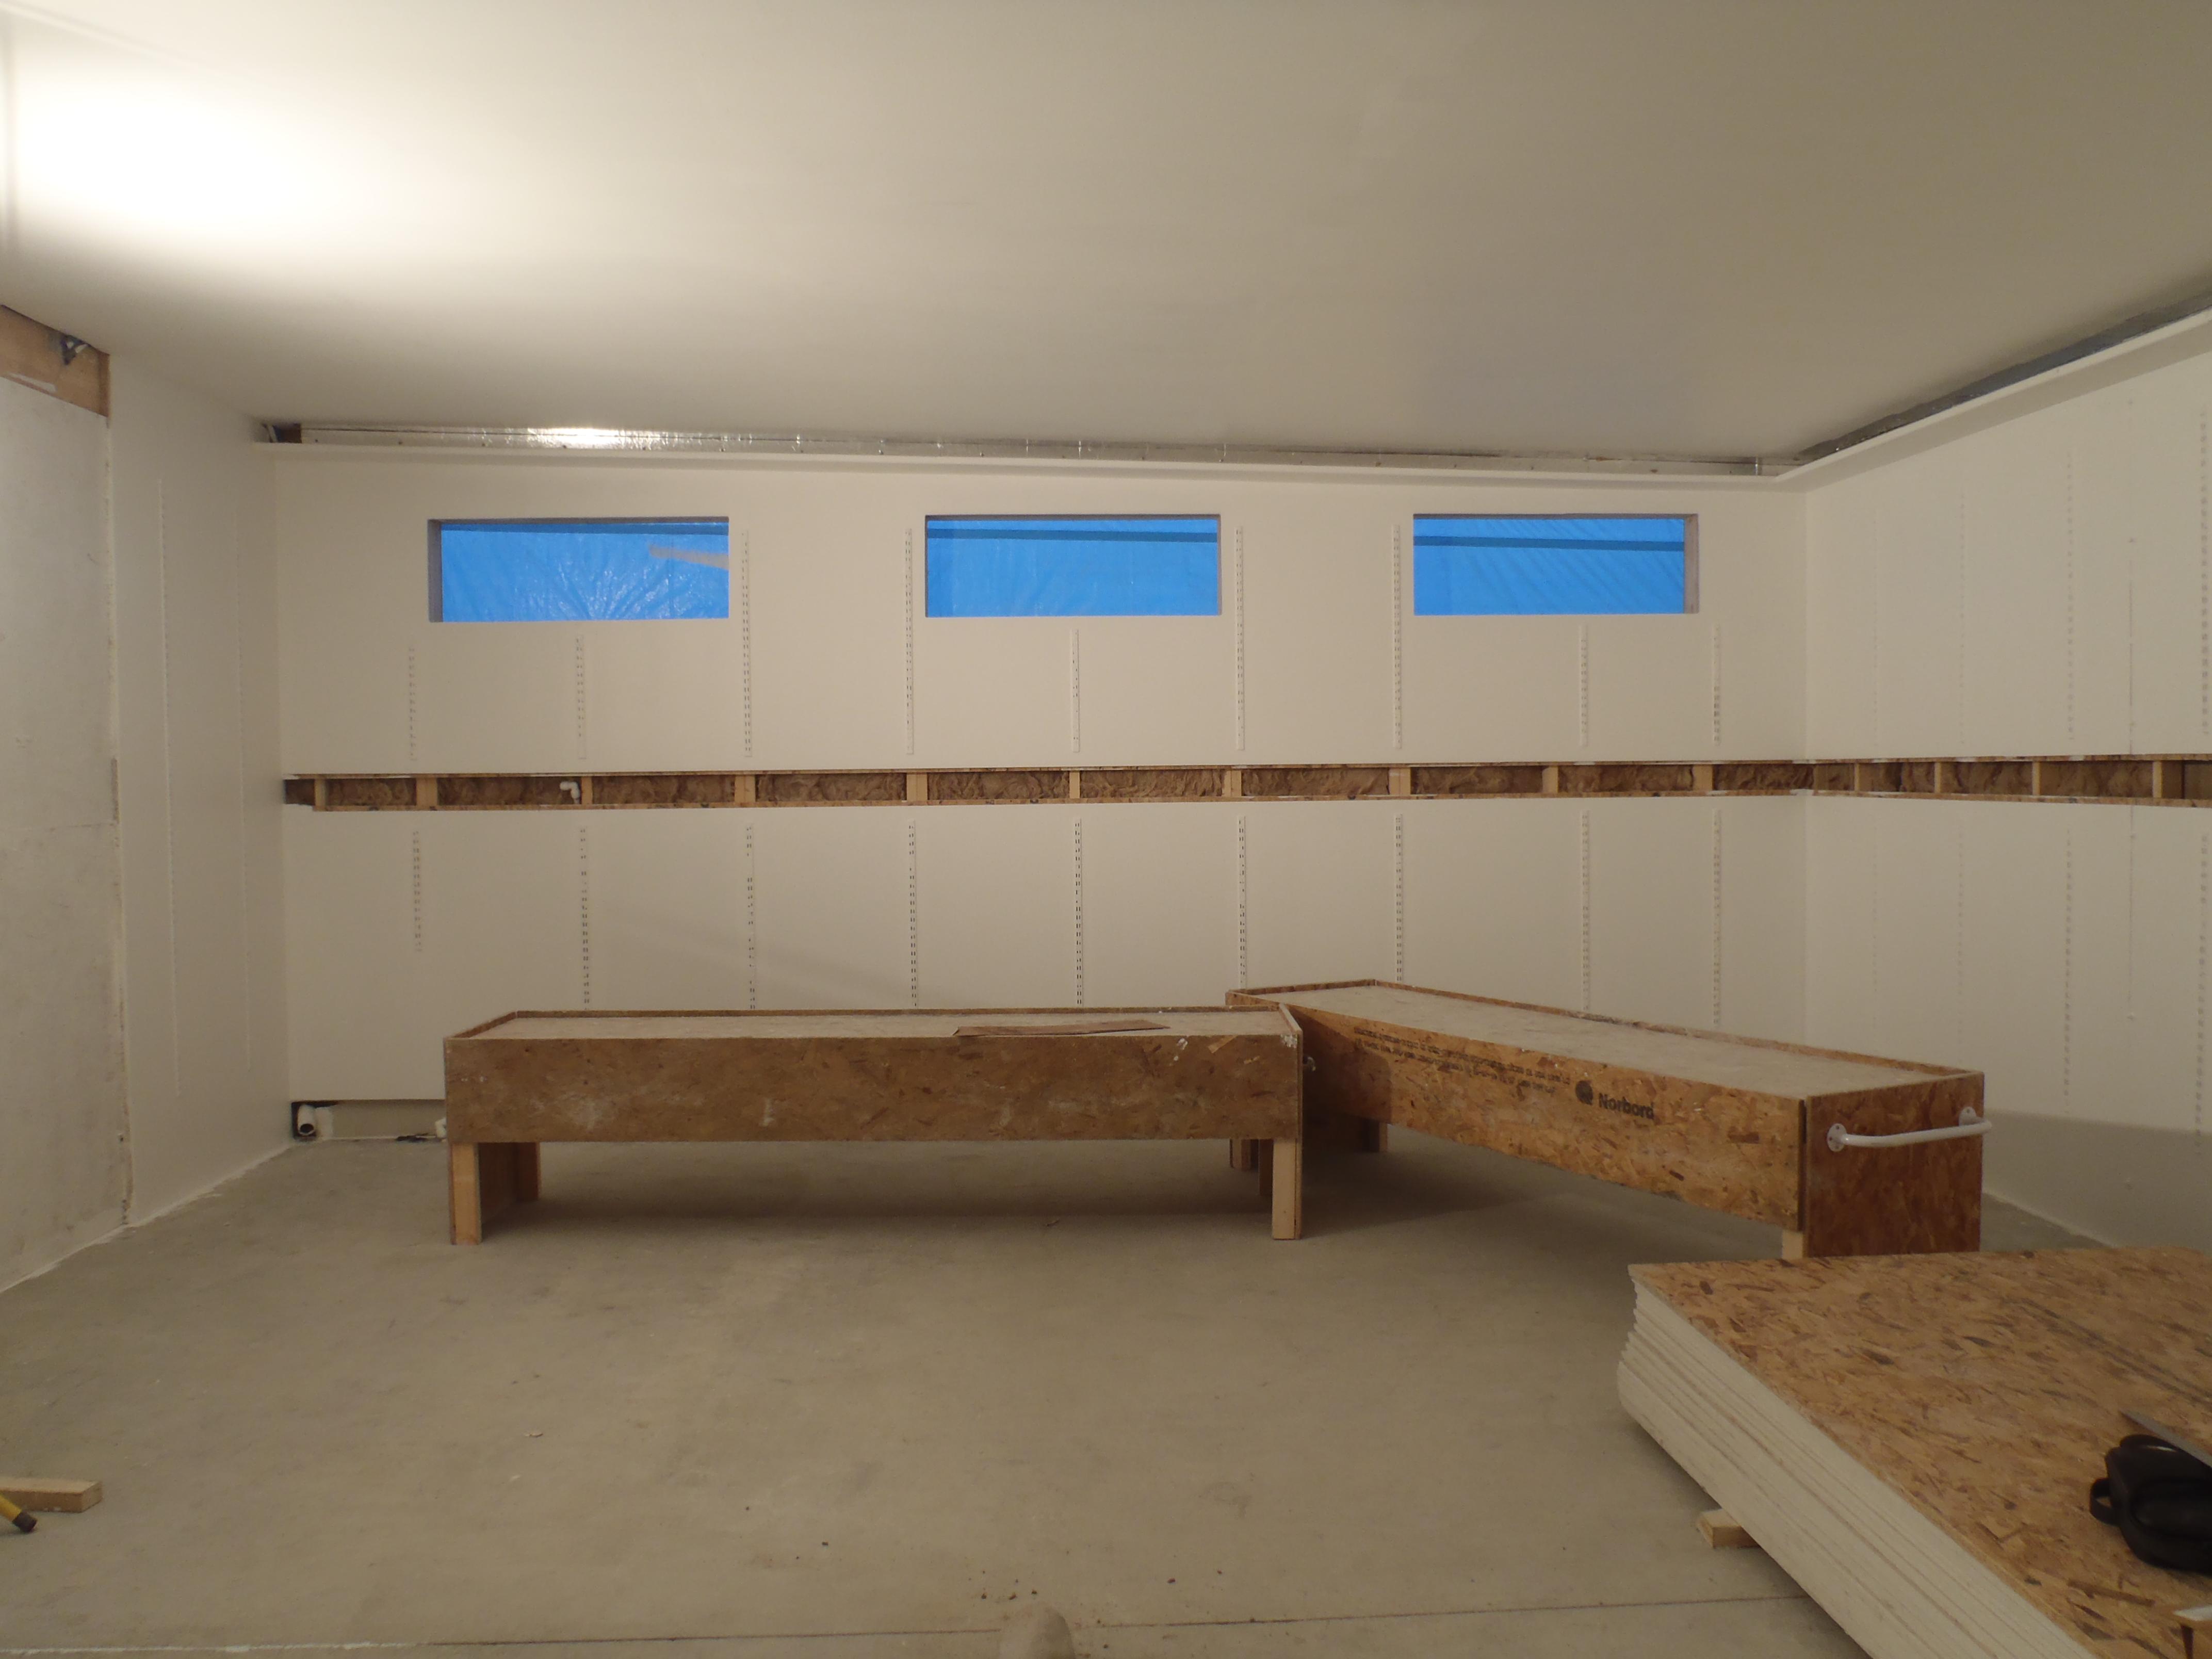
We have put on the third coat of paint on just the walls! It is looking good now but we have realised a problem with the metal upright brackets, the paint isn’t sticking too well especially naked metal where they have been rub raw! So we will have to sort them out tomorrow. The ceiling will be done at the weekend when our pot of Absolute White Dulux paint we had ordered comes.
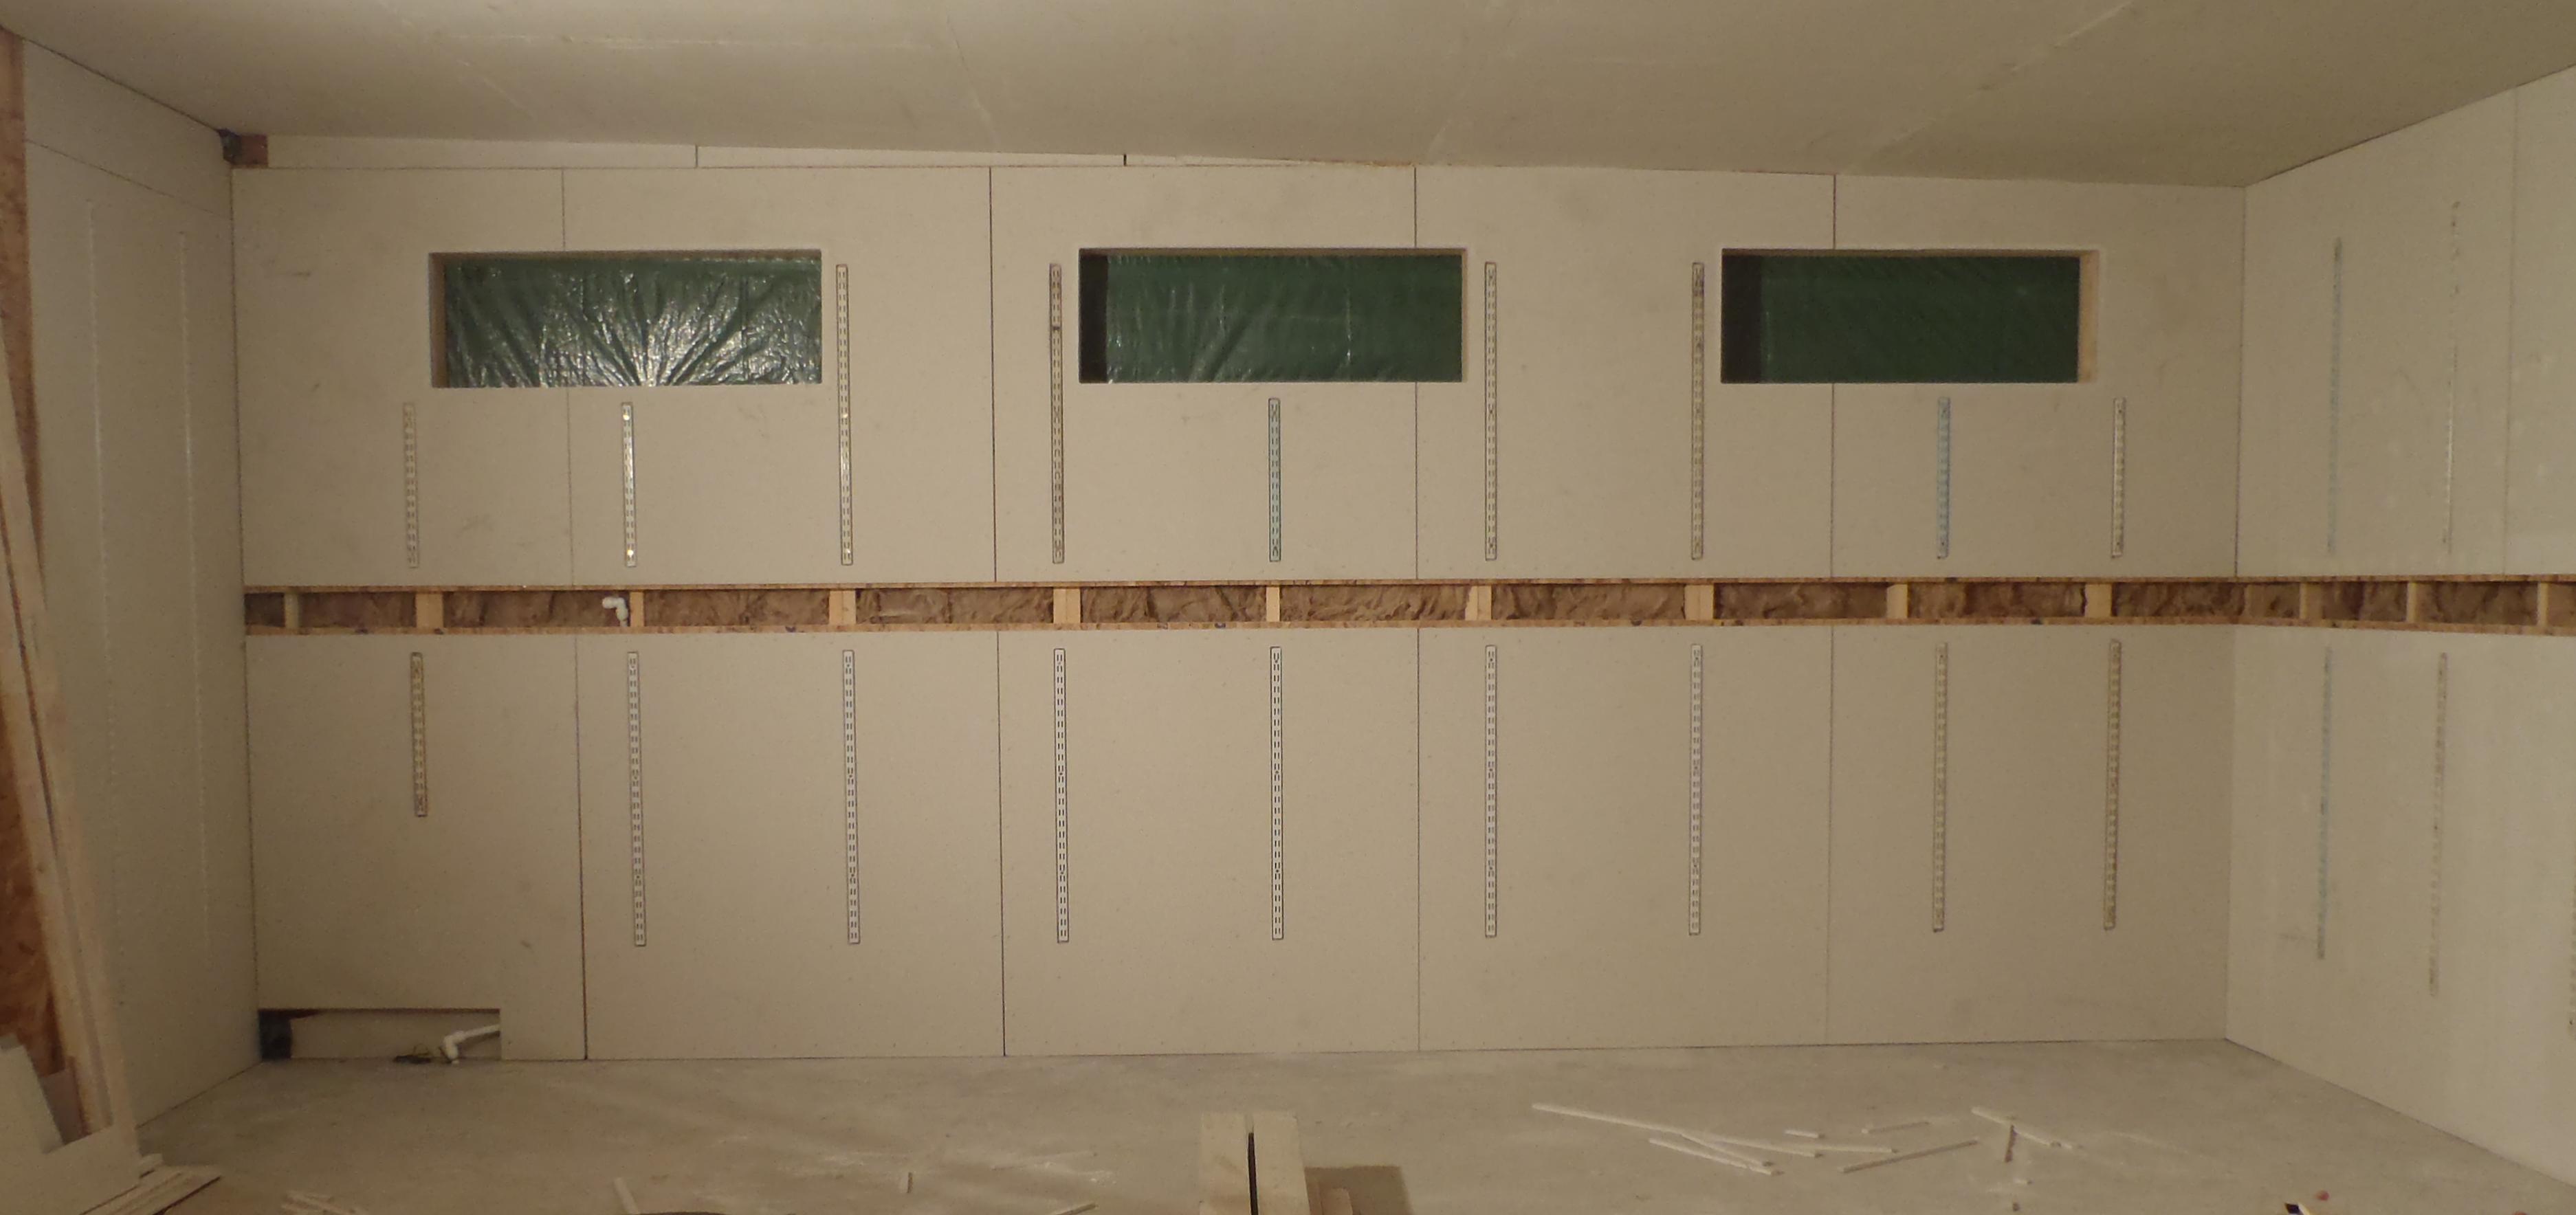
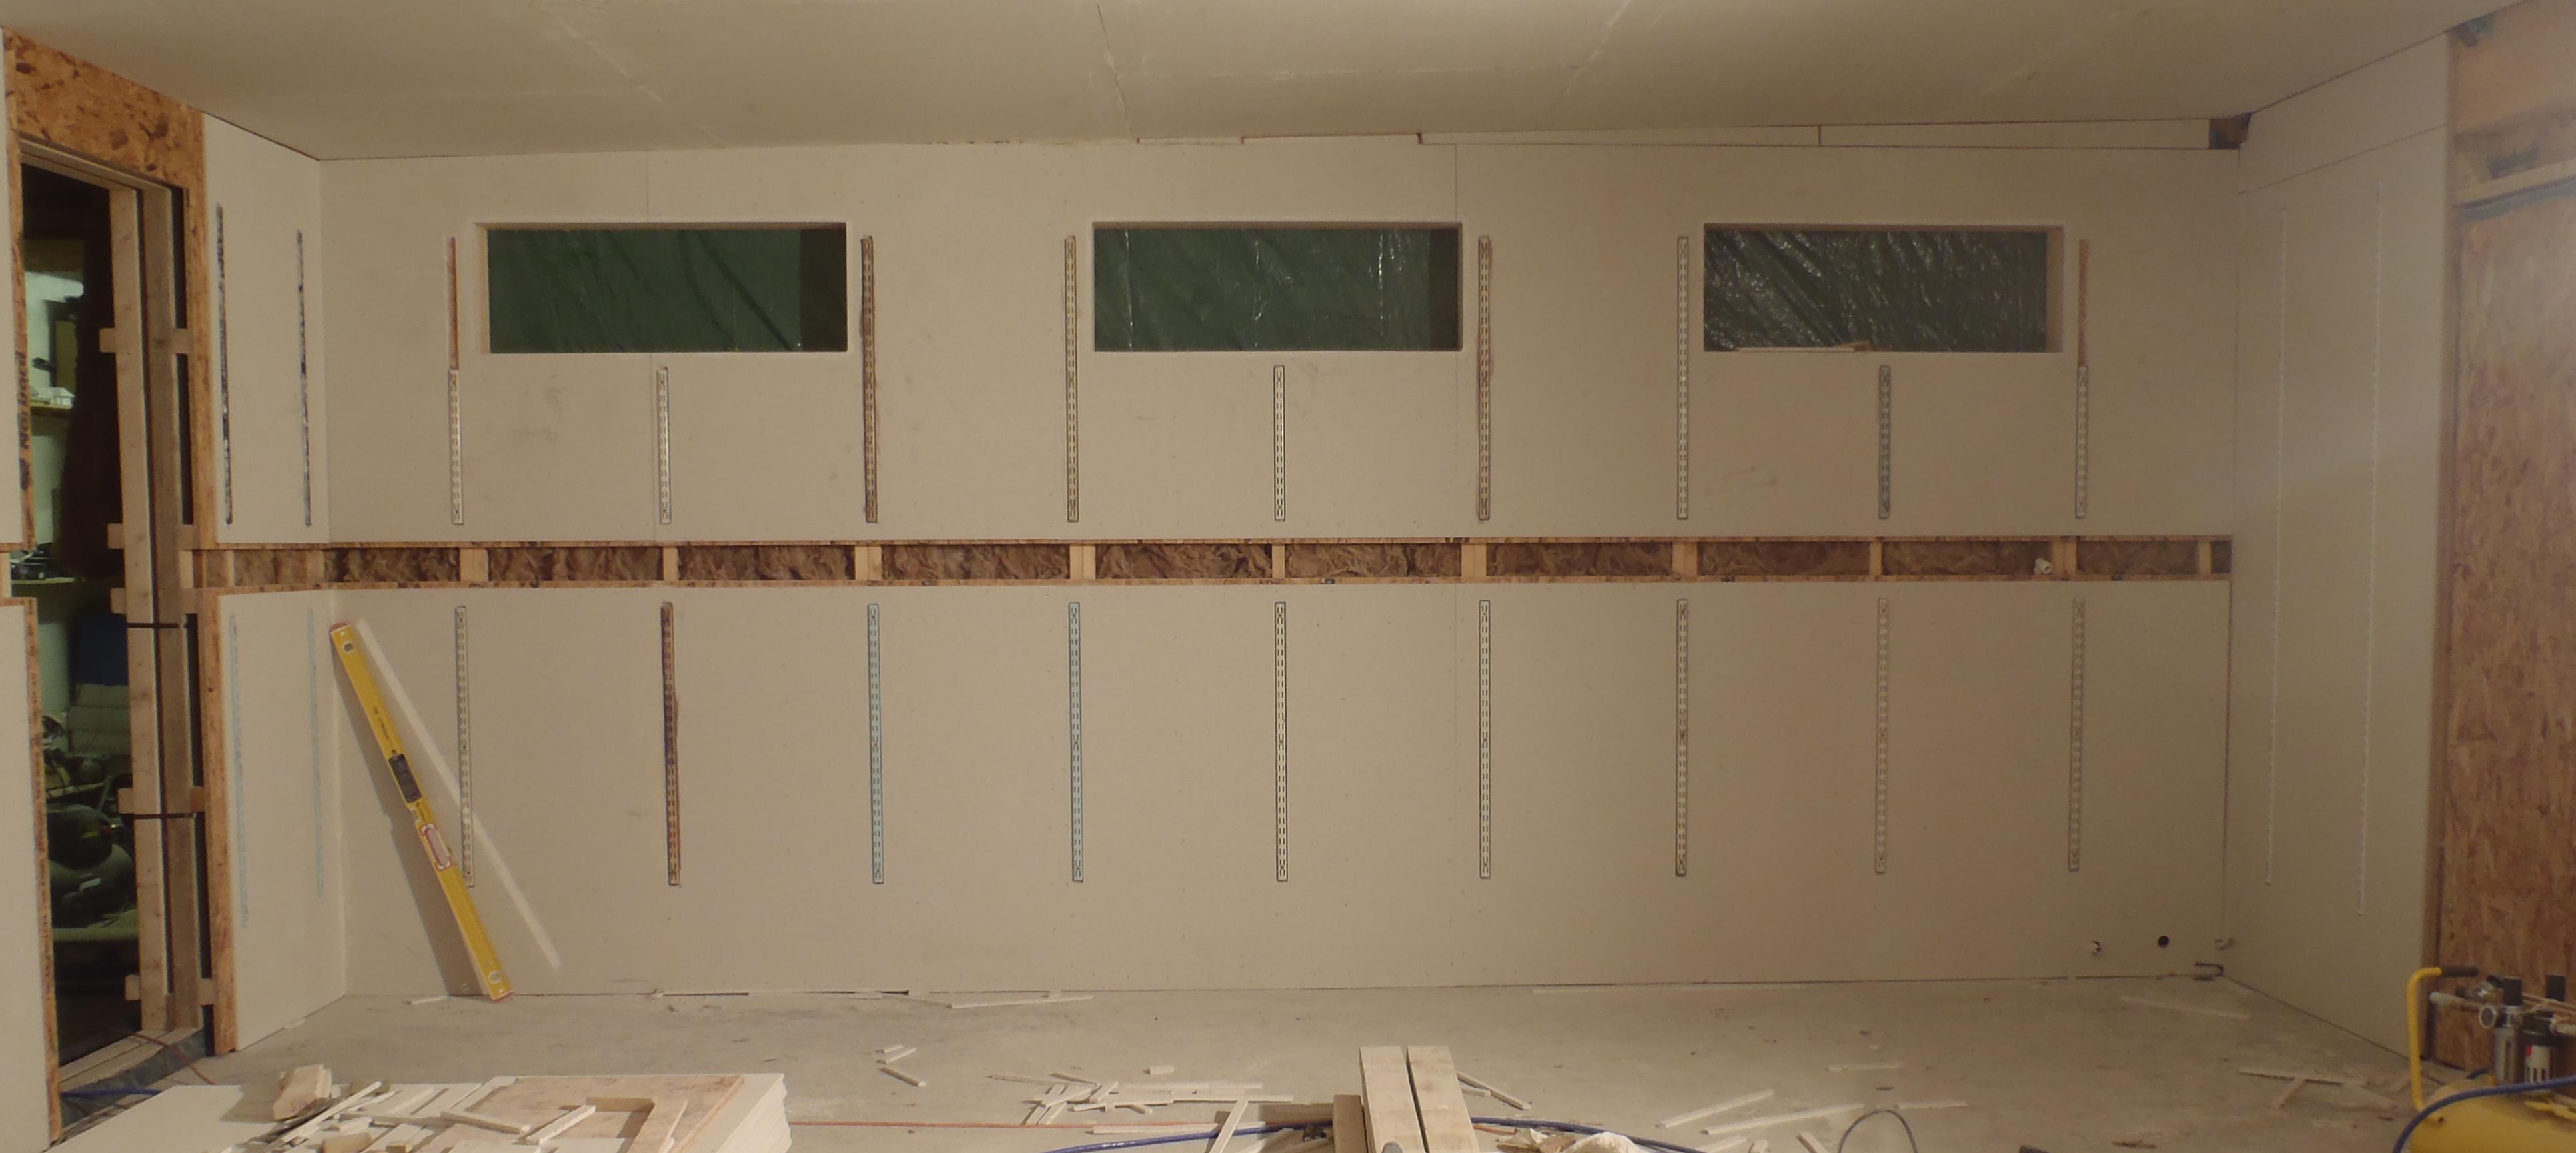
Paint 3rd Coat Walls
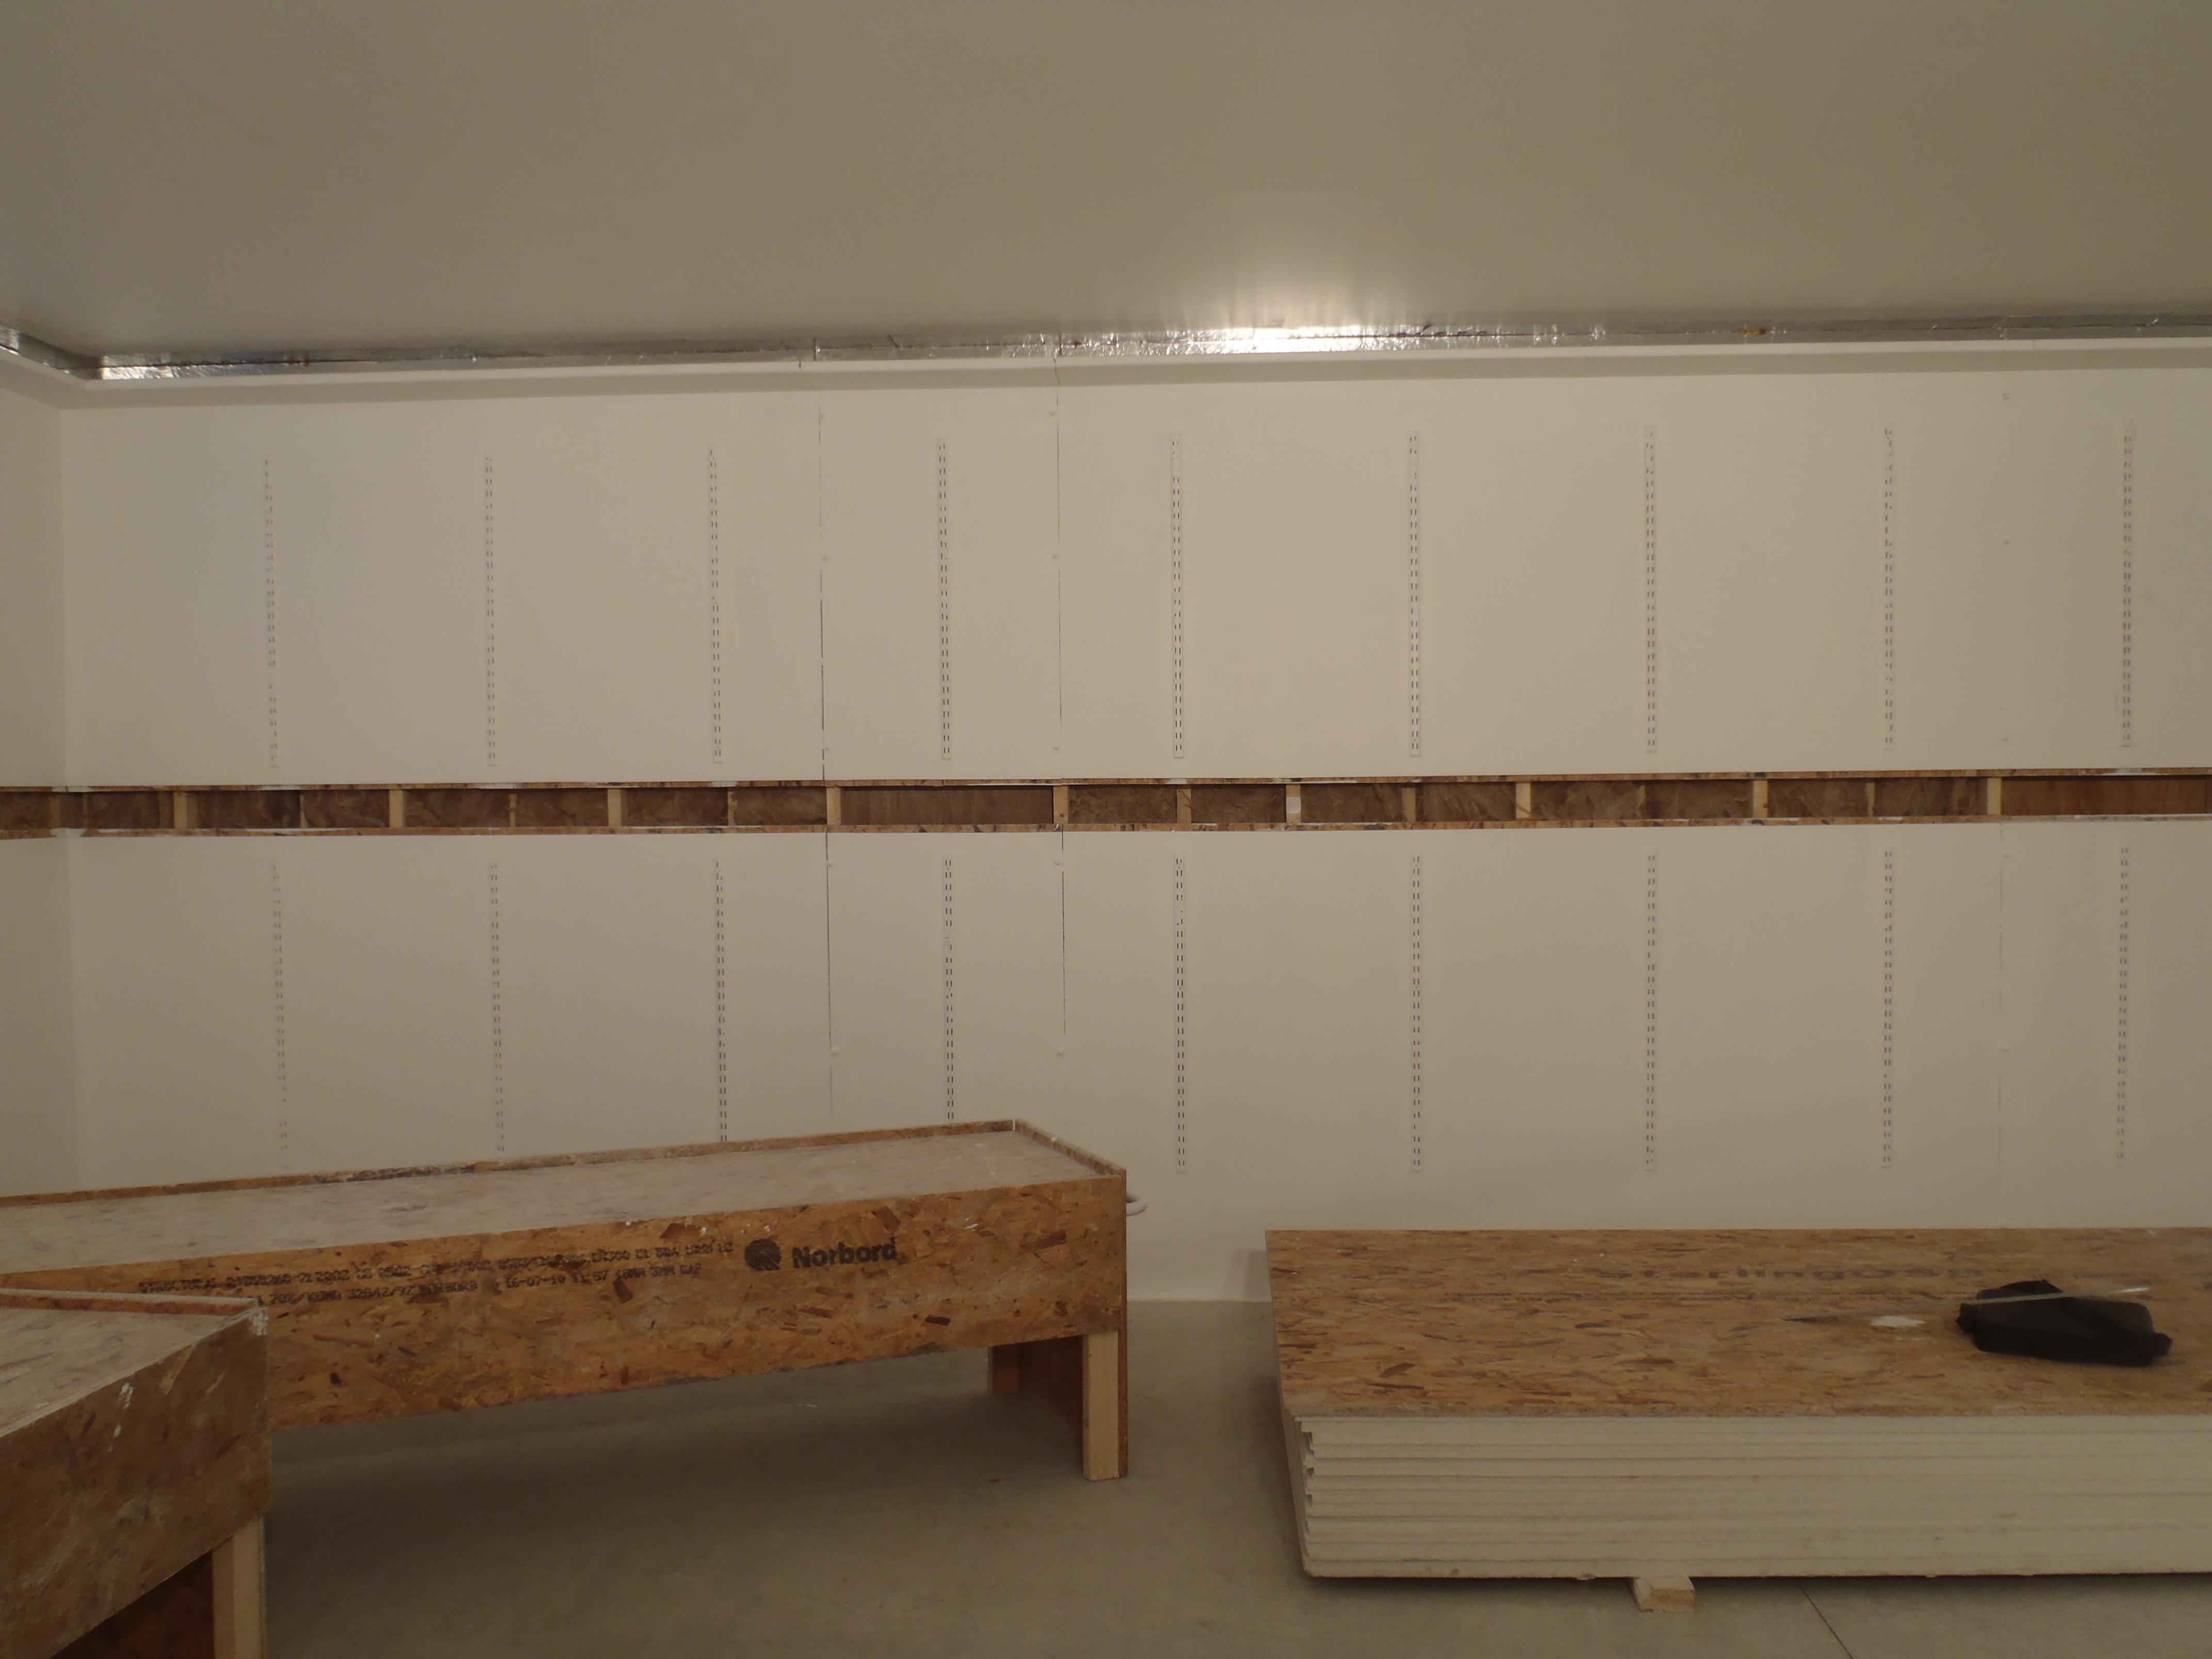
Paint 3rd Coat Walls
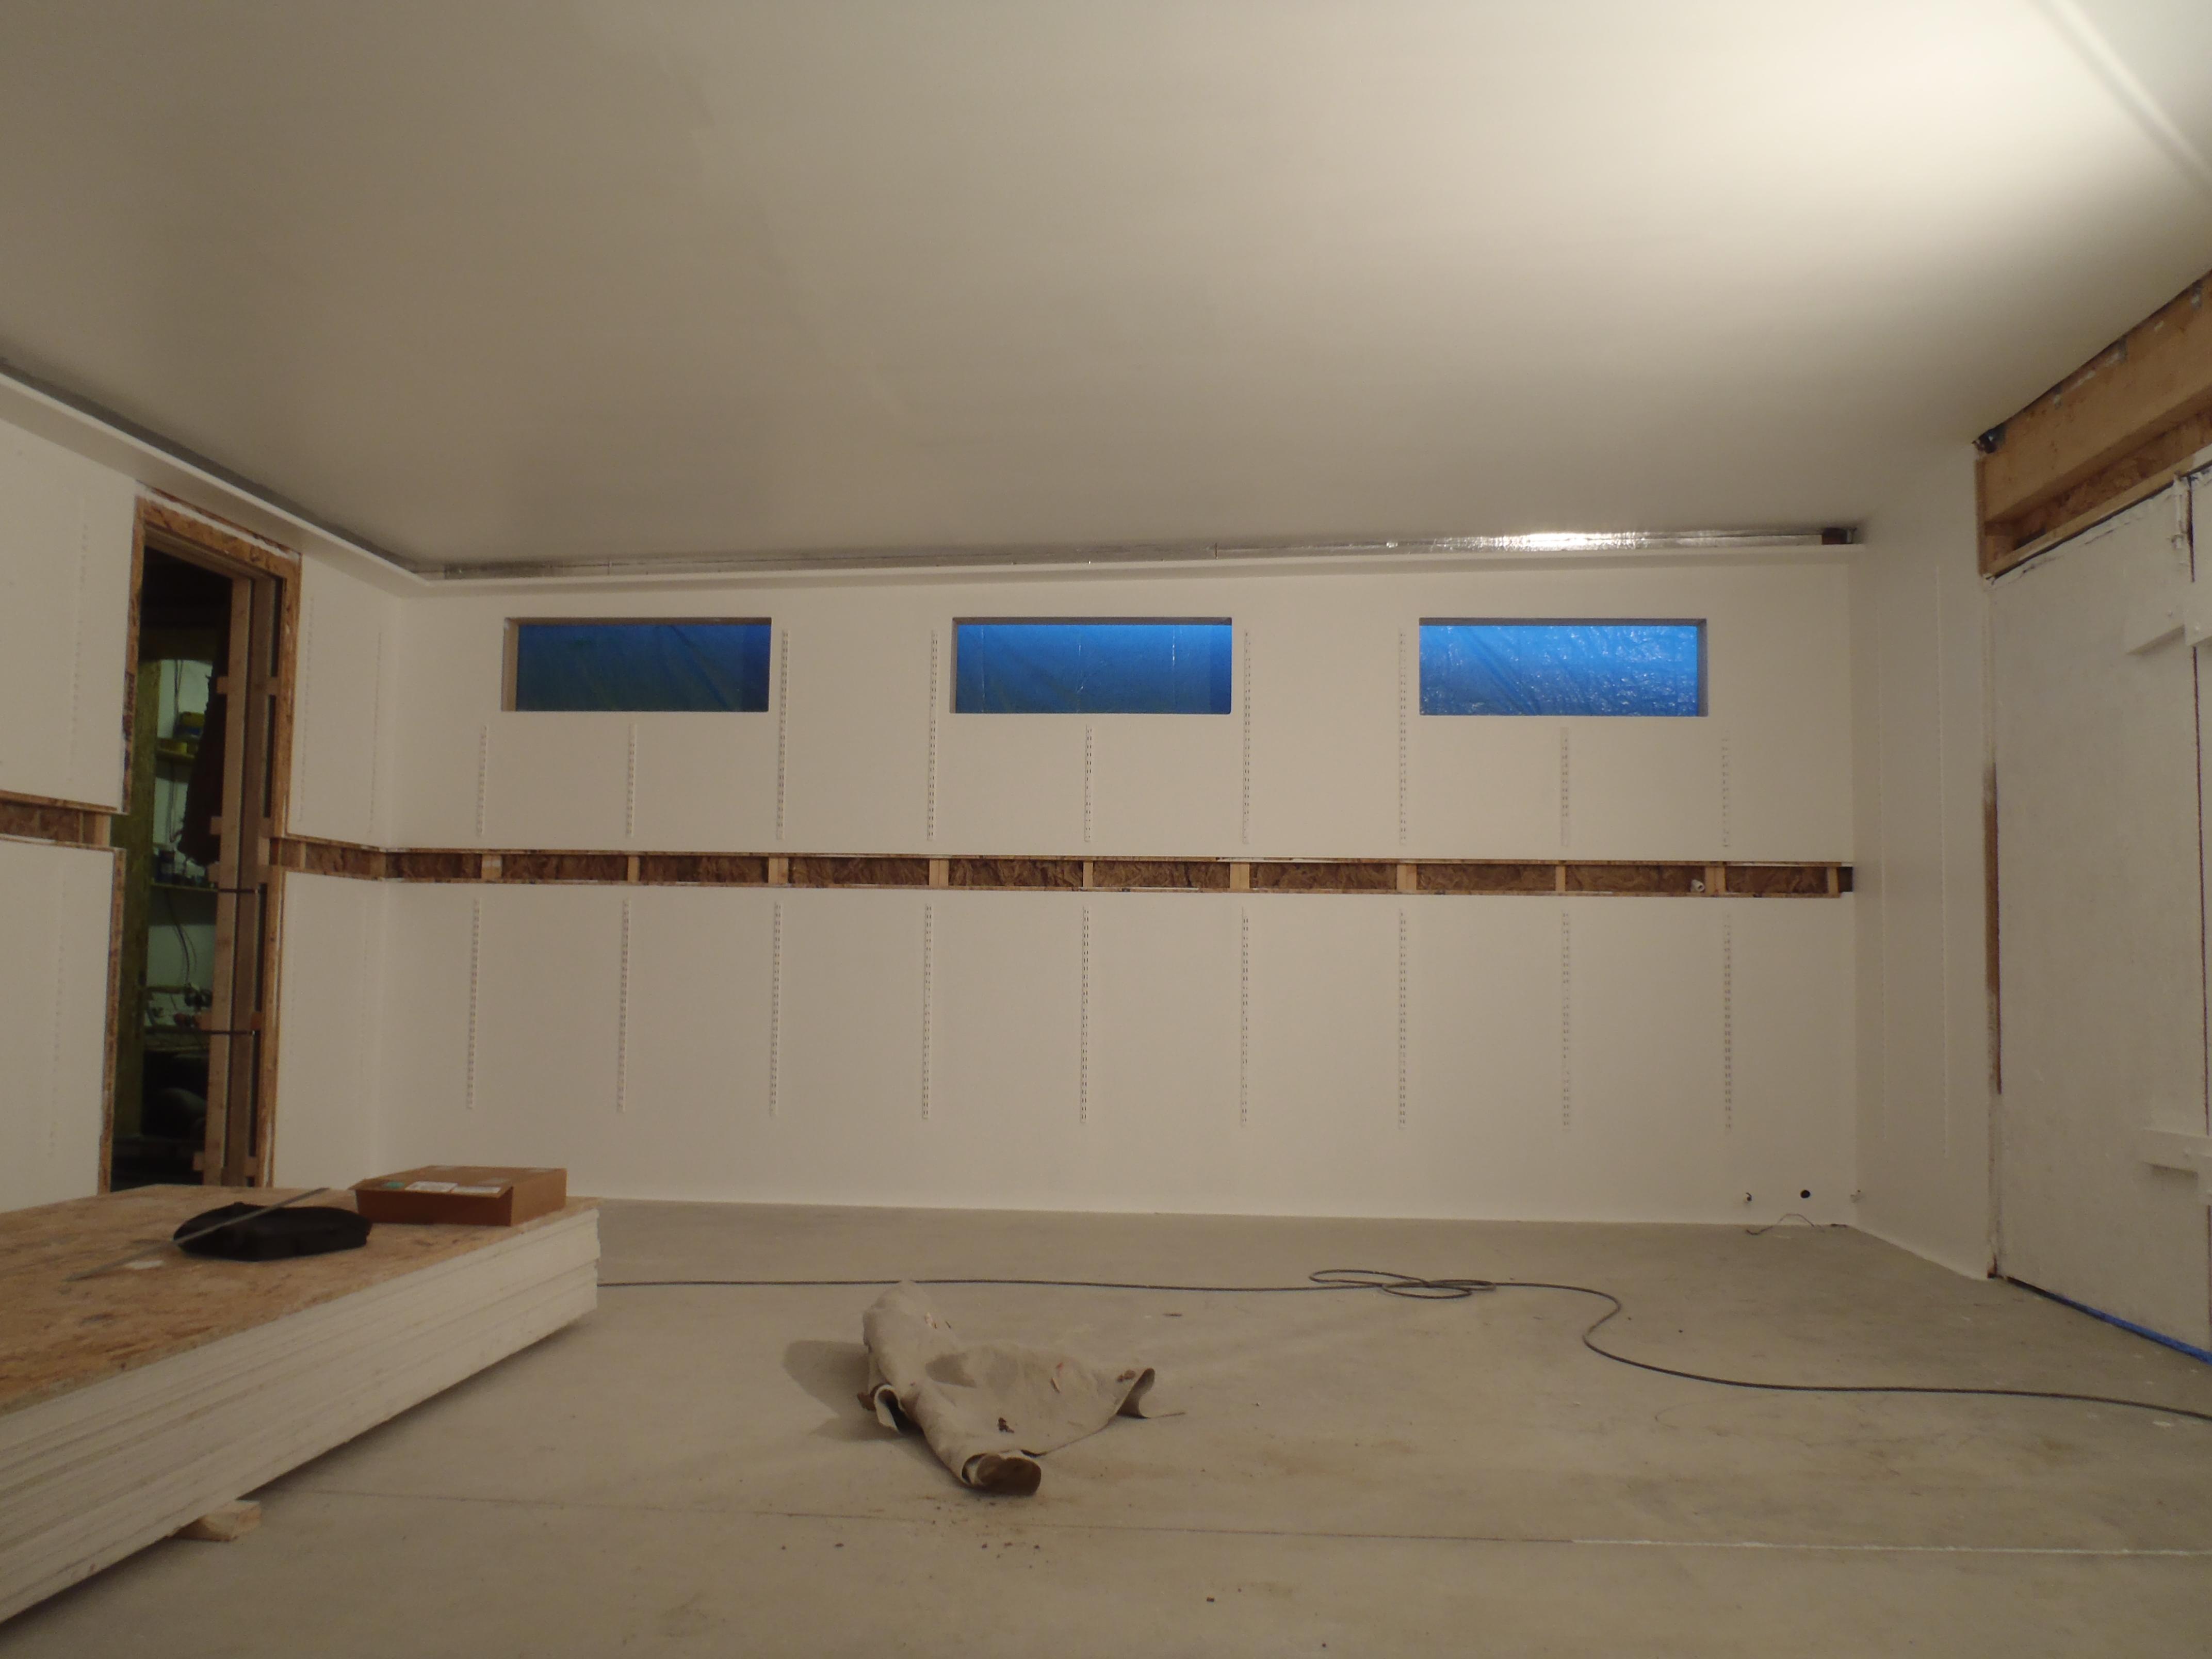
Paint 3rd Coat Walls
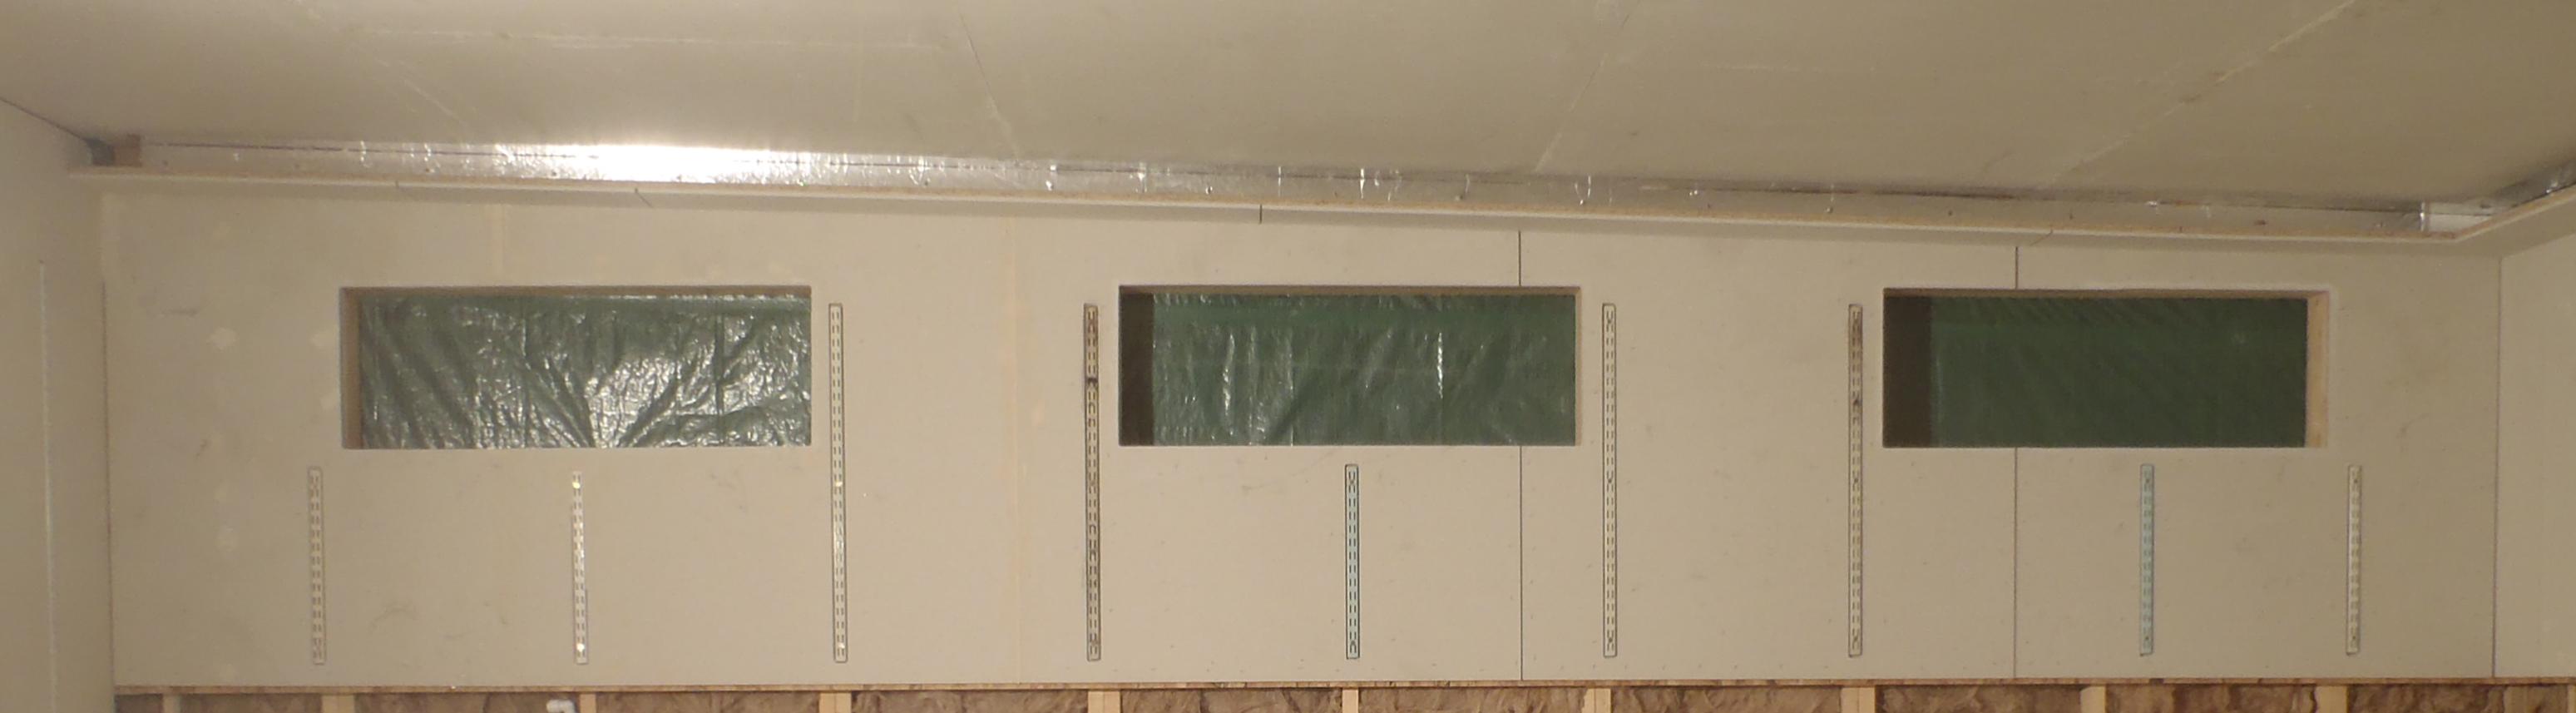
The light level tests are now 140lux for the lower section (compared with 110 with the one coat) and the upper section now returns 160lux (compared with 140).
The original grey walls returned 80lux and pointing the light meter at the light source gave a measurement of 200lux. That is roughly 80% reflection of the light from our white walls, which is not bad at all!