Author: Shaun

  • Fermacell Arrives!

    Our 120sheets of Fermacell has arrived! The lorry couldn’t fit down the Loke so they got their fork lift truck (they bought it with them!) and offloaded, separately, the two pallets, up on the main Beccles Road and drove down the Loke! They even managed to drive into our garage to dump the second pallet inside!

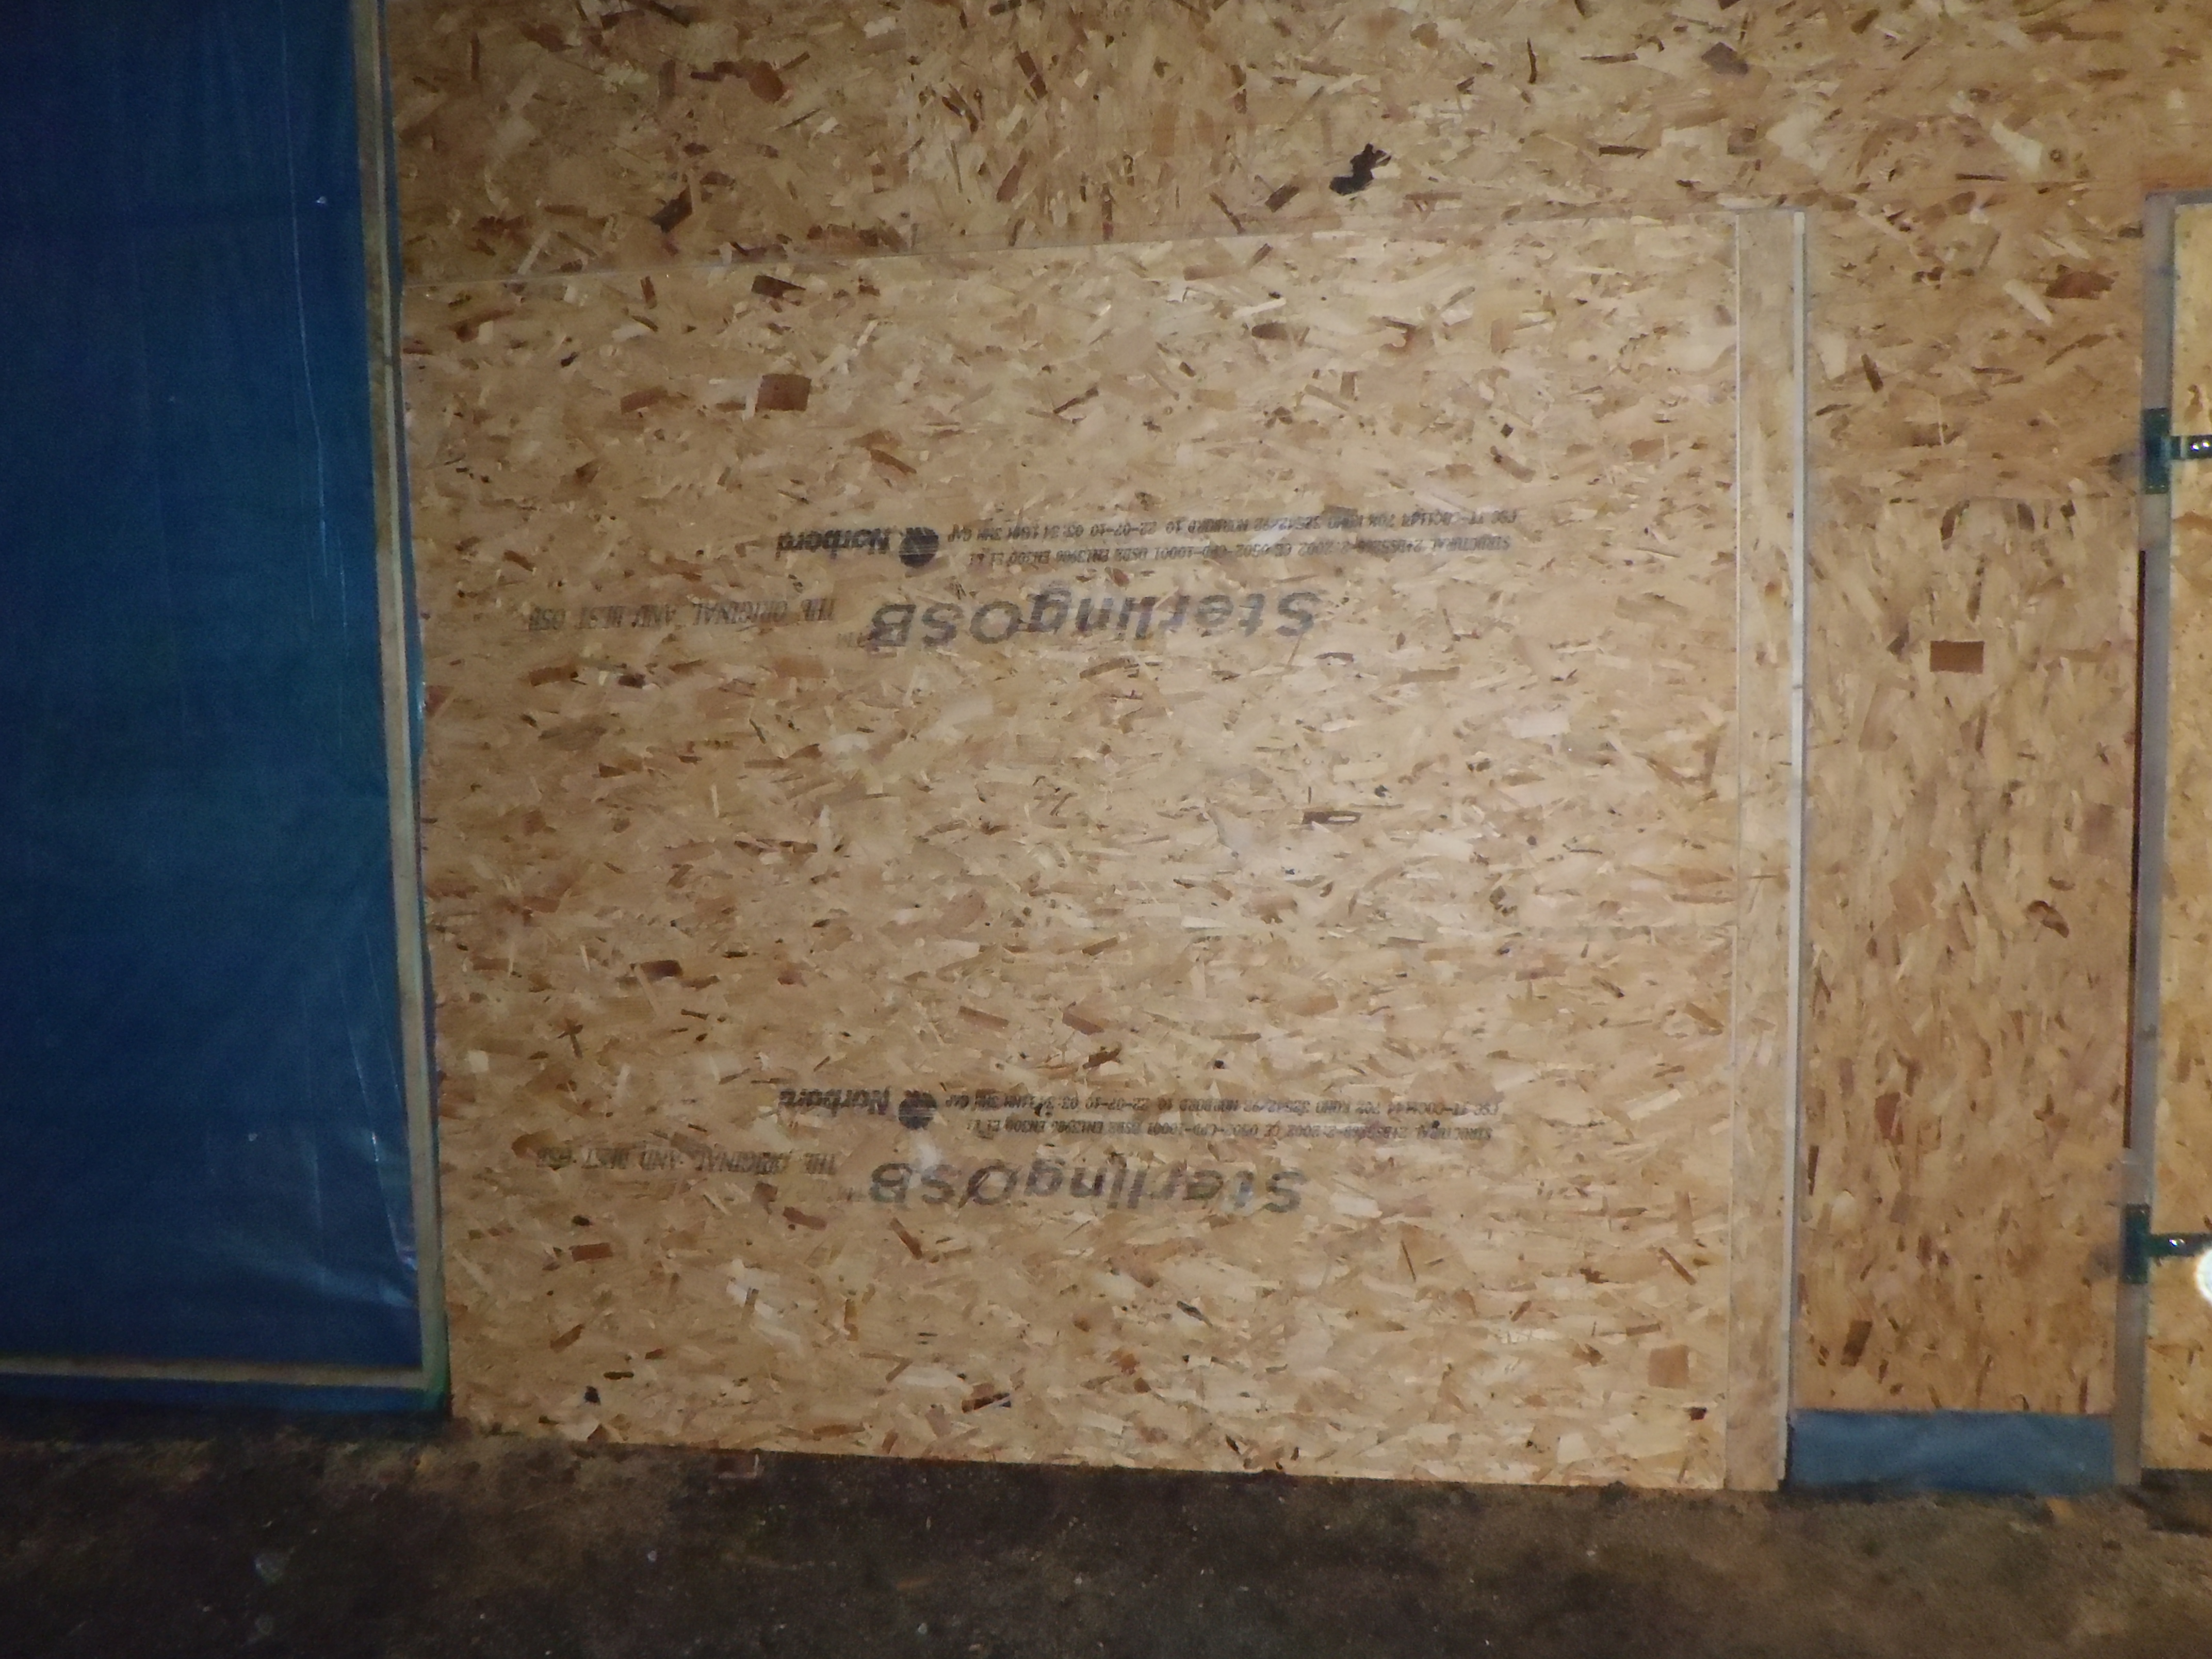
    The Fermacell sheets are 10mm thick and the usual 2400mm by 1200mm metric size! Fermacell is very flat and very constant in thickness. It is fibre reinforced gypsum and compressed to form a level surface, ready to be covered (wallpaper or paint) straight away. Fermacell do not have that paper finish, all edges are square and sharp! Just butt the boards together with a thin line of glue specially formulated to form strong joints.

    They supply a “surface” treatment paste (we bought a tub) which you can apply to the board and scrape off using the metal spatula to form a very smooth finish, ready for painting directly. The original surface has very tiny pits as a result of the manufacturing process and even here you can paint the surface using rollers to get that matt finish!

    The Fermacell is very strong compared with the old fashioned plasterboards, one screw, once in the board, can hold 20kg all by itself! Even more for thicker boards!

    No more need for that highly skilled chore of plastering the walls! So time and money is saved at this point which of course is taken up by the higher cost of the Fermacell in the first place, but they are ideal for us!

  • Conduits in Walls

    We have been inserting the conduits in the walls and other pipework! The electrics data and along with other pipes like compressed air, vacuum and water & waste.

    It is a fiddly work, routing the various lengths of plastic conduits up into the ceiling space for lighting circuits, smaller conduits for data cables and connecting compressed air to both sides of the garage and into the garden room too!

    but all this has to be done first before we can put up the base 18mm OSB boards.

    Garage Wall ducts

    Garage Wall ducts

    Garage Wall ducts

    Garage Wall ducts

    Garage Wall ducts

    Garage Wall ducts

    Garage Wall ducts

    Garage Wall ducts

    Garage Wall ducts

    Garage Wall ducts

  • Glass Wool Insulation Installed!

    Today we put up 100mm thick glass wool insulation in all the walls (front, middle, back and the two sides). We wore one piece dust protective suits and dust masks to minimise the really itchy nature of the glass wool.

    The Men in white

    The Men in white

     (in our suits)

    It went quite quickly and we finished all the walls by lunch.

    Glass Wool installed

    Glass Wool installed

    Glass Wool installed

    Glass Wool installed

    Glass Wool installed

    Glass Wool installed

    Glass Wool installed

    Glass Wool installed

    Glass Wool installed

    Glass Wool installed

    Garden Room

    Glass Wool installed

    Glass Wool installed

    Glass Wool installed

    Glass Wool installed

    The only part that is not done is the roof. We are waiting for the ceiling boards to come first!

  • Joined Up!

    The Garage and the old workshop are now connected together via a short corridor! We used sections of old pieces of 18mm OSB sheets to build the mini ceiling, the two side walls and a floor!

    The Joining Corridor

    The Joining Corridor

    But first we had to cut out a “door” size hole through the side wall of the workshop! Thank goodness for long sharp blades in our Sabre Saw! We sliced both inner and outer layers plus the insulation in one go and out popped a piece of the wall and a bite of the old door too!

    We are very glad that we built a strong workshop all those years ago that we could slice a section out of the wall and the door frame, without any sign of movements or collapse!! Phew!

  • Roof Nailed and Covered with Rubber!

    It was a nice day again so we finished off the nailing requirement as specified in the structural engineer’s report. It was very nice having a compressed air nail gun to do the job! There were approximately 500nails in total! But with the bump trigger selected, it was quite easy to just go along and “bump” the gun down and it fires a nail, move along and bump another nail in and so on!

    We decided to put up our long term rubber sheeting to solve the water leaks! The tarpaulin we bought for the temporary job of water proofing didn’t work! It was too short in the first place, this was amazing as the packaging stated that the size was 10metres by 10metres and it simply didn’t do the 9.3metres direction!! This is typical of cheap tarpaulin! But in the second place we think the cheap tarpaulin was also too thin and was being punctured too easily with us walking on top of it!

    So after the nailing, we spent the afternoon cleaning the whole roof, smoothing out any sharp edges and lumps, making sure no nail heads were sticking up and sweeping all the crud off!

    Then using our mini digger to lift the rubber bundle up (it was very heavy indeed!) we pulled, pushed and unfolded it out to nicely cover the whole roof. We used a set of double battens to grip the edges of the rubber top after it was folded over the edge of the roof. We used loads of clamps to hold it in place until we have another dry day to make the proper designed edging. Finally we loaded the middle of the roof with 20 concrete blocks lying on small protection pads to stop any possible damage. These will stay there until we have a good chance of 2 or 3 days of dry and warm weather to glue the rubber down properly.

    (rubber sheet laid out with 20 concrete blocks to hold down middle)

    Now we will see if we have any leaks!! Blooming well hope not!!

  • roof Boards are on!

    The last two days we have been humping up 30 sheets of 18mm OSB boards on to the Garage roof, grabbing the fine dry weather! This was to ensure that the builder’s construction glue sticks properly to the rafters! The iBeam manufacturer recommended using this type of glue to stop creaking noises!

    Day 1 – Sunday 9th January 2011

    Starting very early (9:30am), we first had to deal with the heavy frost we had overnight by wiping all the rafters and allowing them to dry off in the lovely sunshine! Then using a chalk line to establish a starting line for the first row of boards and proceeded from that point. The tongue and groove joints were proving more difficult than we thought.

    Starting to cover the roof rafters

    Starting to cover the roof rafters

    Starting to cover the roof rafters

    Starting to cover the roof rafters

    Starting to cover the roof rafters

    Starting to cover the roof rafters

    (first row completed)

    We managed 3 rows of completed glued and nailed boards.

    It was dark at this time and the dew was already quite heavy and even freezing which made it very slippery! We decided to cut and put up all the remaining boards onto the roof ready for the next day and finished off by covering the entire roof with our 10metre by 10metre tarpaulin to protect the remaining rafters and boards against the frost. We put up 6 concrete blocks to hold down the front edge but fortunately there wasn’t much wind!

    We staggered home 8:15pm!

    (all the boards up but only half fixed down)

    Day 2 – Monday 10th January 2011

    We got going a bit later today, at 11am! We resumed where we left off yesterday and managed 4 more rows to take us to almost the front of the garage! We have only 600mm (2feet) to go, a half a board width!

    We re-covered the roof back over with the tarpaulin and this time tossed up a further 13 more concrete blocks to hold down all four edges against the wind and the forecast of heavy rain overnight!

    http://roselea.co.uk/wp-content/uploads/2011/01/Roof-Nearly-done.wmv
    (Tarpaulin covered roof and concrete blocks)

  • Doors!

    Today we built a double door unit to fill in the second of the garage main doors. All this is temporary to make the garage secure and keep the wind out!

    Garage Doors - Outside

    Garage Doors – Outside

    (outside view)

    We used the old traditional horizontal locking bars to secure the doors.

    Garage Doors - Inside

    Garage Doors – Inside

    (view from inside)

    We filled in the other doorway as well with a fixed panel.

    Blocked doorway

    Blocked doorway

    We didn’t get to do the roof today as the rafters were too wet because our plastic sheeting didn’t survive the strong winds we had yesterday! There is rain forecasted for tomorrow but the weekend might be dry and sunny (fingers crossed) and we will get the roof on then!

  • Noggings and Roof Boards Preparations

    Today we sawn 22 more noggins made from our stock of “spare” 63mm by 38mm CLS timber , to brace the middle part of the iBeams over the front portion of the garage. These were diagonally fitted to create a triangle structure to stop the roof sheering sideways. The whole roof now has four separate points of structural bracing to support the roof; front, middle, middle and back.

    Next we prepared 32 sheets of the 18mm OSB boards by cutting a finger joint in all edges except the outer most edge where the roof overhangs the walls. We generated at least 30litres (one large tub) of sawdust!

    It was quite difficult to get the finger joint to be exactly in the correct position as we discovered that the OSB boards vary in thickness! We have managed to keep the “offset” down to approximately 1mm!

  • Trimmed the Tops!

    And we also trimmed the excess material off the tops of the walls. The OSB boards were nailed to the very tops of the iBeams and noggins (on the front) to finally finish off the walls.

    Garage Lights Finished

    Garage Lights Finished

    There isn’t any more jagged steps in the sky line of the walls! All nice and smooth ready for the 18mm OSB boards! At last!

    Next is to man handle almost 30sheets of 18mm OSB boards each weighing about 35kg (77lbs) each! We are going to get hot so roll on the freezing weather! No sweat!!

  • All Metal ties are in place

    Today we resumed our work on our Garage after a 3 day break for Christmas! We finished putting on the metal bracket pies holding down the iBeams(the rafters) across the middle wall.

    We also put a couple extra brackets at the bottom of the door posts (the big front doors) to ensure full structural tie down around each of the large openings. There would be quite a considerable uplift force during strong winds especially if someone opens both doors at the same time!

    We are almost ready to put up the OSB boards but first the last row of noggins across the middle of the front portion of the garage. This is to connect and stiffen up all 22 rafters into a single structural unit. We have already done this for the front, middle and back positions over the walls, so this is the last row to do.