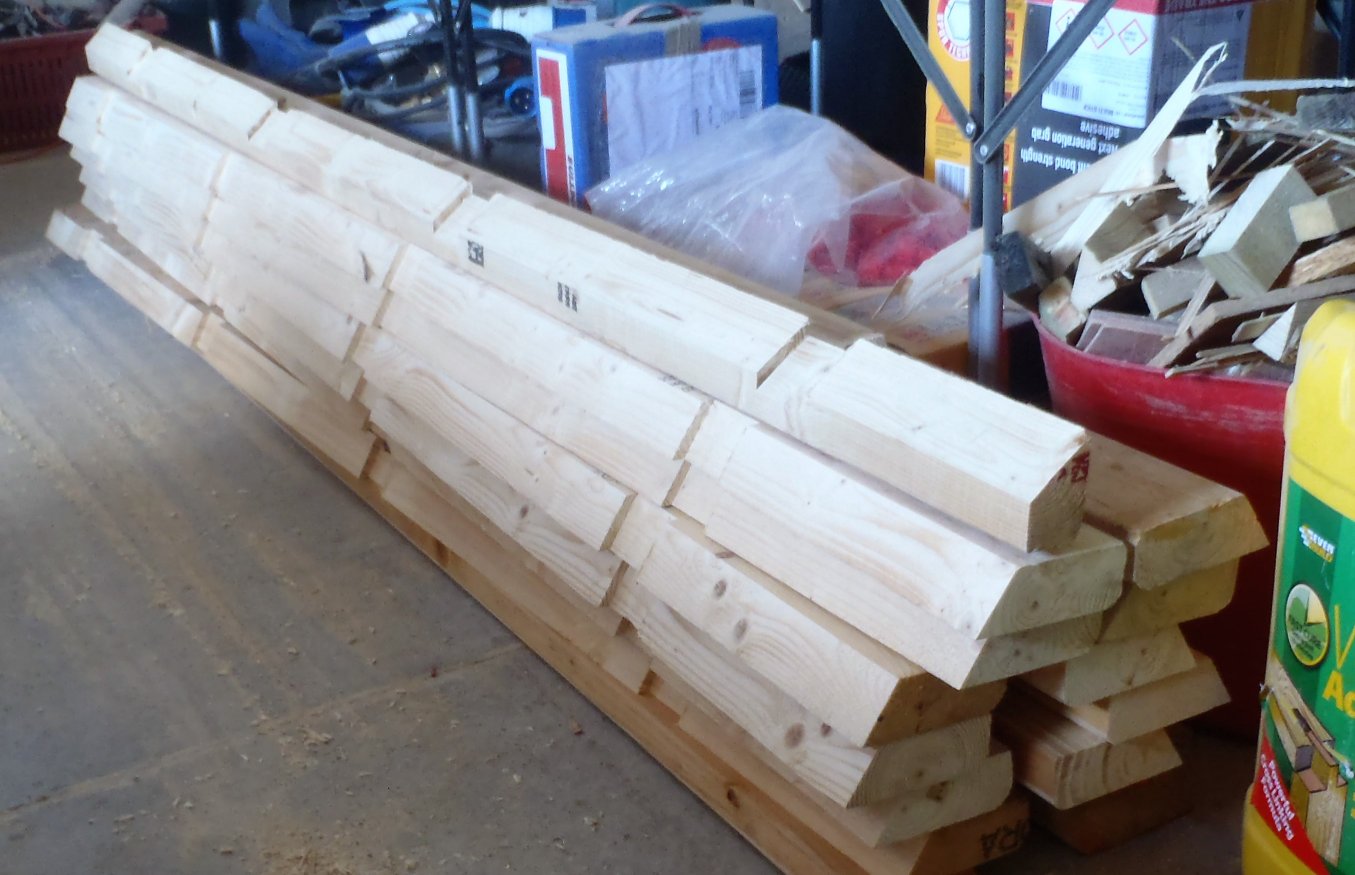
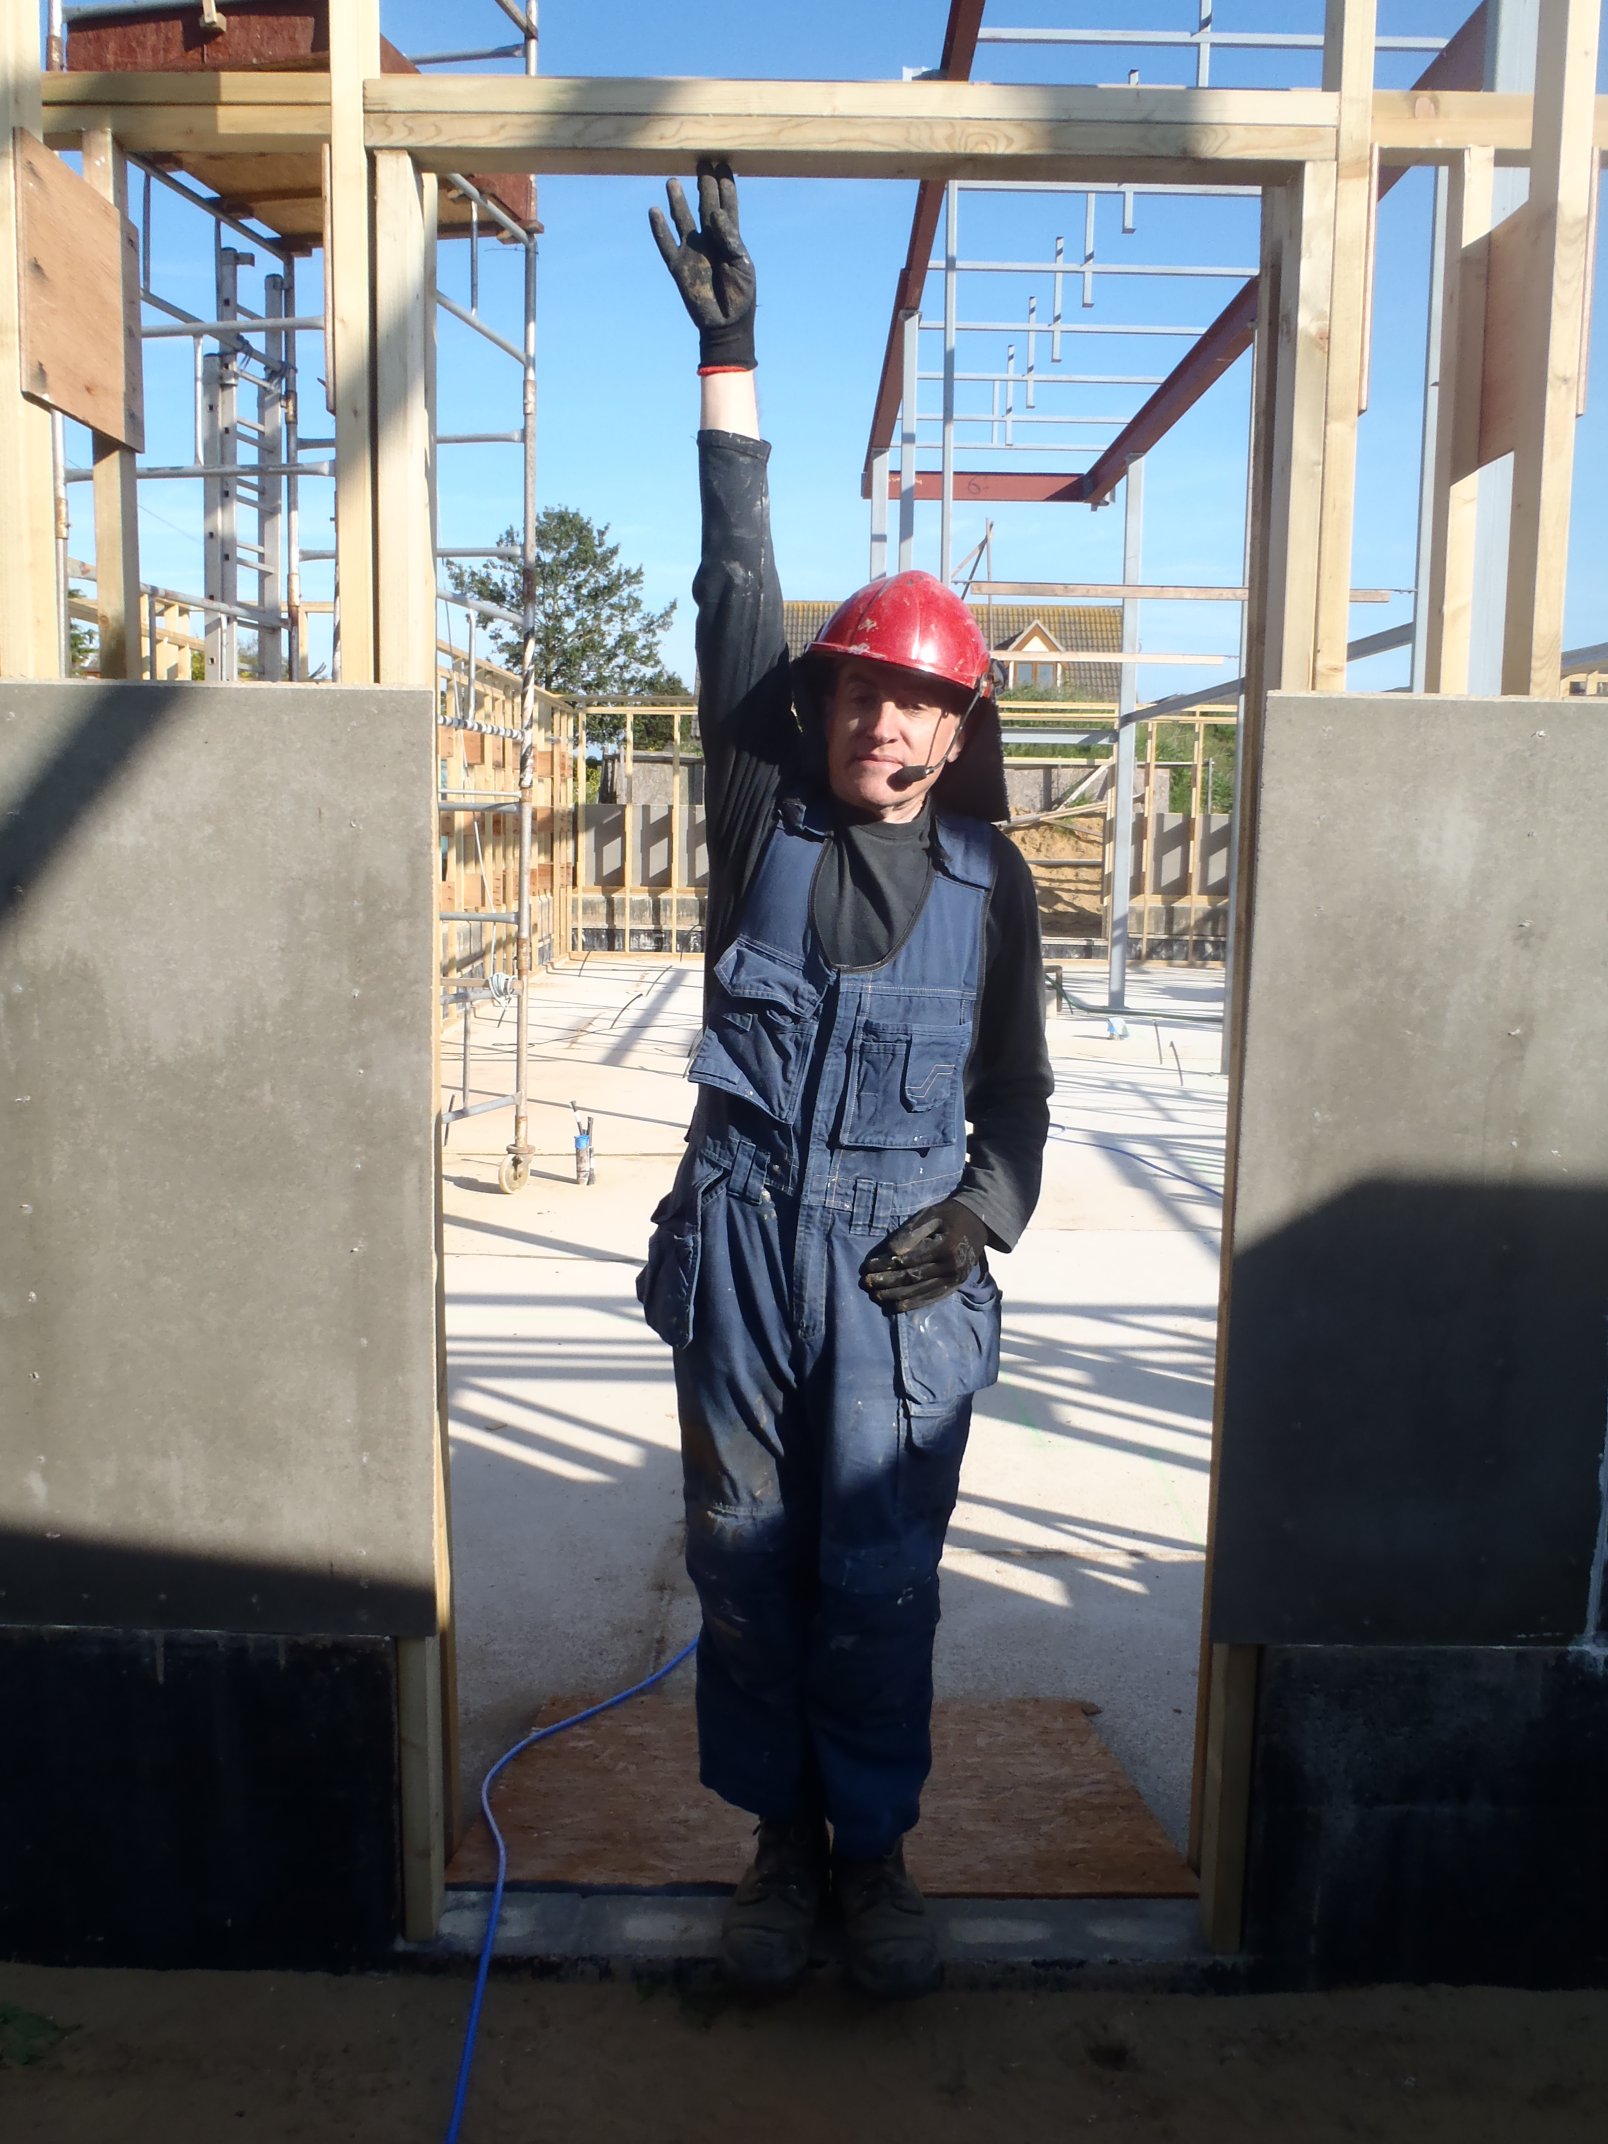
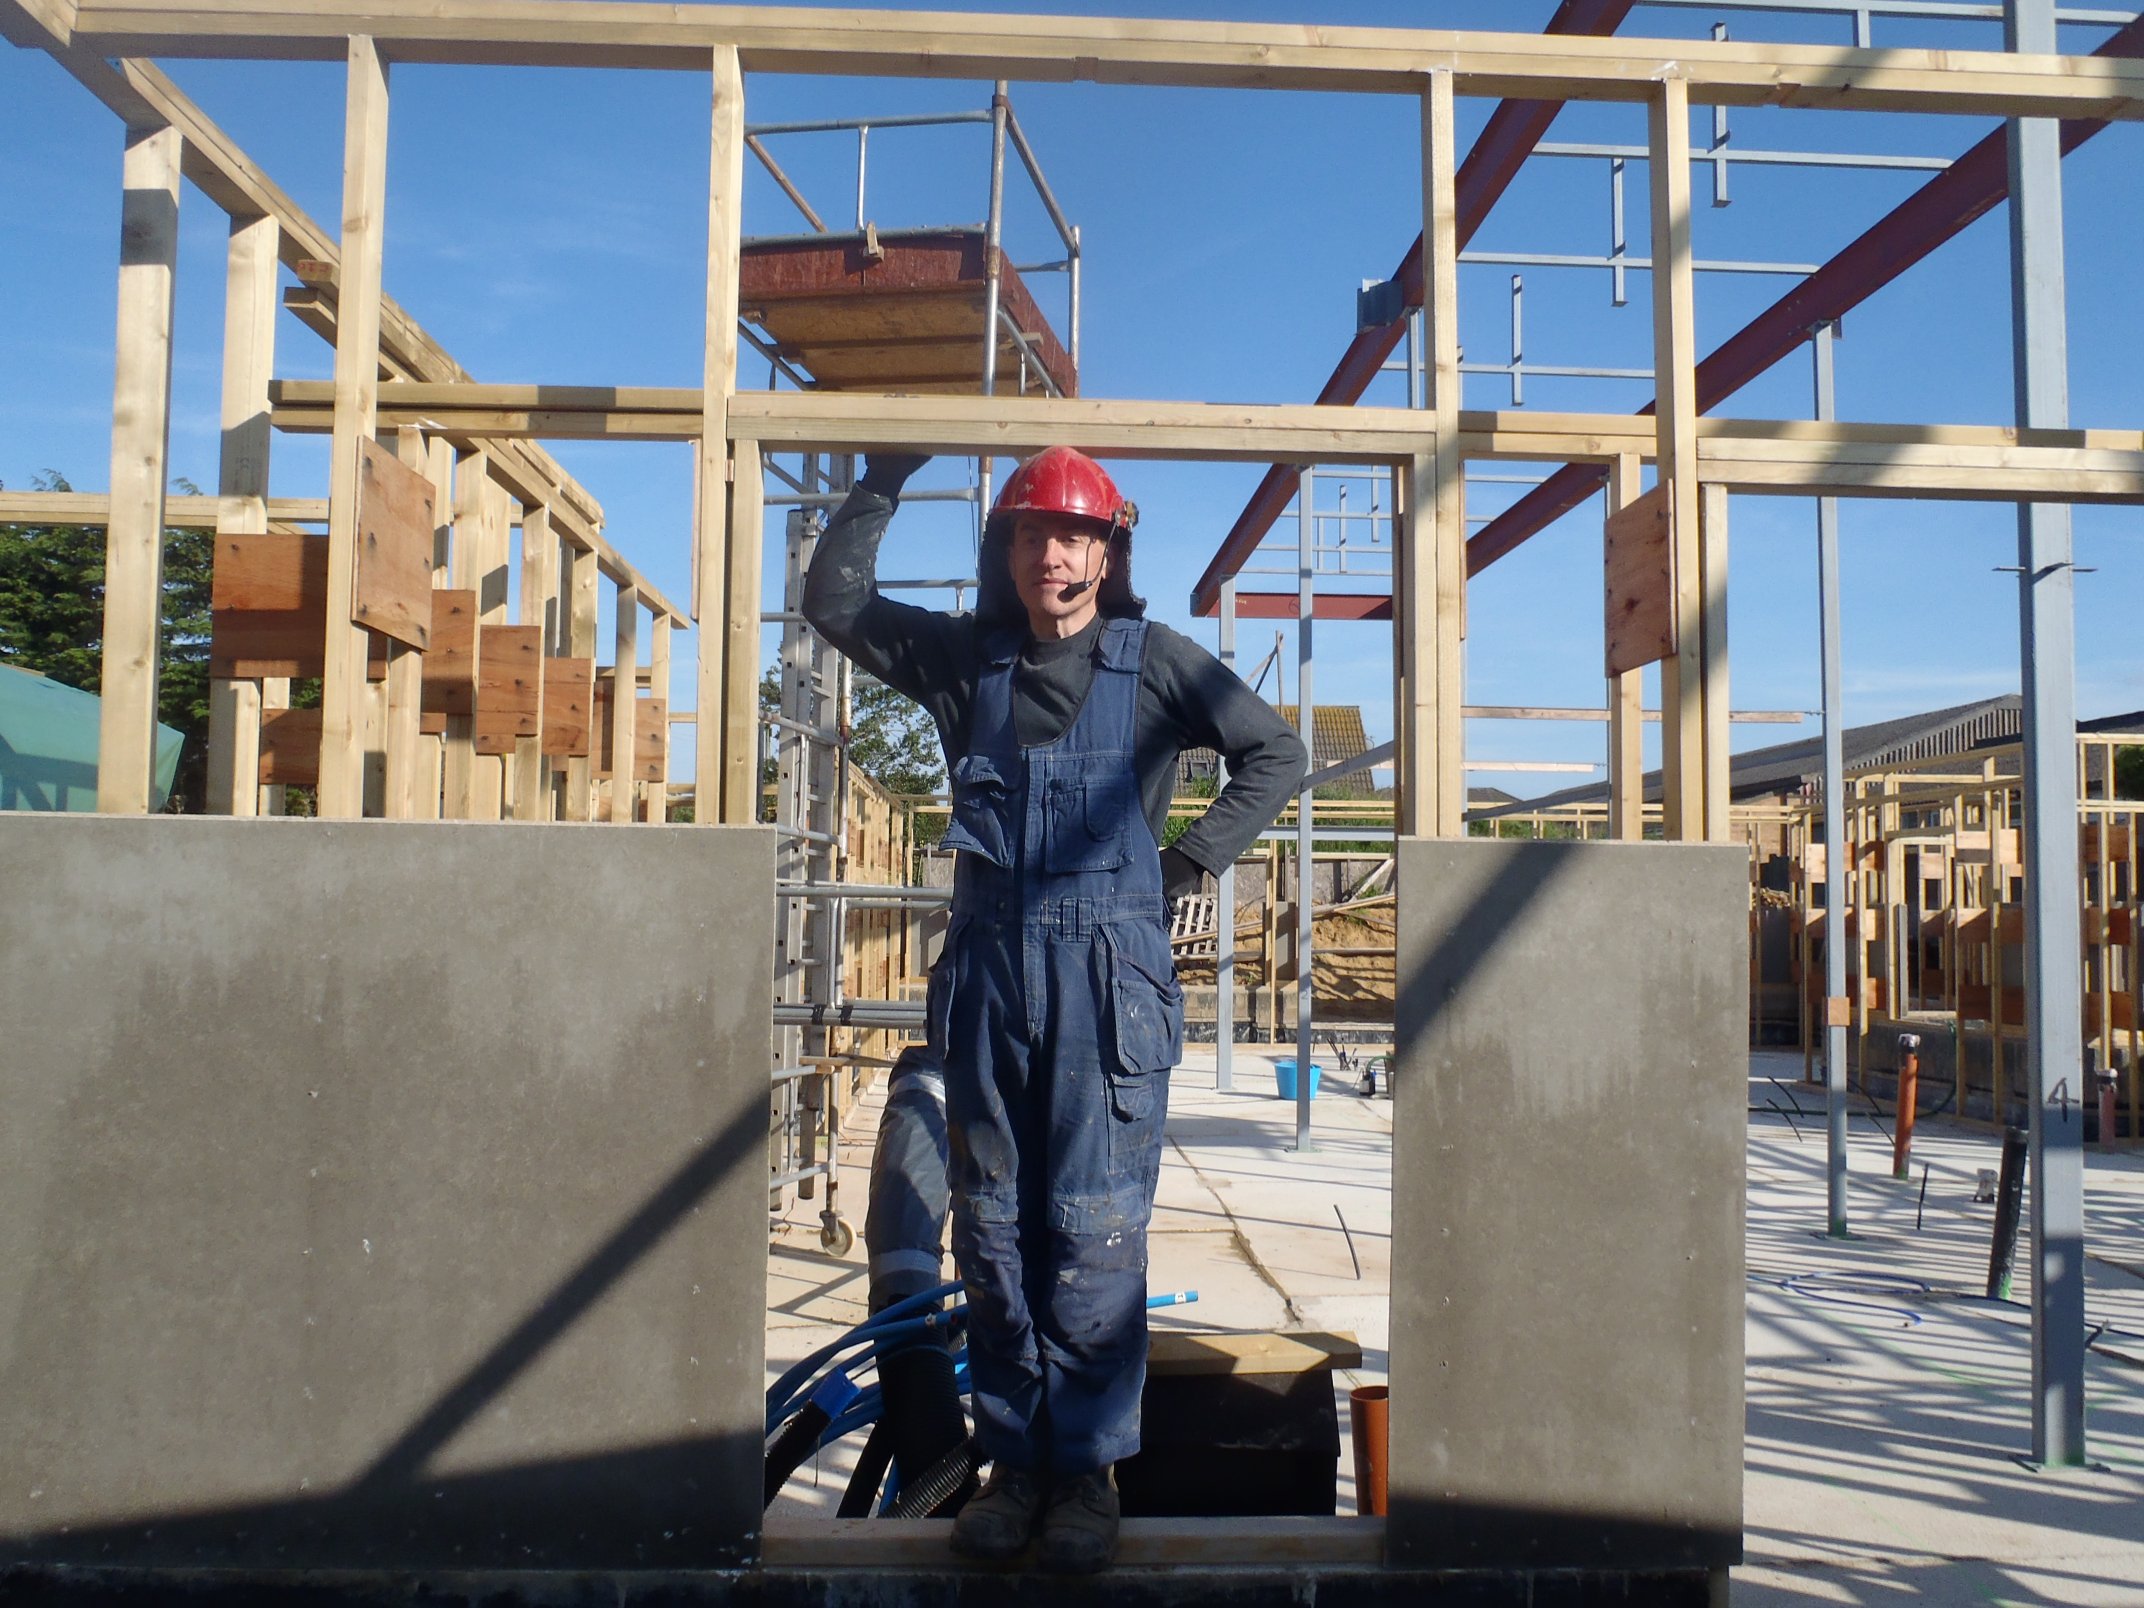
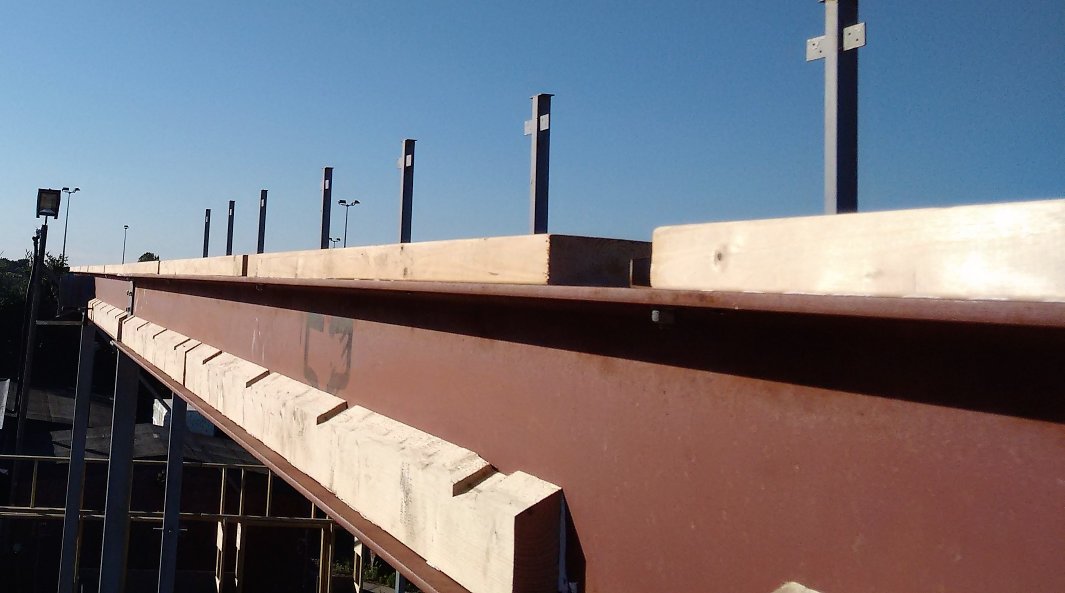
Today, in glorious sunshine, we started the task of mounting all the special timber pieces we made in the last week, and putting it up on the steel I-Beams.
We also put the extra flat pieces of timber on top of the I-Beams as well. Each section of the steel framework was scrubbed with water and a little bit of detergent to wash off the dust and bird poo, then measured and cut each piece of timber to fit into place, using our laser alignment tool to accurately get the special timber pieces down on the lower flange and a regular rectangular timber piece on top of the upper flange.
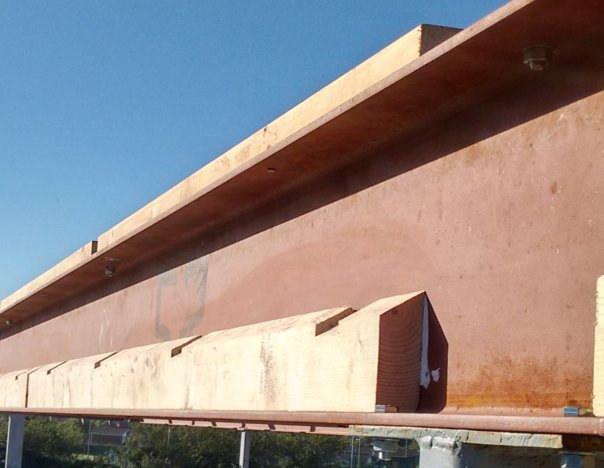
Timber-rafter-supports-Fixed-in-place-1
Timber-rafter-supports-Fixed-in-place-2
We used our special all weather construction glue to stick the timber onto the steel surface, using lots of mechanical clamps to squash the joint tight before locking it down with 5mm x 50mm long screws (we had previously pre-drilled clearance holes in the steel ages ago).
Today we managed to get exactly half way around the steel framework and we will continue on Monday and get it completed. After that, we will build up the Sky Light framework on the newly fitted timber supports and this will provide the structural anchor points for the roof rafters, hence why we are having to do all this now.