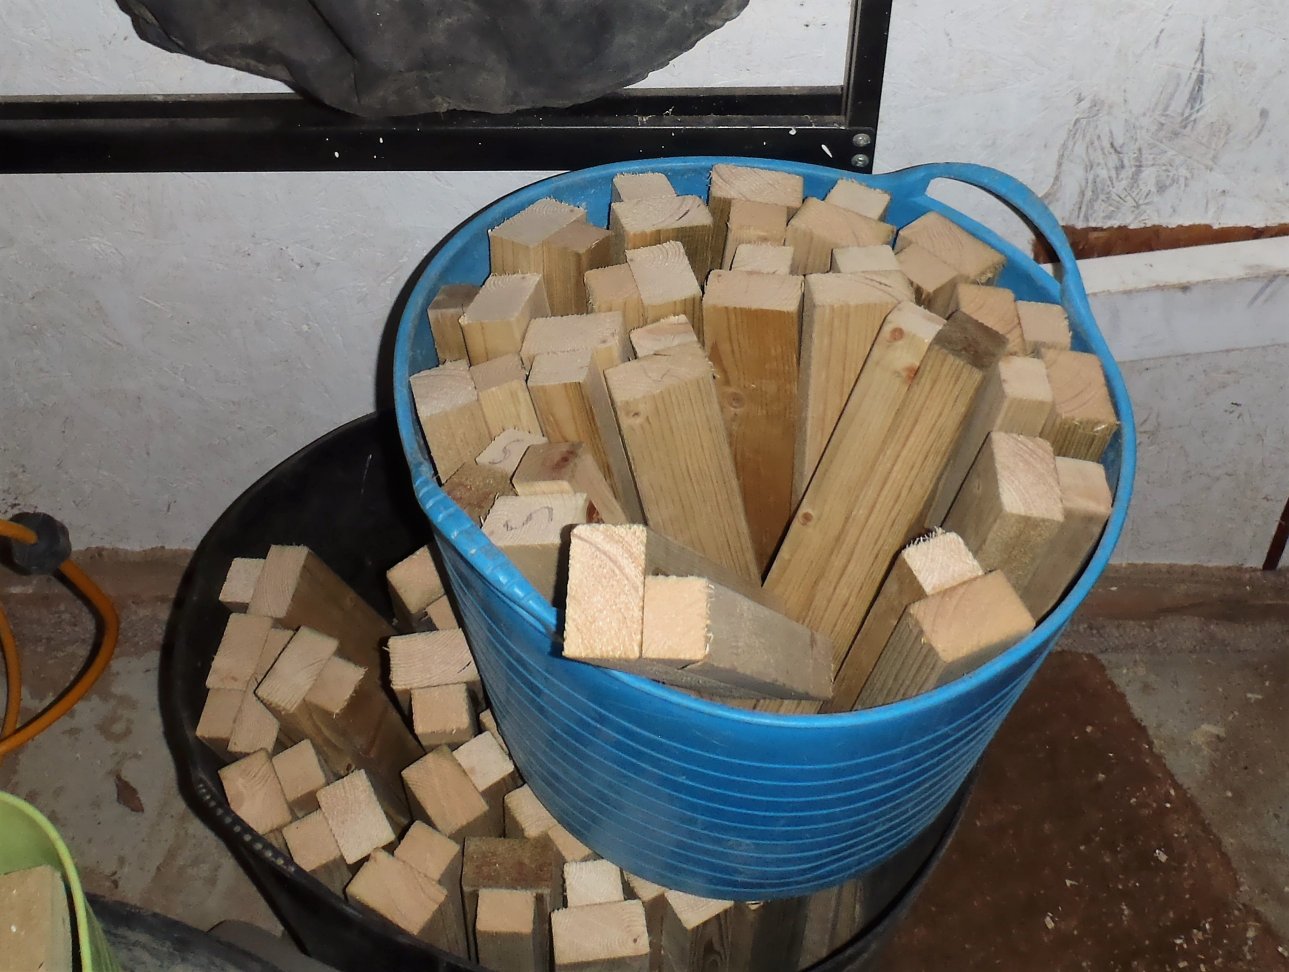
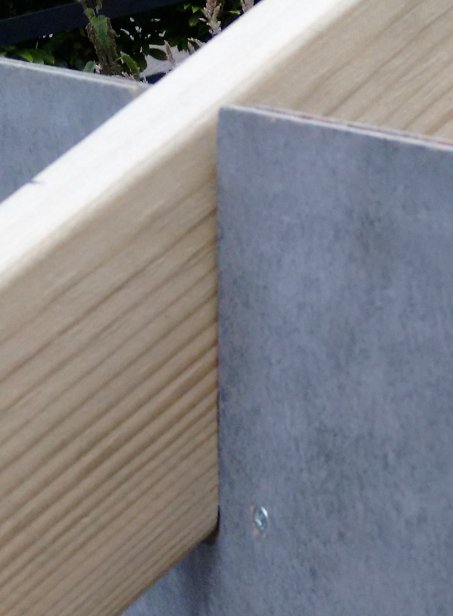
First thing this morning, we planed the four half-done long timber pieces left over from last week, down to the required 69mm thickness, using our power assisted planer machine.
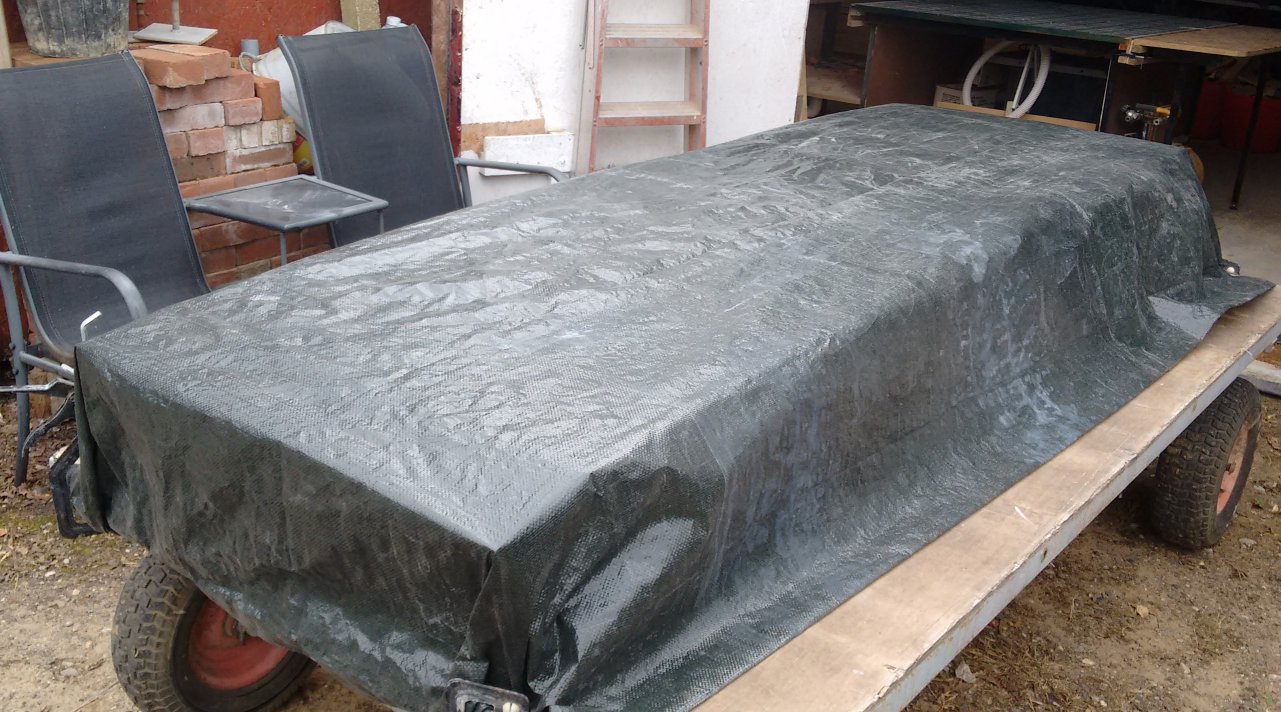
Then, taking these four pieces outside, we wondered where to put them and keep them out of the rain. So we decided to hoist up one of our large tarpaulin sheets right across the top of the three sides of Bedroom 2 which is an extension sticking out towards the swimming lane.
It was a folded over plastic tarpaulin using a tensioned rope to form the fourth side and then tied down the edges using string from the eyelets down to concrete blocks.
But we found that it still wouldn’t form a flat area so we also propped up various locations up inside the covering using diagonal struts with footballs taped on the ends (for a softer contact to the plastic surface) and this helped to create sloping ridges to encourage the rain water to run off without forming puddles.
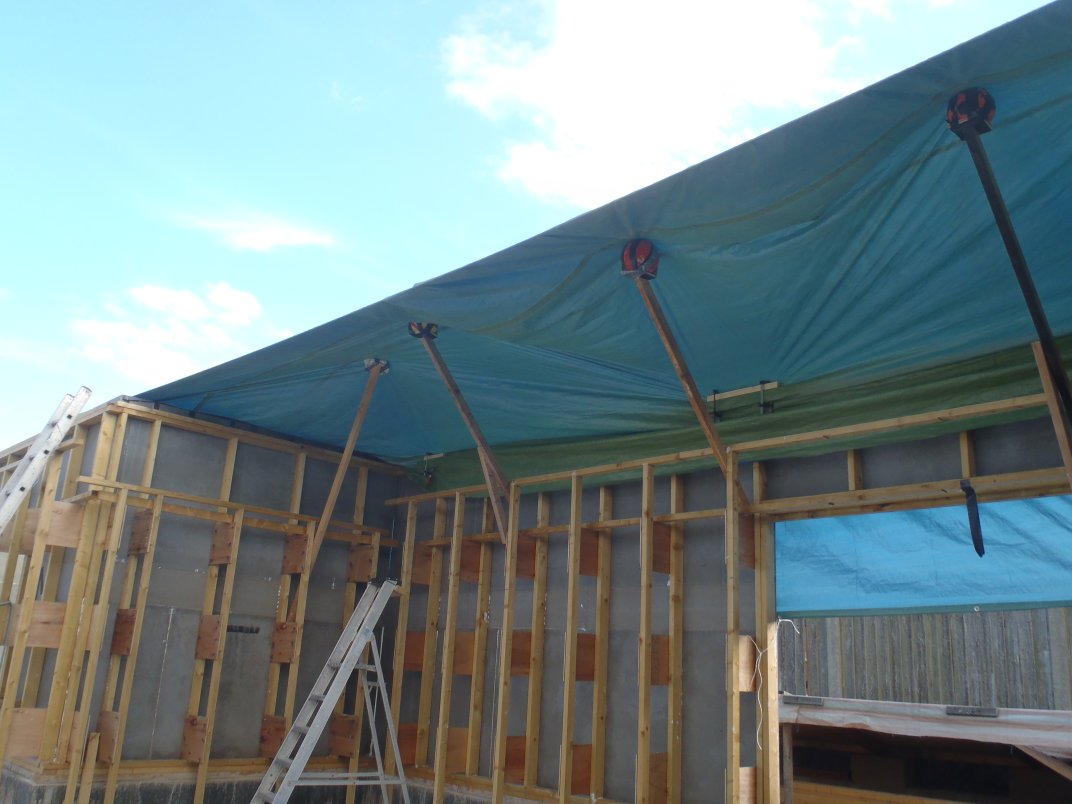
Rain-Cover
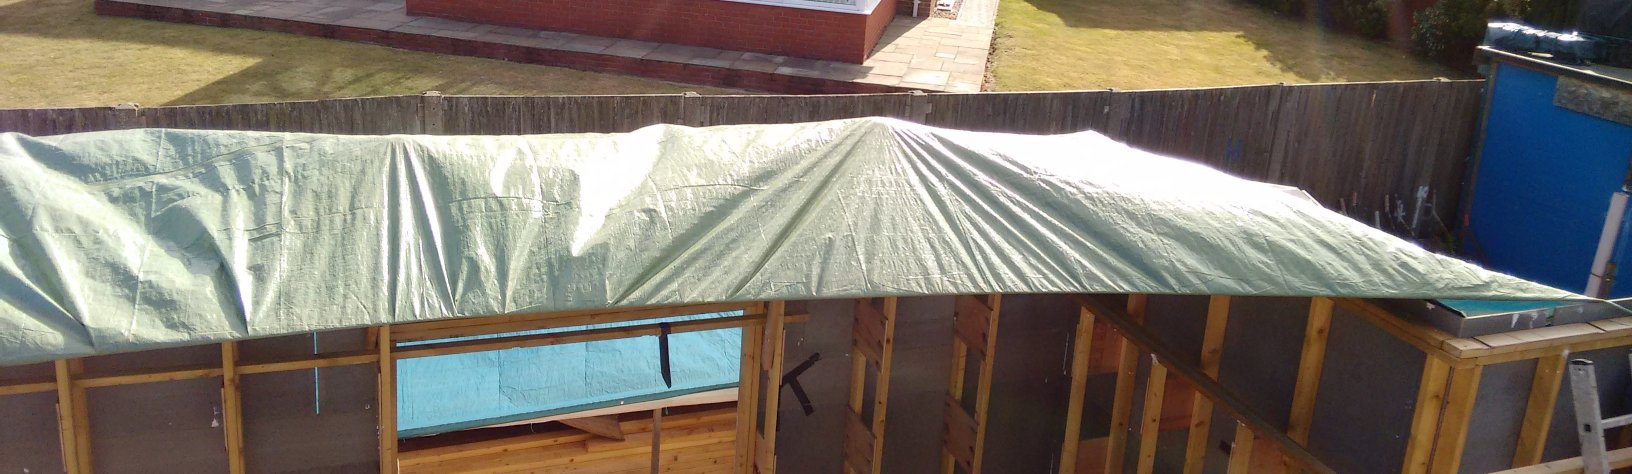
Rain-Cover-from-above
It was a surprising long time to complete this task, some of it because we had some stiff breeze blowing our tarpaulin around, but also trying out different methods of creating a slope and having to change our ideas half way doing this job. Phew!
Now we have a rain shadow ready to keep our timber mostly dry and also very well ventilated, especially that we have our special LVL timber coming this week and we need somewhere to store it in the dry until we are ready to use them in building the special roof rafters.