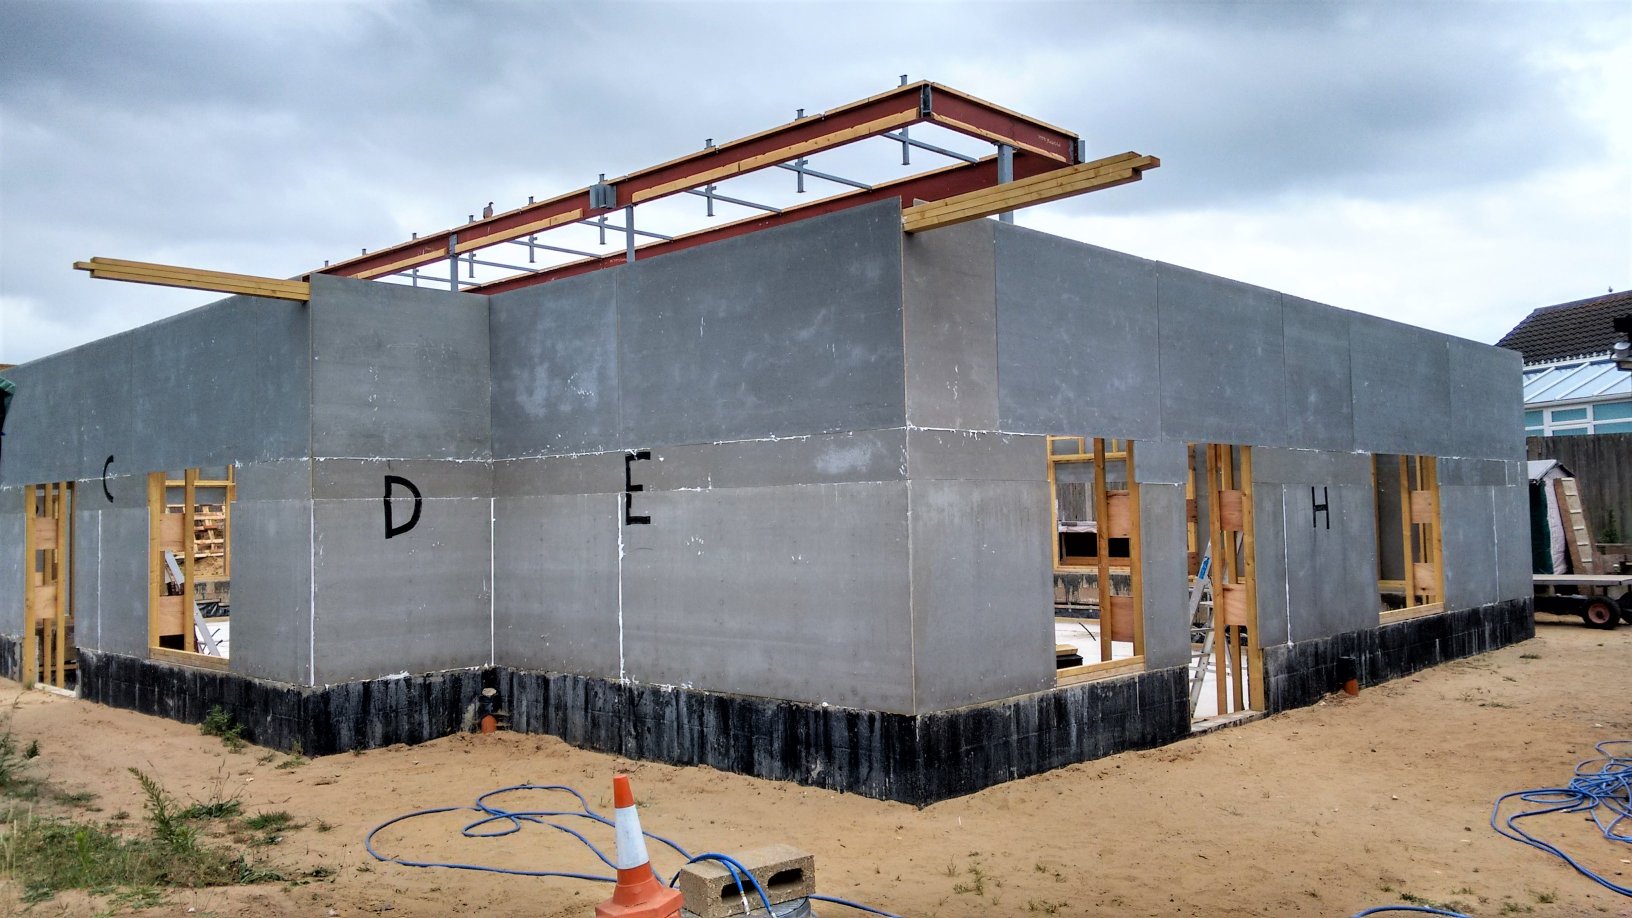
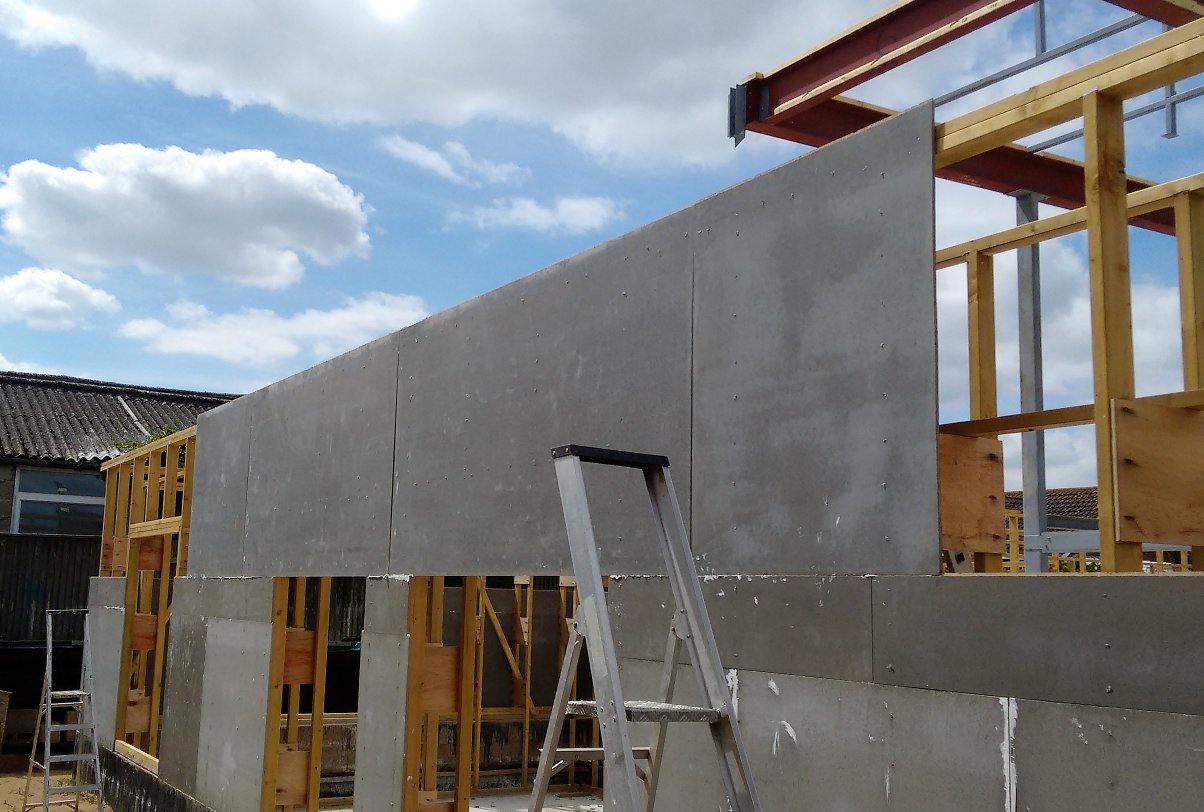
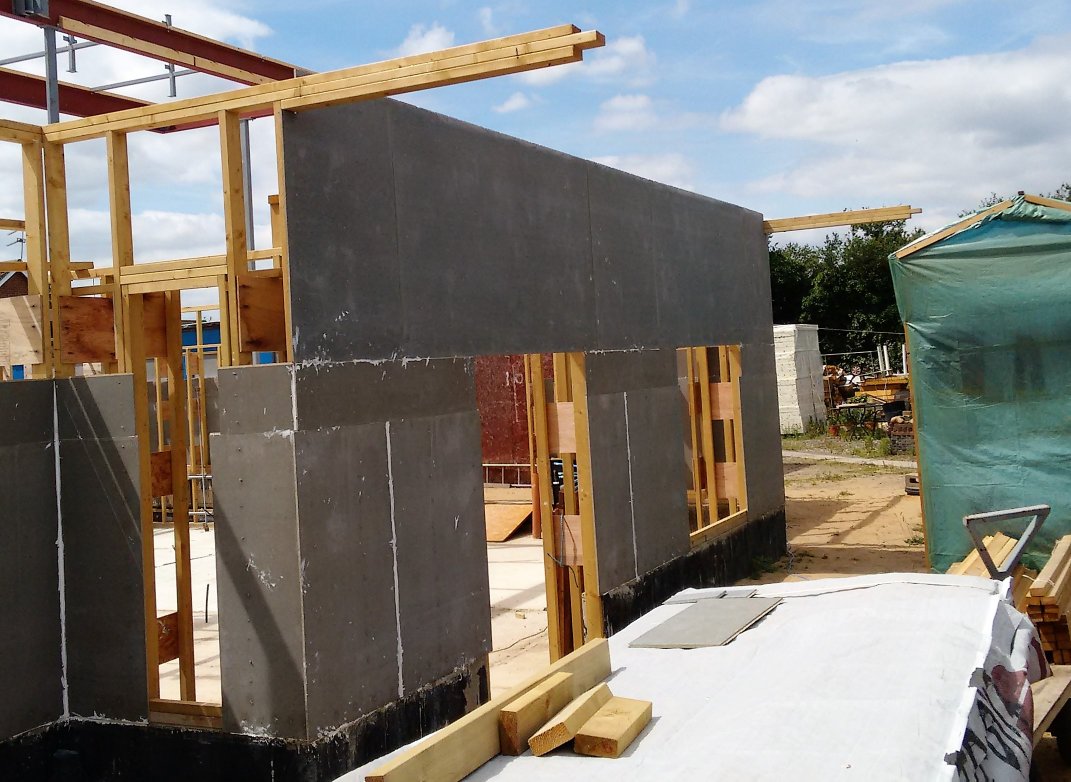
During the last two days, we continued putting up the cement panels to complete the third line on the external wall. We did Wall M, L, K and J yesterday and today we completed wall I, H, E and finally wall D to finish the whole circuit.
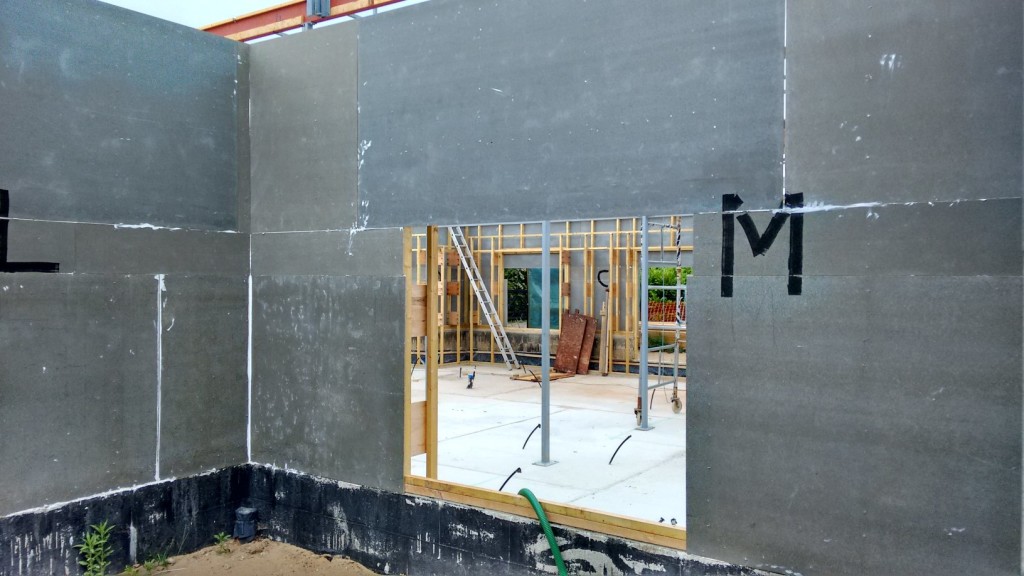
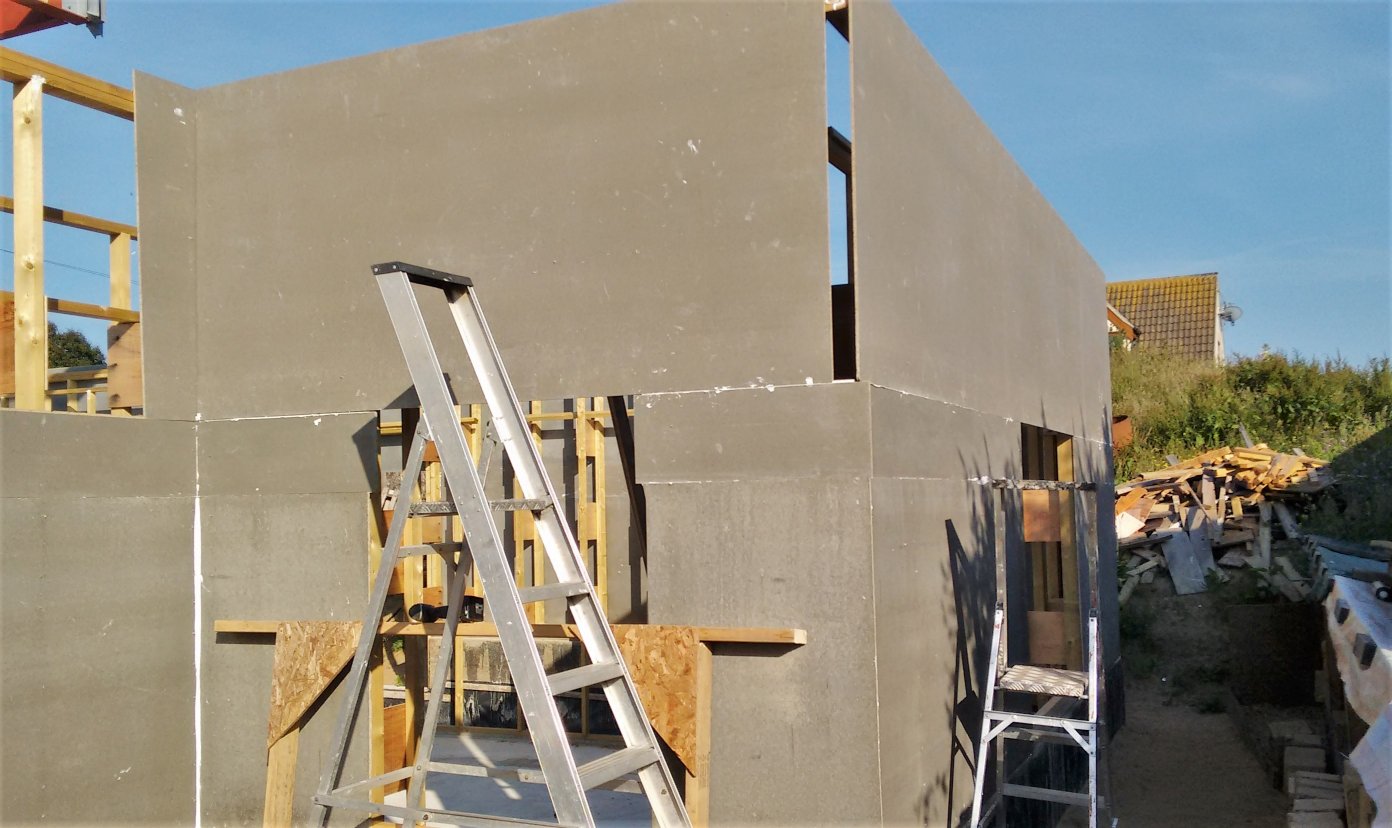
Cement-boards-Finished-on-Wall-M
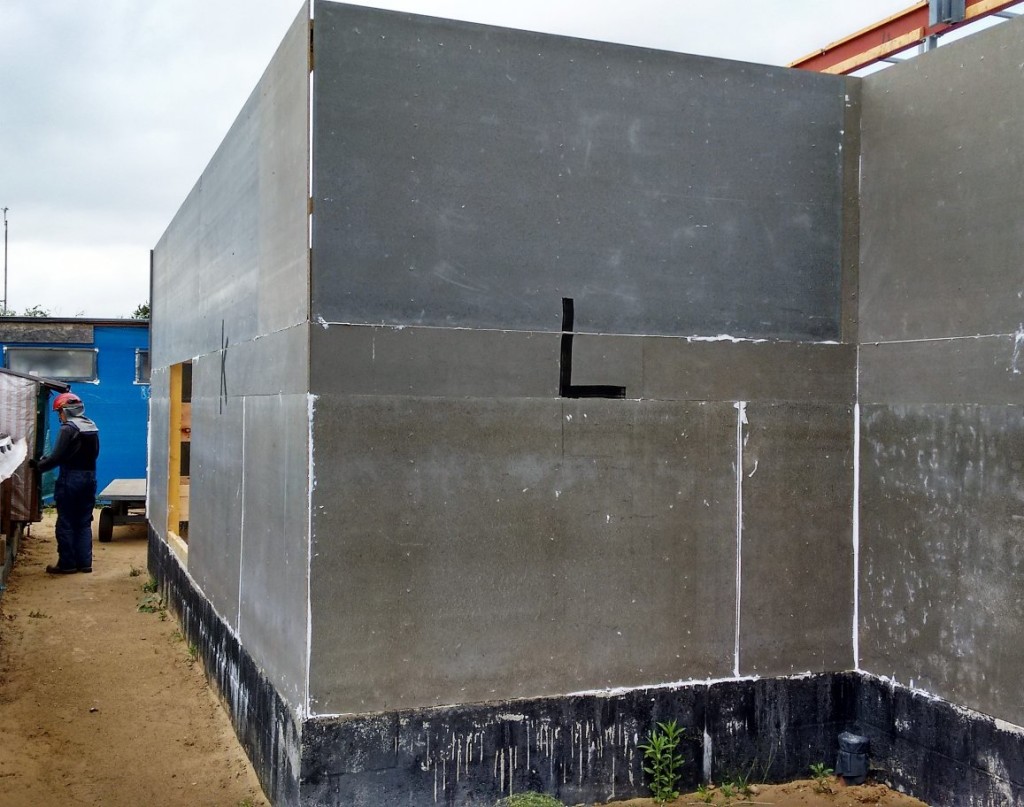
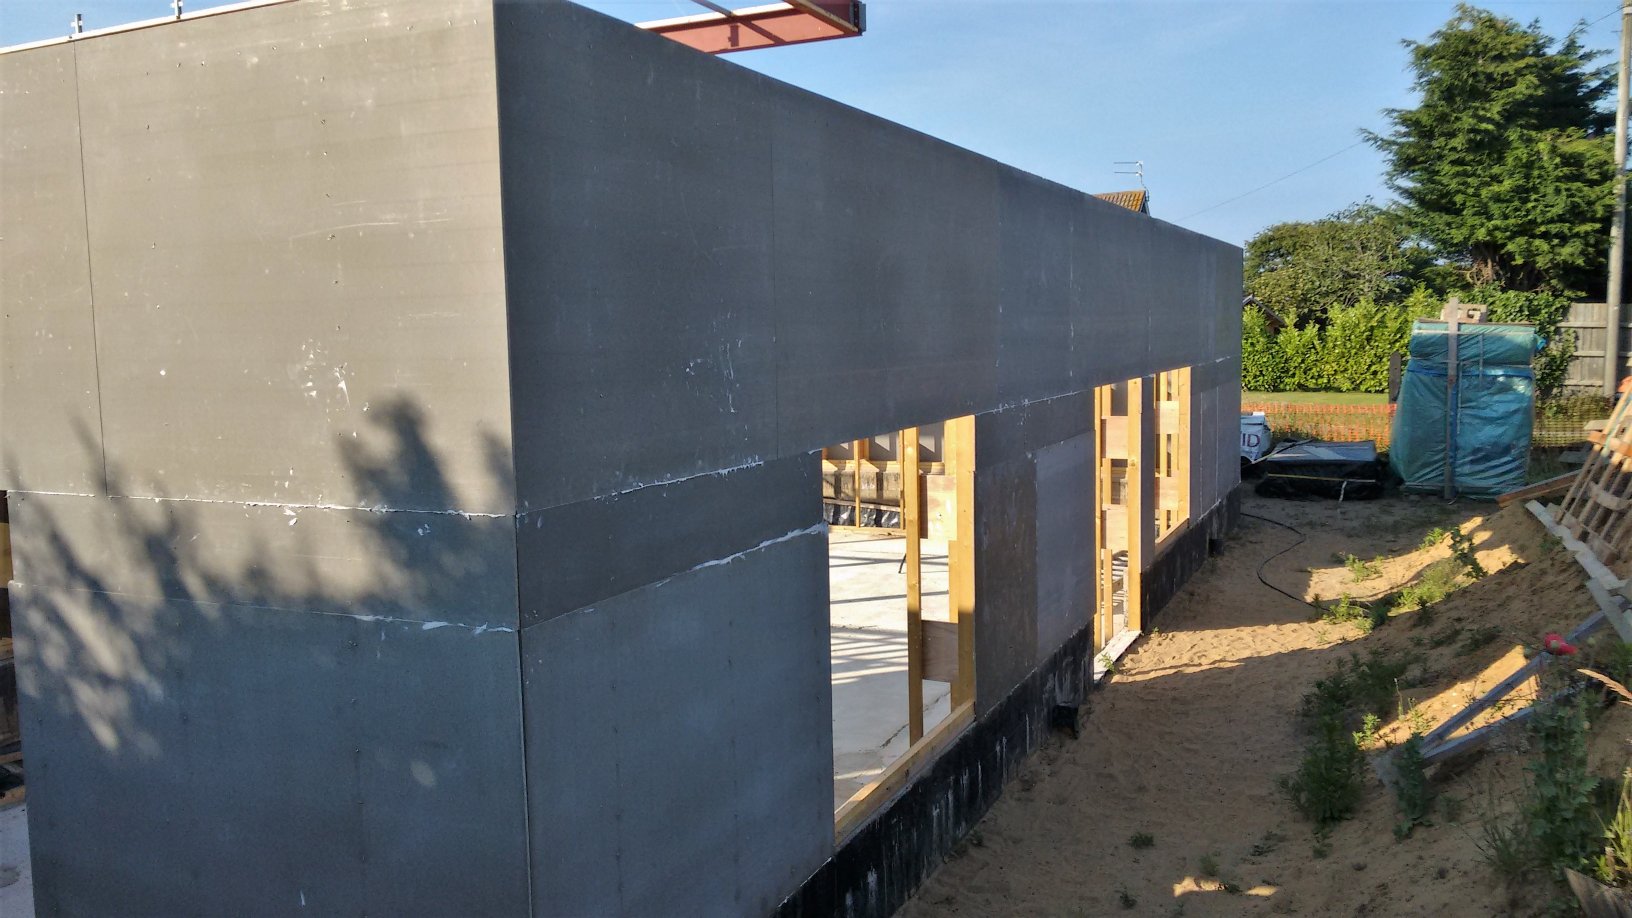
Cement-boards-Finished-on-Walls-K-L

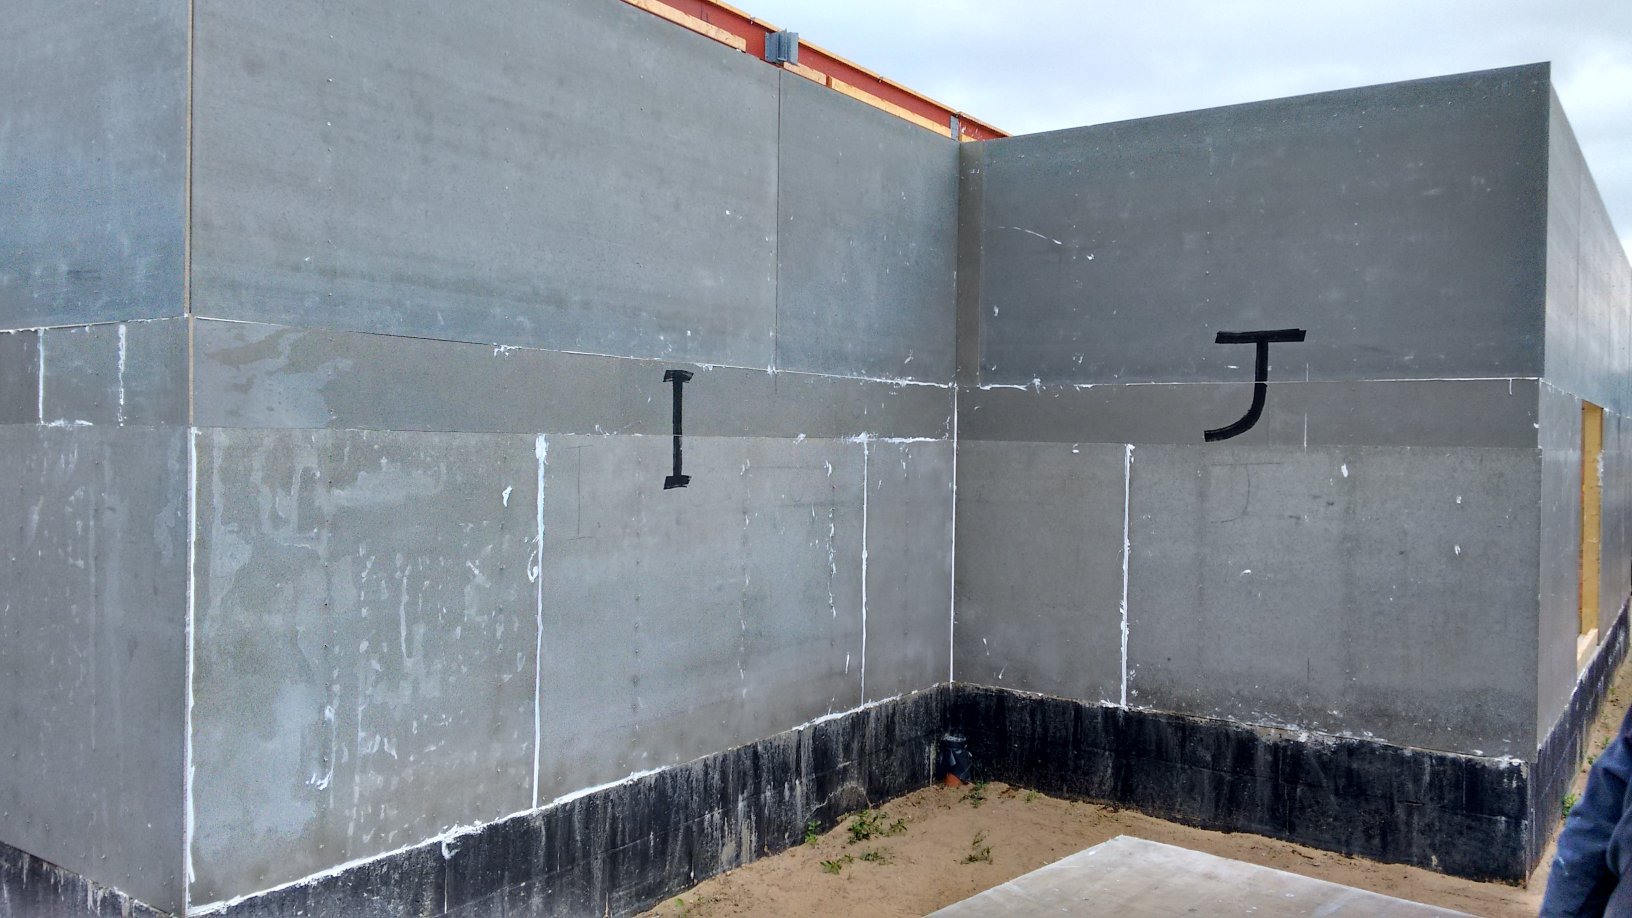
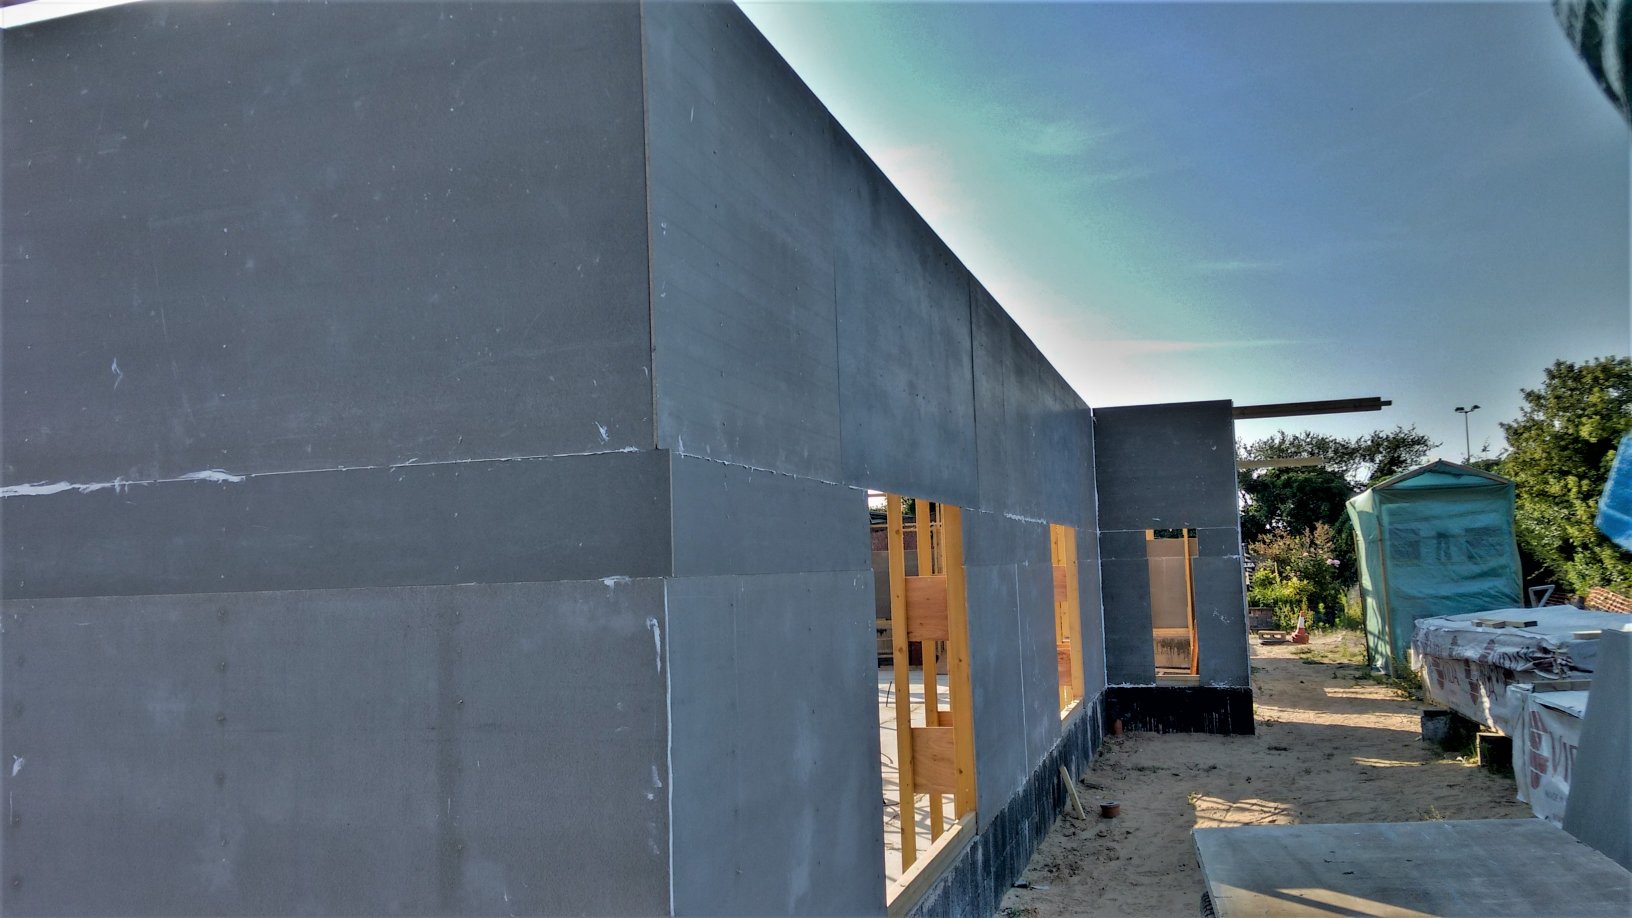
Cement-boards-Finished-on-Walls-I-J
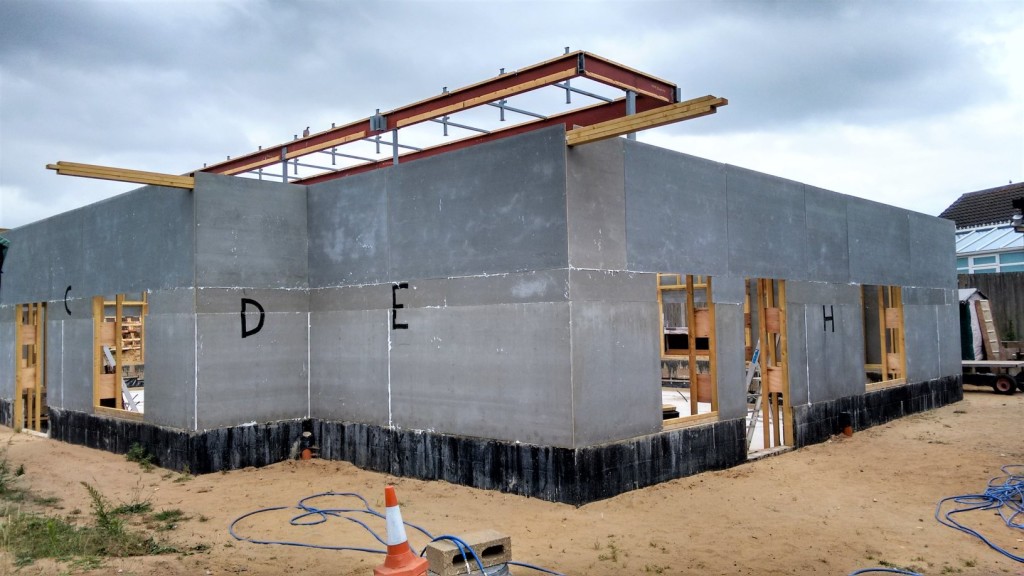
Cement-boards-Finished-on-Walls-DE-H
It was hard work doing this third line, as a full sheet of the 10mm thick cement panels weighed 38kg each and we had to lift it over 6 feet up! This is why we had our handy wooden mini platform to hold the sheet half way up – phew!
The next job is to do the narrow strips under all the 12 windows to complete the covering of the framework around the window and narrow vertical strips down on both sides of the 3 doorways. Then, we will slice off all the overhanging waste parts of the cement board and we will then complete the wall.

The-amount-needed-to-trim-from-windows
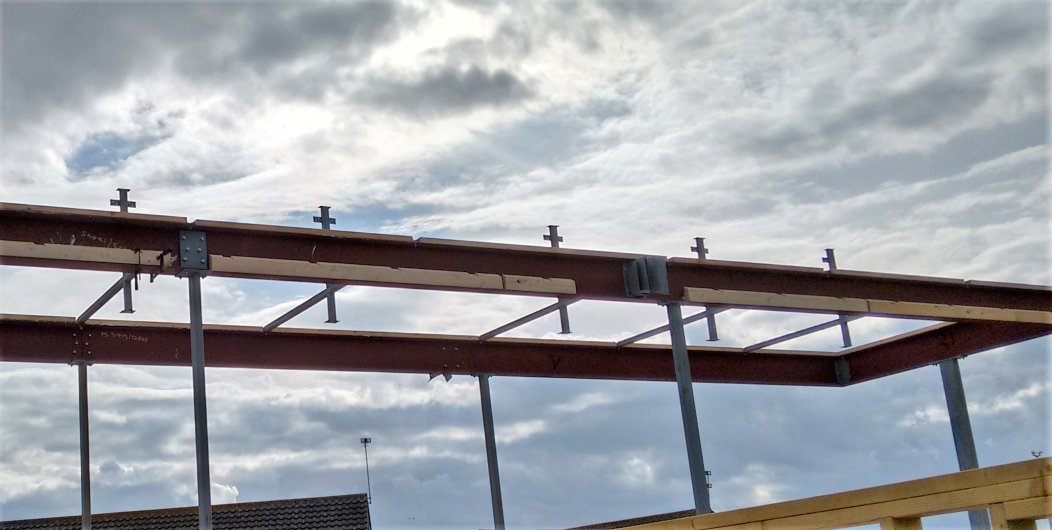
No hold on a minute, we also have to cut slots in the cement boards at the top of the walls where each rafter is coming down from the roof, as it will need to project to form the eves beyond the walls!!