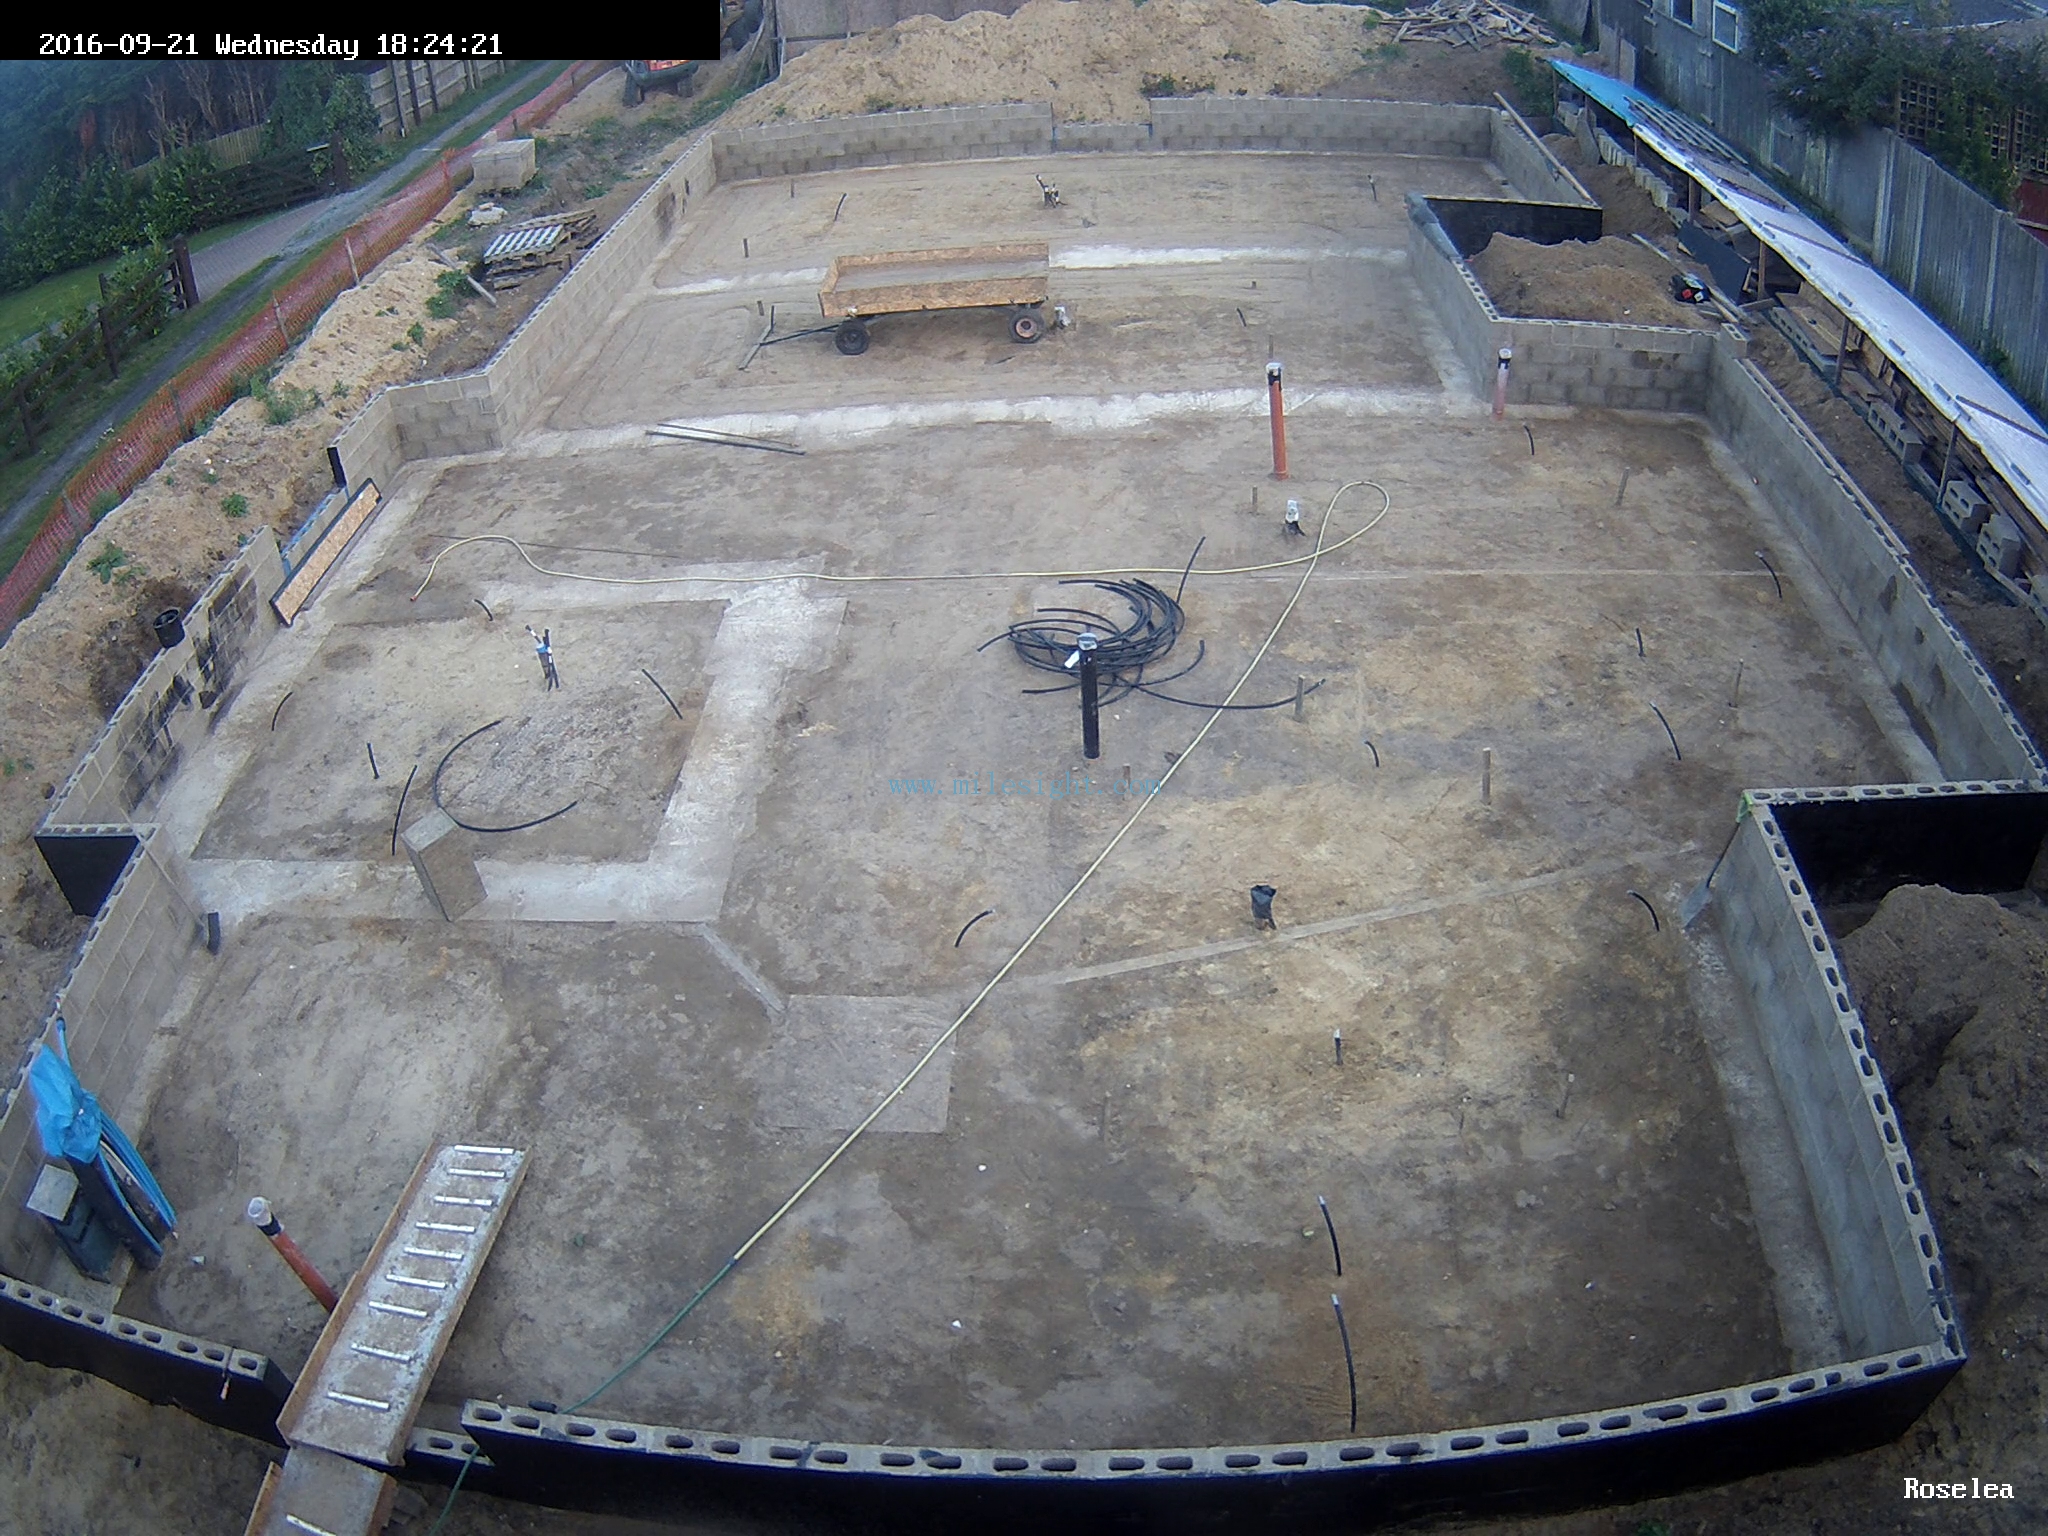
We finished off the task of installing all the temperature probes’ conduits, around the two biggest Energy Modules, namely the one stretching across from the Kitchen, through the Hall and into Bedroom 1 and the other module stretching the full length of the Great Room.
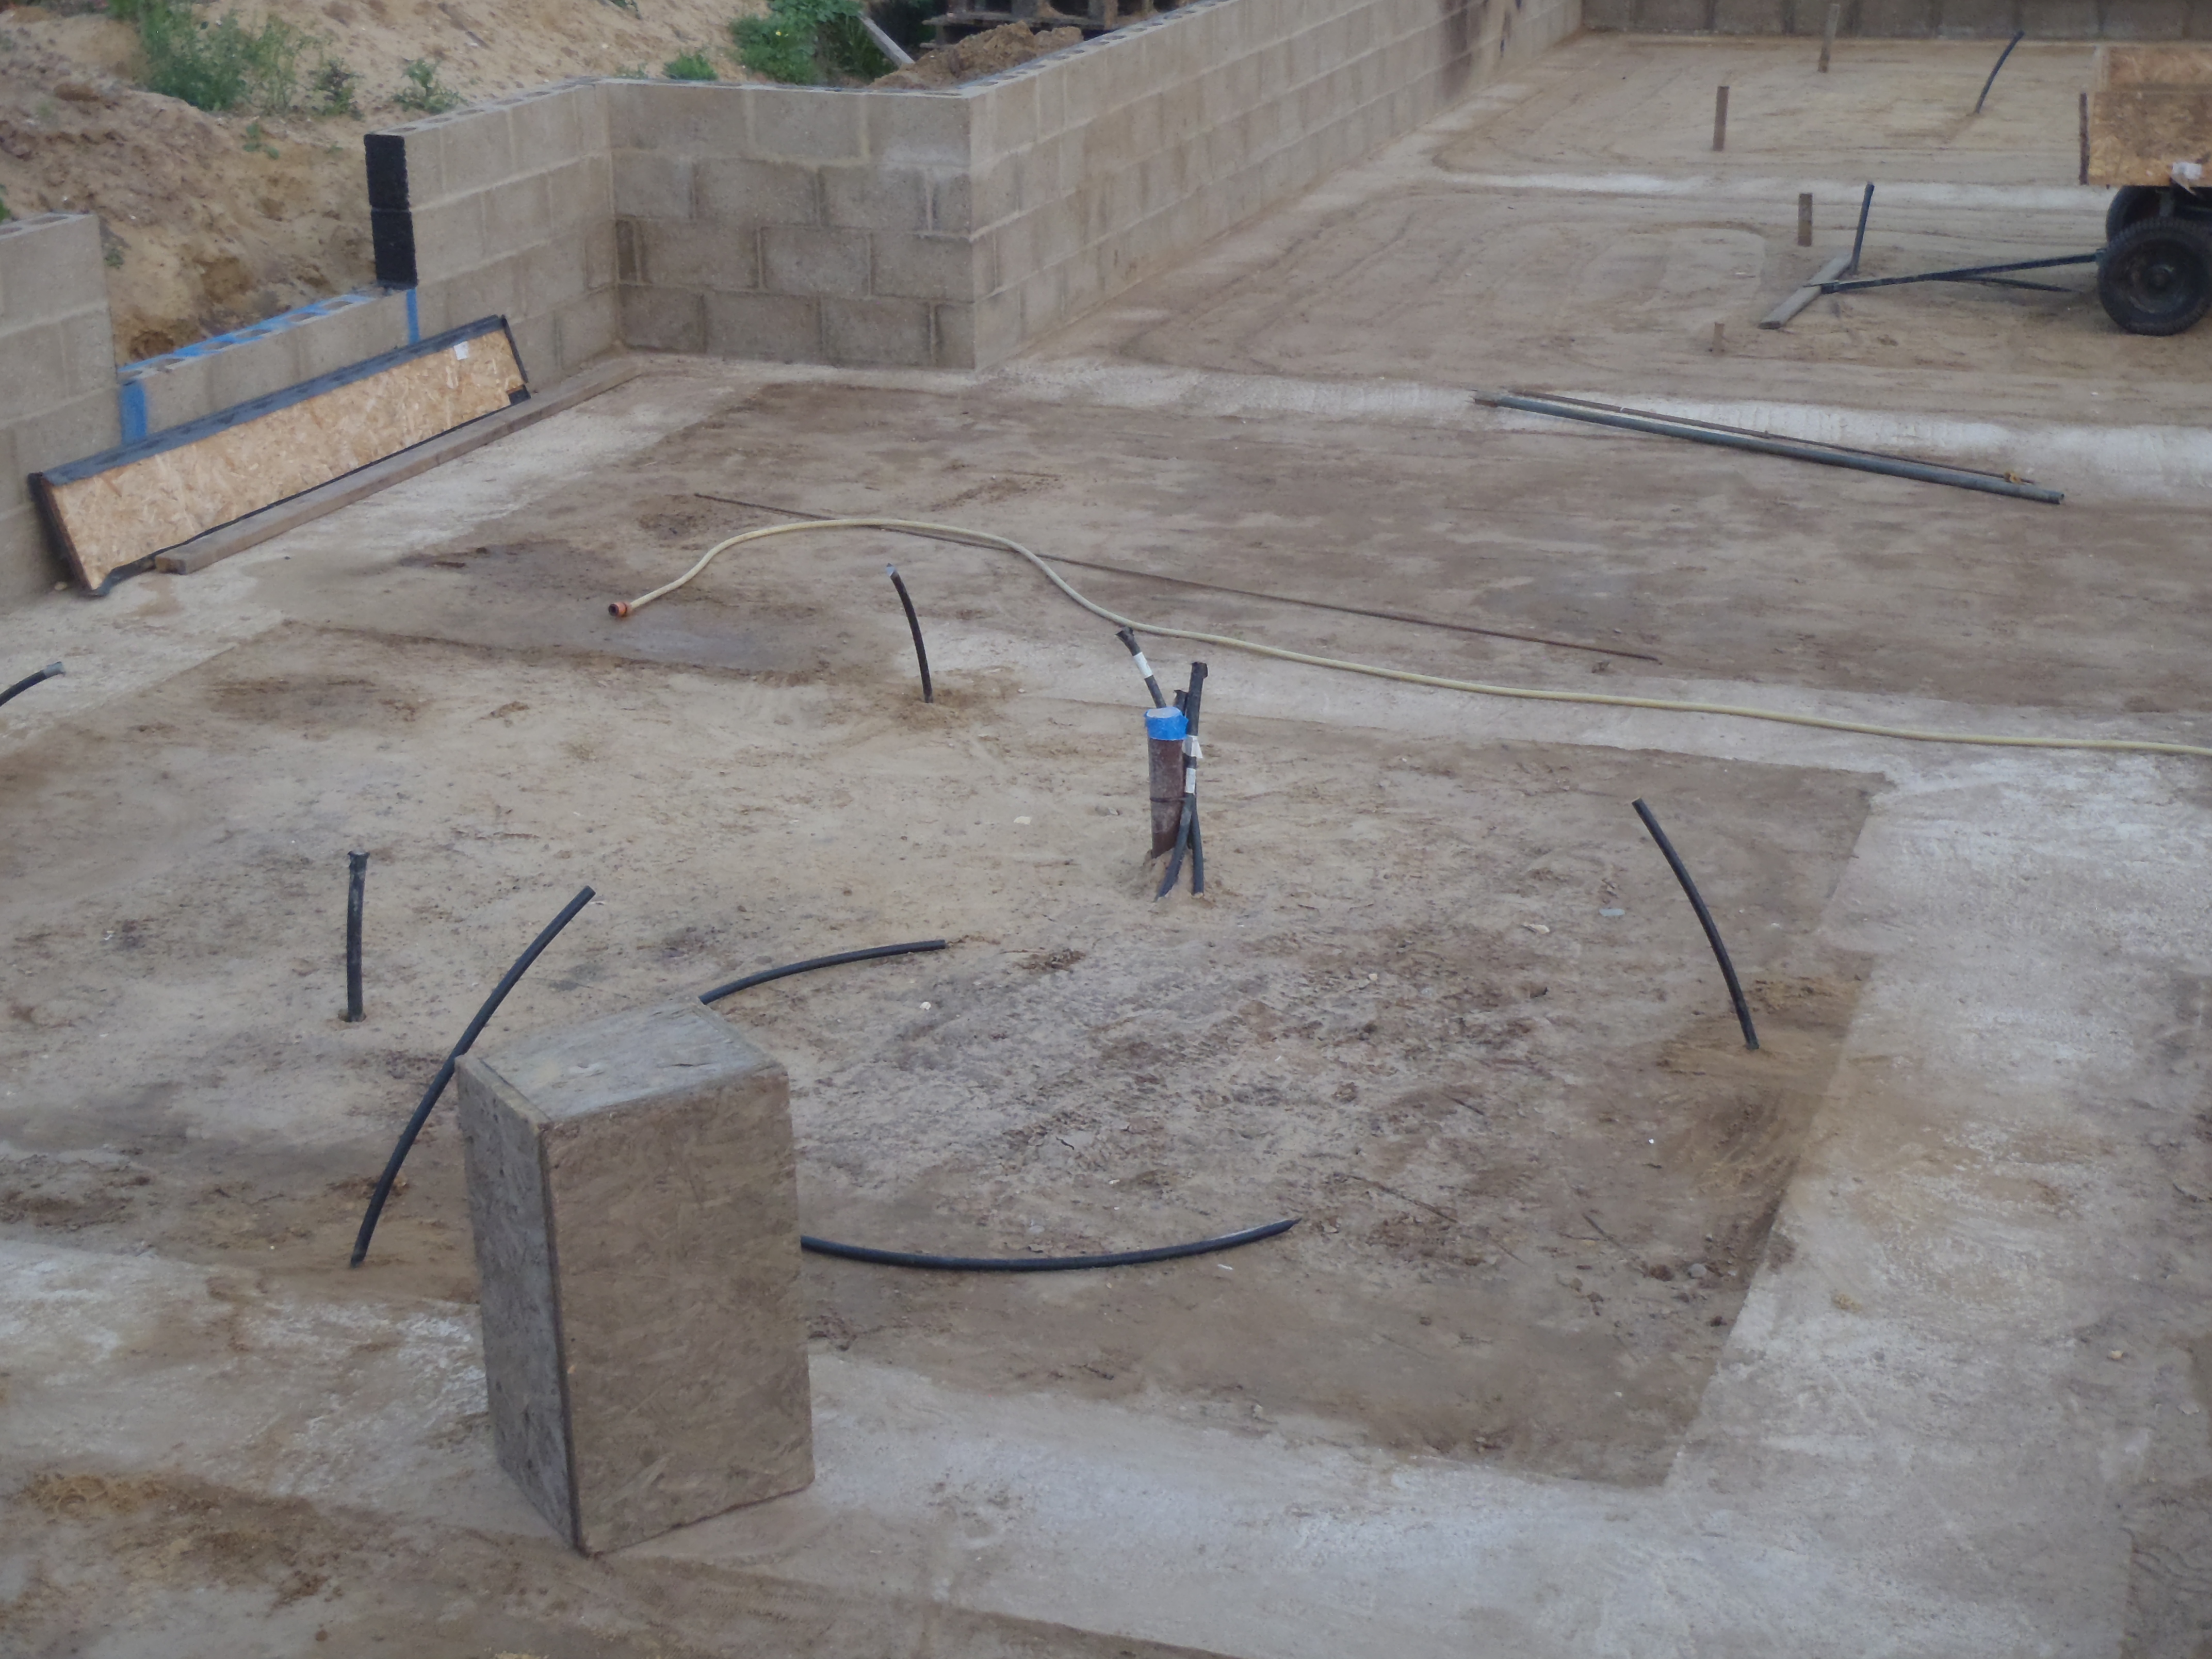
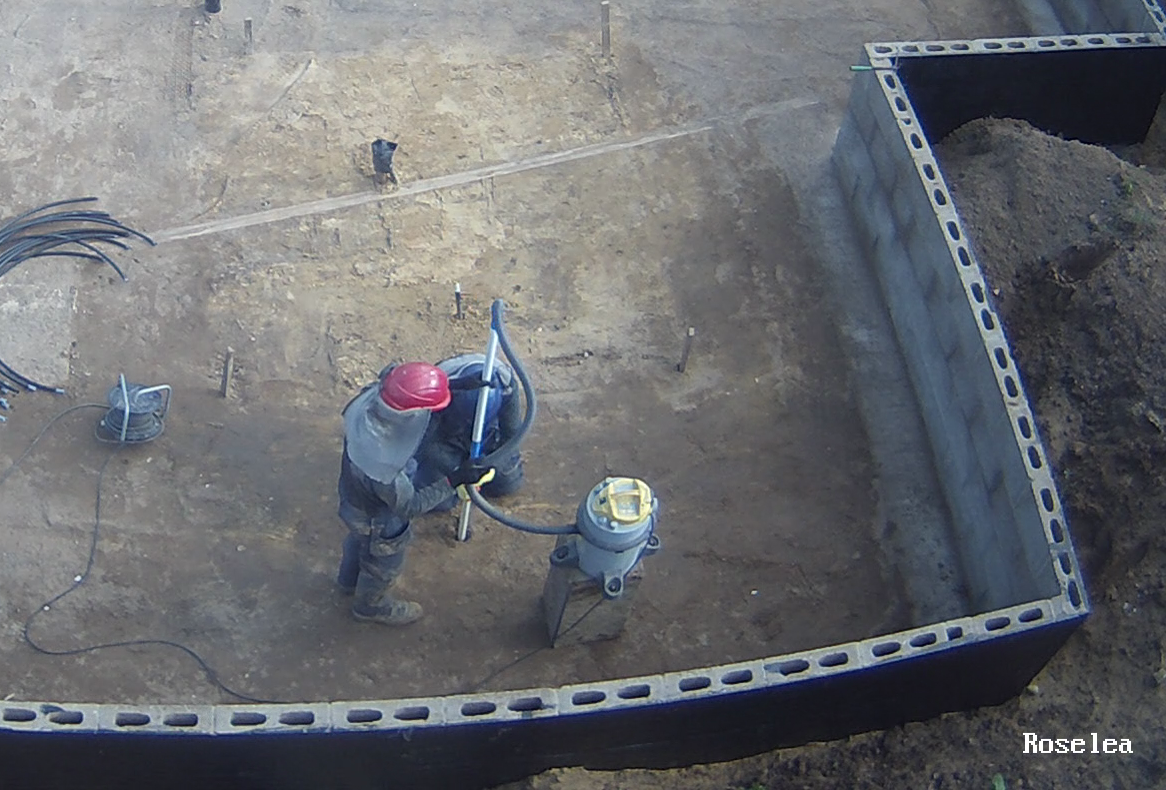
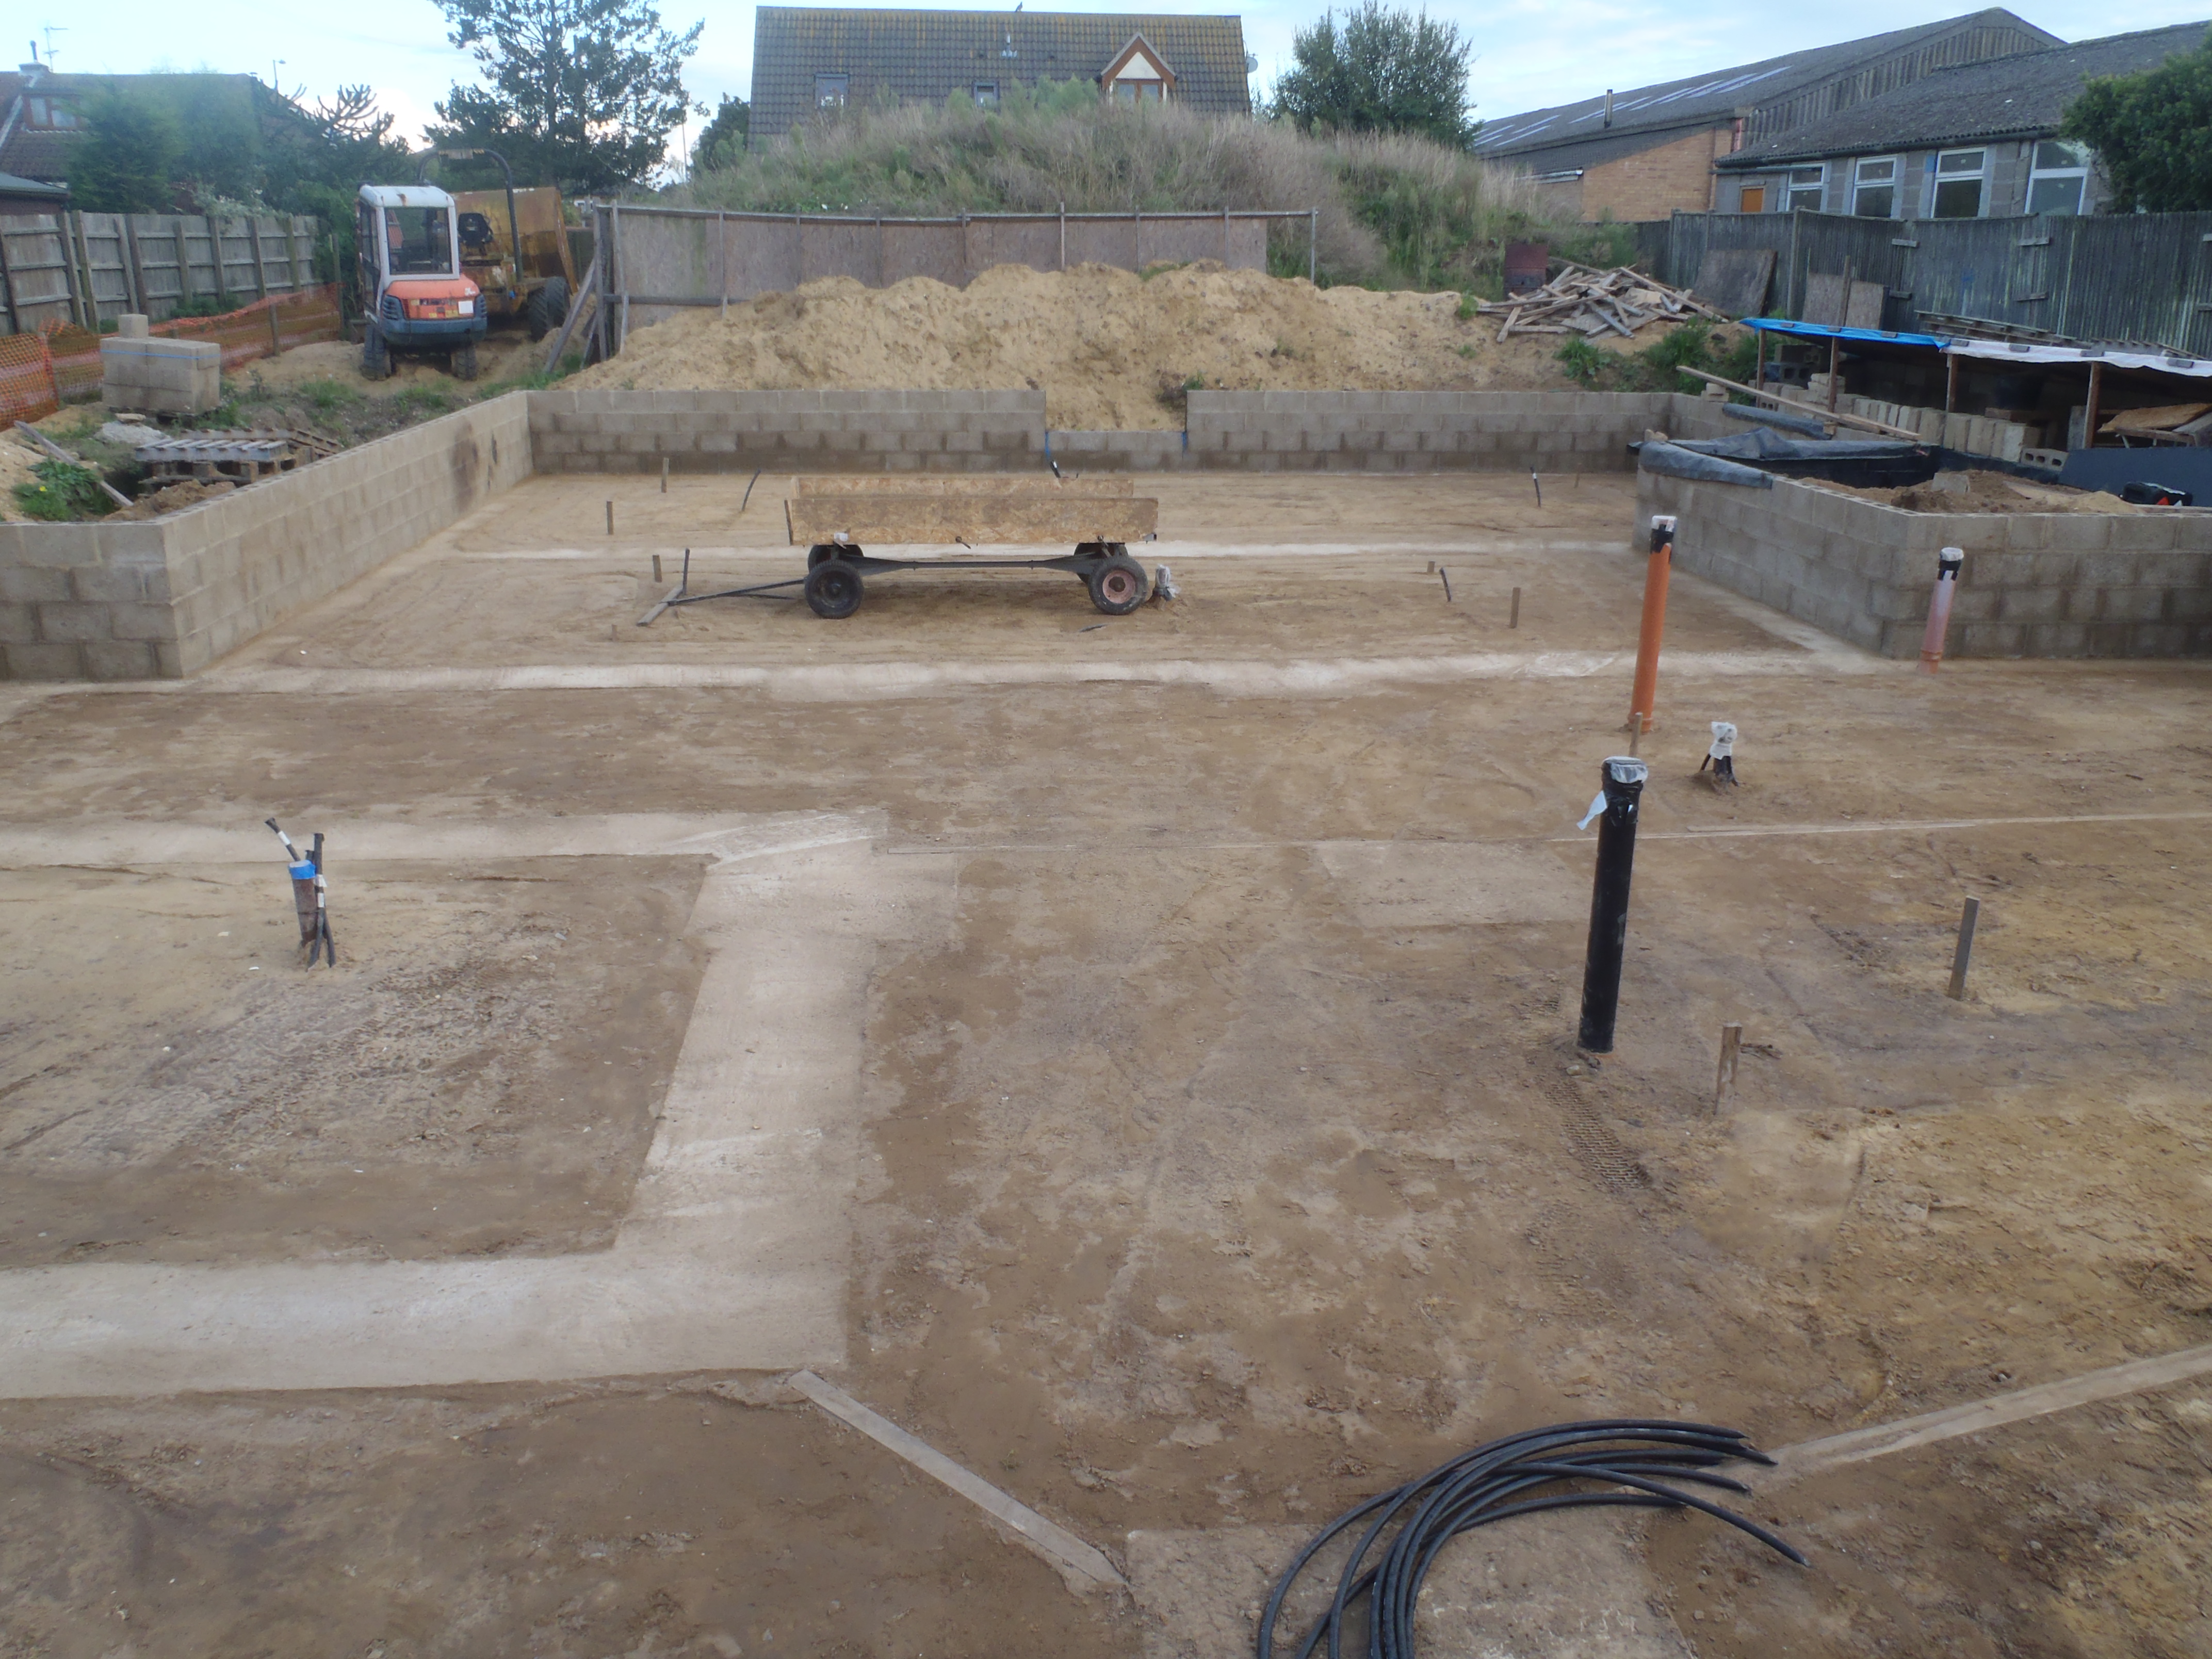
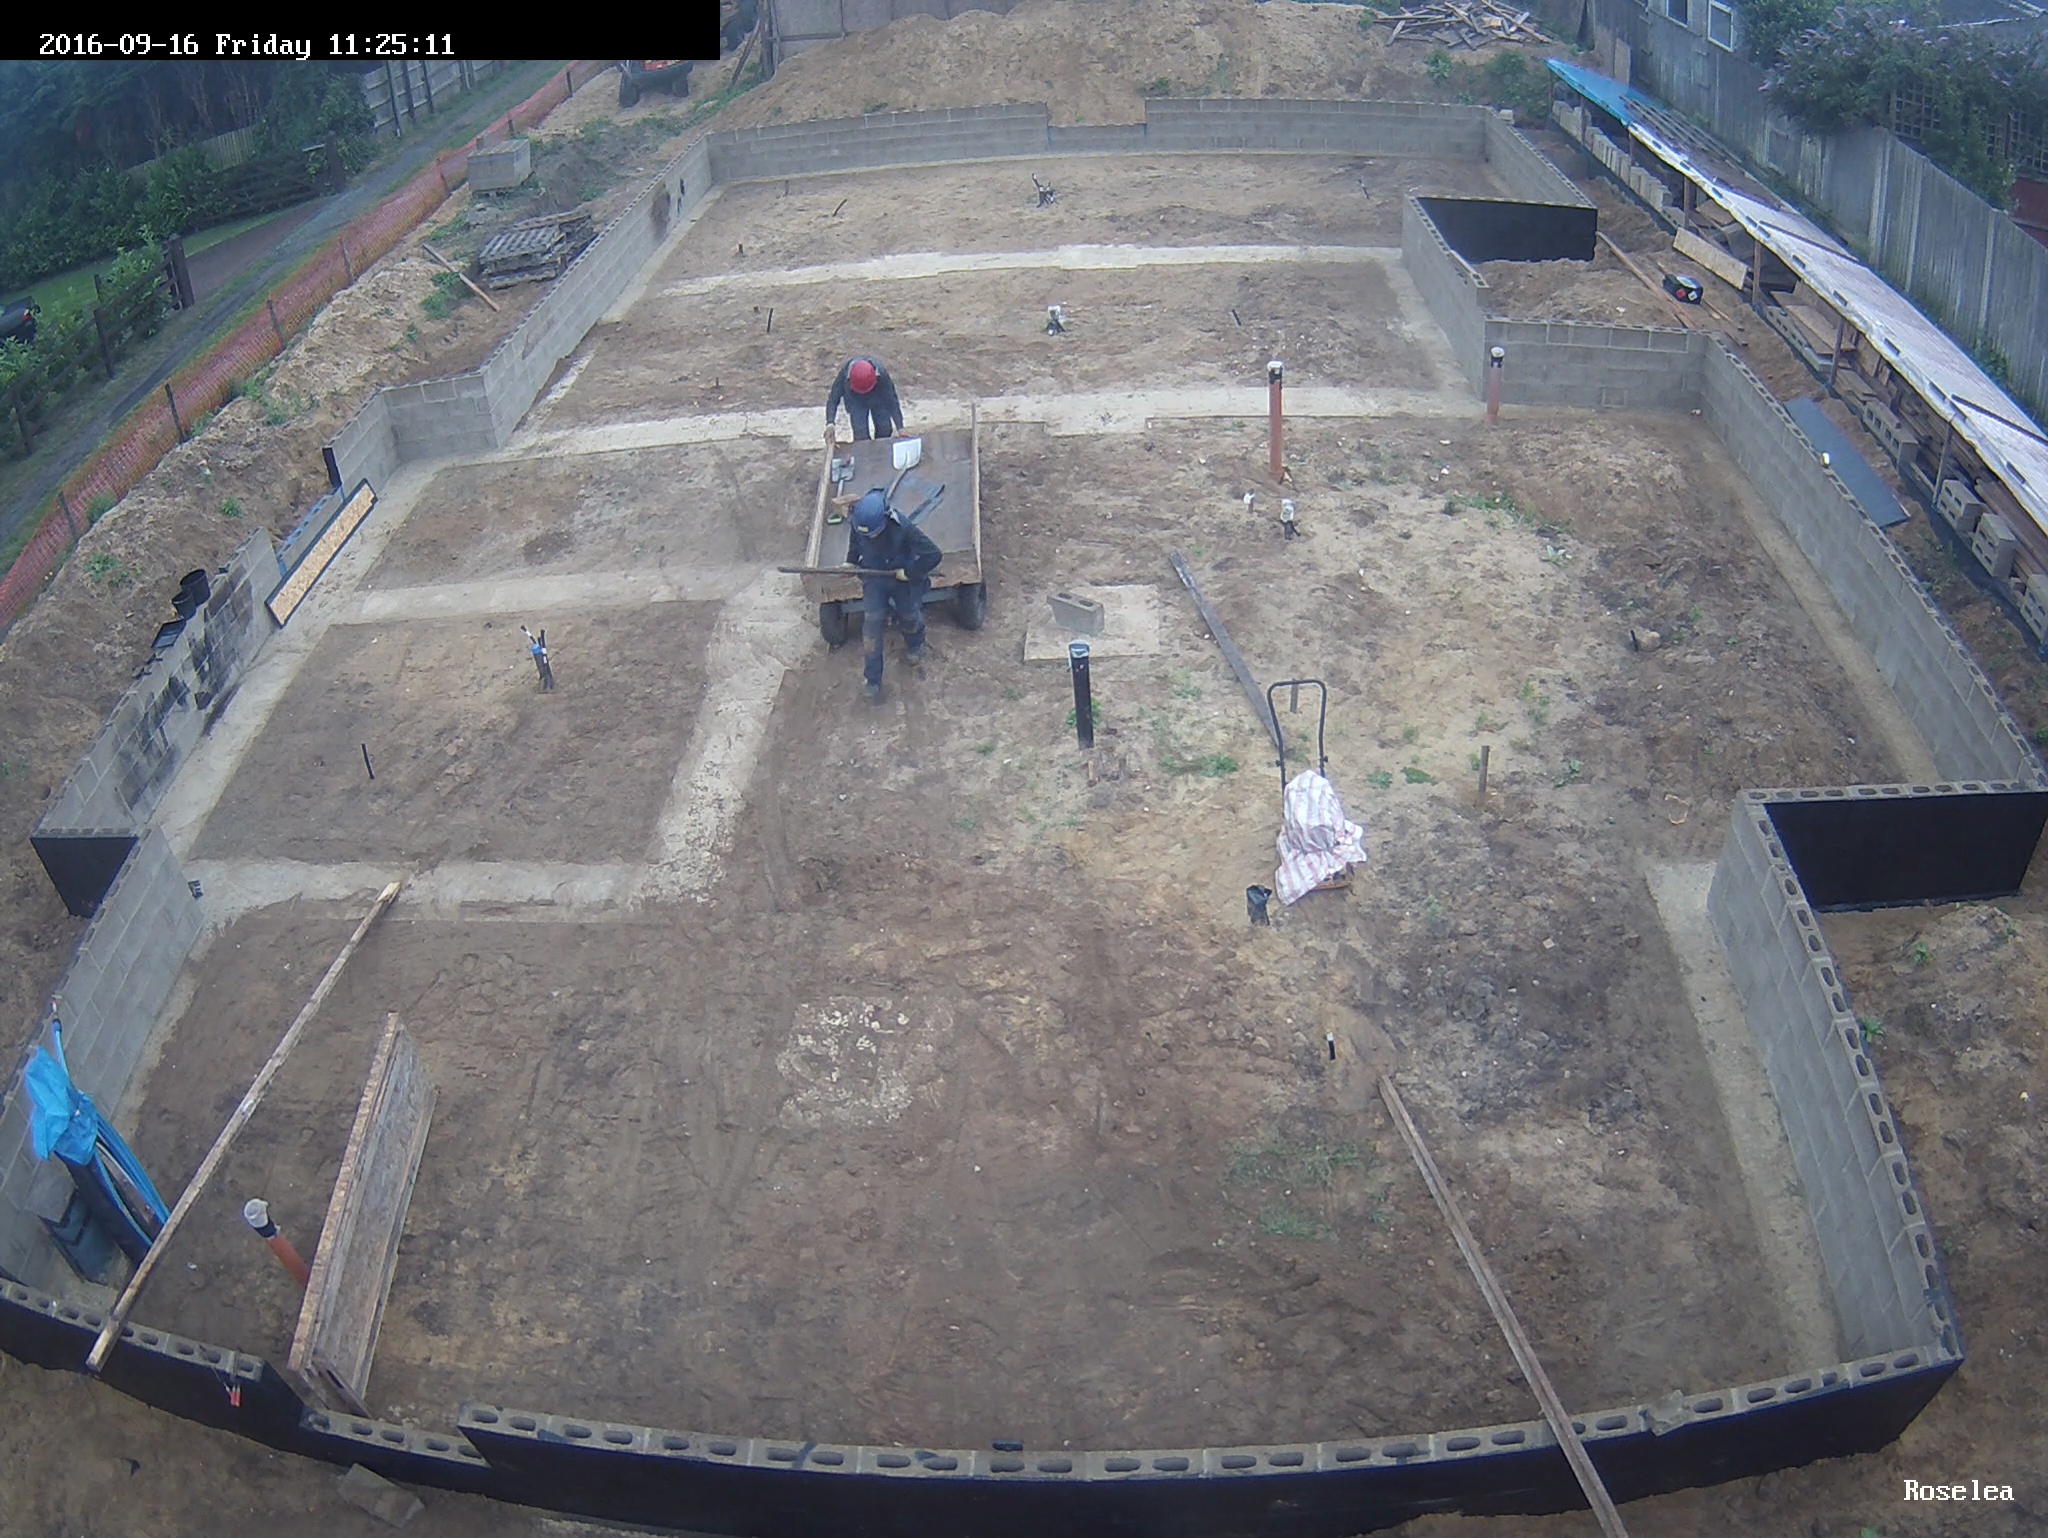
Day-3-Installing-Temperature-probe-conduits-Morning
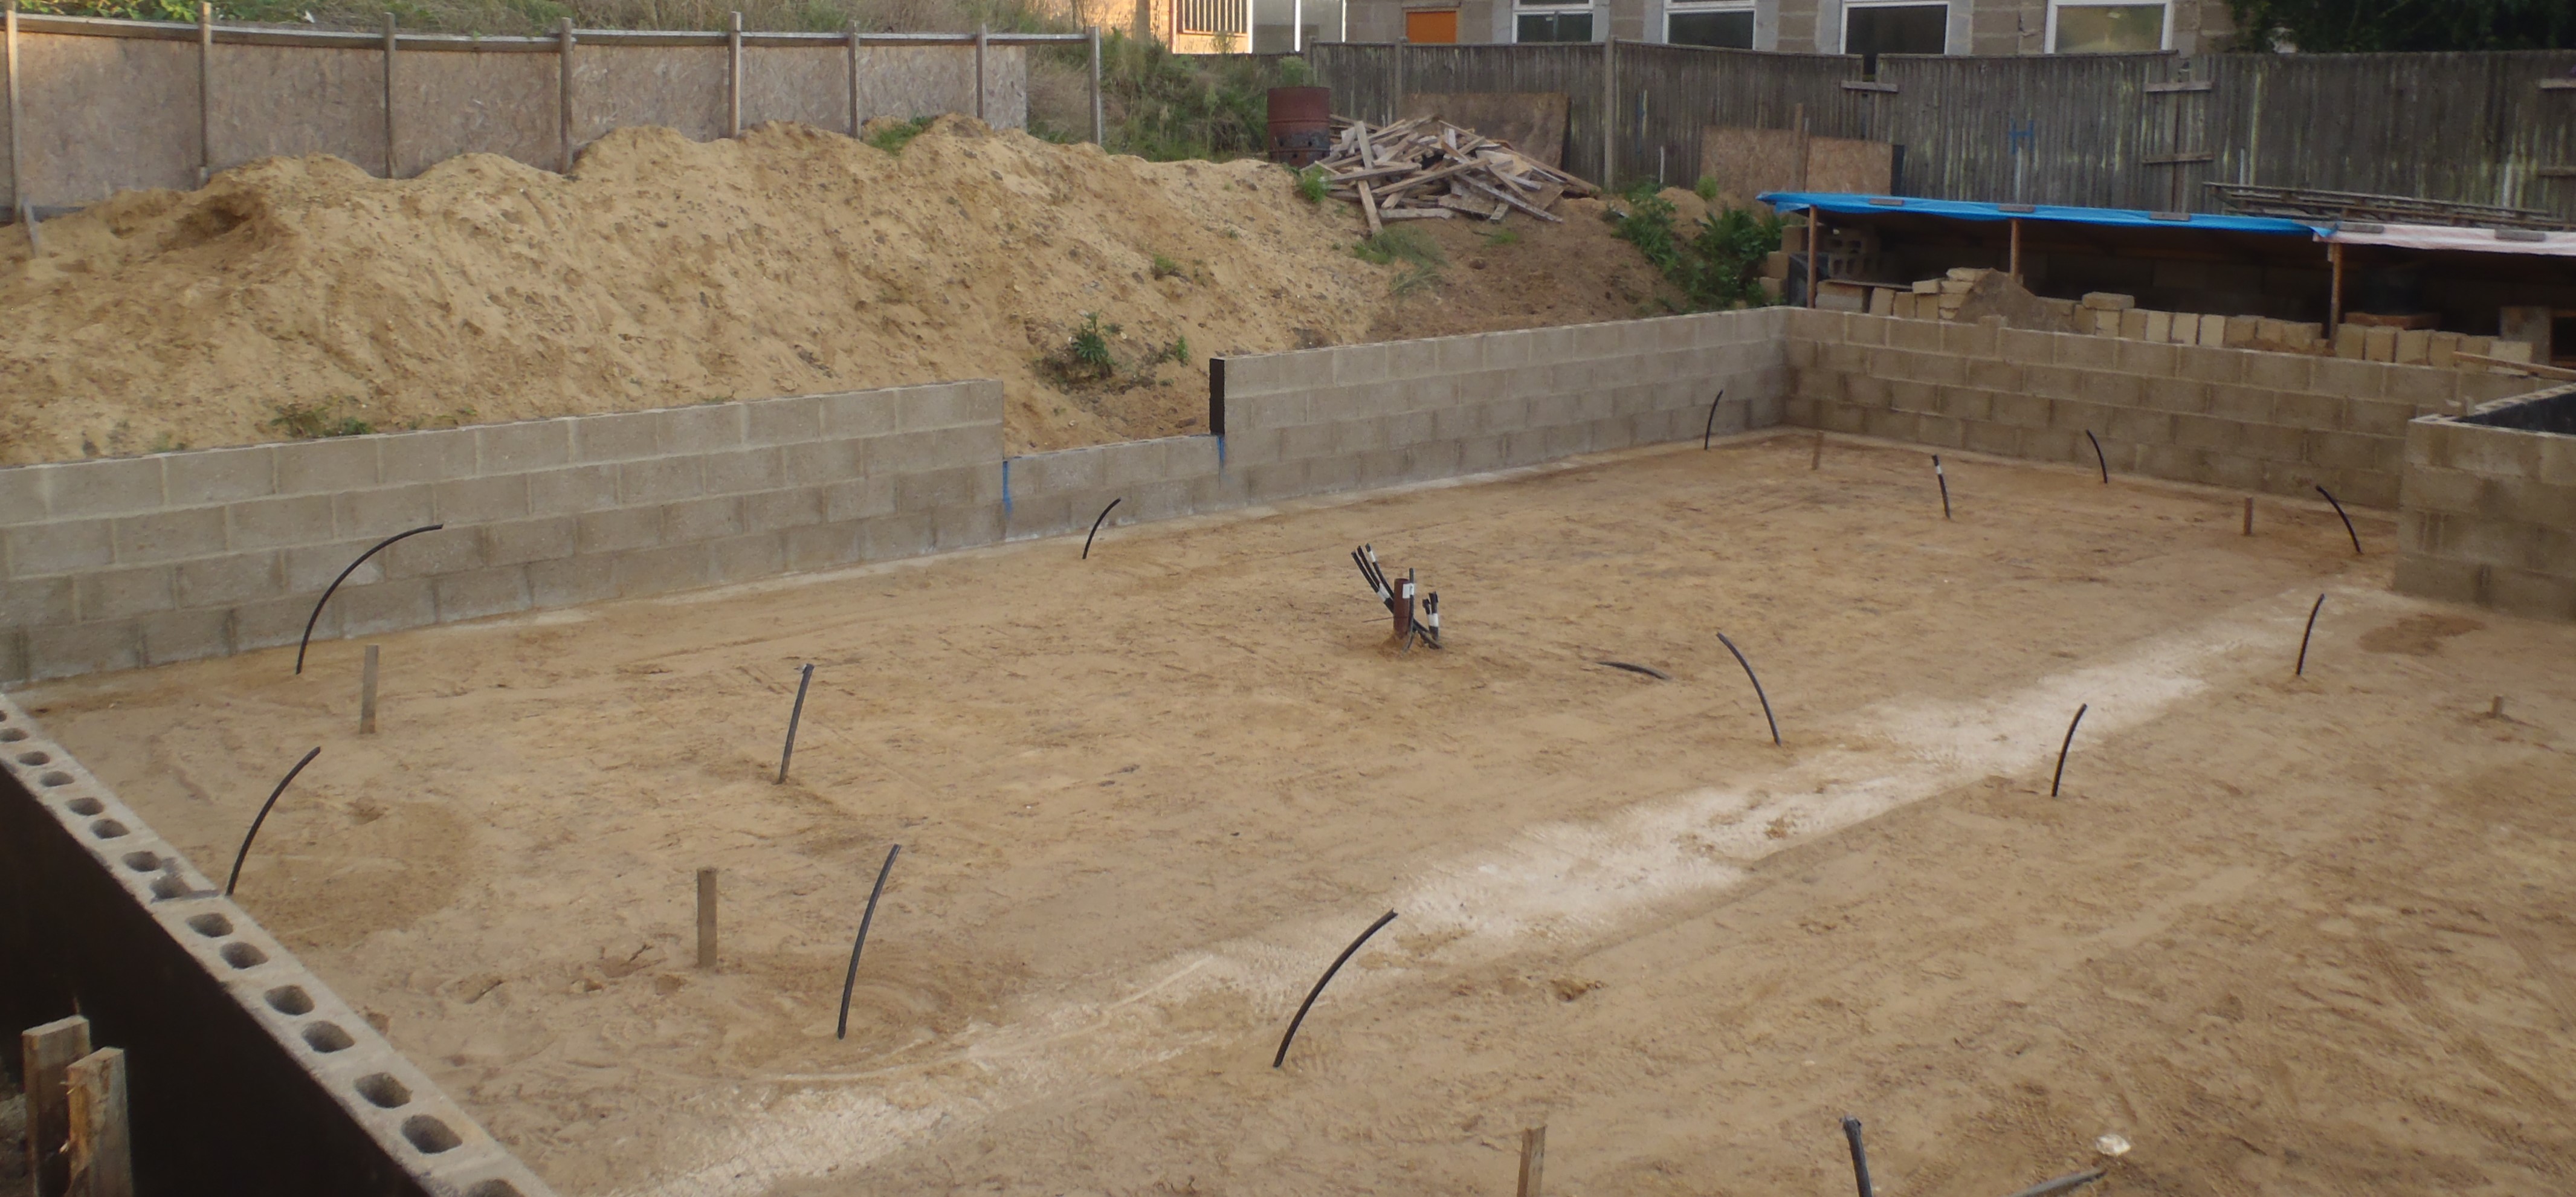
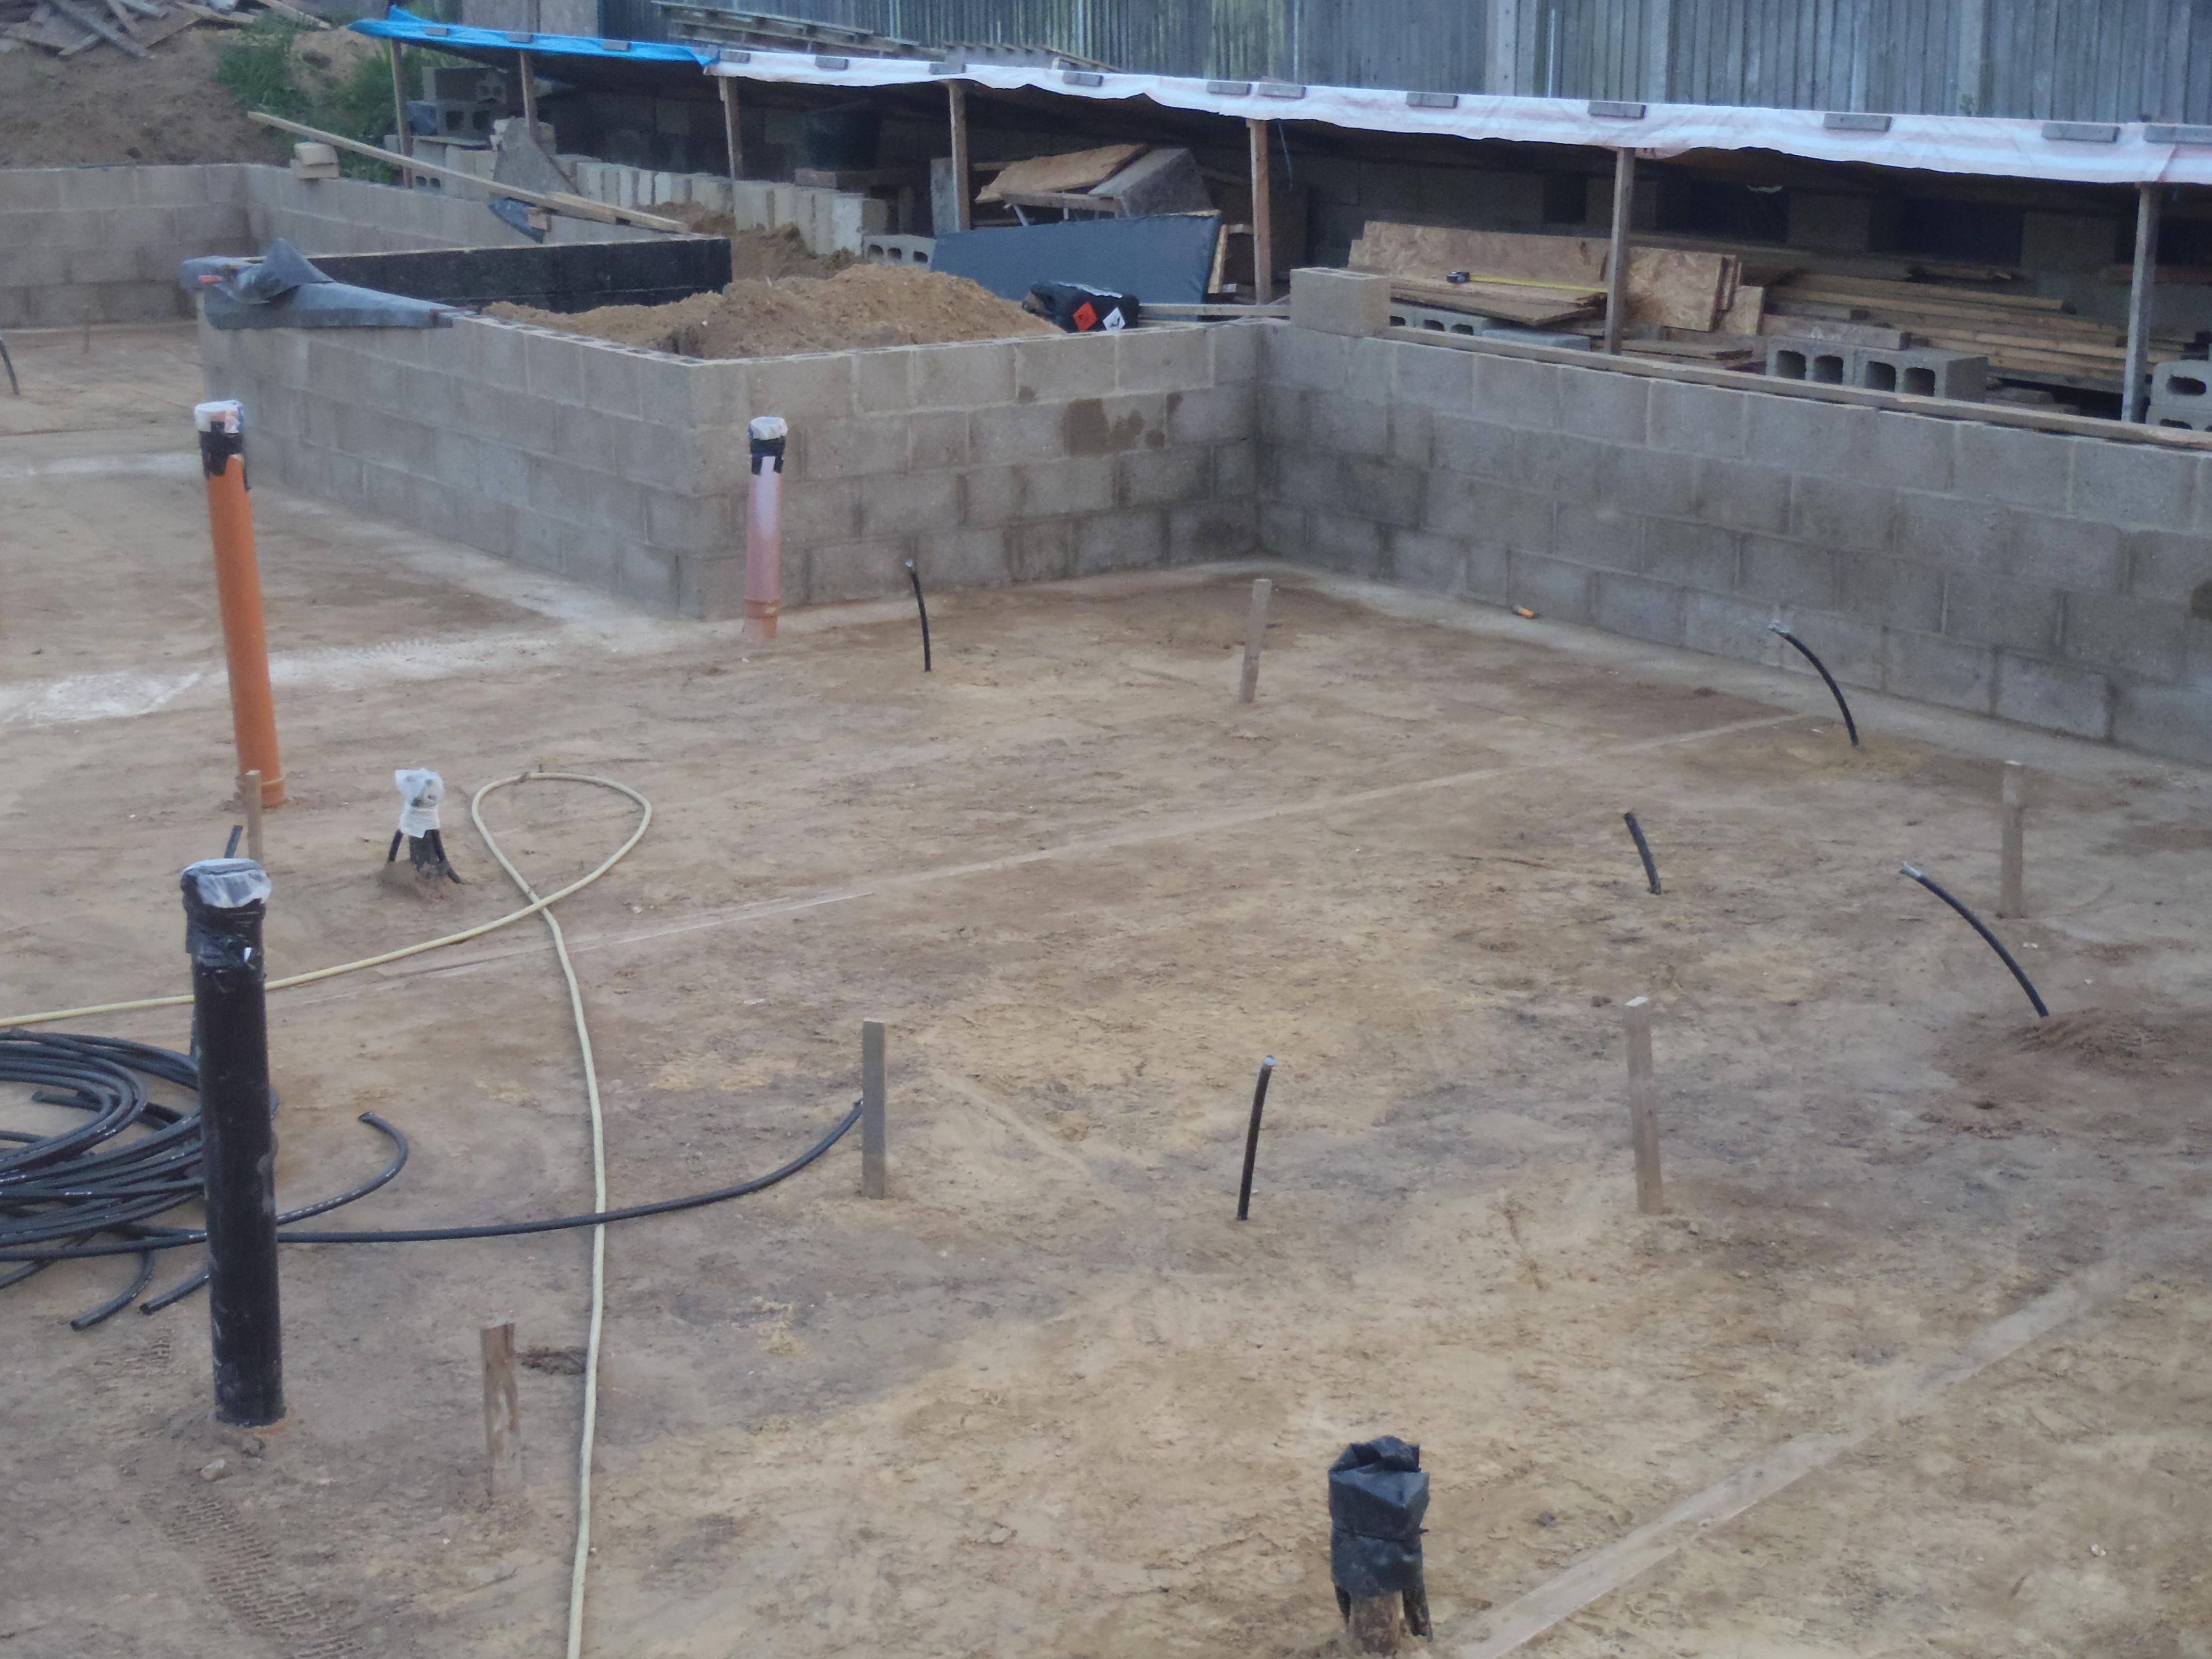
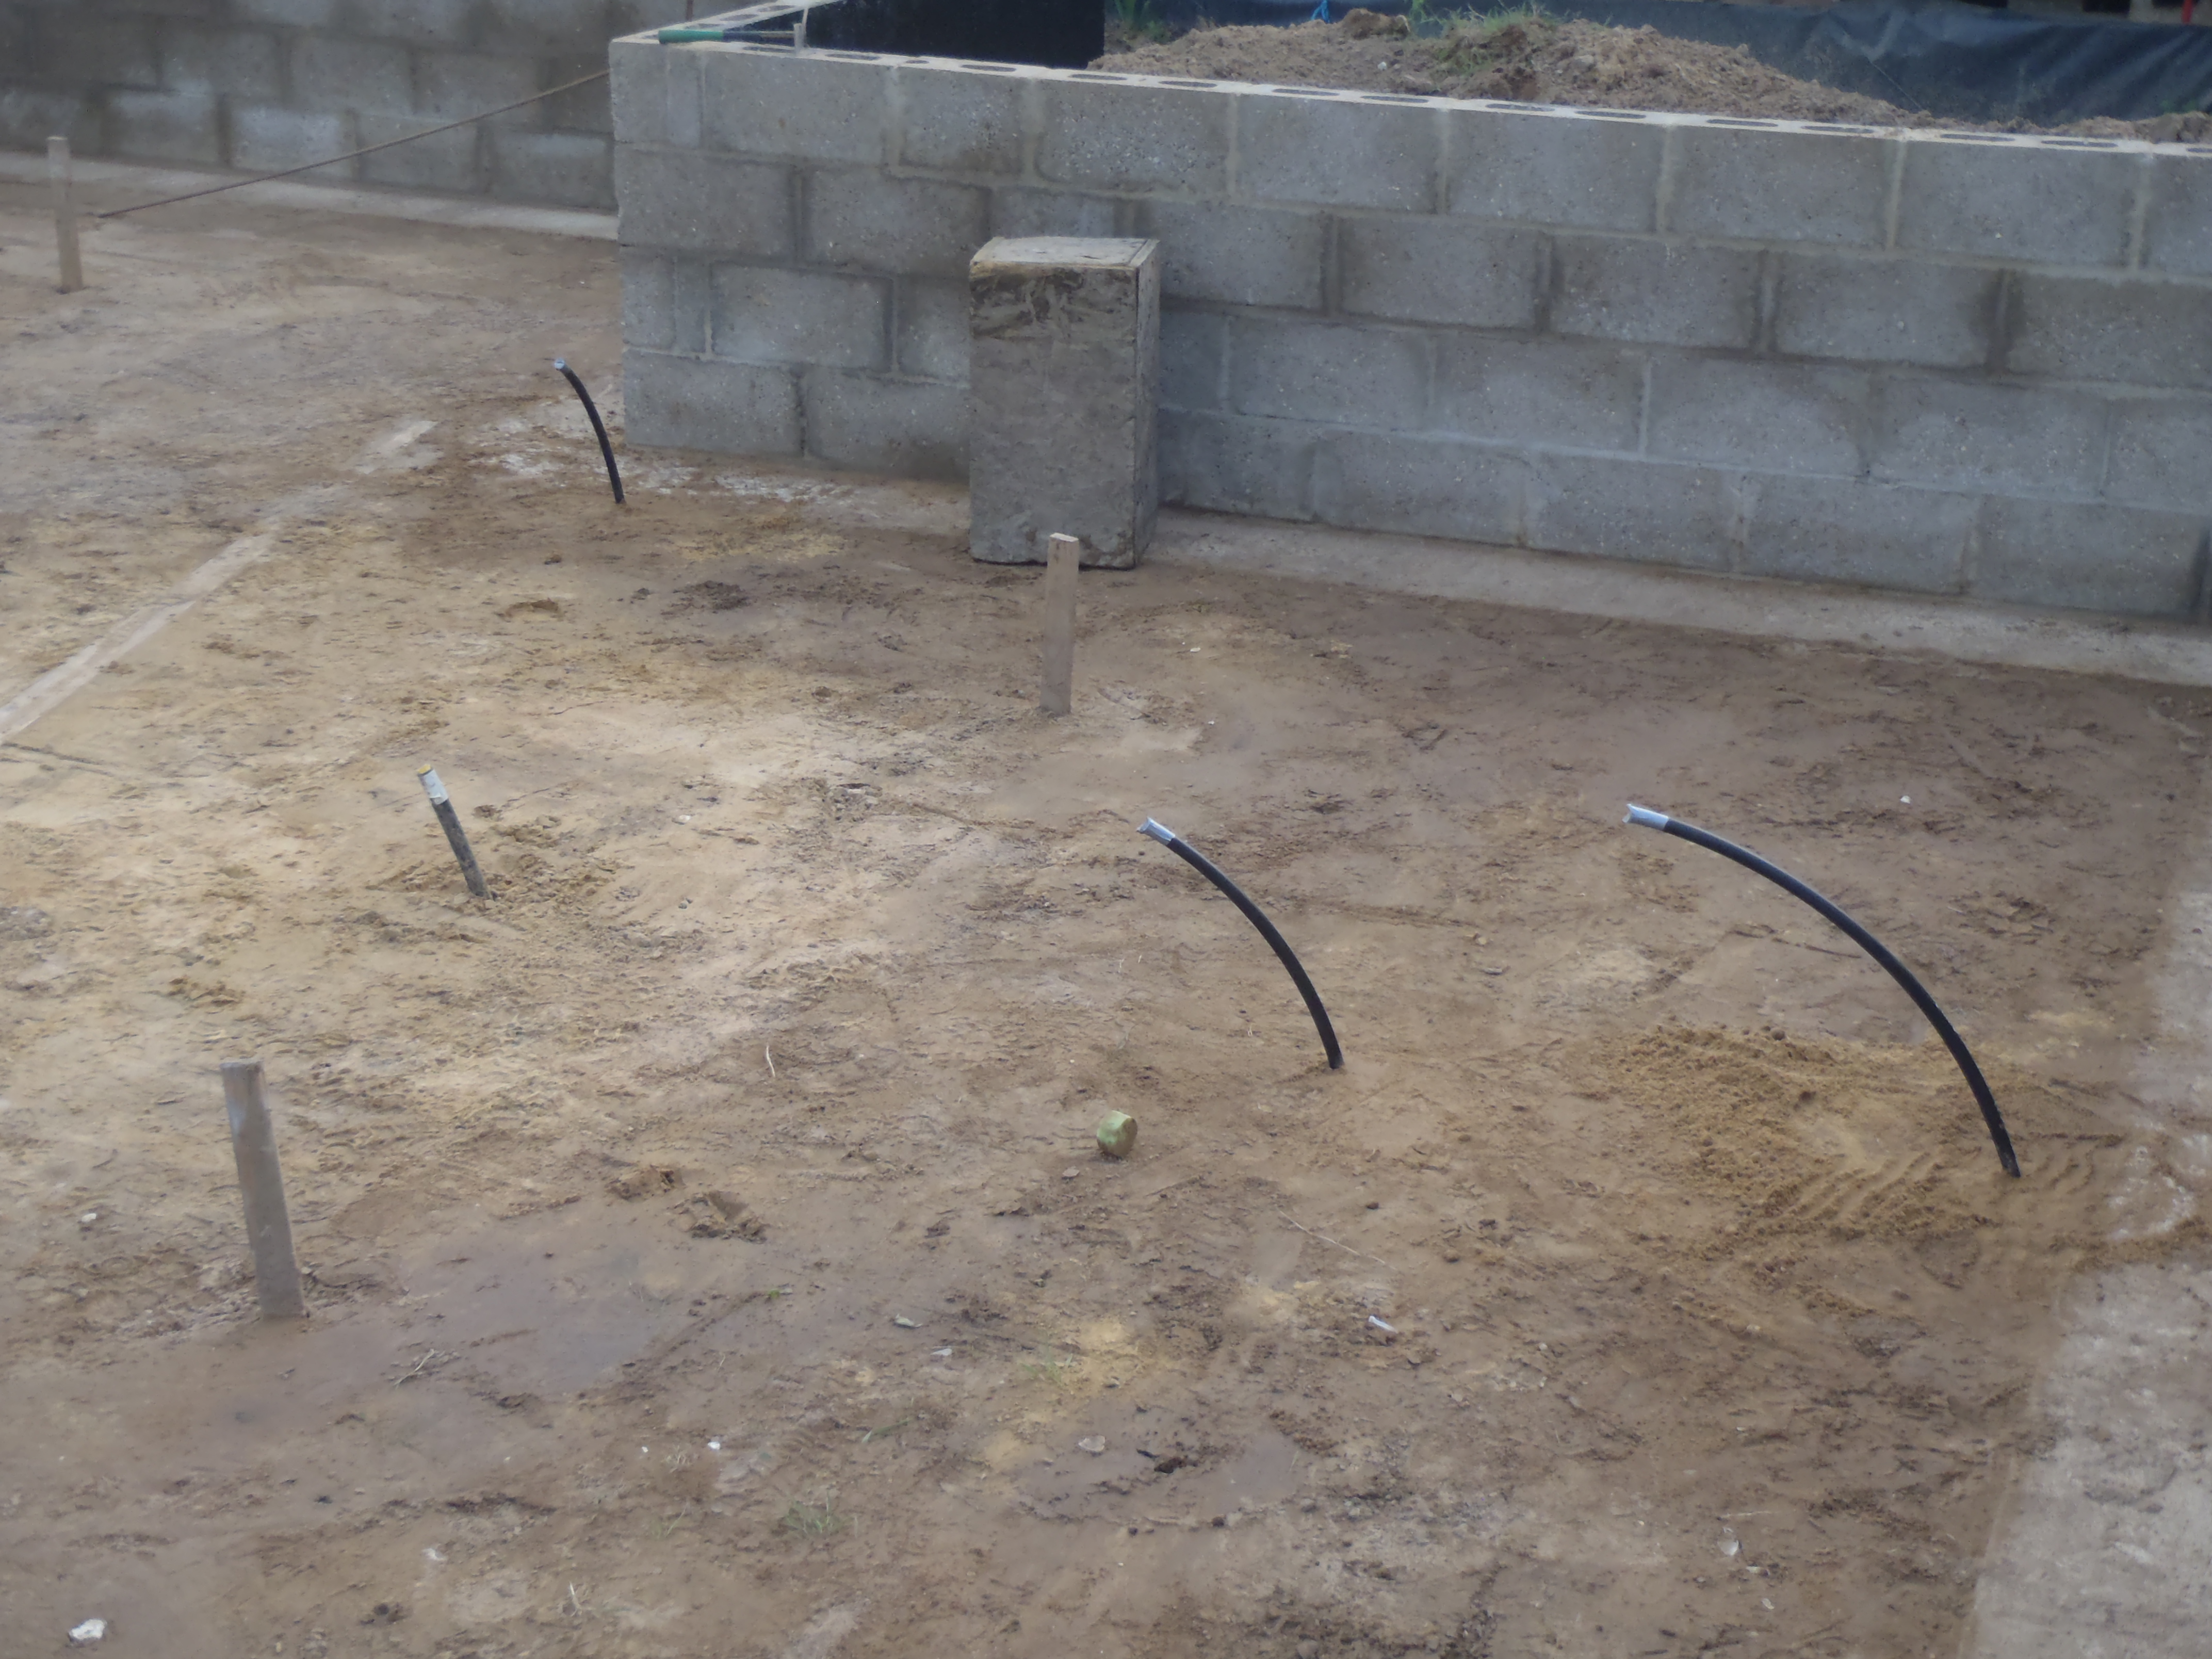
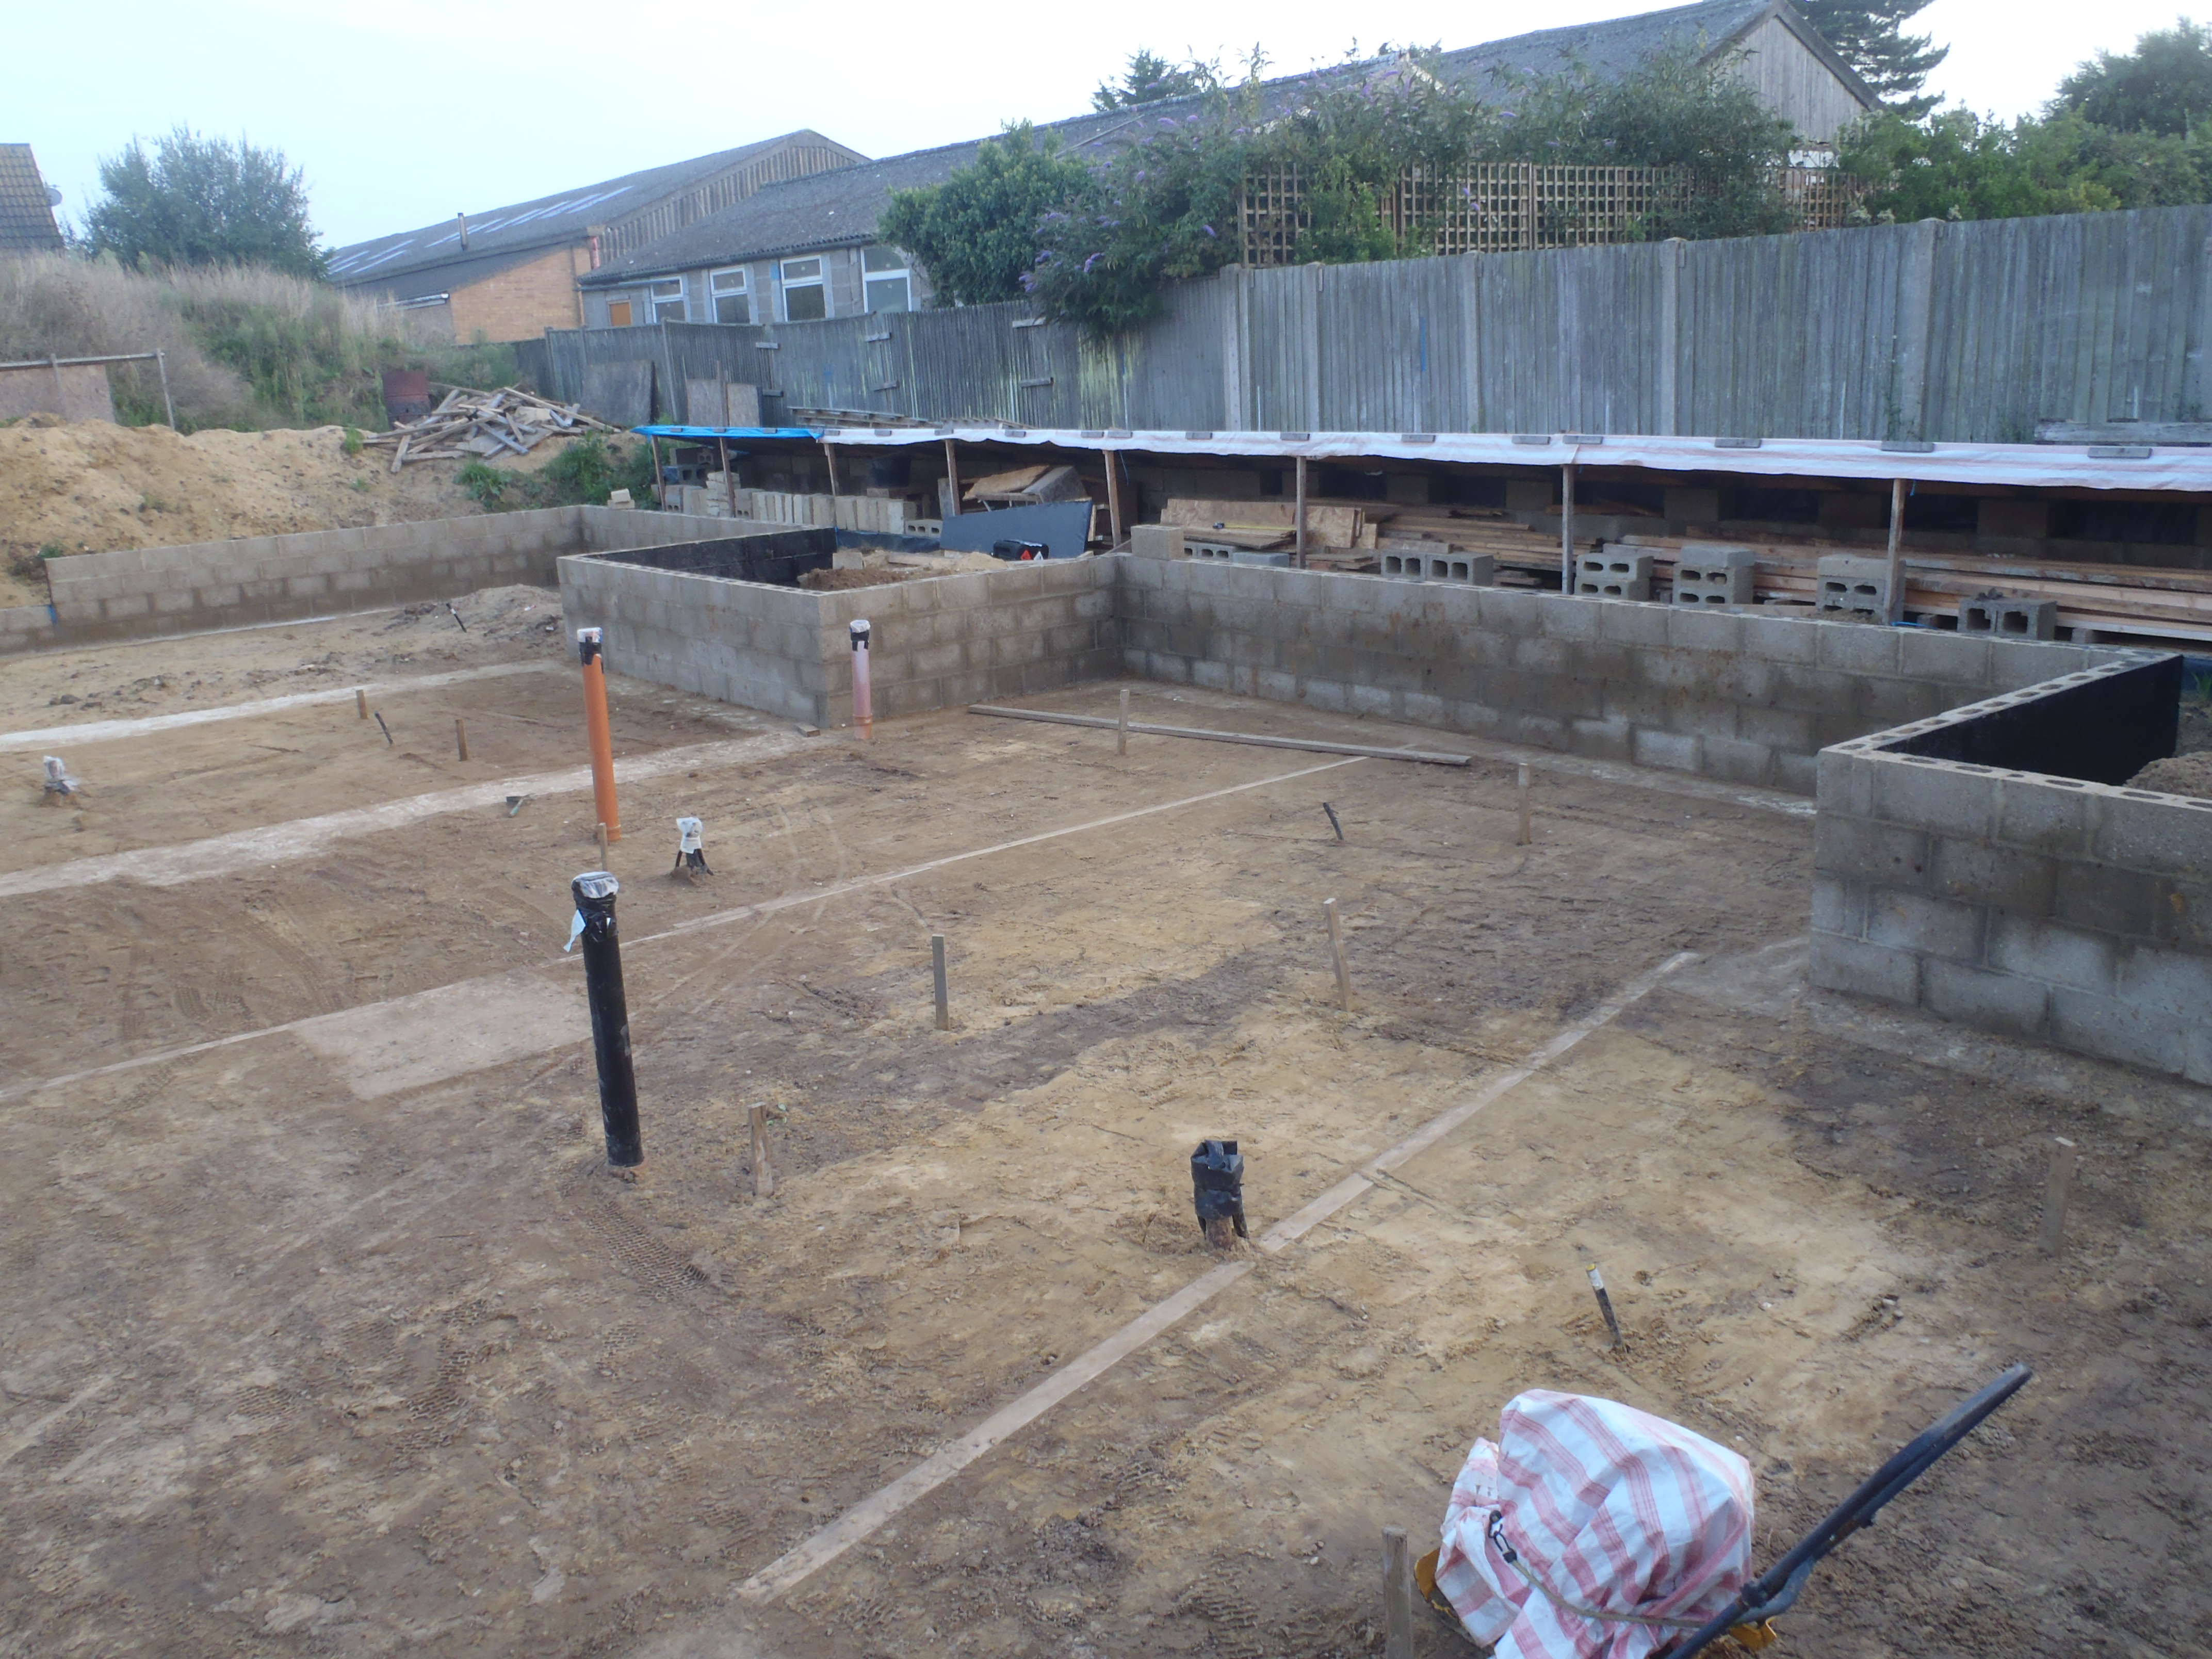
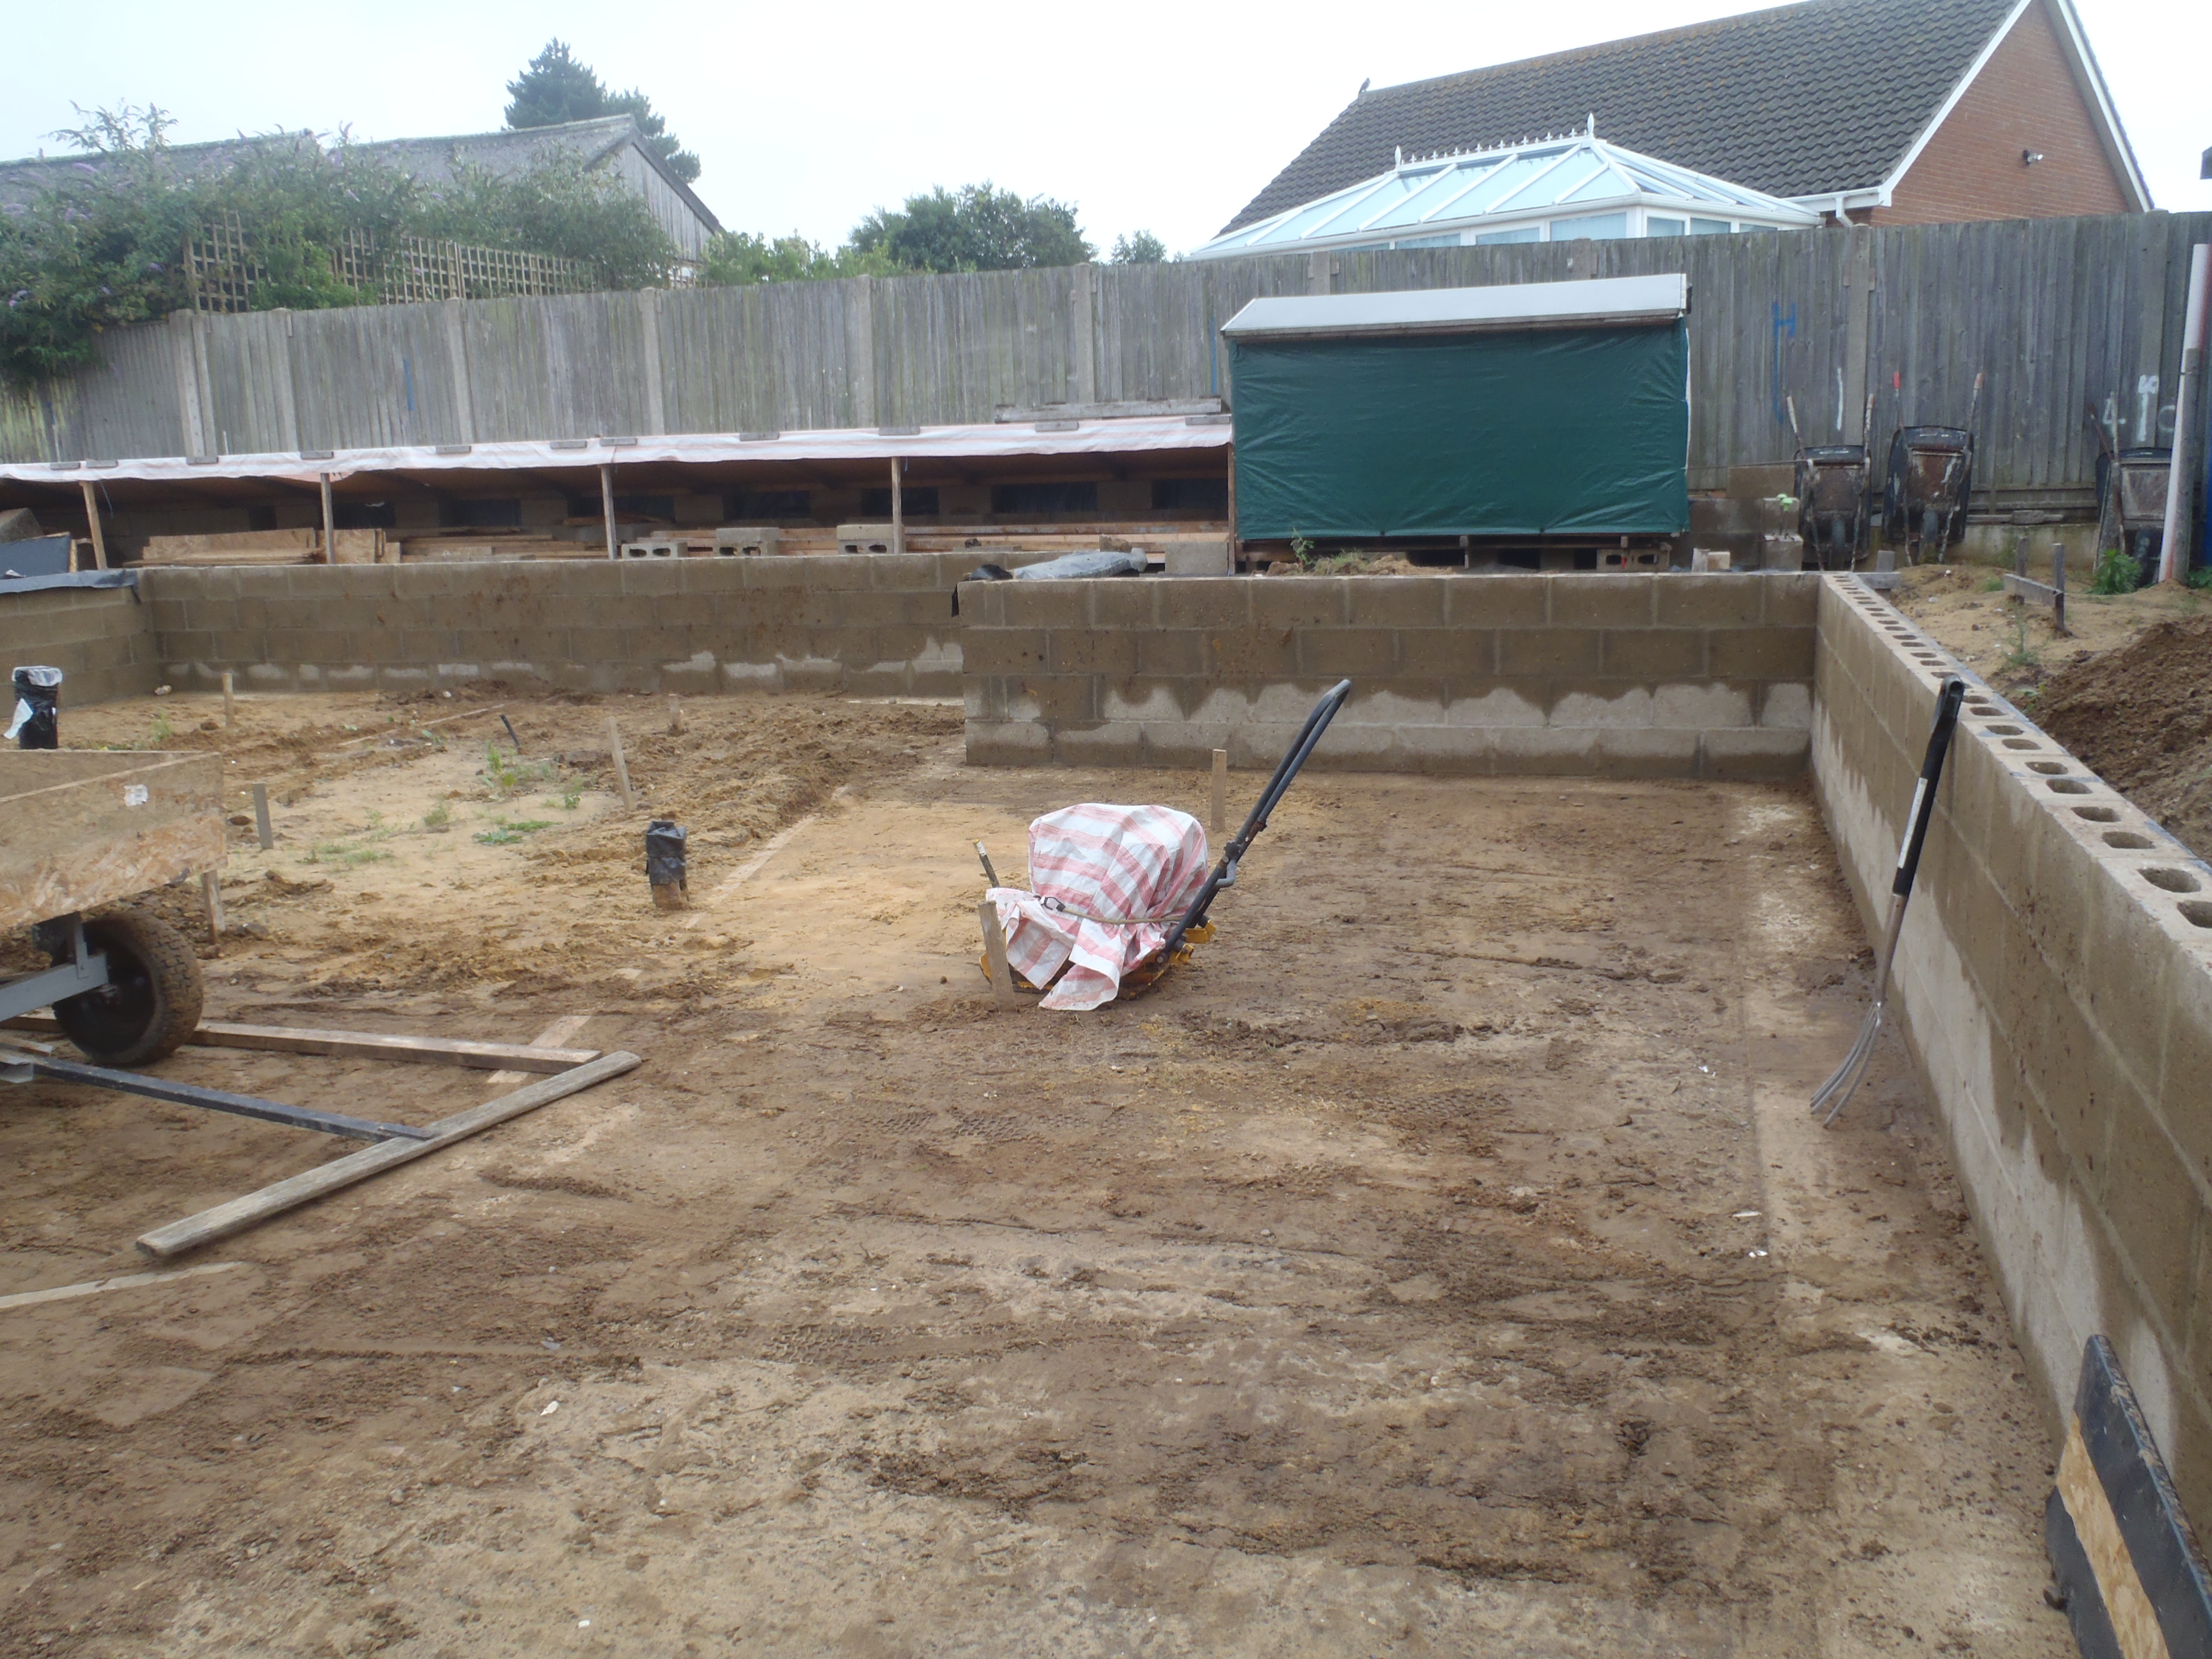
Day-3-Installing-Temperature-probe-conduits-Afternoon
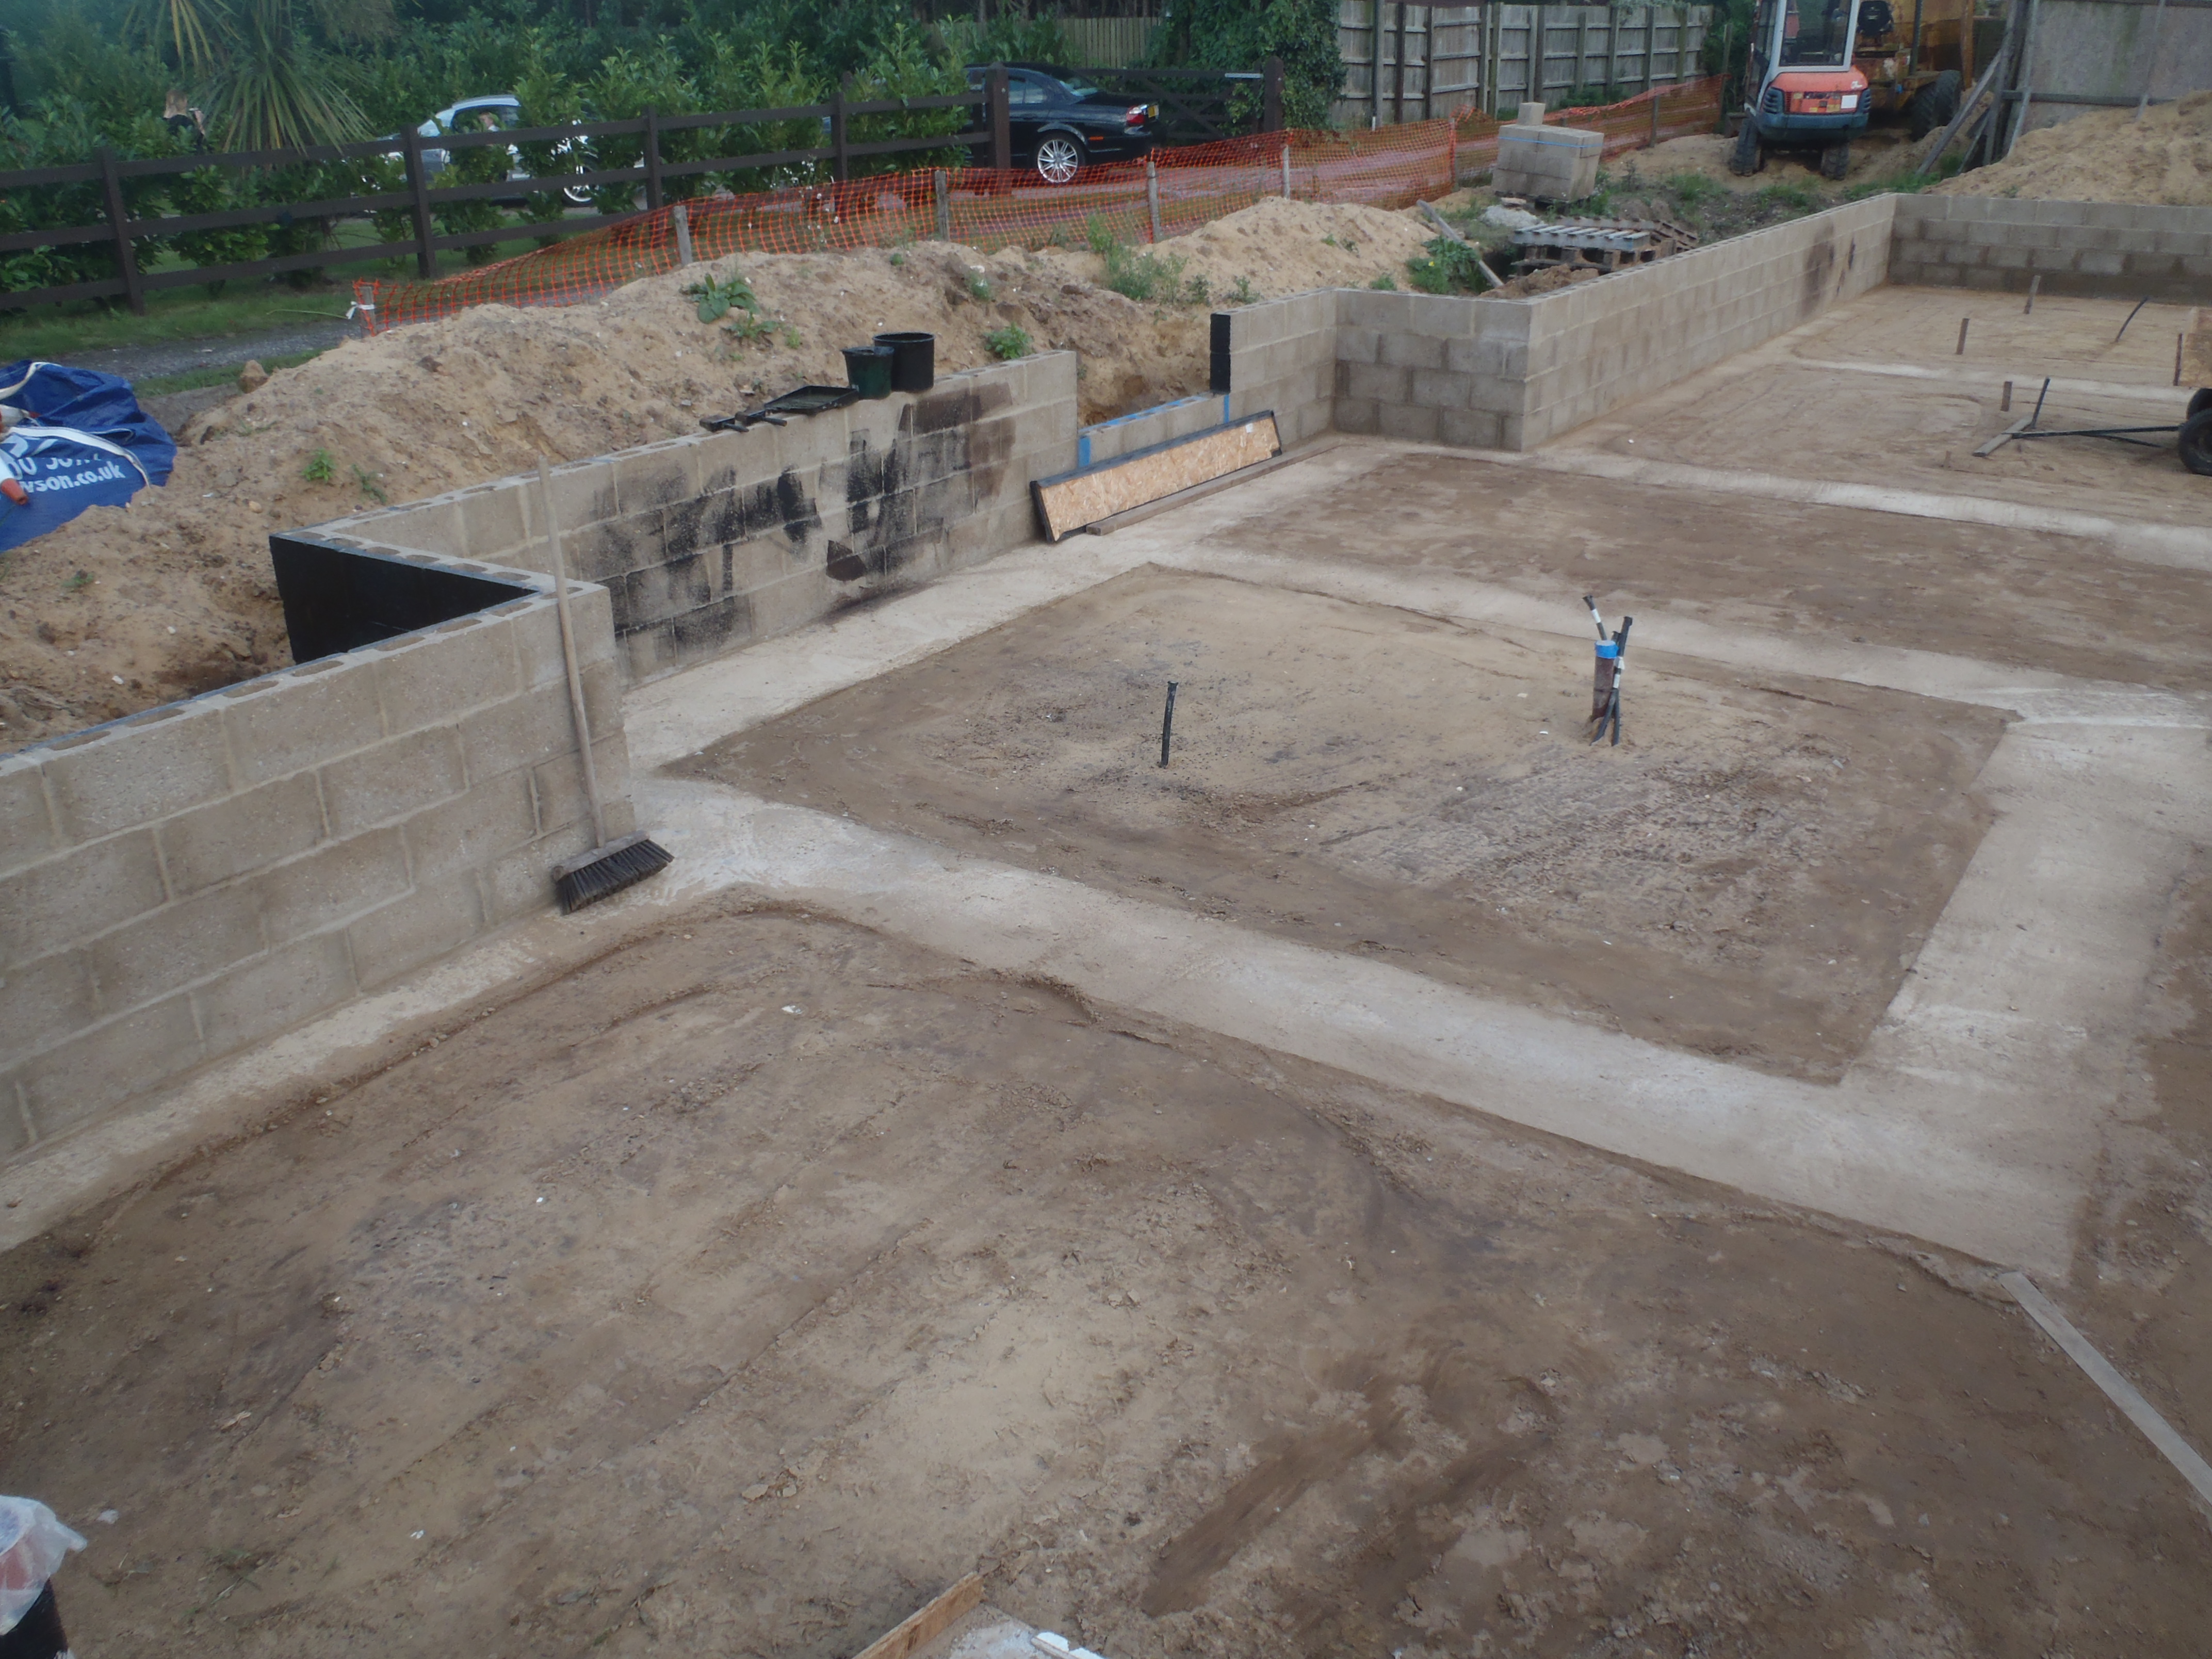
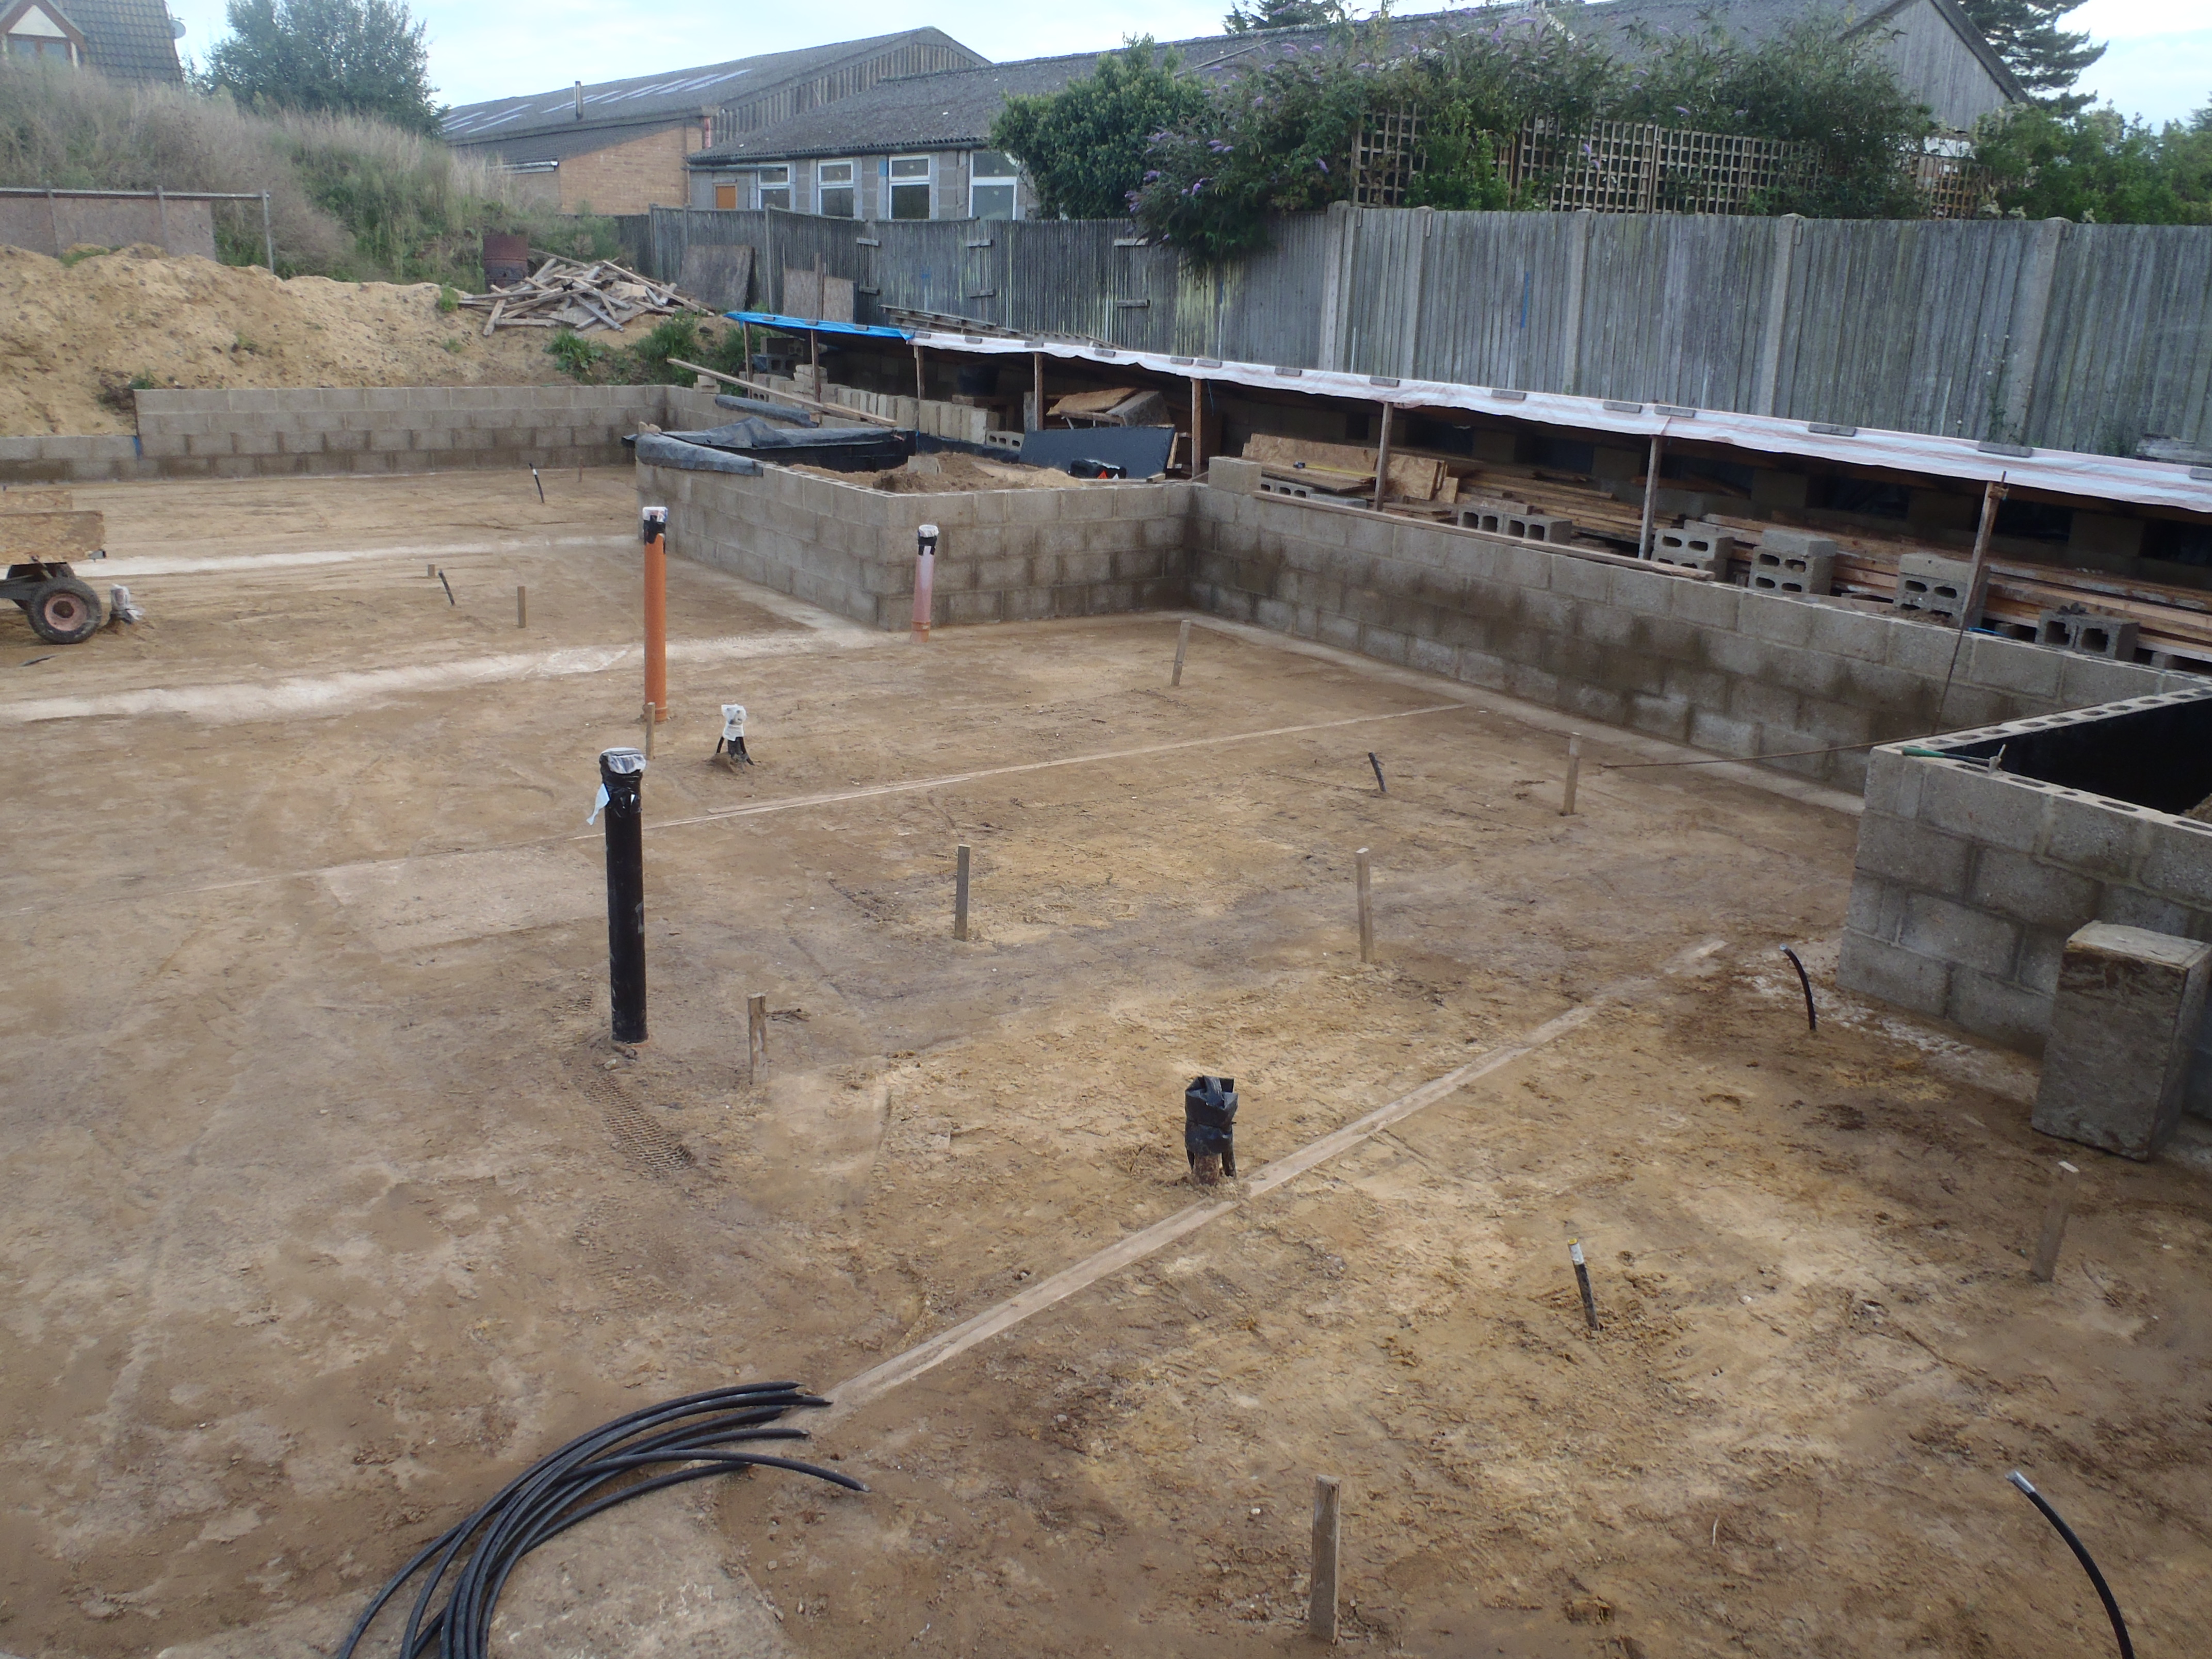
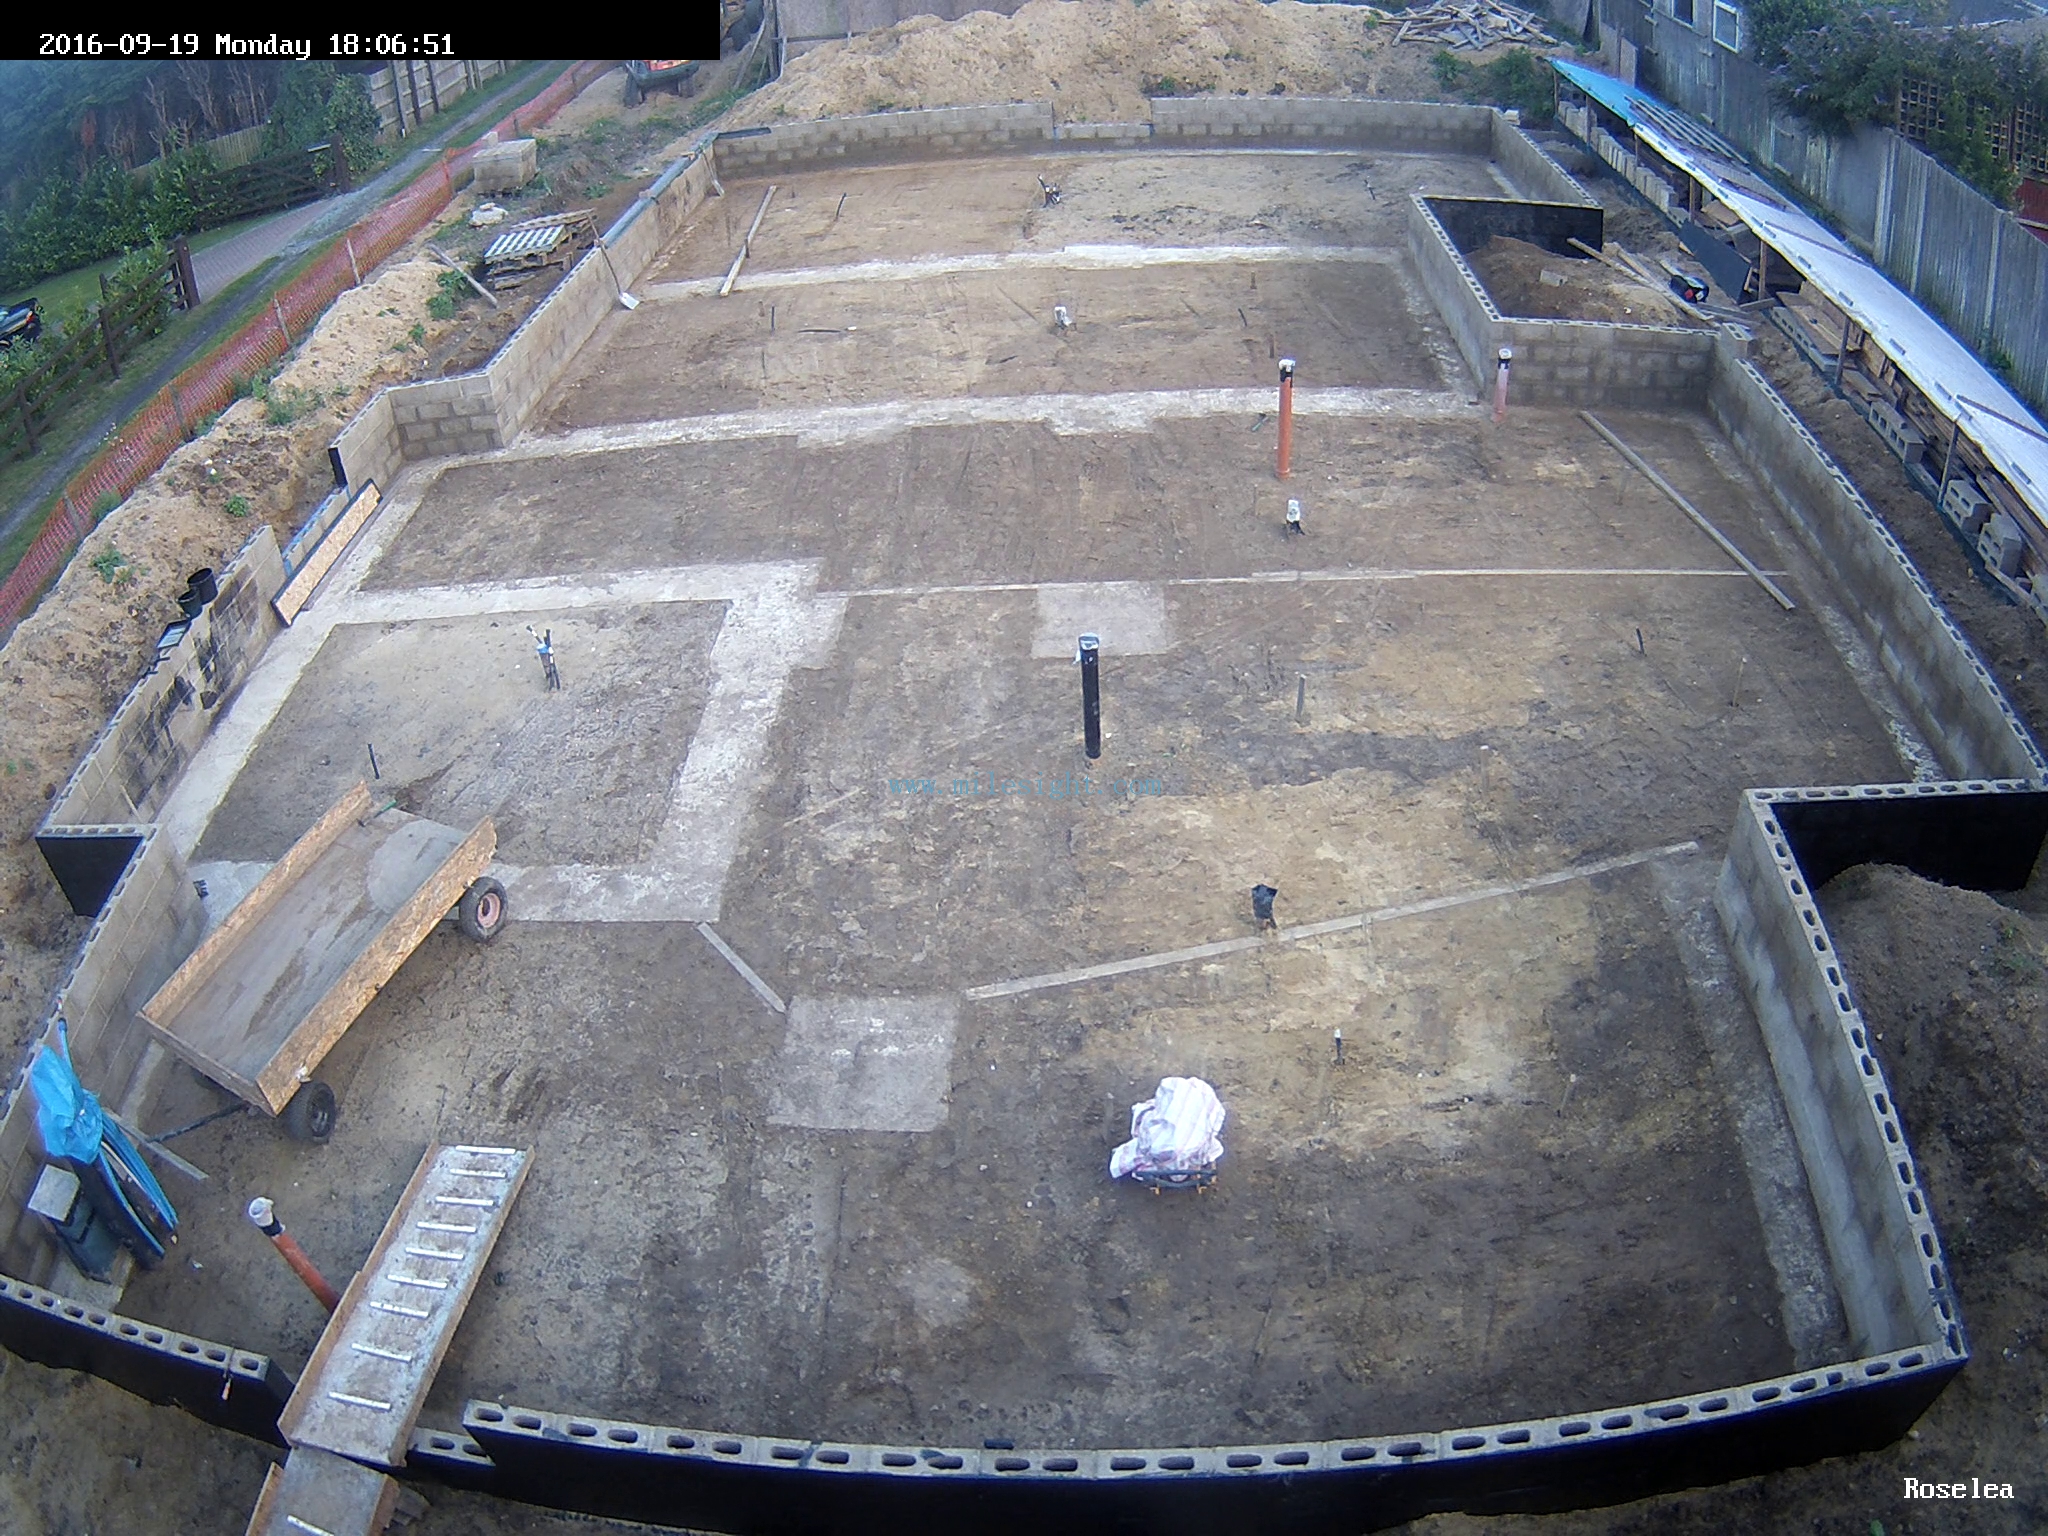
Day-3-Installing-Temperature-probe-conduits-Finished
We installed a further 21 conduits today, plus the other 12 we did over the last 2 days, makes a total of 33 conduits, each having at least 2 and maybe 3 temperature sensors in each pipe, thus we will have nearly 100 heat monitoring probes underground, under our house, to measure the distribution of the heat going in and out of our 5 Energy Modules. The modules themselves also has several temperature sensors in each too .. and plus we have more planned to be installed outside the perimeter of our house as well – Phew!

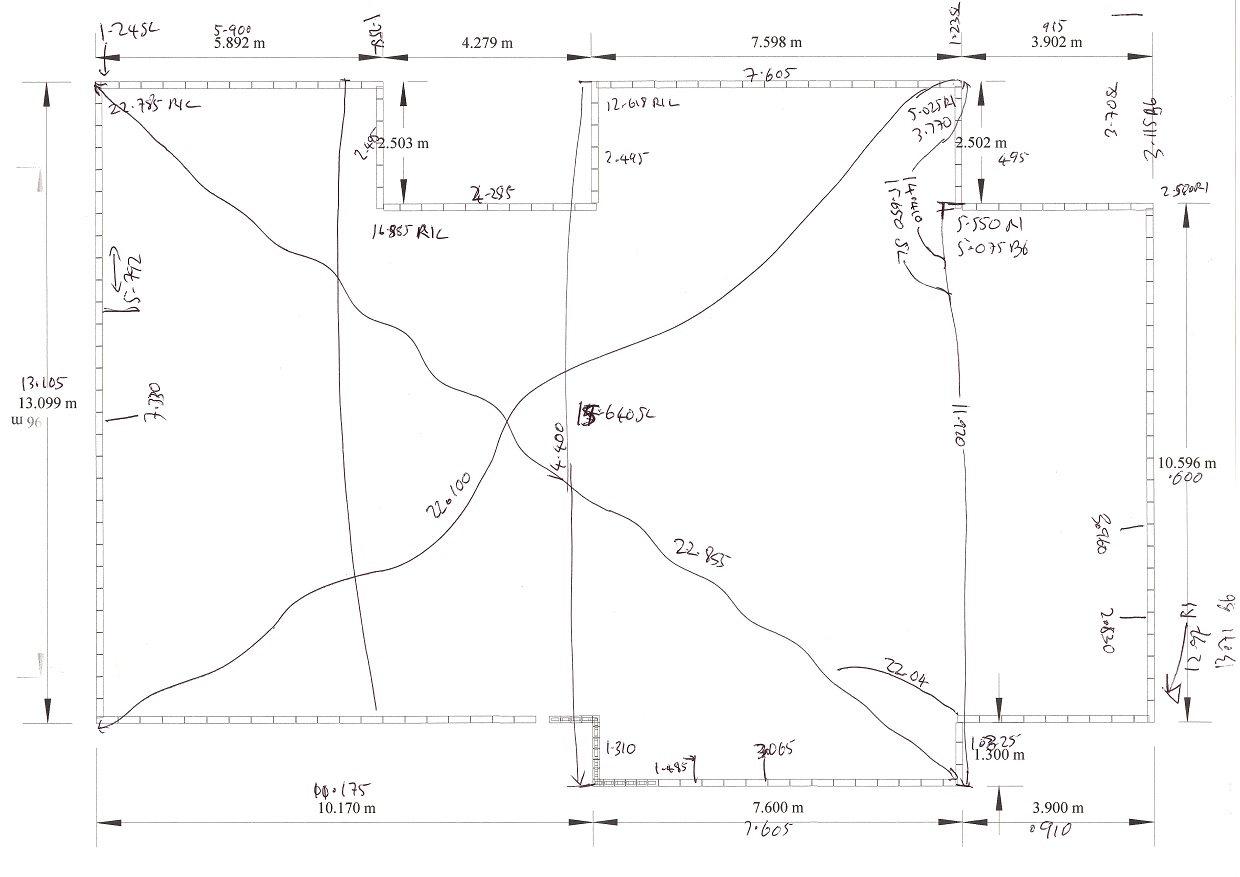
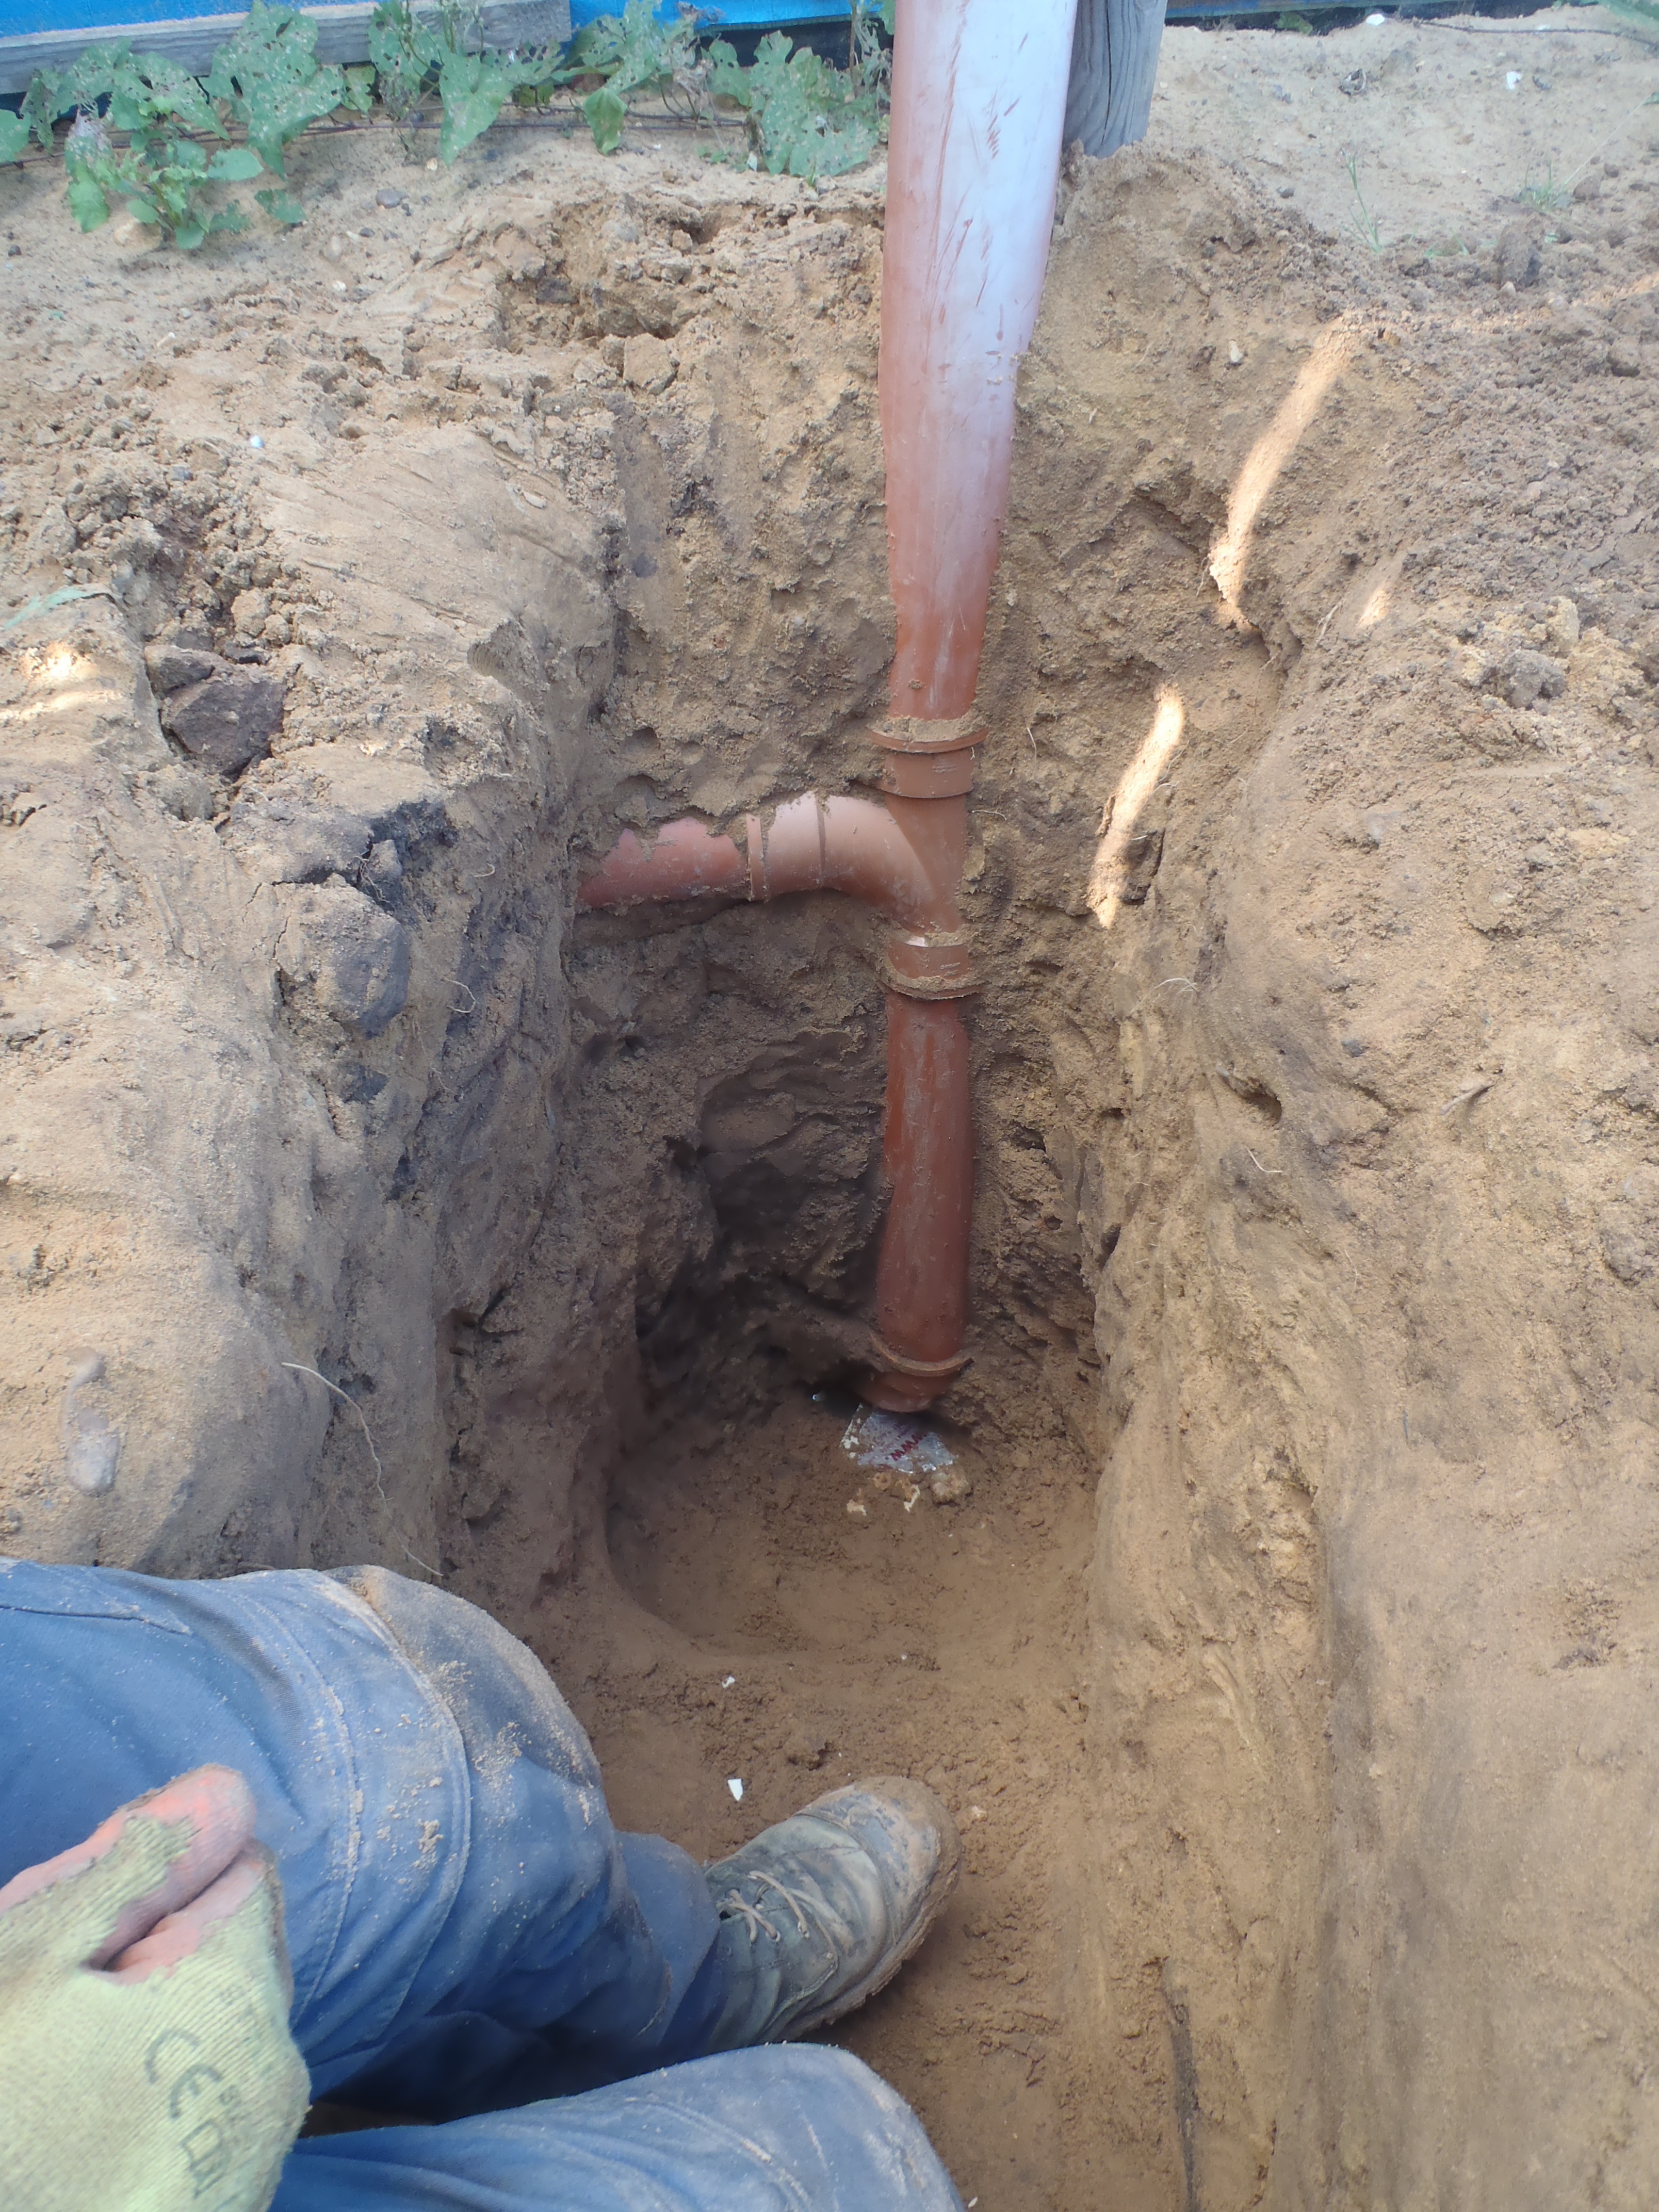
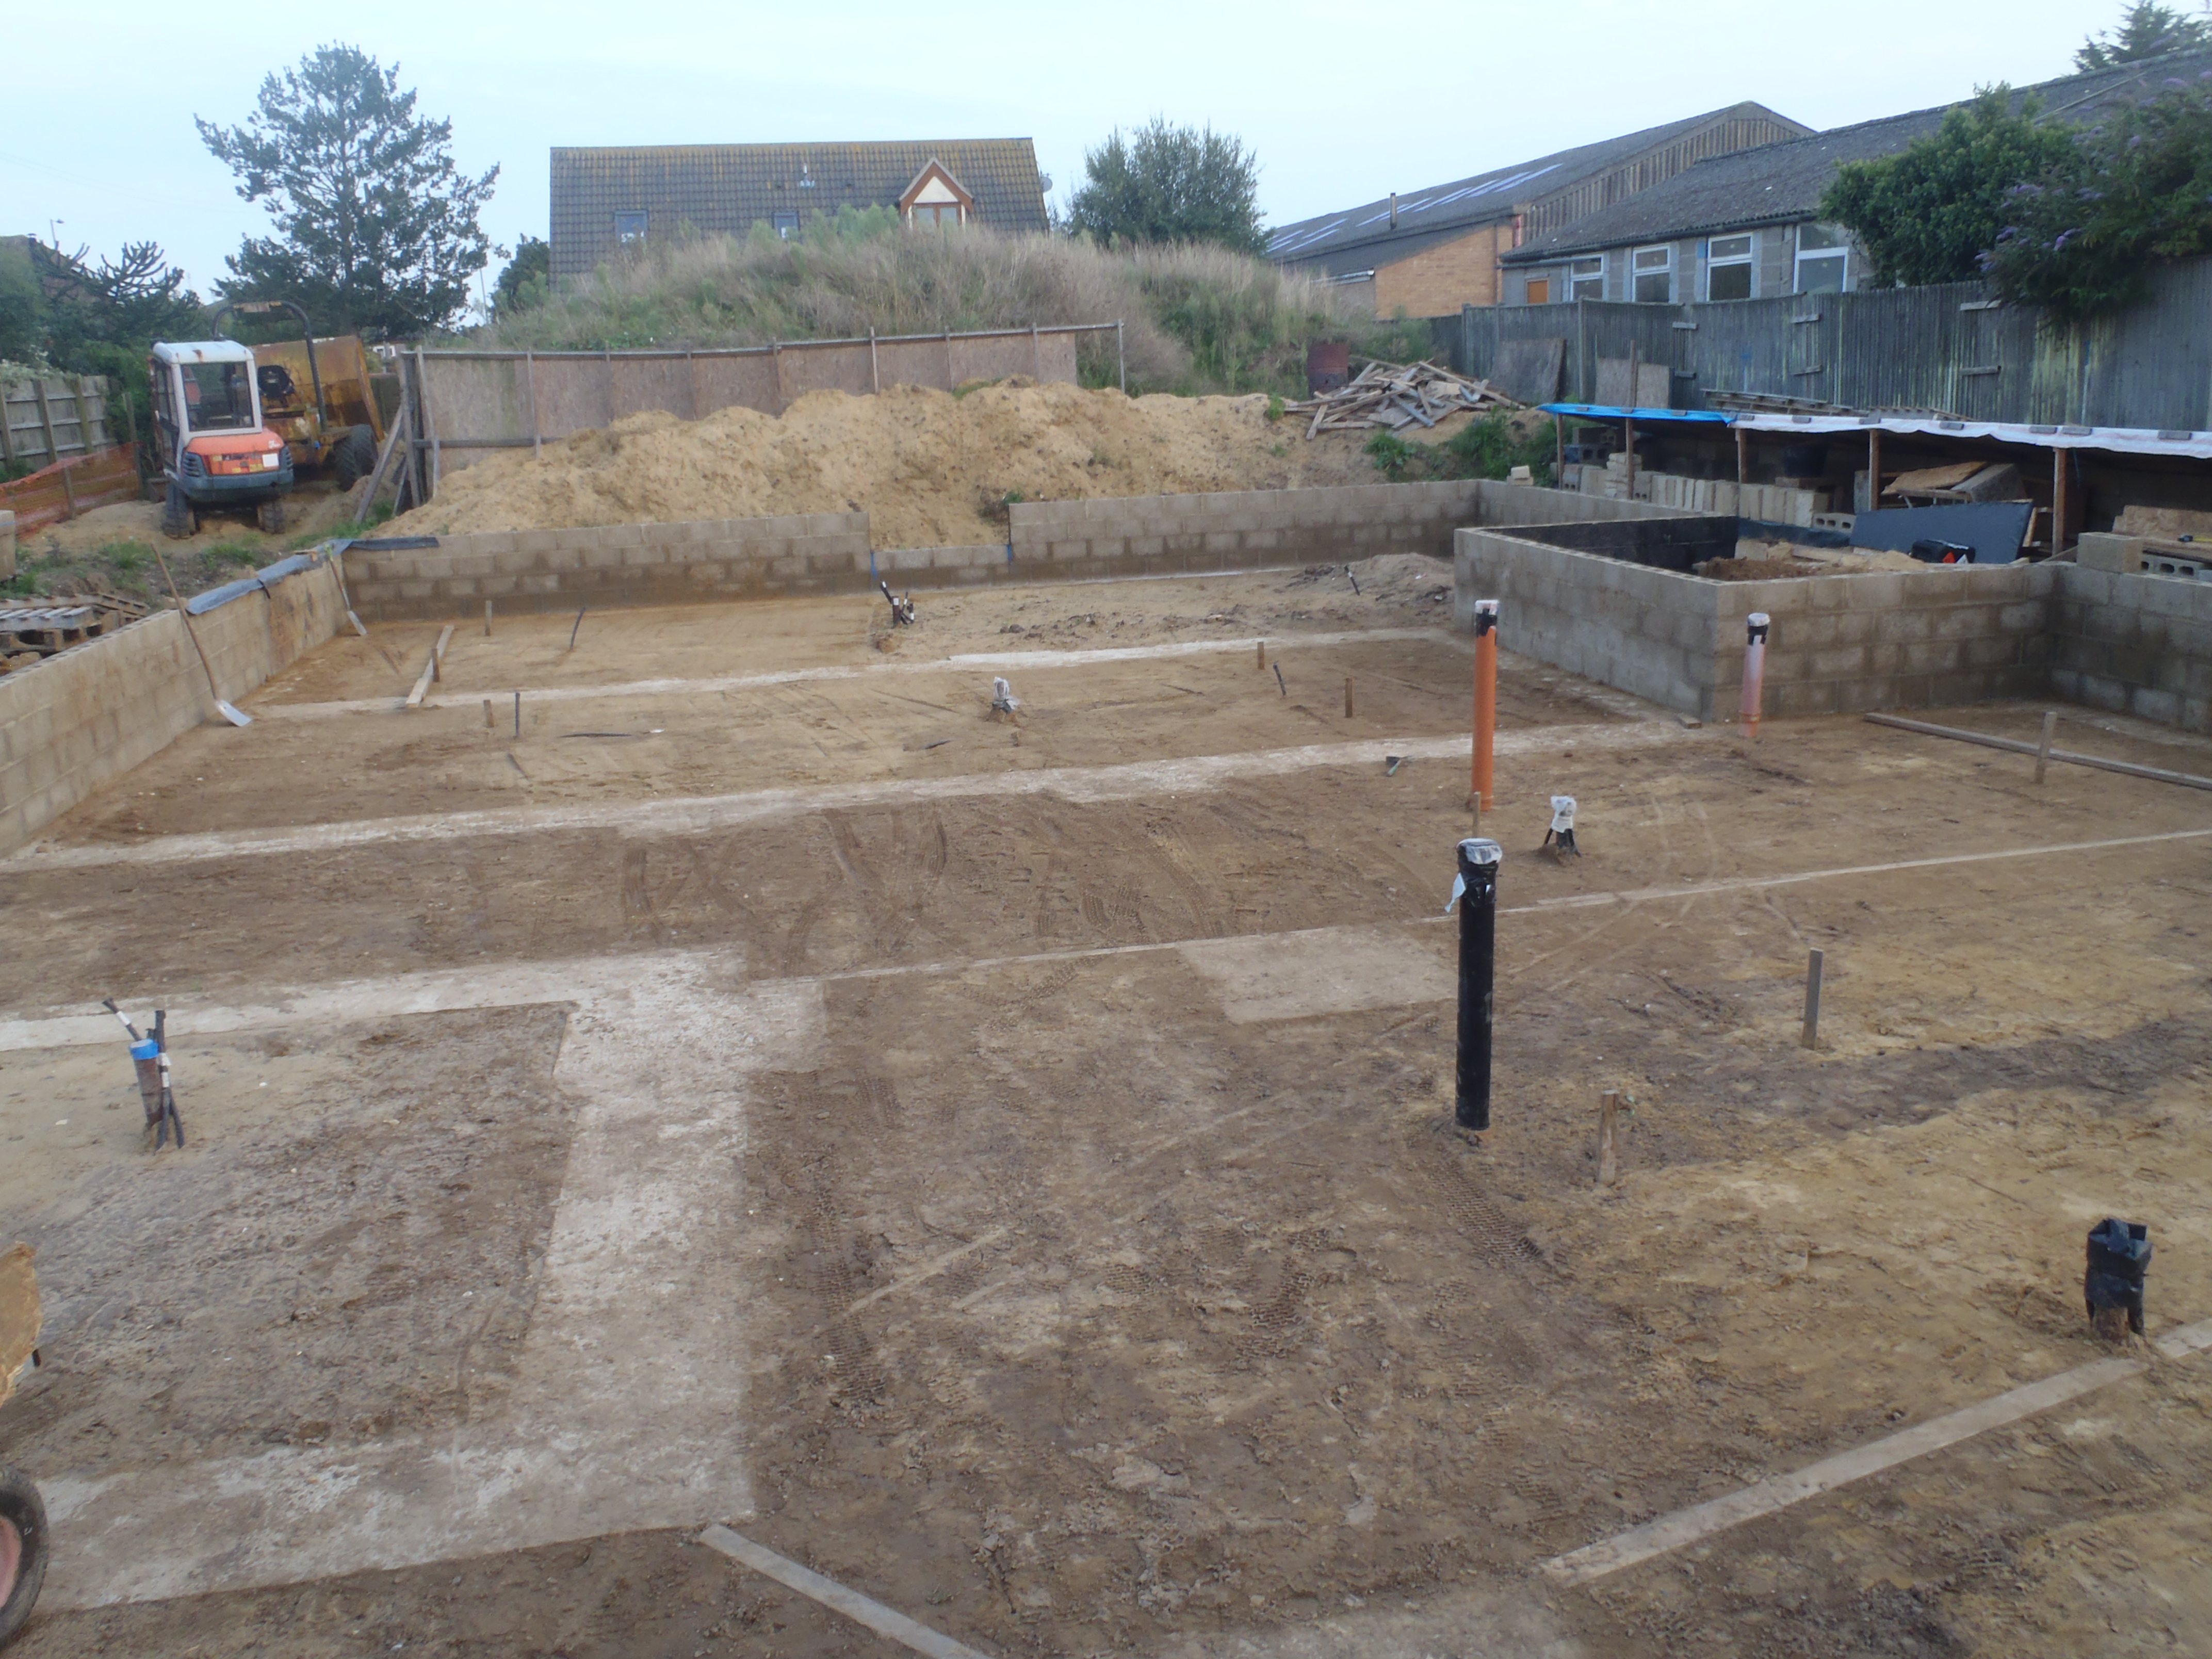
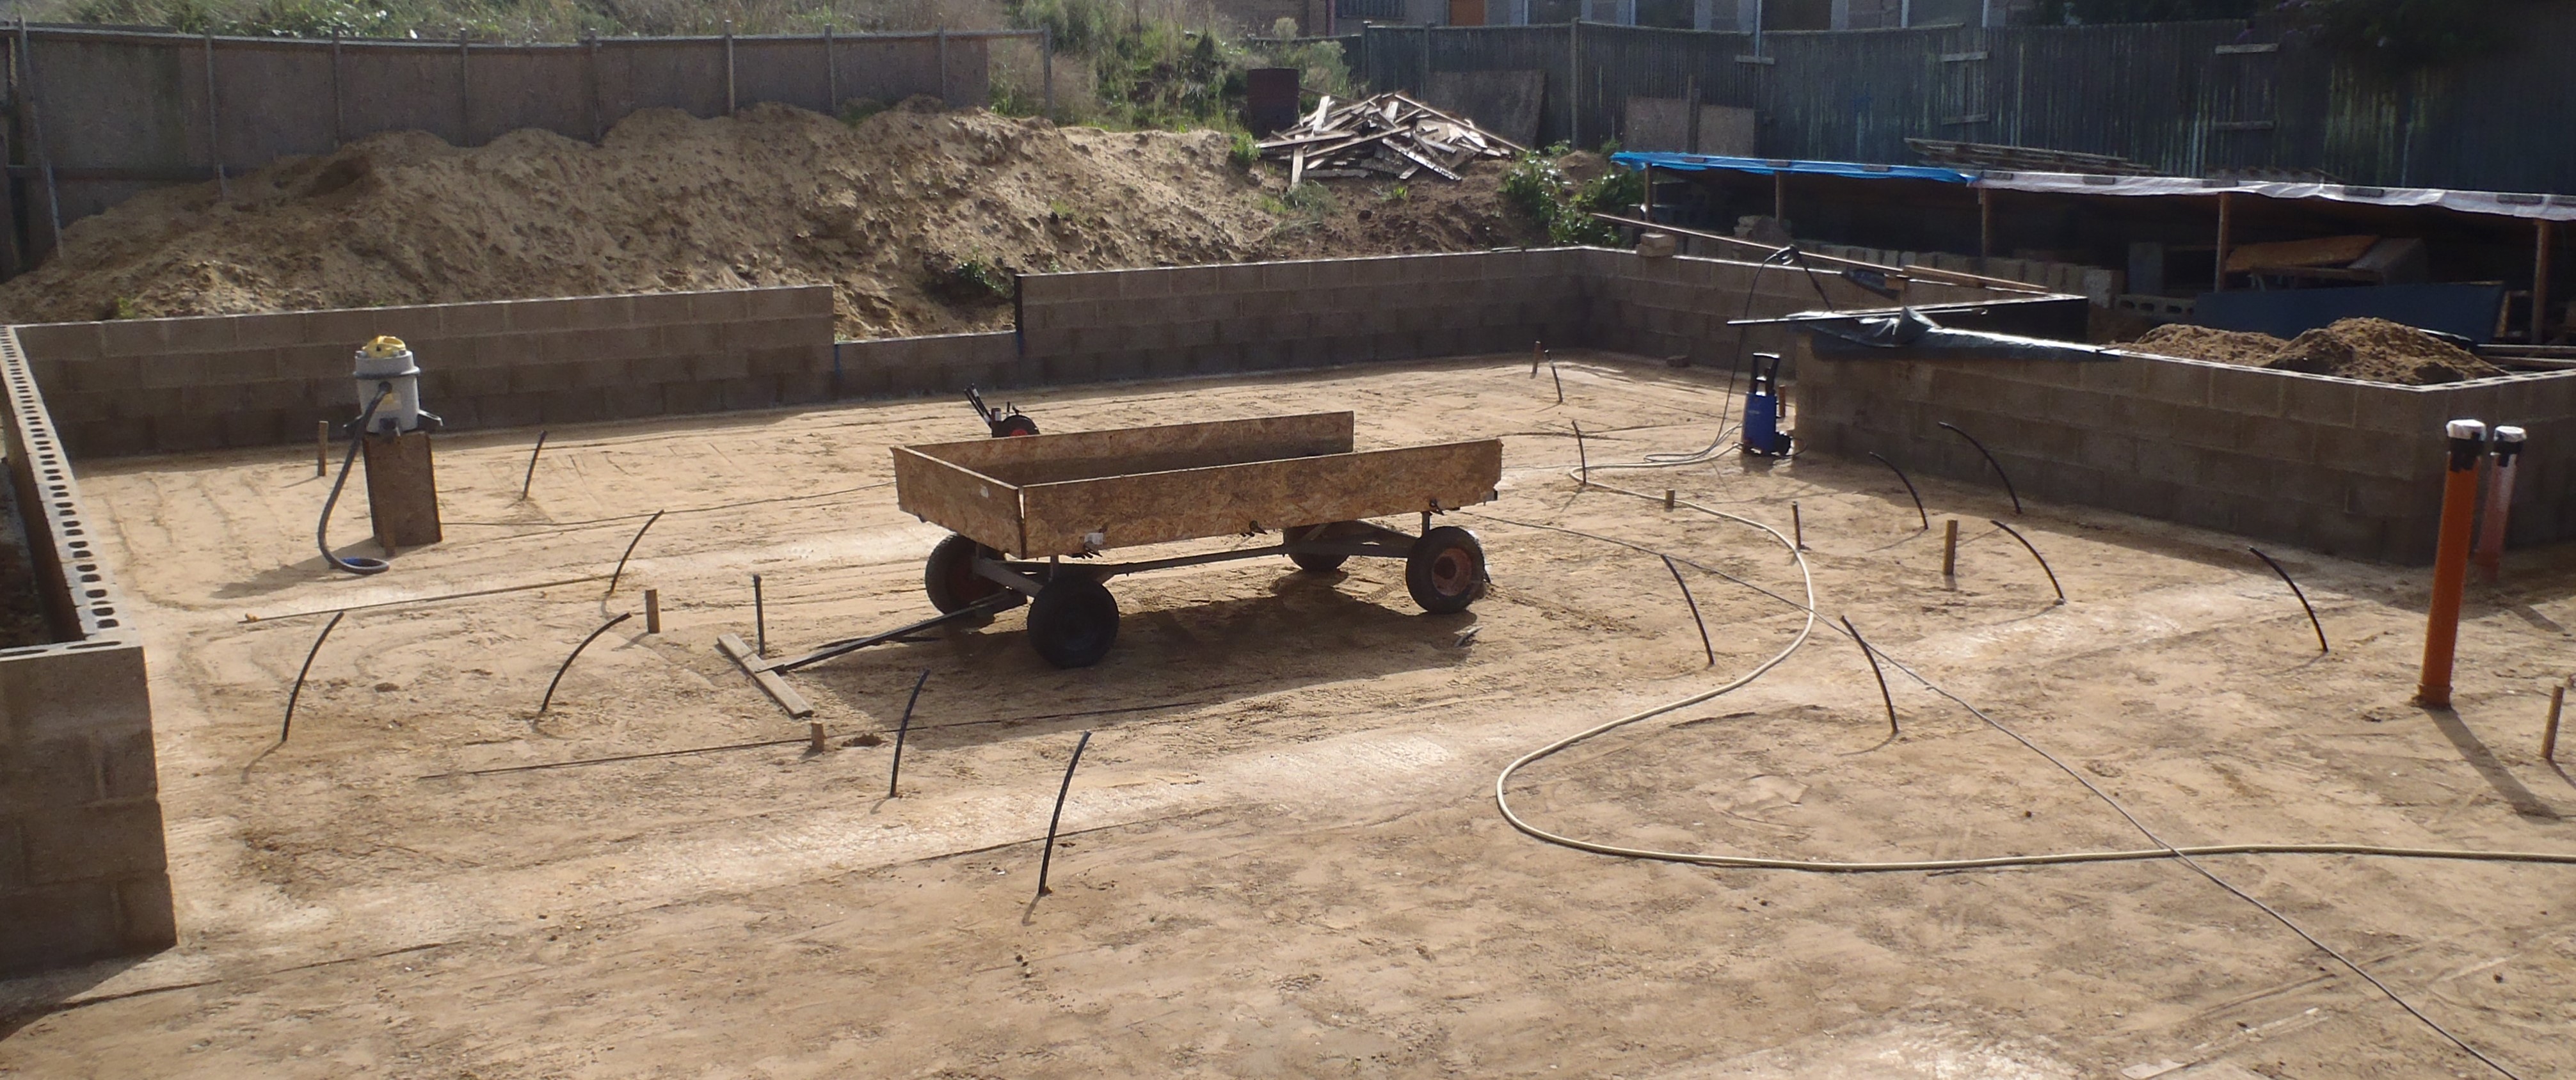
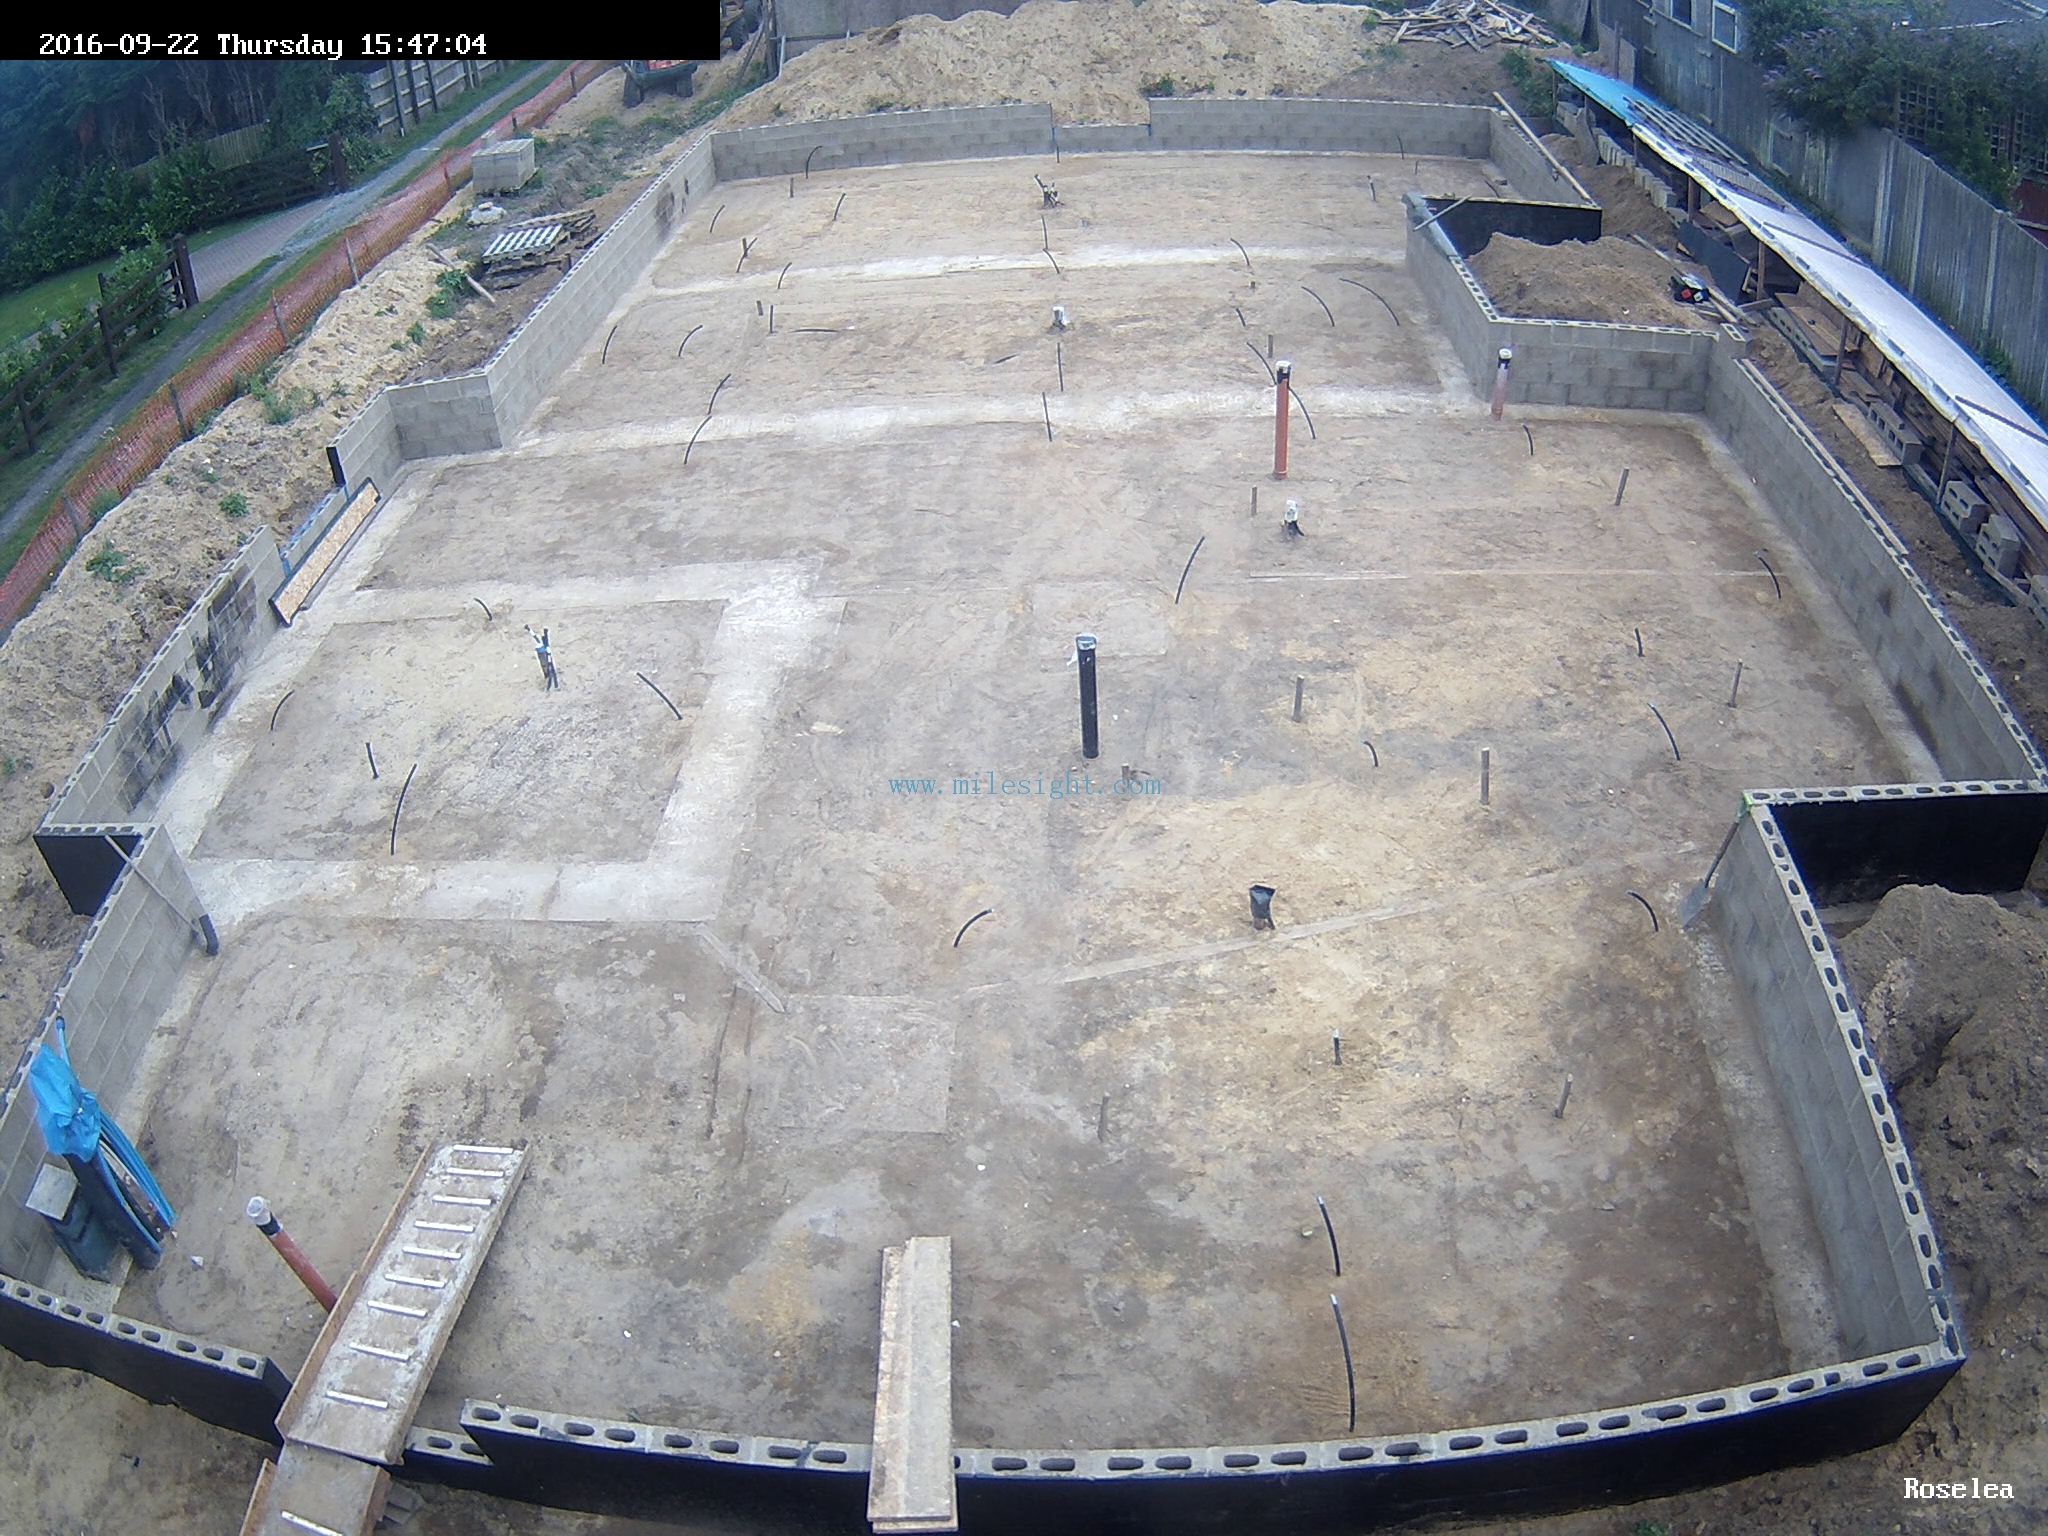
Measuring-Temperature-conduits
We then measured all the locations of the 33 plastic pipes sticking out of the ground and will keep a record of these data points on our computers so we can provide a graphic output showing the actual temperature readings on a map of our house .. all in real time .. when everything is working – grin!!