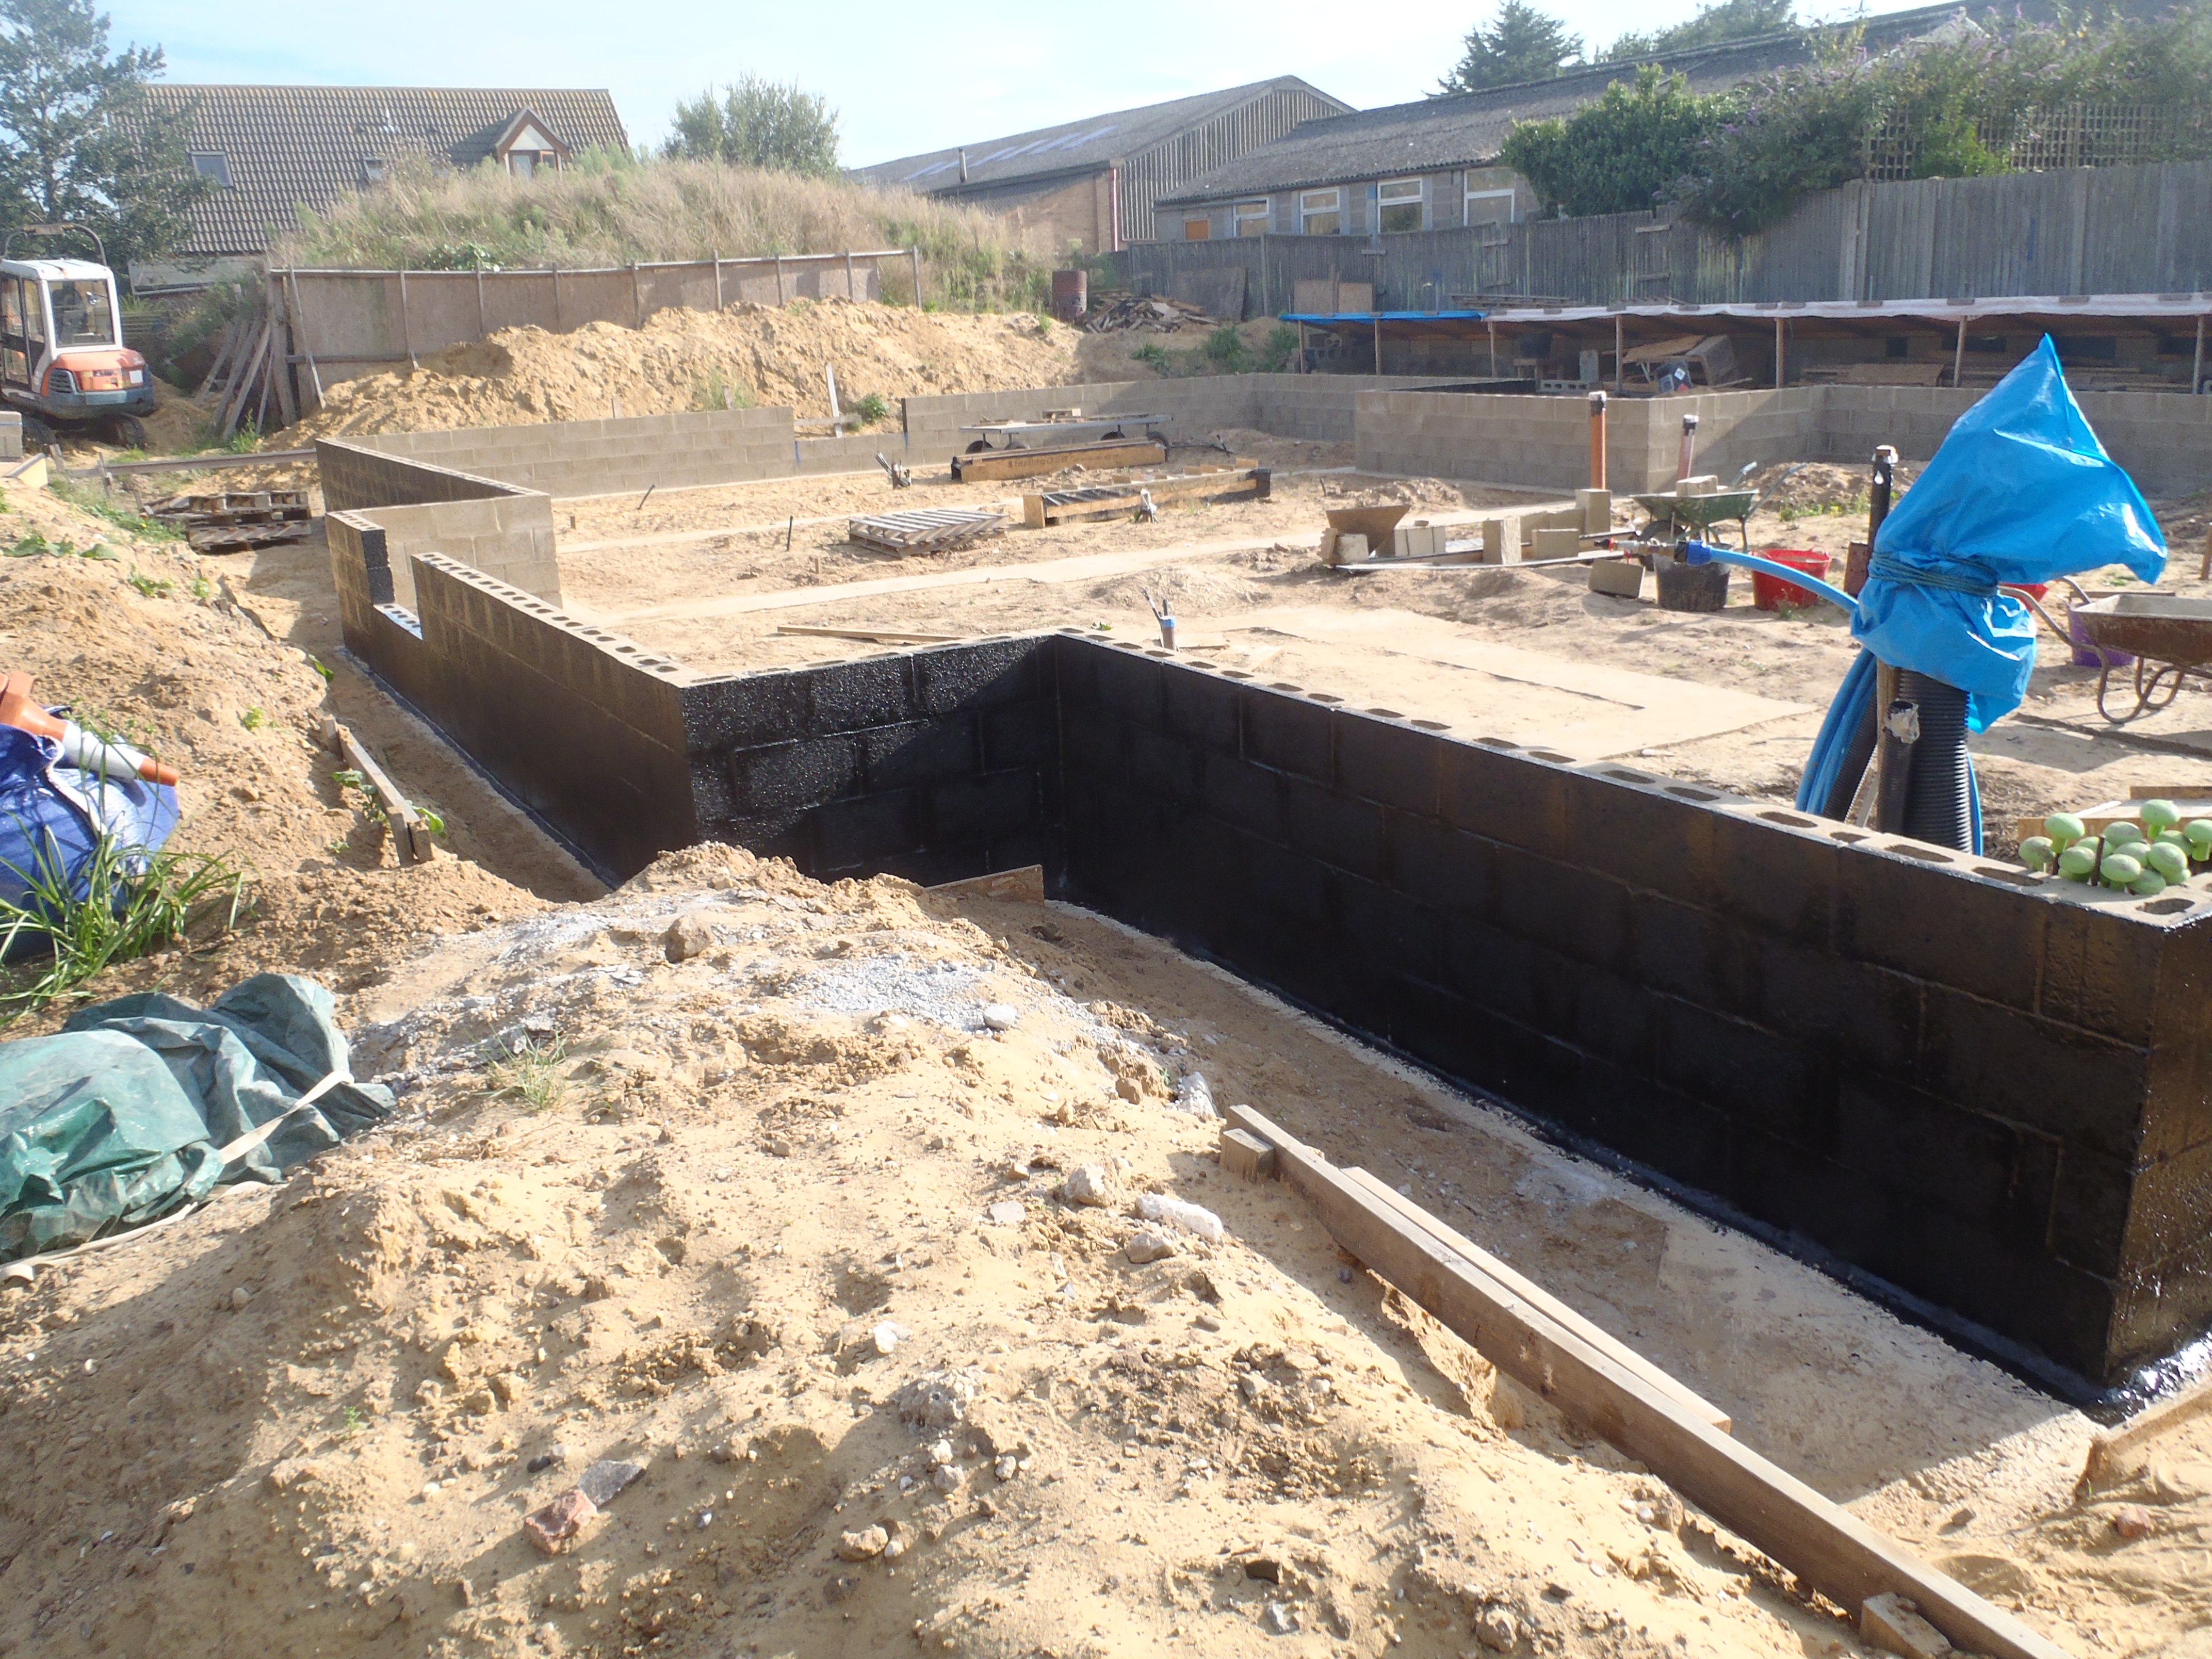
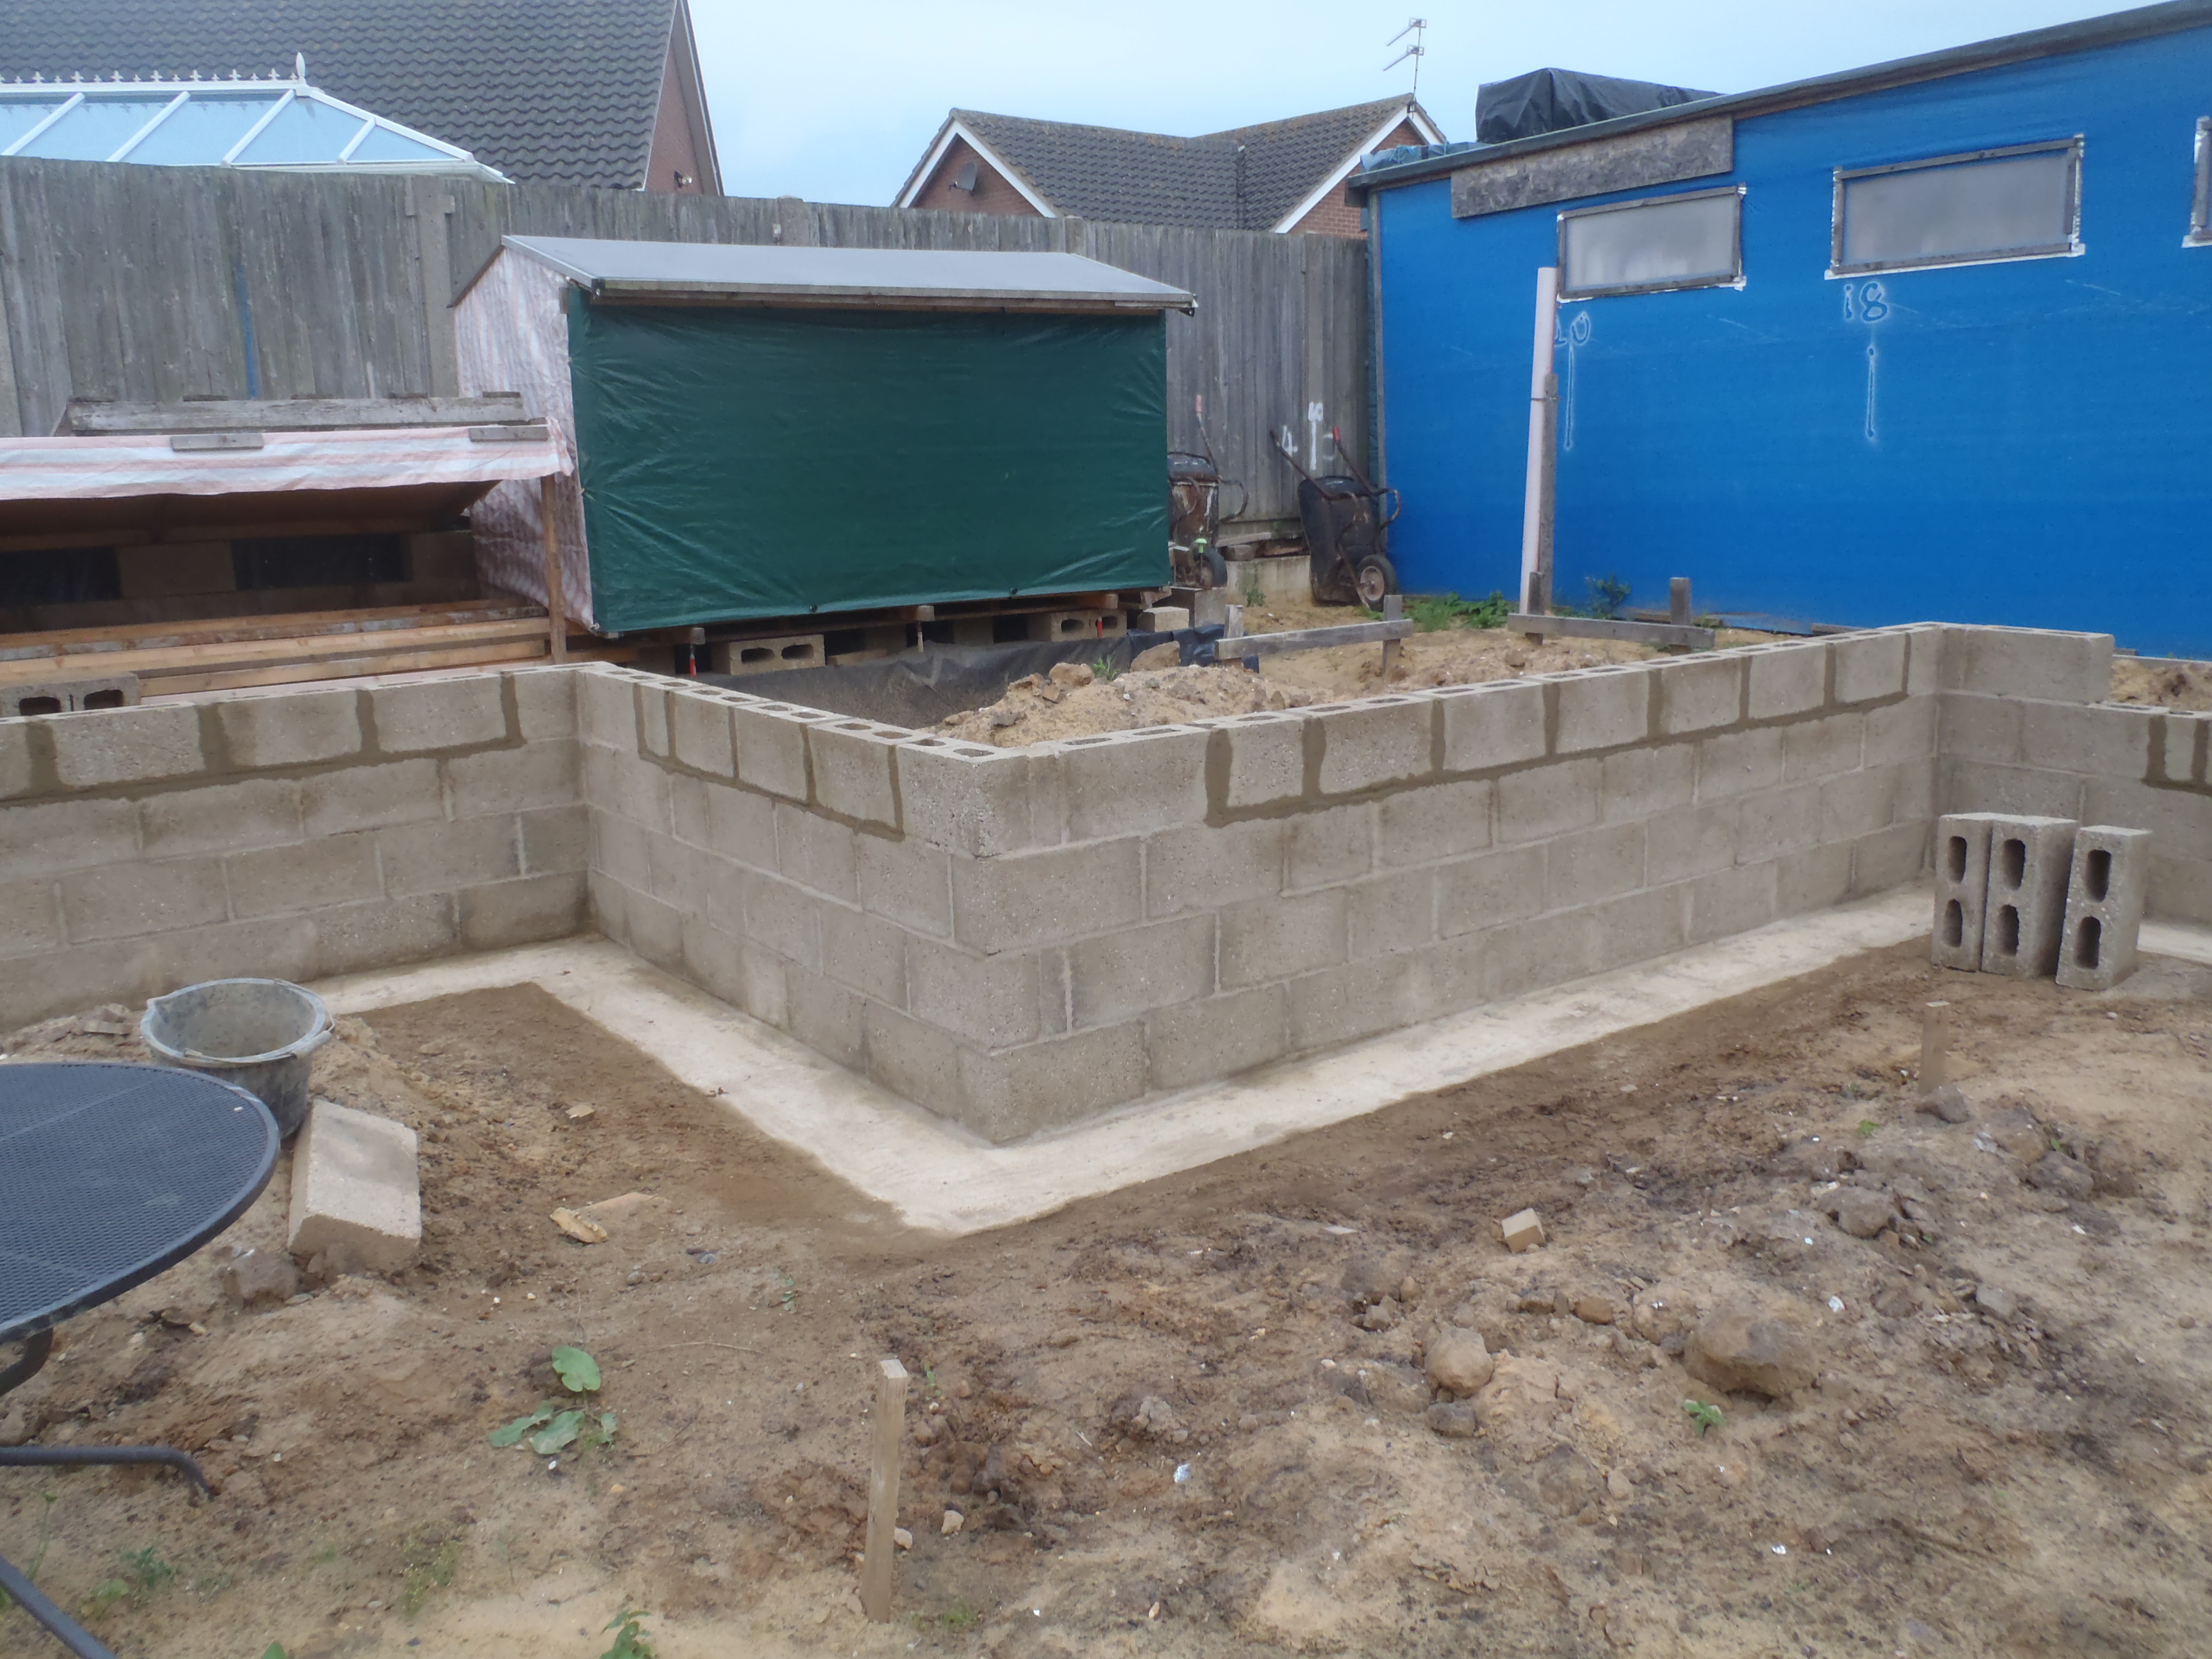
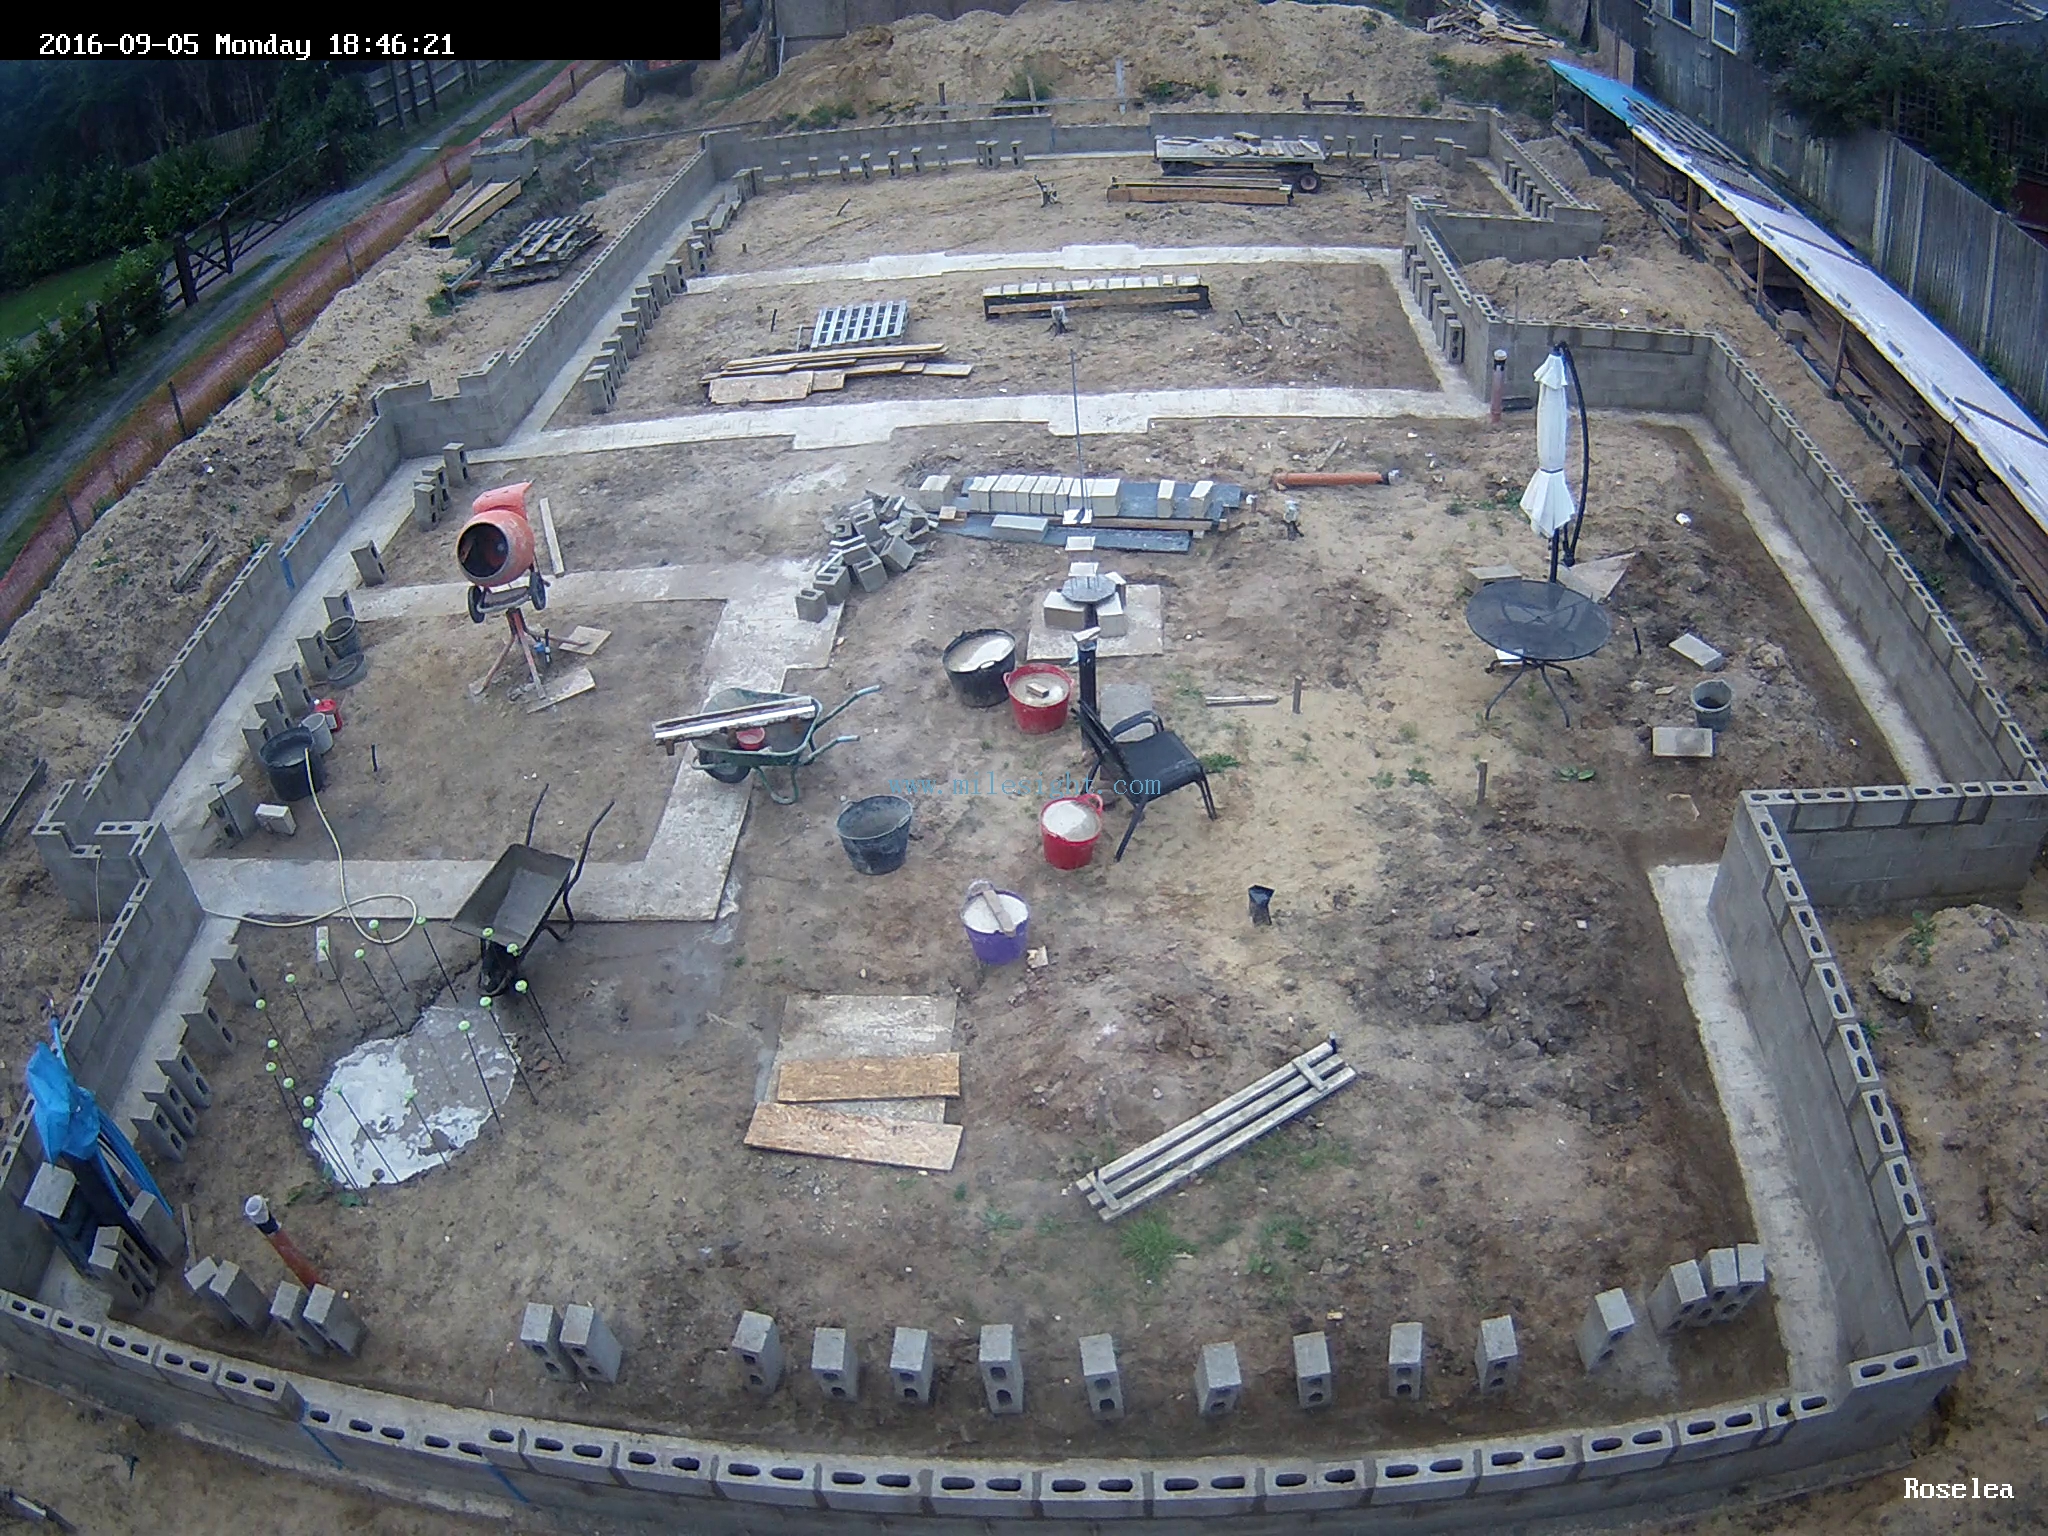
We started today on tidying up the area inside the footprint of our house, winding up hose, putting up the ramp over the wall at the back door nearest the garage ..
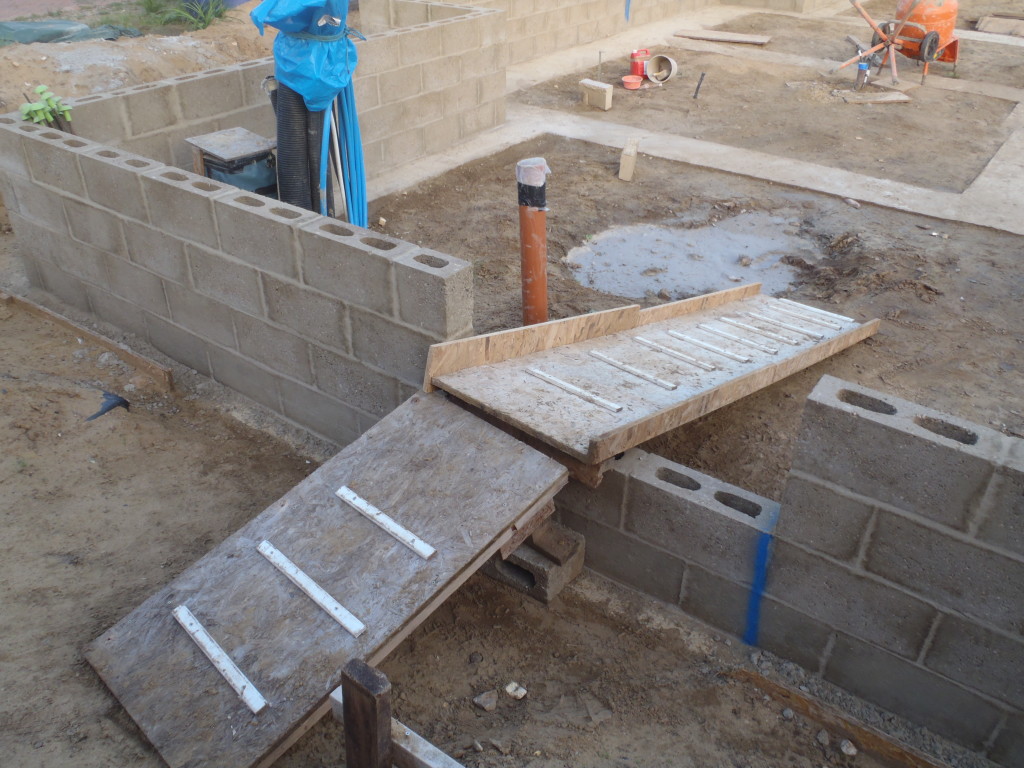
Back-door-ramp
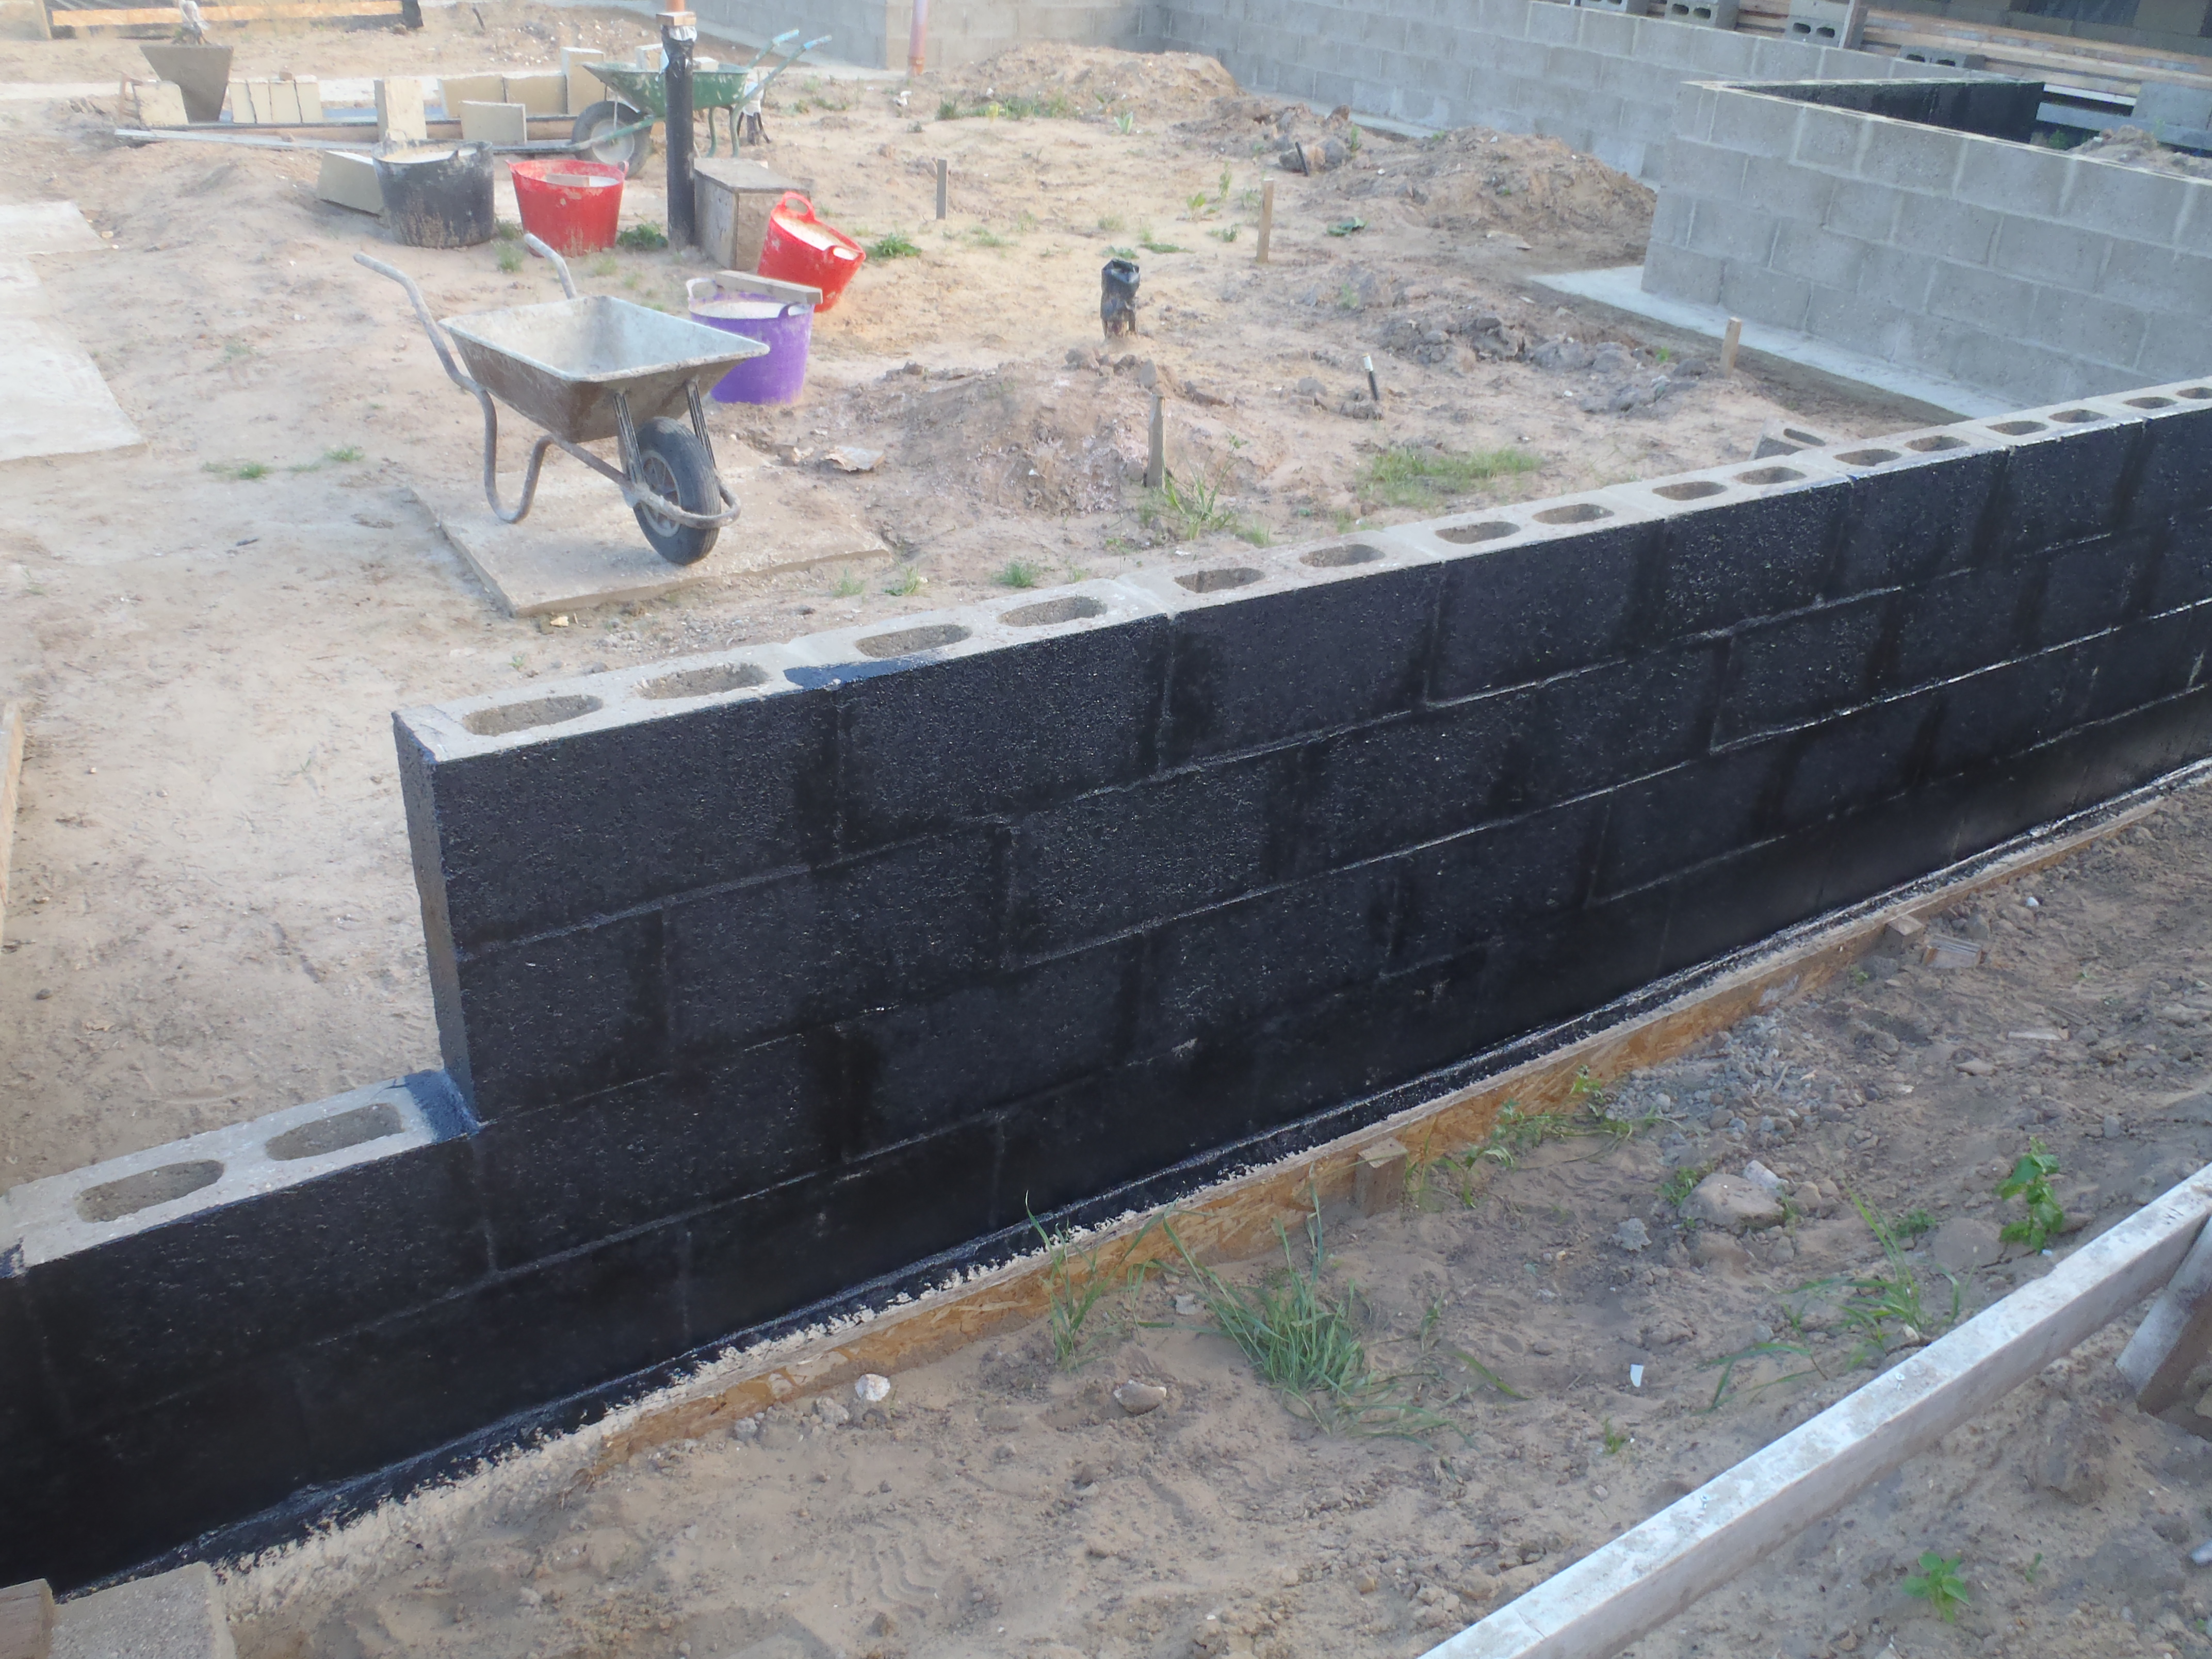
We loaded up a wheelbarrow with concrete block offcuts to take away to our “rubbish” bag beside the hedge boundary with the school field.
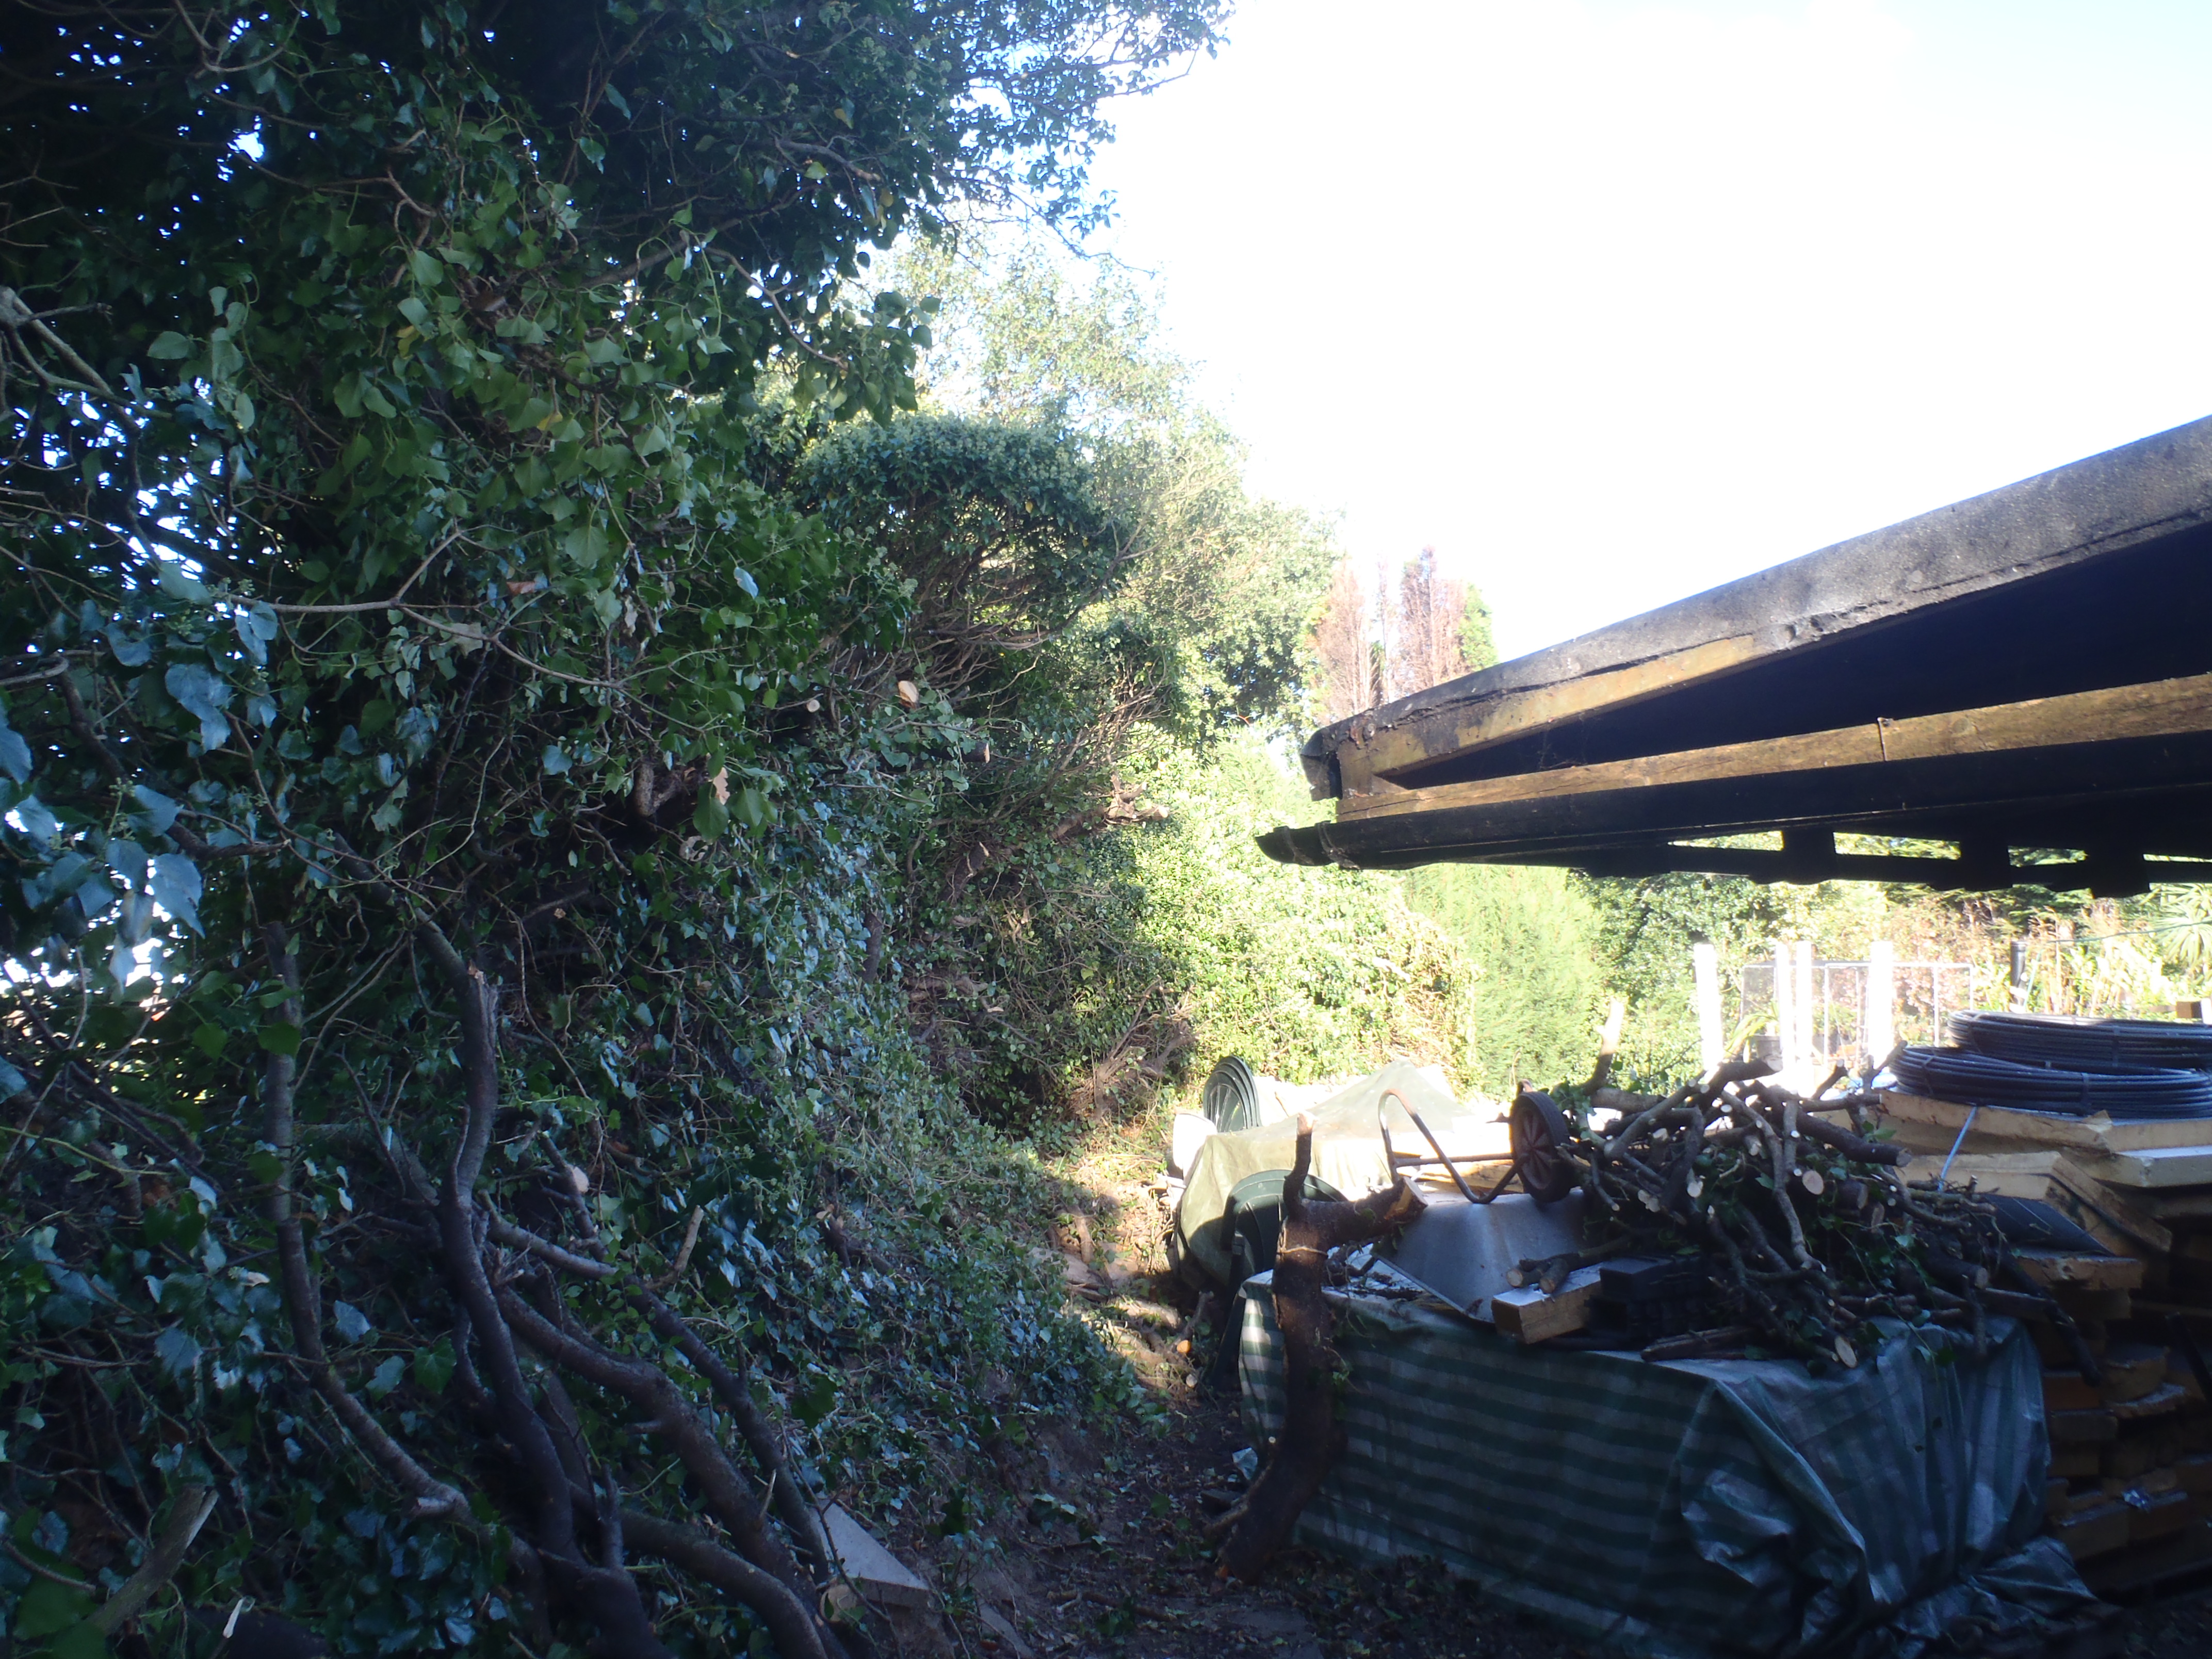
This is when we were diverted into doing a different task, of trimming back the hedge and balancing up the weight of the whole hedge. We have got to do this as yesterday saw a huge tractor come back and forth on the school field a half a dozen times trimming back our hedge on their side! They sliced and chopped very large branches (well over 50mm / 2 inches in places!) which were hanging over their field with their massive machine, which only took them about 30 minutes to do it all! So we realised that we had to do something similar our side!!
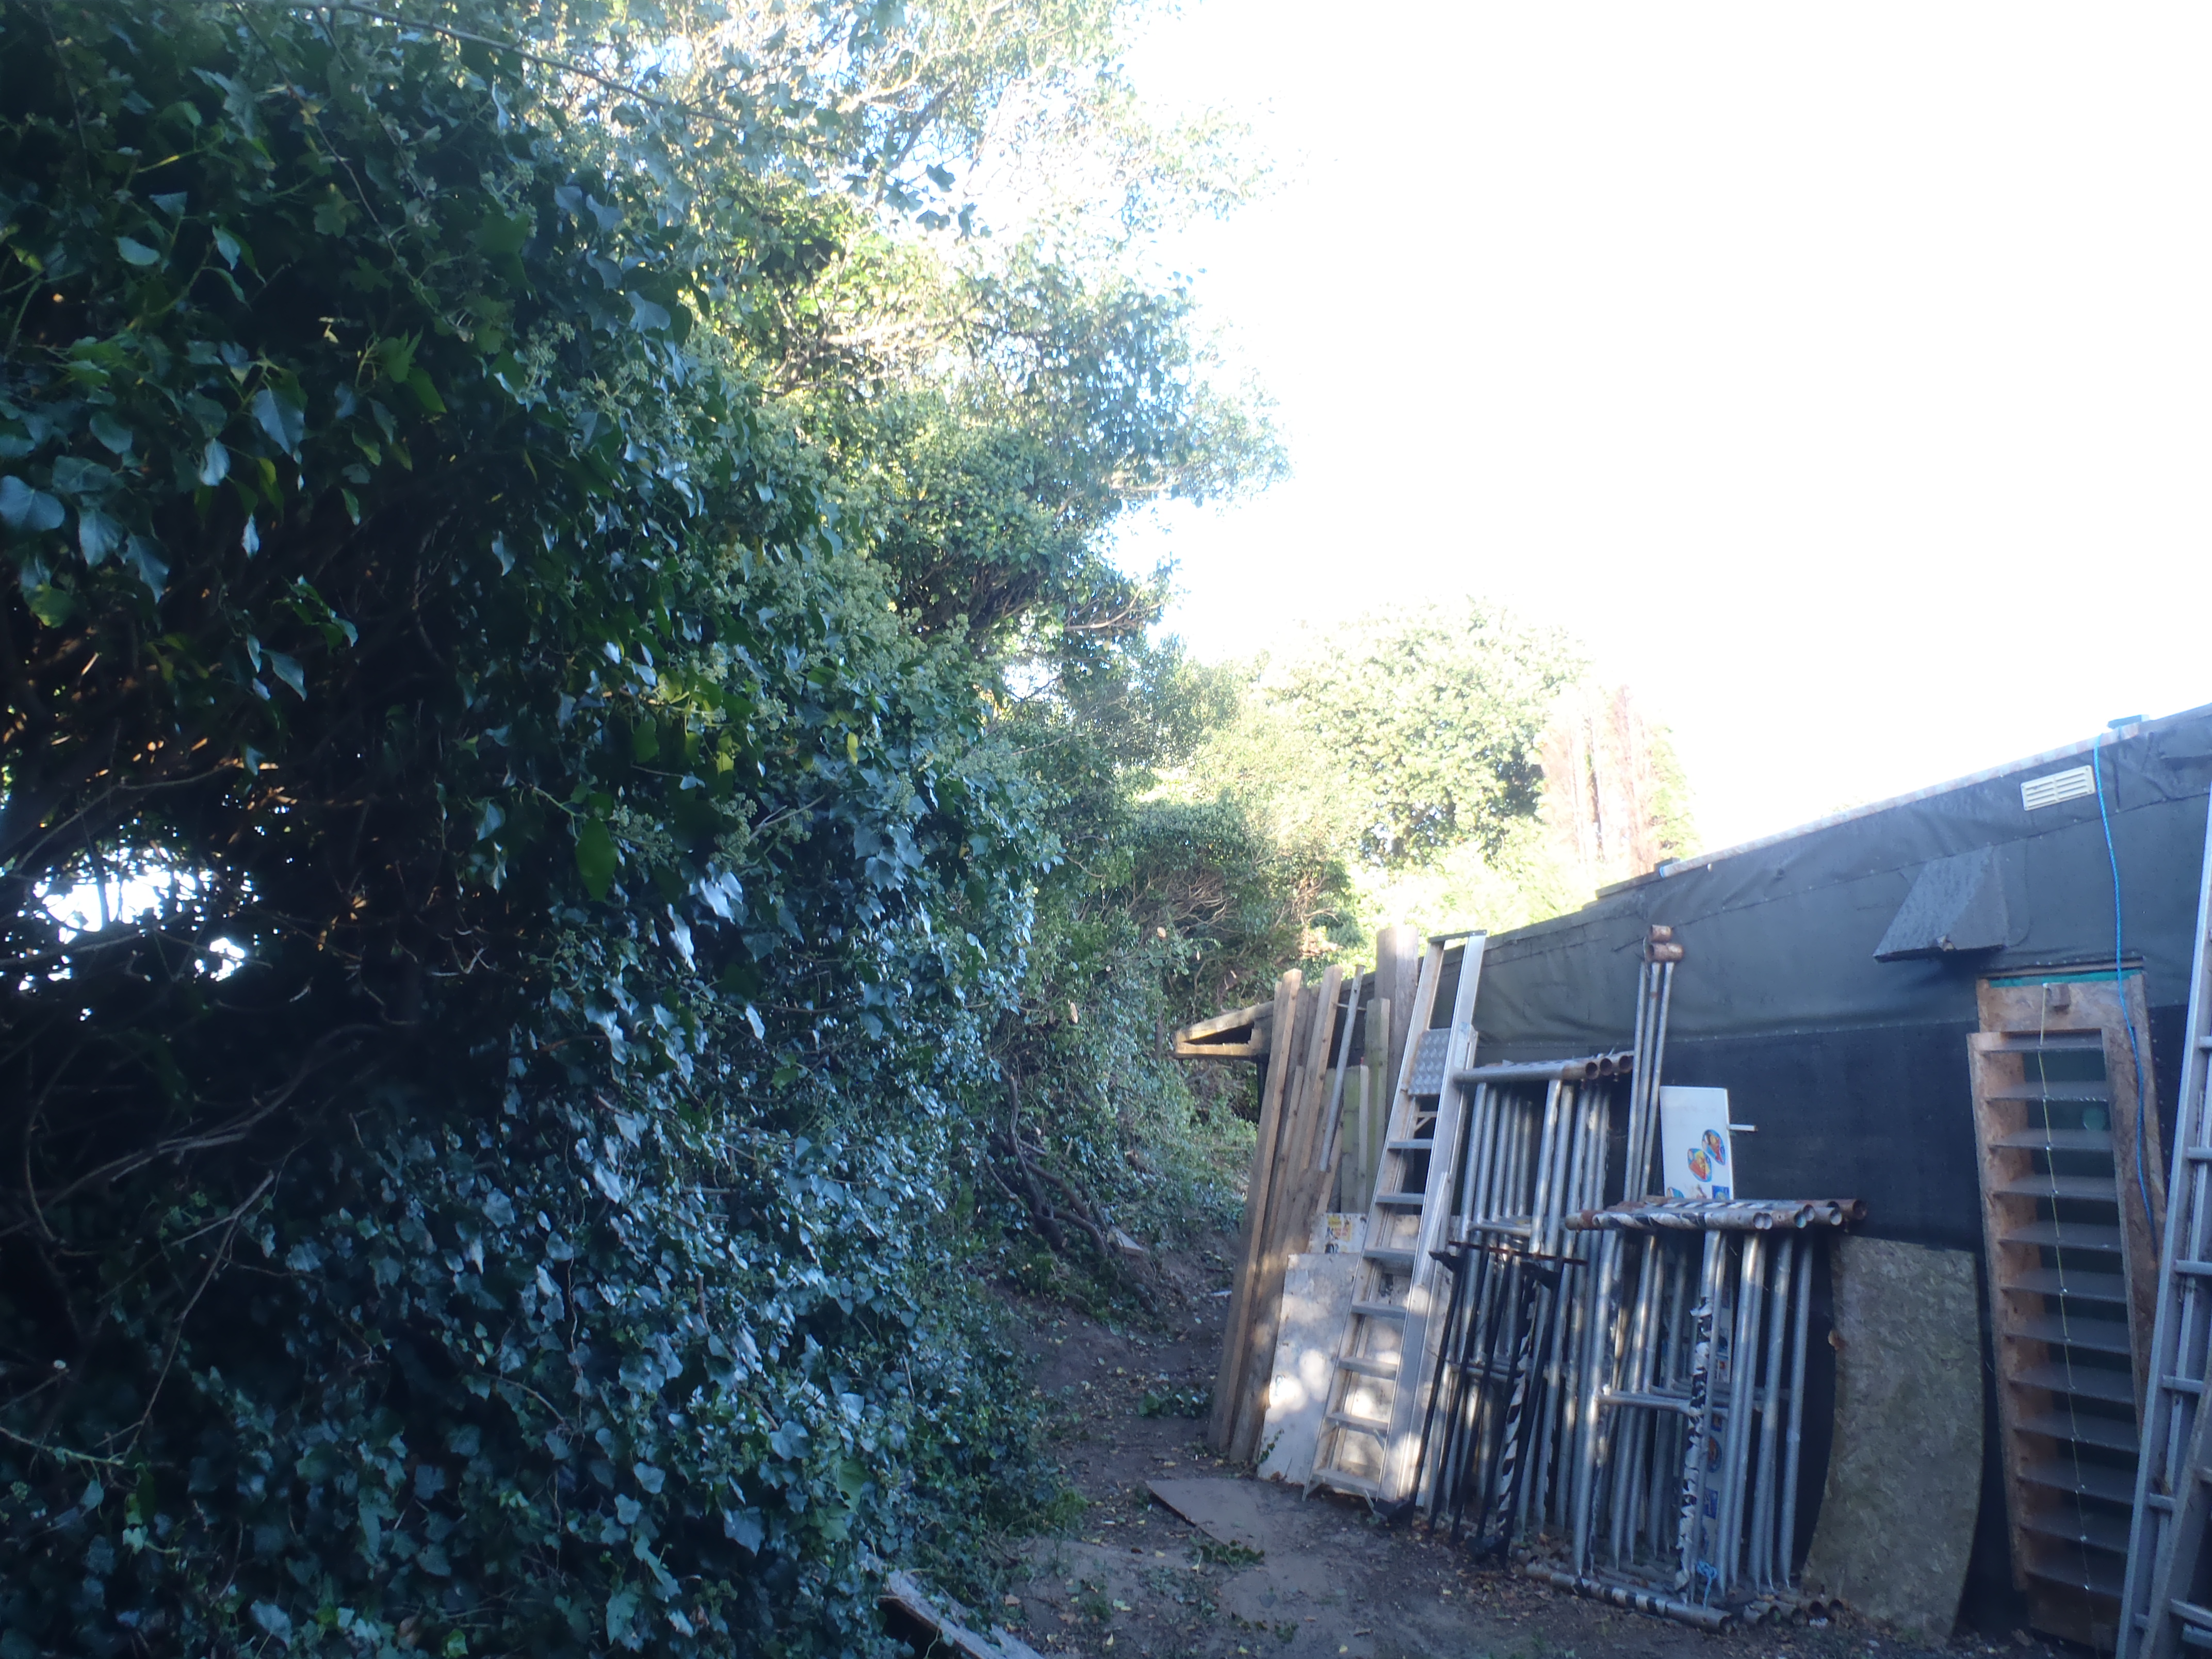
The picture below shows you how big some of the overhanging branches we got growing out of our hedge and that is what has disappeared on the school field side!
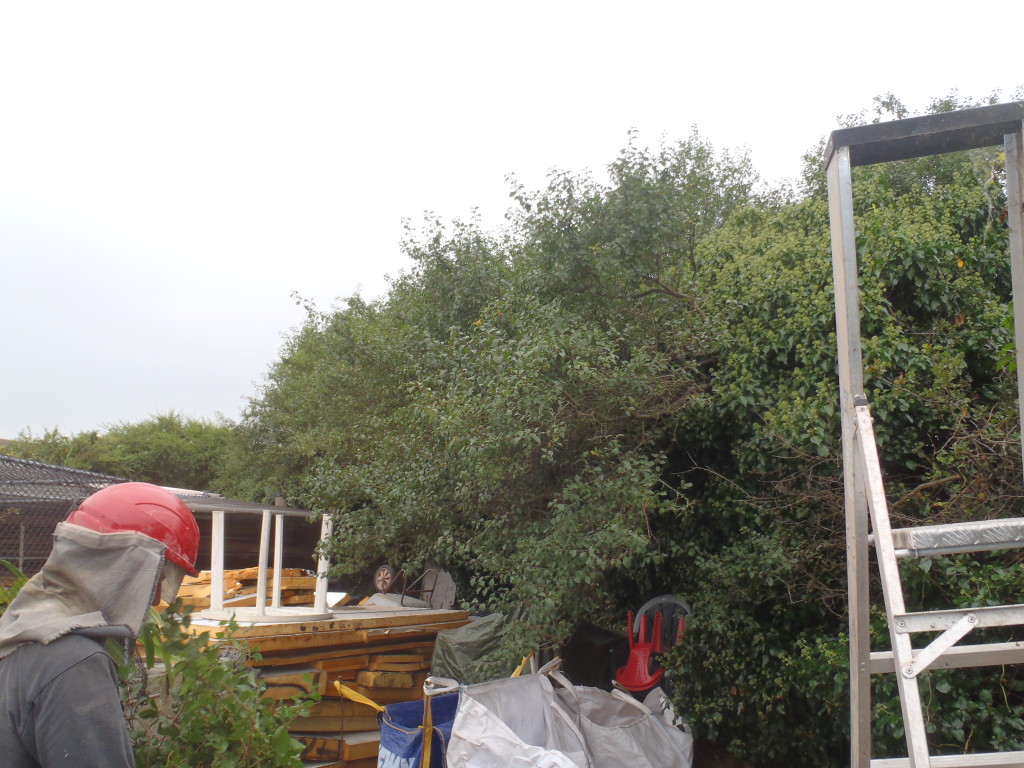
Hedge-before-Trimming
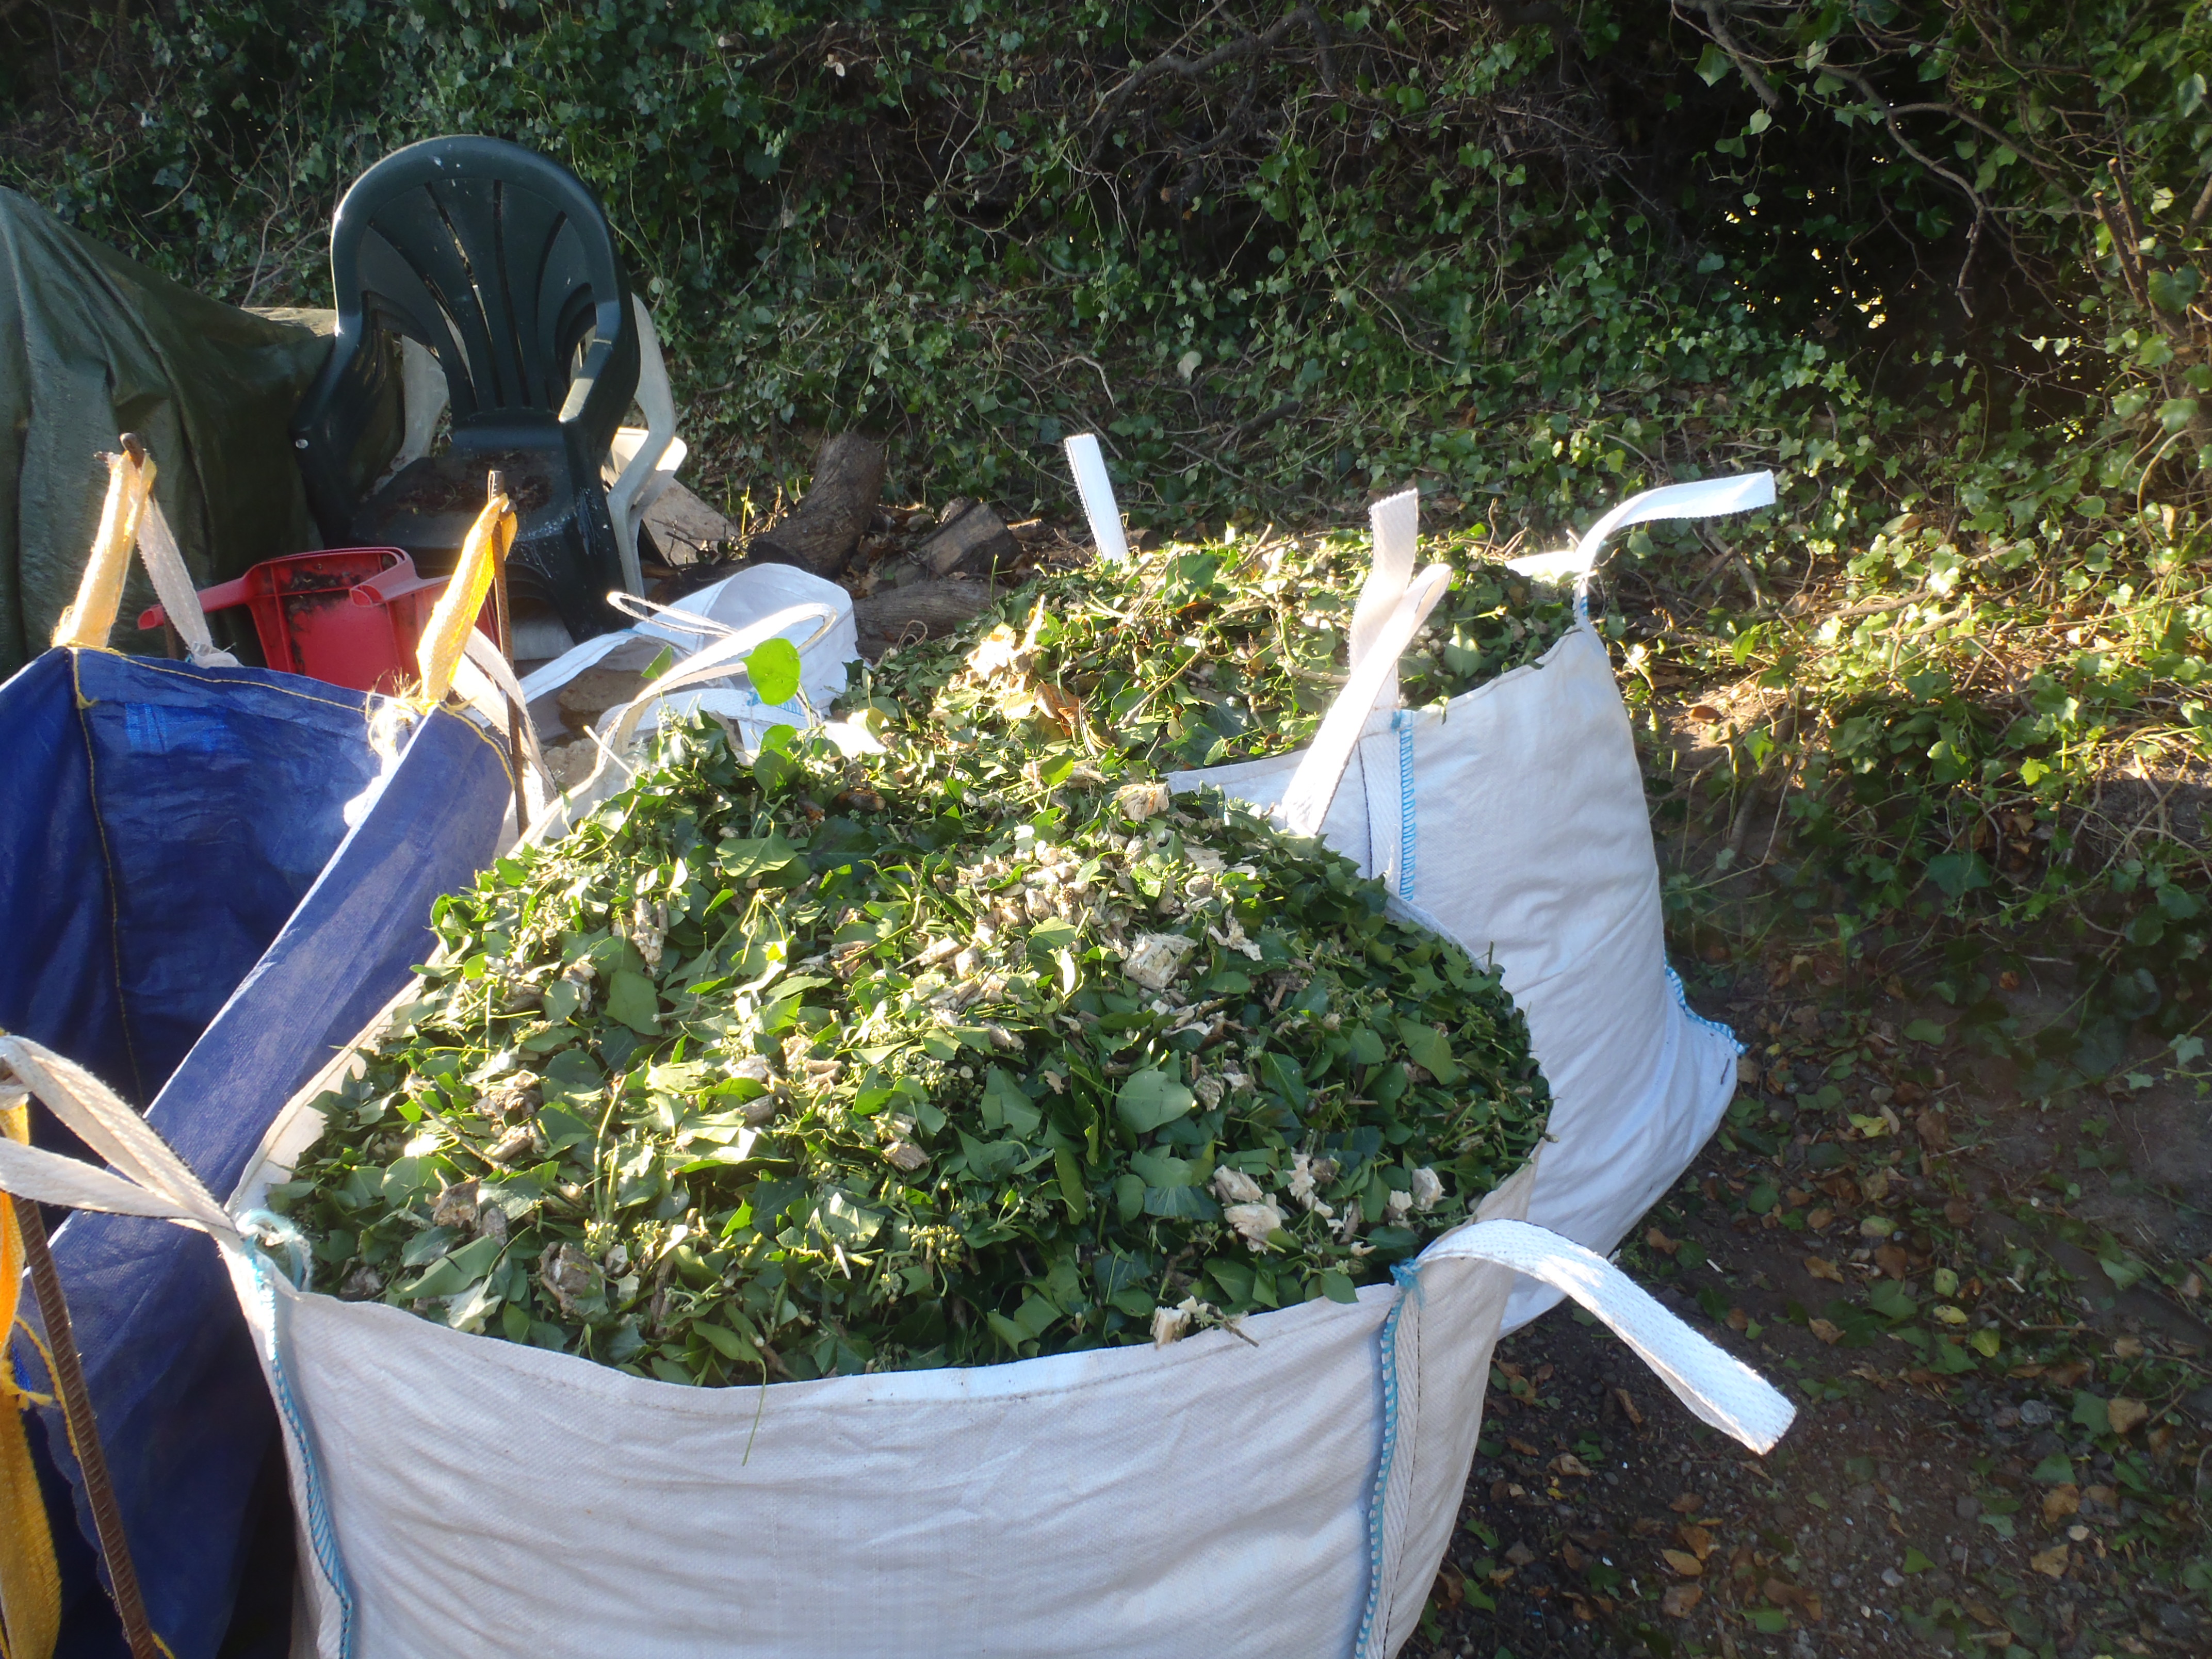
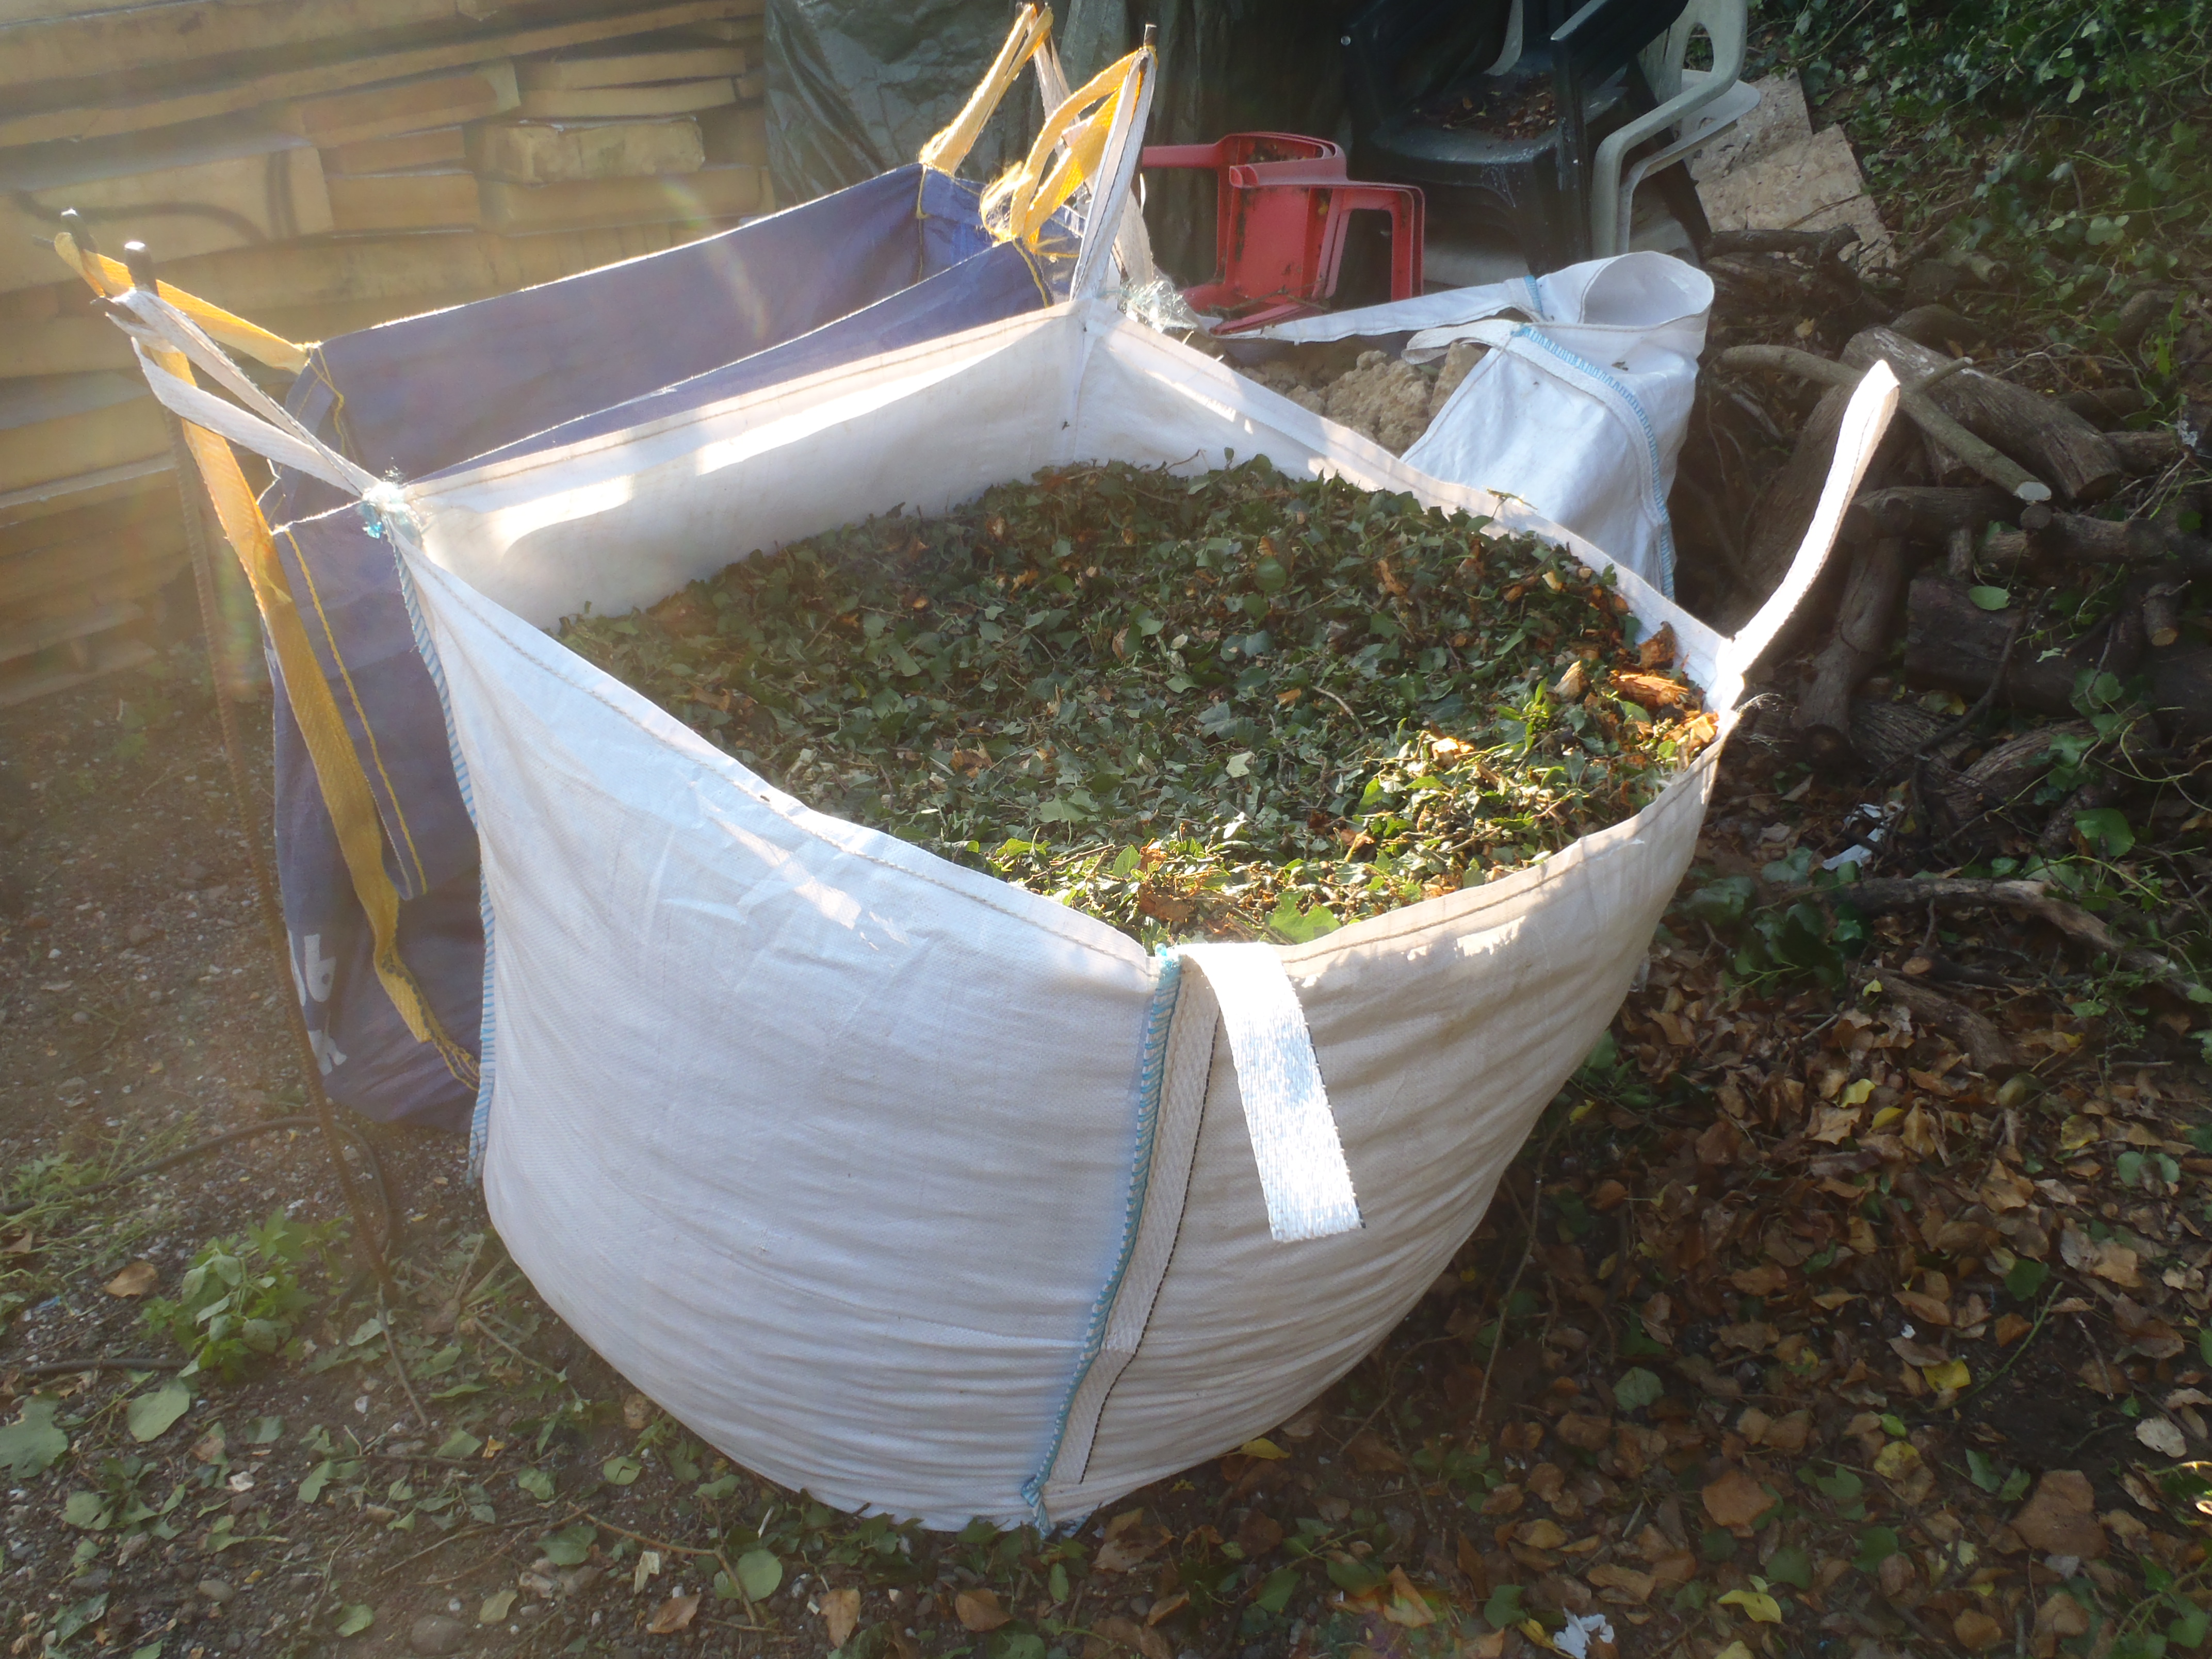
So we chopped and sliced using our pruning shears and electric sabre saw and then shredded up virtually all the cut-offs and loaded the shredded pieces into a large “ton” bag, filling it right to the top ..

Hedge-Trimming-a-large-bag-of-shreddings
That will compost down very nicely into good quality fiber mulch, ready for our garden and veg patch when we get that done in a year or so time – smile!
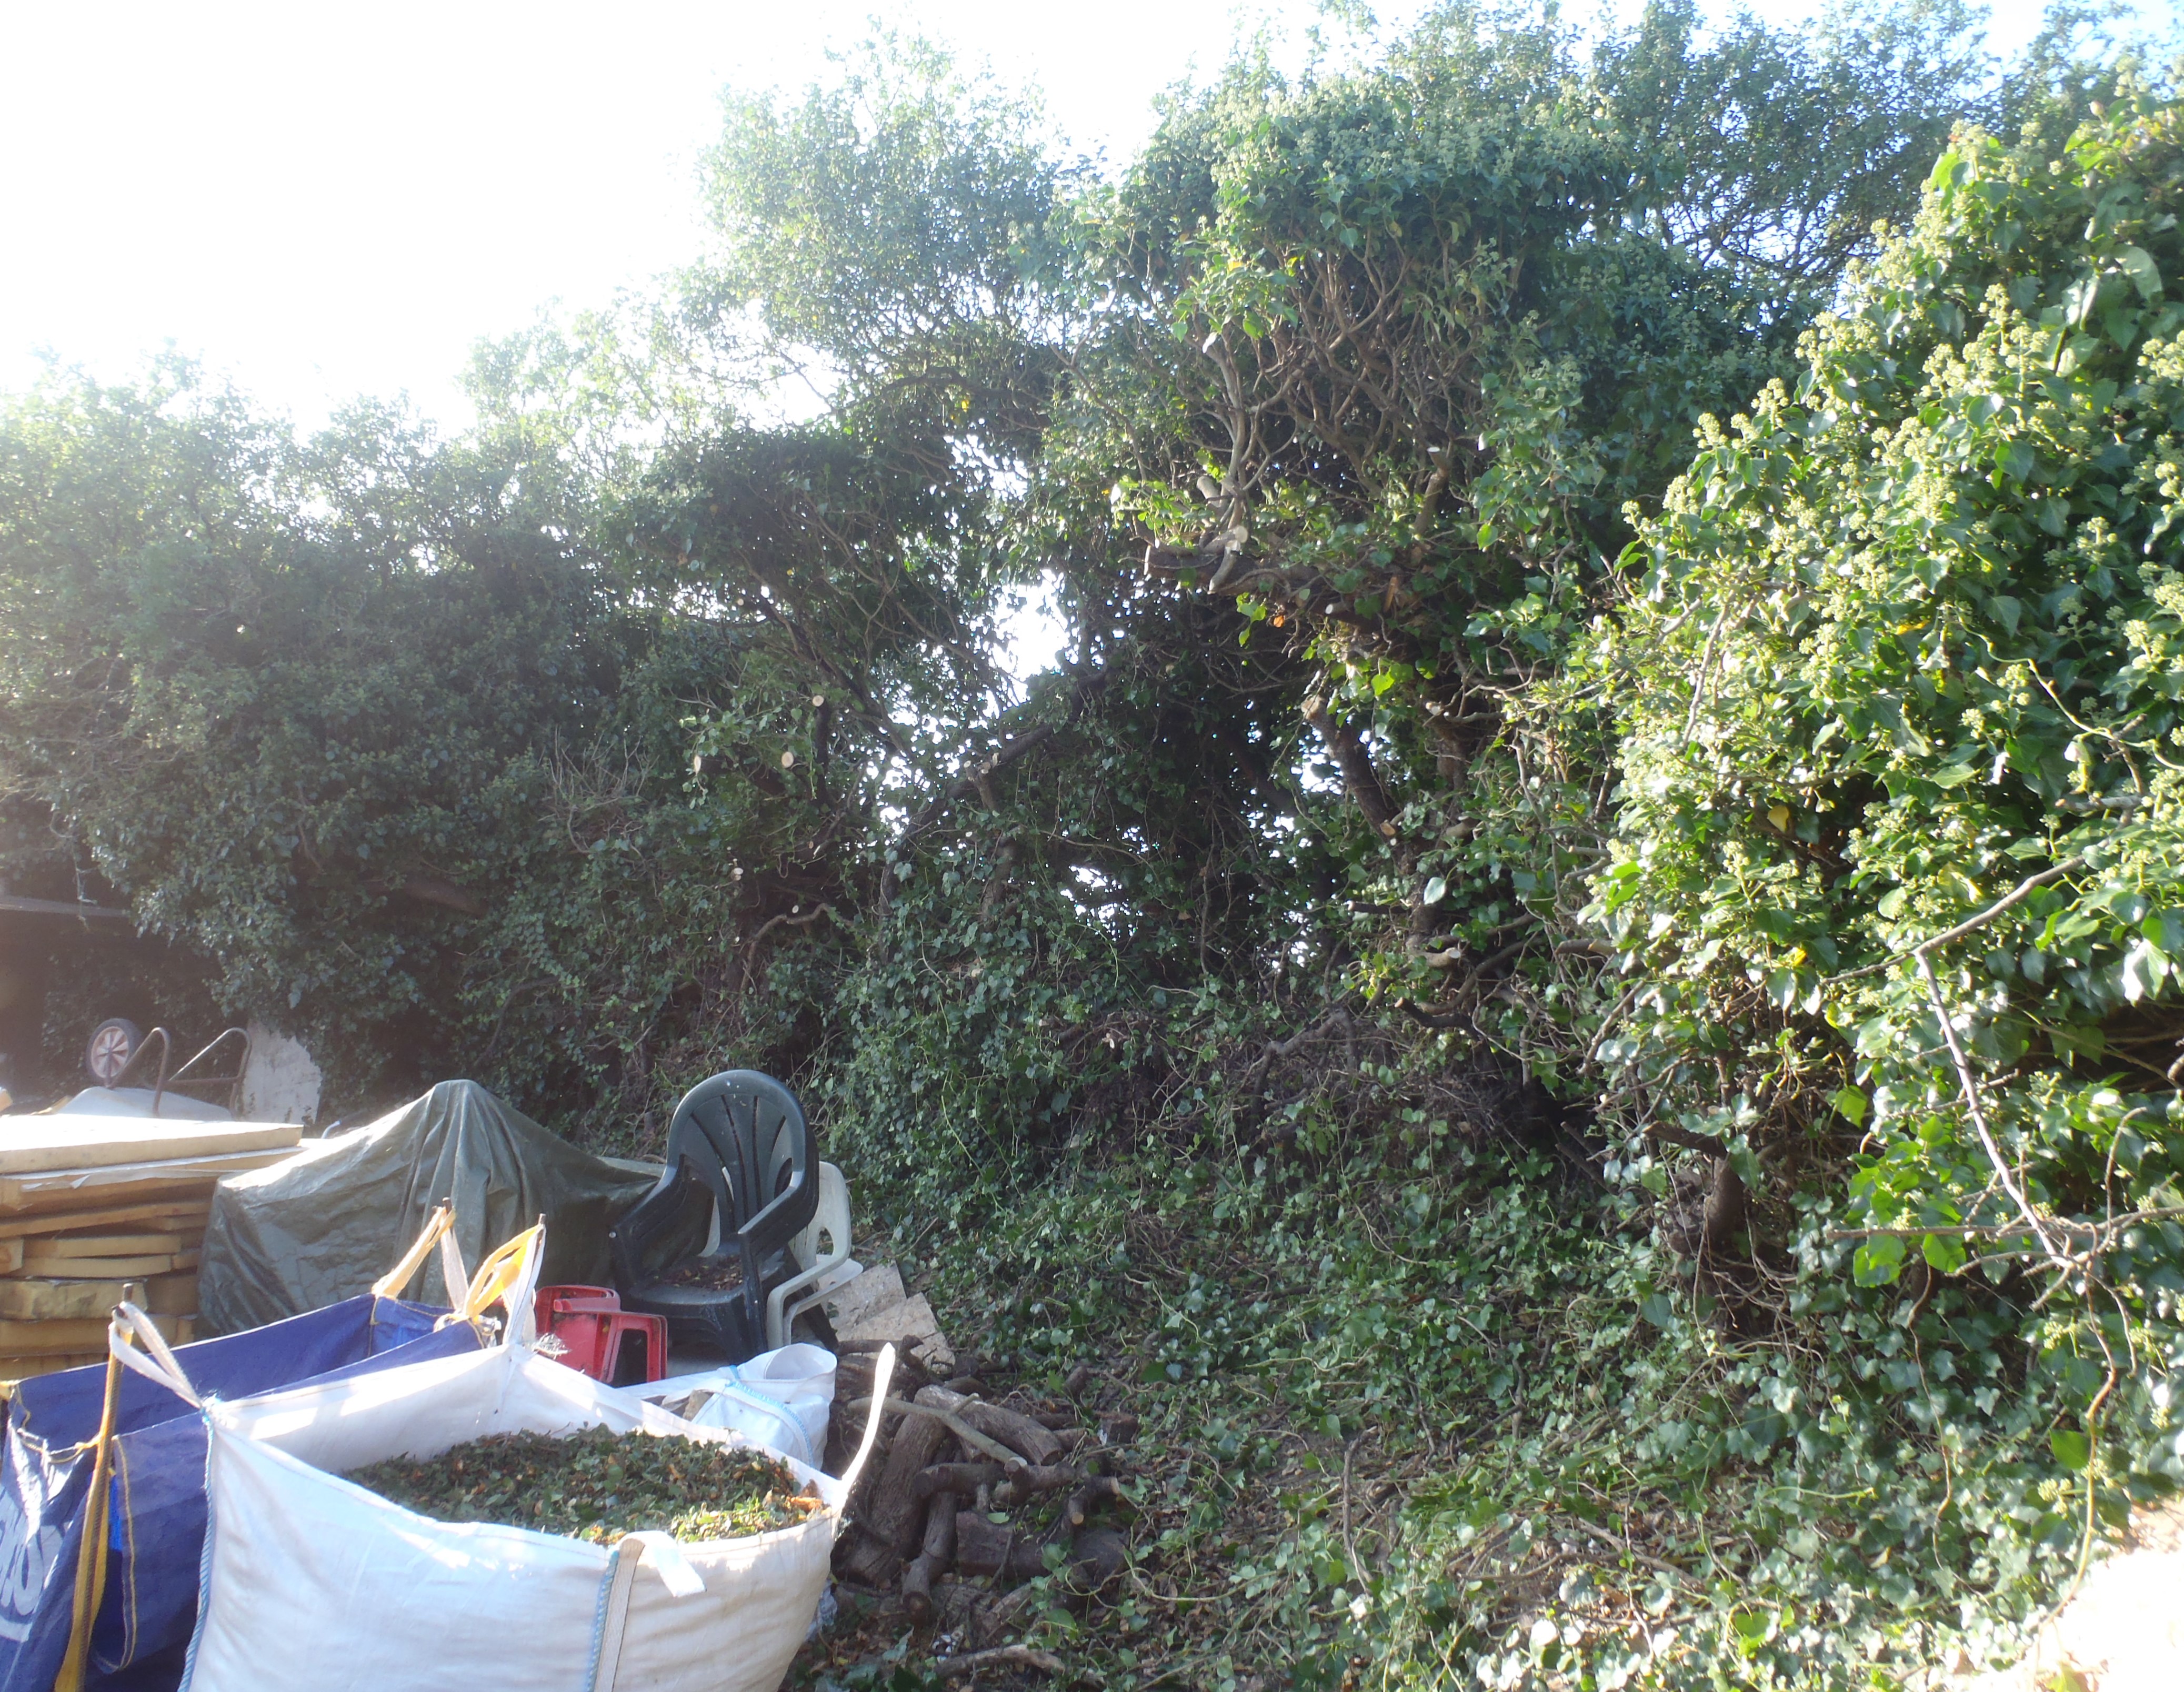
We got half way along the hedge with our efforts today as you can see in the picture below

Hedge-Trimming-Day-1
And tomorrow we will finish off the remaining of the hedge and have that job done before we have an accident of strong winds causing the hedge to break and dump some of these overhanging branches to crash into our temporary living quarters!! We say “Thank You” School for diverting us when we were not planning this job just yet!!