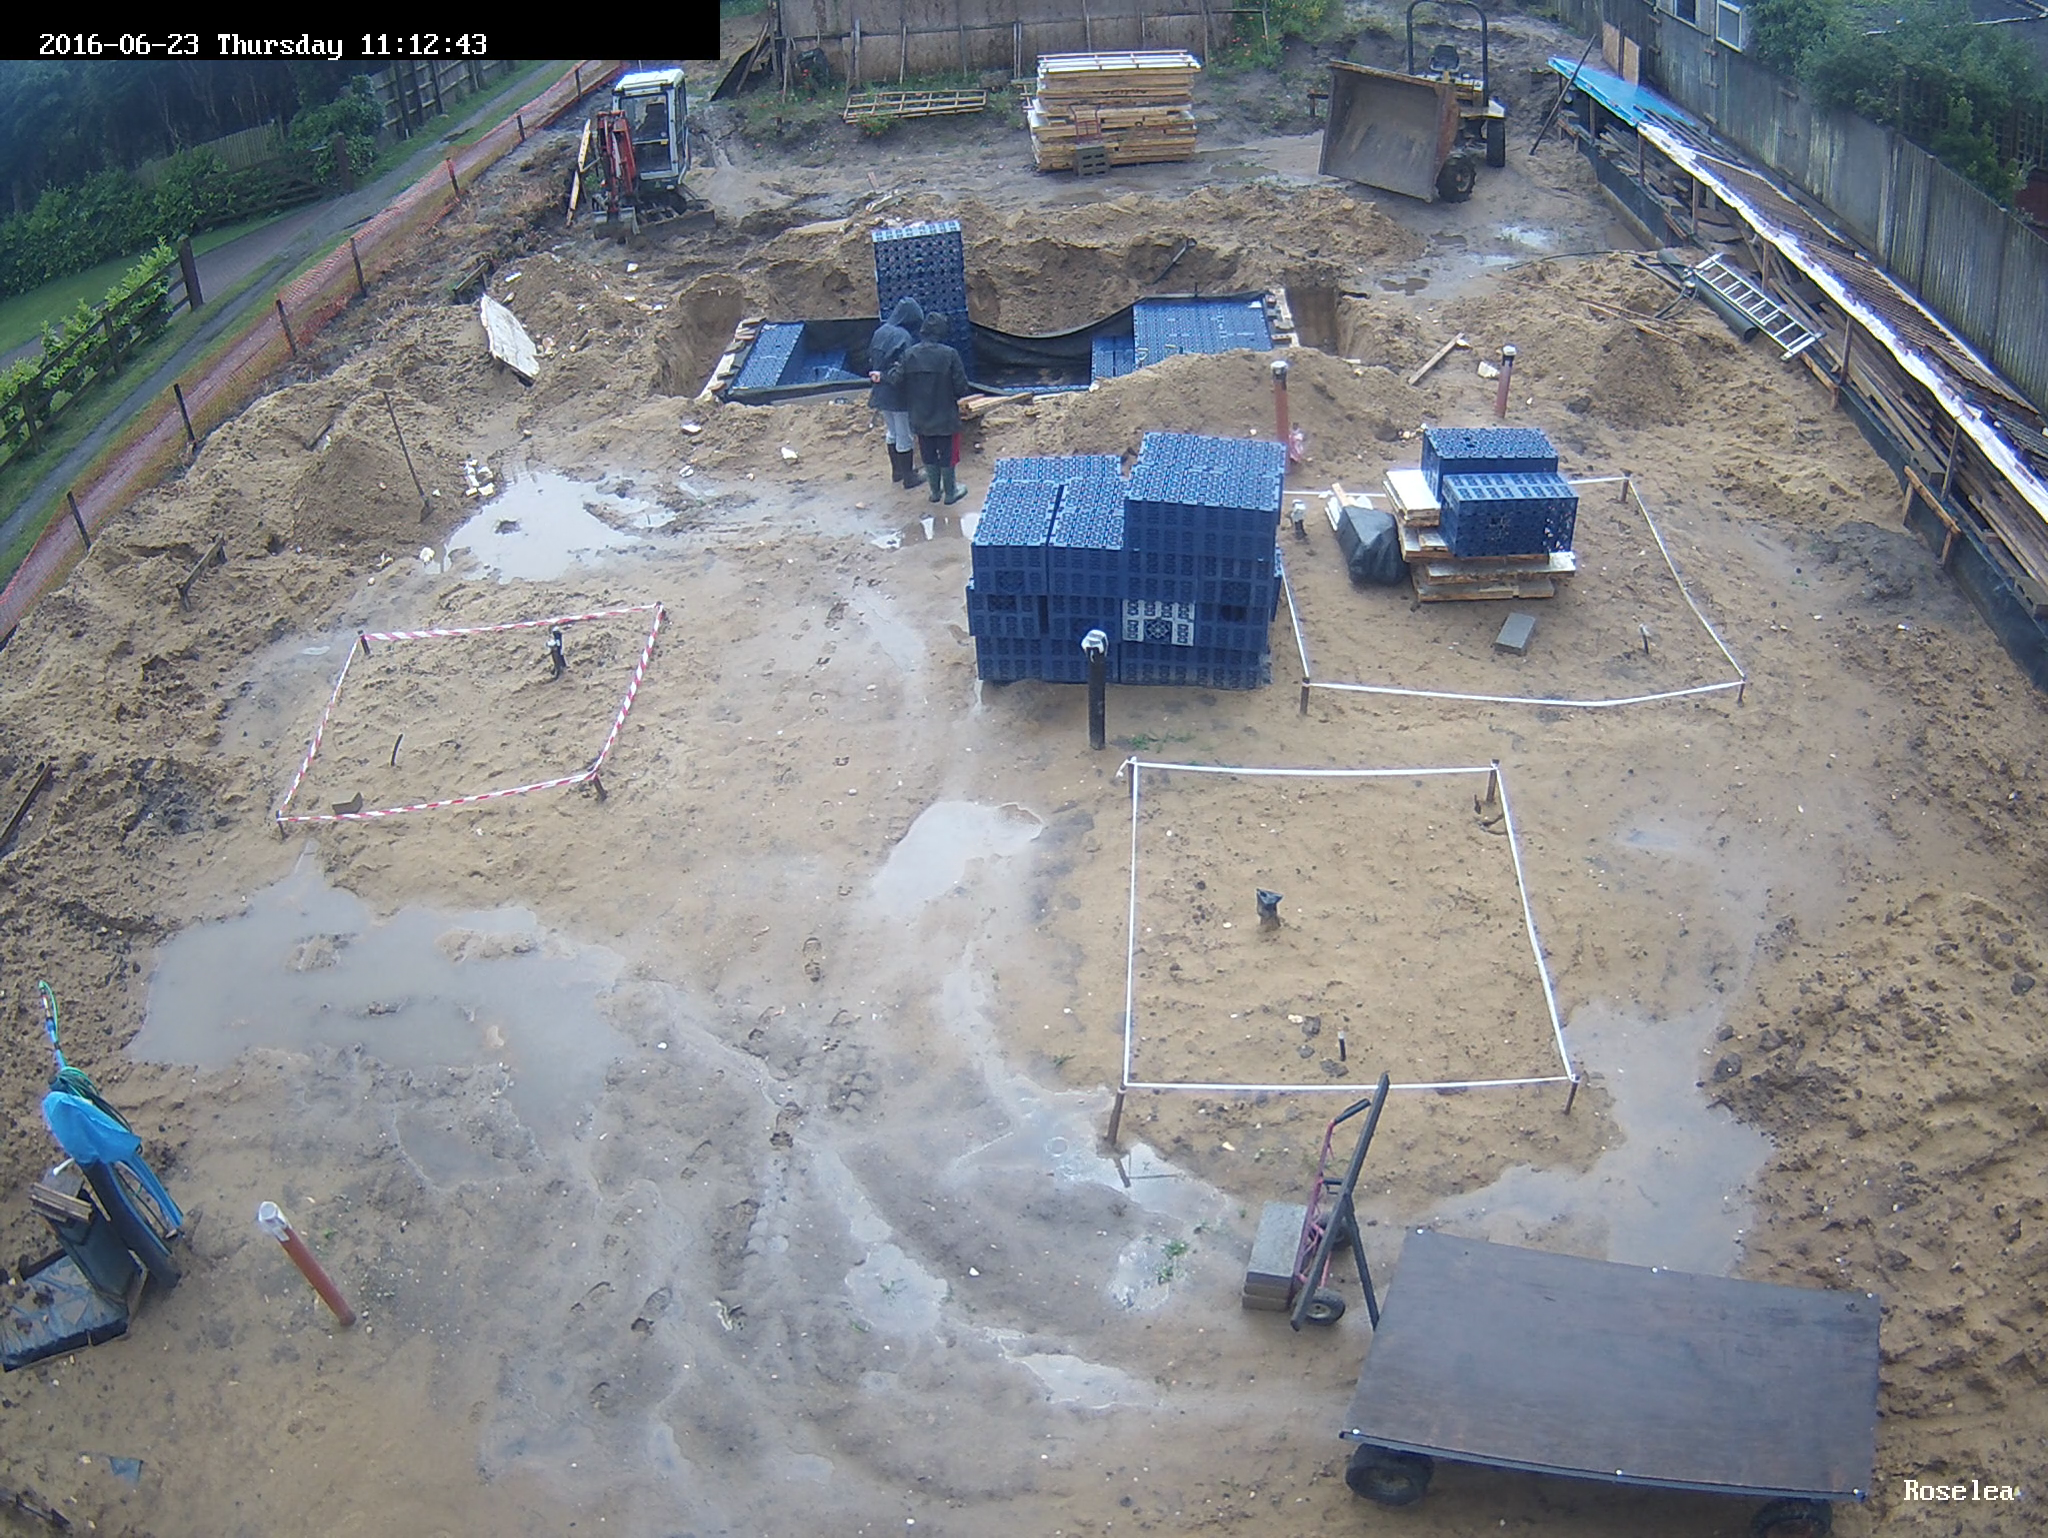
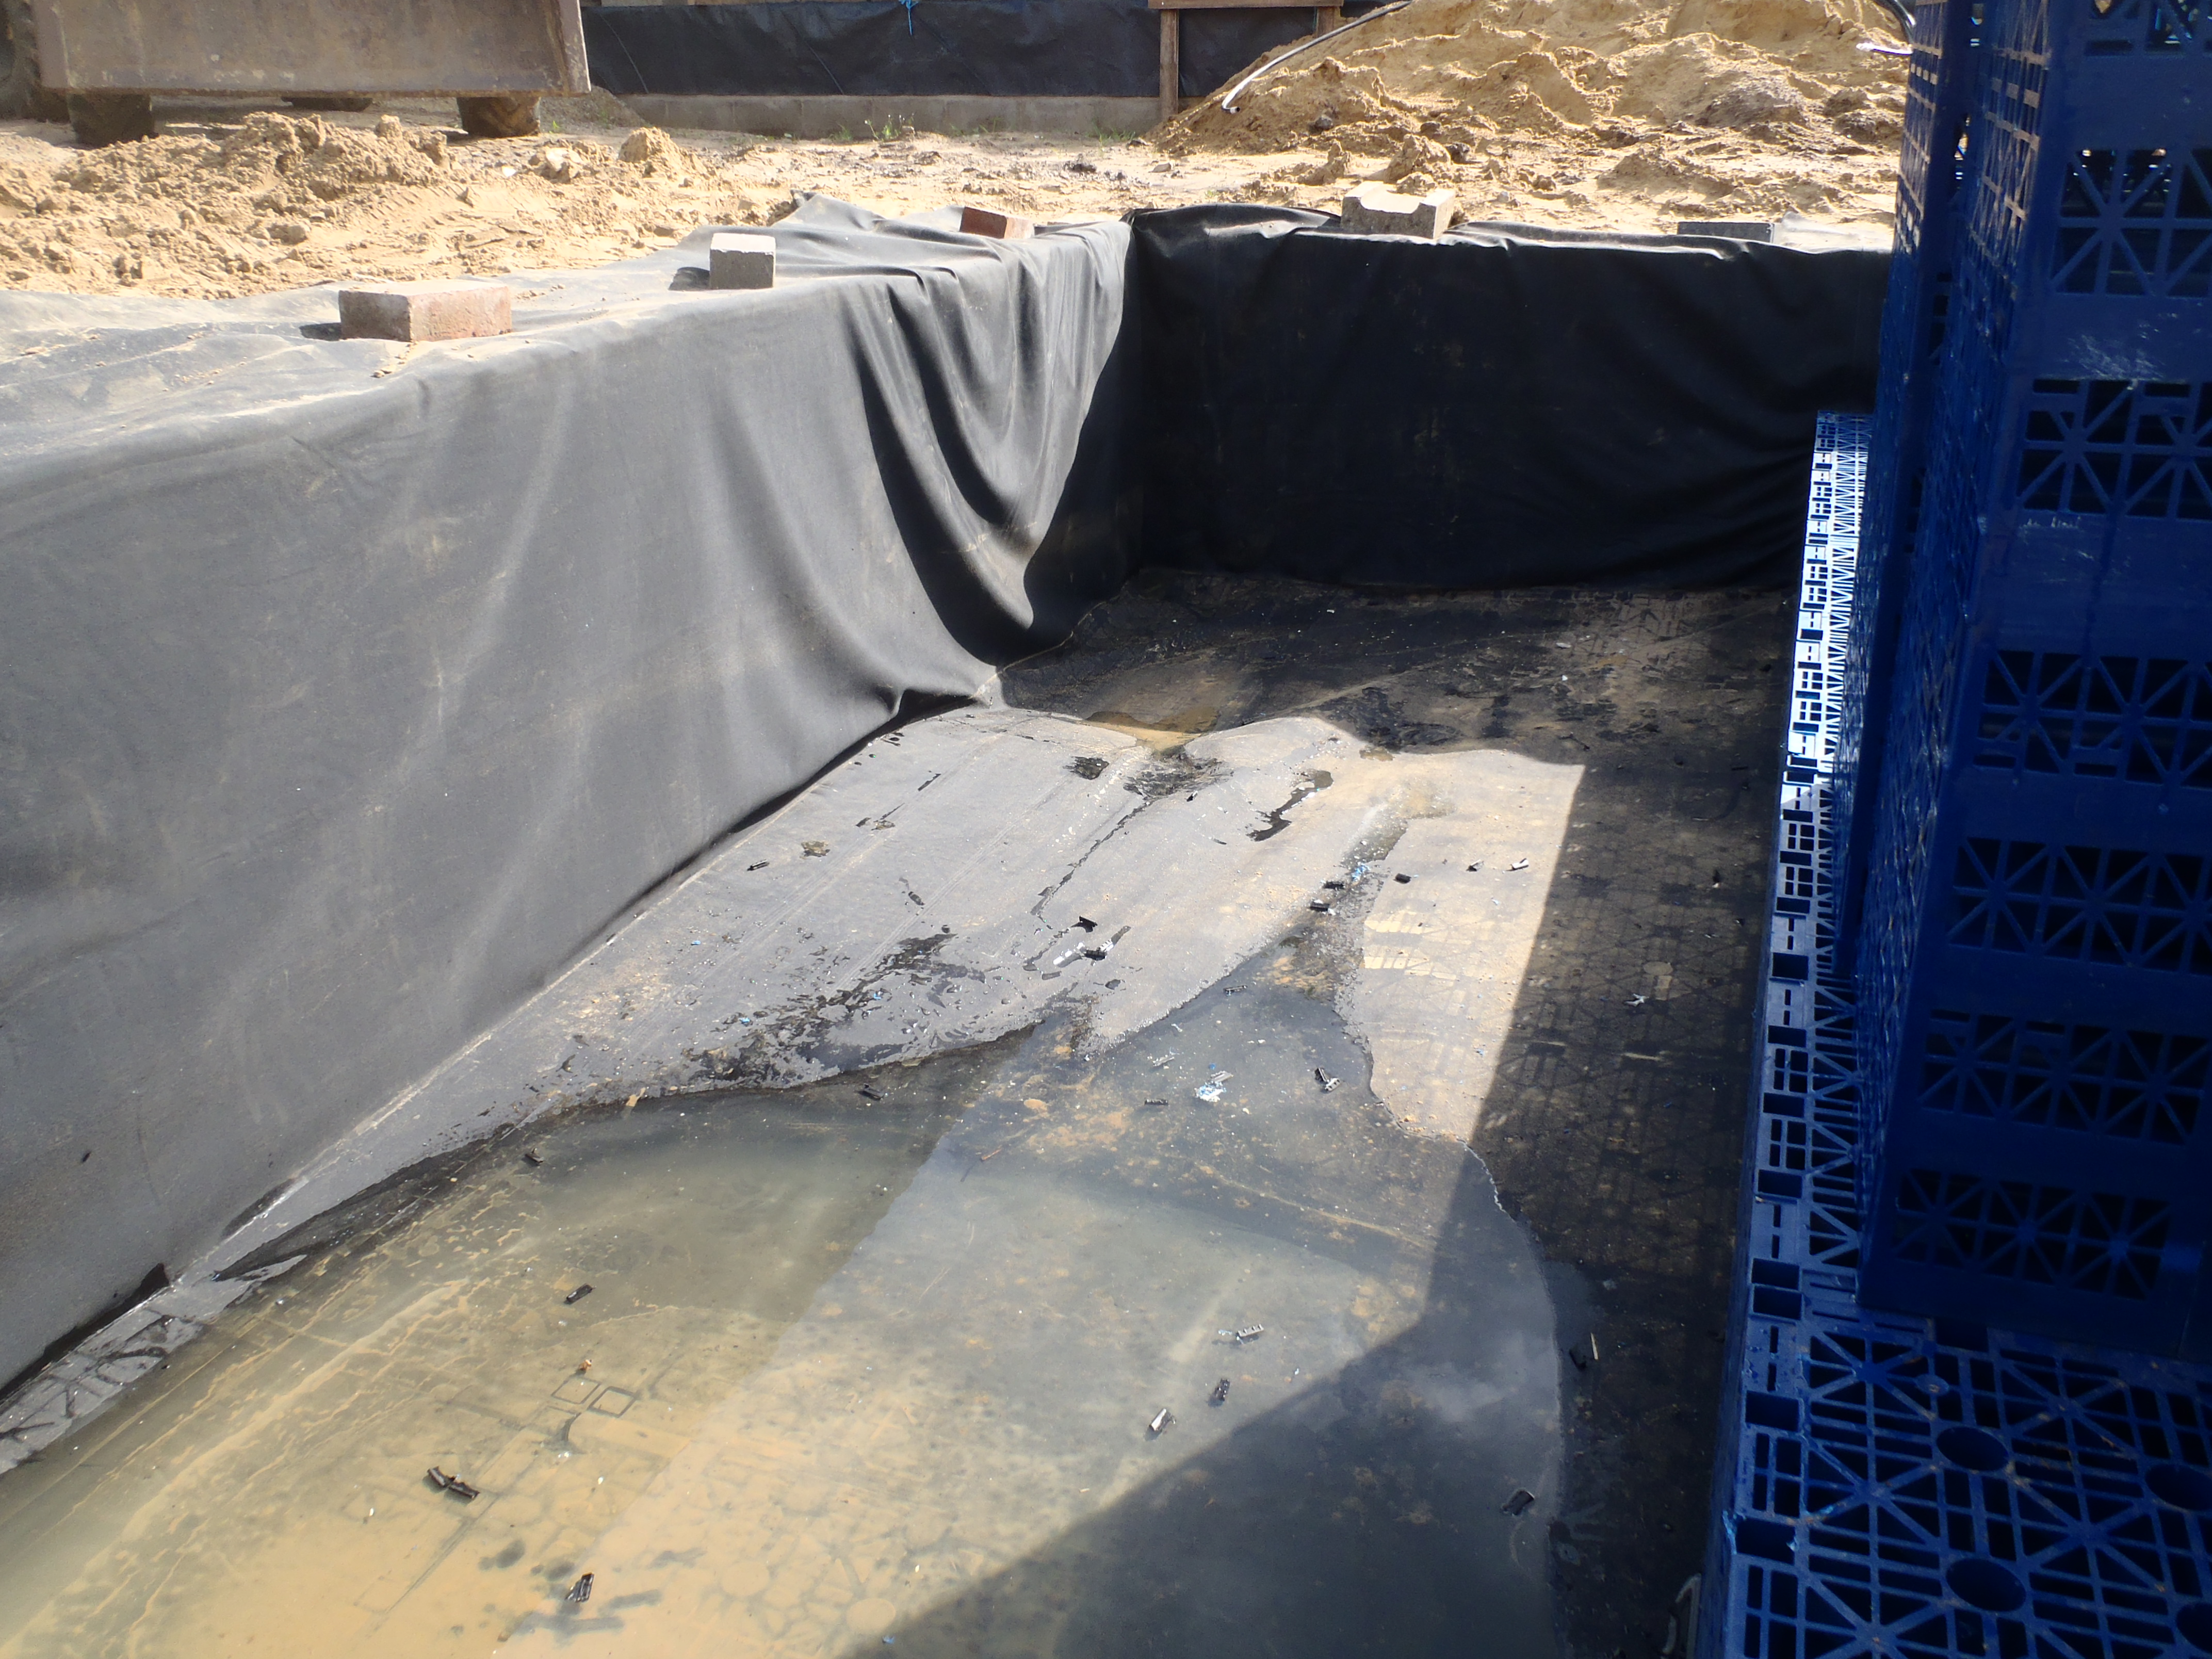
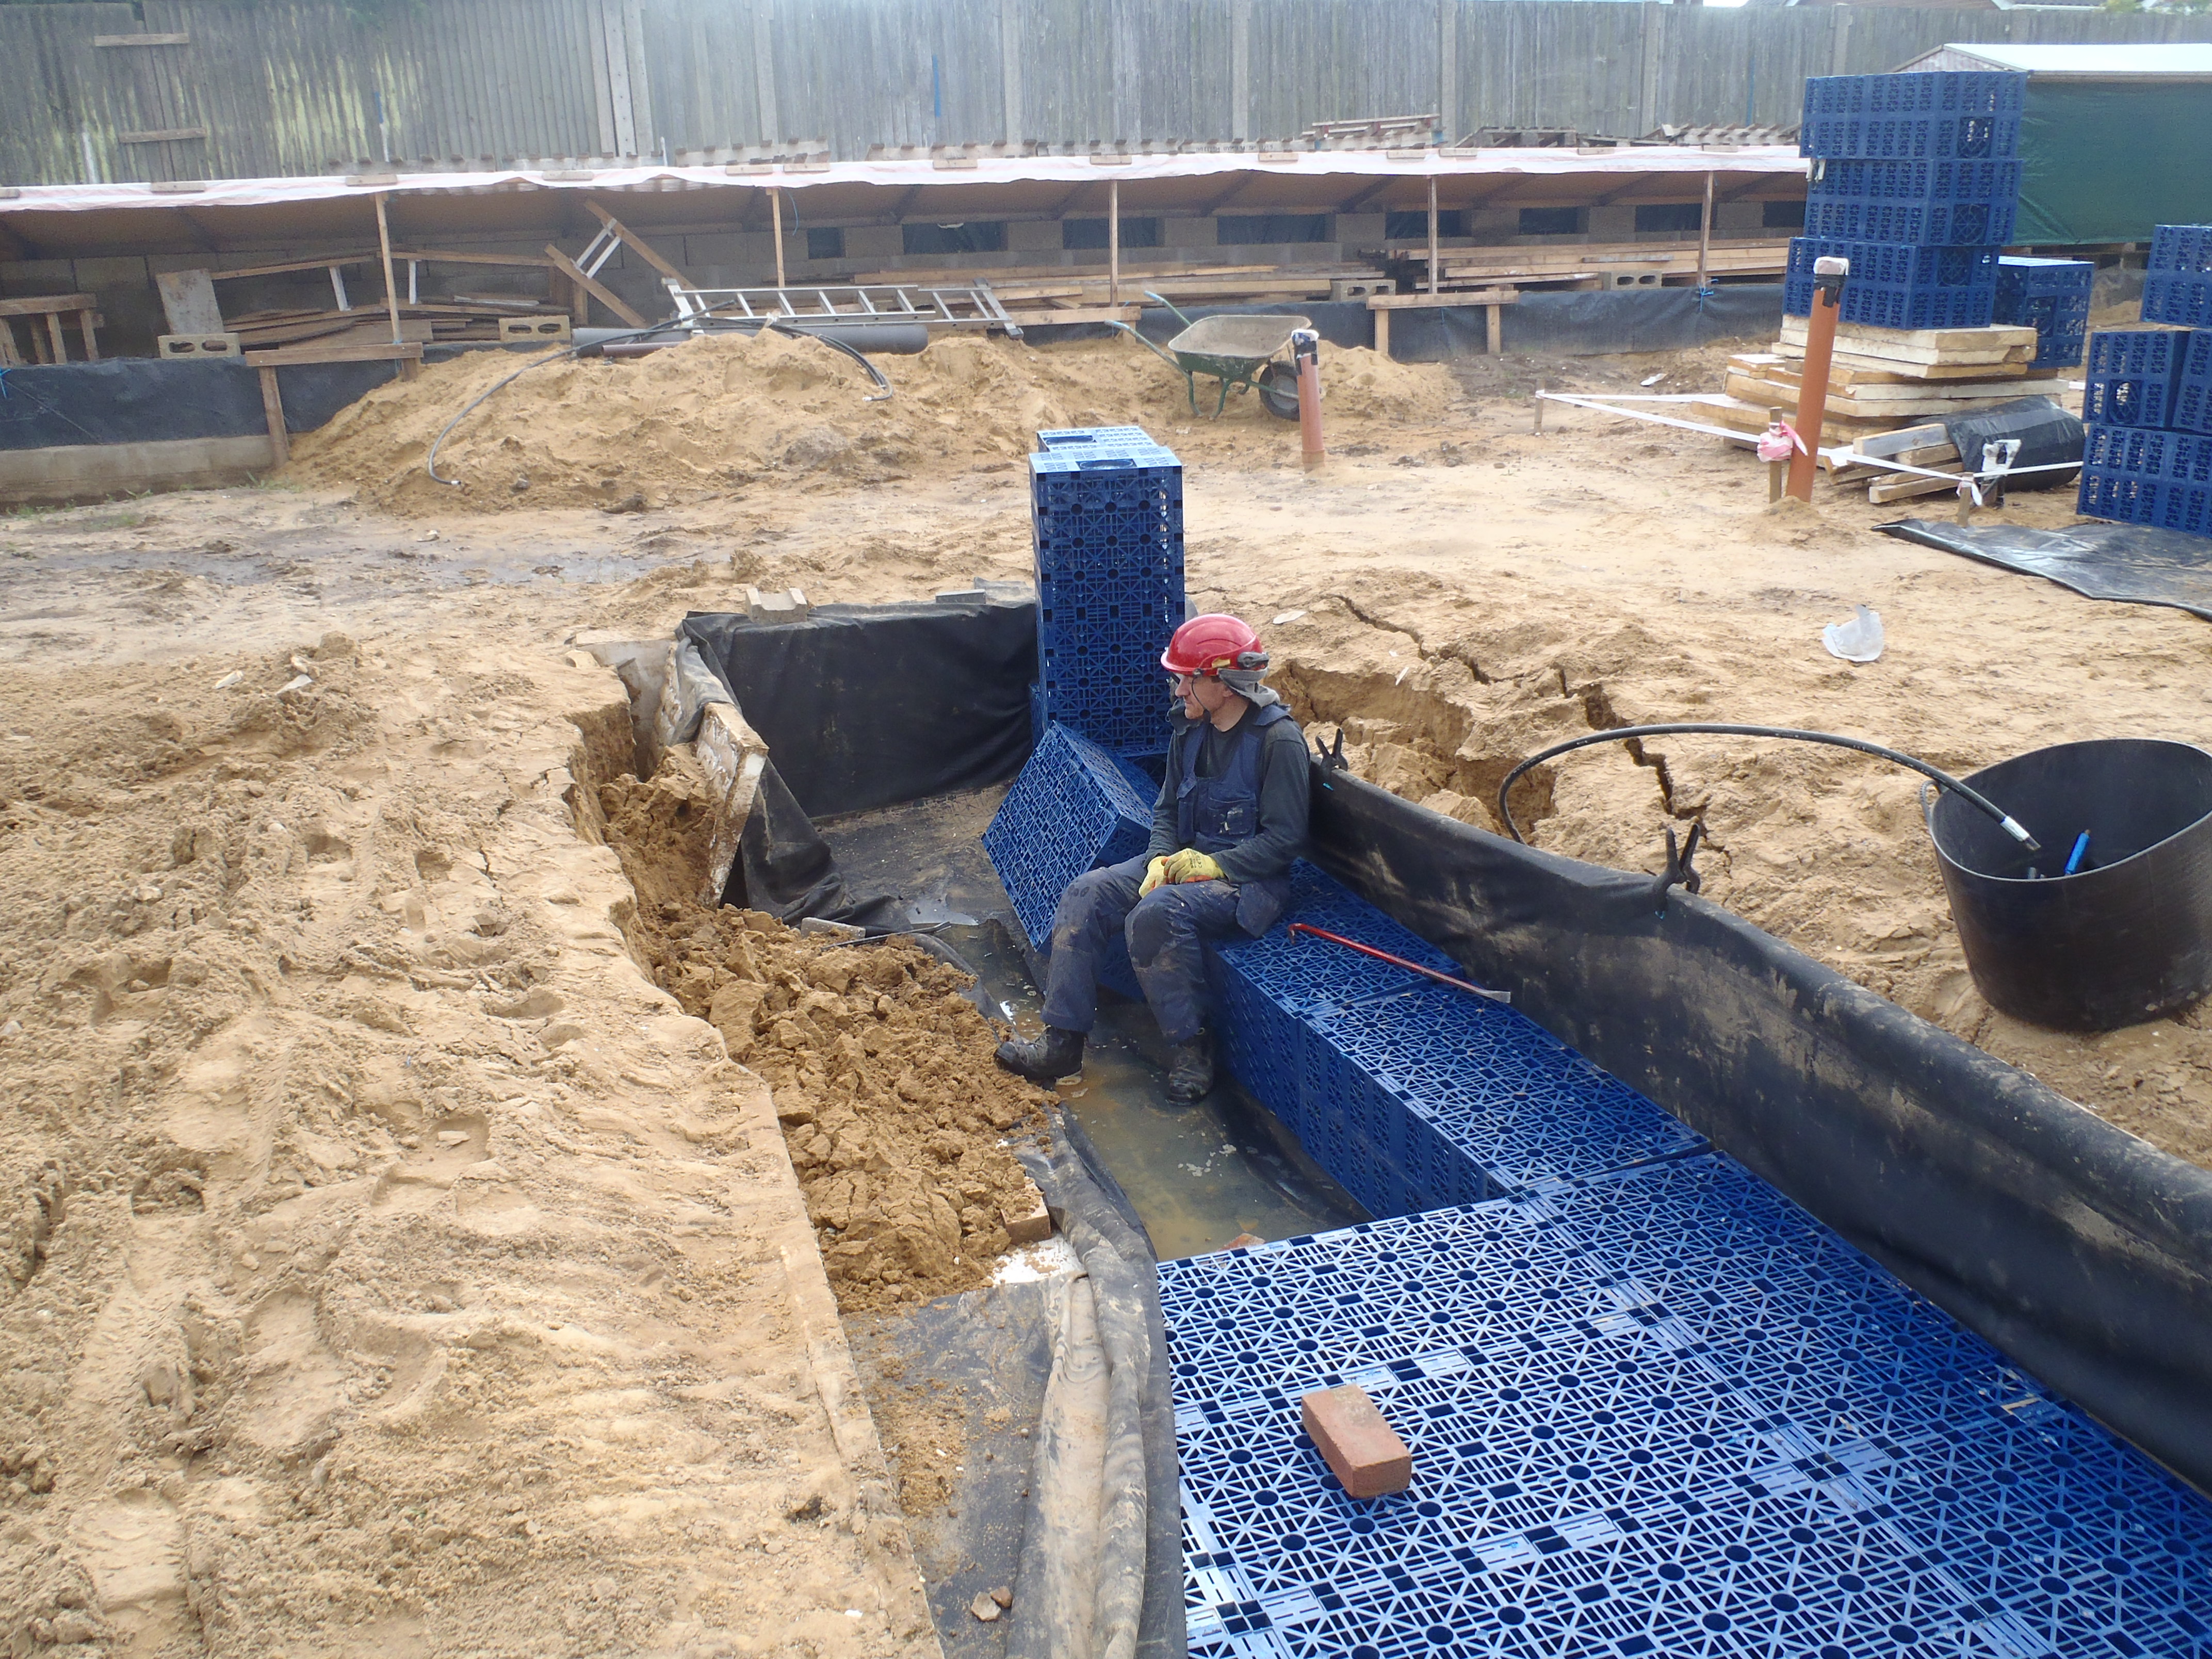
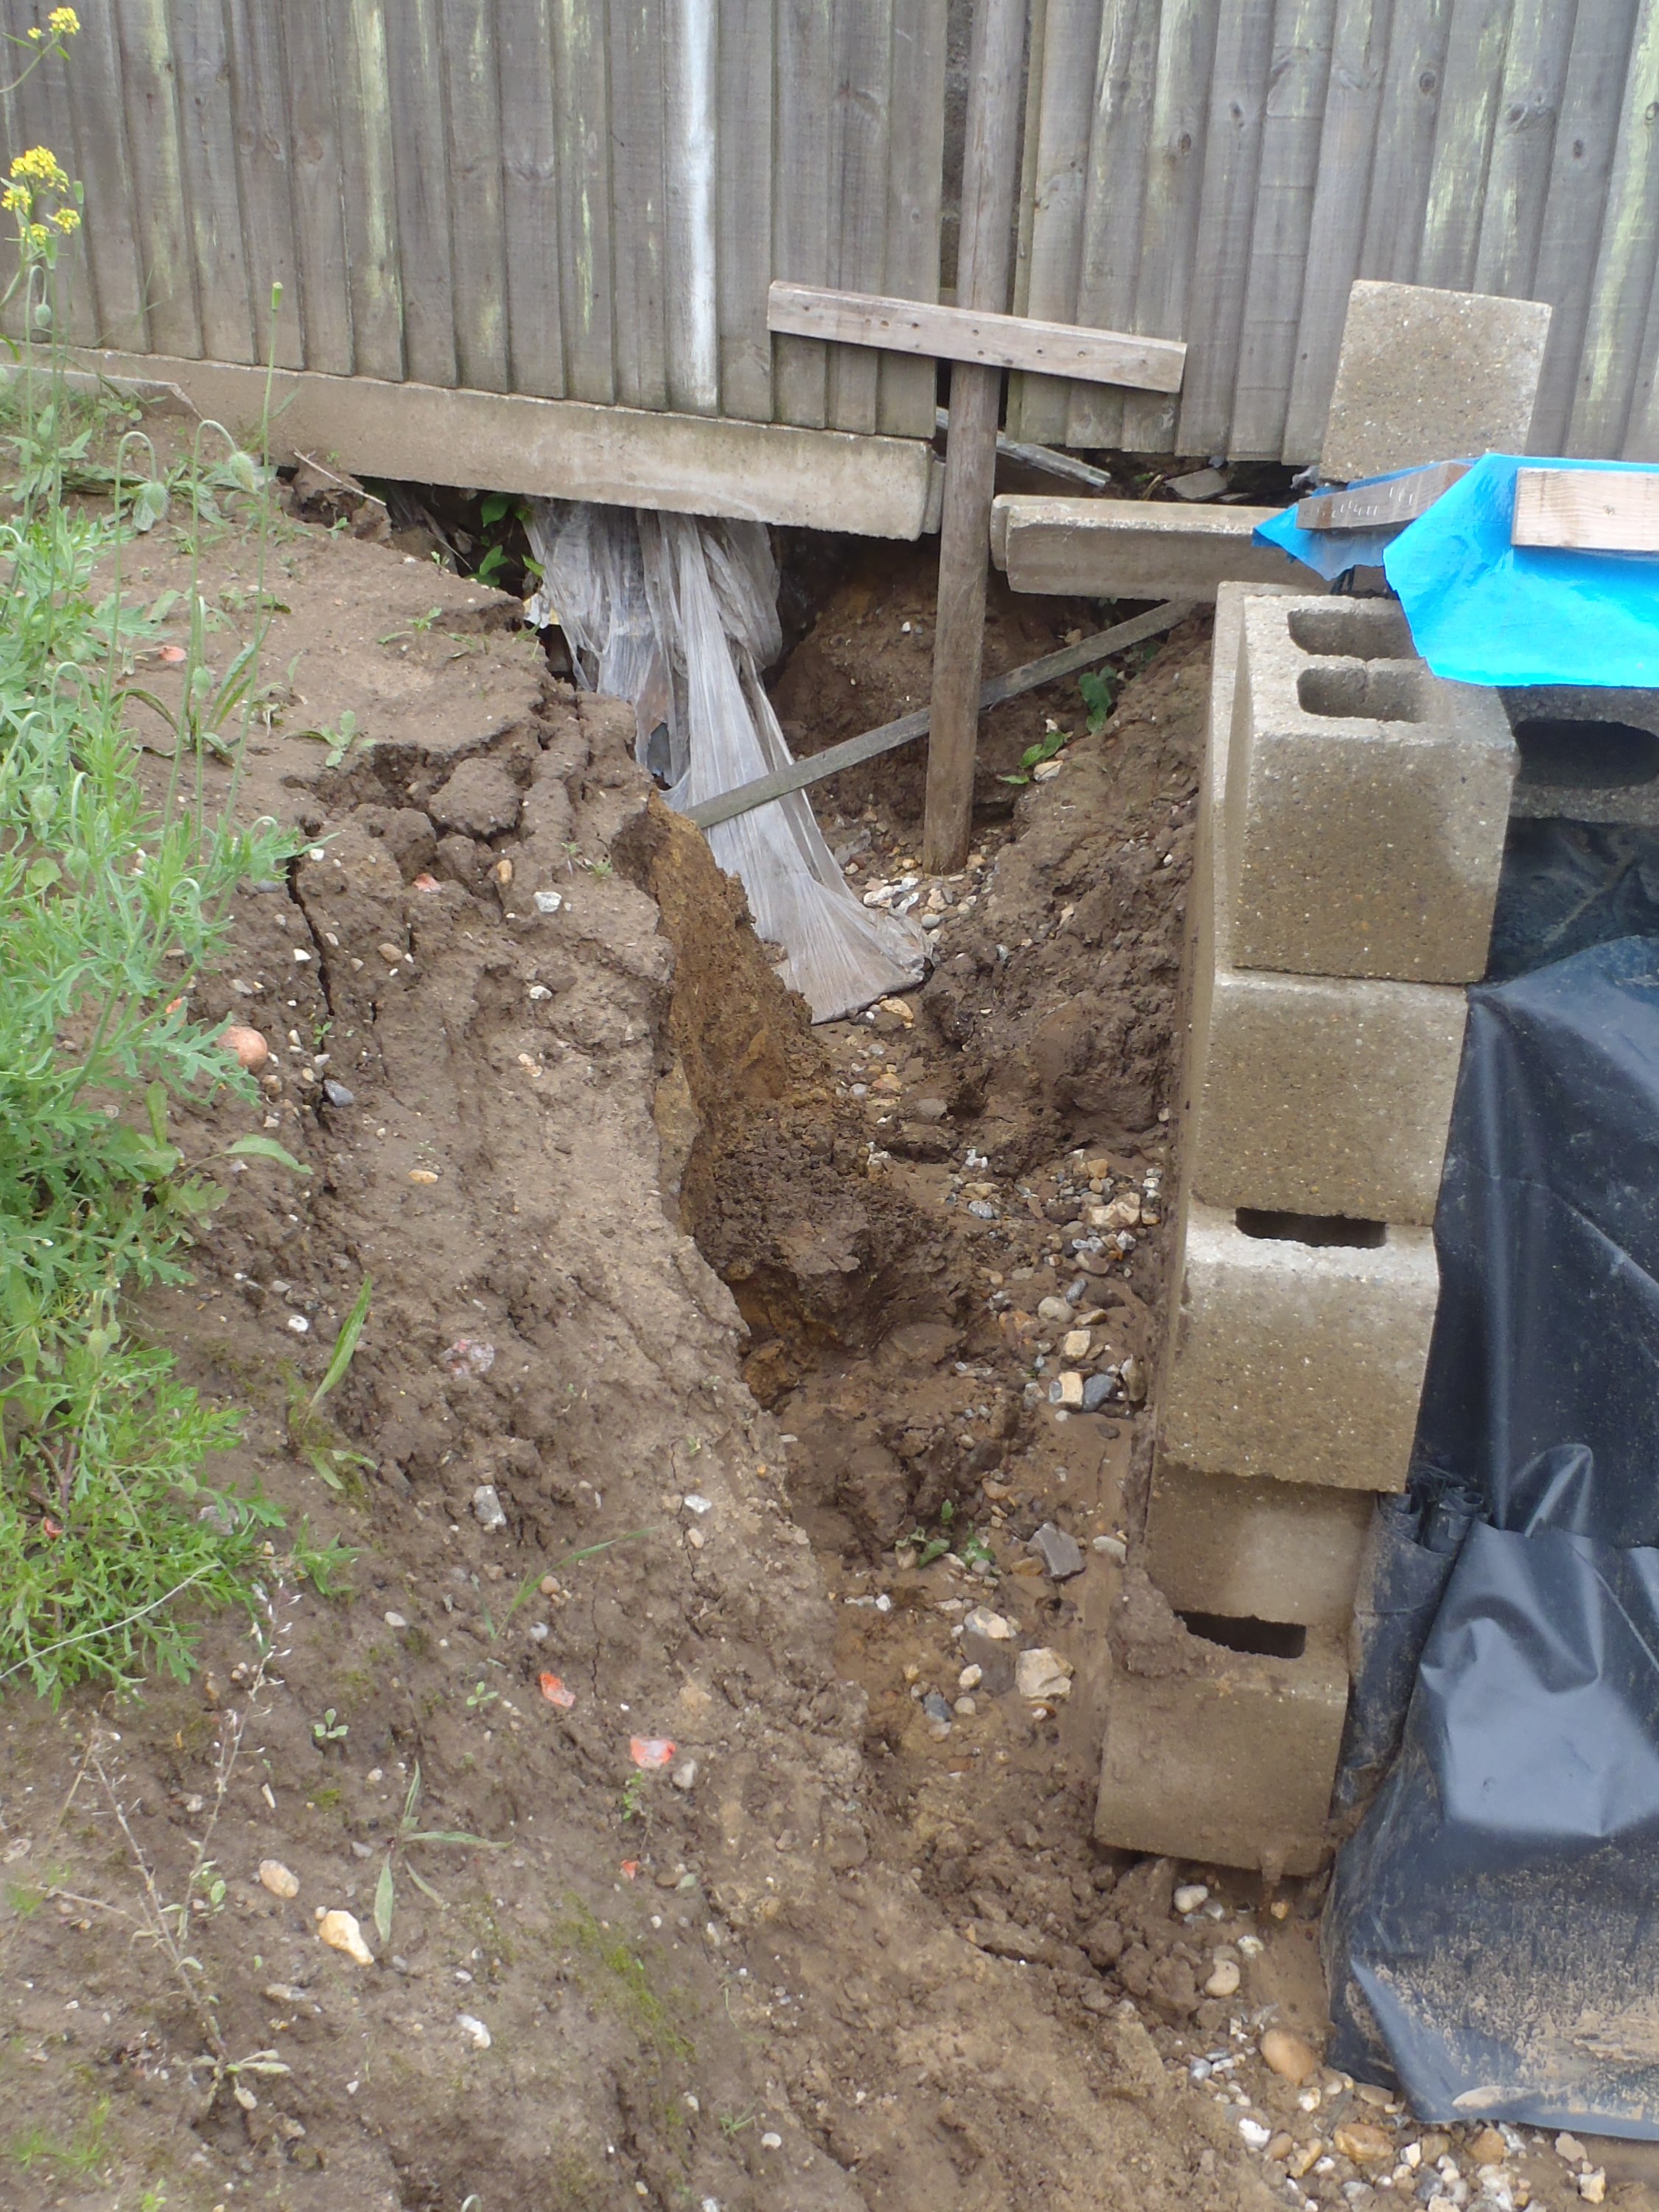
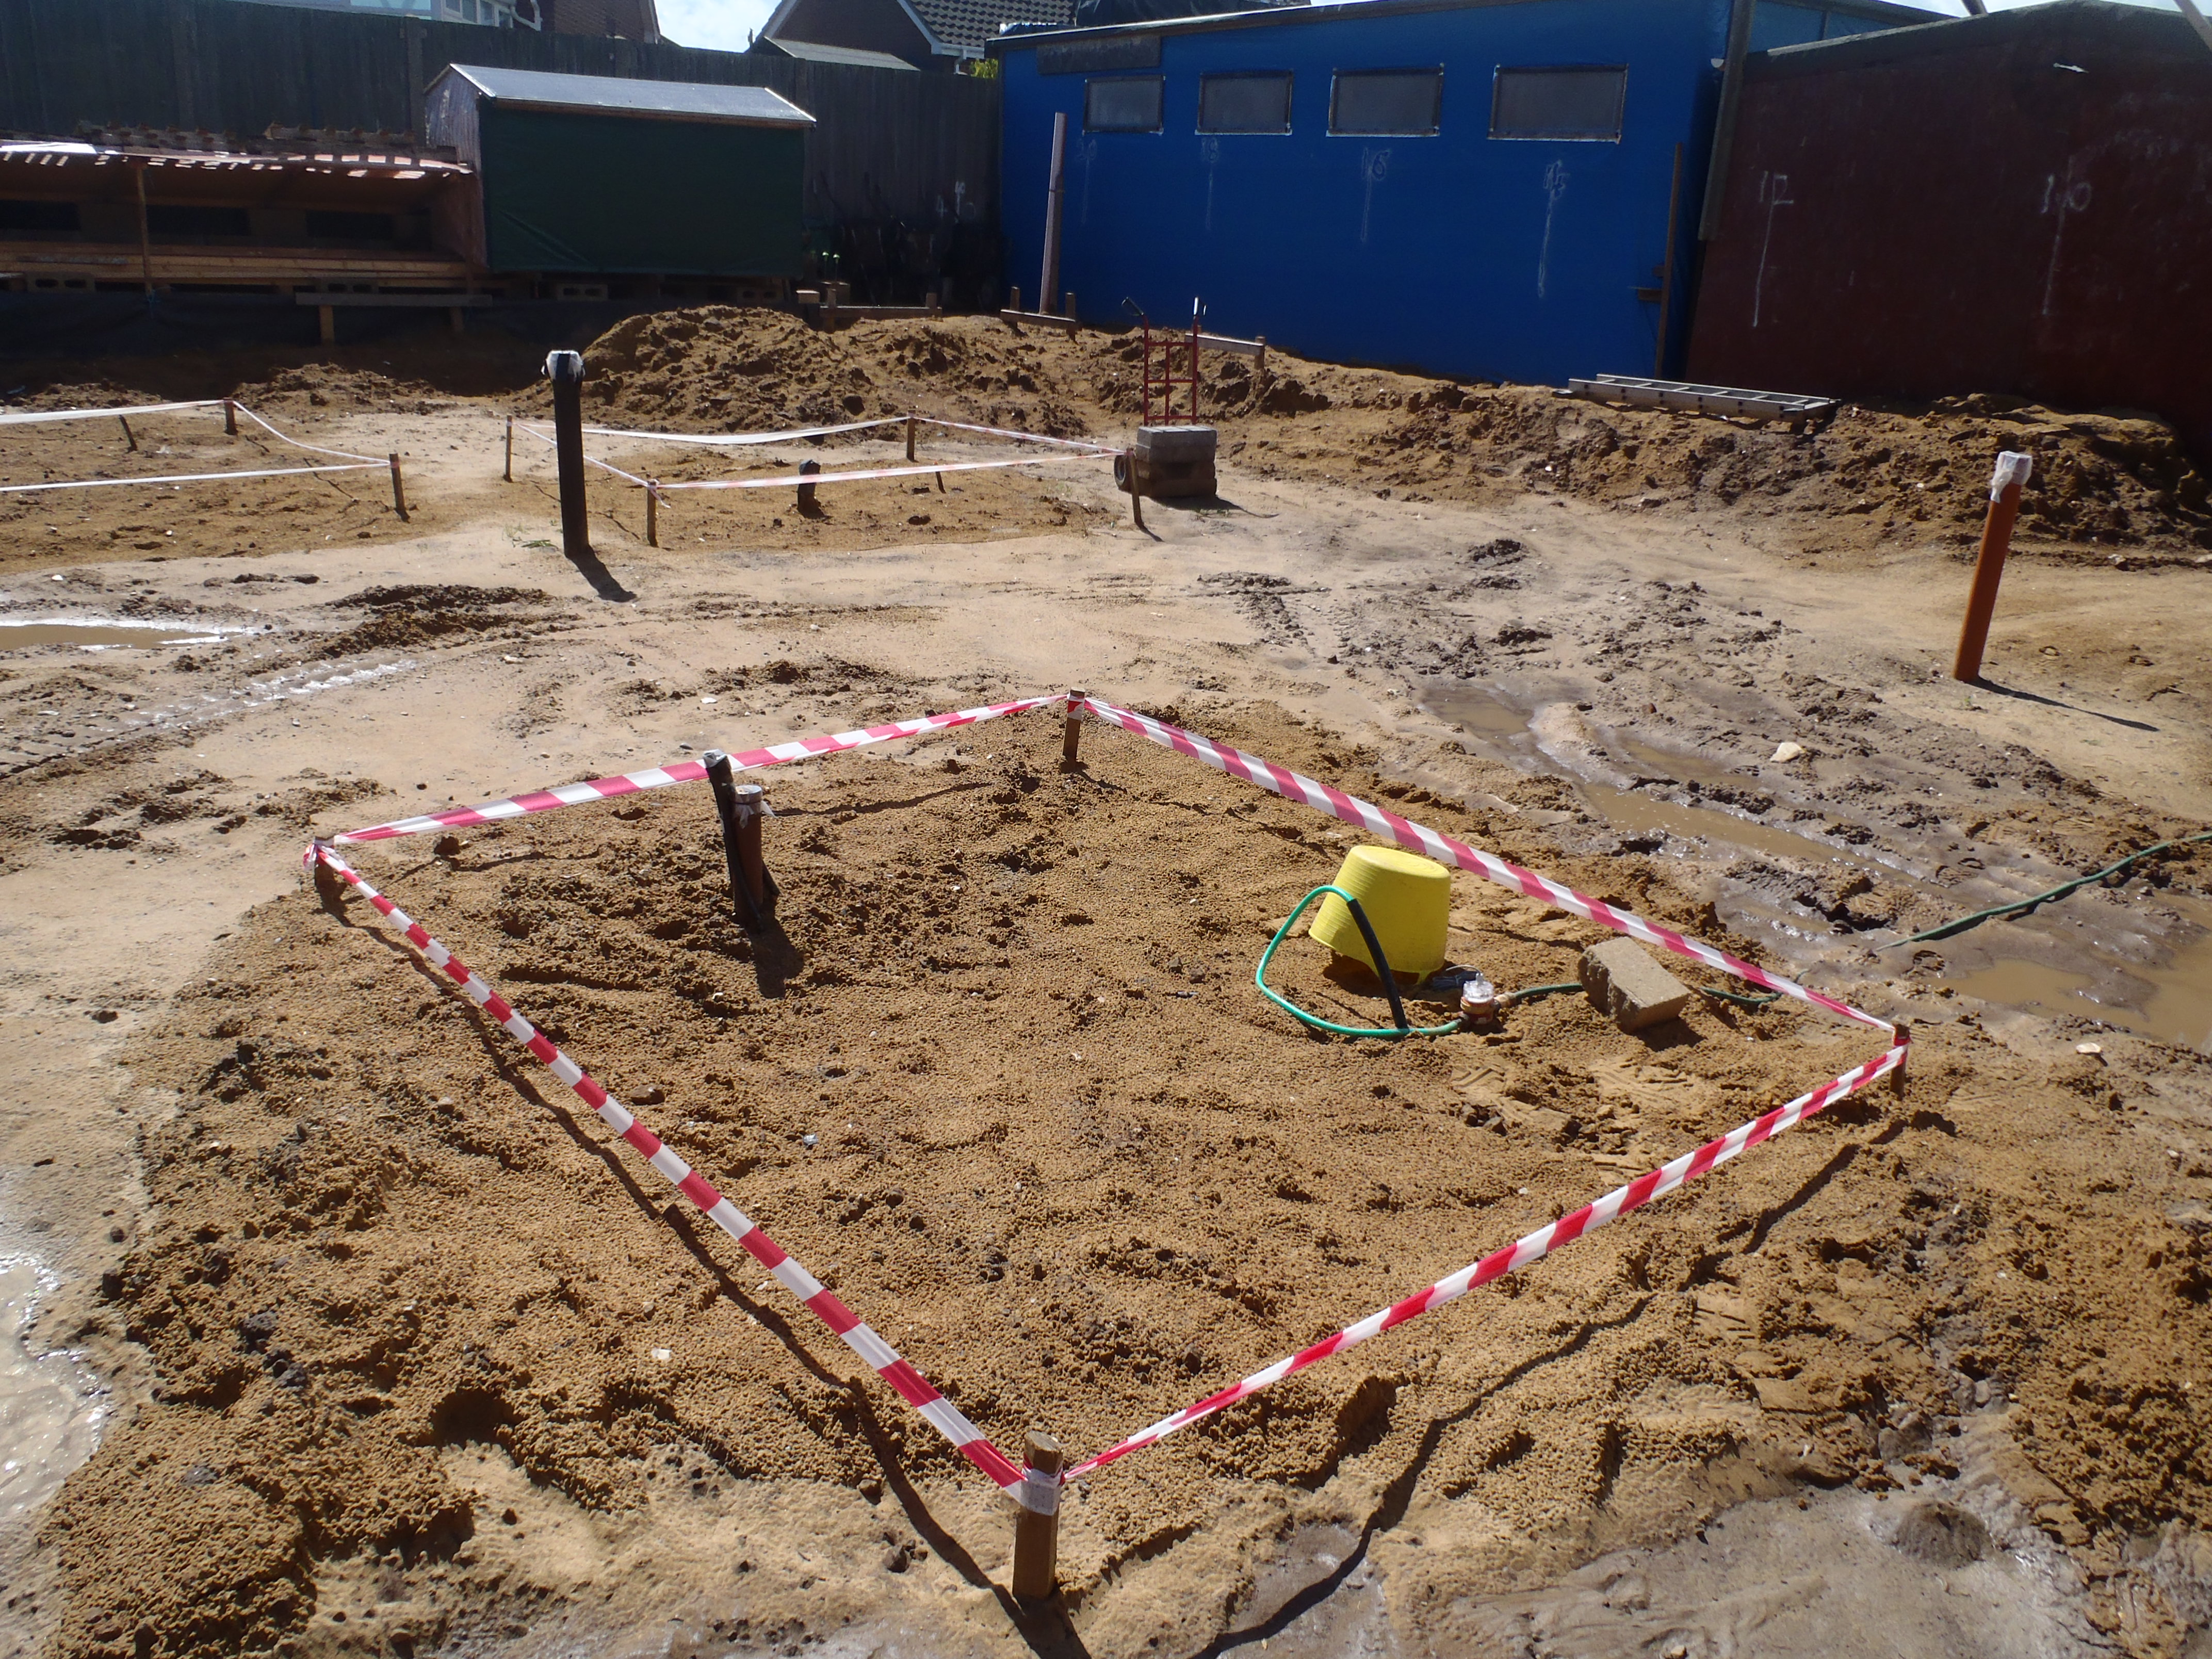
We continued with our repair of the Energy Module Number 3. We have managed to rescue the remaining crates, the rubber membrane and the geotextile fabric

Module-3-Repairs-Crates-and-Rubber-removed
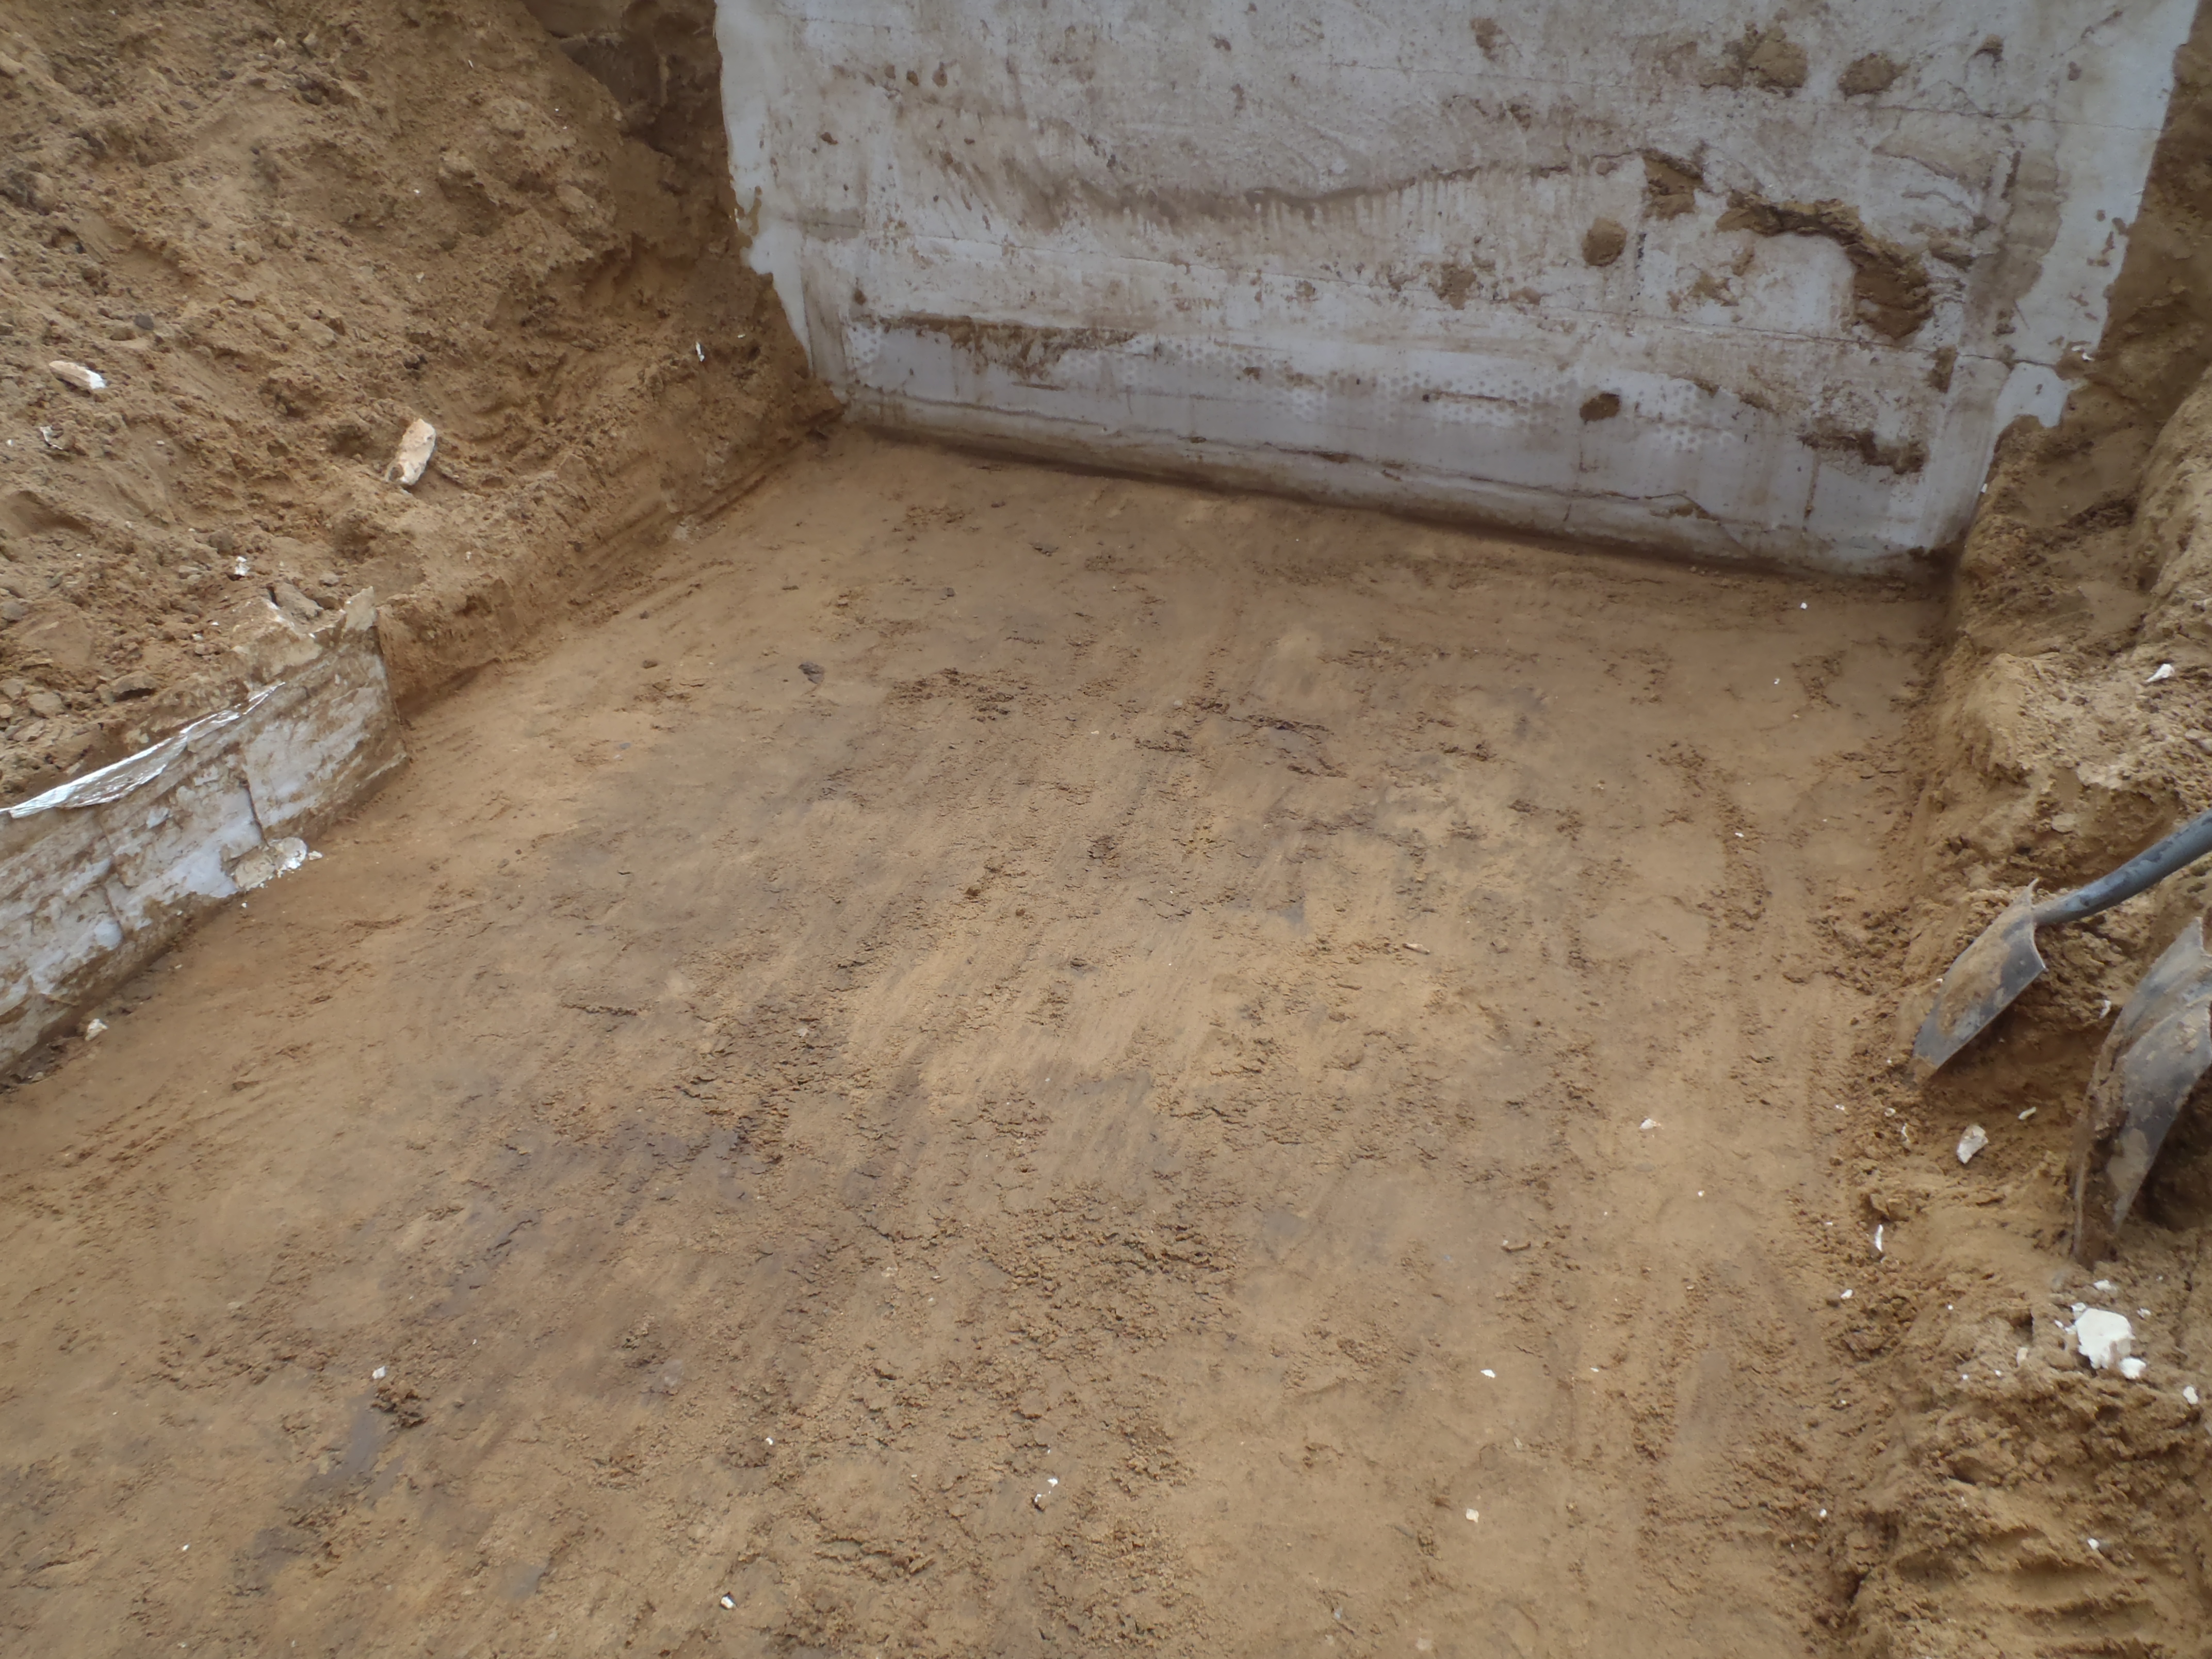
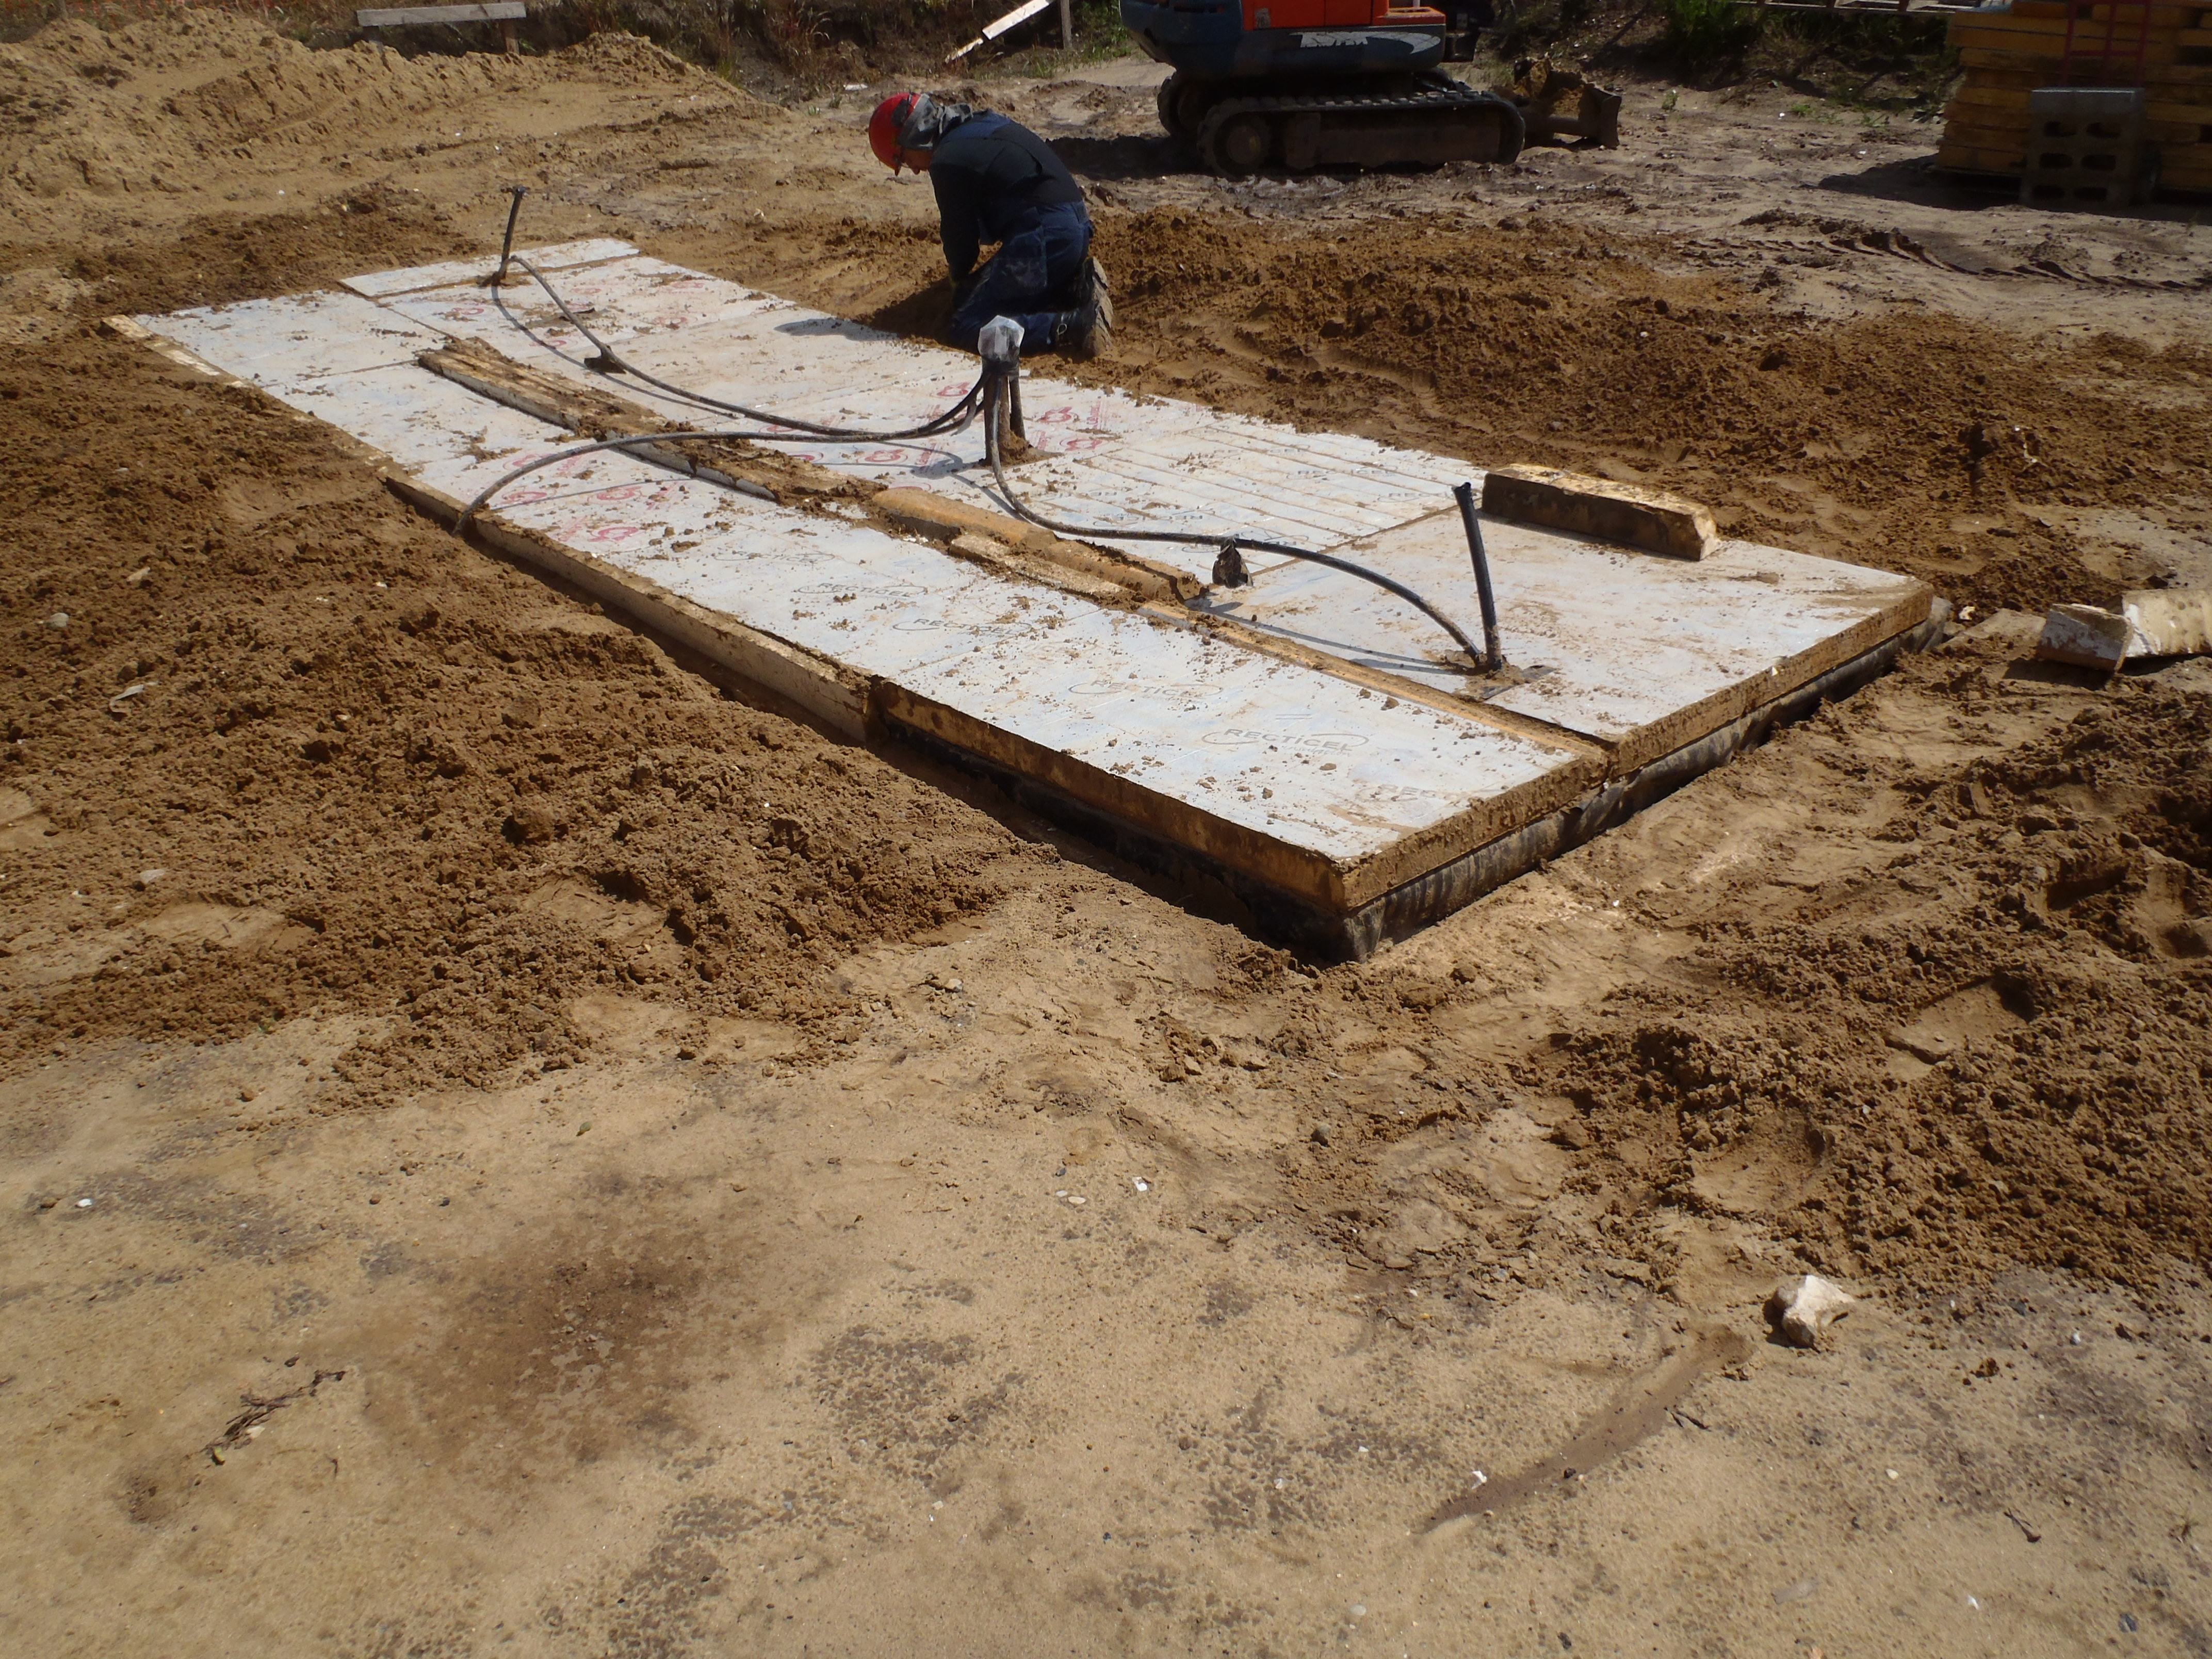
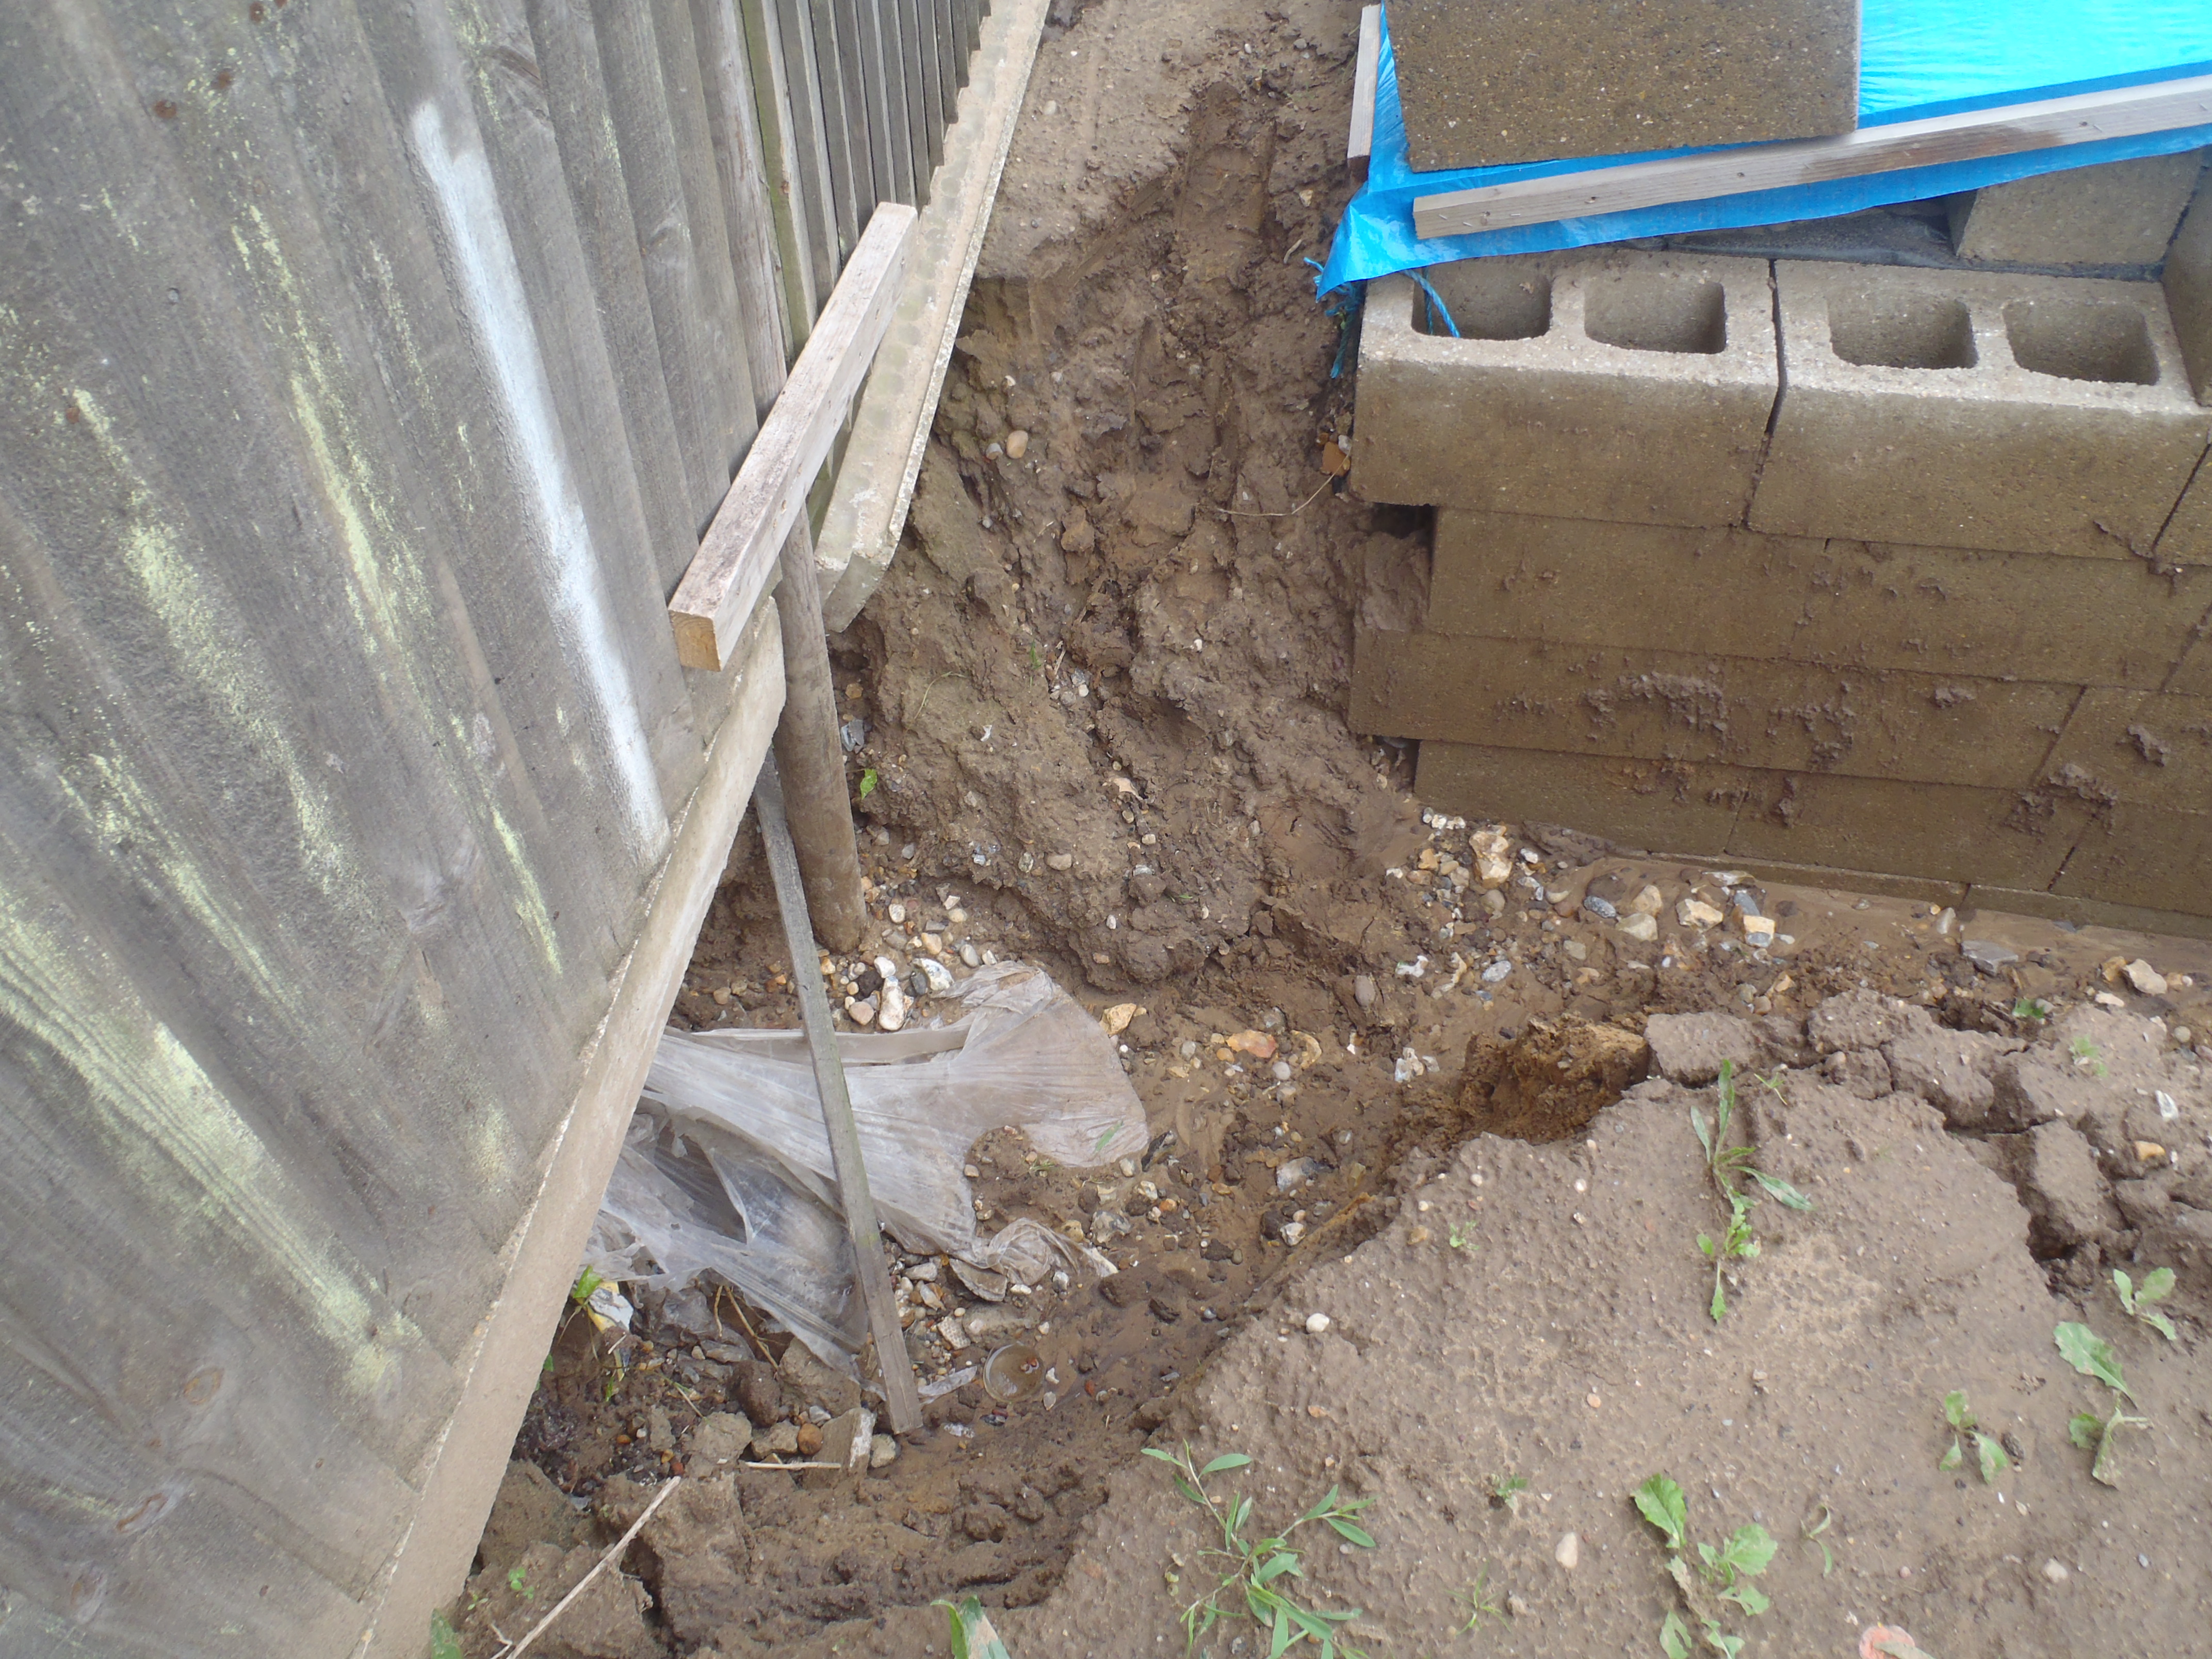
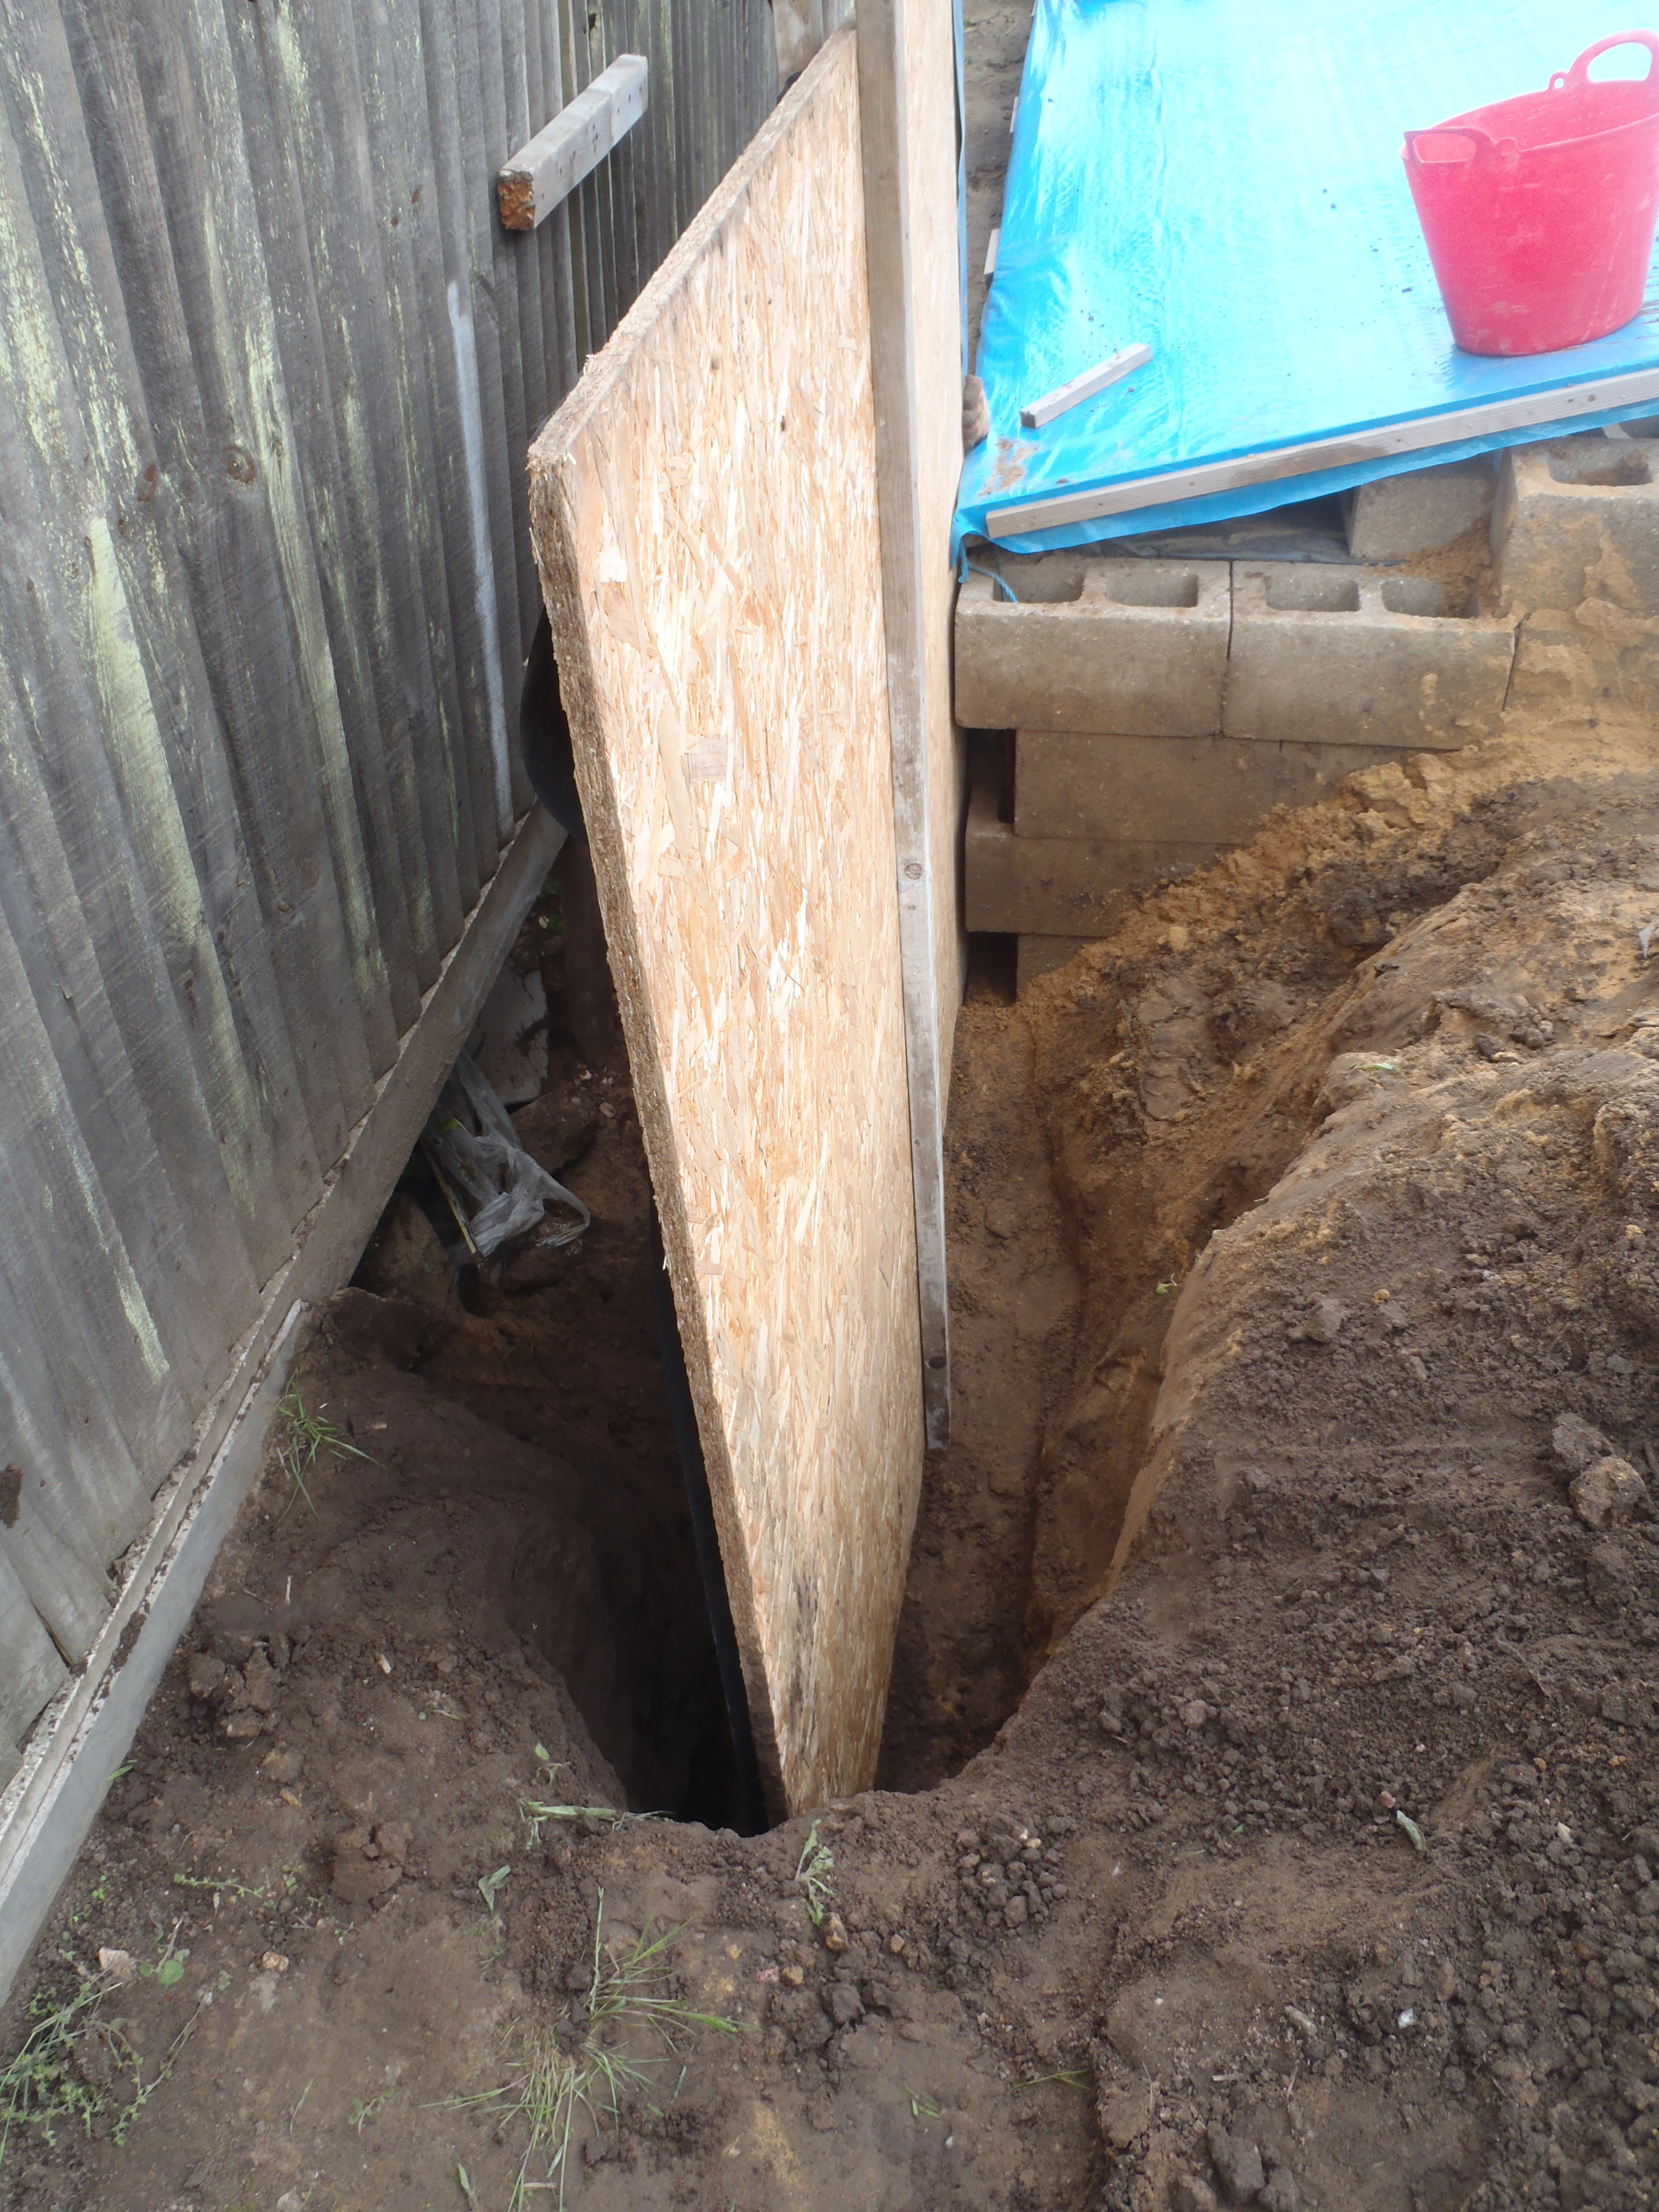
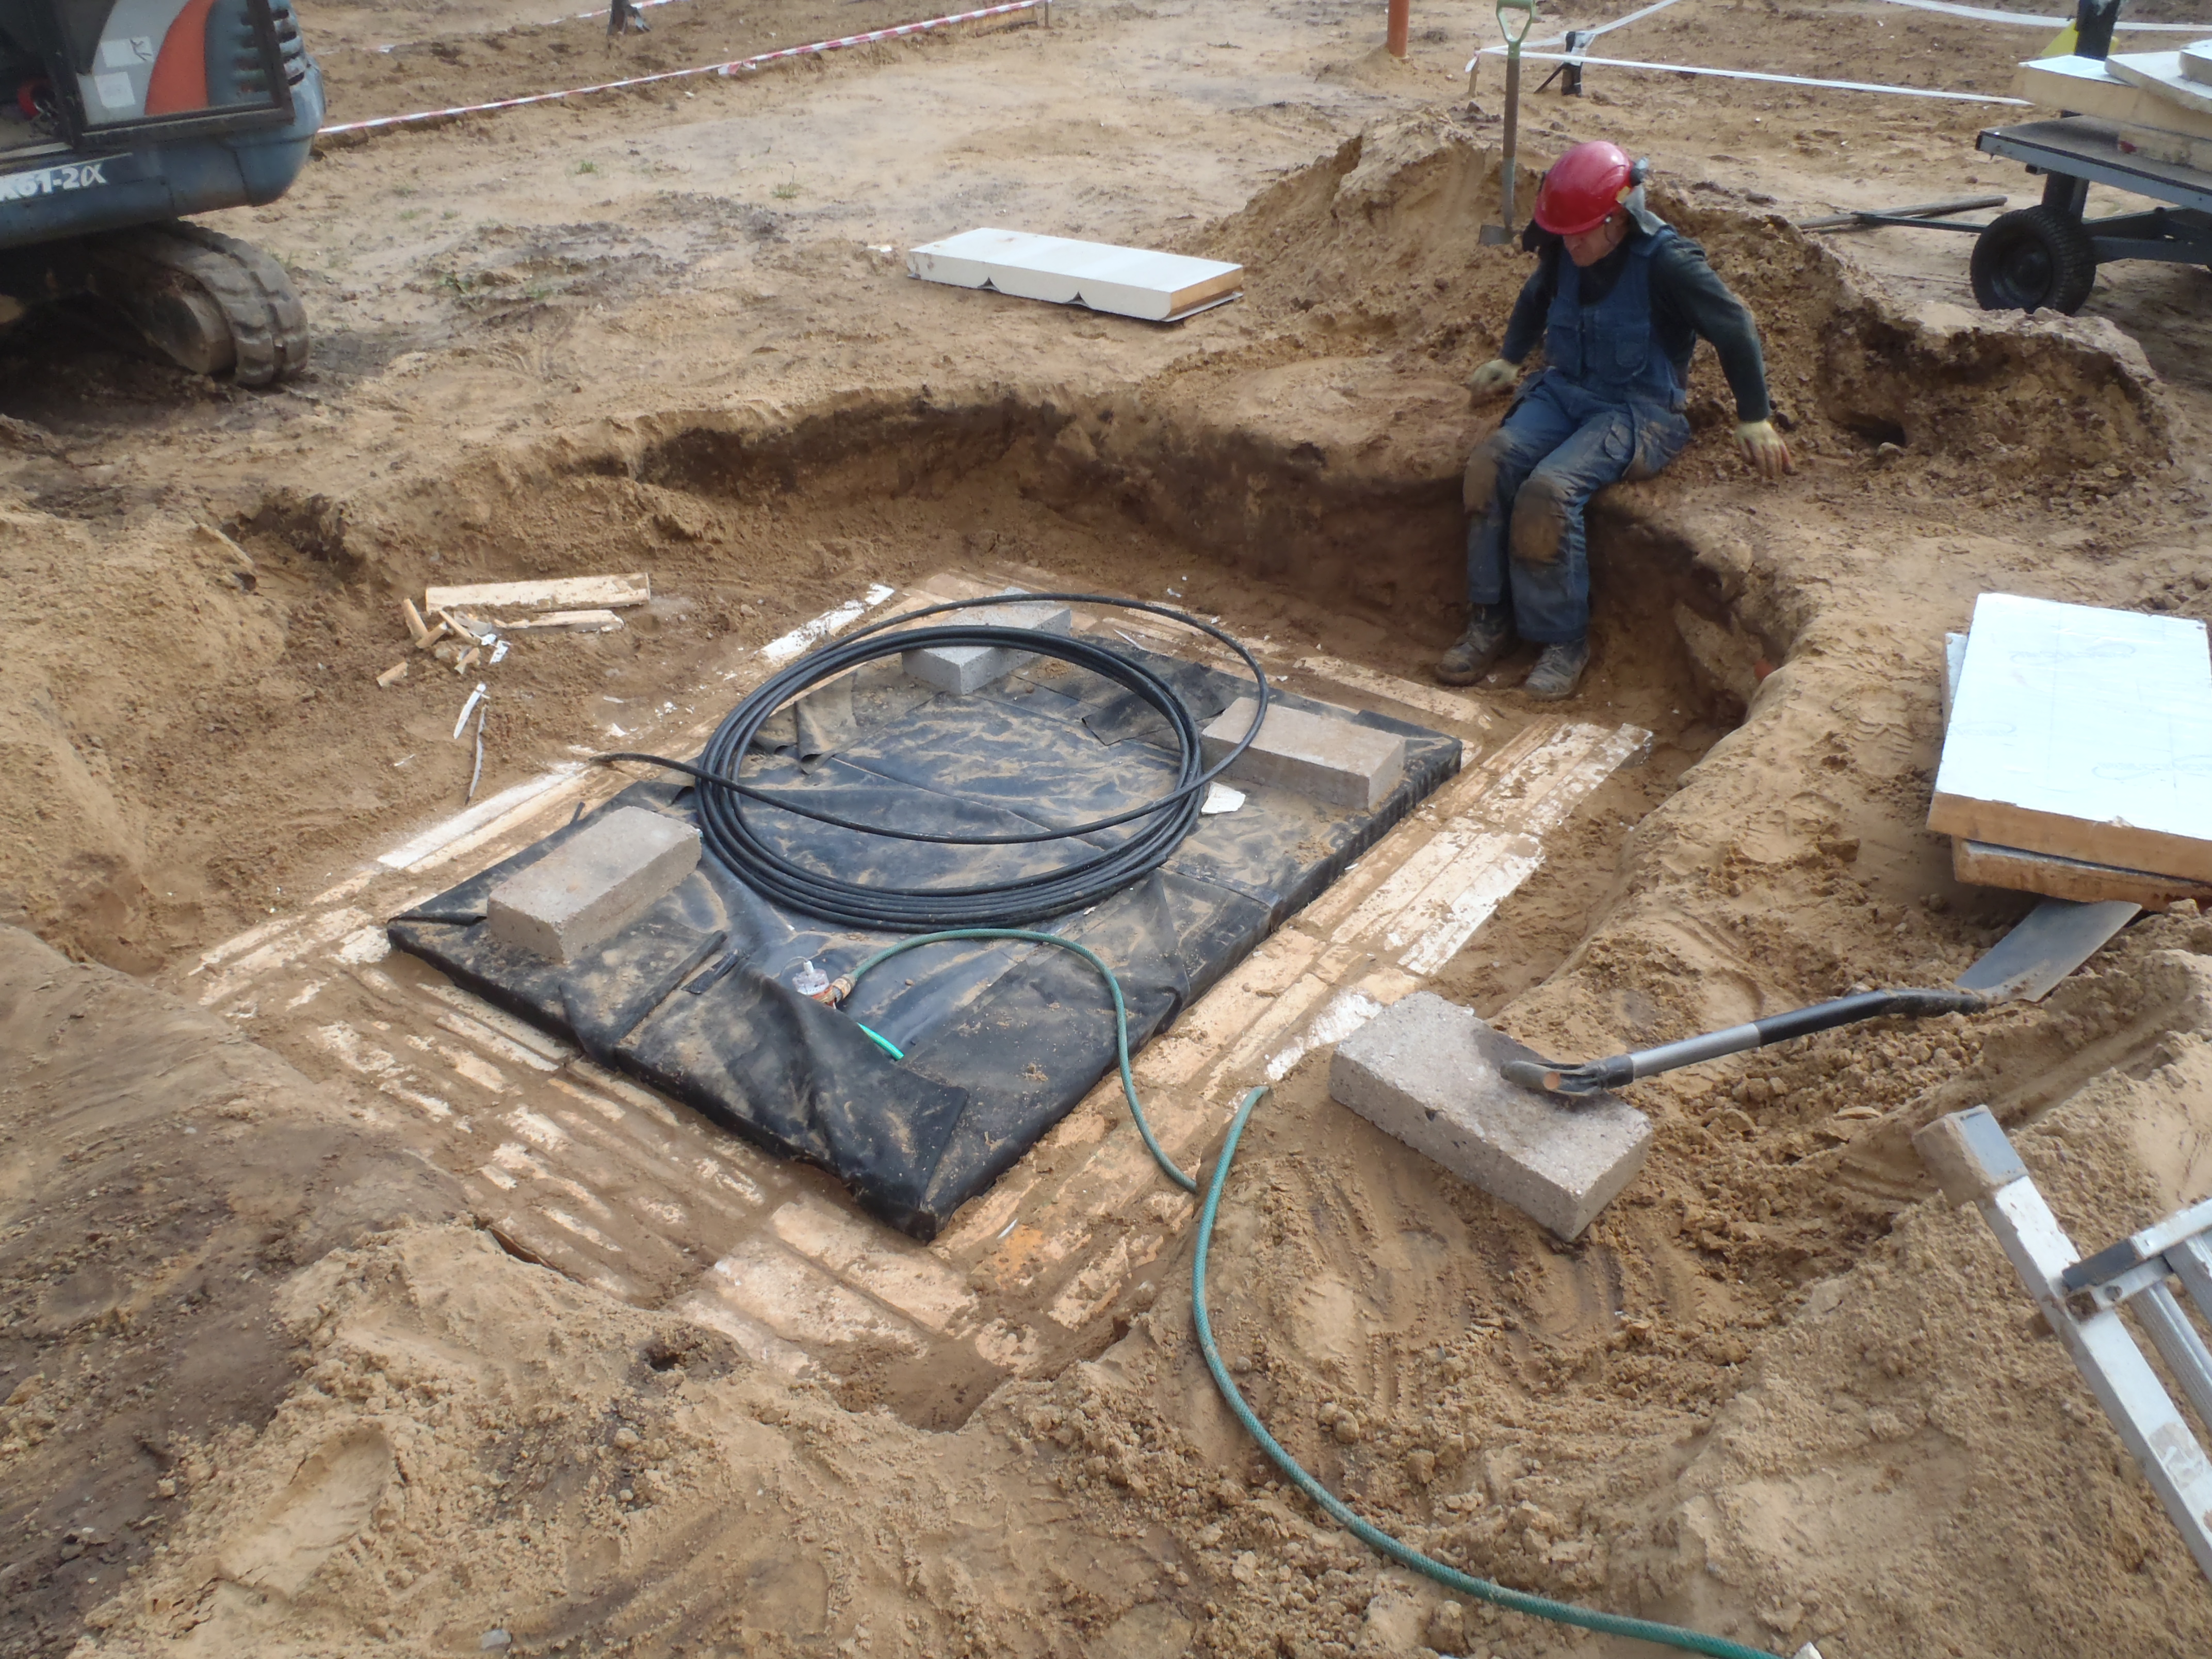
The we lifted the insulation panels to reveal the extent of the silt build up underneath the whole module
Module-3-Repairs-Inflows-of-Silt-and-Sand-1
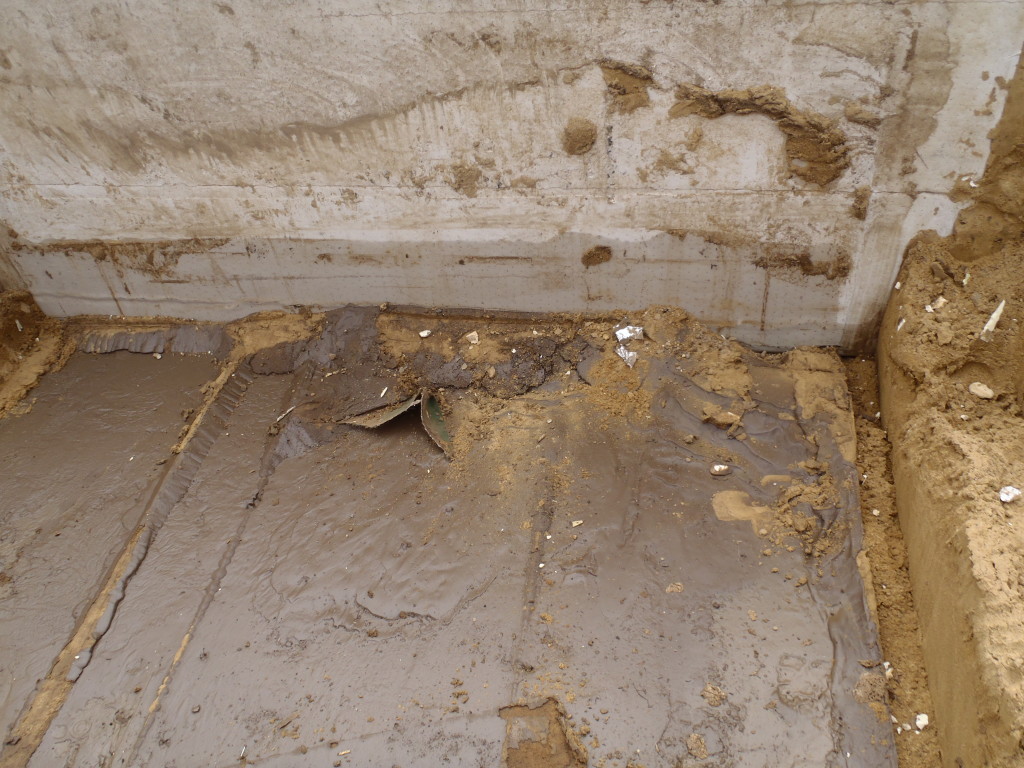
Module-3-Repairs-Inflows-of-Silt-and-Sand-3
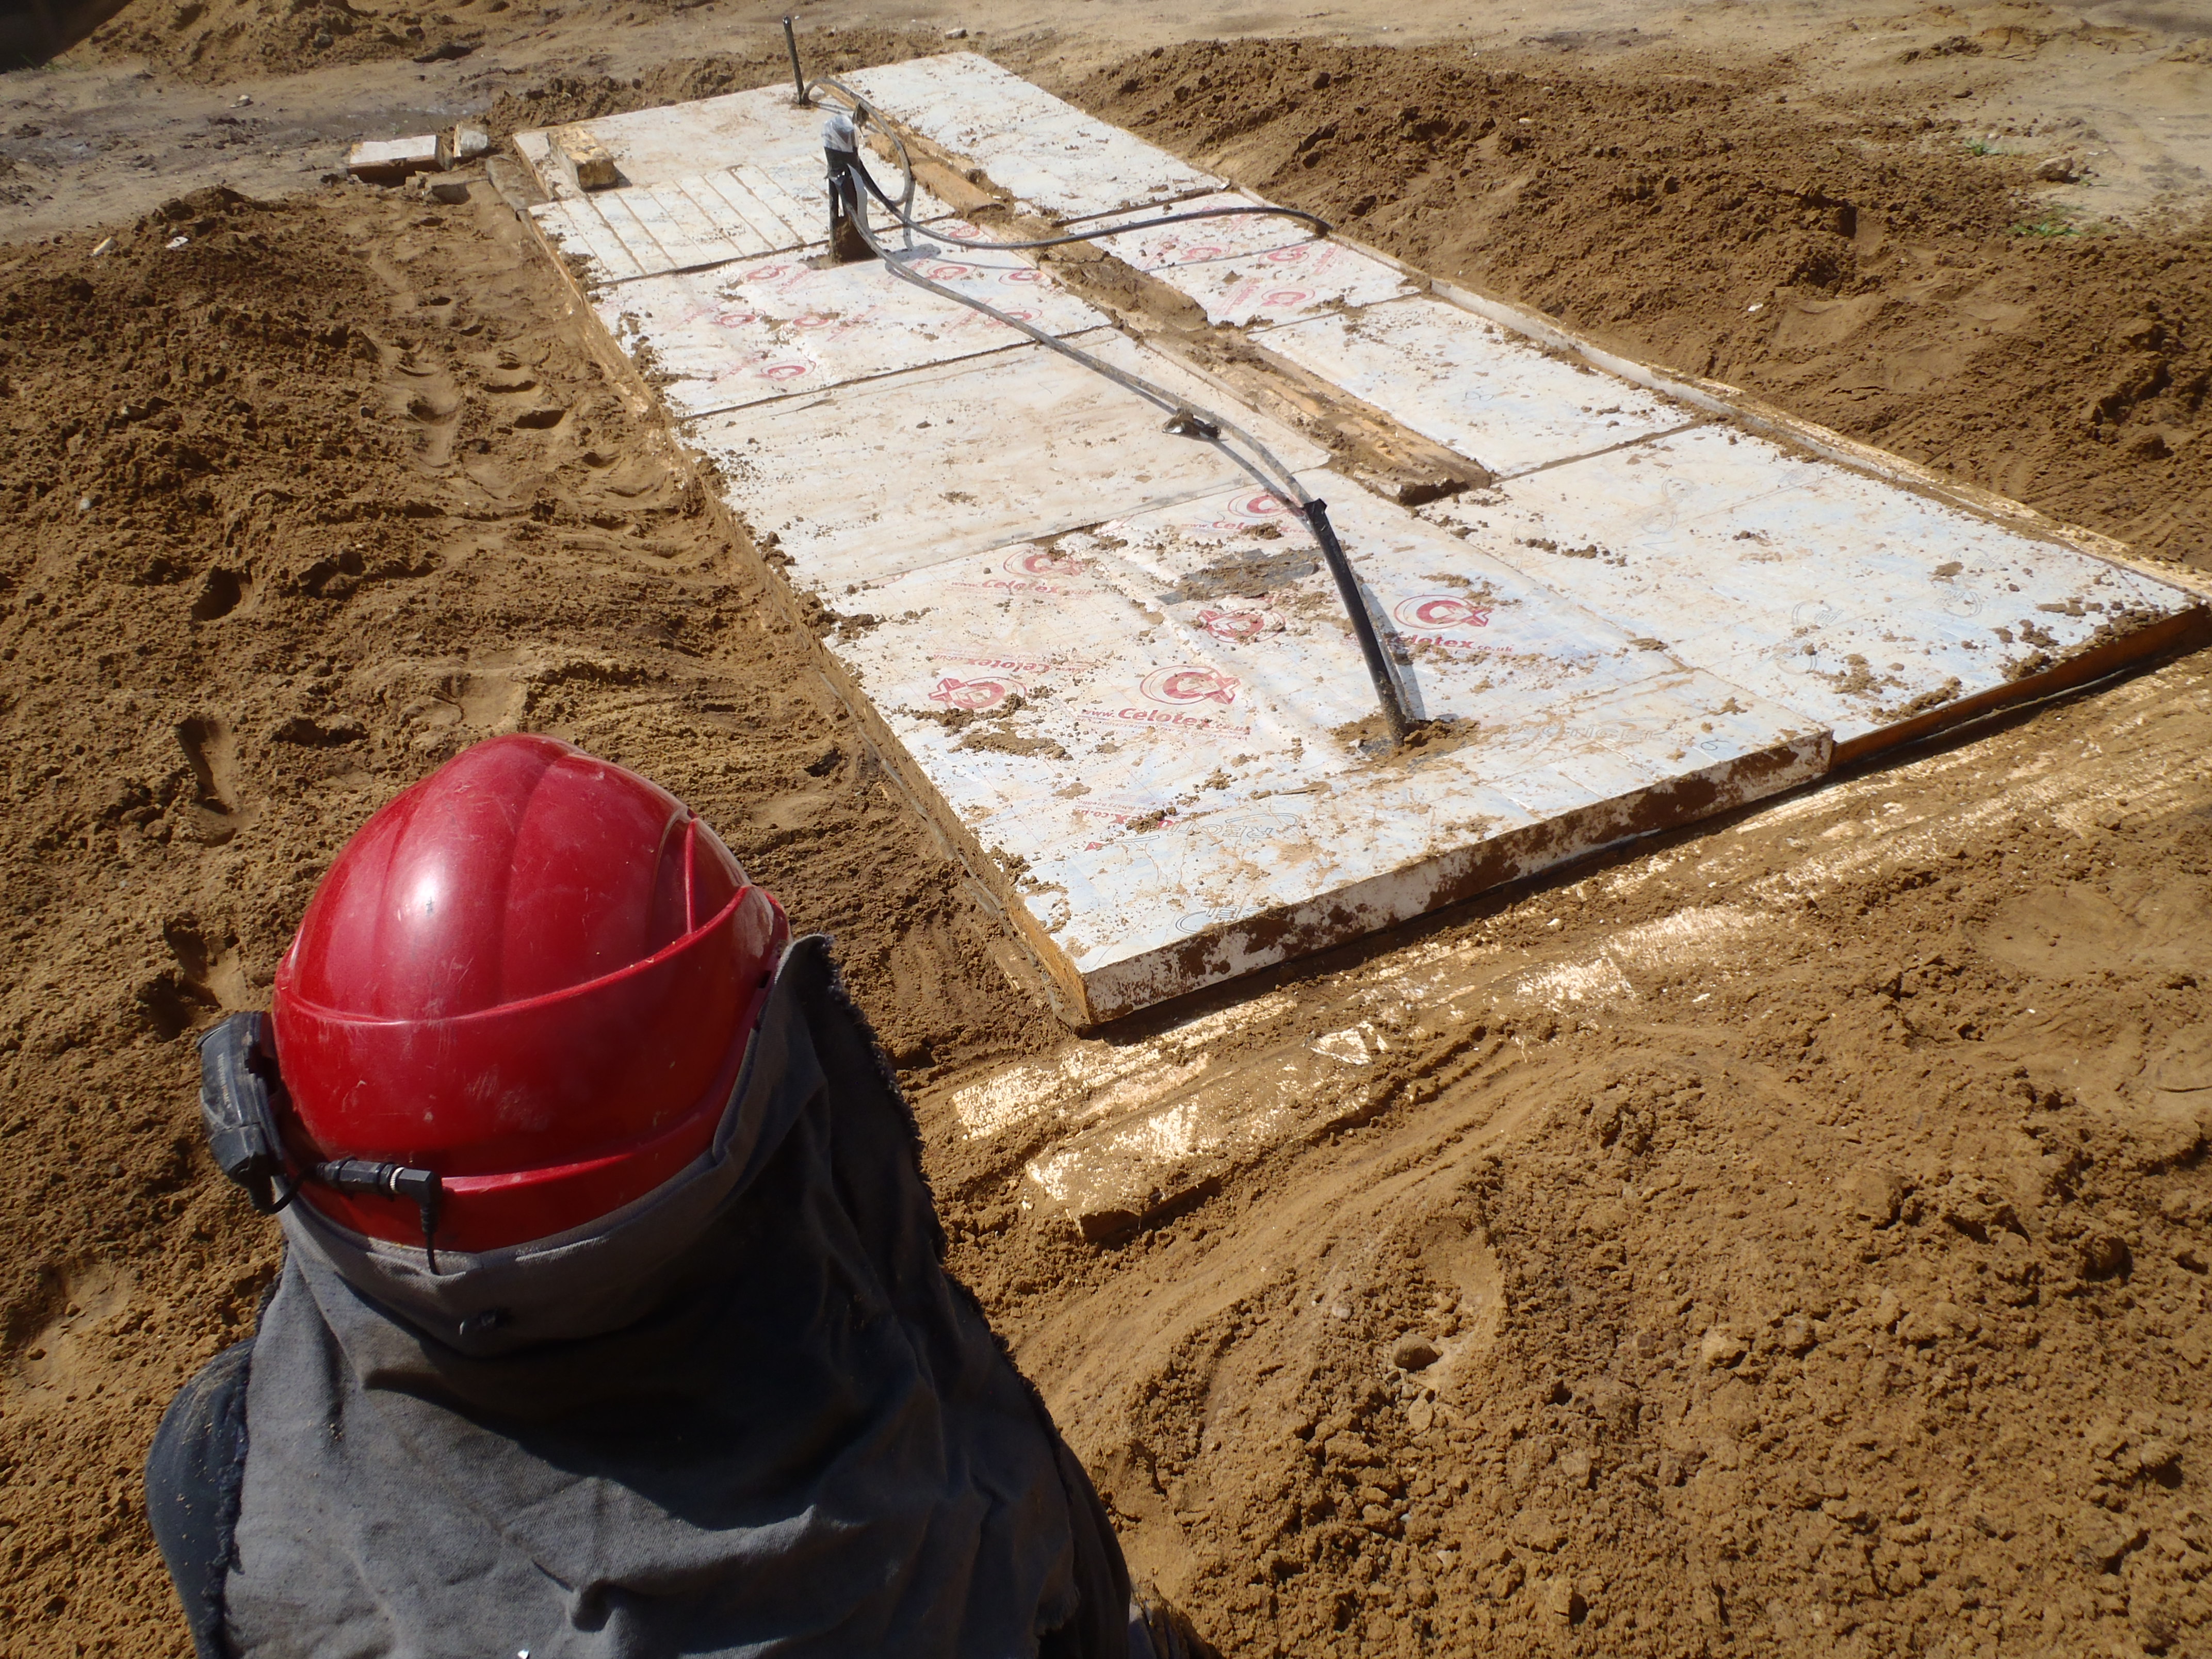
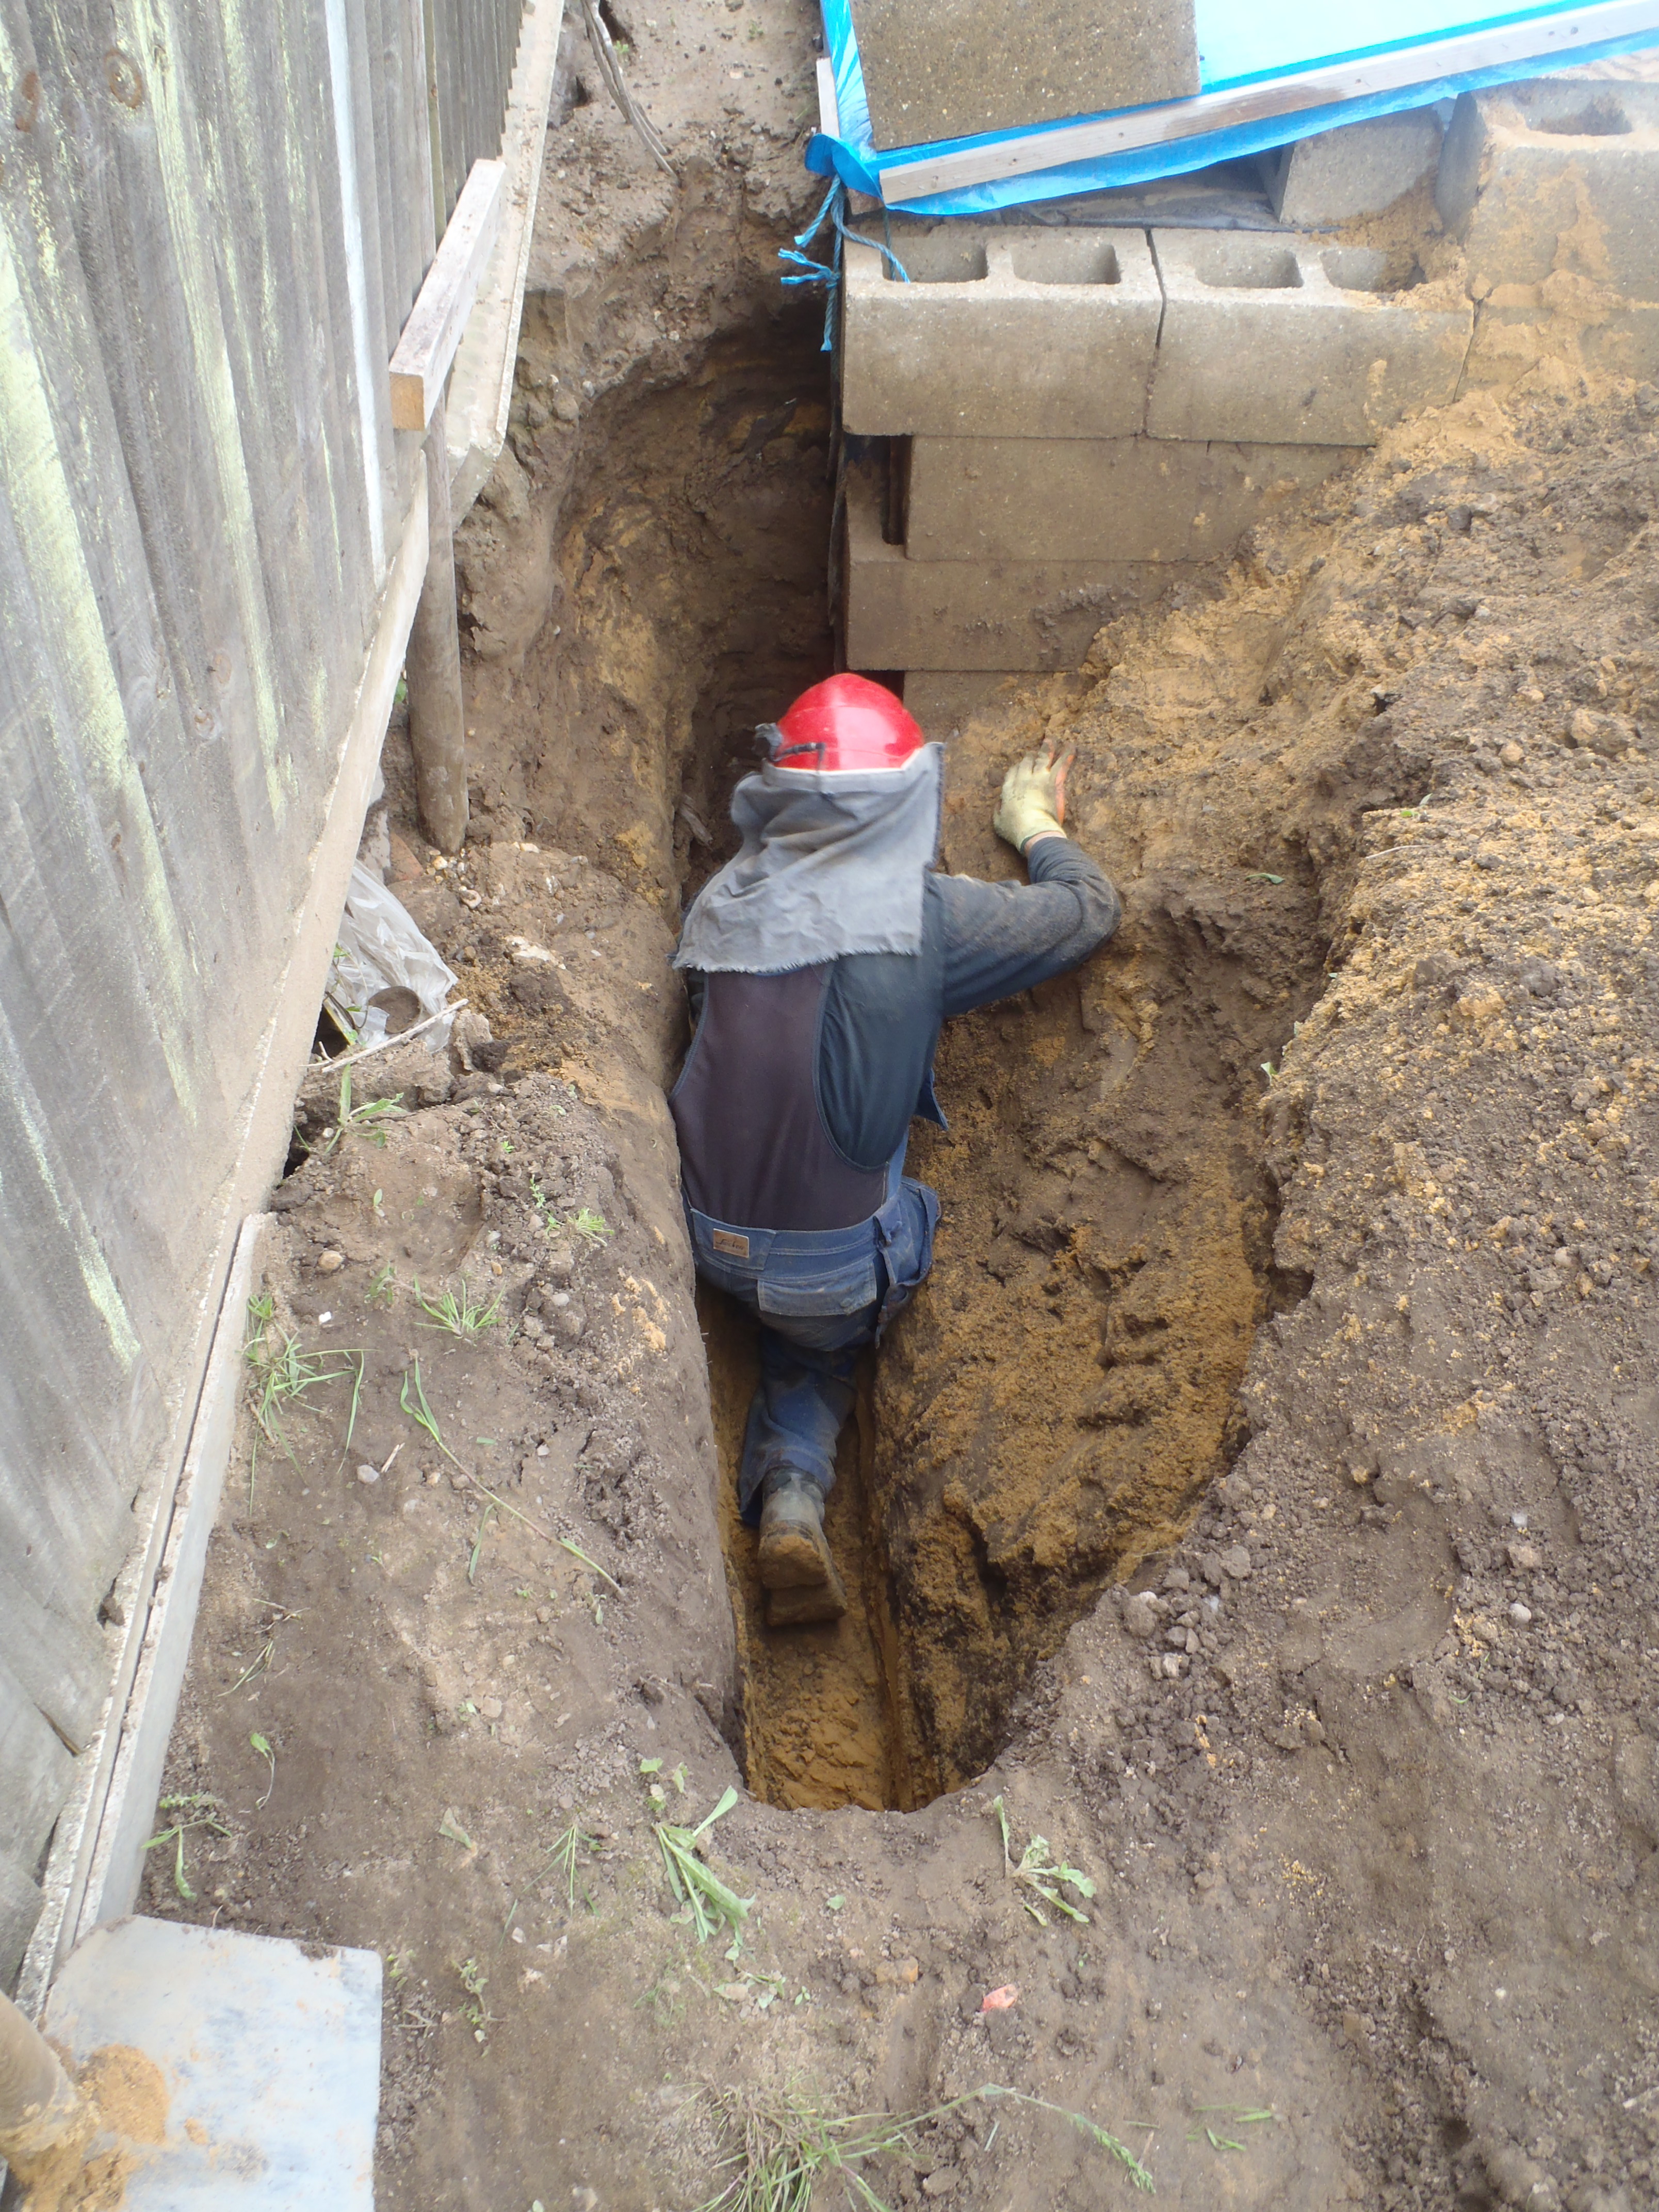
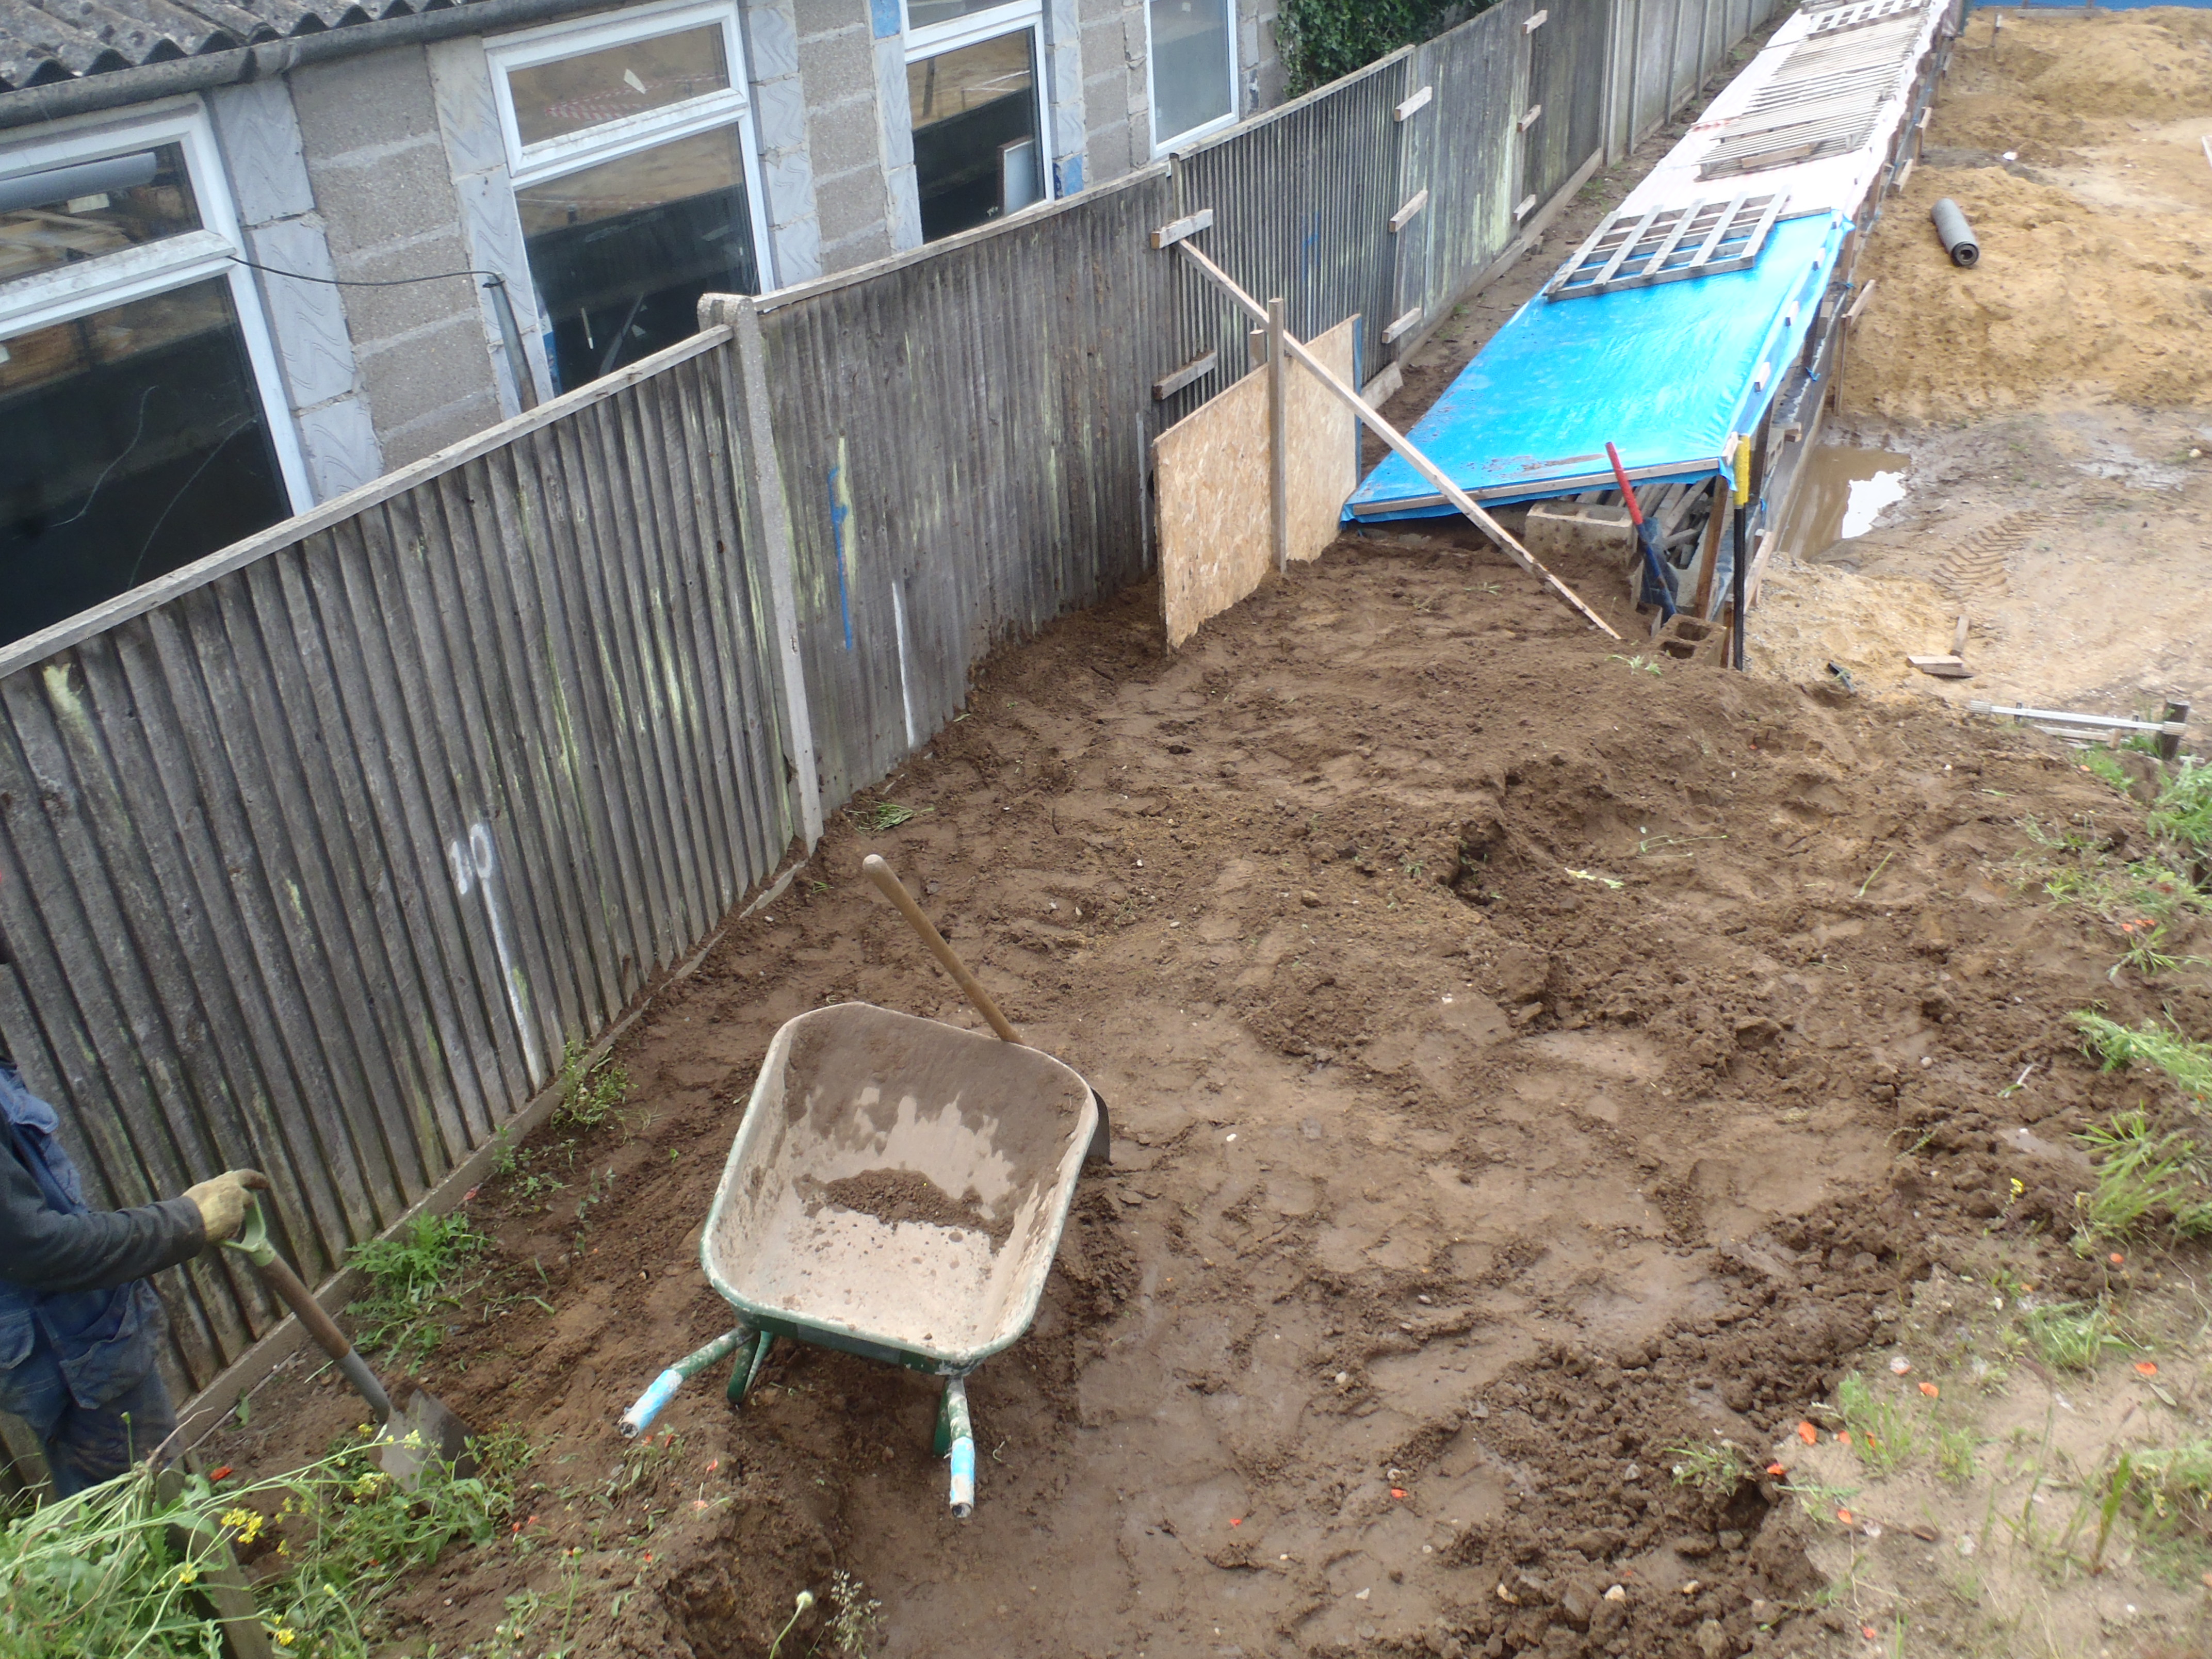
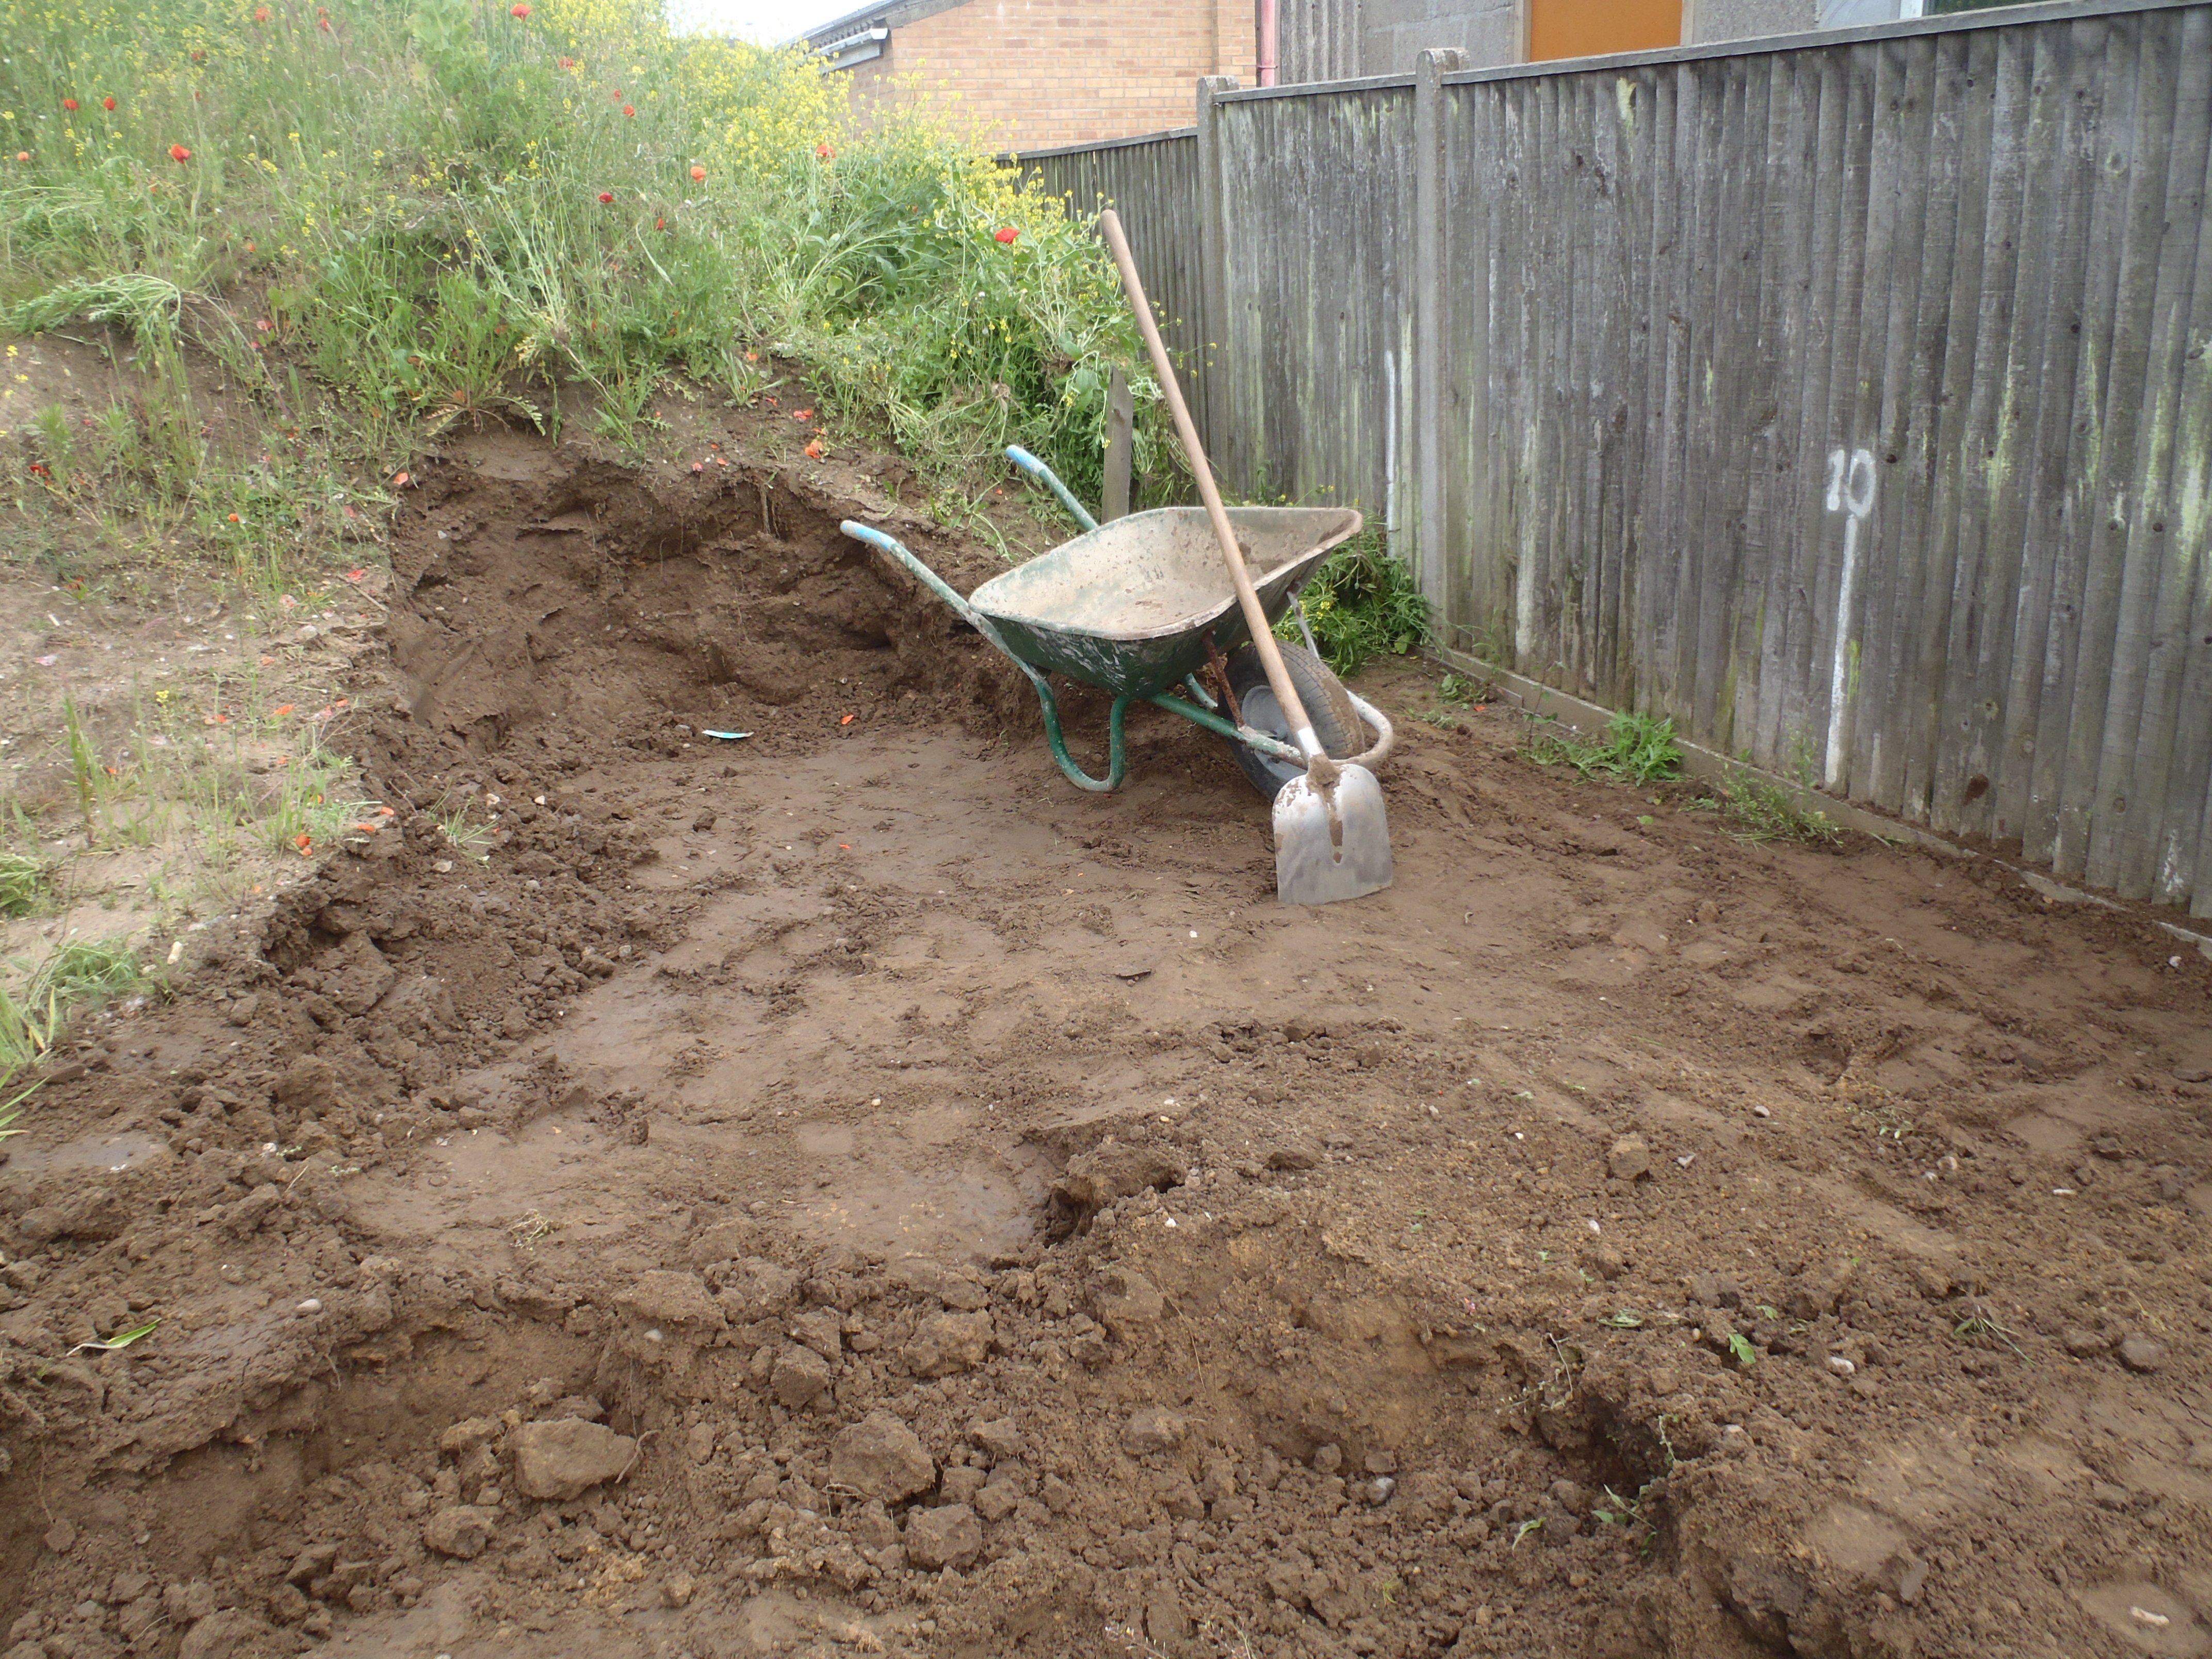
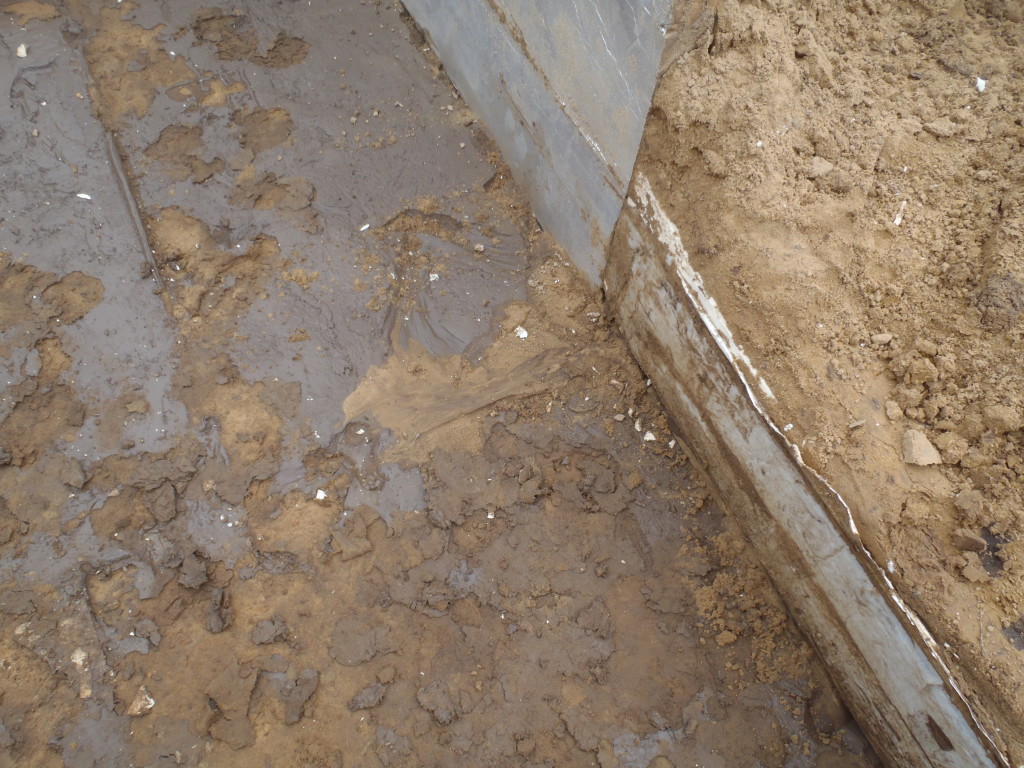
We put down our guide rails and put in some fresh sand to mix with the dark silt material and scrape it flat and level again.
Then we put back that half end of the bottom insulation layer, and uncovered the other end
Again, we put our guide rails in and scraped that end flat and level

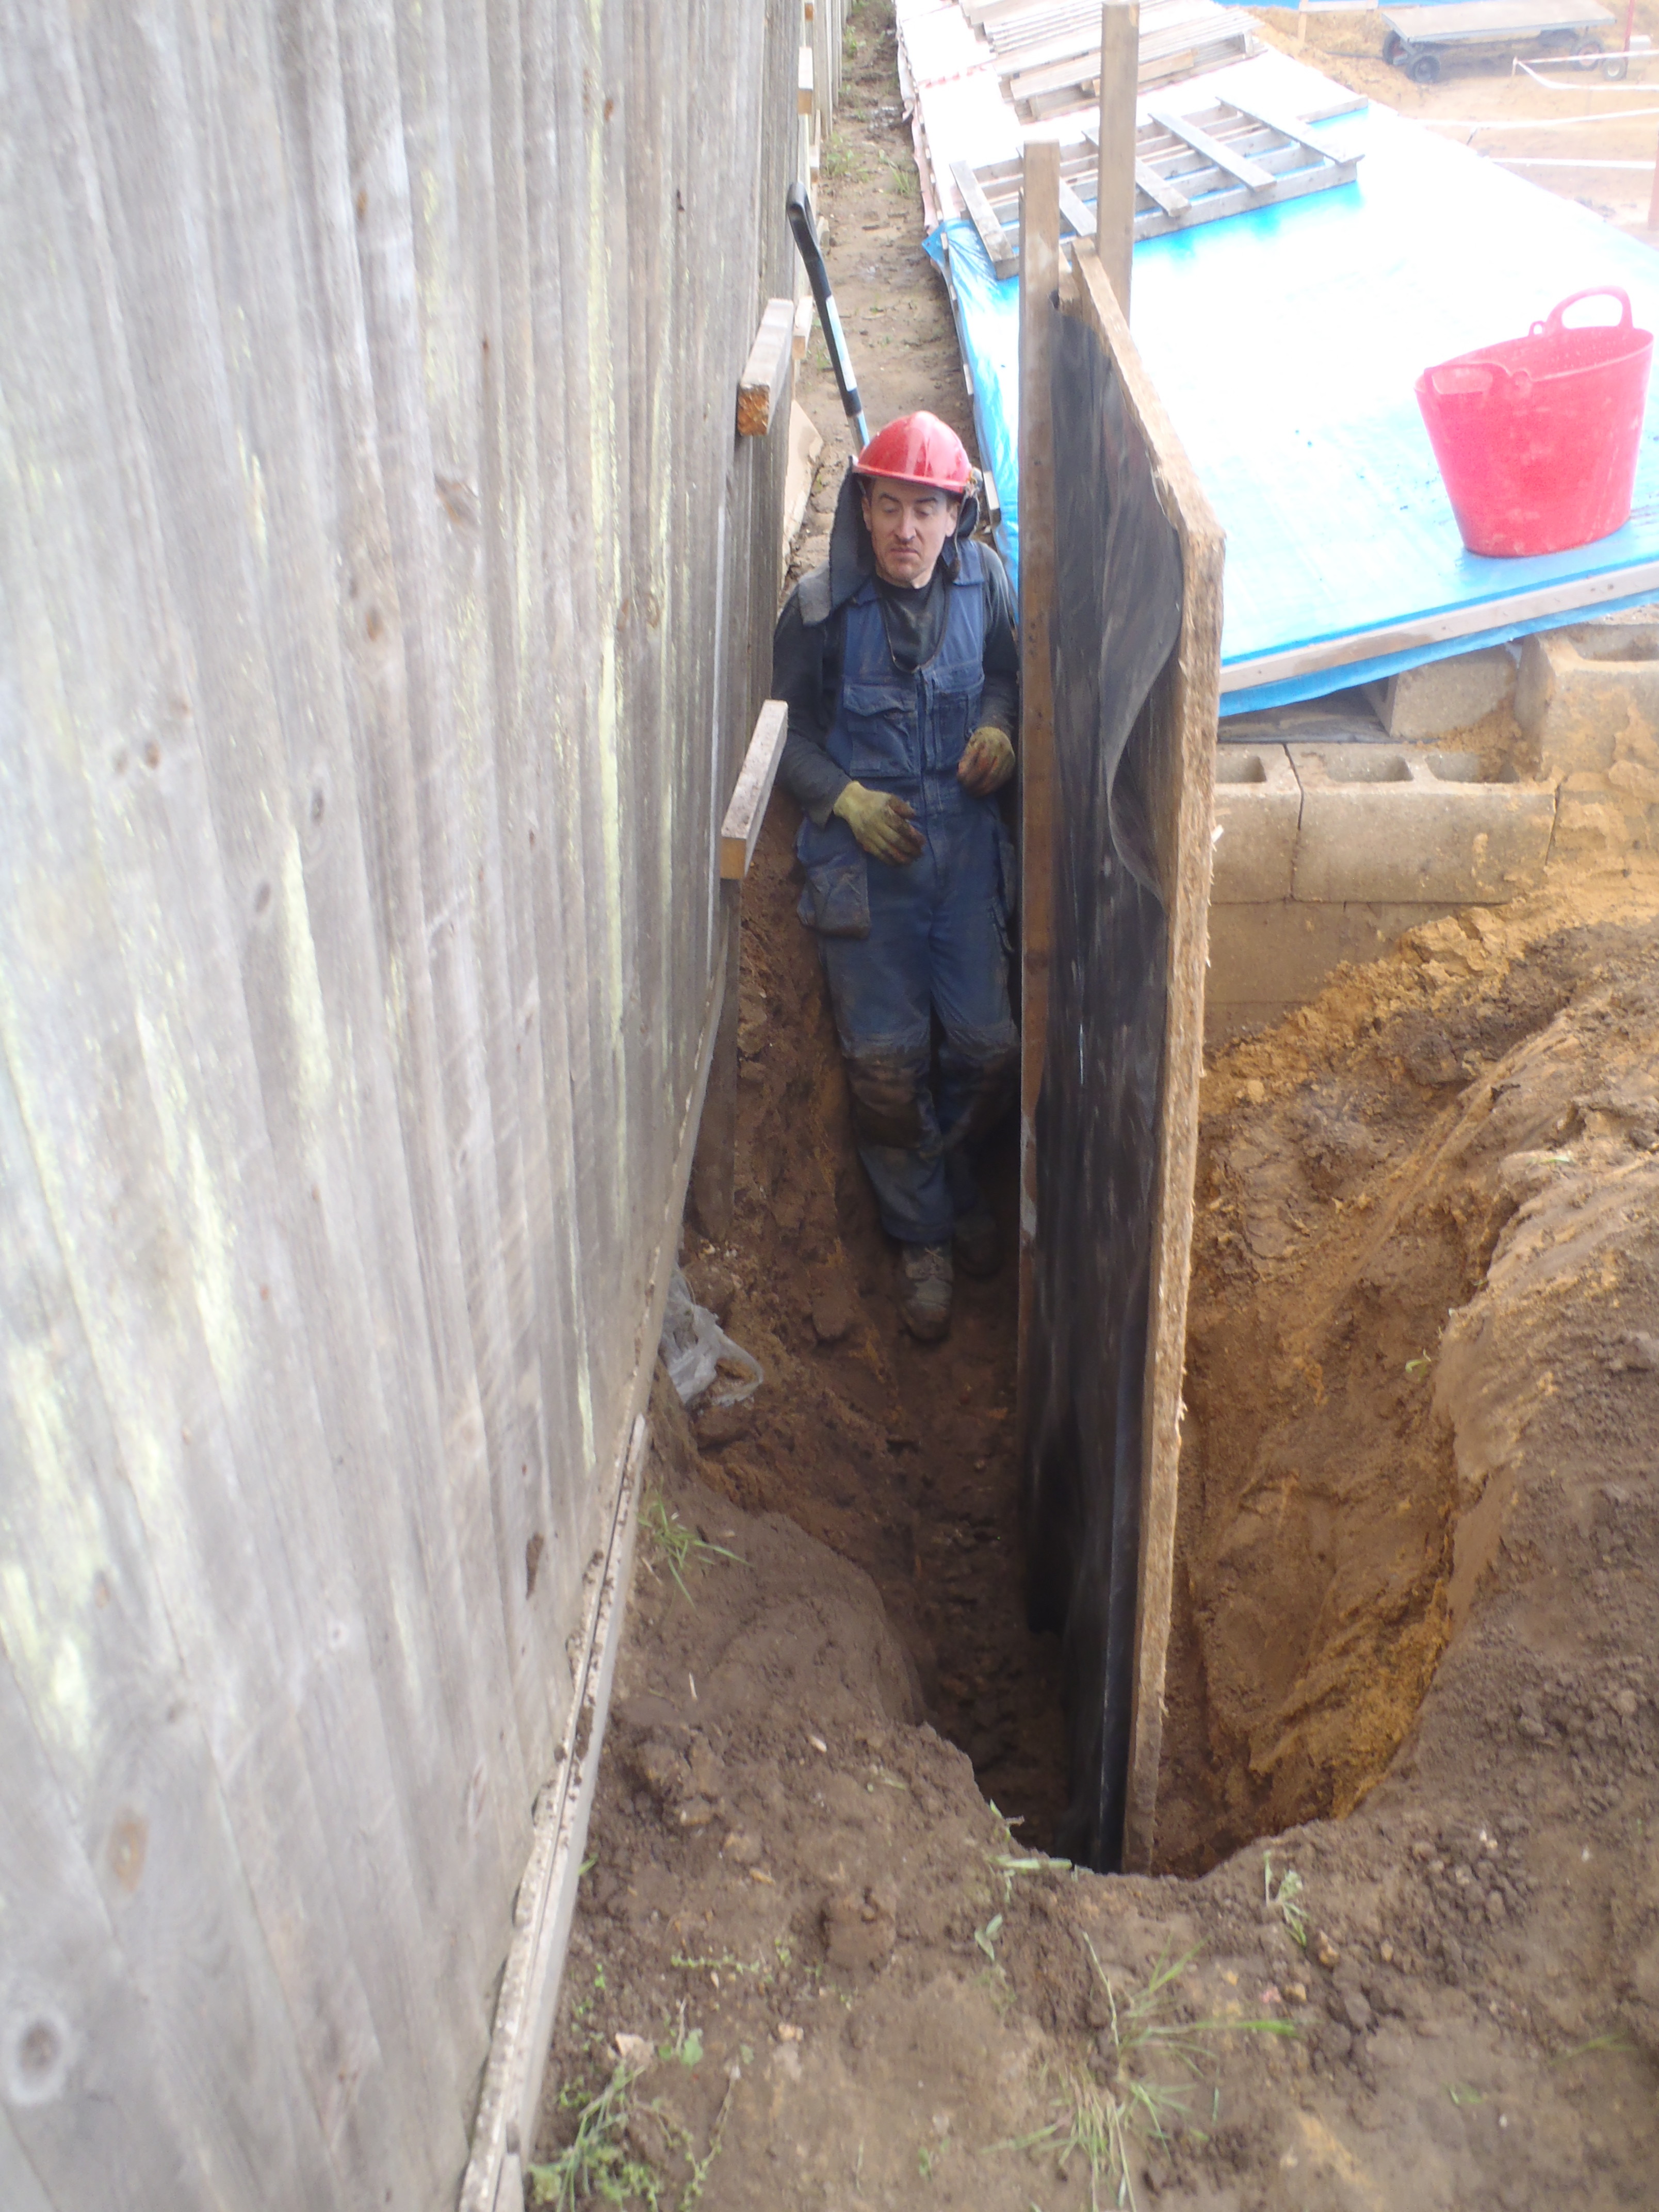
Module-3-Repairs-Bottom-of-hole-releveled
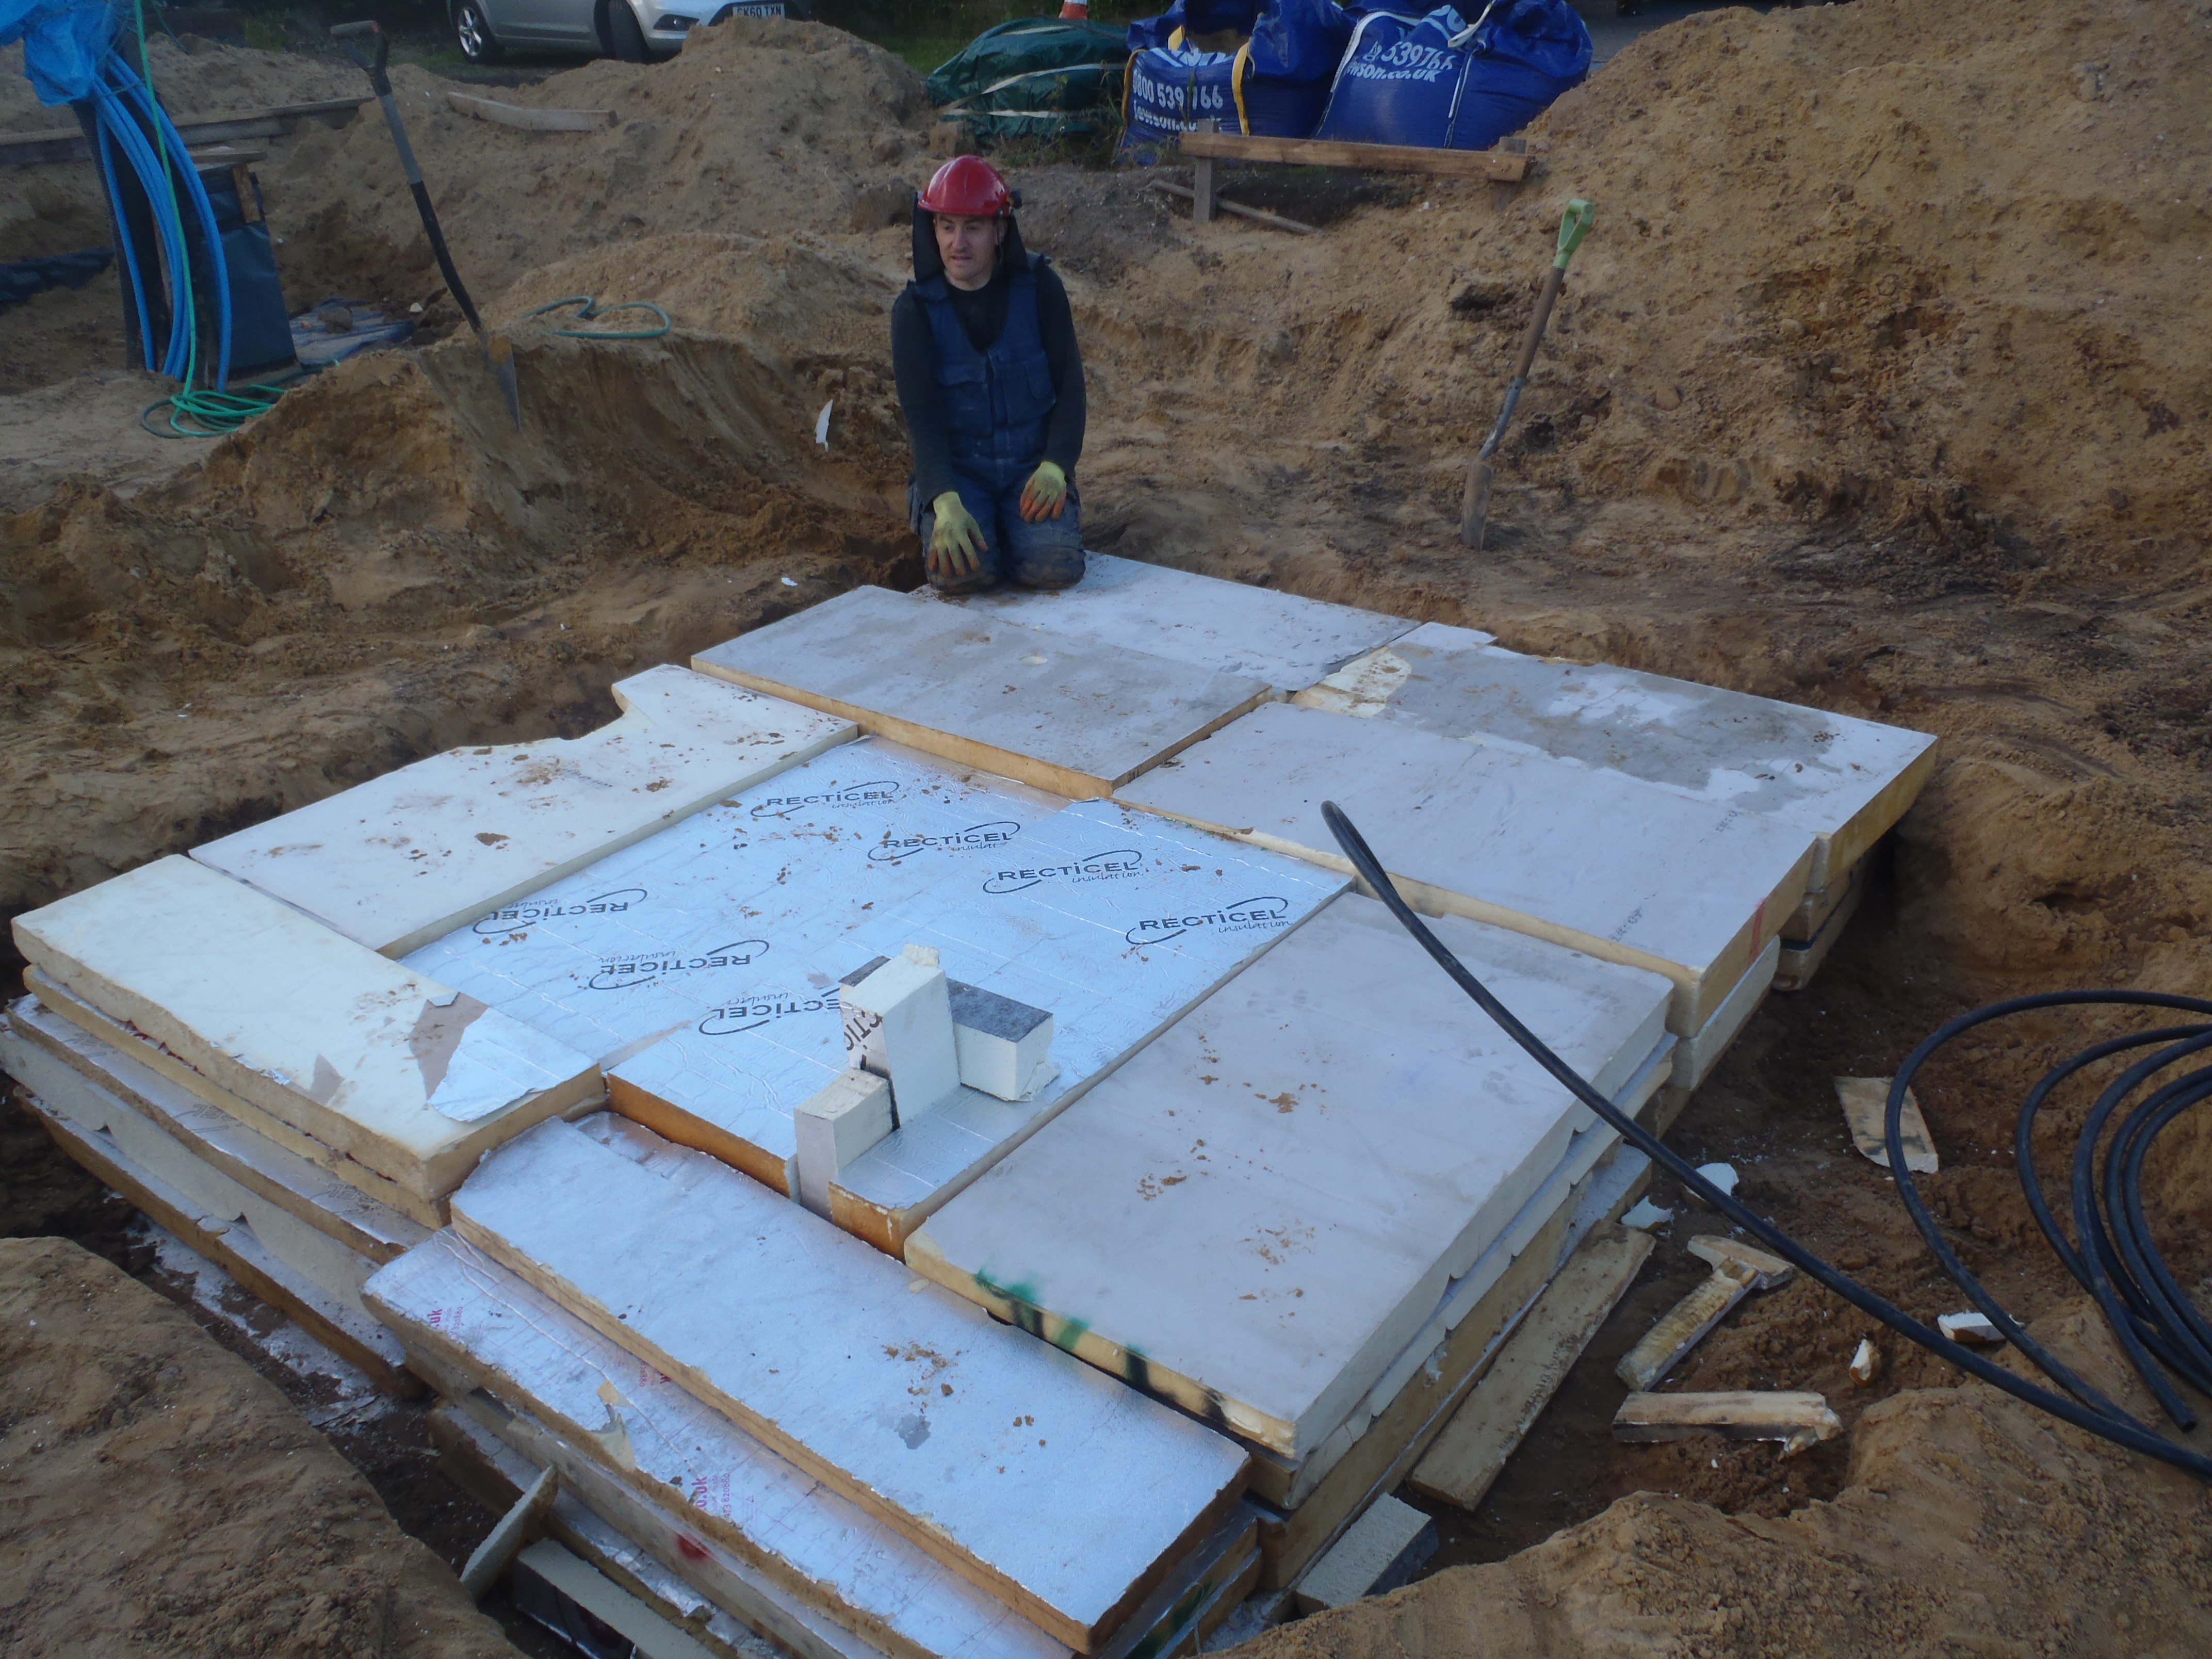
Then put back all the insulation boards, plus also put back the side insulation panels too.
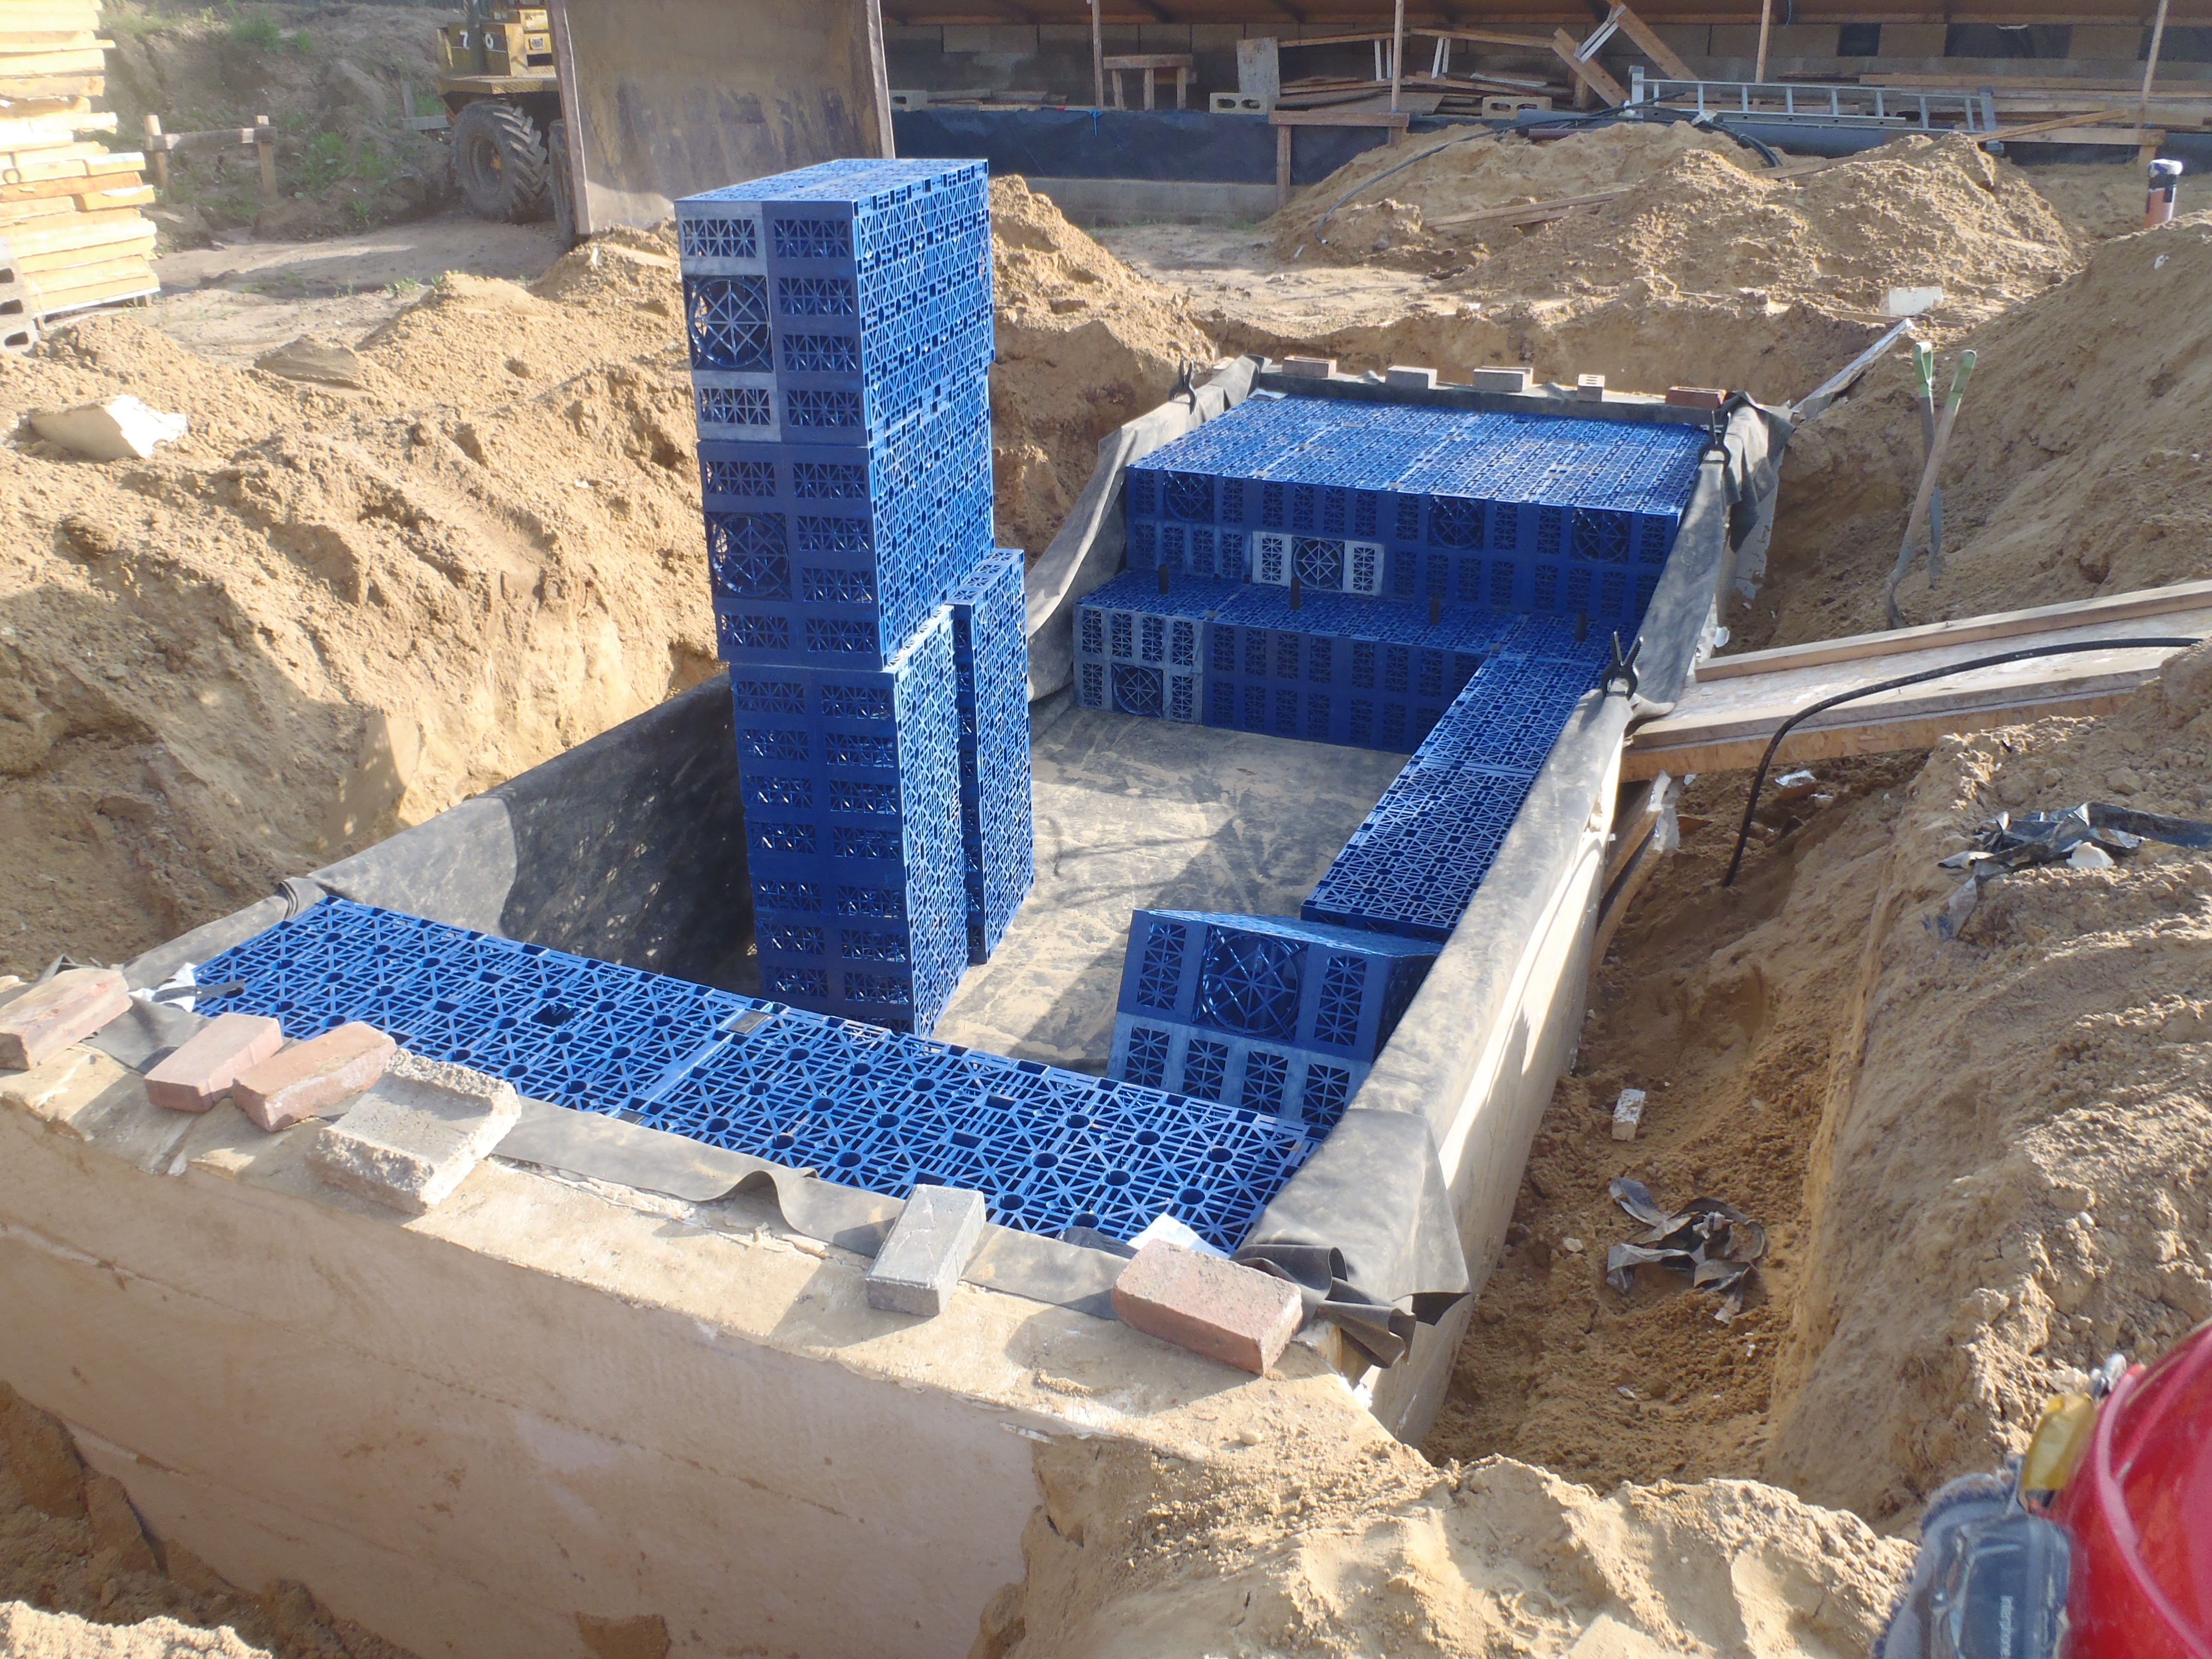
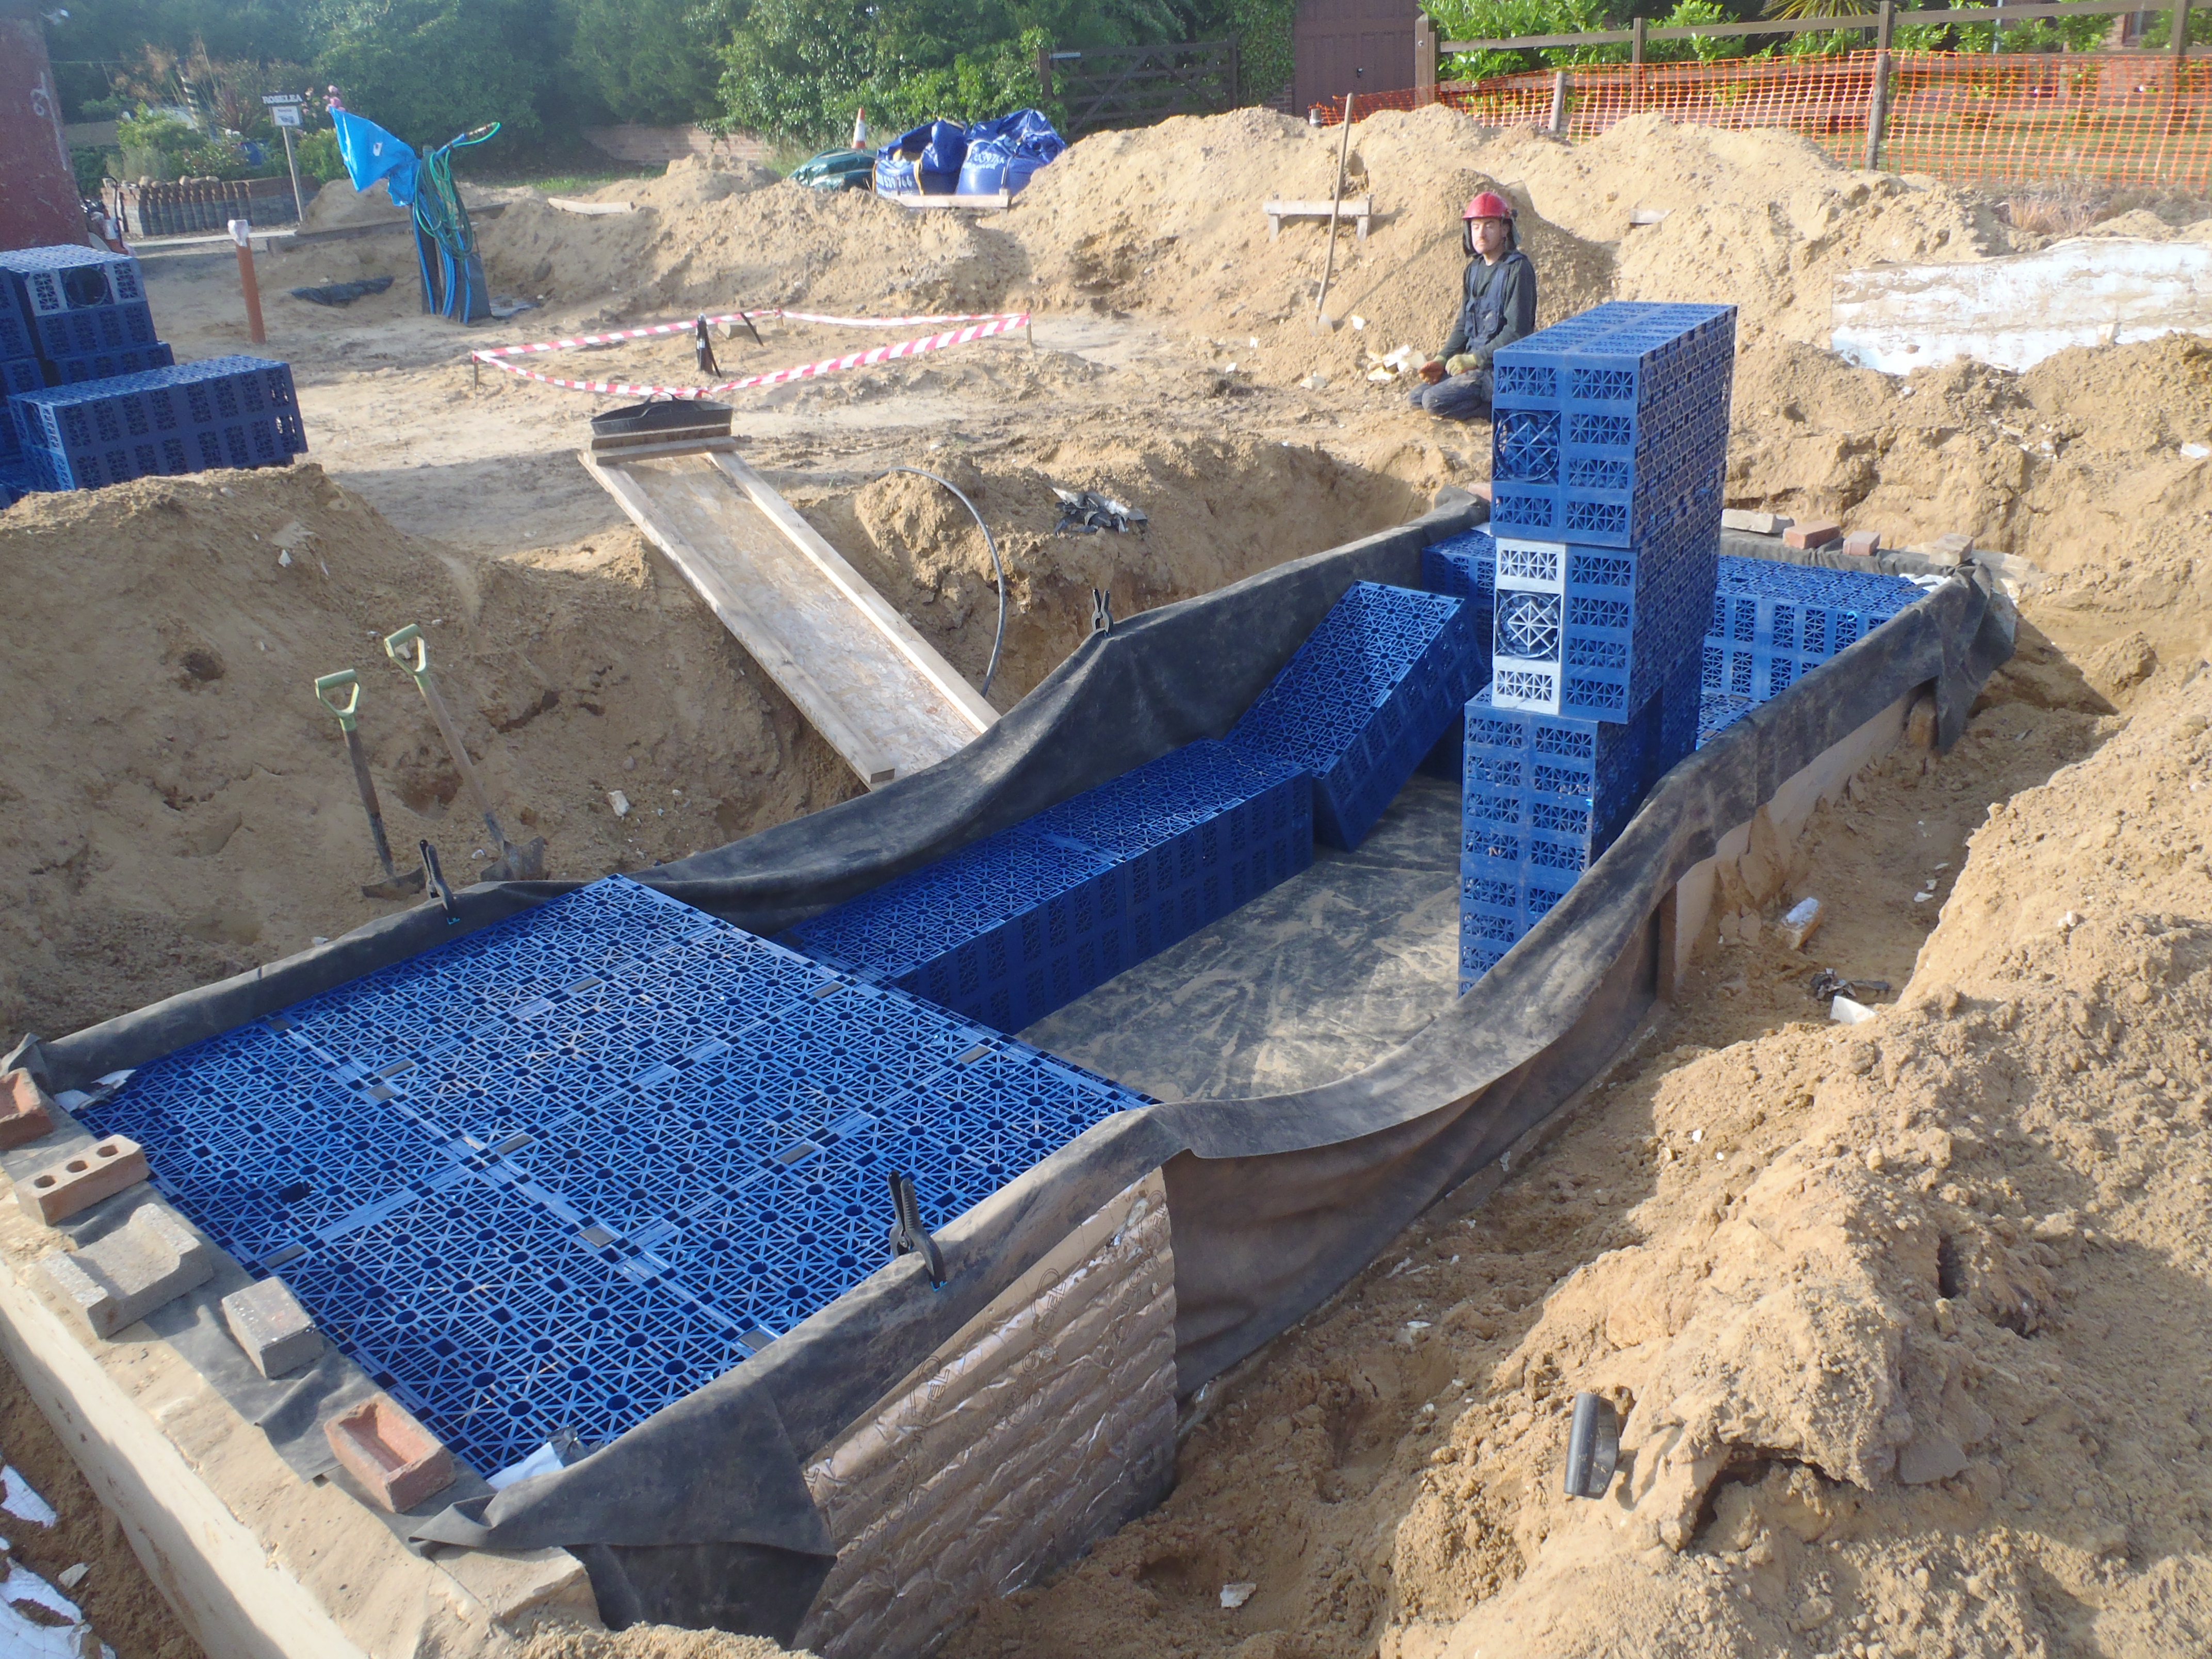
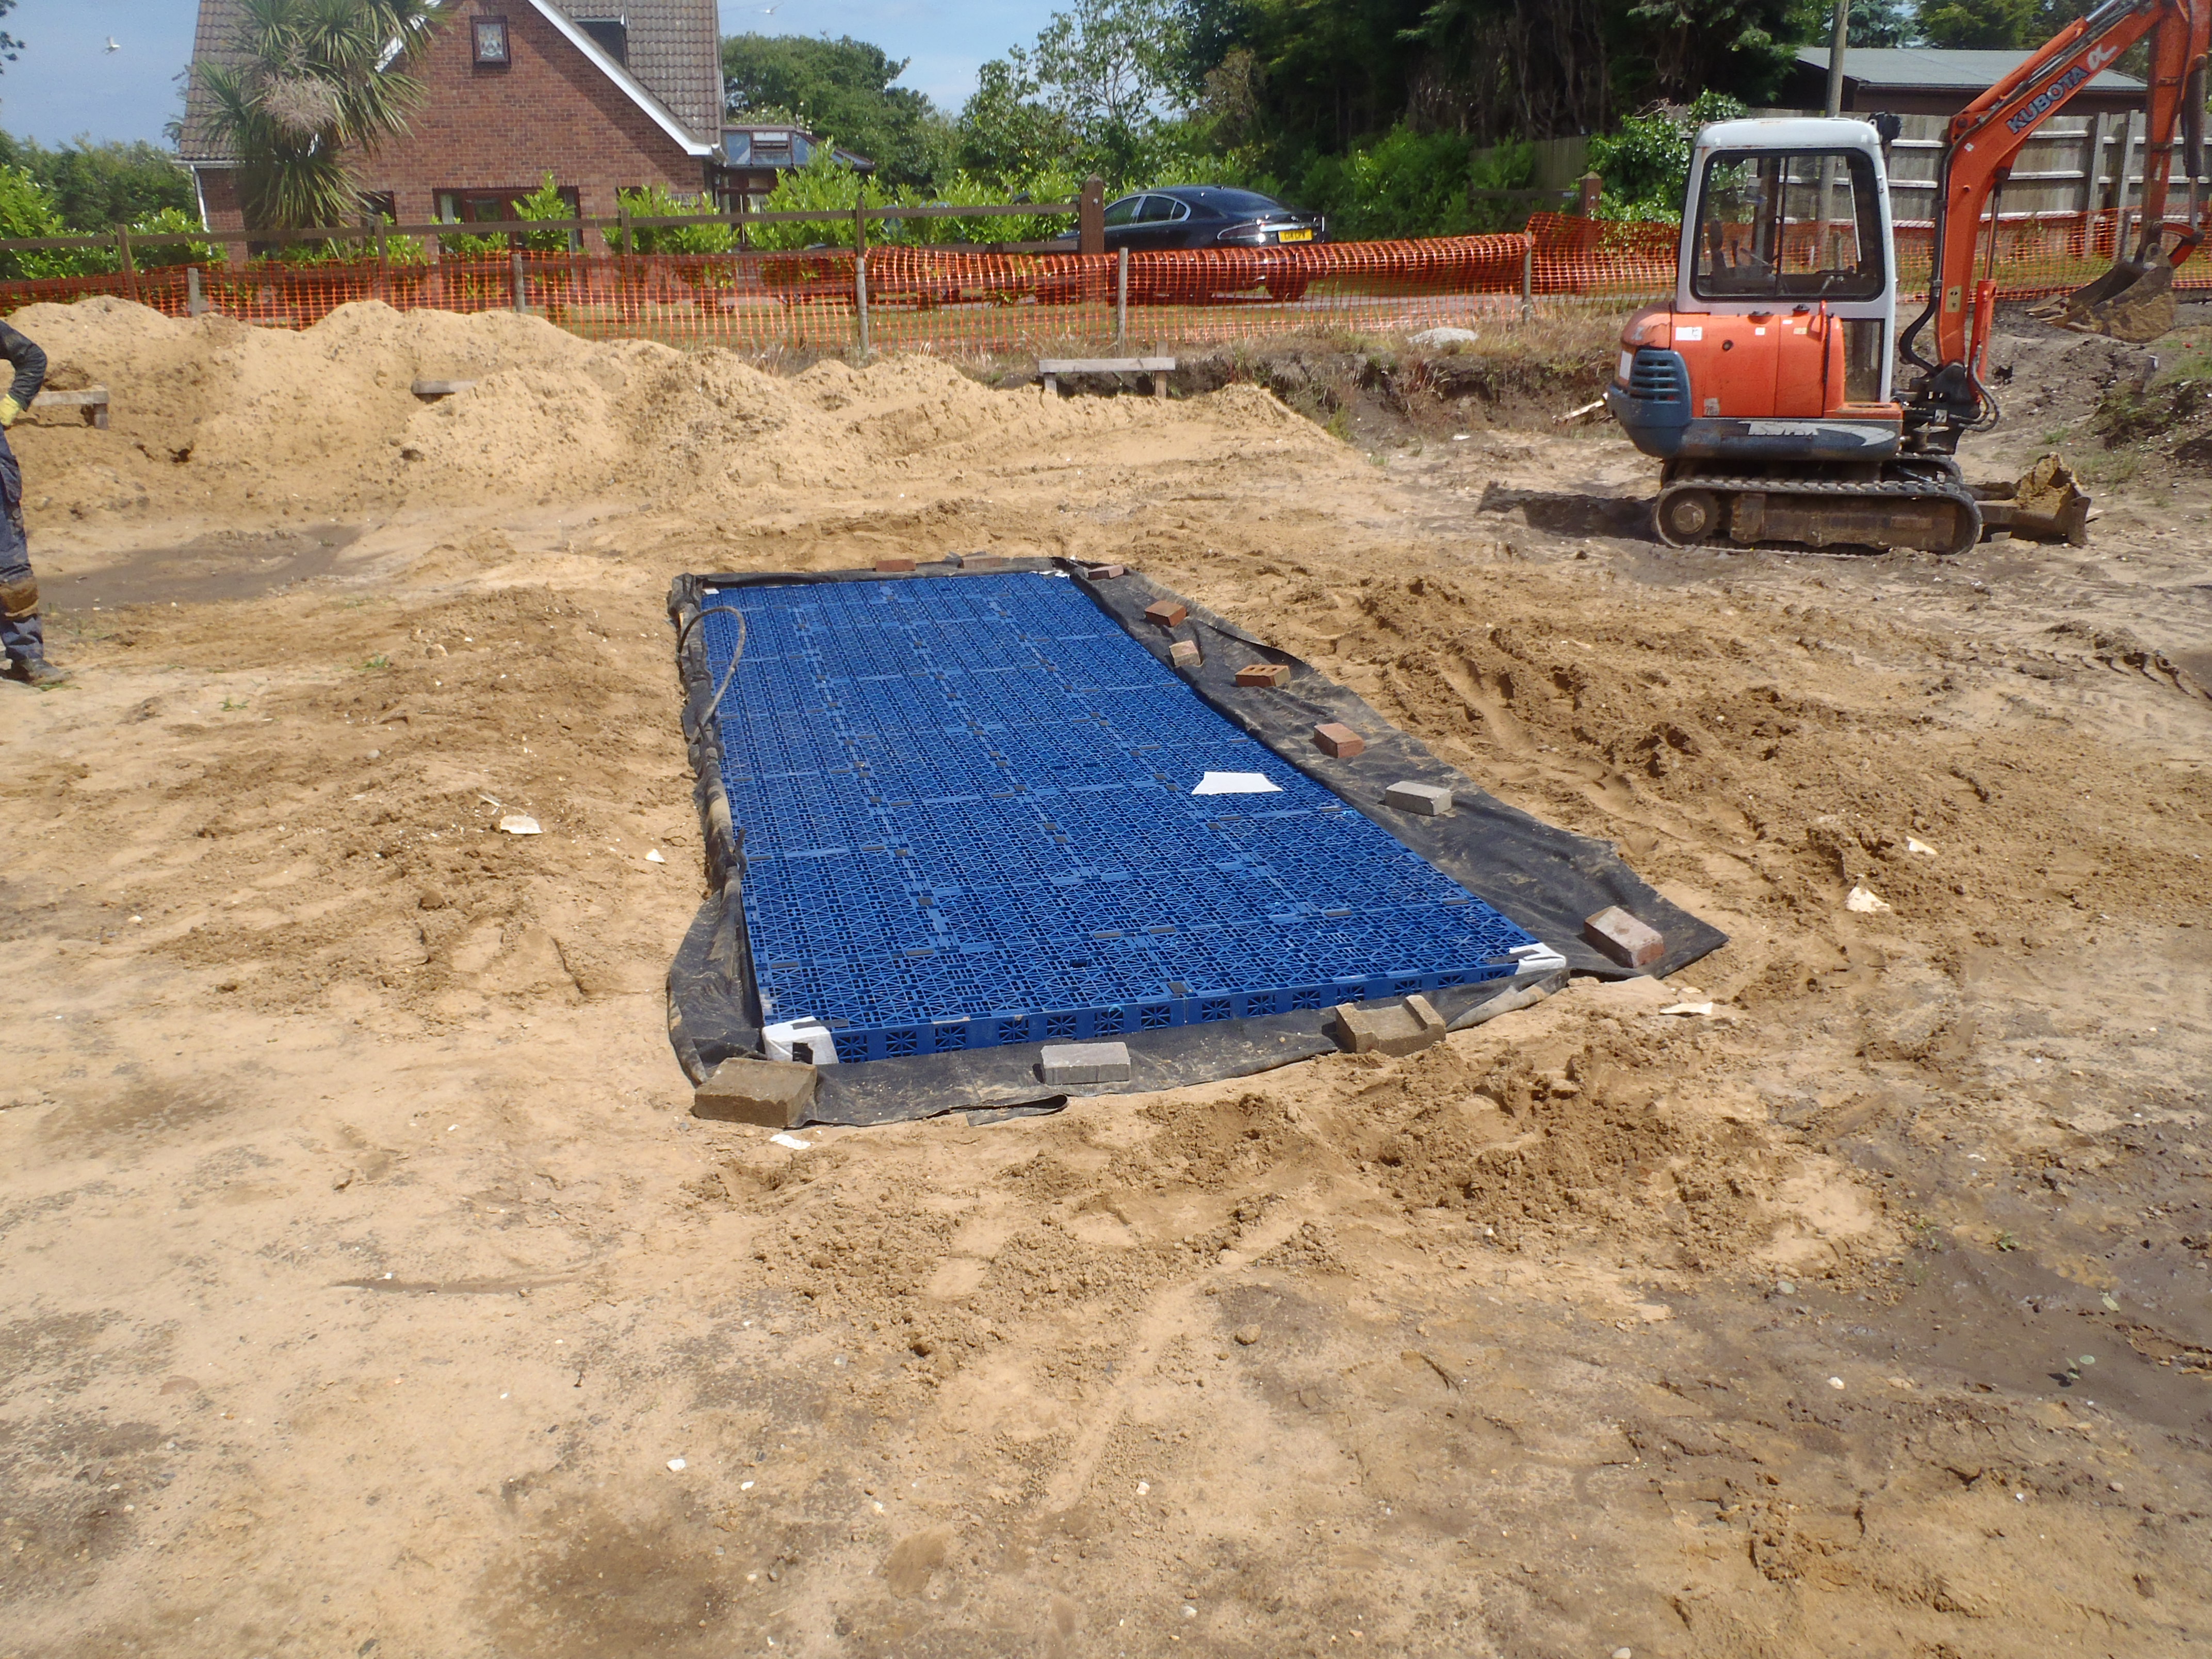
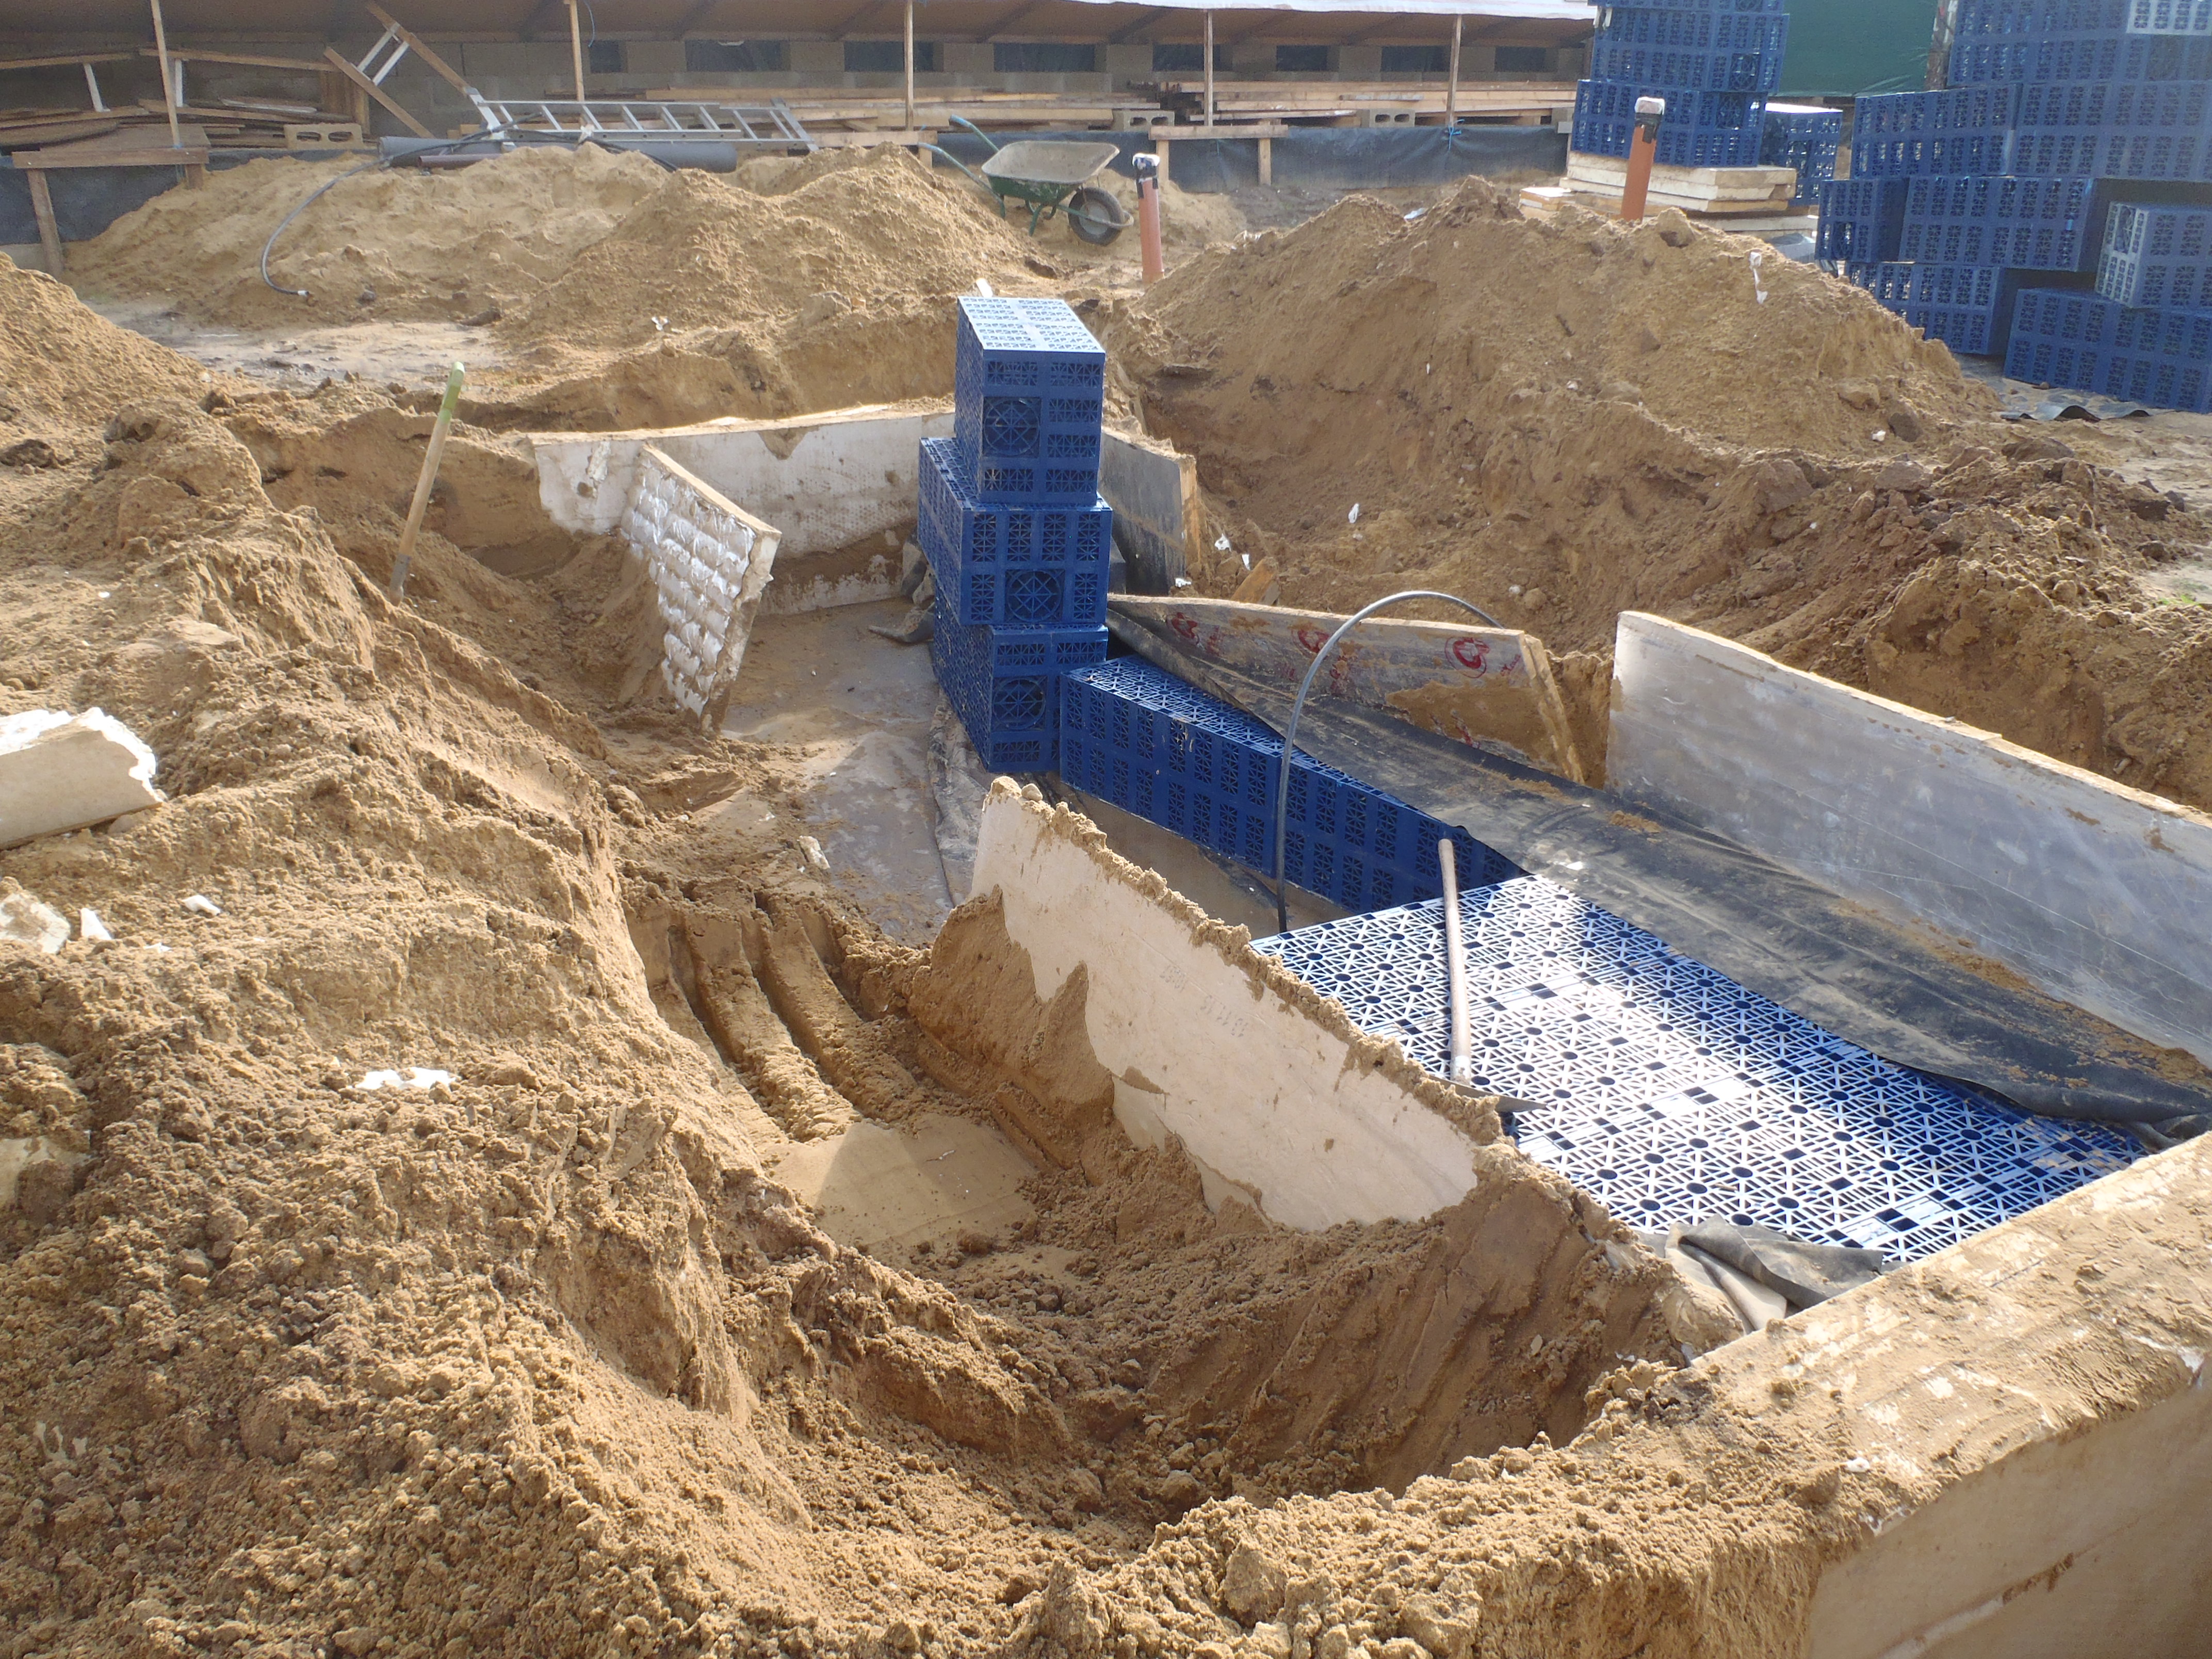
Then we put back the geotextile fabric and carefully got the rubber membrane back down too. Working at one end first, we put back some of the Aquacell crates, joined them back together again, making sure we got the right ones positioned so that our conduits for the temperature and water filling pipes can be fitted back in again. Then, we did the same at the other end and finally started putting the final 3 plastic crates along one edge to see if it all fitted again.
But Oh No! It doesn’t! There is a shortfall of about 10mm, yes just 1cm or a finger width, where we cannot fit the final crate into place! Upon examining the two ends, it looks like that the end nearest the swimming lane has ever so slightly moved inwards a fraction which we guess must have occurred during the flood and when the whole module rose up!!

Module-3-Repairs-End-of-Day-2-1
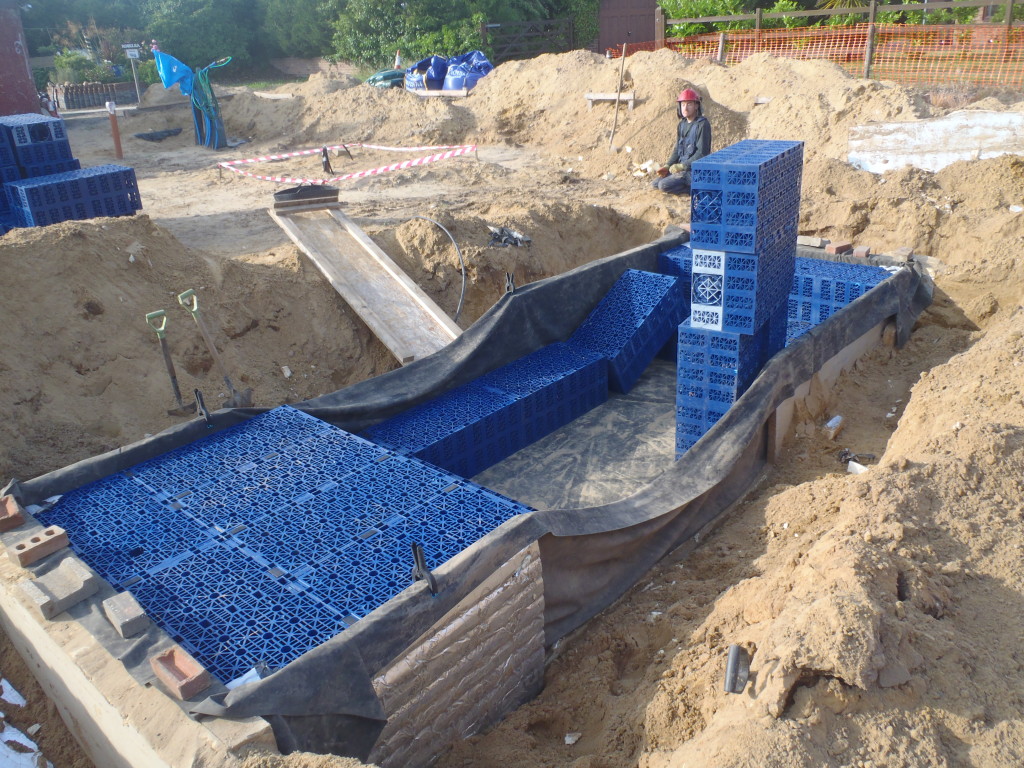
Module-3-Repairs-End-of-Day-2-3
Tomorrow, we will make adjustments down at that end and make the end insulation wall move outwards by that 10mm amount and then all will be well! We Hope!!