Author: Shaun

  • Footprint of house Scraped and Level – Part 2

     This morning, Stephen finished off scraping any excess soil lying within the footprint of the house. There was a little bit here and there but not much this time, in the area covered by the kitchen, bedroom 1 and the great room.

    Now, over to the next job of digging the next hole for an Energy Module!!

  • Scraping and Levelling the Footprint of House – Part 1

    Today, we went out to find out how level and flat the ground is for where the footprint of the house is going. We created an attachment for both the batter boards and for the dozer blade on the mini-digger to generate the laser line and receiver respectively, to allow the mini-digger to move around the area and accurately push excess soil away.

    Laser-generator-on-bracket

    Laser-generator-on-bracket

    Laser-Detector-on-Diggers-dozer-blade

    Laser-Detector-on-Diggers-dozer-blade


    We started in the middle to work outwards so all excess material (if any) is automatically out of the way. We have done half the house from the front door and everything to right of it. There is no excess soil in this section, there are lower points but we can easily fill these up with the output of our Energy Module installations.

    Level-checked-and-scraped-as-nessesary

    Level-checked-and-scraped-as-nessesary

    We are very glad that we had done this job before we did any more Energy Modules as the mini-digger made short work on the task, but if we had discovered that we needed to remove this excess soil AFTER we had installed all the Energy Modules, by Jupiter, it would have been a massive manual labour job!!

    On Monday, we will do the other half and then go back to digging and installing the Energy Modules.

  • Lovely Fire!

    We had some spare time and it was slightly raining today so we took the opportunity to have get a fire in the incinerator going to get rid of various wooden rubbish around the site.

    May-25th-Bonfire1

    May-25th-Bonfire1

    Like for example, 7 wooden pallets, brambles, rotten OSB boards and off cuts from the garage we have collected over the last few weeks.

    It took longer than we expected and didn’t finish until 8:15 pm and still the fire is going! We will have to go out again before we go to bed to double check that it is ok!!

  • Second and Last Set of Batter Boards are Inserted!

    We finished off inserting the back set of batter boards. These were L2 and R2 which defines the foundation line running from left to right, near the back of the house, that are the sides of bedroom 1 and bedroom 3. L1 and R1, which are already in place, defines the furthest foundation line at the back of the house and delineate the edges of the Great room and Bedroom 2.

    All the B1 through B6 (Back) batter boards are duplicates of the Front boards have been inserted too. This now allows us to string a line from back to front to guide us to where various building features are.

    Back-row-of-batter-boards-21

    Back-row-of-batter-boards-21

    Back-row-of-batter-boards-11

    Back-row-of-batter-boards-11


    There is a total of 20 Layout points on 18 boards. We got three extensions in our house plans so lots of ins and outs and corners!!

  • Batter Boards Inserted – The Front Row

    Today, we calculated from our technical drawings on the computer, the positions of the front set of the Batter Boards. These Batter Boards are a horizontal board supported on two legs, which allows for nails to be placed, to delineate the edges of building features (for example, Walls, foundations etc). These define the two foundation strips that supports the front walls of the house namely the great room, kitchen, front door, entertainment room, and the utility room. These are marked as L3, L4 (the left side) and R3, R4 (the right side).

    Included in this front set, are the markers that defines the “front-to-back” foundation strips as follows:

    • F1 – Left side wall
    • F2 – Great Room / Kitchen
    • F3 – Kitchen / Hall
    • F4 – Hall / Entertainment Room
    • F5 – Entertainment Room / Utility Room
    • F6 – Right side Wall

    Site-Markup-Started-2

    Site-Markup-Started-2

    Site-Markup-Started-1

    Site-Markup-Started-1

    Site-Markup-Started-4

    Site-Markup-Started-4

    Site-Markup-Started-3

    Site-Markup-Started-3


    We sprouted a lovely collection of Batter Boards!

  • Shuttering and Putting Rubble in around Air Chamber and Tunnel

    We have been building some extra shuttering down the sides of the tunnel to form an extra thick footing to support the main house foundation as it goes over the tunnel.

    Earth-tube-tunnel-finished

    Earth-tube-tunnel-finished

    We have also built shuttering to form a ‘chimney’ to take the air from the tunnel up through the foundation and floor slab. This has been topped with a temporary air filter to allow fresh air into the earth tubes as we use this for fresh air in our living quarters.

    Earth-tube-chimney

    Earth-tube-chimney

    Also, while the shuttering was being constructed, old rubble and soil was loaded around the the Air Mixing Chamber and the Tunnel, compacted down and built up to somewhere the right level for the floor slab.

    Ground-filled-around-tunnel

    Ground-filled-around-tunnel

    We will fill in with more sandy soil and adjust with more accuracy when the foundation strip is poured and set, we would have a marker to line up to then.


  • Sunday Quiet Jobs!

    As to our rule, for Sunday, we do quiet jobs around the house and the site so not to disturb our neighbors.

    Today, we did several tasks as follows:

    Camera and TV Aerial

    We decided to take down the heavy wooden old pole that holds up our TV Aerial, Camera and floodlight. It was too heavy for the structure of the building, our front door and storage room door were not braced very strongly, so the whole corner was leaning over, especially during strong winds.

    The floodlight went back up on a much smaller and shorter piece of timber we had lying around, a 50 mm by 50 mm piece.

    New-pole-for-floodlight

    New-pole-for-floodlight

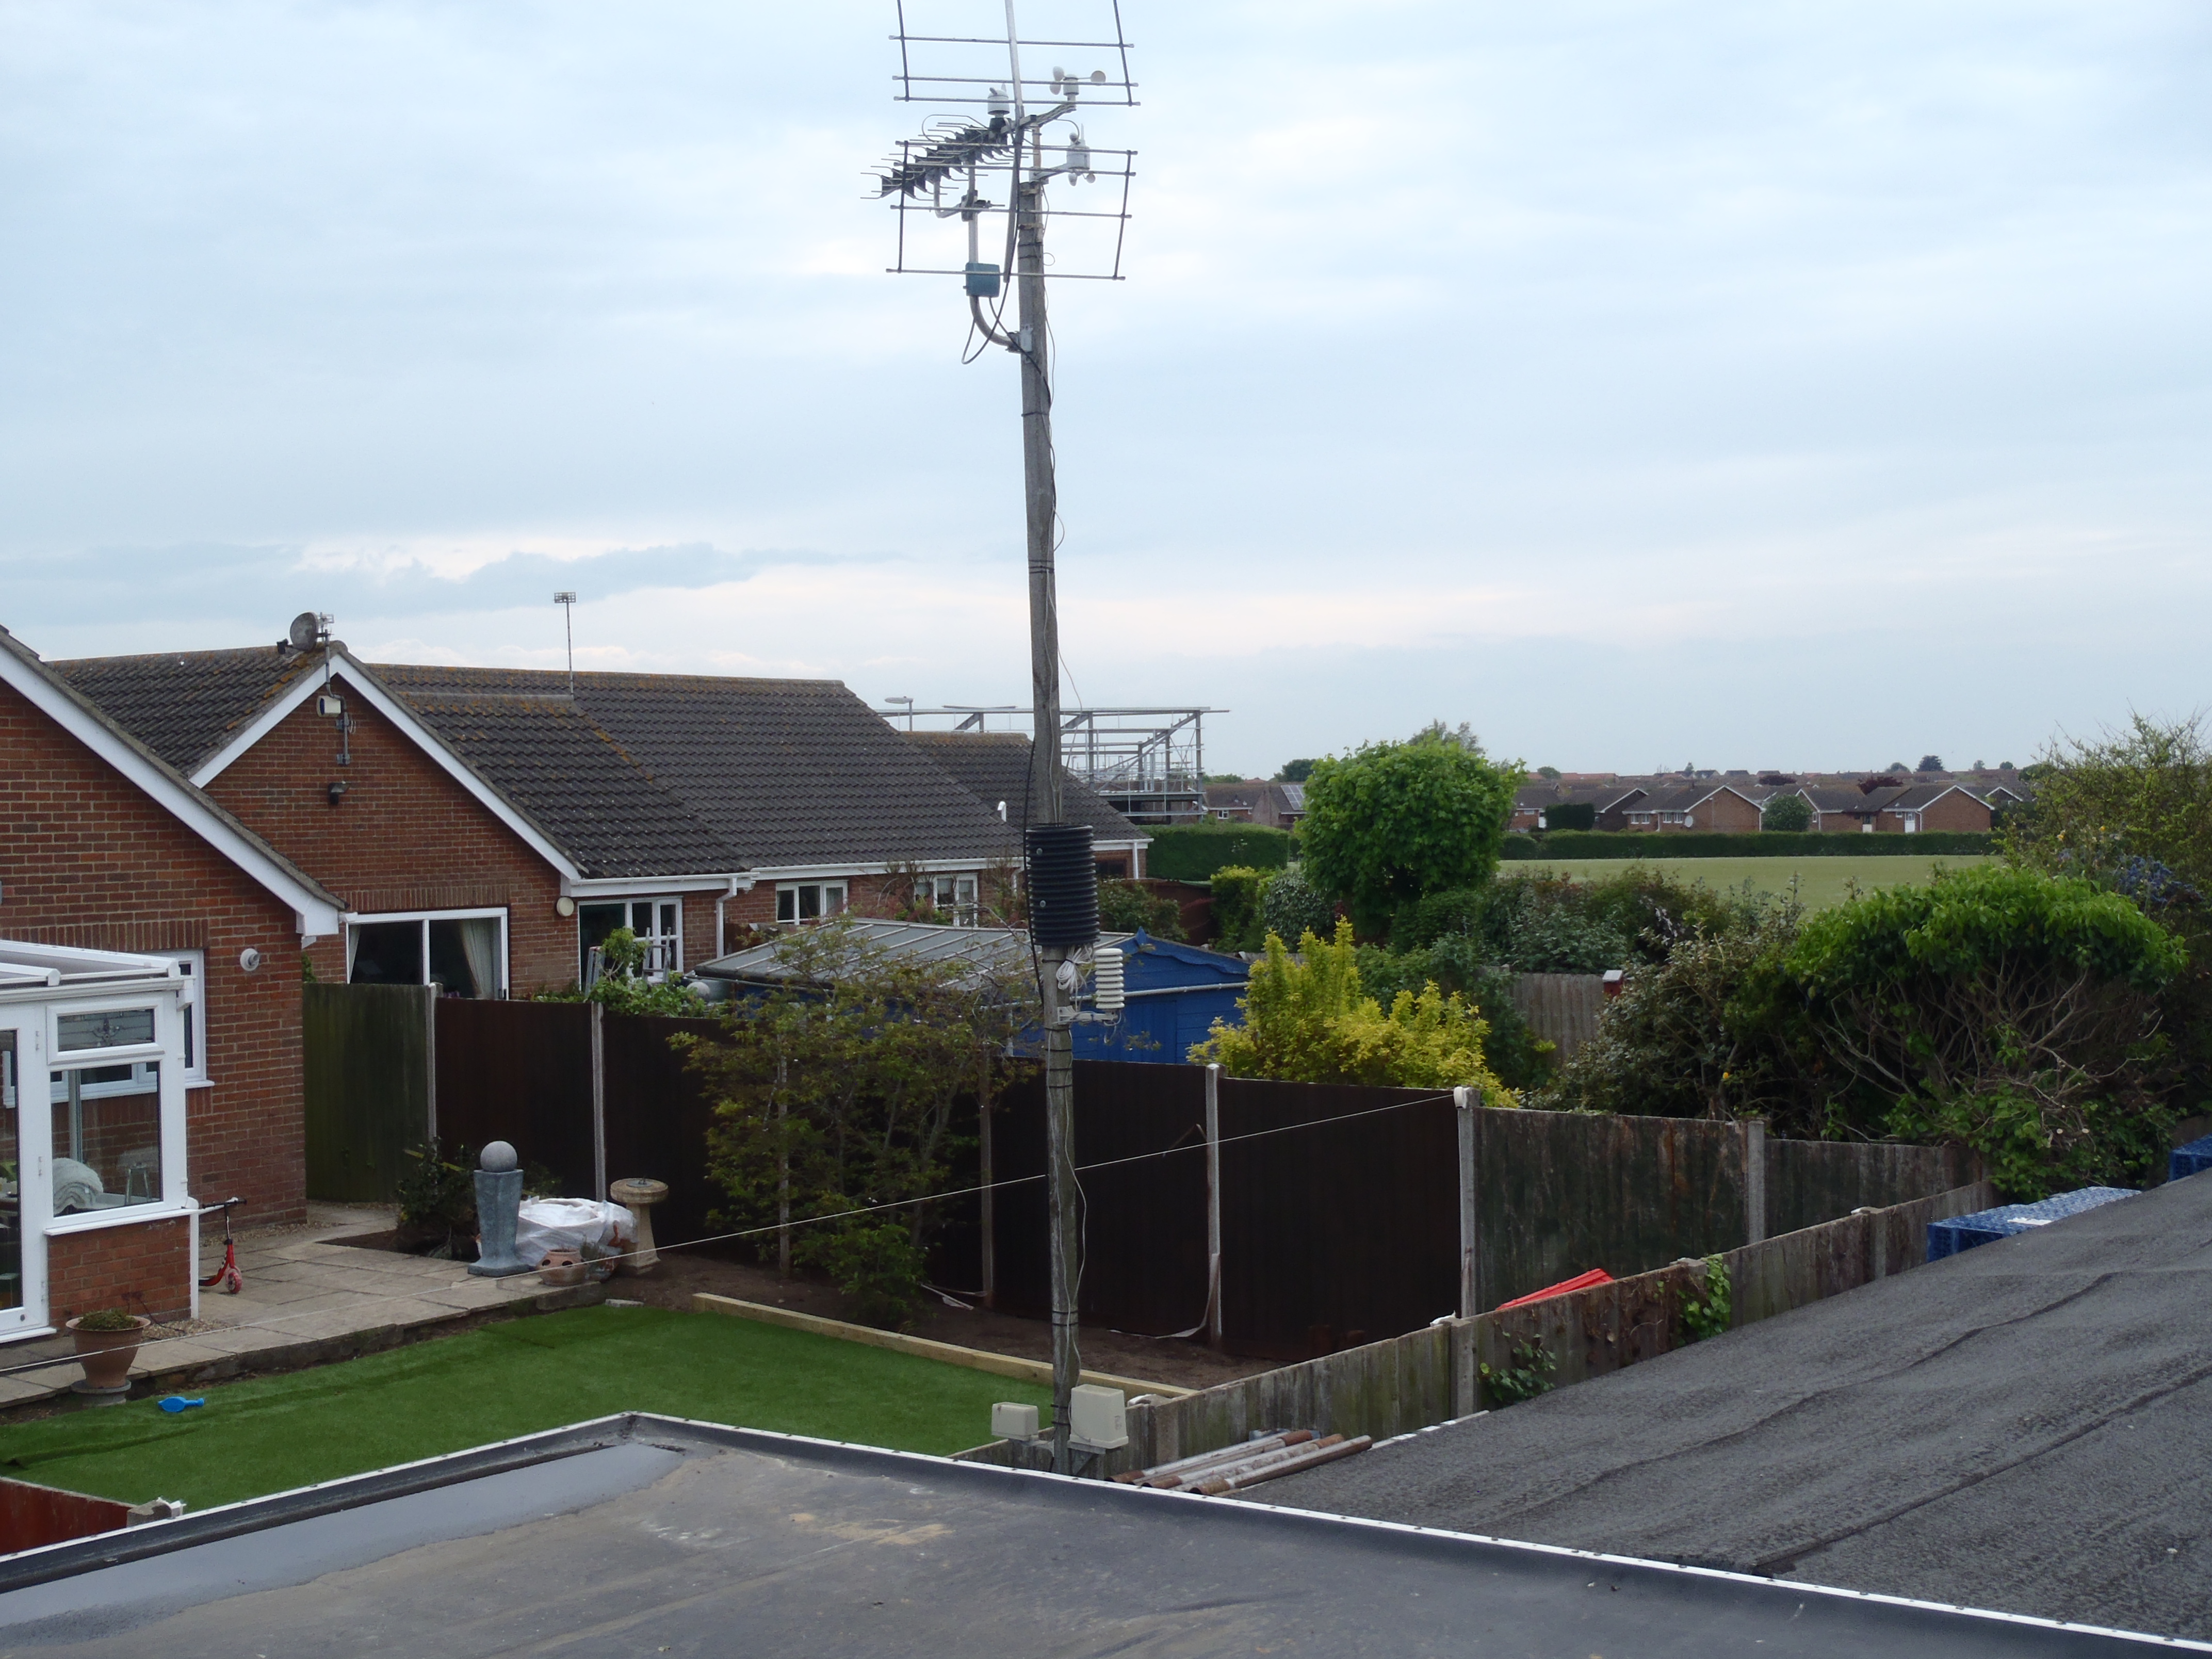
    The TV Aerial went up at the top of the weather equipment pole at the other end of the temporary living quarters and reconnected back into the TV.

    Aerial-Moved

    Aerial-Moved

    Mind you, it seems to have stopped working and at first, we thought it was because the birds had bounced the aerial downwards so it wouldn’t be picking up a strong signal anymore, but having moved it now and pointed it in the general direction that our neighbors’ aerial are pointing, we are still not getting a good signal so something else has gone astray!!

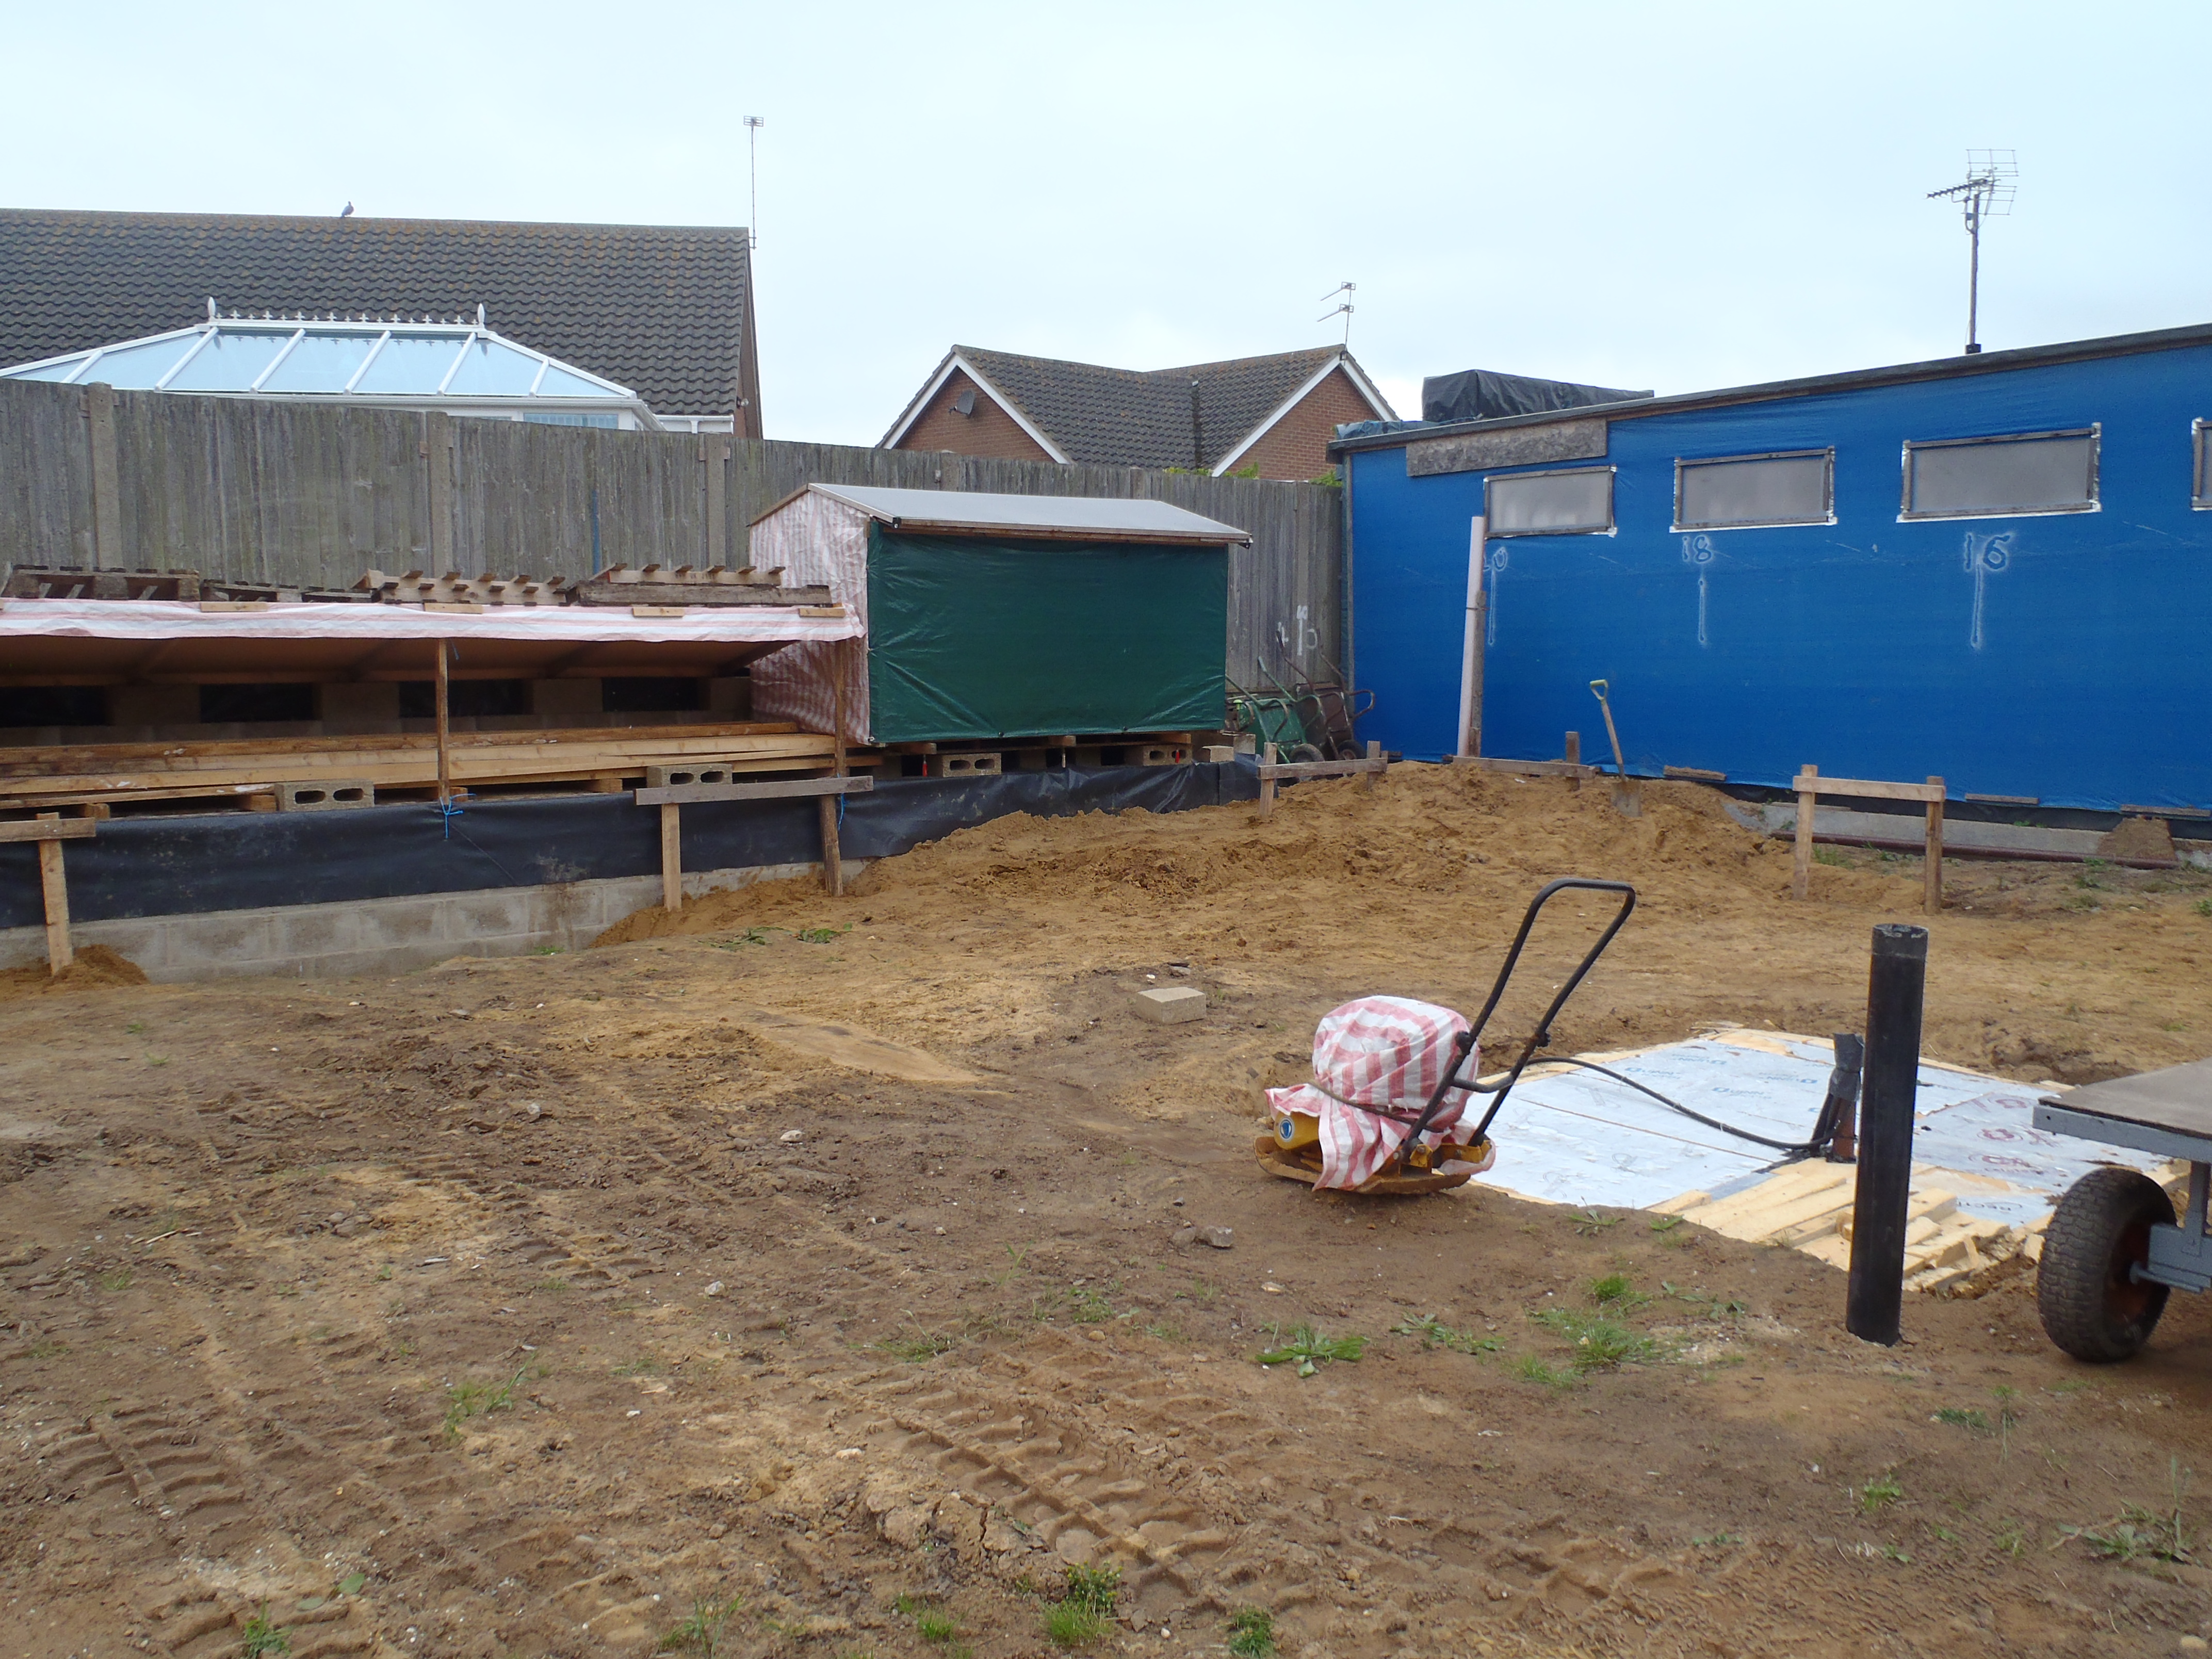
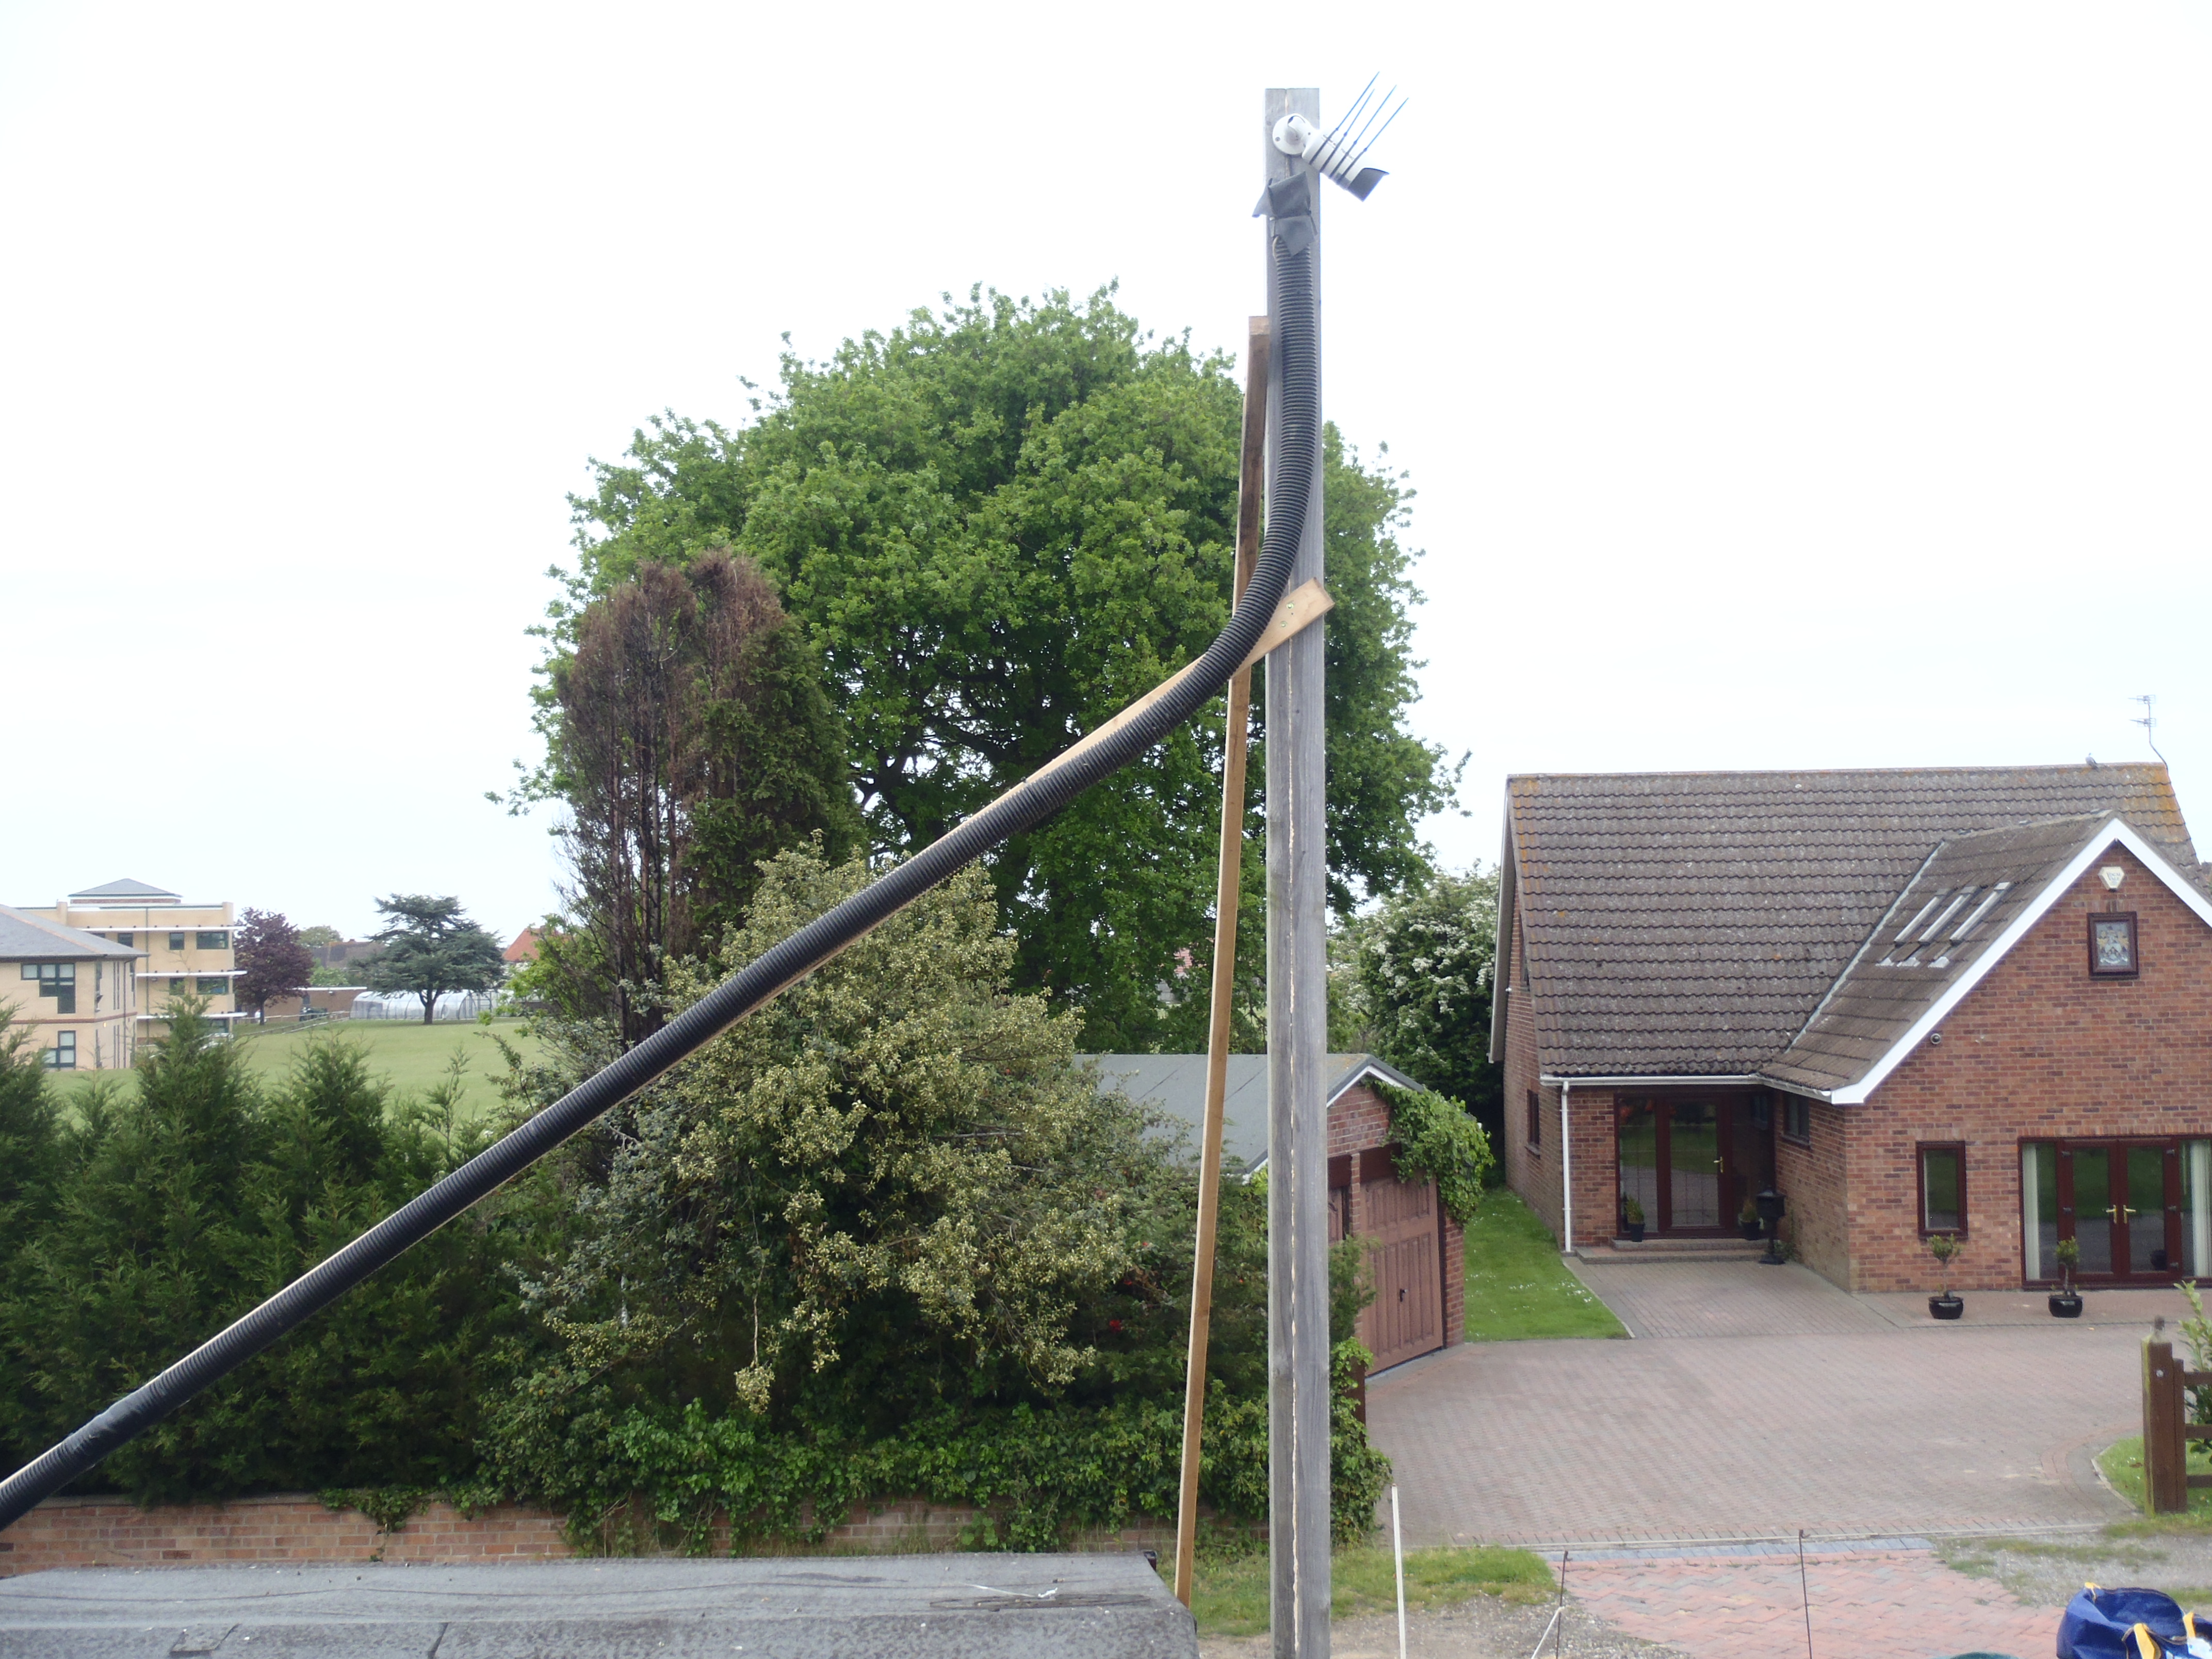
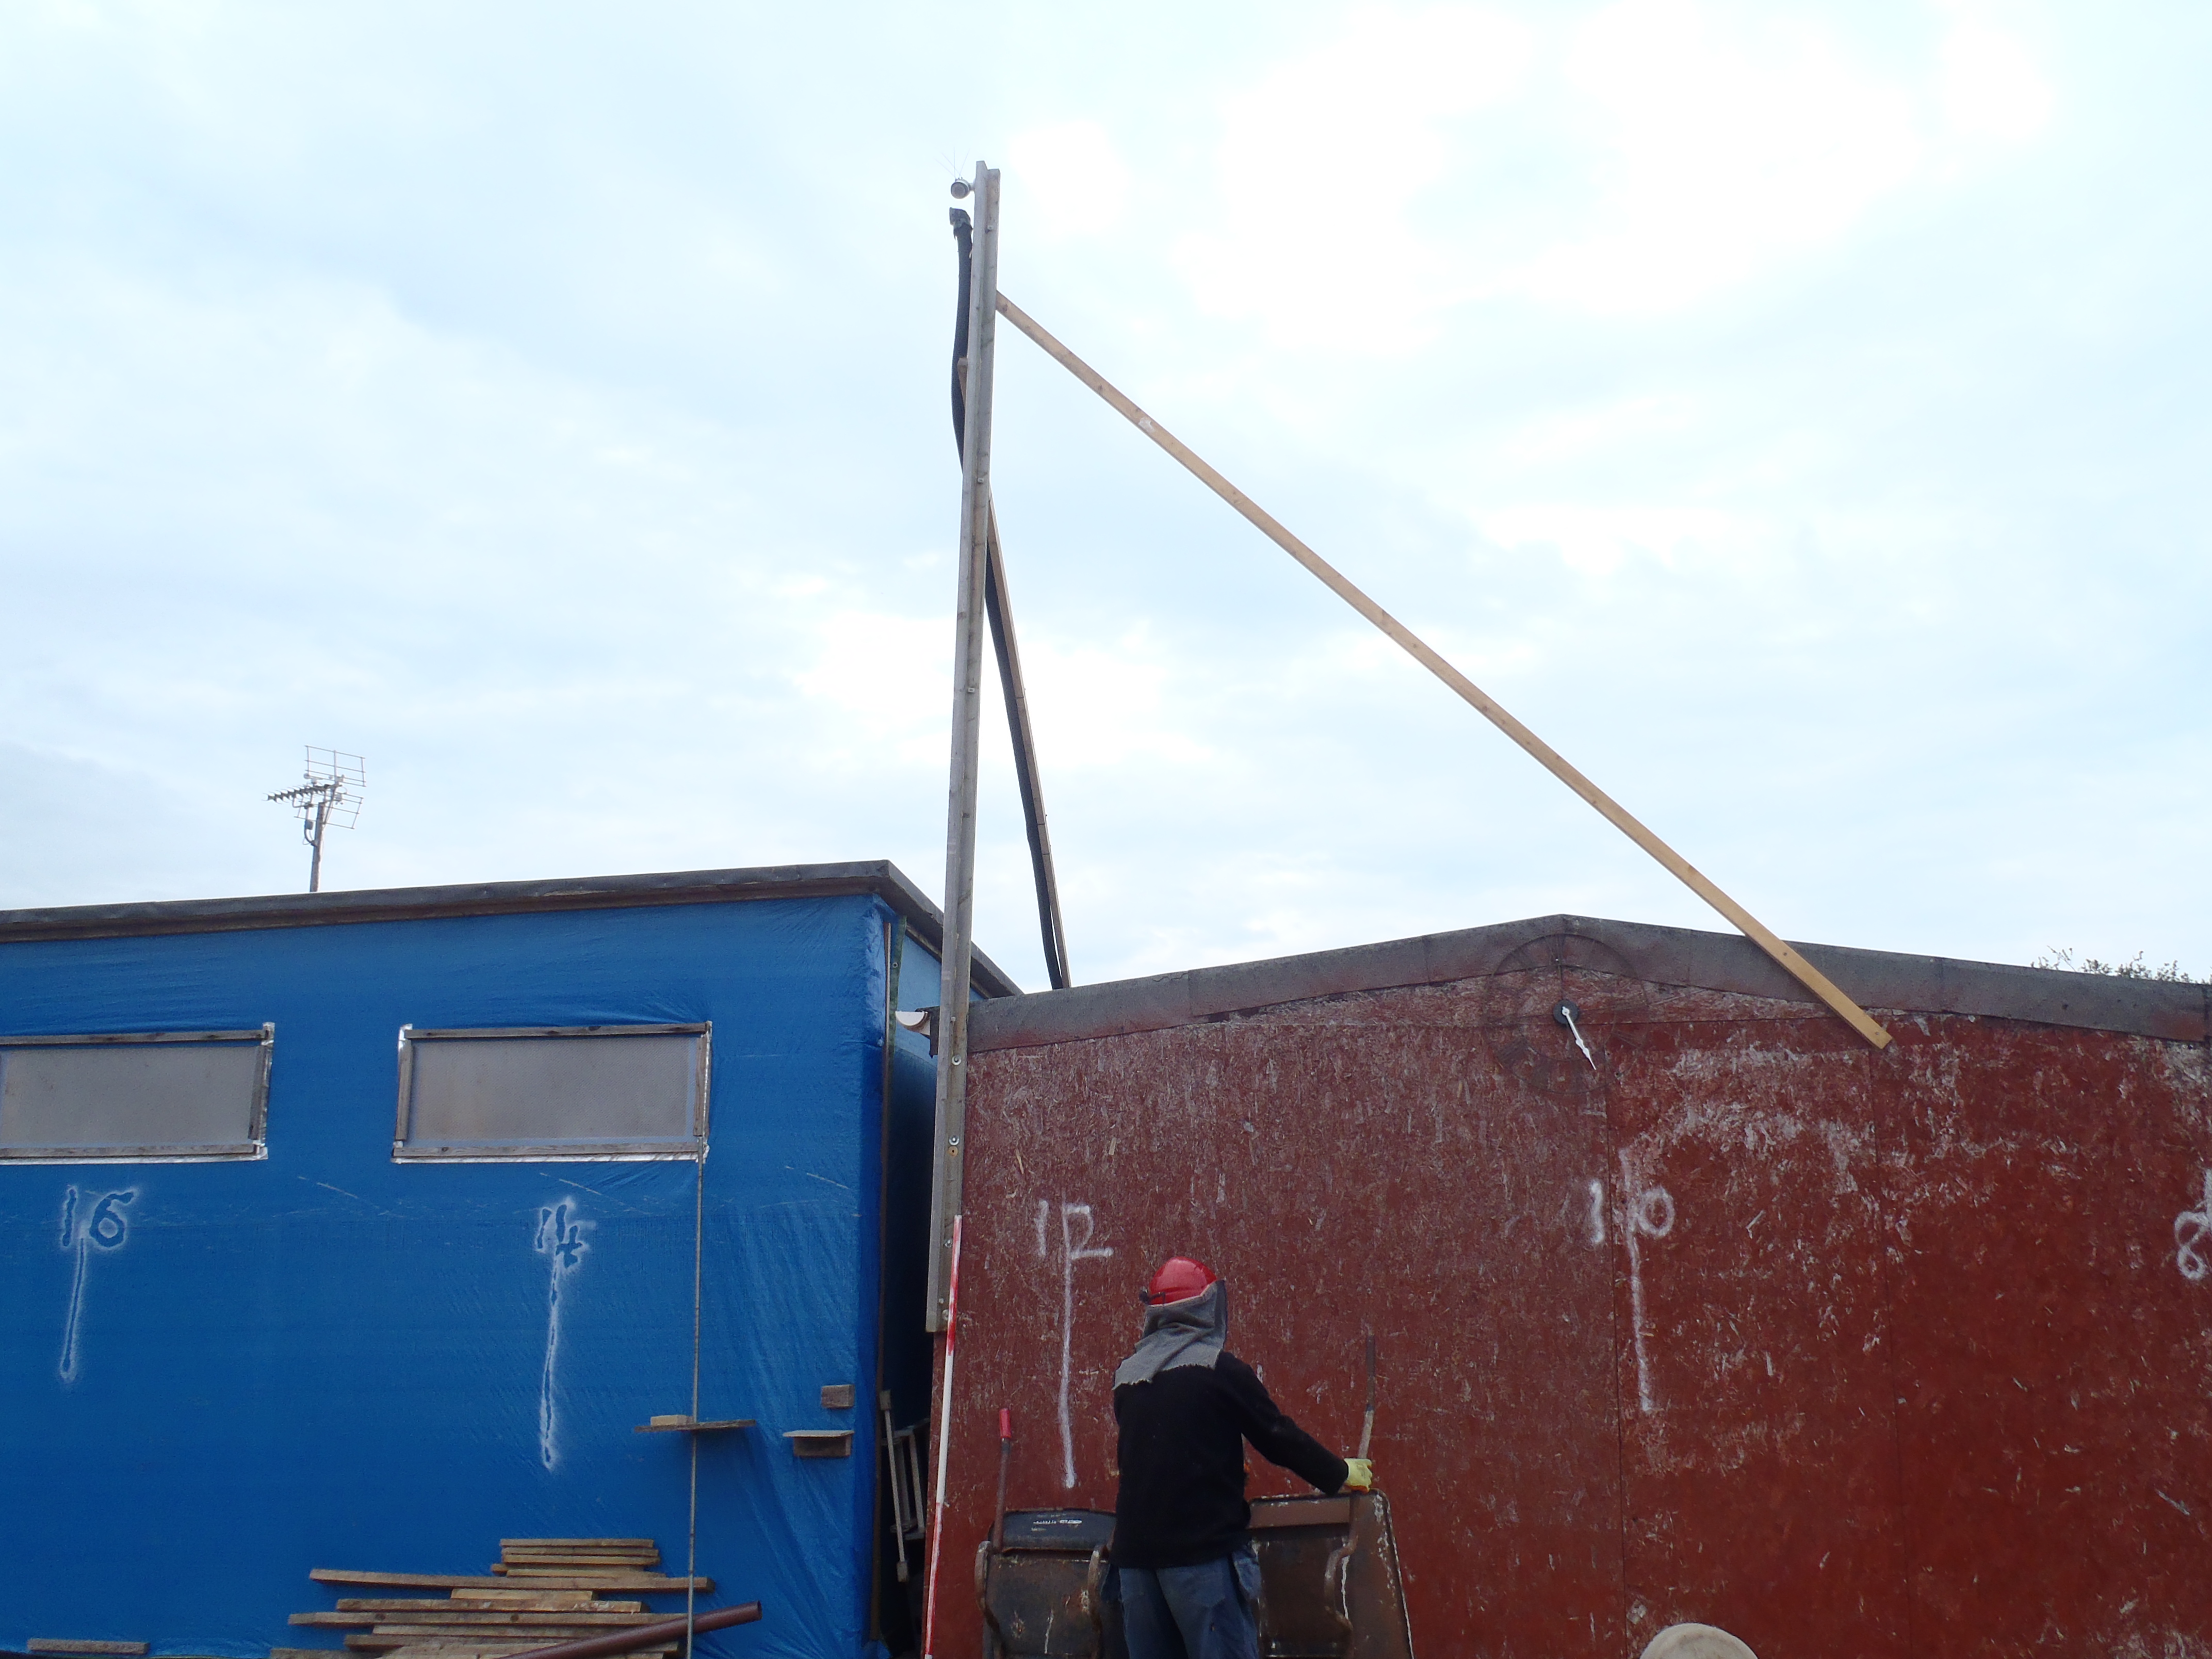
    And finally, we moved the camera so it is much closer to our building area where our house is going to be. We used the original heavy wooden pole but this time, we mounted it on the corner of the garden shed, furthest away from any doors etc. We also braced the tall (3.6 meters – 12 feet) pole with two further diagonal wooden CLS timber.

    New-pole-for-Camera-1

    New-pole-for-Camera-1

    New-pole-for-Camera-2

    New-pole-for-Camera-2


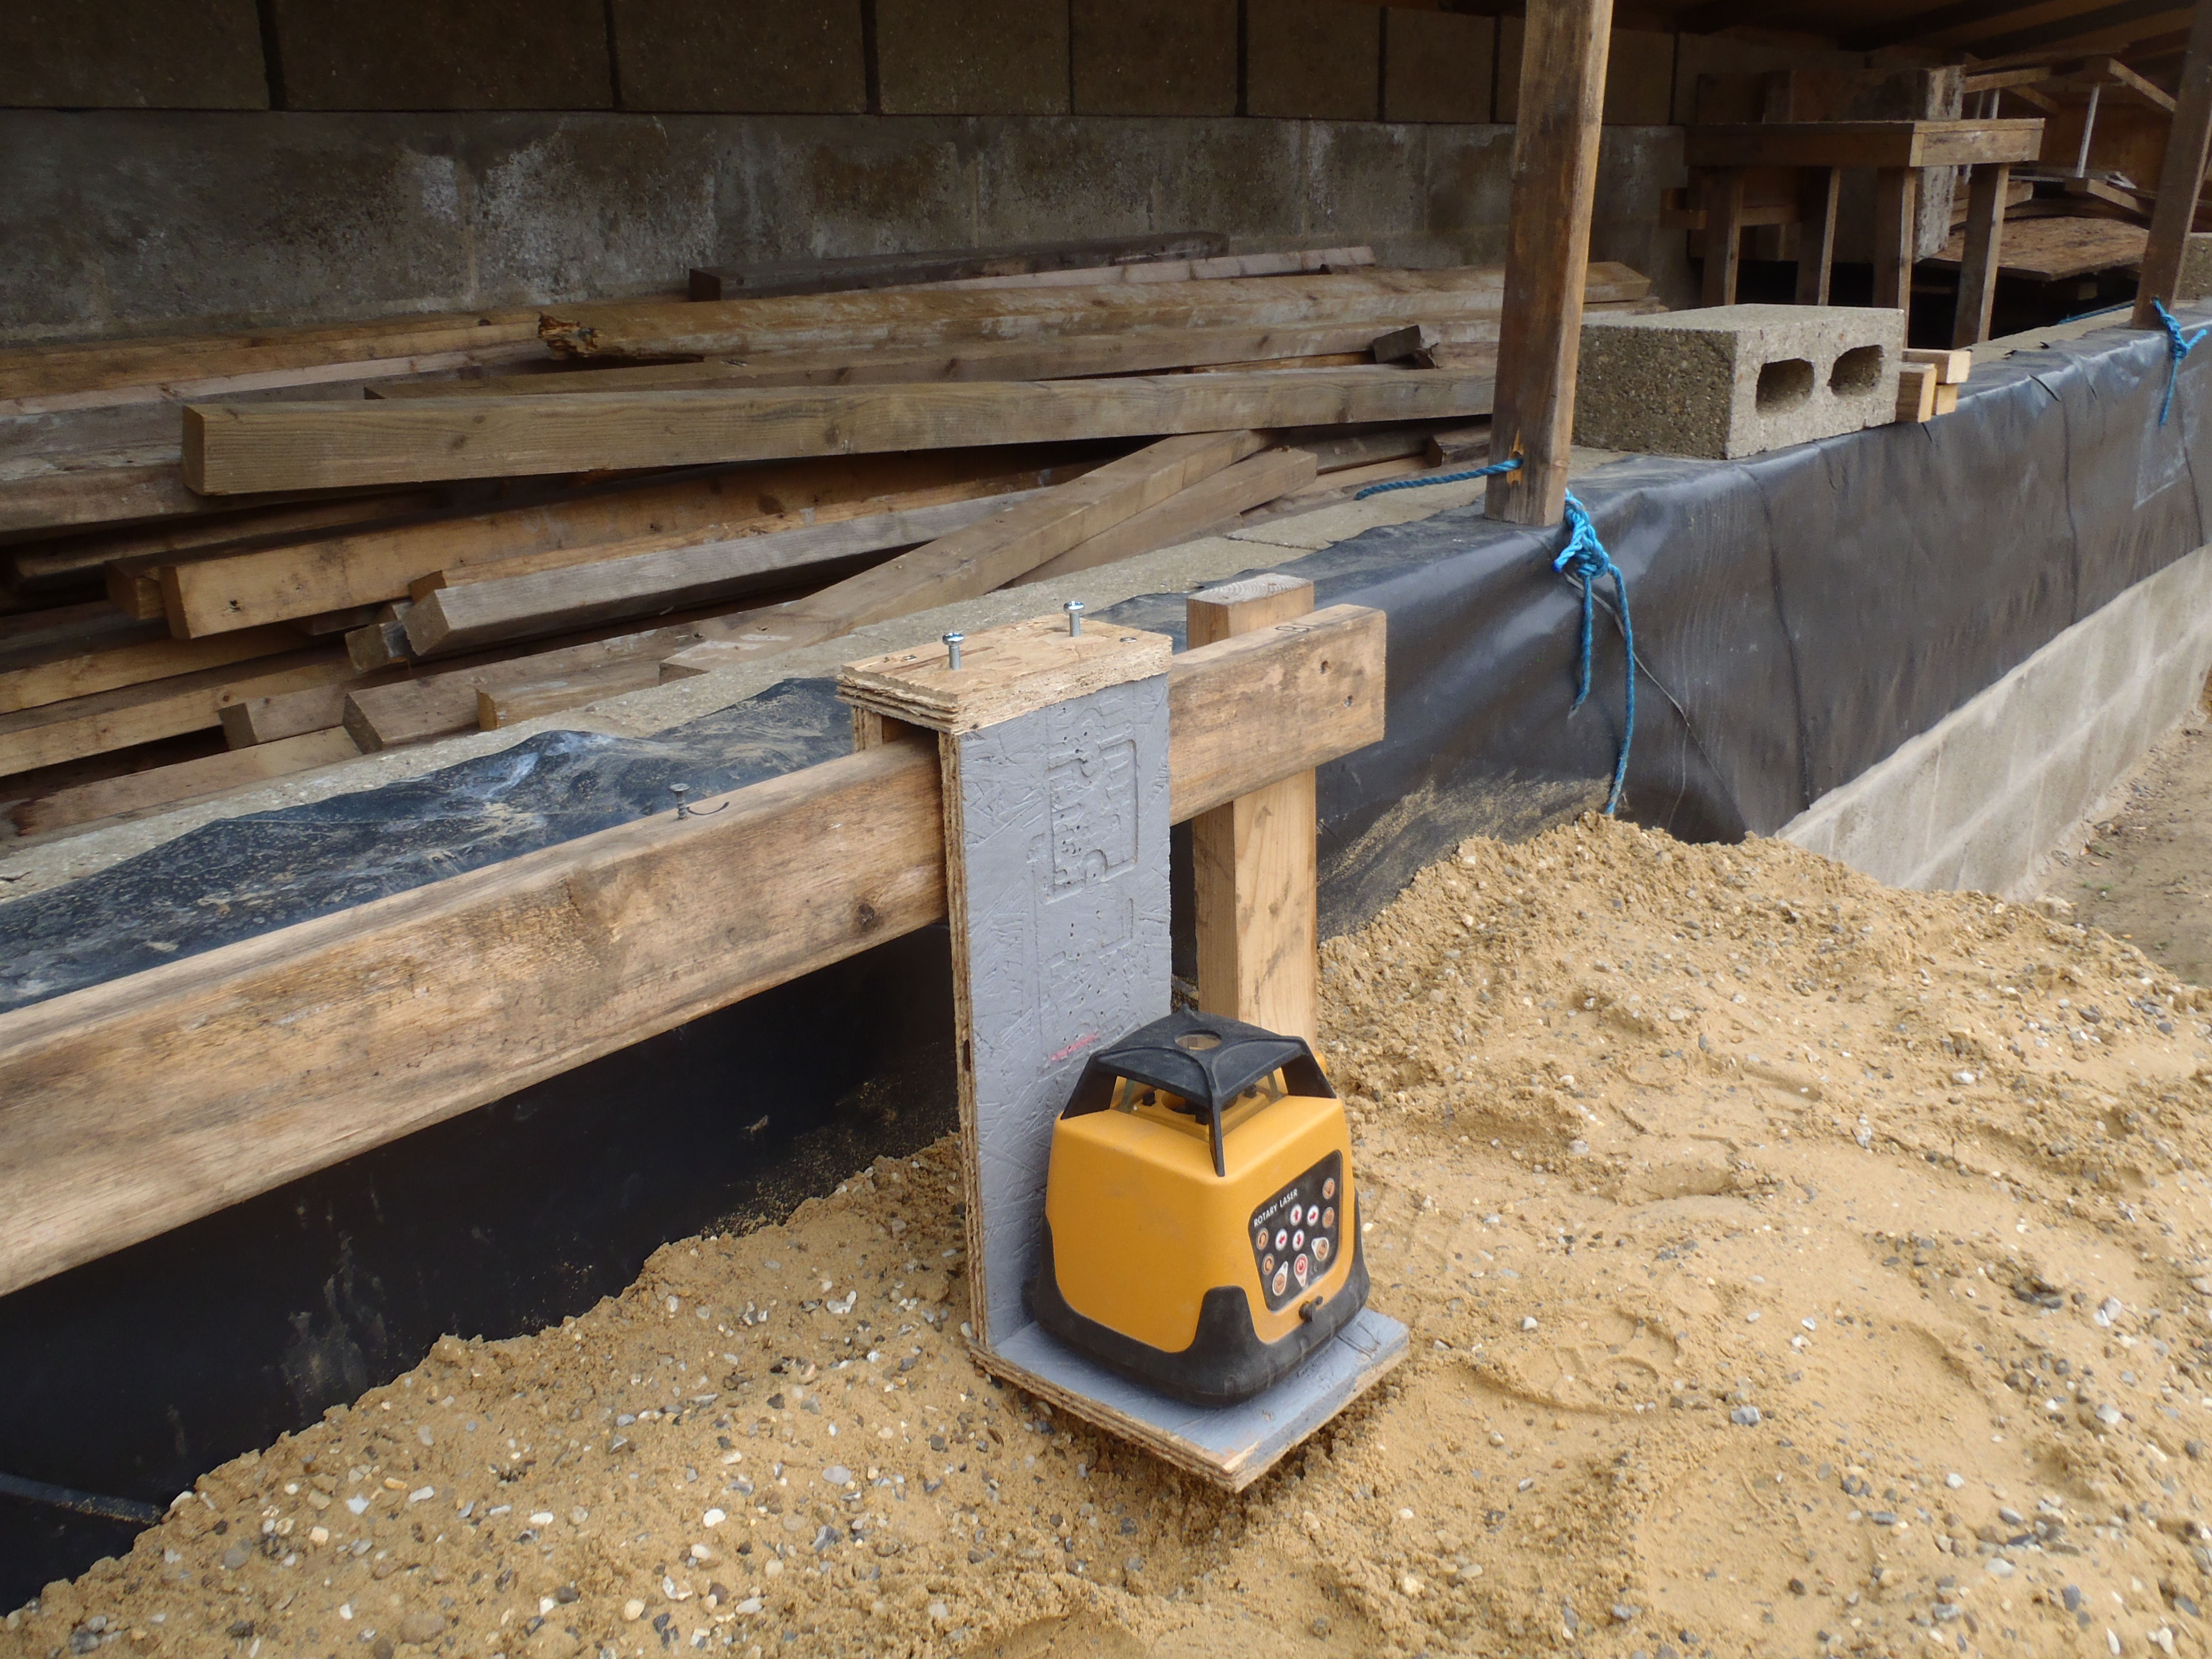
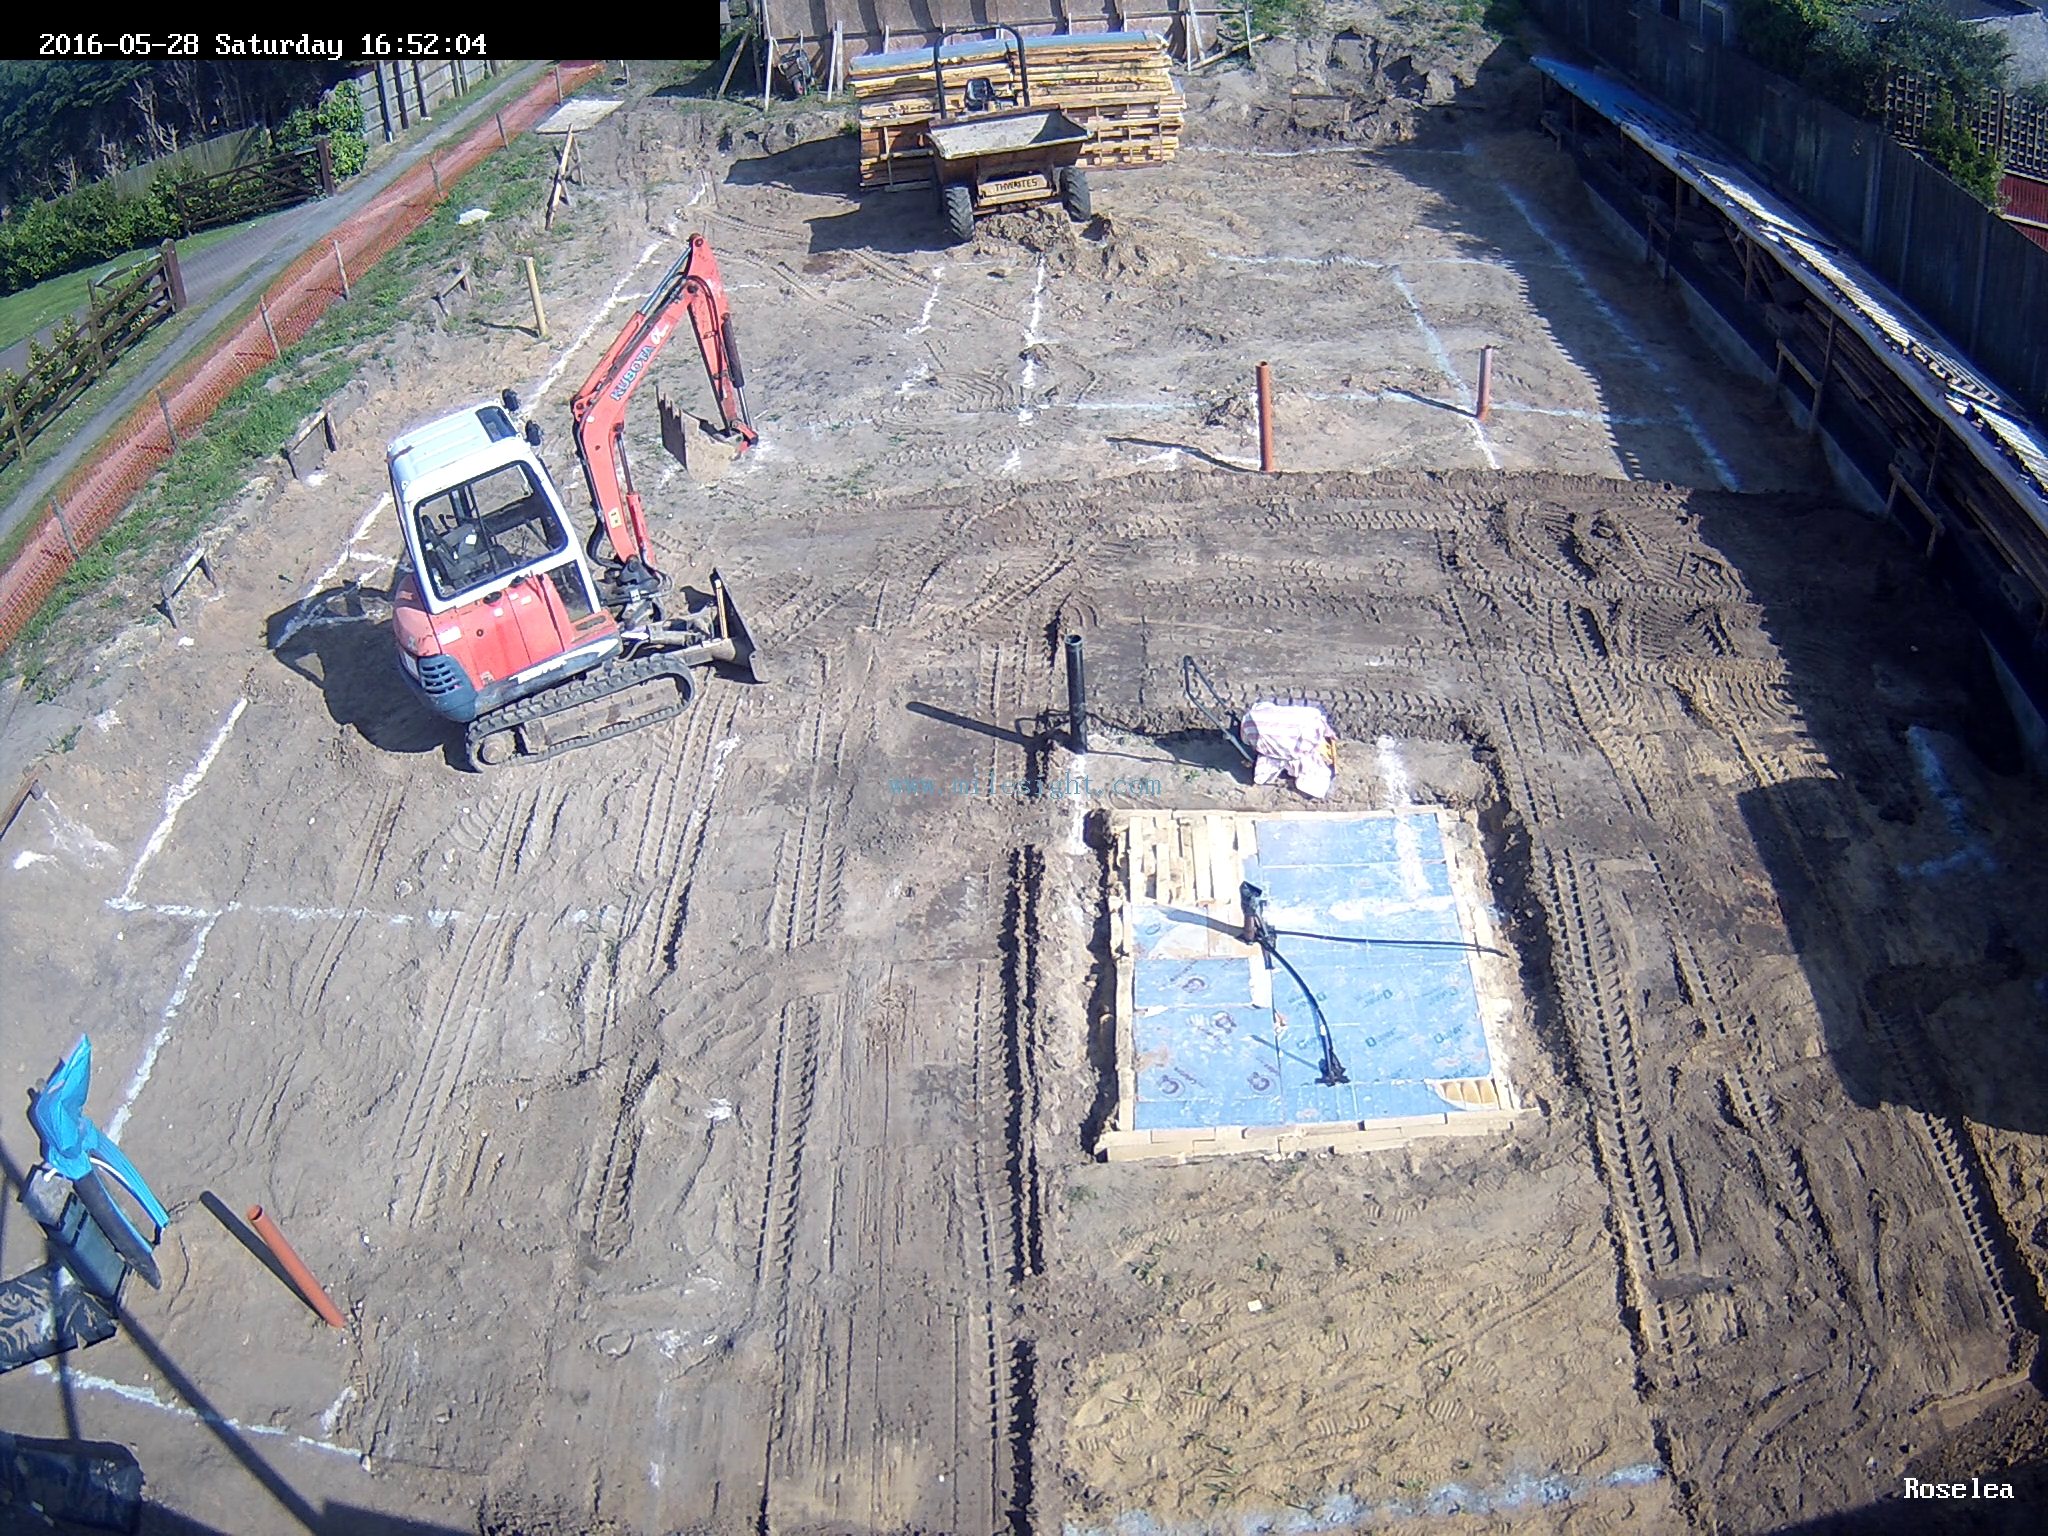
    It is much sturdier, stronger and braced against strong winds to reduce the camera shake so our automatic movie generator will only take videos when something is happening in shot (it took the camera shake as “something is happening” and started recording again and again of nothing!). We are recording at a rate of 5 frames per second to keep the storage demands lower, especially as we are using the full HD “2K” resolution as our image size and quality.

    Garden Shed Roof

    While we were up on the roof doing the camera pole, we noticed that the ridge line was showing cracks in the roofing felt. So we got out our trusty old flashing tape and stuck a small piece down along the ridge, about the middle section of the roof.

    Fence Returns

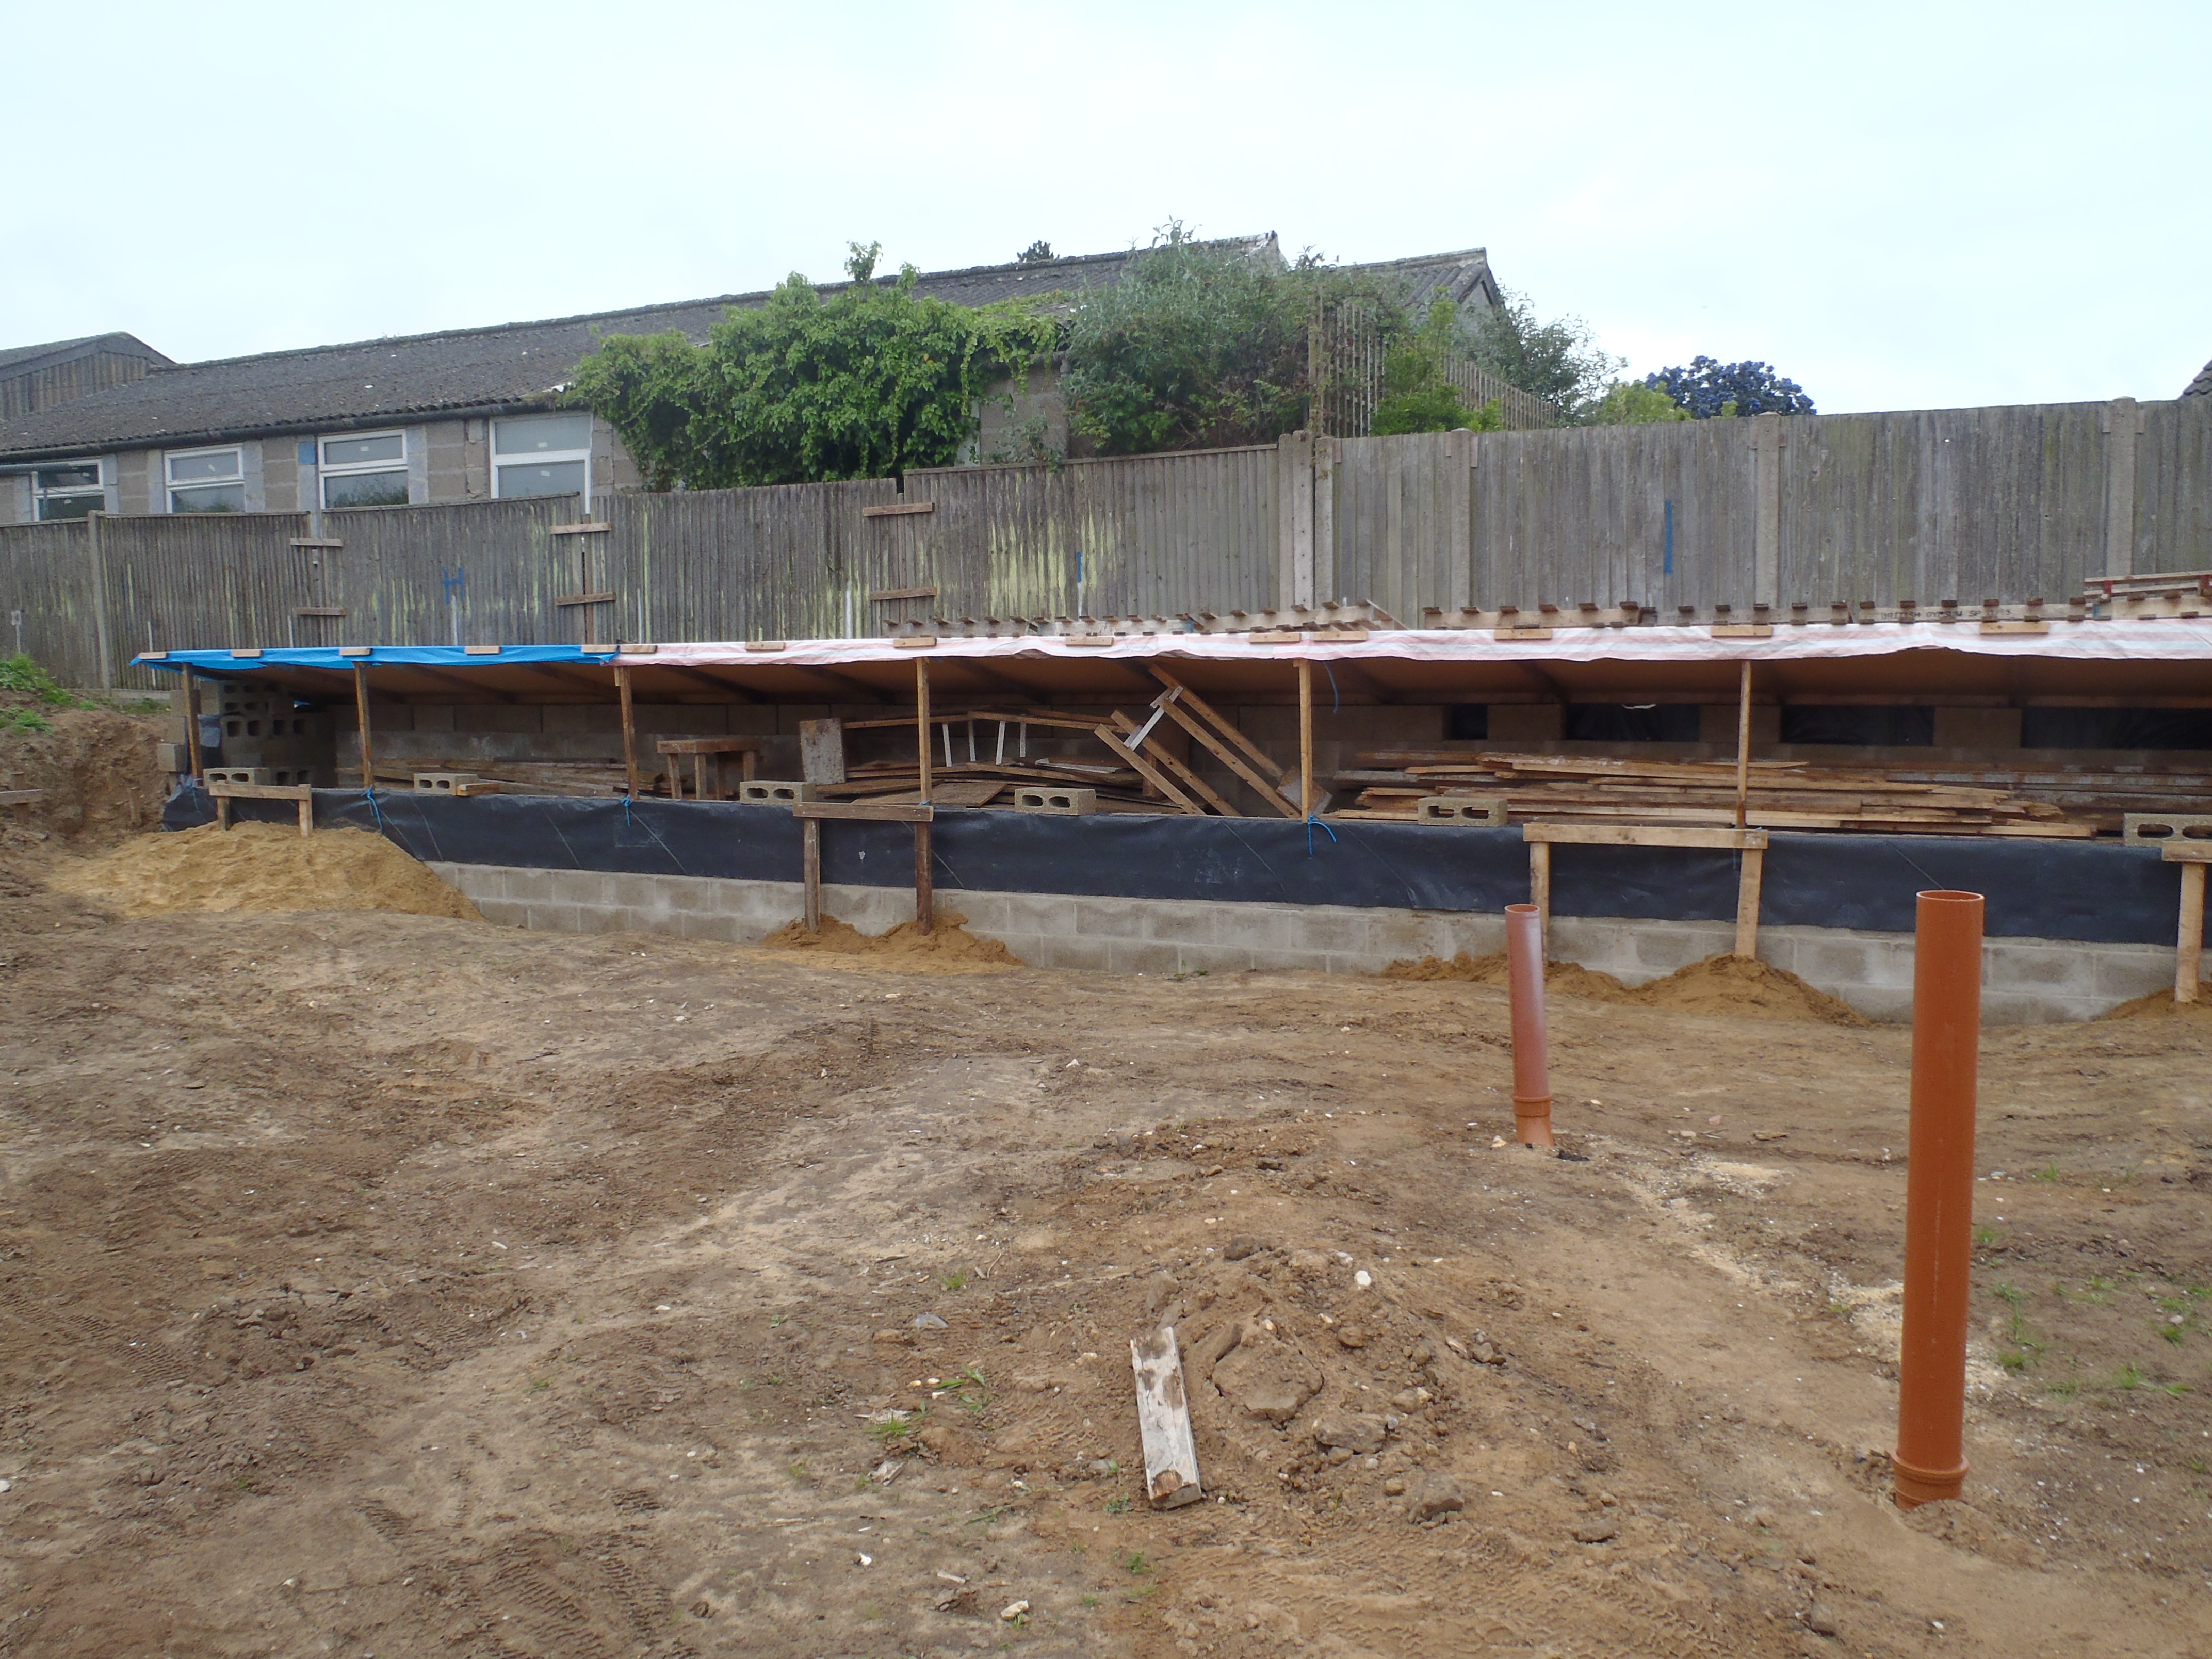
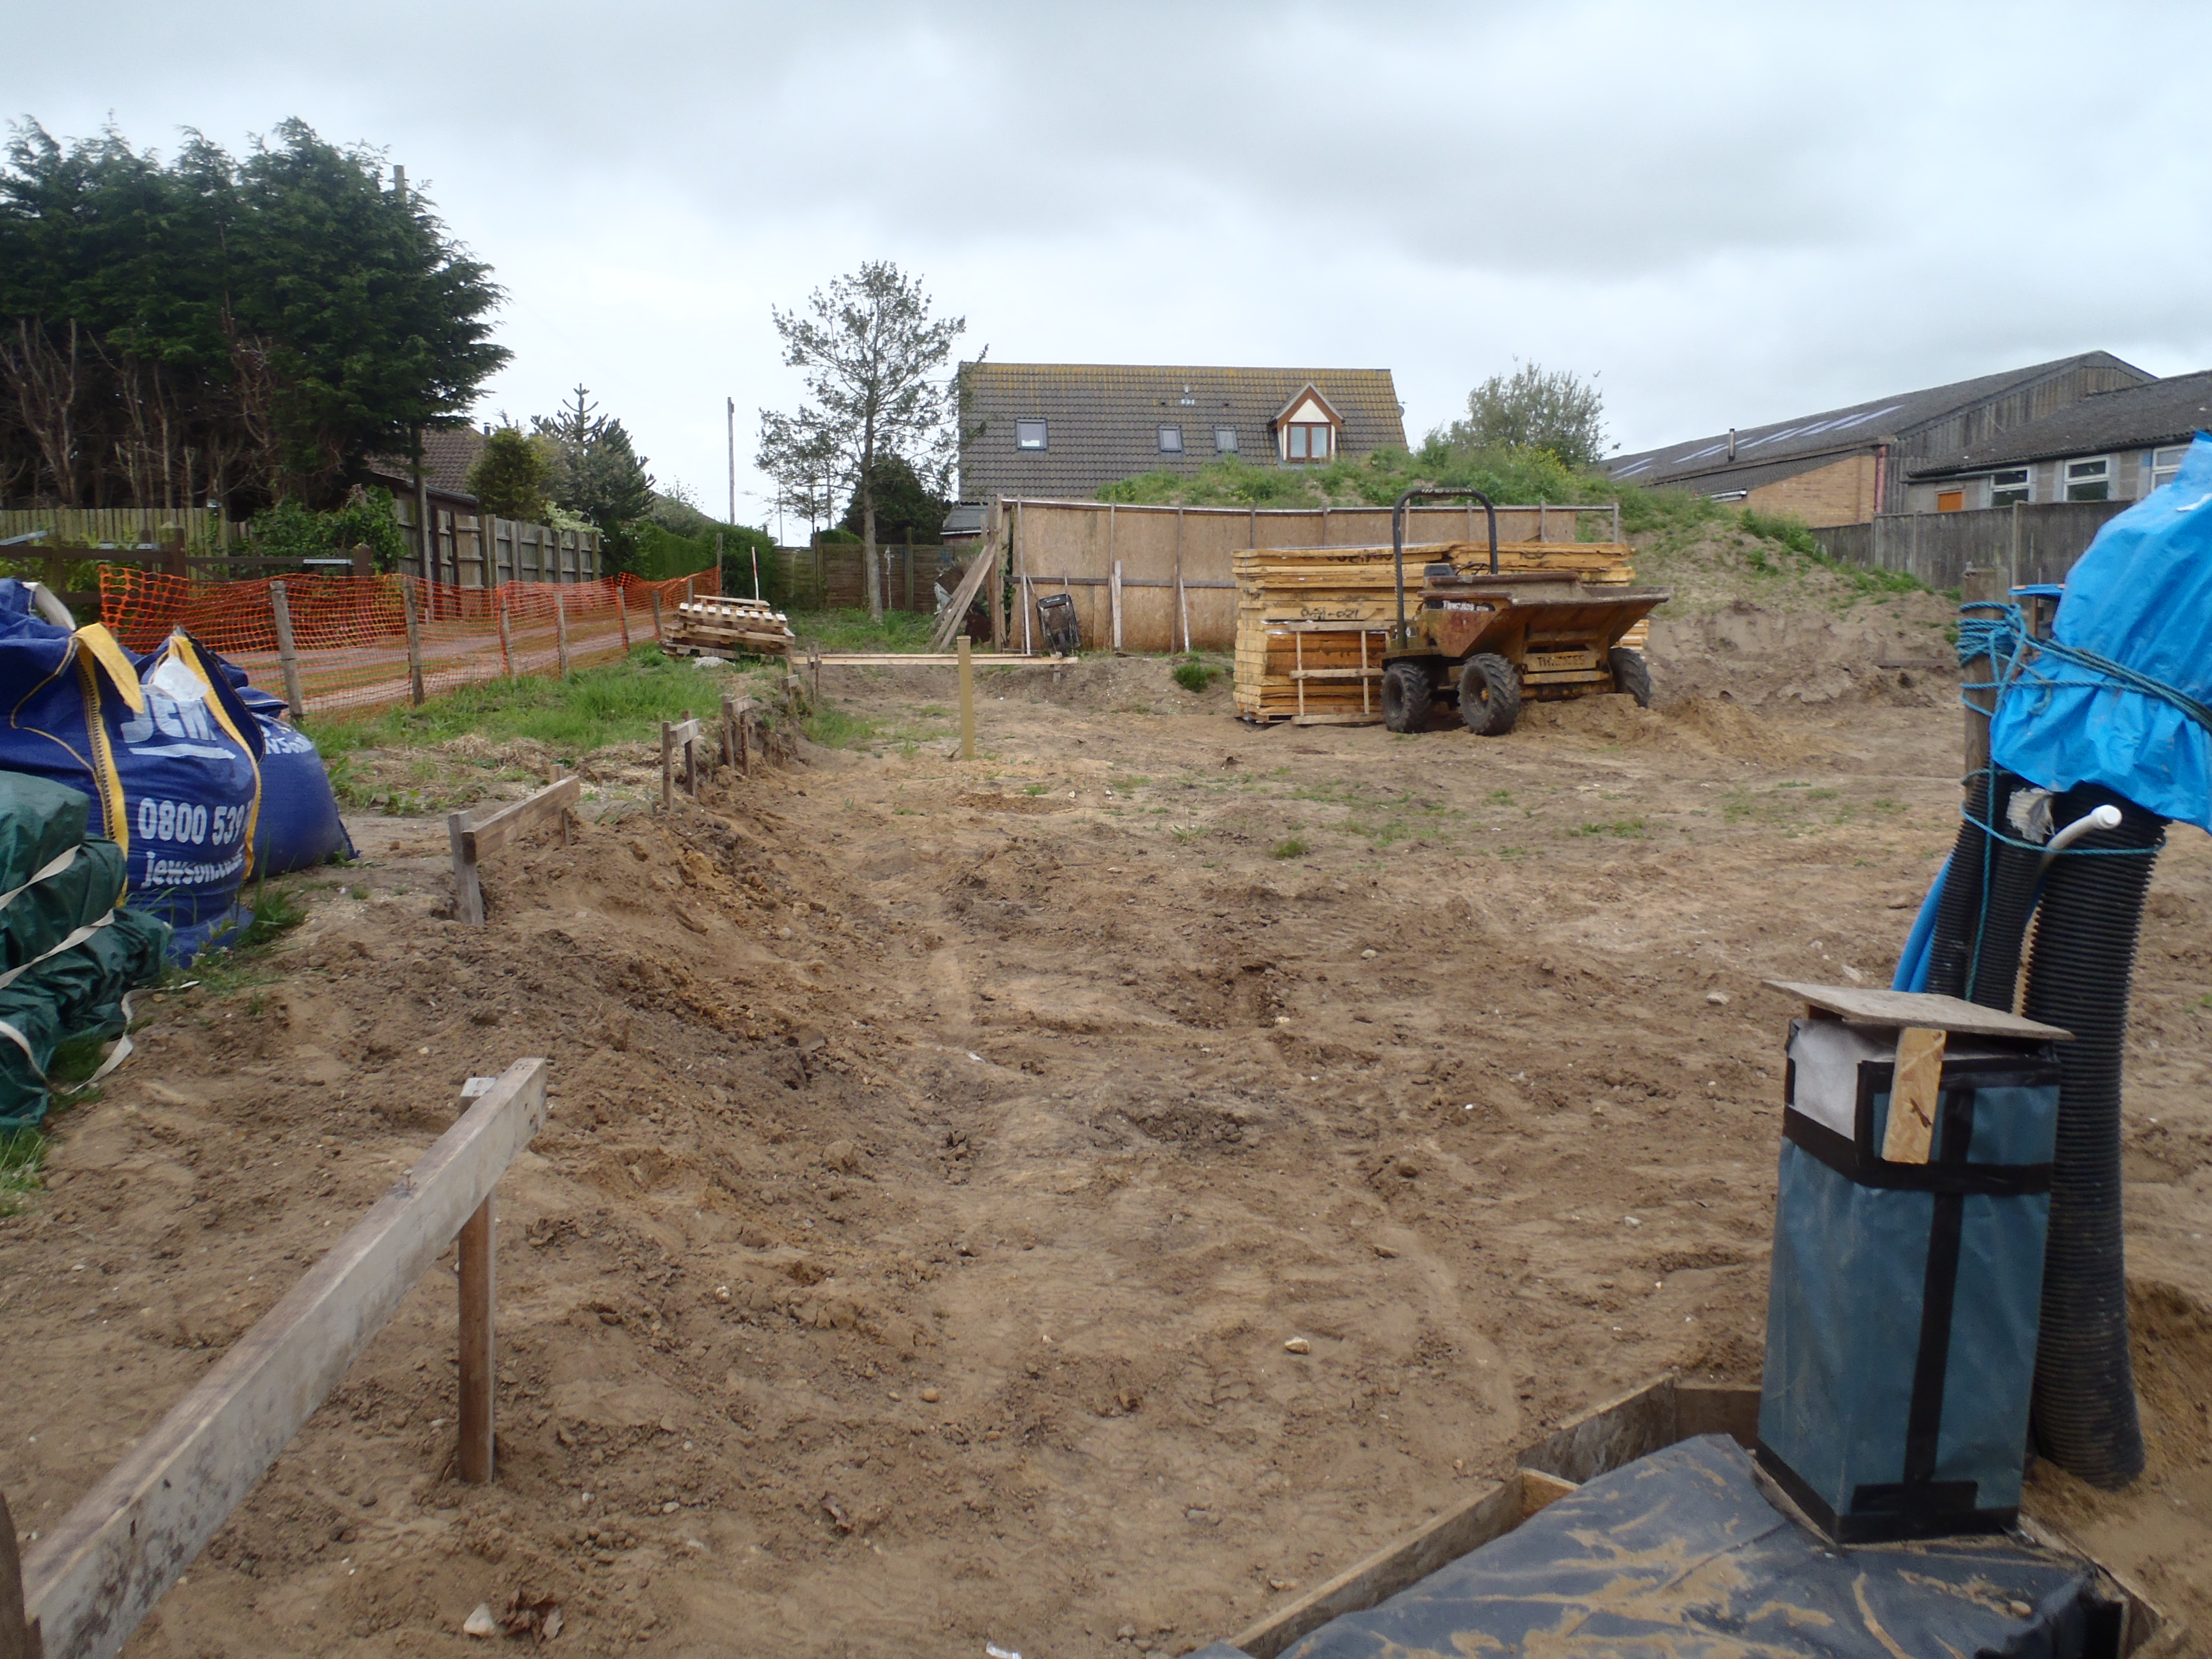
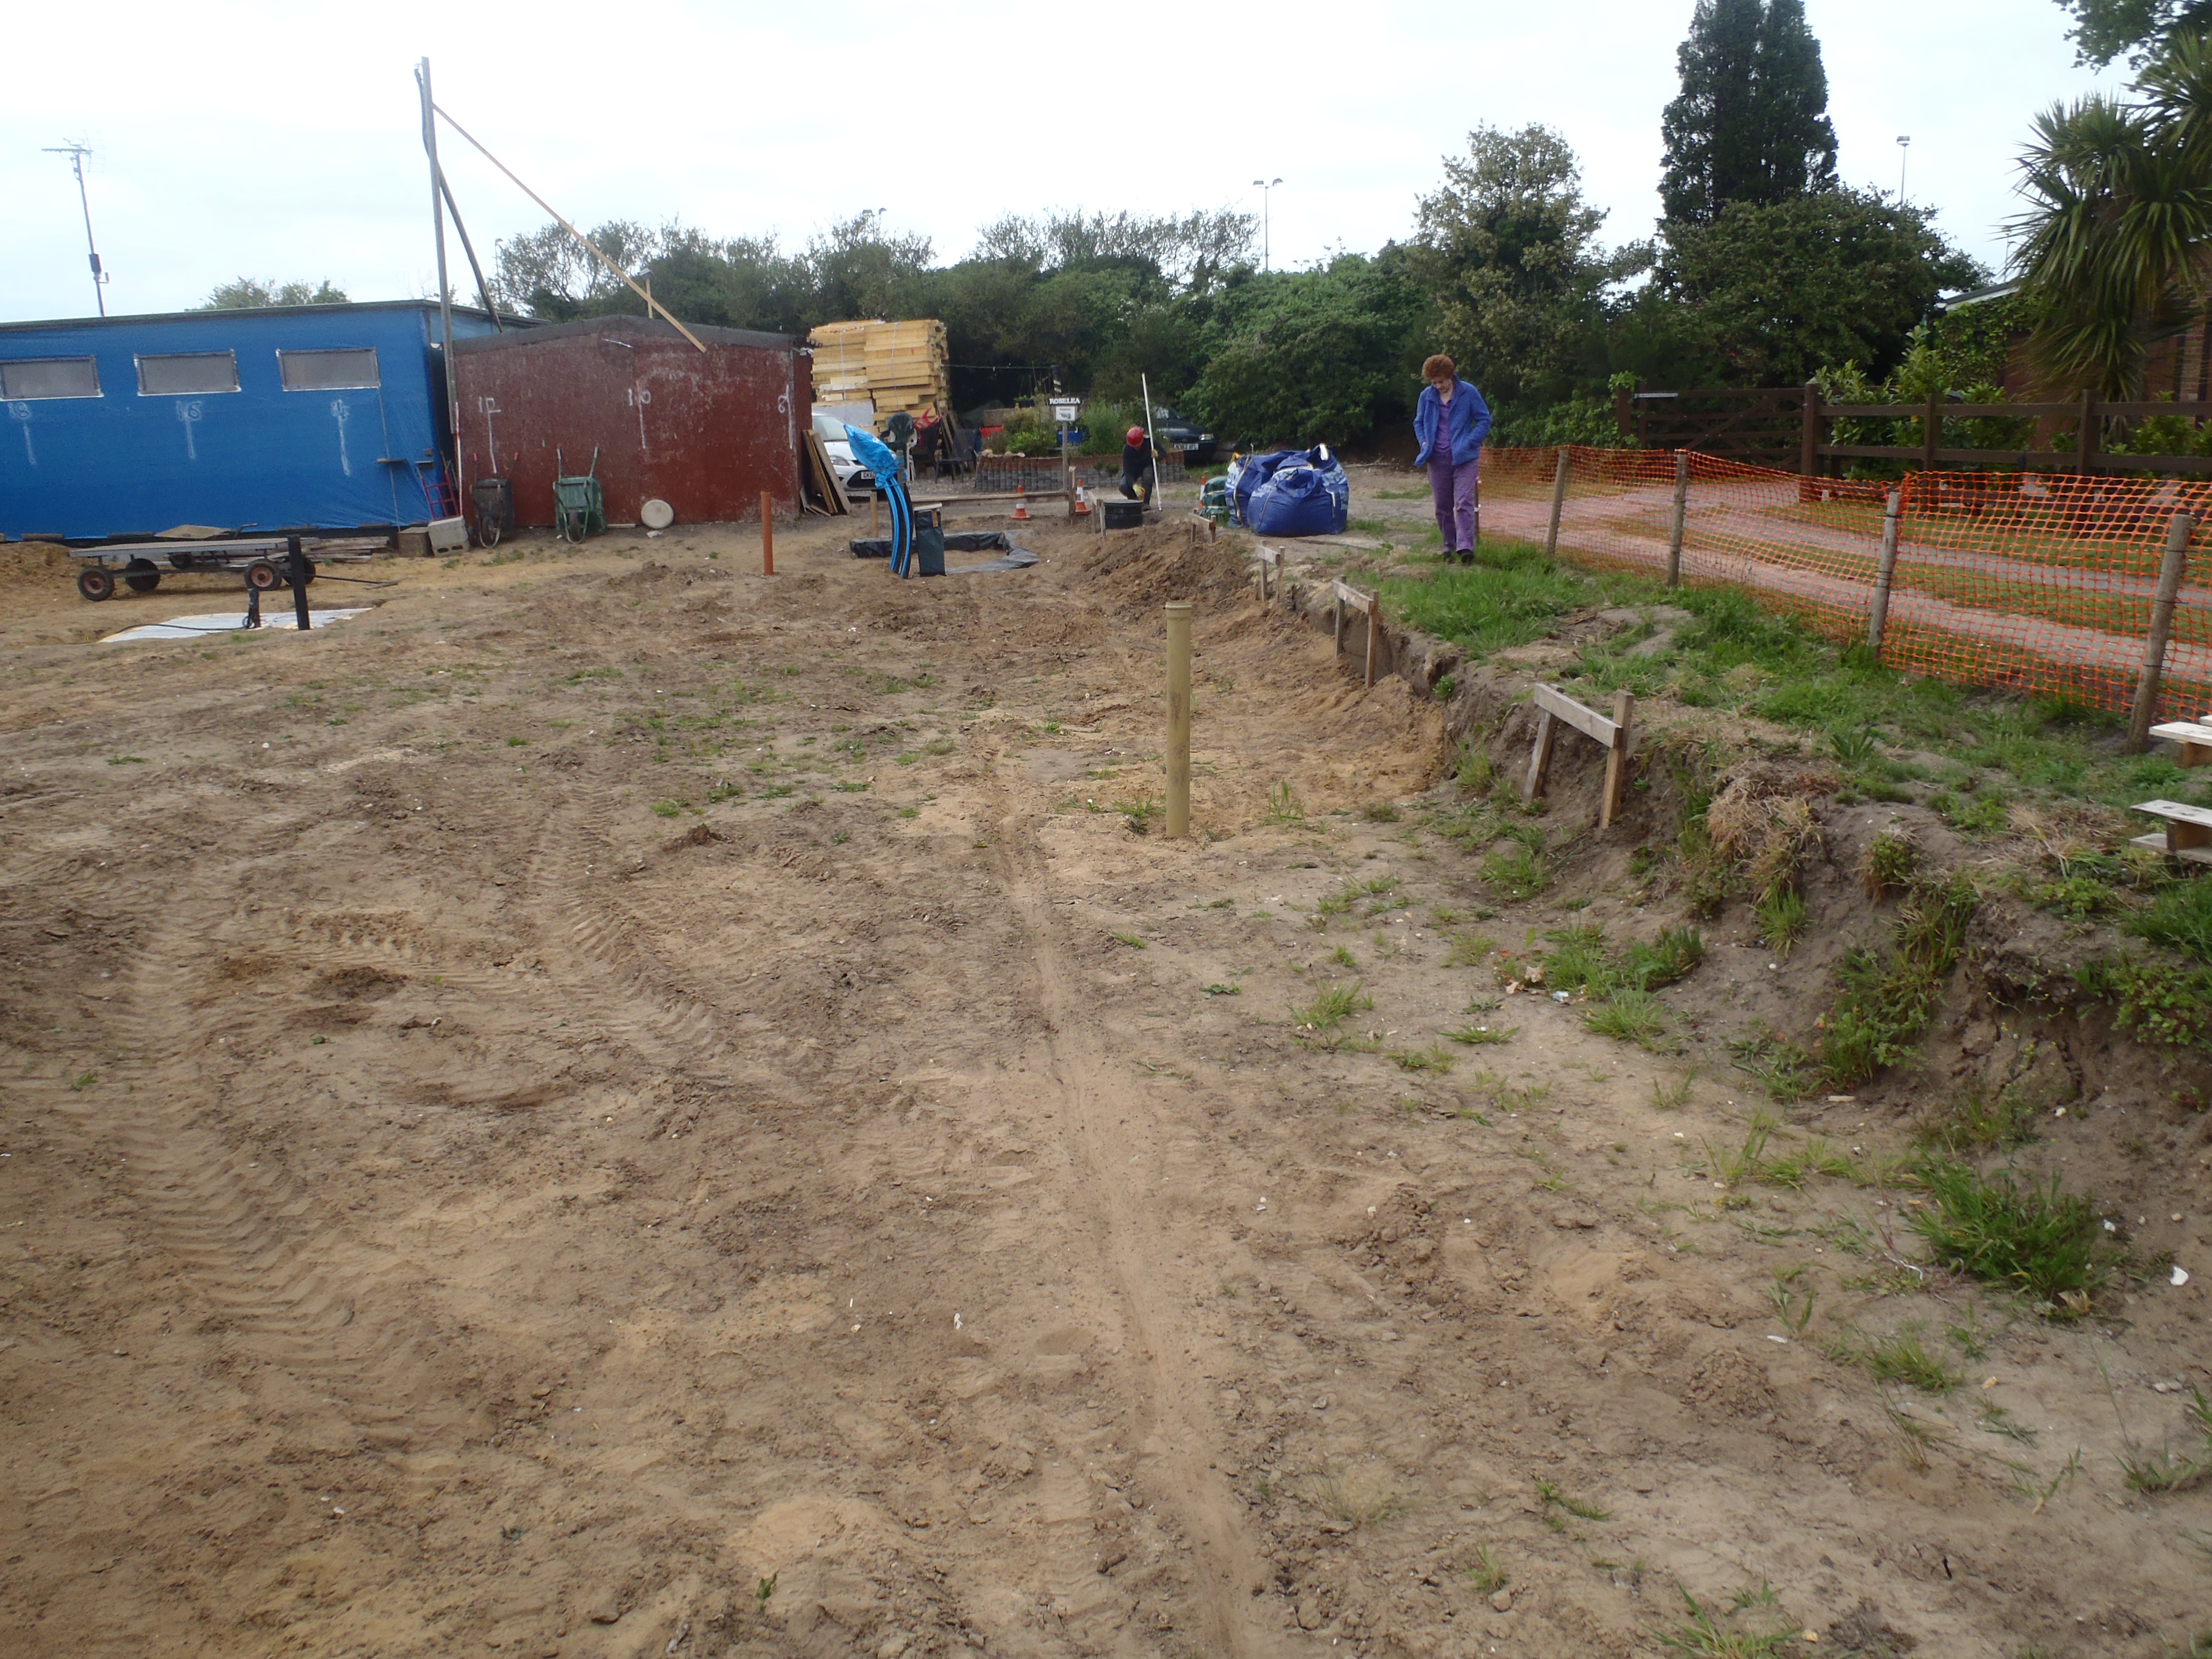
    The orange builder’s fence, one of those holey plastic mesh things, is now back in place to ward off strays who might come over across our building site and fall down into one of our many holes we may have on the go. It is silly but we have to provide some warnings fencing or signs to keep trespassers off our land, and if they fall down a hole and break a leg, they can sue us for not warning them!! Shake of head!

    Hedge & Flower bed + Brambles!

    We started the tidy up trimming of the hedge we have remaining along the Loke and we will finish that off soon. But we also picked up other bags of clippings, and along with the bag of trimmings from the hedge, went up to the top of the garden to our compost heap. Plus also tidied up bags of bark chippings to a neat pile too.

    We had to rip out a small clump of brambles that managed to grow right in the dark corner, right behind our temporary living quarters, along the Term Gardens fencing, because we needed to gain access at that end to feed the TV Aerial cable through the wall and up to the new location for the aerial just above on the weather pole. That was a tough and spikey job!!

    That’s Concludes our Sunday Quiet Jobs!!

  • Chamber and Tunnel Covered in DPM

    And finally, this afternoon, we screwed down the cement board that we mortared down a couple of days ago, and then wrapped everything up in DPM plastic to protect our air supply from getting damp with heavy rain showers and wet ground.

    Earth-tube-tunnel-wrapped-up

    Earth-tube-tunnel-wrapped-up

    The final step is to put in stuttering to form the chimney that will come through the foundation and floor slab, plus shuttering down the side of the tunnel where it crosses under the main house foundation strip.

  • Number 1 Module now Finished – Part 3!

    A lovely warm day to finish off our first Energy Module, by sliding in more insulation panels around the sides of the rubber covered tank. We also put the much needed DPM plastic cover over the top to stop dirt and soil from entering into the tank, and it will also serve as a condensation barrier during the life time of the module when the water gets very hot.

    Module-1-Side-insulation-in-place

    Module-1-Side-insulation-in-place

    We filled up the remaining gaps around the edges of the hole with sandy soil, and packed it all down. Don’t tell anyone, but we chucked in all the off cuts and broken bits and pieces of insulation panels down in the gap too!! Finally, we put the insulation lid on top.

    Module-1-Shaun-ramming-down-fill

    Module-1-Shaun-ramming-down-fill

    Module-1-Top-insulation-complete

    Module-1-Top-insulation-complete


    We have made holes to allow the water and temperature conduits to pass through into the tank, all labelled and measured so we know what is what and how long the wires needs to be!

    Module-1-Ducts-in-place

    Module-1-Ducts-in-place

    The pipes has a ring of white duct tape wrap around them, with the coded info written on it. They read “1-wl”, “1-wh”, “1-tl”, “1-th”, and “1-tu”. More conduits will come together for more temperature probes later on when we get near to pouring the main floor concrete slab.

    Module-1-Ducts-are-labeled

    Module-1-Ducts-are-labeled

  • Number 1 Module being Assembled

    And this afternoon, we went back to our Number 1 Energy Module to carry on
    with the assembling of the underground hot water tank.

    First of all, we drilled down a metre in the middle of the hole to allow for
    a temperature sensor to be placed under the Energy Module. We inserted our
    new 20mm plastic pipe to act as the conduit for the temperature probe, which
    will be installed later.

    Module-1-Temperature-sensor-conduit-drilled-down-and-buried

    Module-1-Temperature-sensor-conduit-drilled-down-and-buried

    After that, it was grabbing pieces of the PU foam to build up the required
    200mm thick insulation barrier between the bottom of the module and the
    ground.

    Module-1-Insulation-in-place

    Module-1-Insulation-in-place

    We then carefully laid down the rubber membrane on top of the insulation
    boards, ready to wrap around the plastic crates to hold in the water.

    Module-1-Rubber-sheet-placed-and-Aquacells-started

    Module-1-Rubber-sheet-placed-and-Aquacells-started

    Then came the plastic Aquacell crates themselves, placing them in a grid of
    5 by 2 to form the 1st layer of 2.5metres by 2metres block.

    Module-1-Bottom-layer-of-cells-finished

    Module-1-Bottom-layer-of-cells-finished

    Then, we had to cut access holes to allow the insertion of the water pipe
    and another temperature probe to go down inside the energy module, right to
    the bottom, plus also a larger hole to allow for inspection of the water
    level.

    Then the second layer goes on, and more access holes are made, this time for
    the 2nd water and temperature probe to be inserted.

    Module-1-Top-layer-finished

    Module-1-Top-layer-finished

    Finally, we pulled up the rubber sheeting around all the edges and folded
    the corners in, just like a parcel. We will put on a layer of DPM plastic to
    seal off the top surface of the water tank to stop steam and moisture
    escaping out of these Energy Modules.

    Module-1-All-wrapped-in-Rubber

    Module-1-All-wrapped-in-Rubber

    Tomorrow, we will put down around the 4 sides more insulation panels and
    then fill in the remaining gap with the sandy soil and compact it all down
    nice and solidly.