A lovely warm day to finish off our first Energy Module, by sliding in more insulation panels around the sides of the rubber covered tank. We also put the much needed DPM plastic cover over the top to stop dirt and soil from entering into the tank, and it will also serve as a condensation barrier during the life time of the module when the water gets very hot.
Module-1-Side-insulation-in-place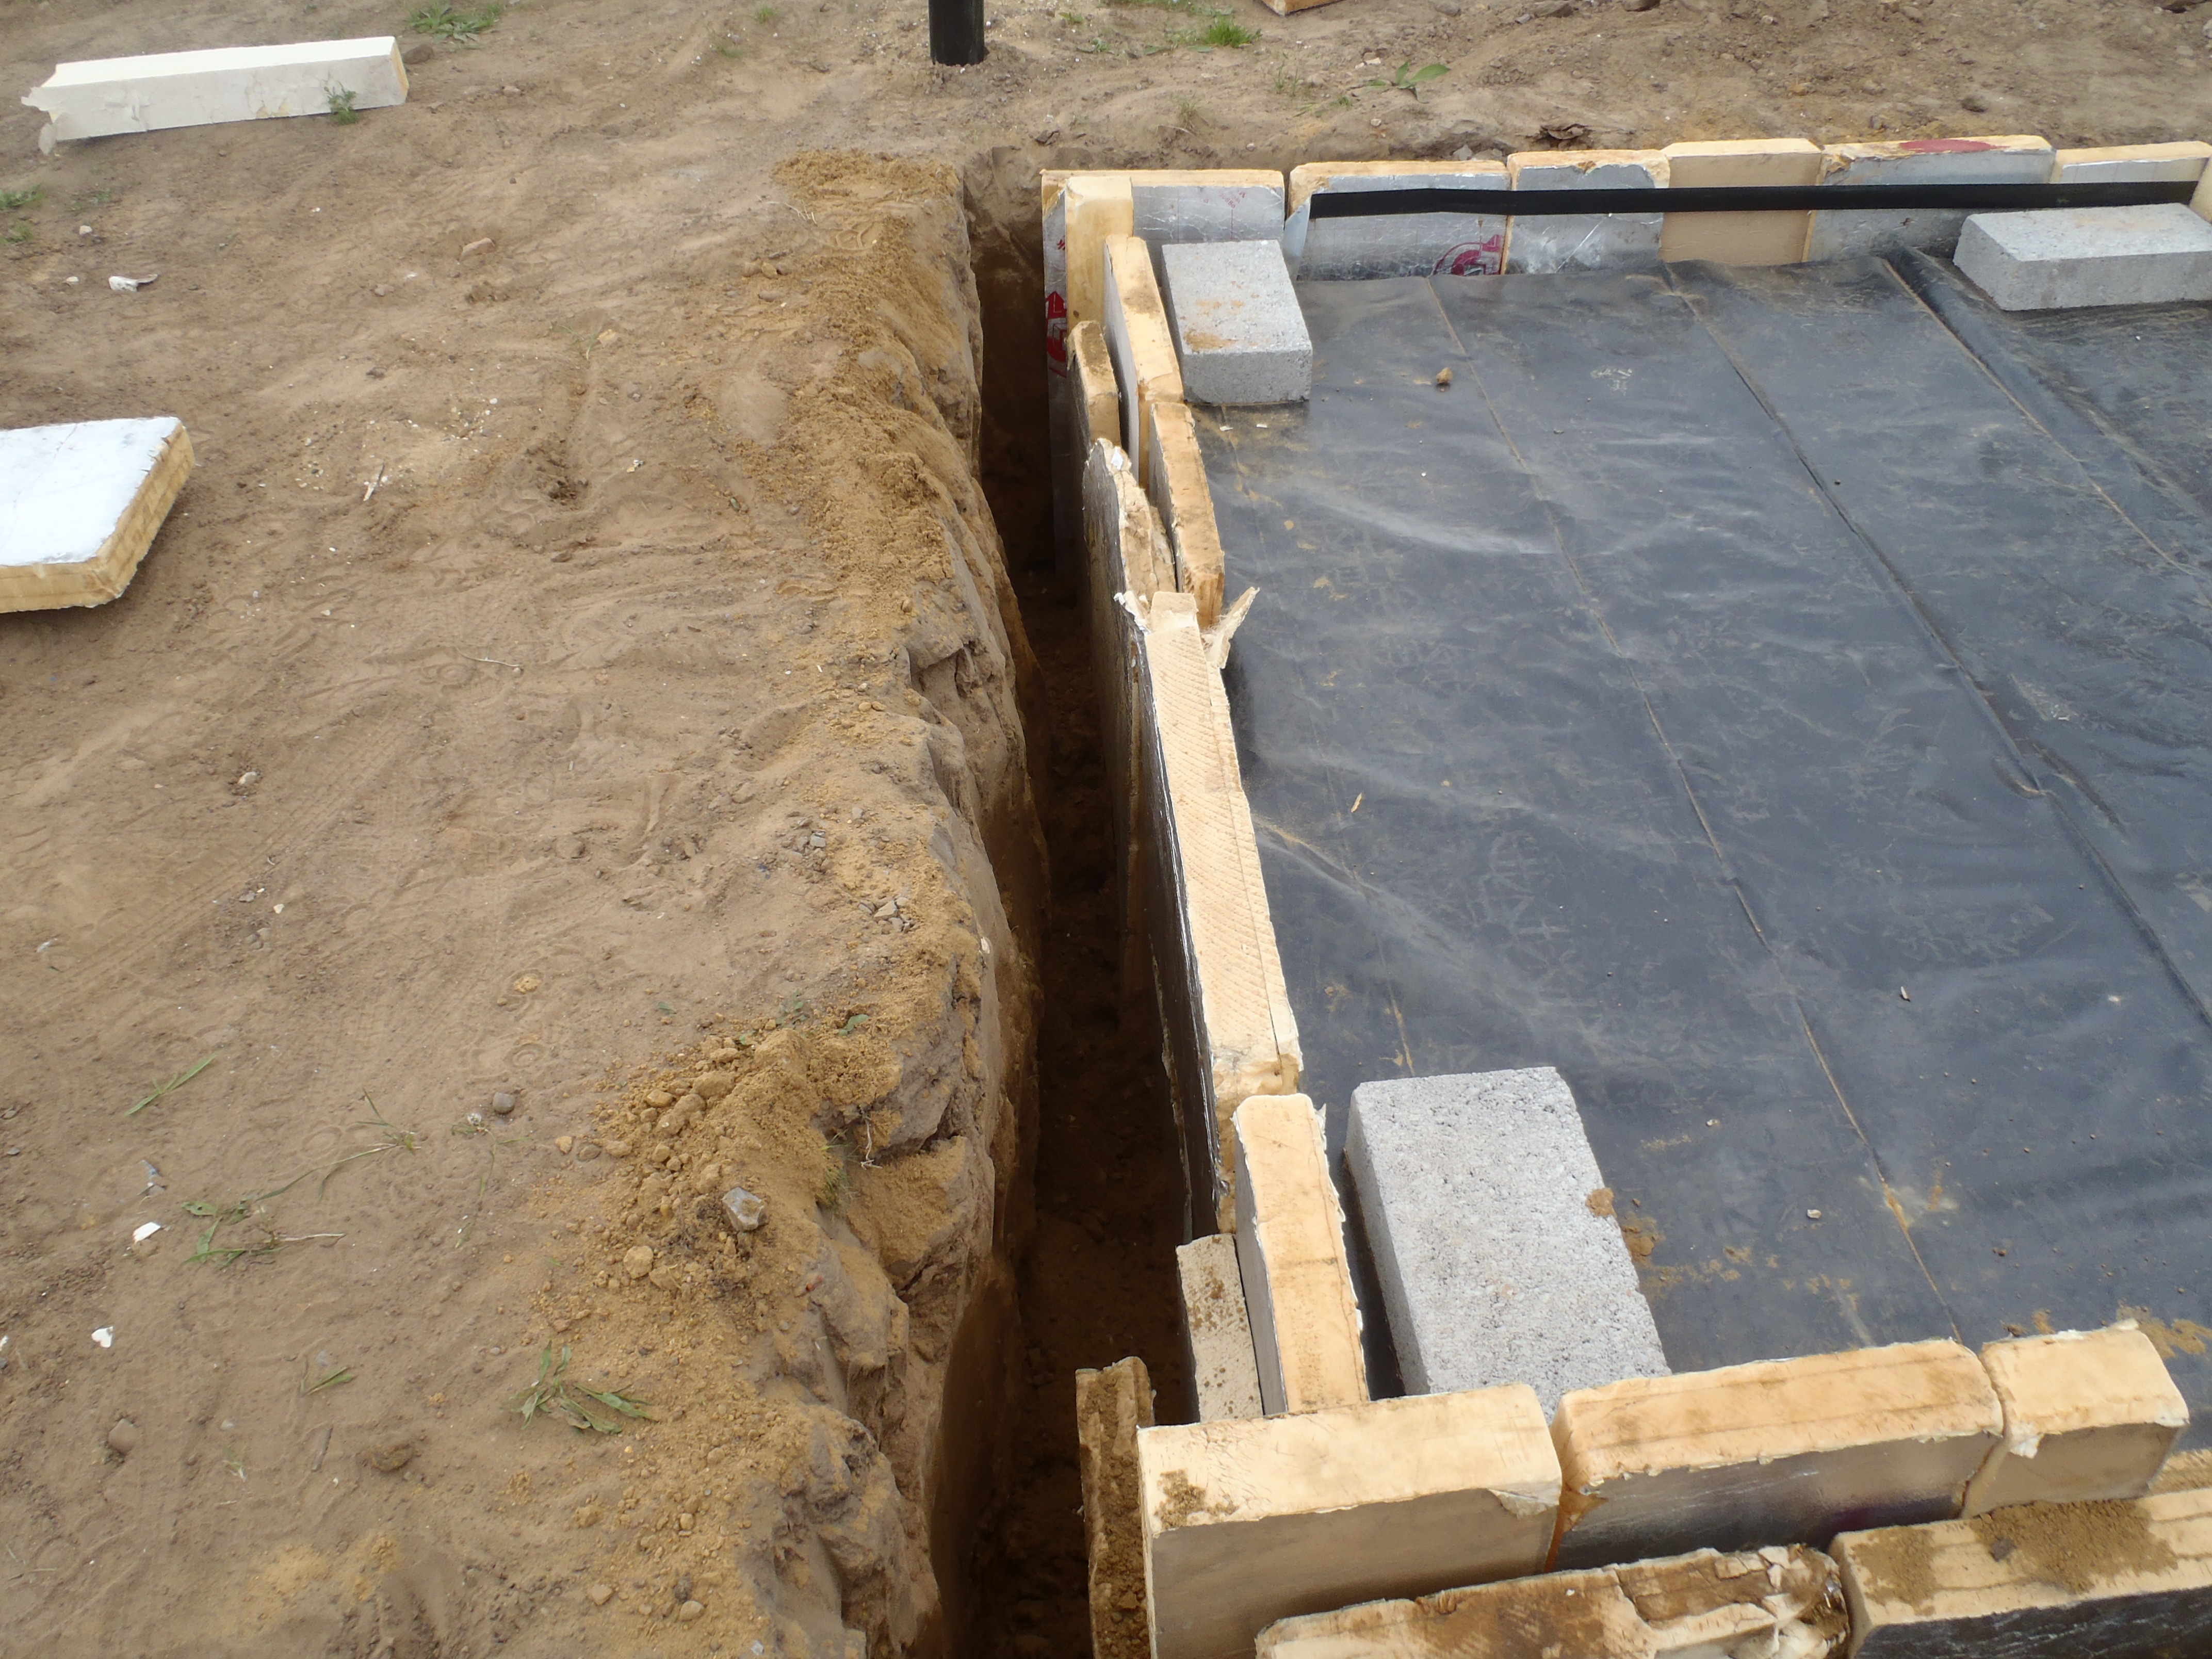
We filled up the remaining gaps around the edges of the hole with sandy soil, and packed it all down. Don’t tell anyone, but we chucked in all the off cuts and broken bits and pieces of insulation panels down in the gap too!! Finally, we put the insulation lid on top.
Module-1-Shaun-ramming-down-fill Module-1-Top-insulation-complete

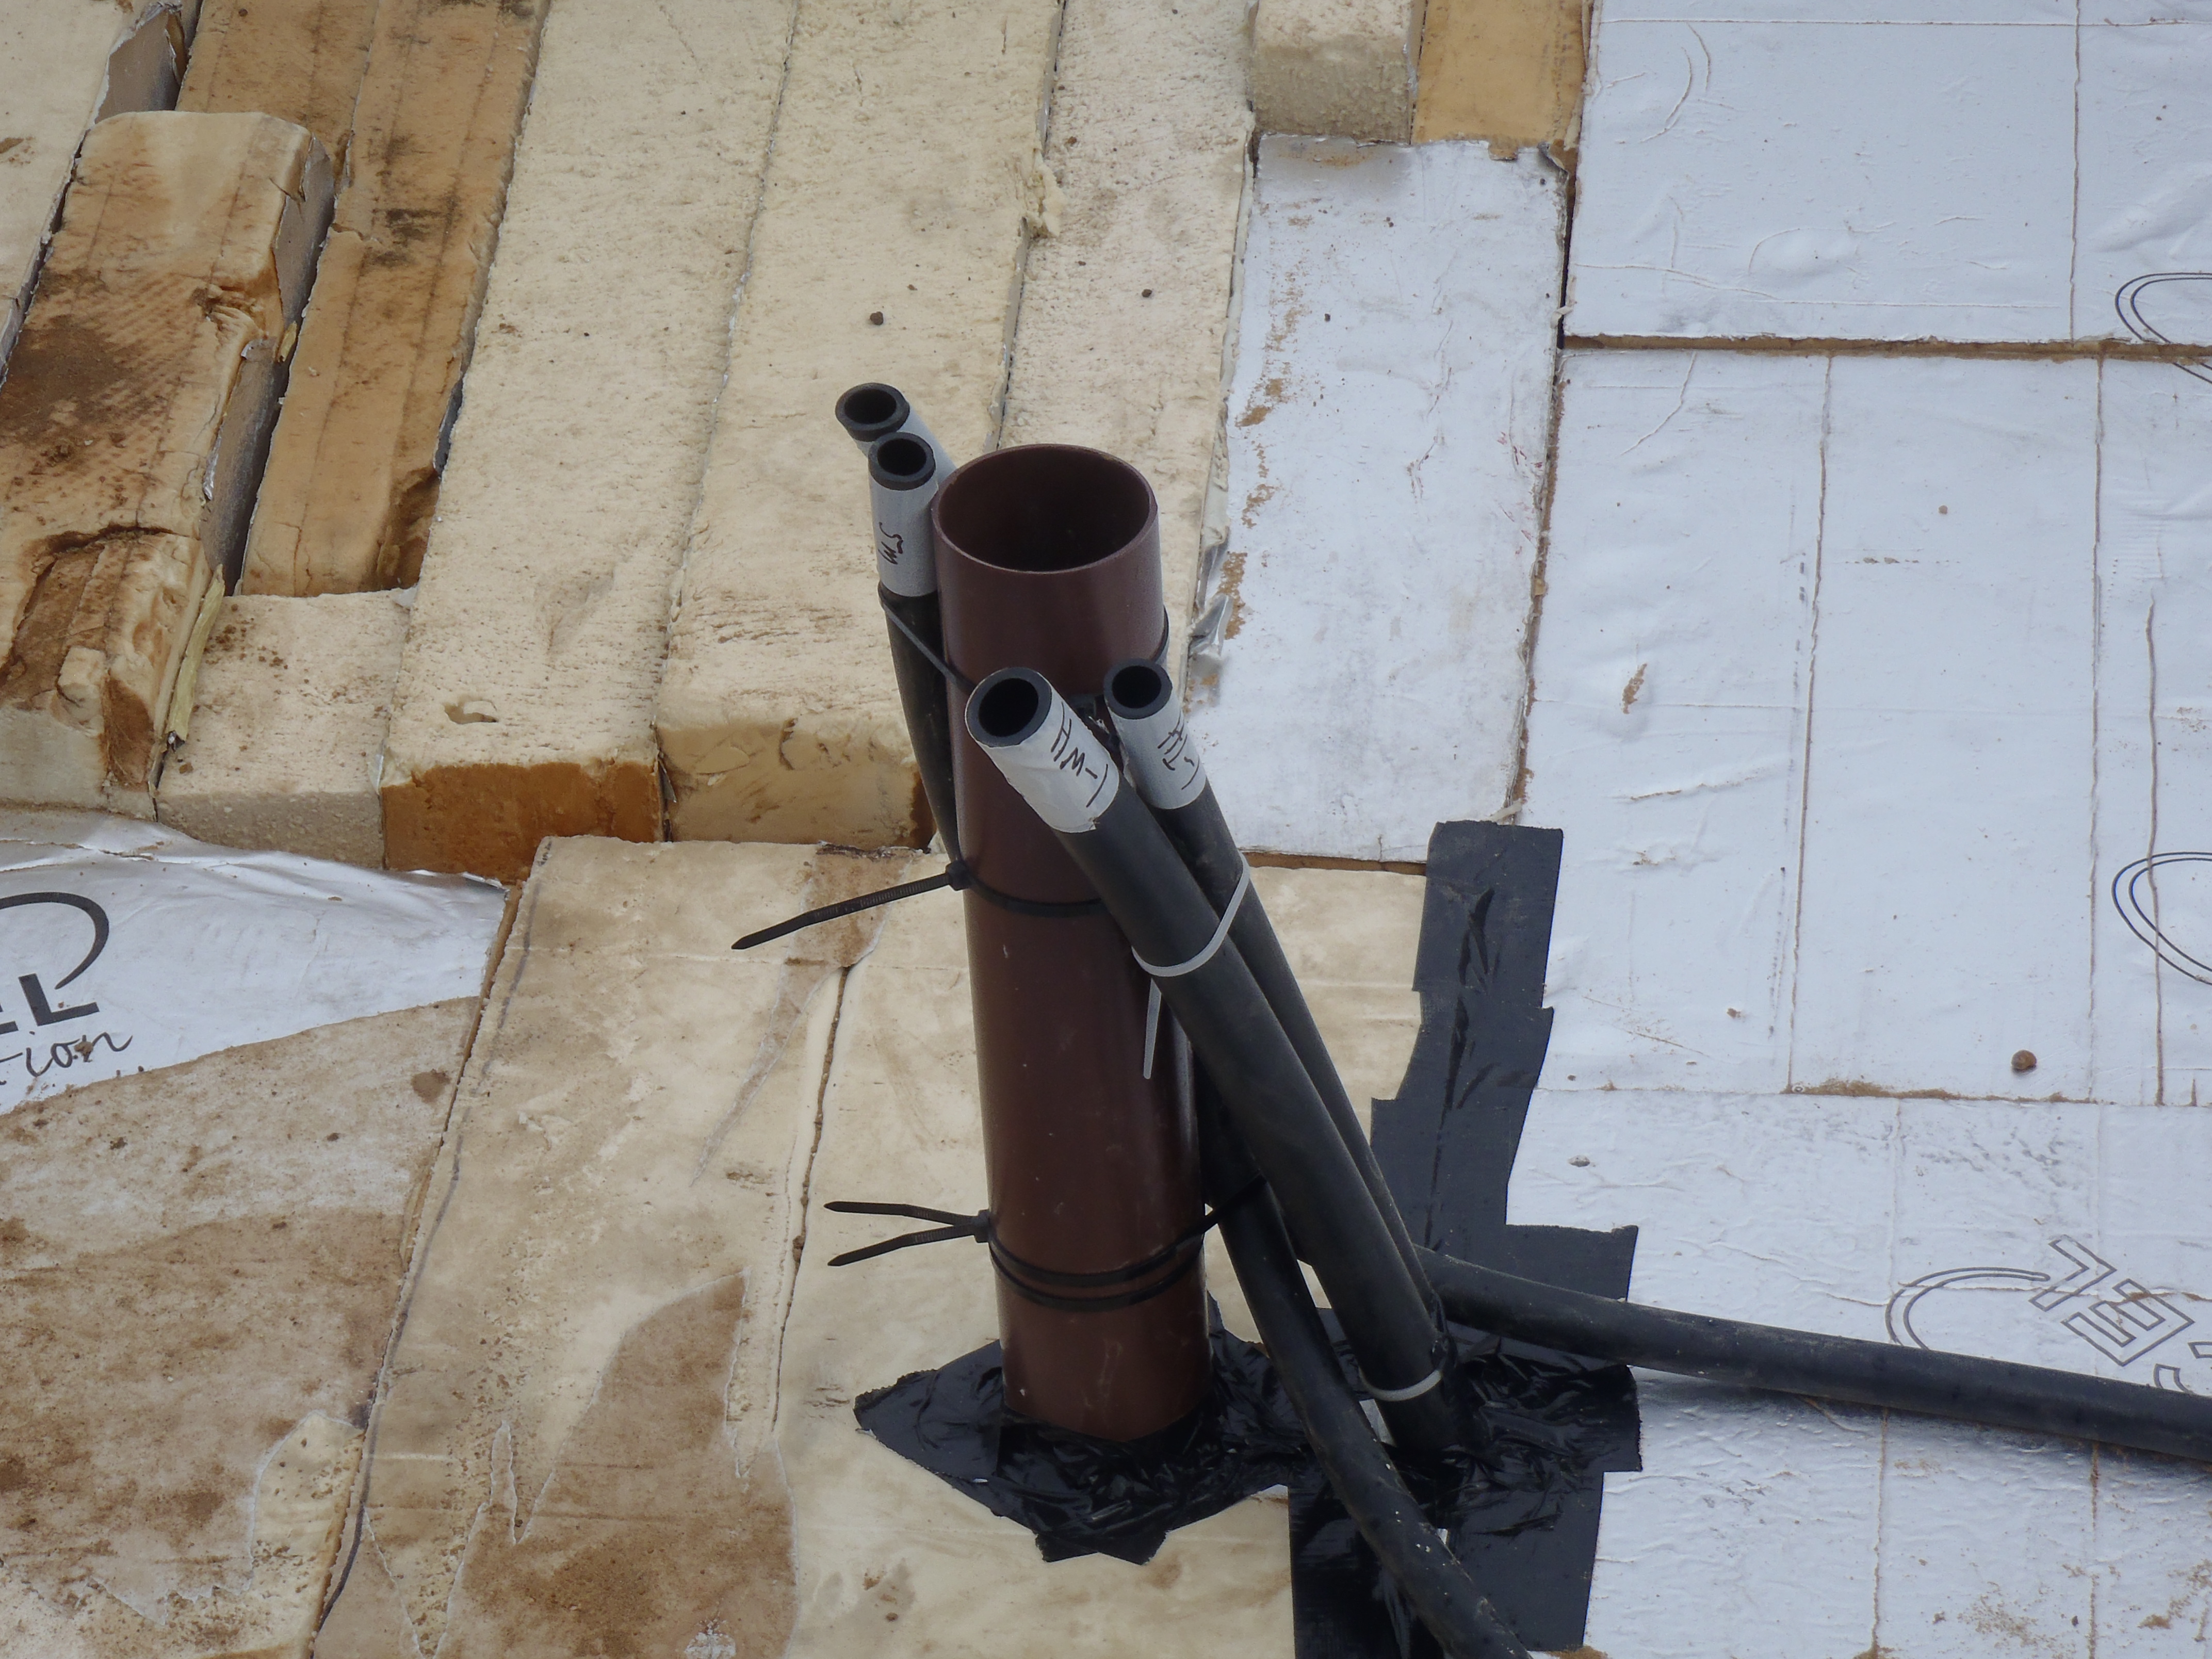
We have made holes to allow the water and temperature conduits to pass through into the tank, all labelled and measured so we know what is what and how long the wires needs to be!
Module-1-Ducts-in-place
The pipes has a ring of white duct tape wrap around them, with the coded info written on it. They read “1-wl”, “1-wh”, “1-tl”, “1-th”, and “1-tu”. More conduits will come together for more temperature probes later on when we get near to pouring the main floor concrete slab.
Module-1-Ducts-are-labeled