Category: Filtration Module

All Rain Water collected off the roof surfaces, “dirty” initial flush of rain is thrown away and filtered “clean” water is collected in underground storage tanks. Connected to Swimming Lane for extra surge capacity to help with the slow soak-away modules.

  • Rain Water Filter Module Upgraded With Stainless Steel Mesh

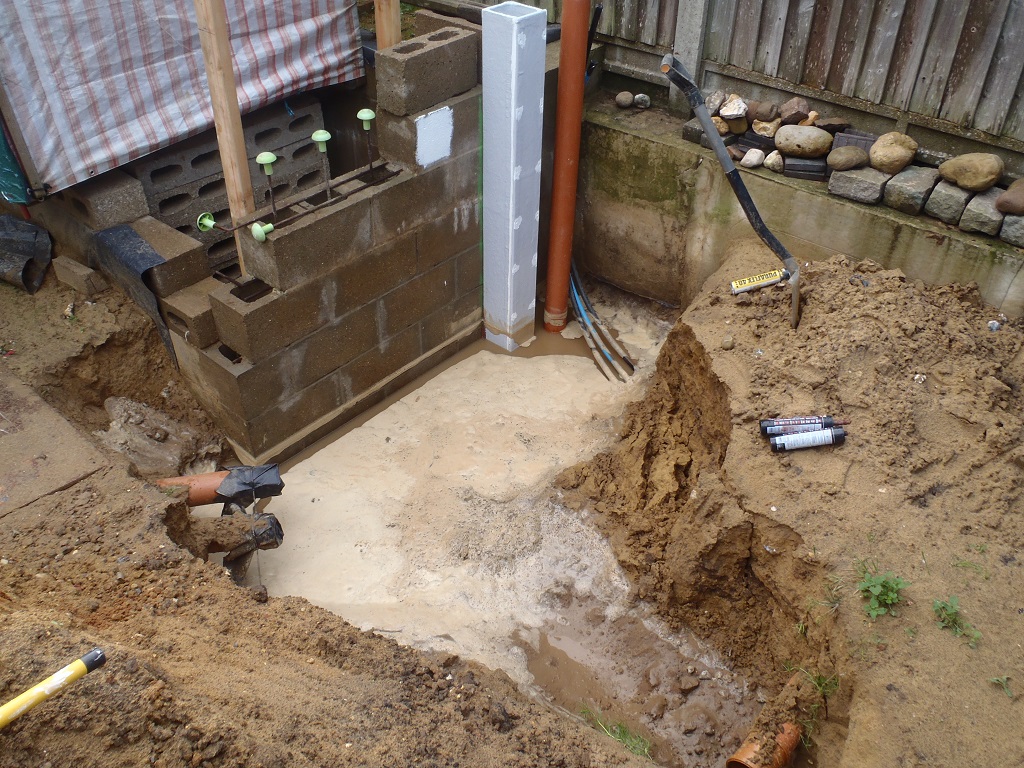
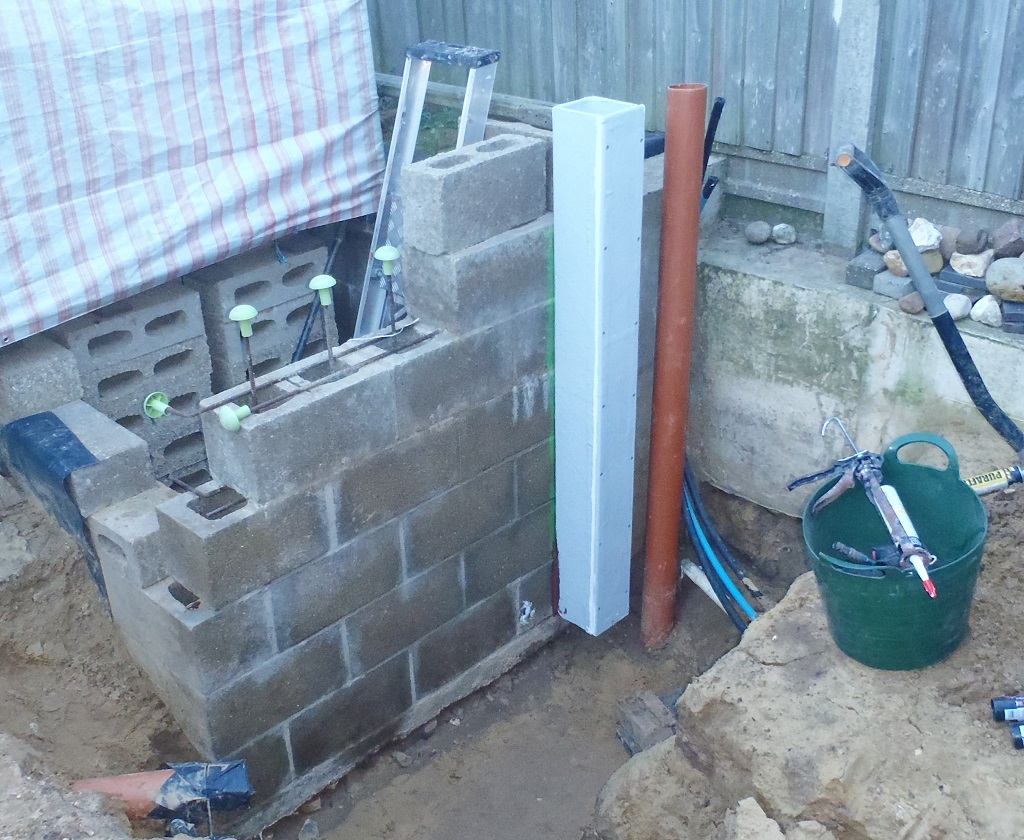
    We postponed the insertion of the PU foam board into the Great Room walls, because the freezing temperatures that has just arrived with the icy northerly weather, would not allow the gun foam to properly expand and cure in the correct way. So, Tuesday, we switched over to doing another task that has been waiting for months for us to complete. This is the upgrade and repair of our rain water filtration module, specifically, the main large mesh filter that provide the final sieving and removal of larger bits from off the rooves, like moss and leaves. Originally, we used a geotextile cloth like material to provide this filter barrier but we found, unfortunately, the fluffy texture of the cloth made it a good environment for bacteria and fungi to grow, which in turn blocked the last six inches of the filter and we had virtually a permanent pool of water sitting in our filtration module and in turn, in our 100mm pipes that runs right around the whole house.
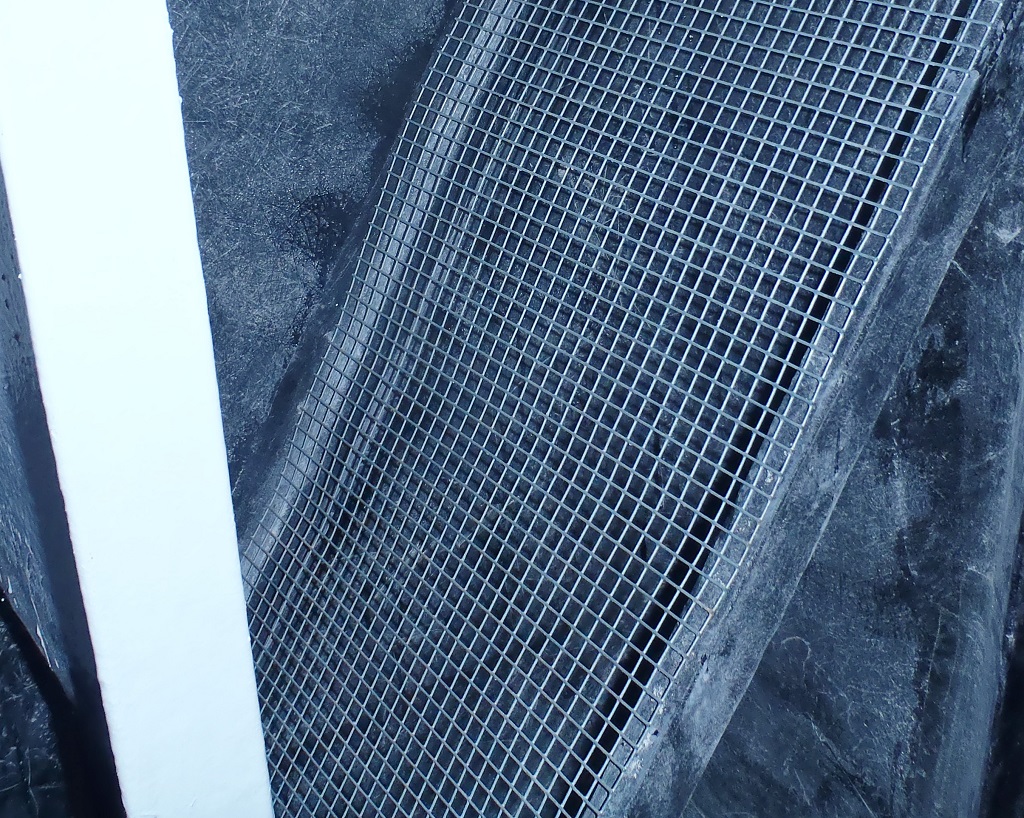
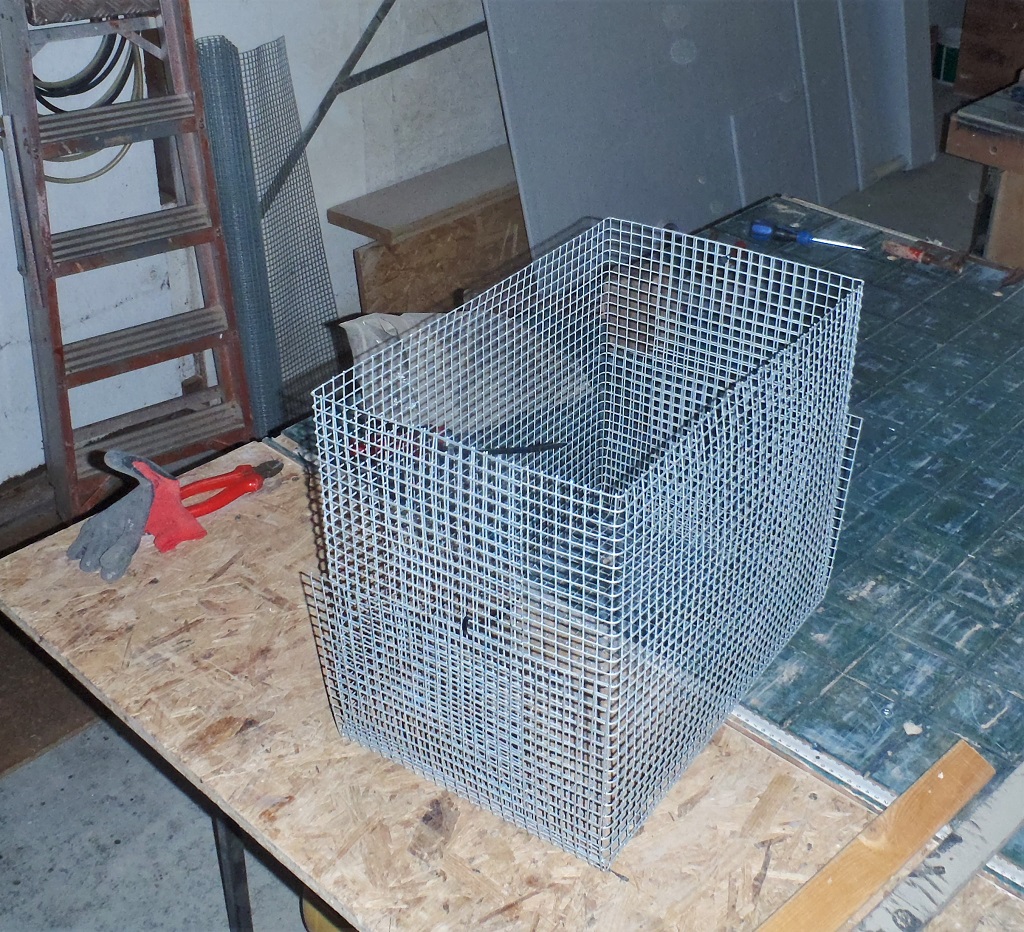
    Last year, we bought some fine mesh stainless steel woven mesh which a 2mm size holes so it will still do the job of stopping the moss and leaves from getting into our underground rain water tanks but the larger and much simpler mesh design would stop any bacteria and fungi from growing.

    Rain Water Filter Module Upgraded With Stainless Steel Mesh

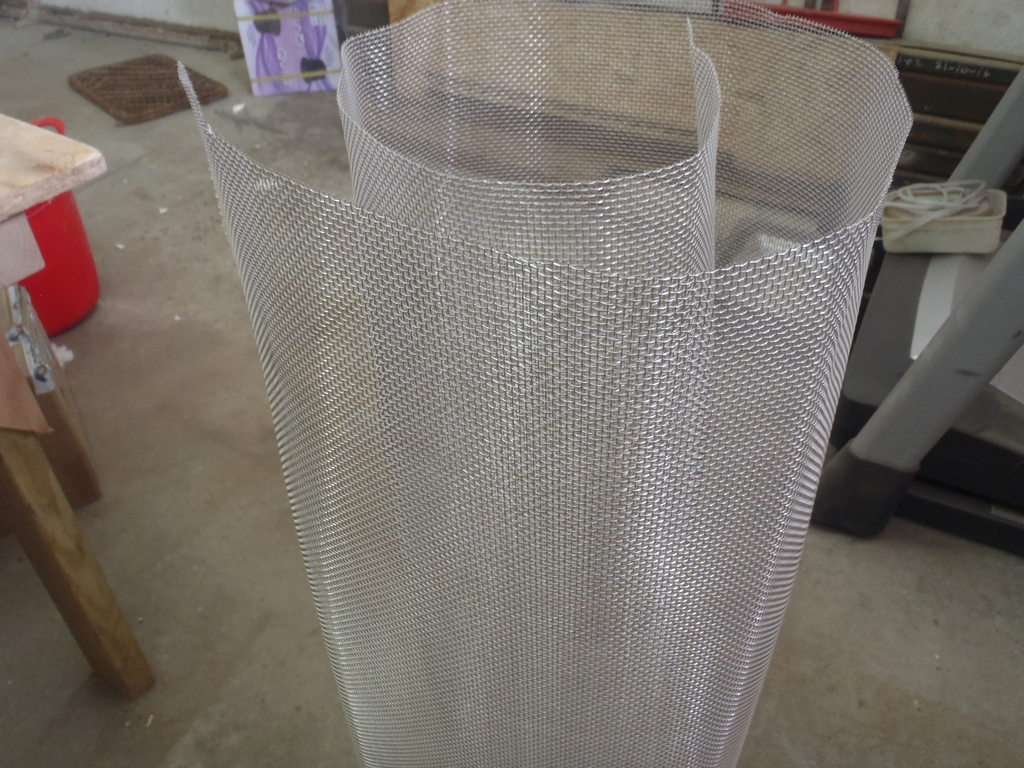
    New-mesh-for-rainwater-filter


    (here is our roll of the mesh)
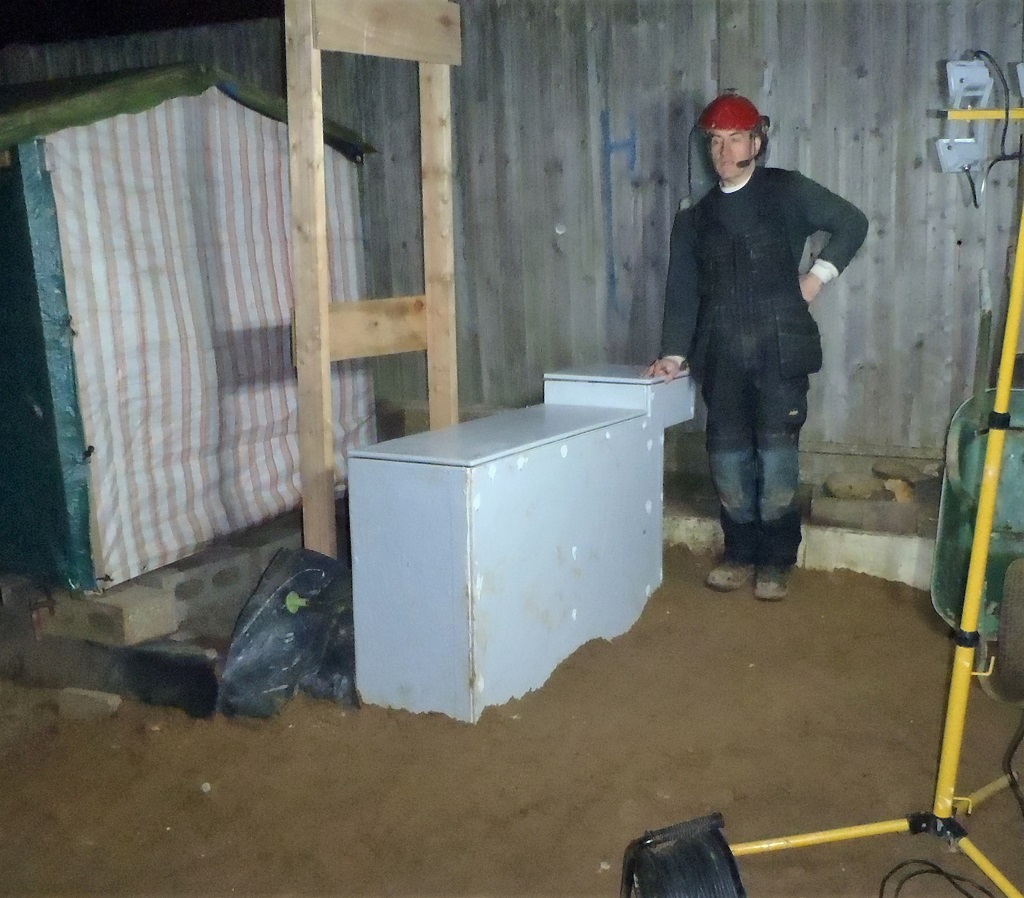
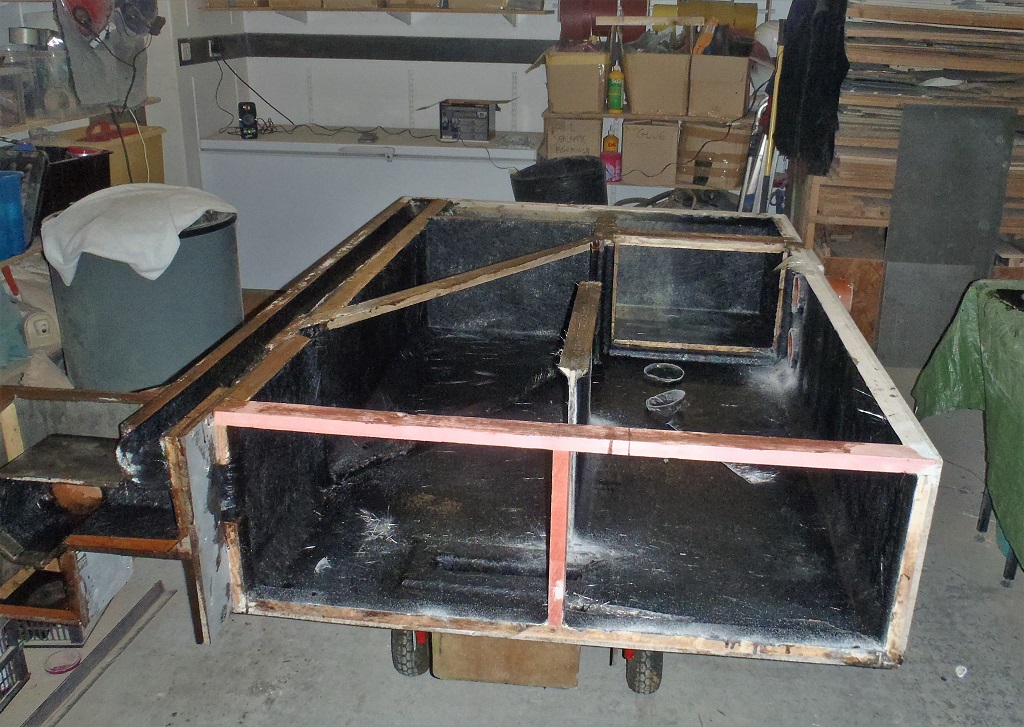
    But first, we had to drain the filtration module using our built-in little pump which took well over an hour to pull out nearly seven hundred litres of water, pull out the old filter, cut off the old cloth and then give it a thorough scrub in strong detergent to remove the slimy yukky mess.
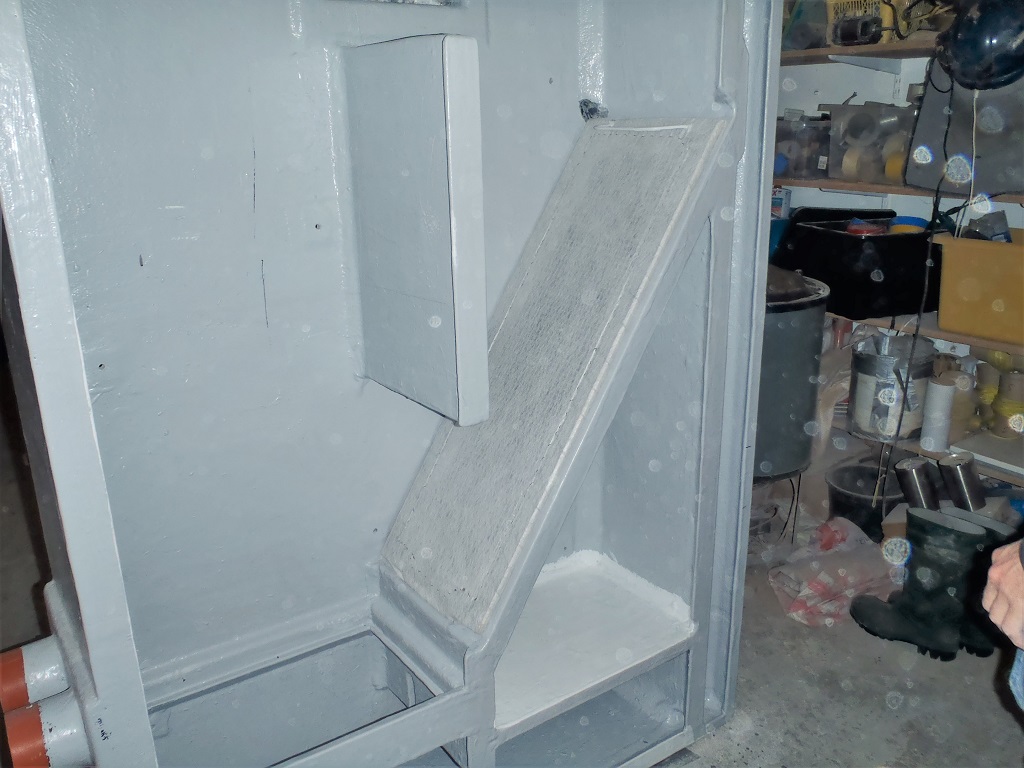
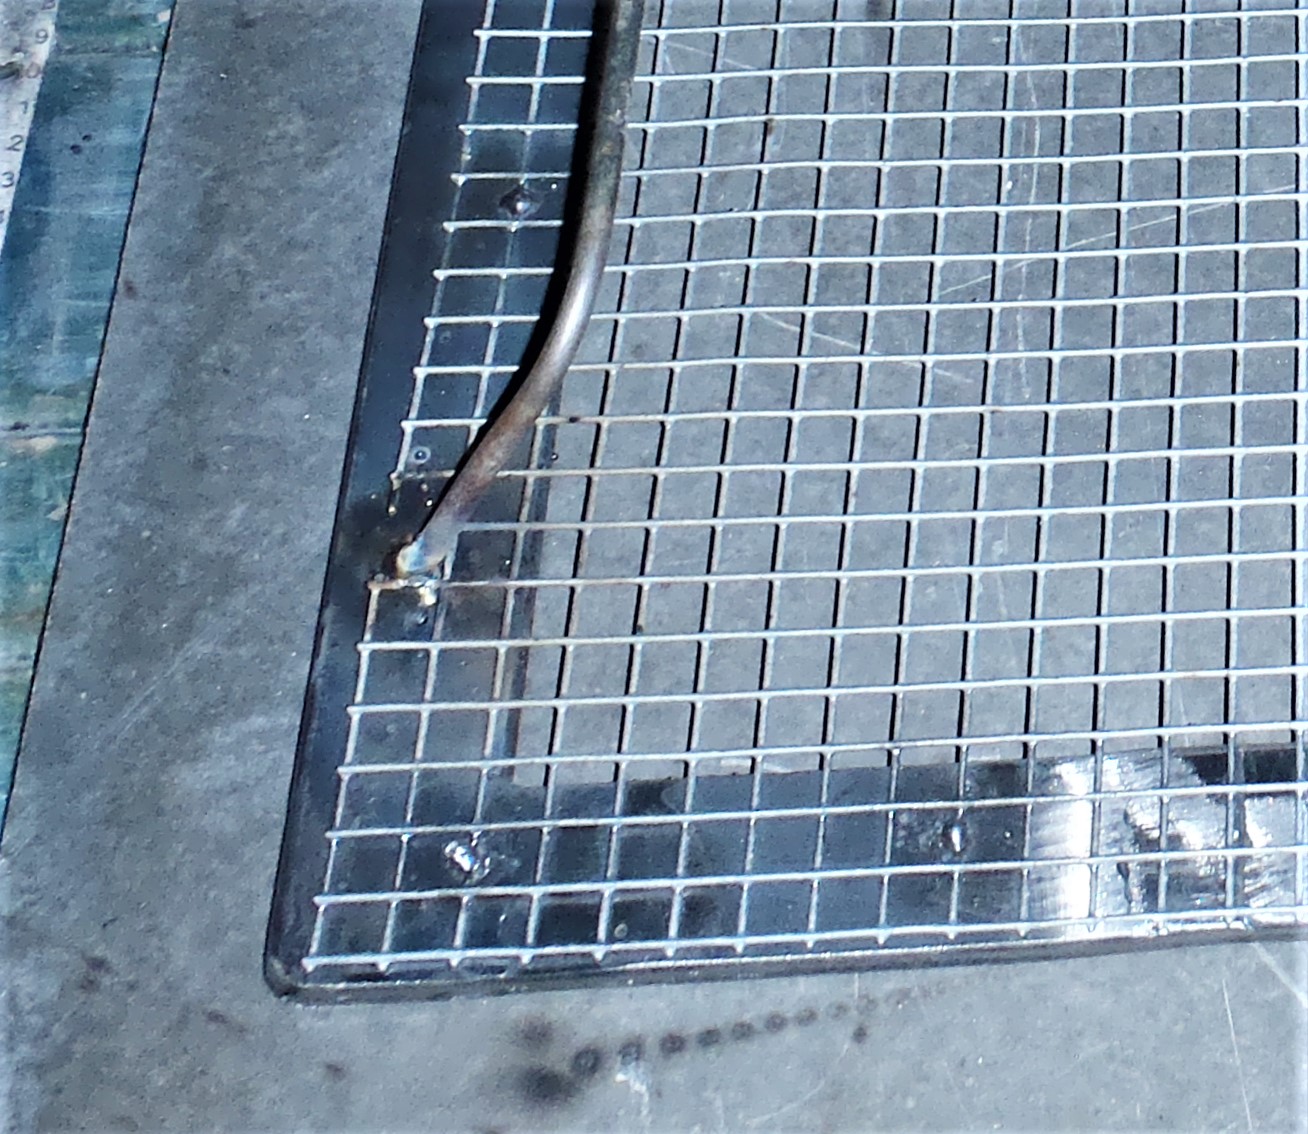
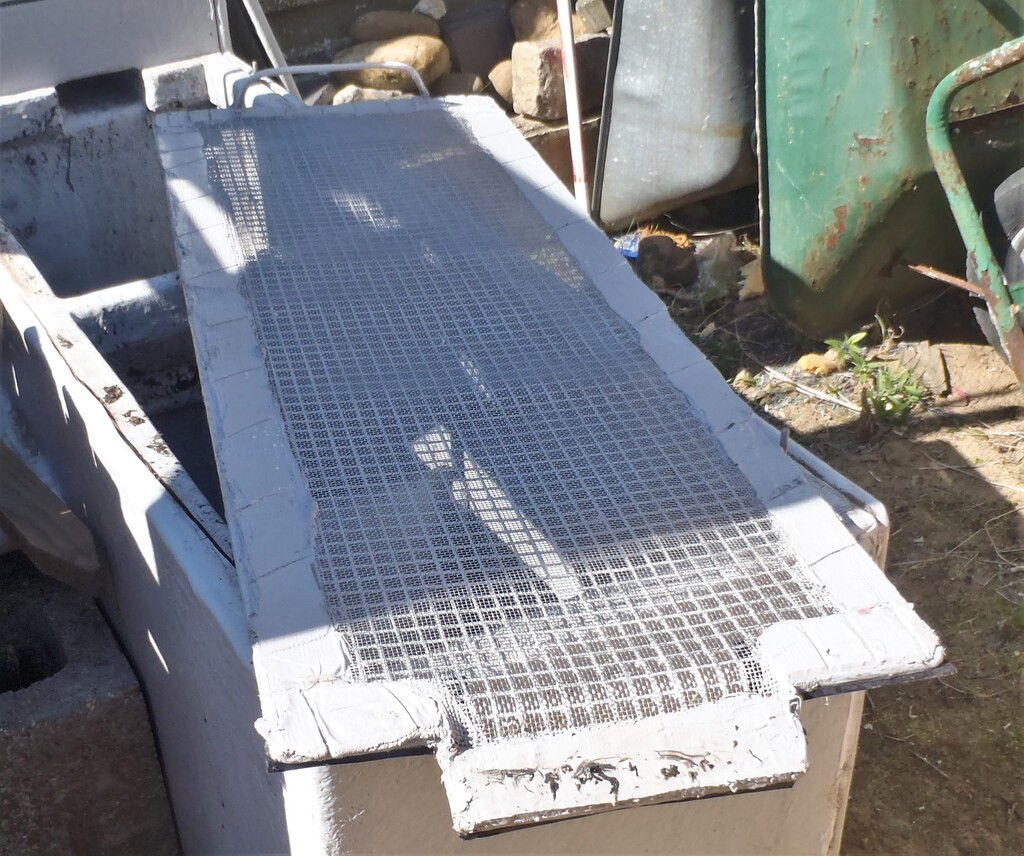
    We discovered that the resin we had coated the mild steel bars with, is showing signs of being chipped and this could be letting in water to oxidise the metal, i.e. rust. We may have to go all stainless steel in a future replacement but for now, we dried it all off and smeared copious amount of grey PU sealant when we put on the stainless steel mesh.
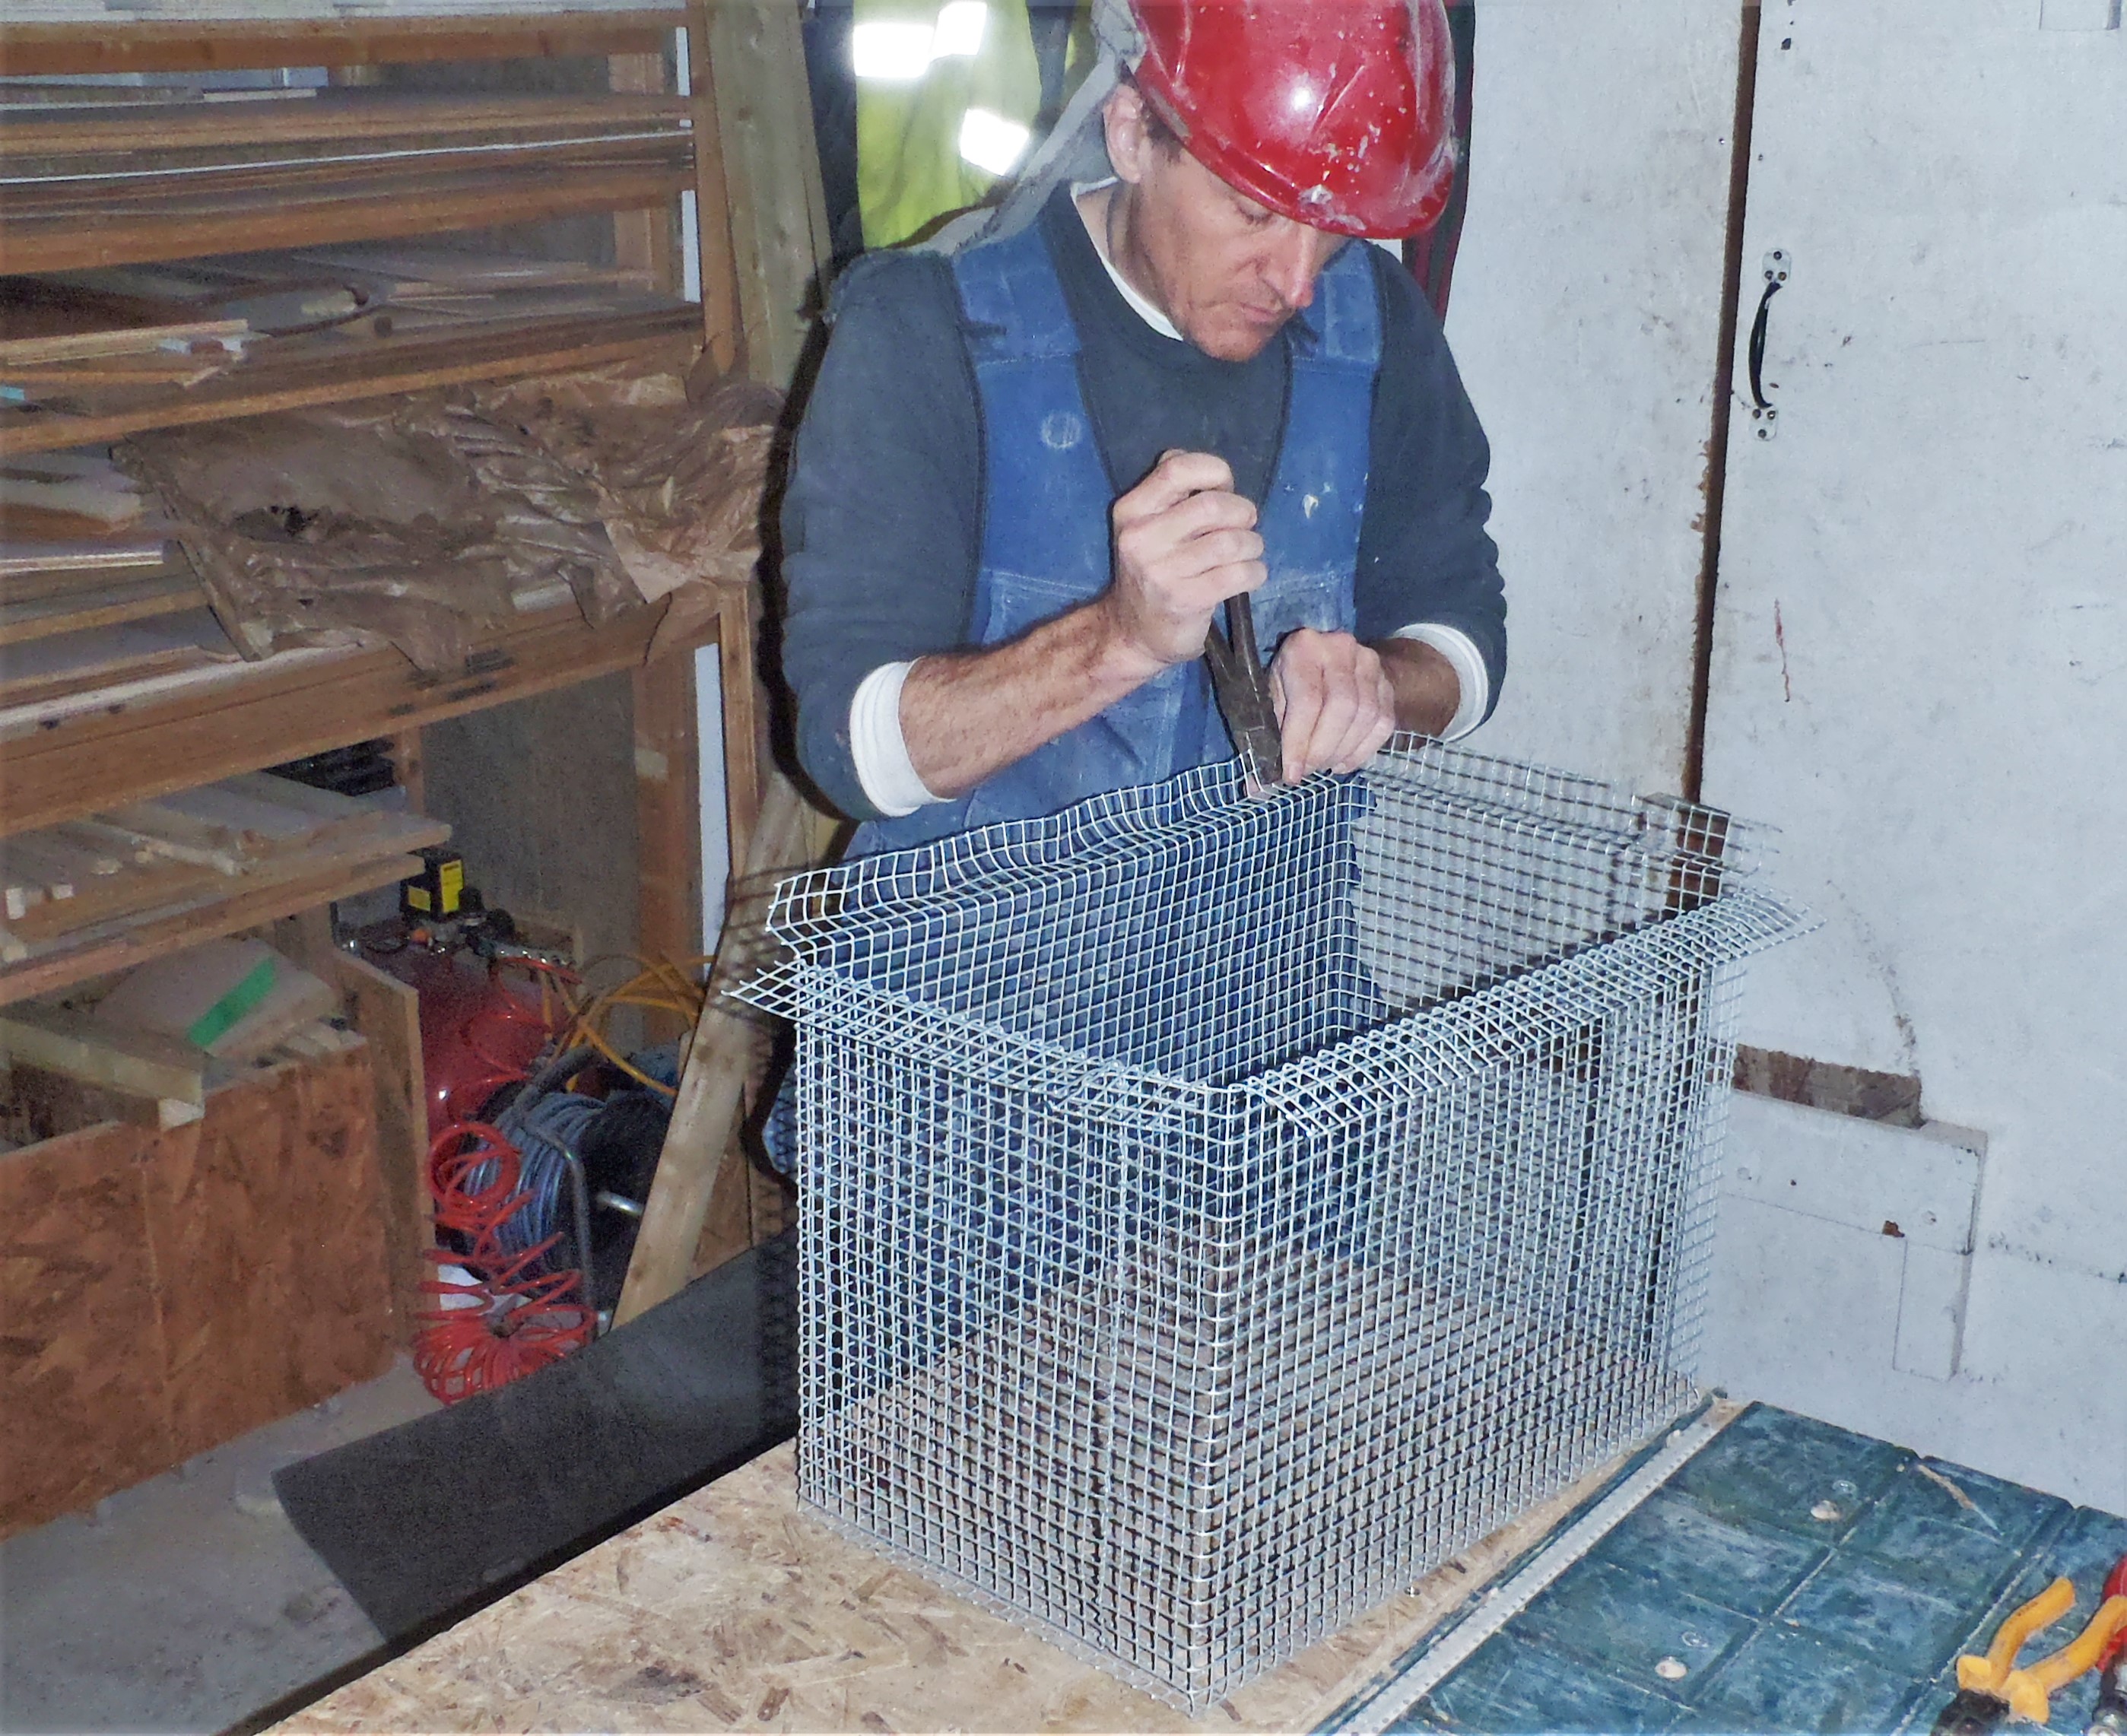
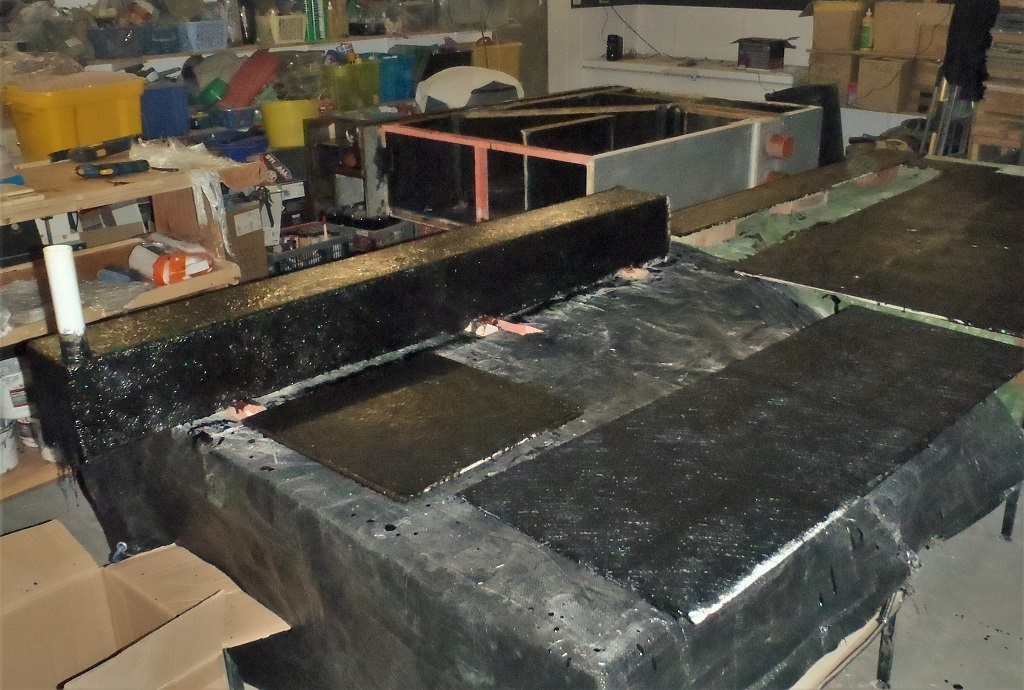
    The mesh was cut down to size, 380mm wide by 1100mm long, trimmed around the handle and the extra sticking out tongue piece at the bottom. We then cut several lengths of wooden 2by1 battens, put on parcel sticky tape, wound around a thick wire and cover that up as well with Sellotape (so the PU sealant doesn’t stick to the wood nor wire) and clamped around the edges of the framework to press the engulfed mesh into the PU sealant. The wire is there to try to ensure that we had a little extra amount of sealant above the mesh to provide extra bulk to encapsulate the mesh for long-term strength and stability.
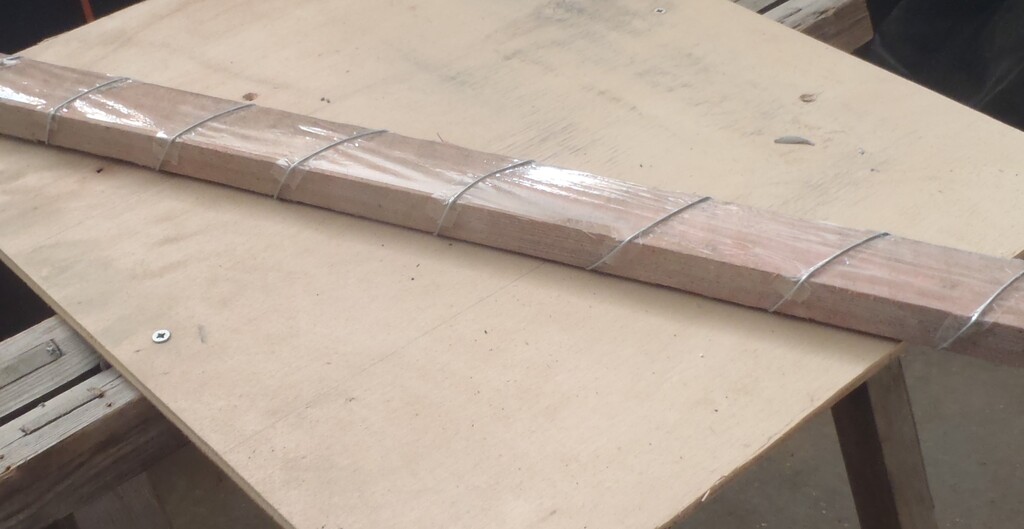
    Rain Water Filter Module Upgraded With Stainless Steel Mesh

    Clamping-batten


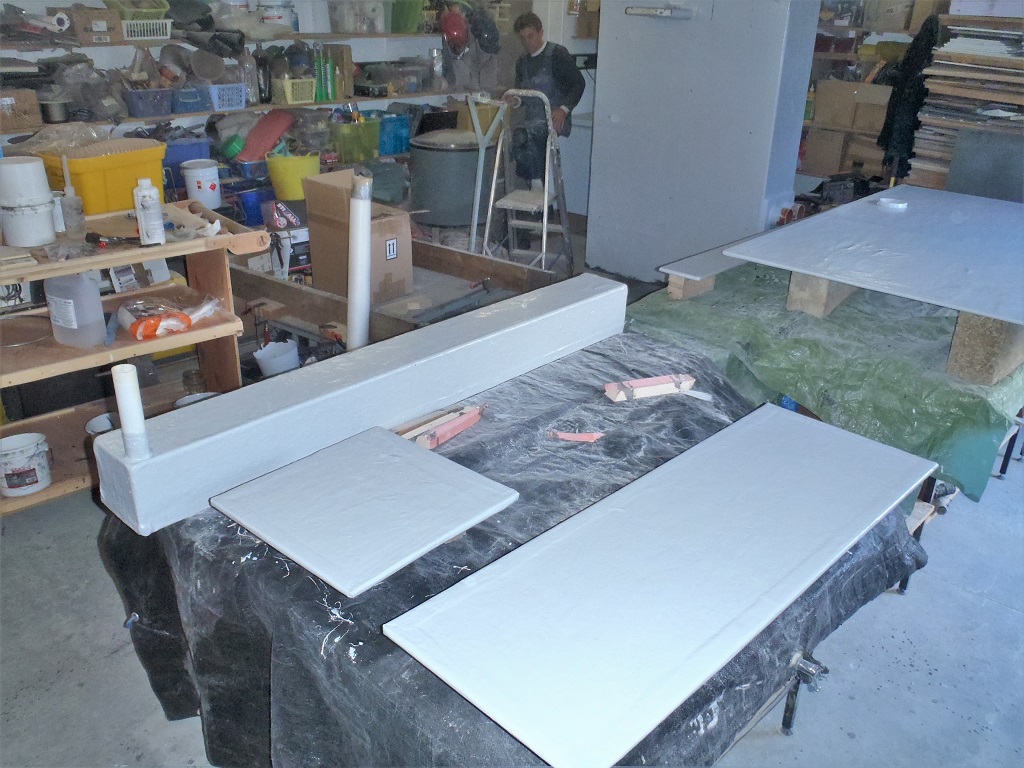
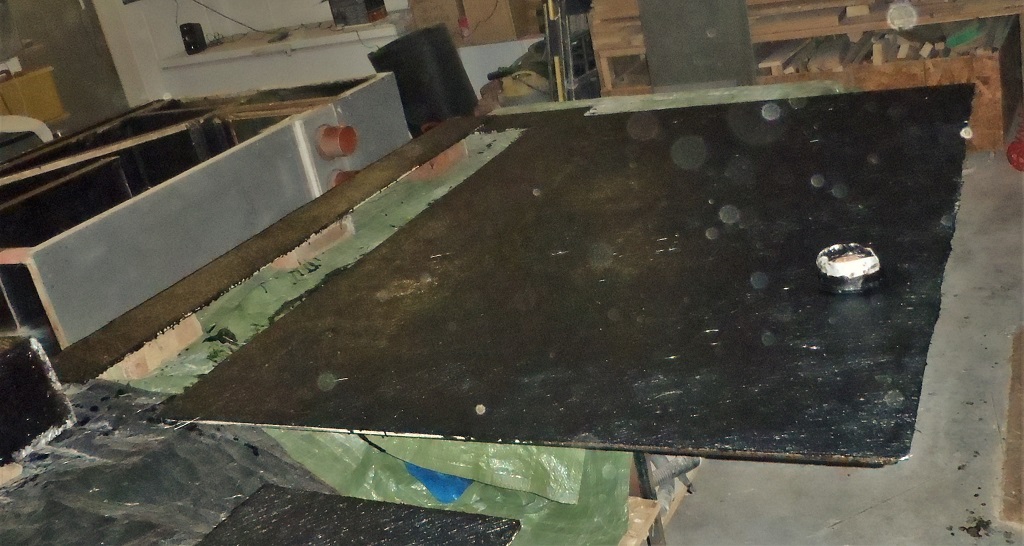
    On the following day, we discovered that the grey PU sealant was taking a long time to set, we surmise that this was being caused by the lack of water vapour reaching the sealant to aid in the chemical reactions to set it. So we rigged up a “tent” over the filter and directed our fan heater to blow in warmer air to raise the temperature to speed up that chemical reaction. We had to wait another day and then carefully peal of our battens off. The sealant was just about set but still sticky to the touch so yet another day was required. This is ok as we got on with doing the insulation filling task in the house (the outdoor temperature has warmed up enough to allow us to carry on using the foam gun) and also we performed a test of several different kinds of glues to examine which will work best on naked rubber. We used Stixall, neutral silicone and PU sealant by smearing it hard into the rubber surface.
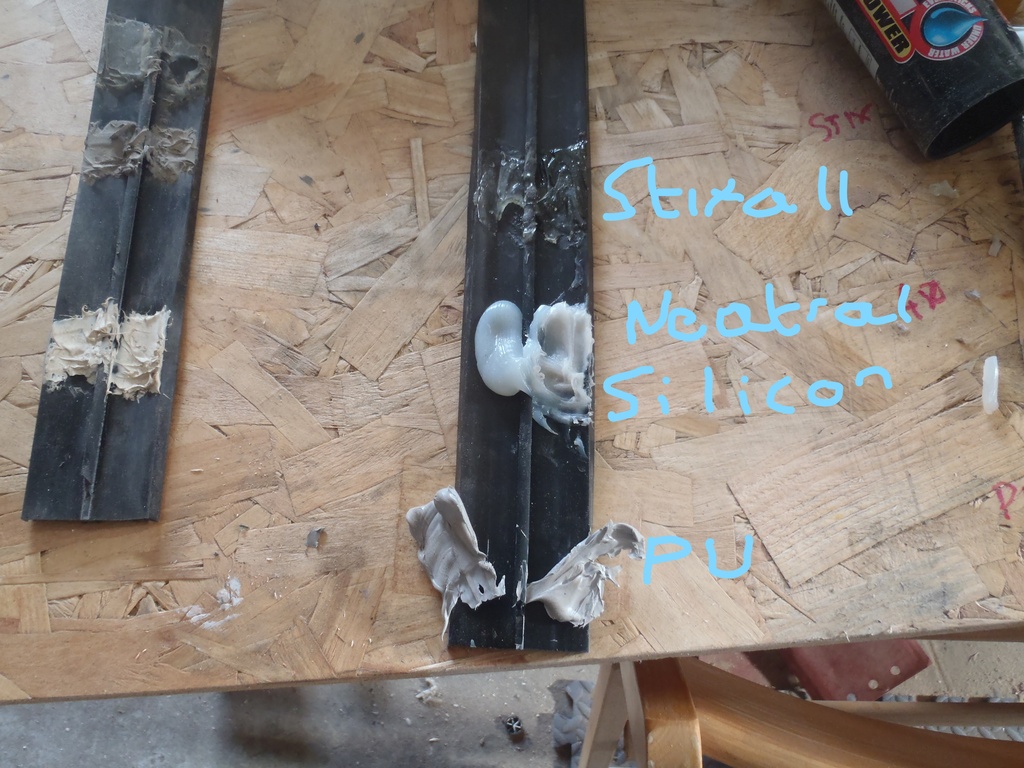
    Rain Water Filter Module Upgraded With Stainless Steel Mesh

    Rubber-gluing-test


    The conclusions were that the stixall and neutral cure silicone worked very well but the PU one literally rolled off with no difficulties at all.
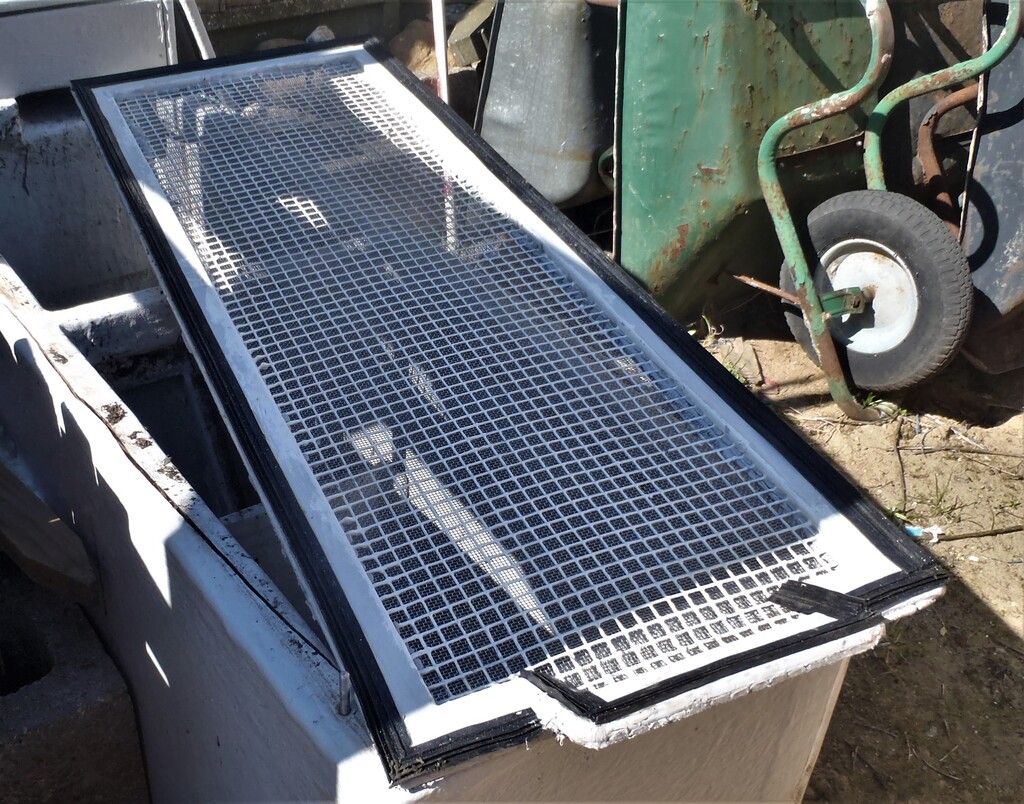
    After several more days of neglecting this task, we finally got bac to finishing off by sticking down a line of glazing rubber strips on the underside of the metal bar. These original rubber strips were left-overs from doing the Skylight and they are 50mm wide but we only wanted half that width so we sliced them down the middle. We then used a Stixall glue (we had several tubes of that left) to glue down the rubber strips onto the metal bar and waited another day again.

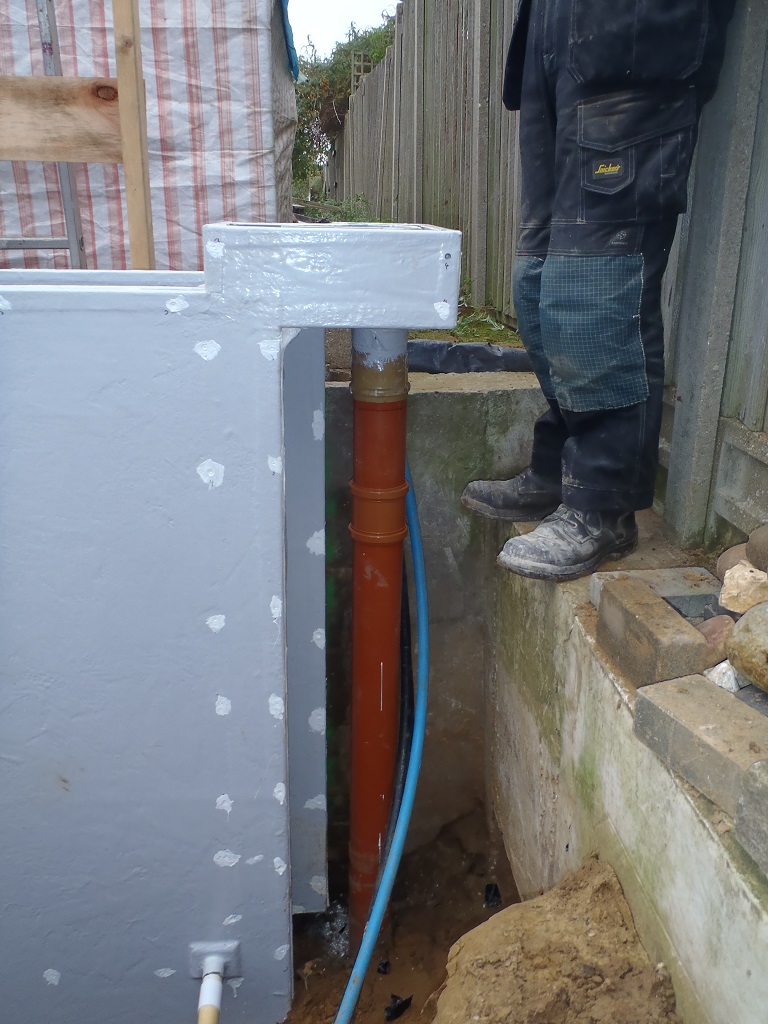
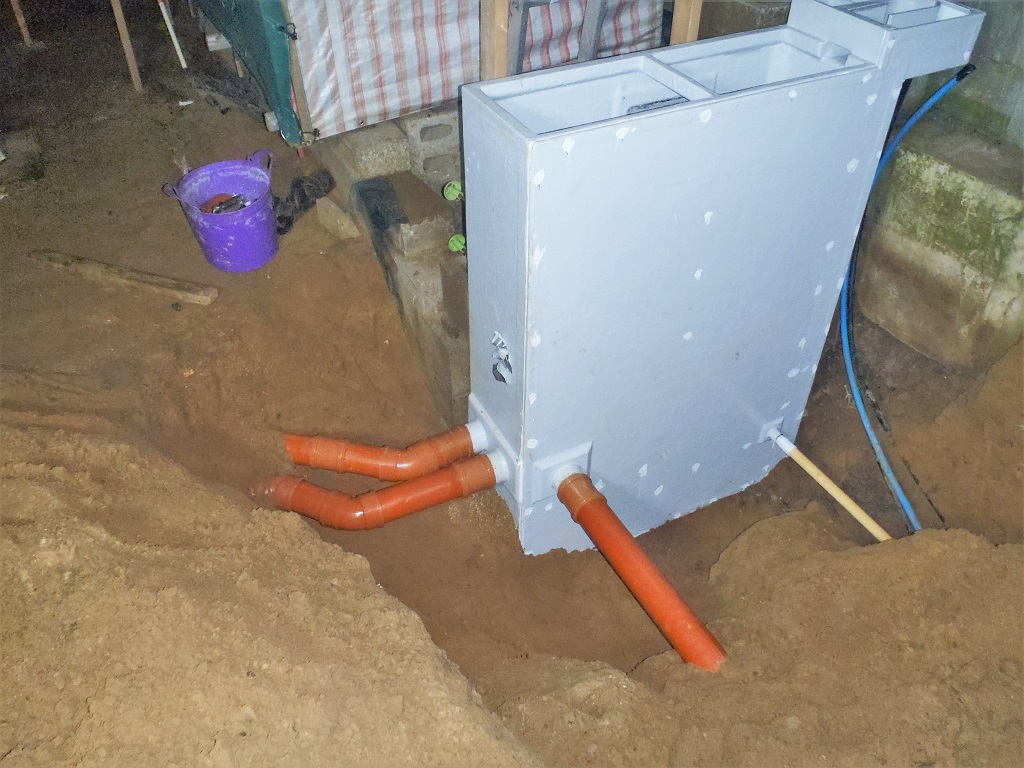
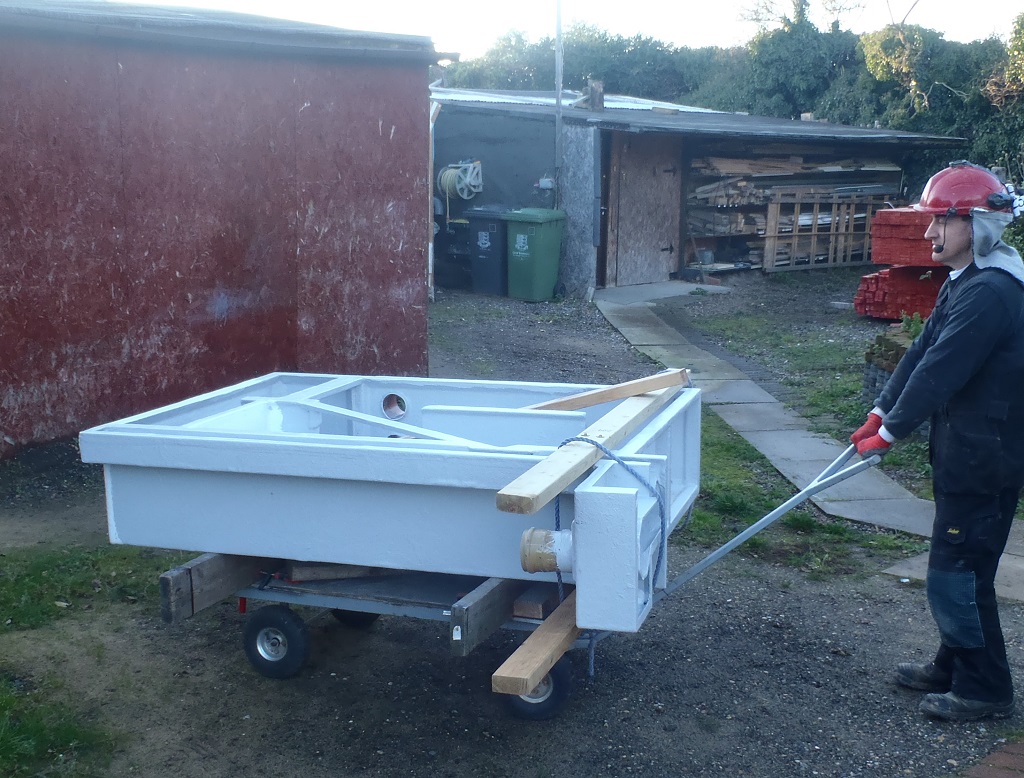
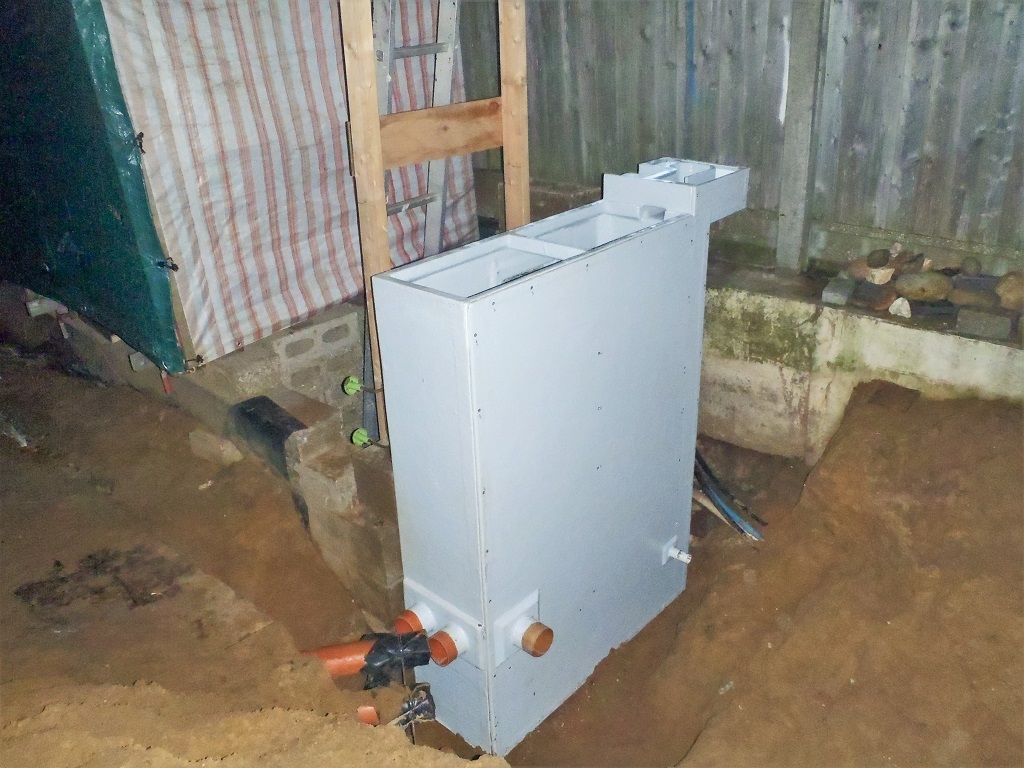
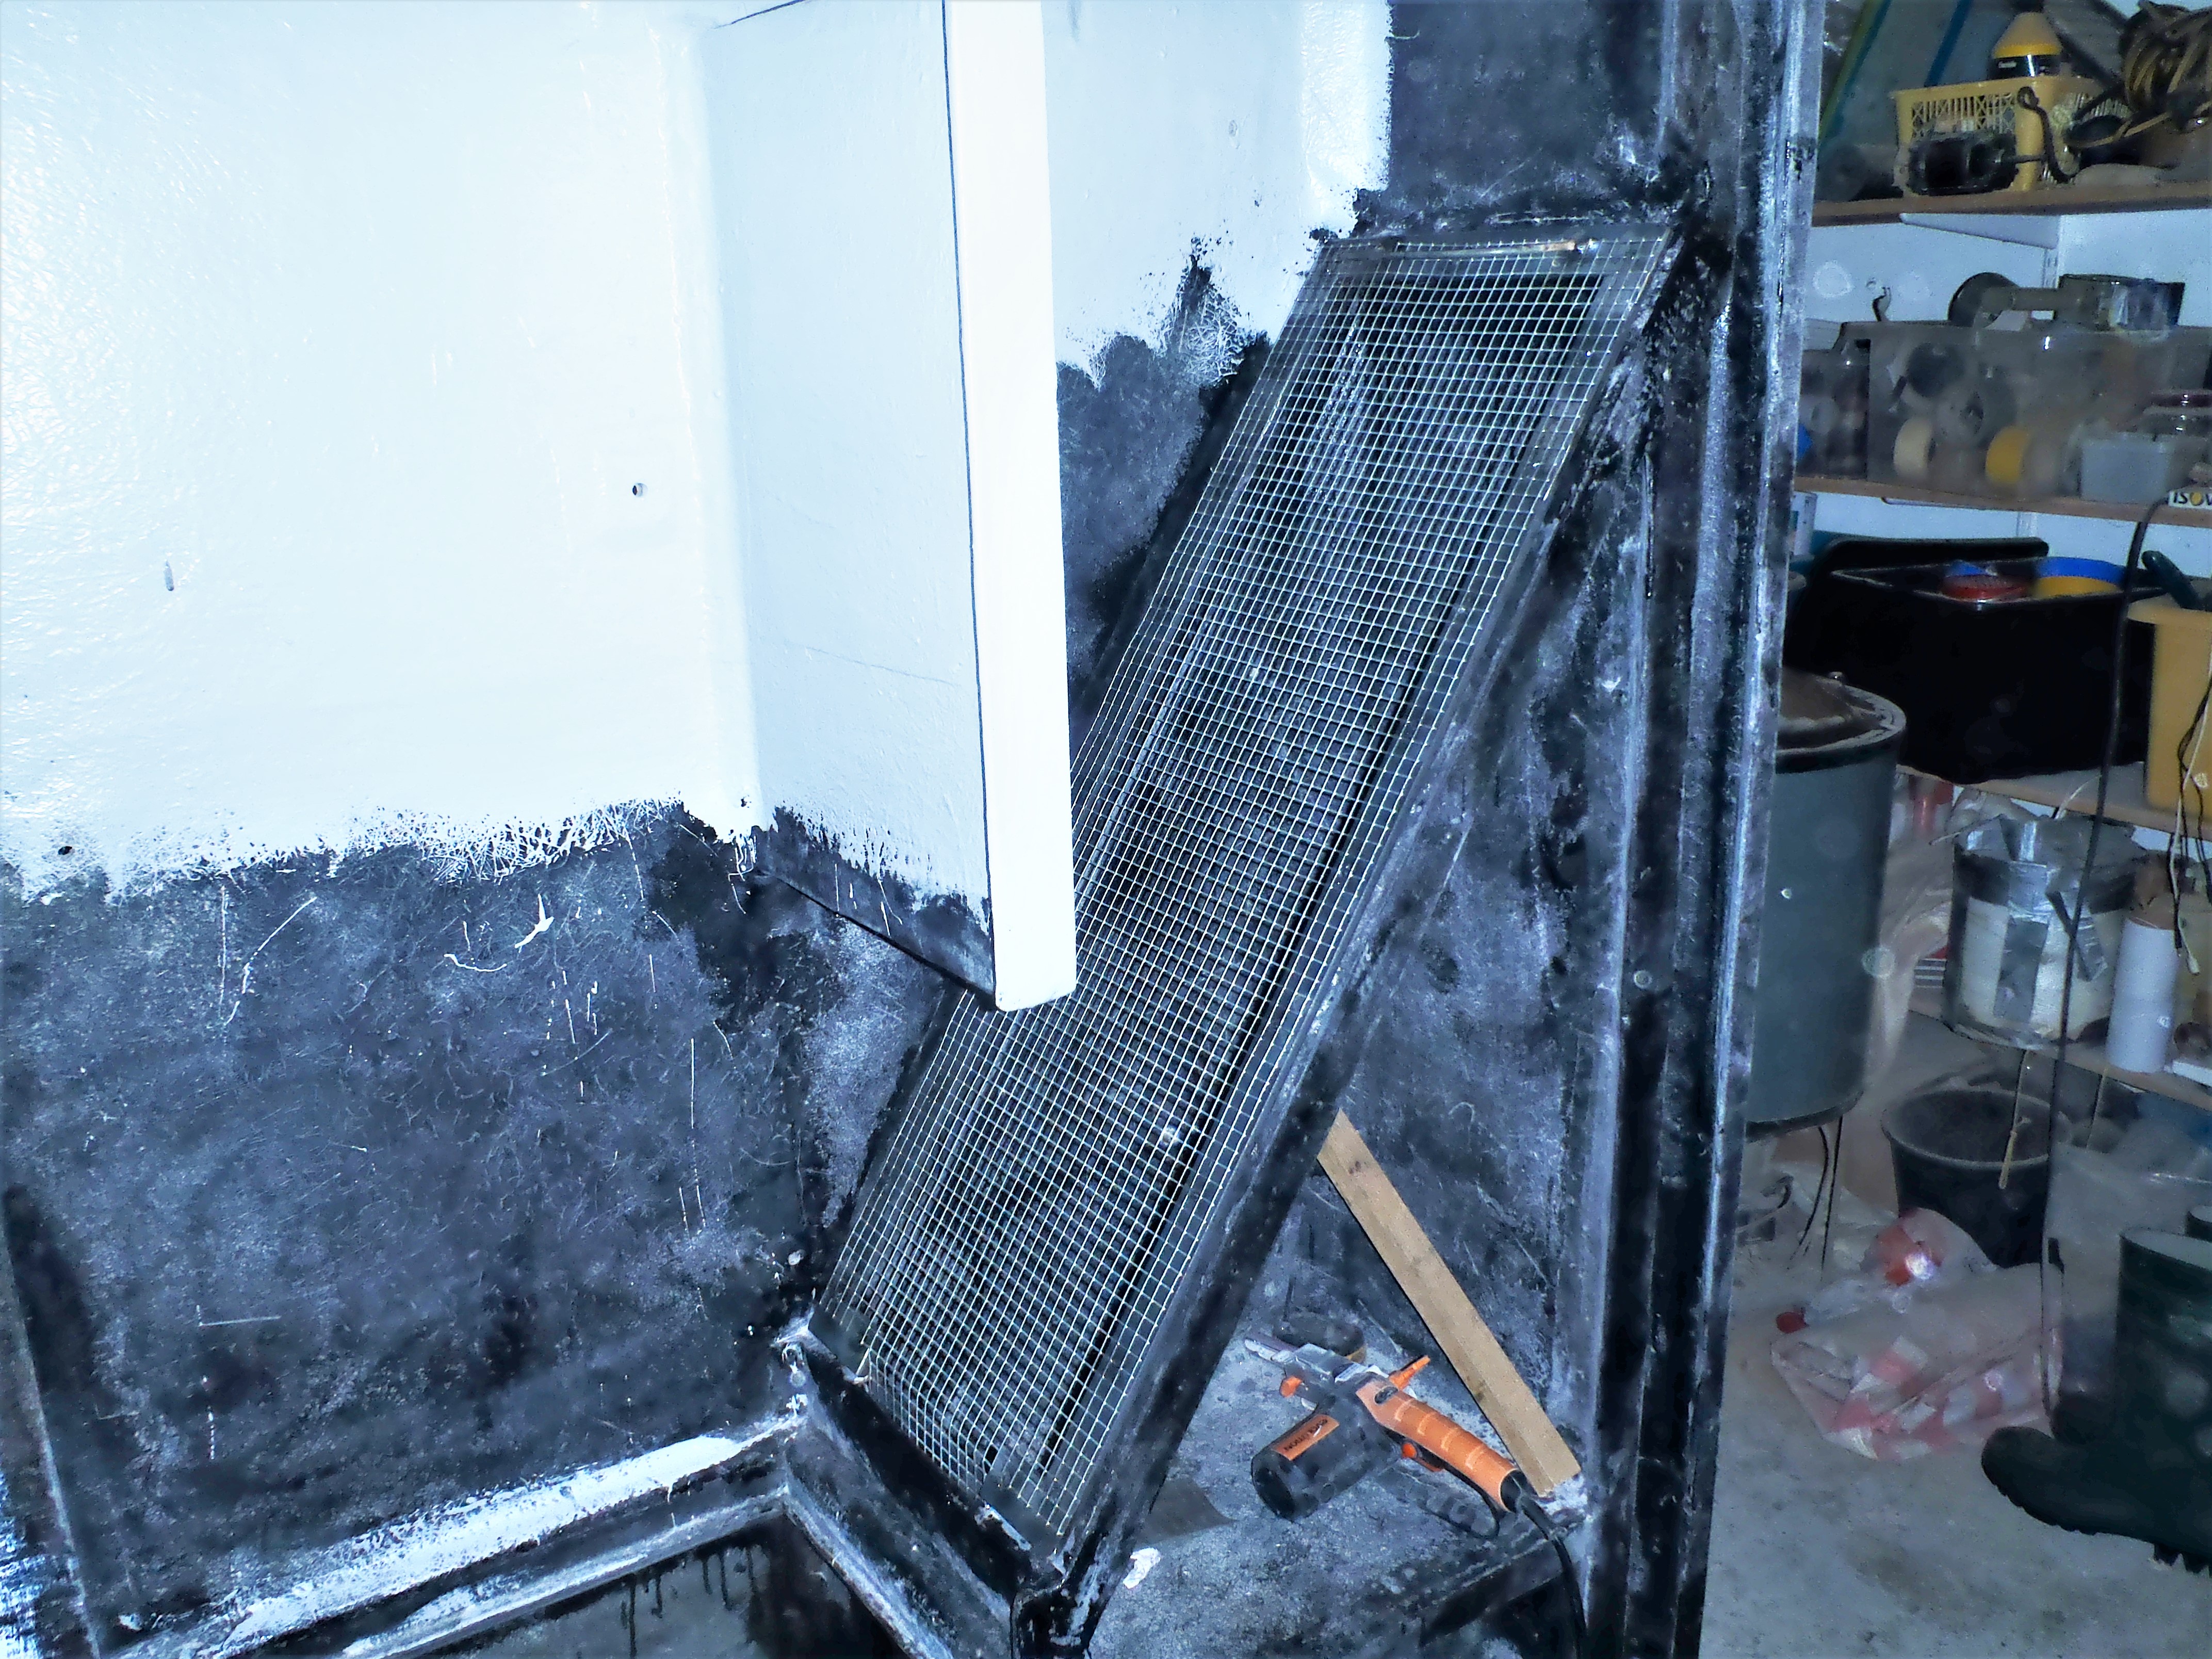
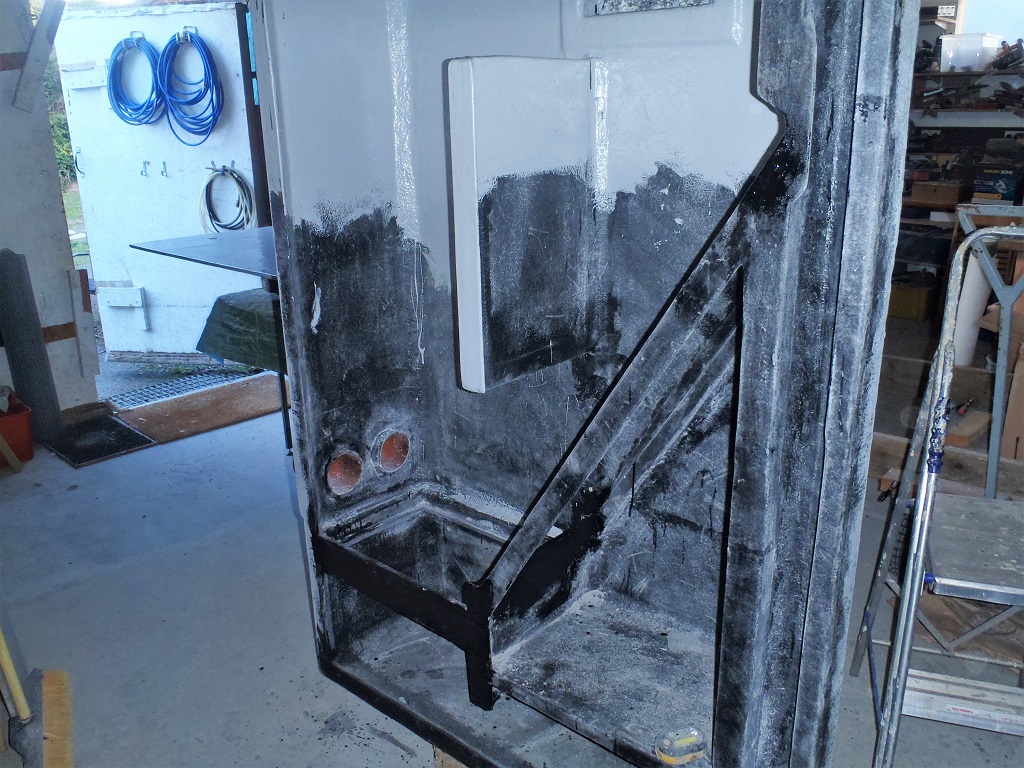
    We finally installed the repaired and upgraded filter back into the rain water filtration module and we will wait and see how well it performs over the next year or so.

    Rain Water Filter Module Upgraded With Stainless Steel Mesh

    Mesh-glued-to-filter-frame

    Rain Water Filter Module Upgraded With Stainless Steel Mesh

    Rubber-seal-on-filter
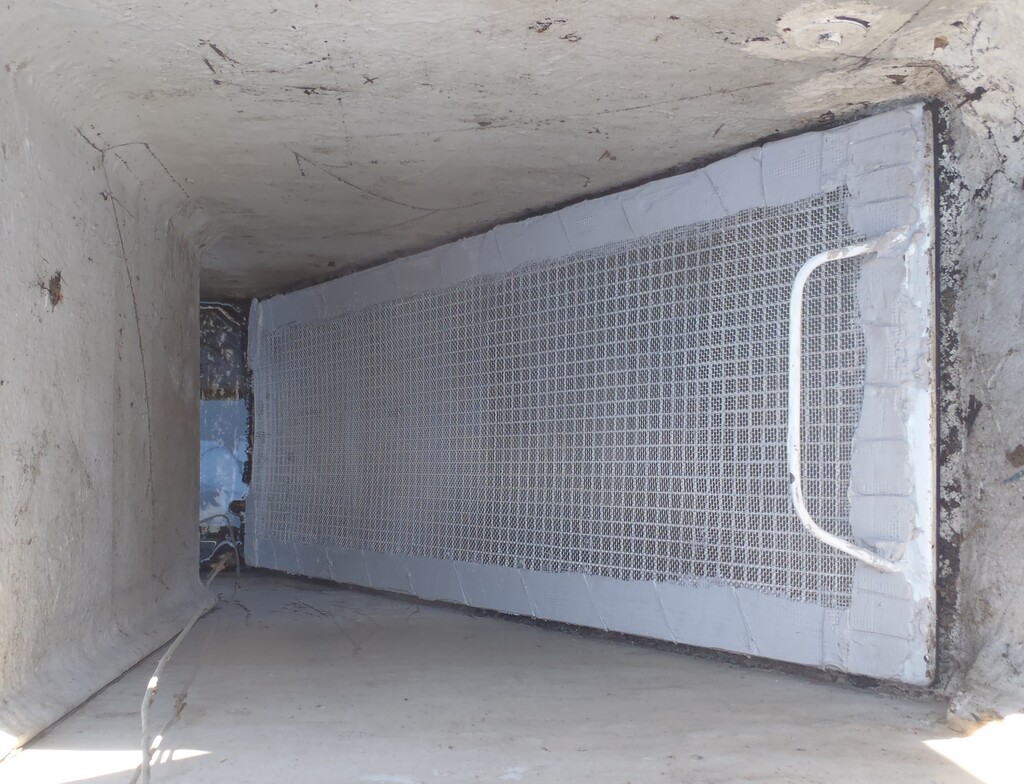
    Rain Water Filter Module Upgraded With Stainless Steel Mesh

    Filter-installed


  • Finished The Filtration Module and Now Fully Buried!

    We finished off connecting the last large drain pipe to the Filtration Module, this being the final last resort overflow connection to the soak-away unit.

    Finished The Filtration Module and Now Fully Buried!

    Filter-overflow-connected-to-soakaway


    Then the next job was to climb inside and apply extra sealant around the clean water section and its joints. It was a tight squeeze but we managed it! Finally, we vacuumed out the slightly dirty water in the bottom of the cabinet to reduce the amount of grit and dirt to avoid fouling up our water pump.
    We spent the remaining of the day shovelling all the sandy soil back in and around the cabinet and piled the excess up around it so it can settle down over time.
    The last task was to get the lids installed, using stainless steel threaded rods, glued and screwed in various places around the rim and clearance holes in the lid themselves.
    Finished The Filtration Module and Now Fully Buried!

    Rainwater-Filter-Finished


    The filters and baffles were lowered down inside the module and everything is now ready for the next rain shower, at least off the garage roof, but we can now connect up each section of the guttering (as we complete the slate tiling) and any water will be drained and properly filtered to our water storage tank.

  • Filtration Unit Connected to Pipelines

    Today, the job was to connect the three rainwater inlet pipelines (from our two roofs) and the output pipe to the Filtration module. But first, a leak test was performed. Sprinkling water (from our garden hose) on to the wall above the seals, we noticed that there were a couple of leaks along the bottom edge. After carefully scraping away the sand and gravel and cleaning the joint, more white sealant was applied and forced it into the joint. All the edges was done to ensure that we don’t have another leak.
    Next was connecting the rainwater pipeline coming from the garage which needed a simple right angled turn and head straight into the cabinet. Next was the white pipe (this is the clean water after filtration and supplying our underground tank) but we discovered that we needed a 30° turn to make it head perpendicular into the cabinet and no one sold this angle for 40mm diameter pipes (they had 90° and 45° and straight) but nothing else. so we had to go out and buy a flexible small length of pipe. We glued together the required pieces to form the pipeline to the underground storage tank (under the garage).

    Filtration Unit Connected to Pipelines

    Output-to-the-rain-tank-with-bendy-joint


    Finally, the last two rainwater pipelines (from the main house) were connected to the side of the cabinet.
    Filtration Unit Connected to Pipelines

    Filter-connected


    All these joints had to have a slip type of connector which allowed the whole straight connector to slide almost fully onto the pipe, move or rotate the assembled pipeline into place and push the slip connector over the both pieces.
    The last job tomorrow is to do further water leakage tests and then connect the soak-away pipeline to the back of the cabinet to takeaway overflowing water (on those very rare occasions of a very heavy thunderstorm).

  • Filtration Module Got Installed!

    Today, we took the opportunity of a very nice sunny day and that the hole was reasonably dry, to tackle the job of installing and burying our new Rainwater Filtration Module, at the end of the swimming lane. We have had to wait for a few days whilst the rain drained out of the hole (The roof of the garage drains into the hole at the moment – it will connect to the filter soon)

    Filtration Module Got Installed!

    Lots-of-water-in-Filter-hole


    We started by digging out the hole of the excess material that had slipped in during the rain we had last week and got a wheel barrow load of gravel and sand mixture to provide a good and firm surface. We used our laser site level to make sure the bottom of the hole was set to 1metre below ground level.
    Then we built a ramp come platform (made from three 4.8metres 2inch by 4inch planks screwed together using lots of pieces of plywood) and placed it across our hole (the far end supported on the mass wall against the fence and the other end packed on to the dirt pile), ready to take our 140kg cabinet!
    We laid the module on the trolley, put on some extra temporary support arms at the top of the cabinet (for connecting lifting straps to the winch motor) and carefully rolled it out of our workshop and around to our ramp.
    Filtration Module Got Installed!

    Filter-on-its-way


    After a struggle to get it upright, and then sliding it along the ramp and then trying rope but finally settling on nylon straps to lift it clear. We pulled the ramp away and lowered the whole cabinet down into our hole. After some fiddling around with the straps and the supporting arm plus also tidying up the gravel surface again, we got the thing landed solidly into place at last!
    It was getting dark by this time so we got out our flood lights and carried on with drilling the seven fixing holes into the concrete blocks of the swimming lane’s wall and screwing concrete bolts into the back of the cabinet and then covering up the metal work with more polyester resin.
    The last job was to secure the vertical side “lid” to enclose and seal the joint with plenty of PU sealant and a couple dozens of screws.
    Filtration Module Got Installed!

    Filter-installed

    It was pitch black and tomorrow, we will finish the task of connecting the various pipelines to the new filtration module, including doing a leak test! Phew what a long day it was today!!

  • Another Week On Filtration Module and All Done At Last!

    This report is a summary of our week’s worth of work we did on our rainwater Filtration Module. Most of the time was spent on creating the two filter units and two baffles. The flat one had the wire mesh welded onto a heavy metal framework and then coated in several layers of resin to prevent rusting. The second filter unit is a square box shaped, made with just more of the same wire mesh and this was also coated in resin too. Our geotextile material was delivered and we cut and shaped the material into each of these two filters. The flat one had extra padding tied onto the metal edge to provide a soft conforming interface and reduce any leaks. The outer layer was then stitched into place with fishing line.

    Another Week On Filtration Module and All Done At Last!

    Clean-water-filter-support-ready-for-filter

    Another Week On Filtration Module and All Done At Last!

    Clean-water-filter-finished


    The box filter had the same cloth material wrapped up the inside and folded into the flange edging and coated in several layers of resin to reinforce it and lock the cloth into place.

    Then we made two baffles, which are like flat tea tray like objects, about 400mm (15inches) wide and 580 (22inches) long, with upwards edges approximately 25mm high. We used some more wire mesh and laid two layers of the glass fibre matting (one on the underside of the mesh and the second one inside the tray) and all coated in resin. We had to bend up several tags over the tray so it can support its sibling companion tray on top, and the top tray having water deflectors to help slow down the rainwater rushing into the cabinet.

    Finally, we did some minor adjustments inside the main cabinet, mostly in the area of the clean water filter, near the bottom portion.

    Another job we did this week was the installation of the Return Channel vertical module to the end of the Swimming Lane. It was a lovely day so we took the opportunity to get that done while we remembered it before we tackled the big job of getting the main cabinet installed.

    Another Week On Filtration Module and All Done At Last!

    Swimming-Lane-circulation-column-installed

    Now we just need another moment like this to haul the large heavy module into place.

  • Water Filters Progresses

    Today, we continued with the task of building our two water filters. The long flat one’s frame is now constructed with a heavy thick metal bar around the perimeter and the metal mesh is welded on to it.

    Water Filters Progresses

    Clean-Water-Filter-frame-made-1

    Water Filters Progresses

    Clean-Water-Filter-frame-made-2

    Water Filters Progresses

    Clean-Water-Filter-frame-made-3


    The second filter, the box shaped one, was tidied up, removing excess mesh material and it is now ready for the cloth geotextile fabric to be folded and inserted in.
    Water Filters Progresses

    Dirtywater-Filter-mesh-basket-formed


    Hopefully, tomorrow, we will get our new piece of the geotextile fabric (coming in the post) and we can wrap these two skeleton frameworks and then paint the metalwork in protective resin to stop rusting and also seal and hold the cloth in place.

  • Six Days on Water Filter Cabinet, Almost There!

    This is a combined report showing our progress of creating our rain water filtration module. It has been a very fiddly work, constrained by the slow “drying” time of the polyester resin substance, but also having to take time and care to prepare, tidy-up and adjust the glass-fibre surfaces after each application of the resin. It is a slow job.
    But we can report that we are nearly there now, with the completion of all the “lids”, the swimming lane Return channel unit and much of the main cabinet, all coated in the final top-coat light grey coating.

    Six Days on Water Filter Cabinet, Almost There!

    Filter-Fibreglassing-Day-9-1

    Six Days on Water Filter Cabinet, Almost There!

    Filter-Fibreglassing-Day-9-2


    Today, we started designing and producing two filters, the first one designed (in a box like shape) to tackle the initial very dirty flush of rain water collected off the roofs and the second one, being a long flat slope for providing a final filter to ensure minimal particles of “rubbish” doesn’t get into our rainwater storage tank.
    Six Days on Water Filter Cabinet, Almost There!

    Mesh-to-support-Clean-water-filter

    Six Days on Water Filter Cabinet, Almost There!

    Dirtywater-filter-basket


    These are made from heavy-duty weld mesh, supporting some geotextile fabric, mounted with a reinforced metal rim and the rim coated in protective resin.
    We needed to make these filters now so we could confirm that everything fits into place, so we will achieve the correct flow of the water and that we could successfully remove and put back them via the proper entrance (the top of the cabinet). Just in case we needed to make further adjustments to the internal layout, as we did exactly this the other day (the long sloping filter didn’t come down low enough and would have held quite a bit of rainwater back in the pipes running from the buildings), before we applied the final light grey top-coat.. Also, it is only sensible to make sure that we design and make these filters and baffles here and now (in the workshop) so we can test the created products before we close up the filter and make it much harder to test things.

    So on Monday and Tuesday, we will complete these final bits and pieces and then tackle the next problem of transporting this heavy unit and installing it into our flooded hole in the ground – We had lots of rain these last few days!! But the next week look drier so the hole should hopefully dry up!

  • Exterior of Filter Module Coated in Glass-Fibre and Cleaning up Other Pieces

    We resumed the task of coating the filtration unit in the structural layer of glass-fibre, in doing the exterior of our large filter box.

    Exterior of Filter Module Coated in Glass-Fibre and Cleaning up Other Pieces

    Filter-Fibreglassing-Day-3


    Then the rest of the day was spent cleaning up all the other pieces, trimming excess glass-fibre sticking out and sanding down rough patches and edges. We did one small experiment to find out how we can coat the final exposed edges, by using four layers of glass-fibre tissue cut into strips and then painted onto the flat top and bending it around and down the two sides. It seemed to have worked but we will inspect tomorrow or Monday.

    We are nearly finished doing this stage of work and all is left to do is to apply the top “finishing” coat to provide the smooth glossy surface inside and out. Then we just need to chuck it into the hole in the ground, connect up the pipes .. and hey presto – that is that – grin!

  • Fibre-glassing the Filter Day 2

    We continued to apply the Resin and Fibreglass layers to the Filter Parts. We completed all of the insides with their two layers as well as the two layers on the insides of the lids and side panel. The outsides of the filter will have a single layer of resin and fibre-glass as they will not be submersed permanently in water so need less protection. The outside of the swimming lane return channel was coated last thing today.

    Fibre-glassing the Filter Day 2

    Filter-Fibreglassing-Day-2-1

    Fibre-glassing the Filter Day 2

    Filter-Fibreglassing-Day-2-2

    Fibre-glassing the Filter Day 2

    Filter-Fibreglassing-Day-2-3


  • Second Final Day of Preparation of Filtration Unit

    We started the day off with the task of rubbing all the places where we had put the filler. But we discovered that we needed more wooden triangular battens in various places we missed the first time around.
    But we also prepared the side panel “lid” with two more plastic pipes that got glued through the cement panel, one being the 110mm pipe connection from the garage roof and the second one is the 40mm white pipe that will connect to the underground rainwater storage tank underneath the garage.
    We wanted to get on with doing the fibre-glass coatings but we kept finding other jobs to do like making the real “lids” to the top of the cabinet when it is fully installed in the ground and attached to the end of the swimming lane.
    So by the time we got that done, sanded more edges and then did a major clean up operation to remove all the dust and dirt, it was already near the end of the day again!!
    But we decided to overrun because we needed to make a slim wide slot, using a chunk of polystyrene foam block, to act as a mould to wrap glass-fibre around it and then put the first coat of polyester resin on it and allow to set properly overnight.
    Tomorrow, we WILL get on with the marathon task of putting two layers glass-fibre all over the whole filtration unit, both inside and out, all the lids and other parts .. at long last!!