Monday was a wet day so we did other tasks inside the temporary quarters finishing off repair work caused by the Flood.
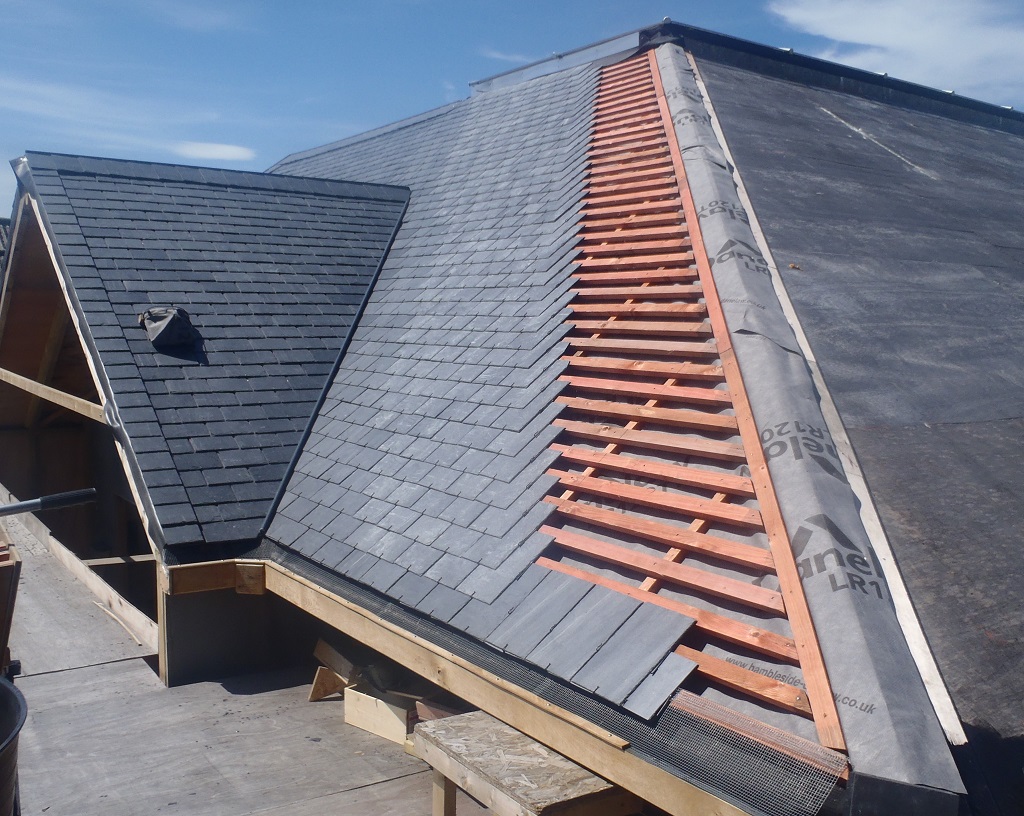
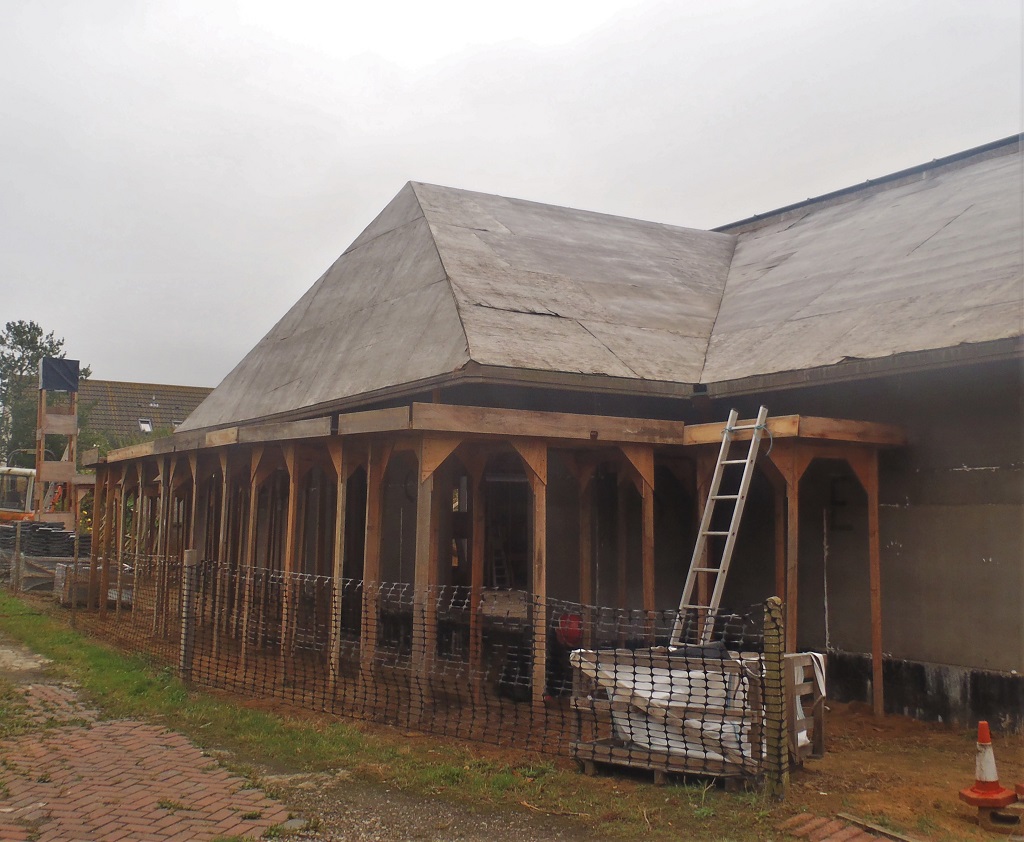
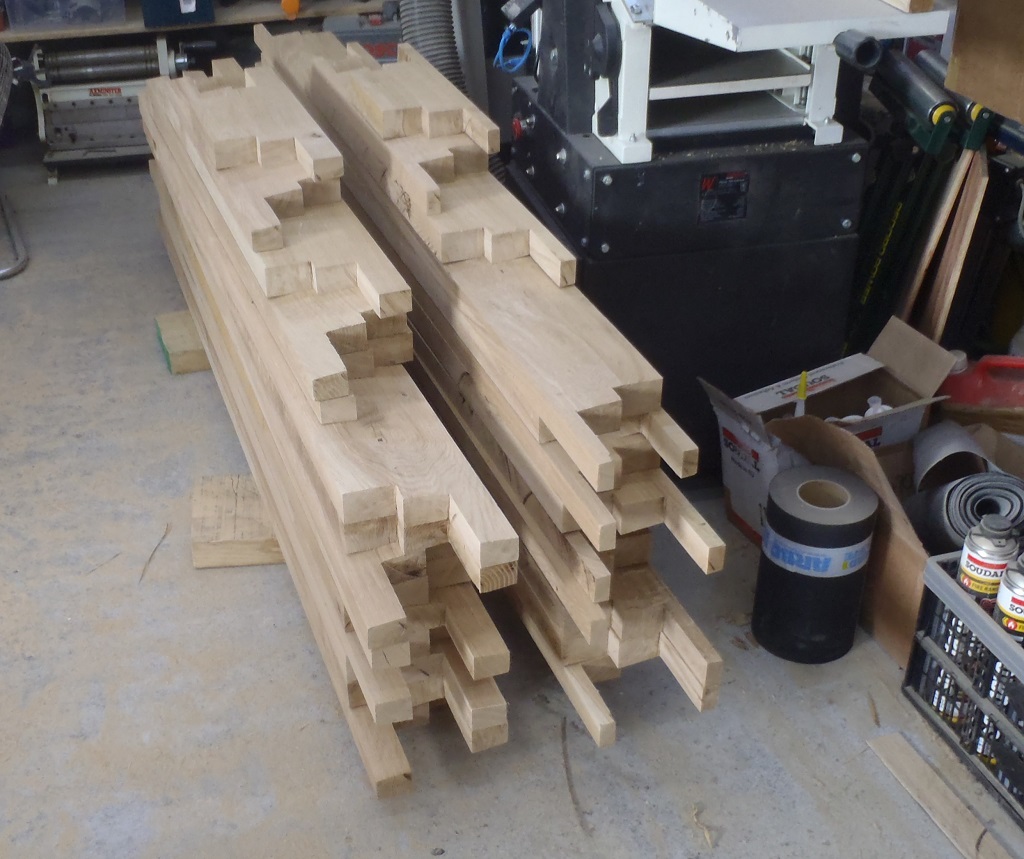
Tuesday was a nice lovely day so we got outside and finished mounting the oak pieces to build the gutters, for the last three sections of the roof, joining back to the very beginning when we started all those months ago.
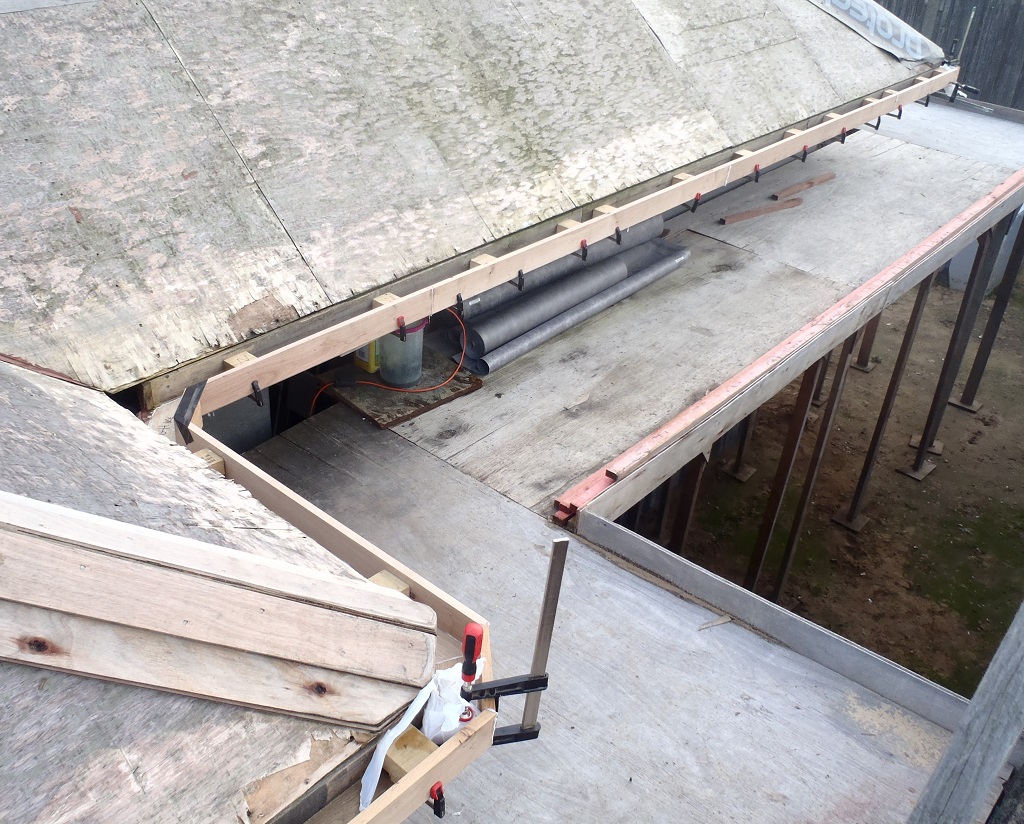
FG-H-gutter-woodwork-finished
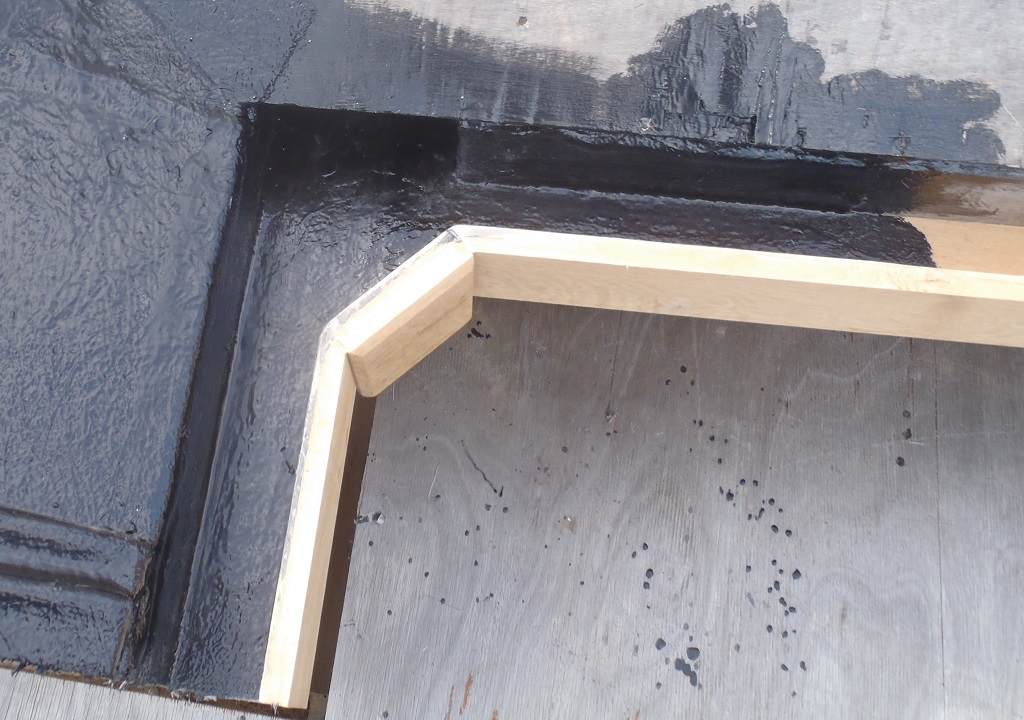
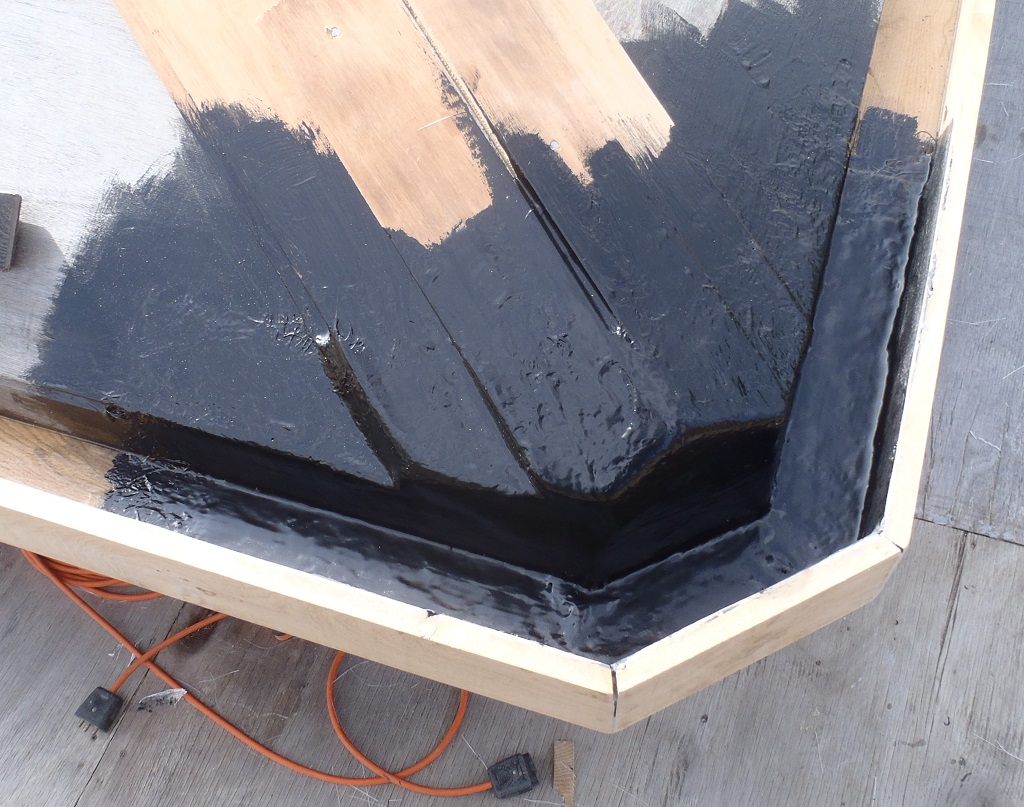
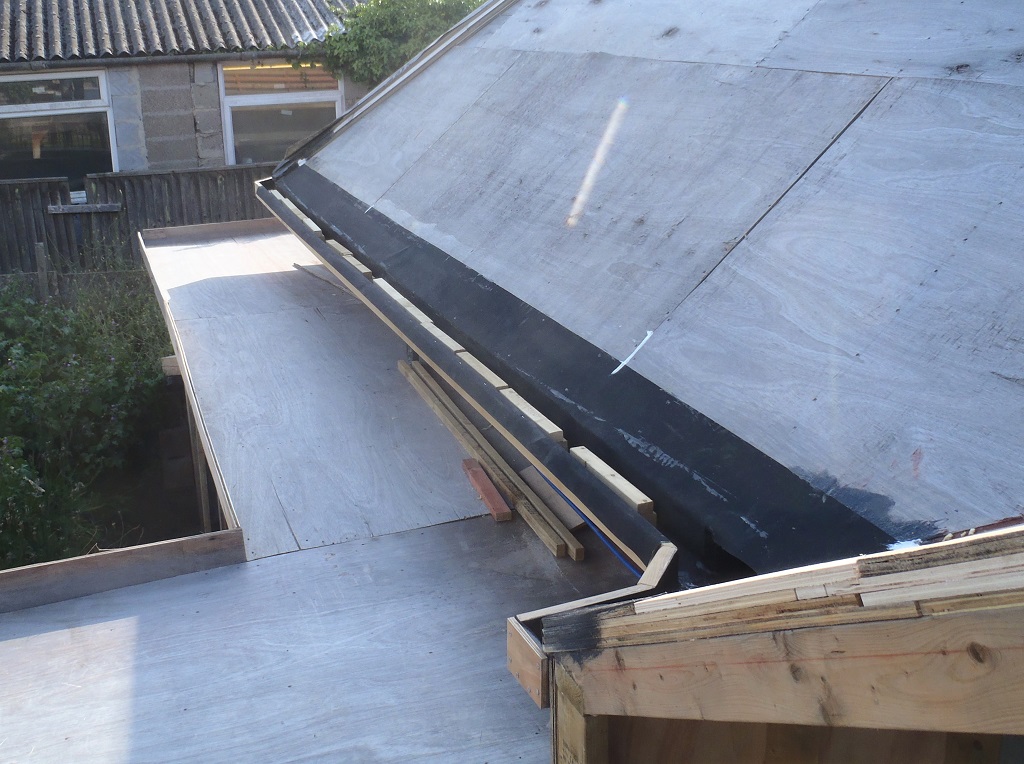
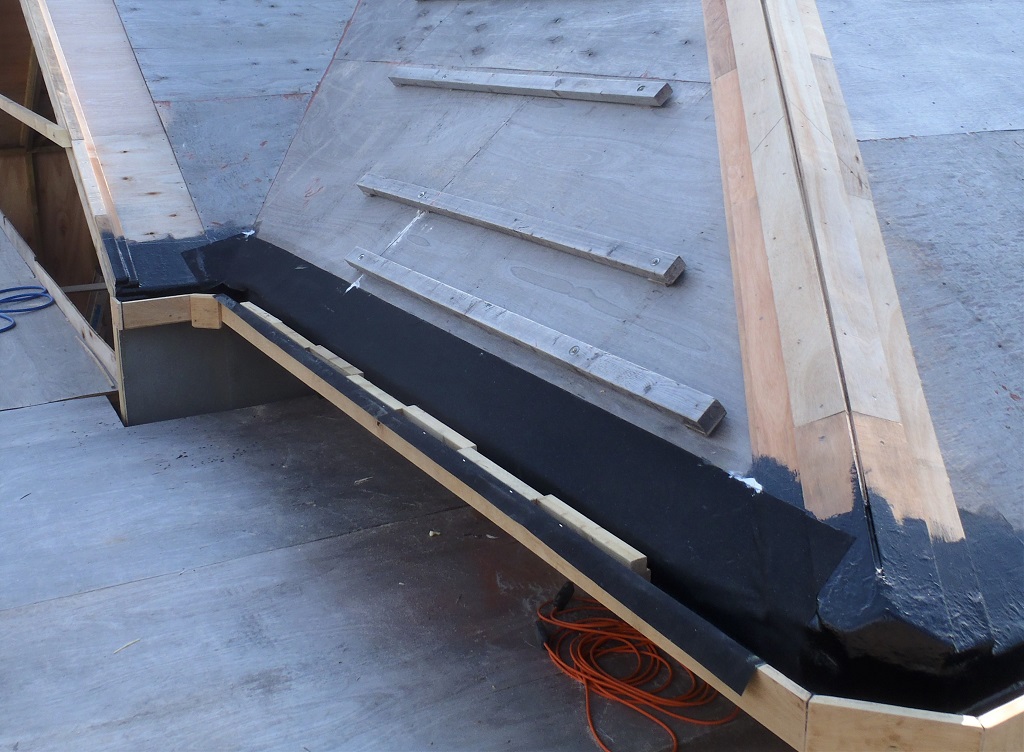
Wednesday saw the glass-fibre and resin applied to the three corners (two outside corners and one inside one connecting to the downpipe channel) before the rain came at 5pm!

FG-GH-corners-fibreglassed
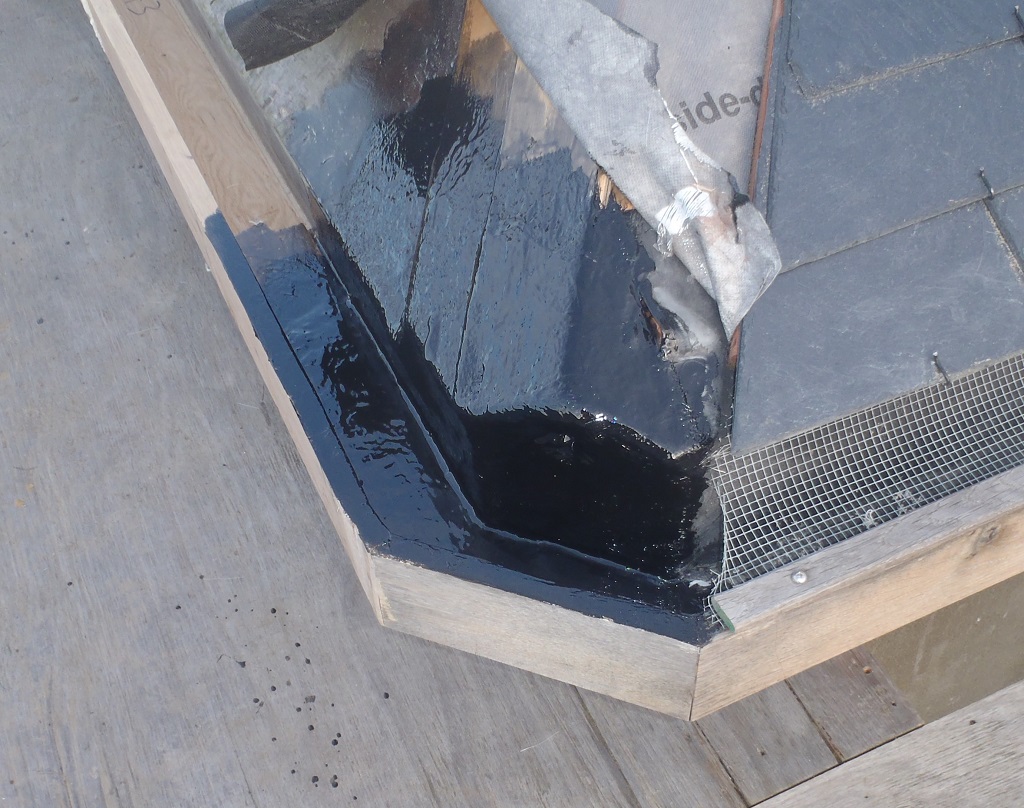
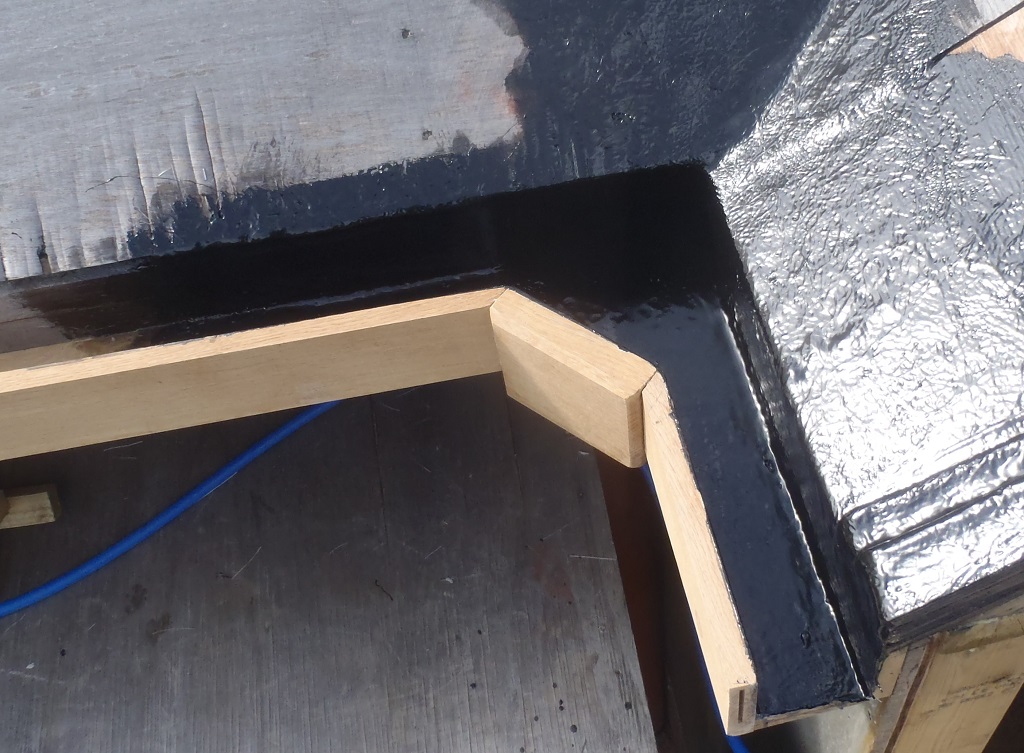
Second-half-of-HI-Corner-fibreglassed-8-months-later
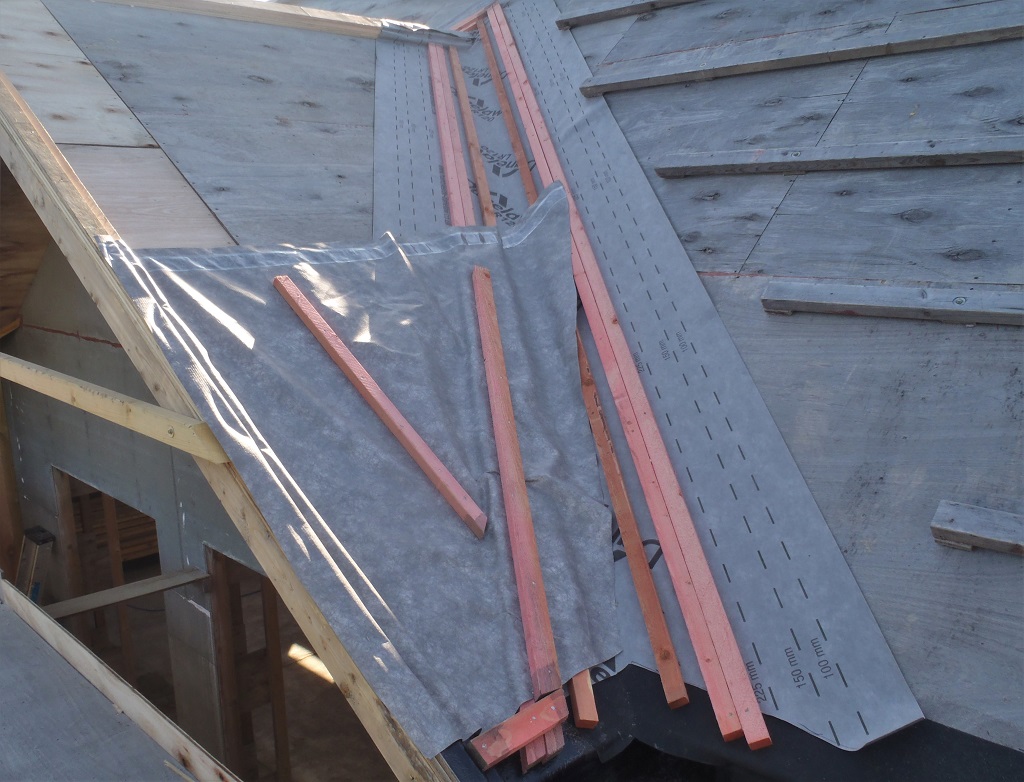
Thursday: Inspected the new gutters and analysed the flow of the rainwater along the side door porch’s gutter to see if we needed to jack up the middle of the beam supporting the porch’s fascia and guttering. This was all done before we put up our new aluminium support arm. The results were that nothing was adjusted as the rainwater flowed at optimum rates so we simply screwed the diagonally mounted arm into place.
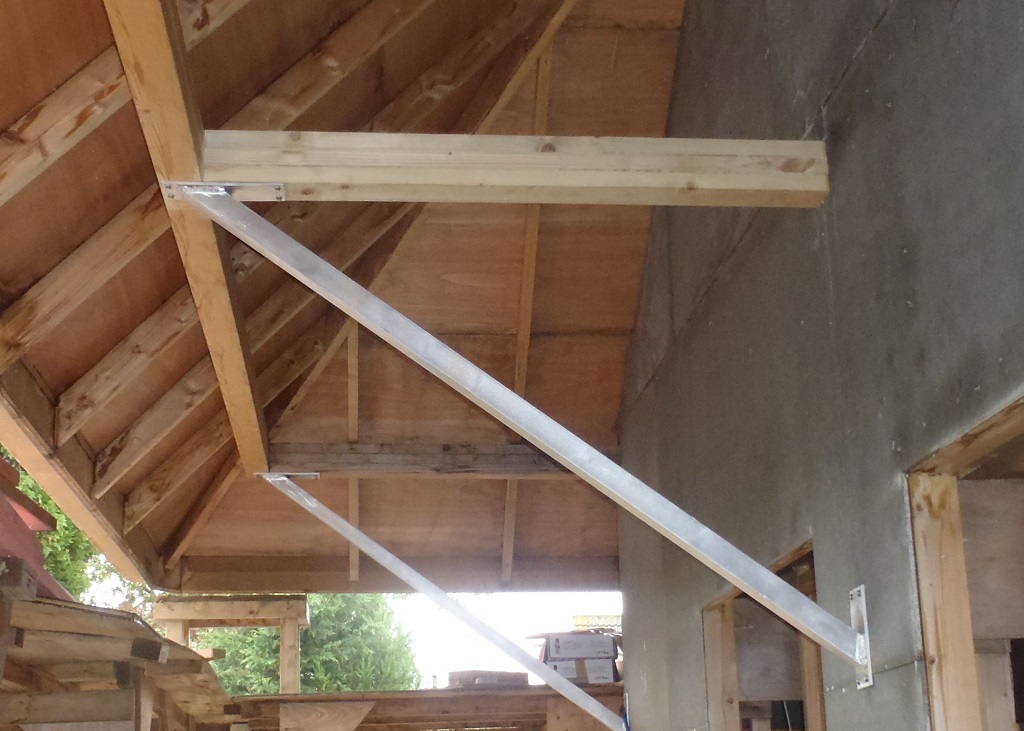
Middle-porch-support-installed
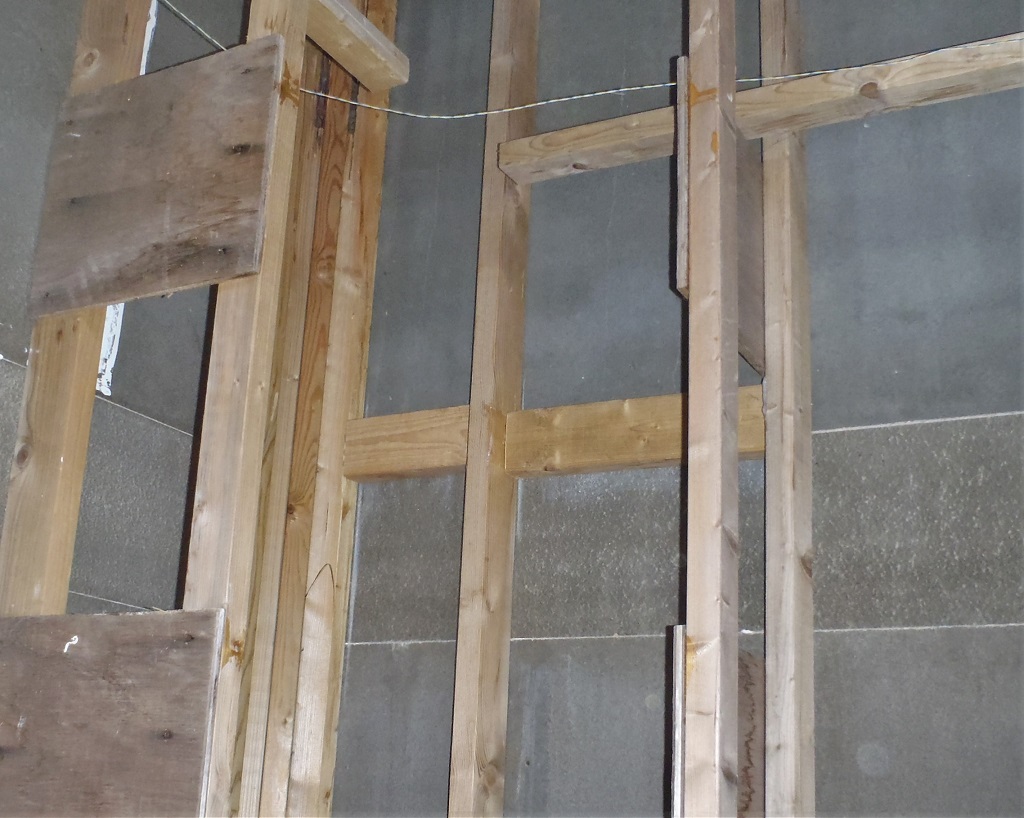
Blocking-added-to-EH-corner
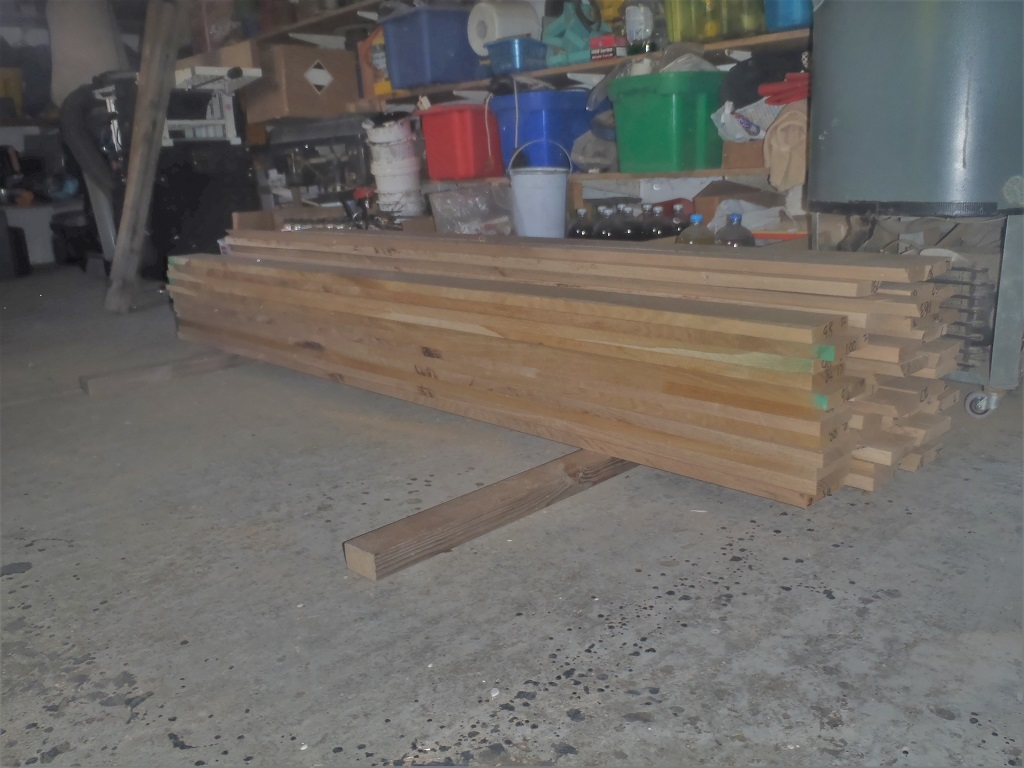
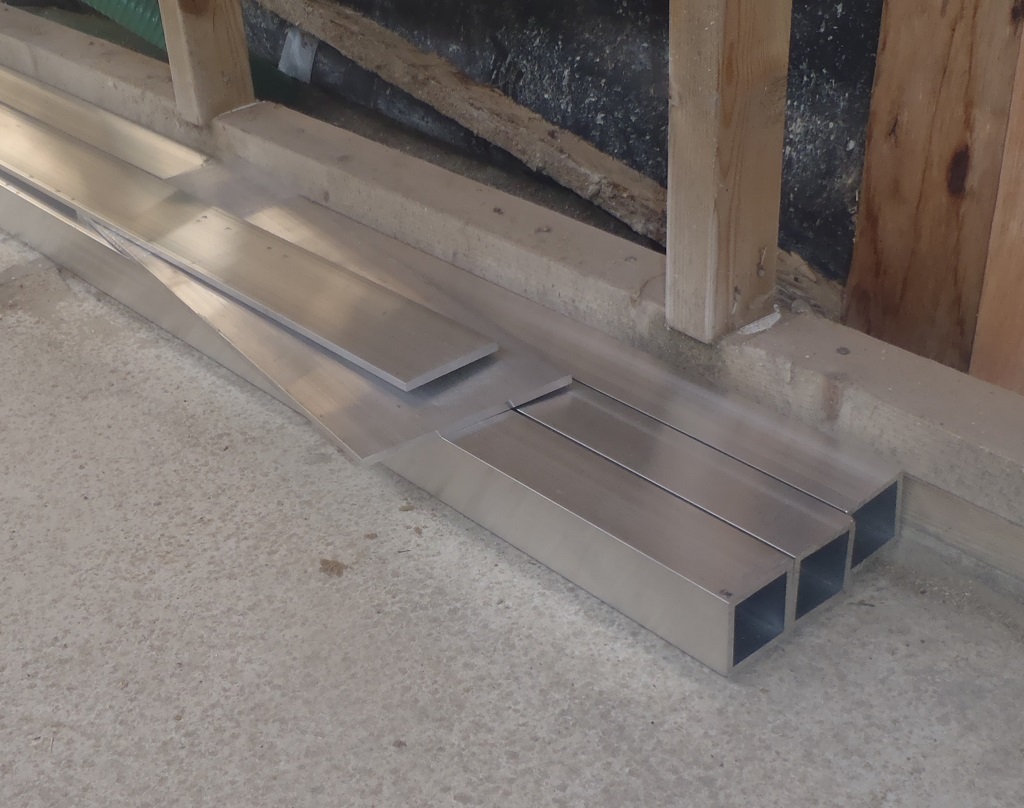
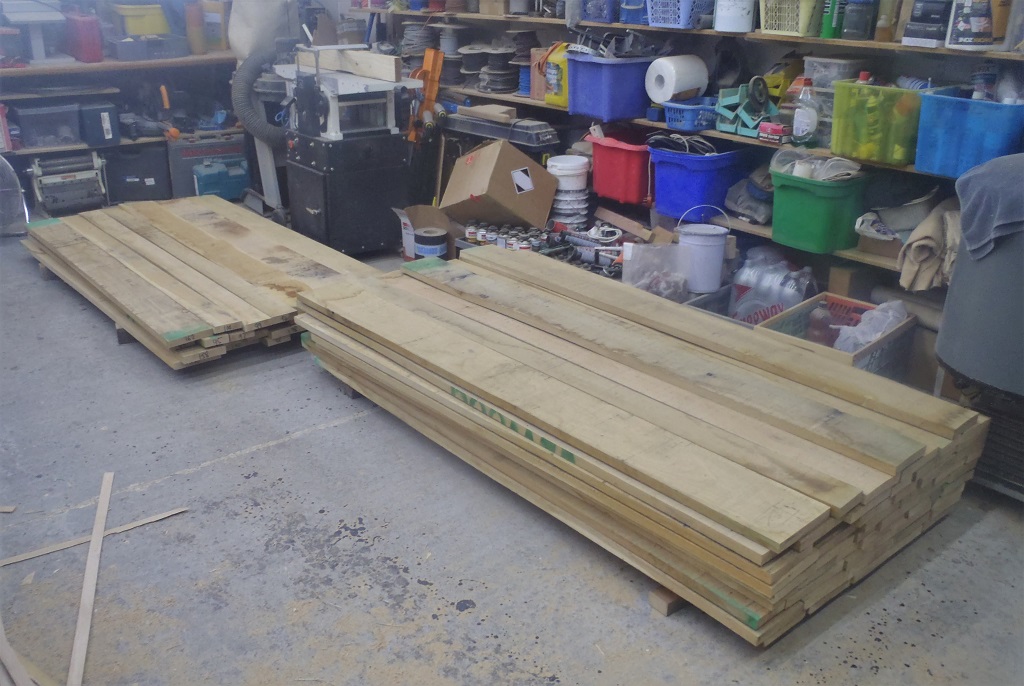
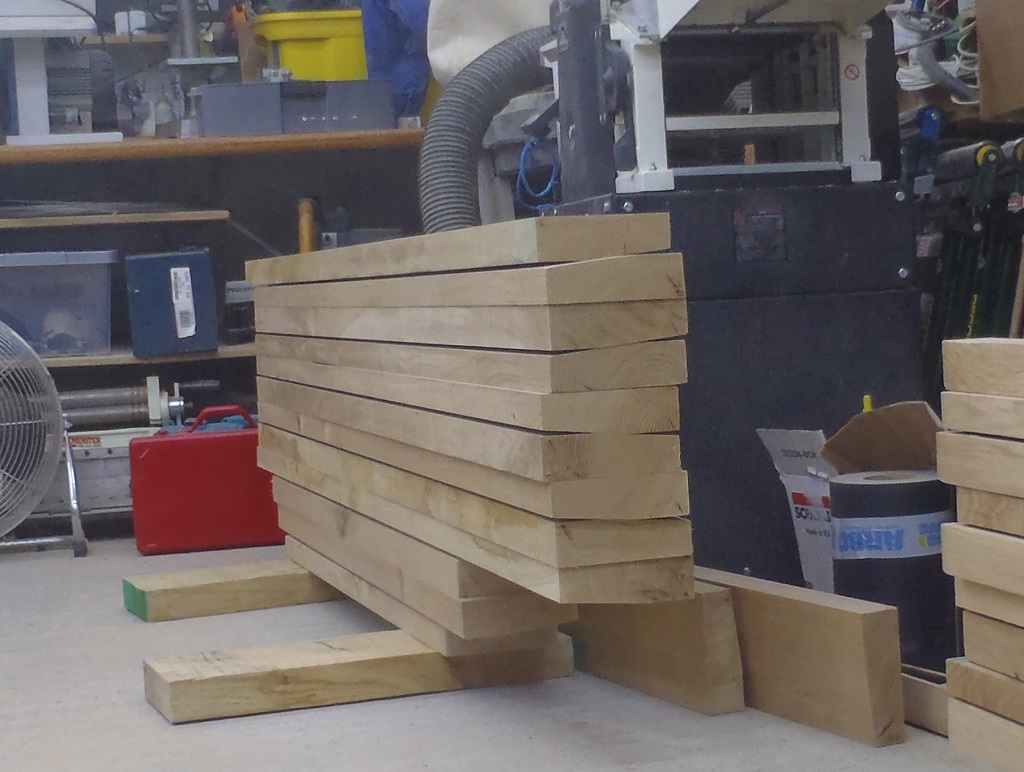
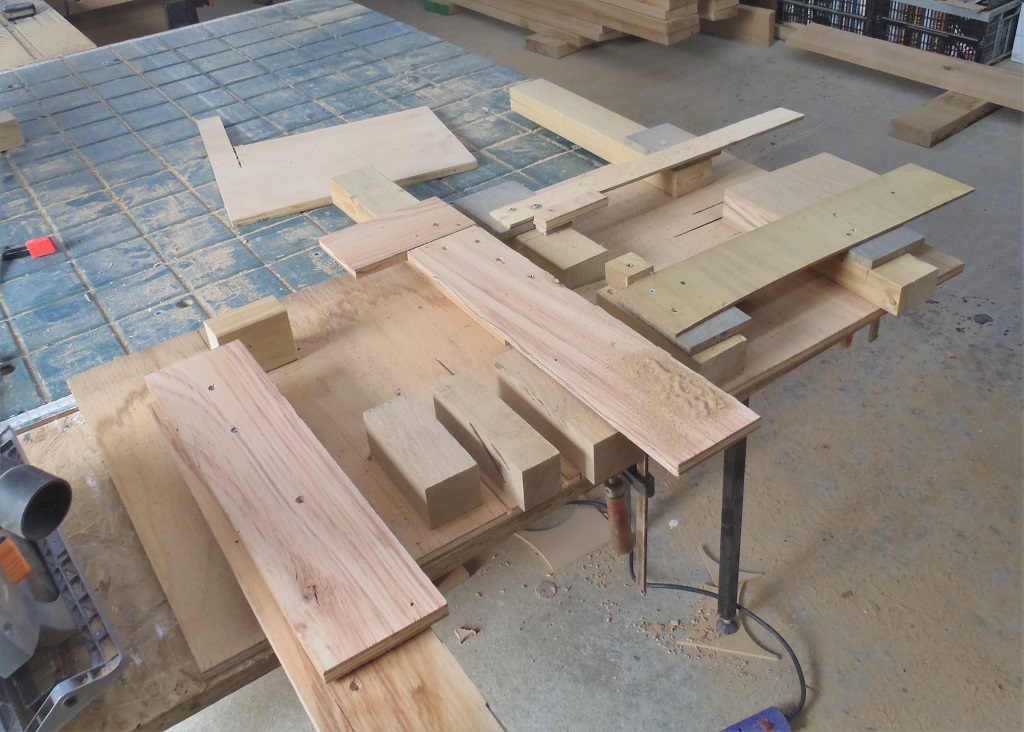
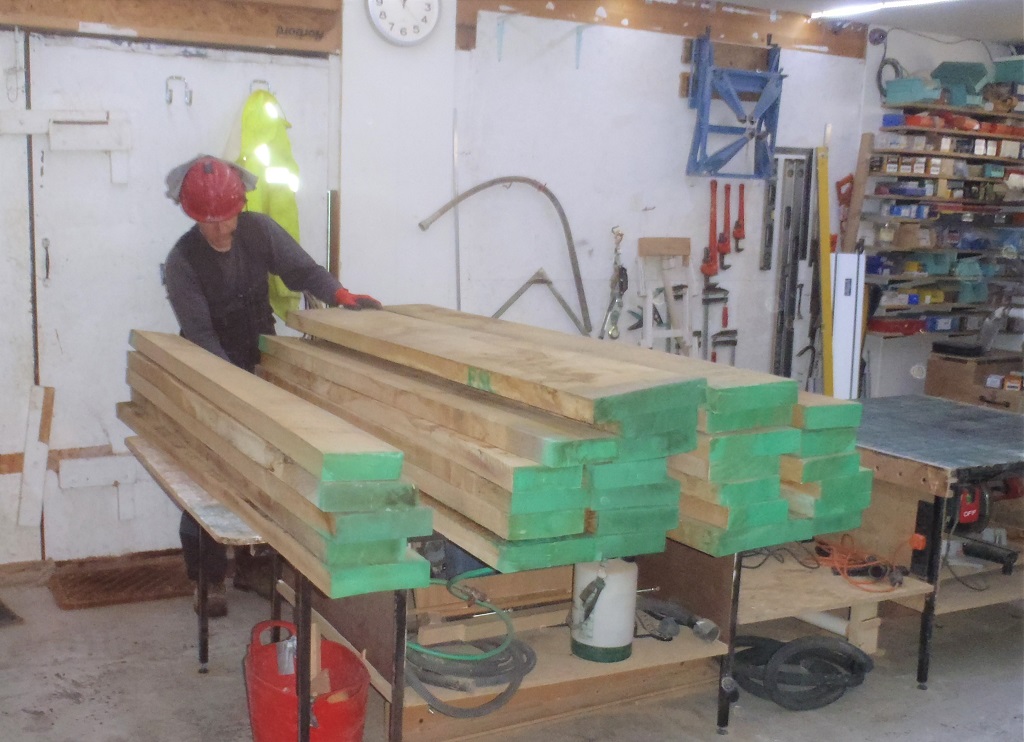
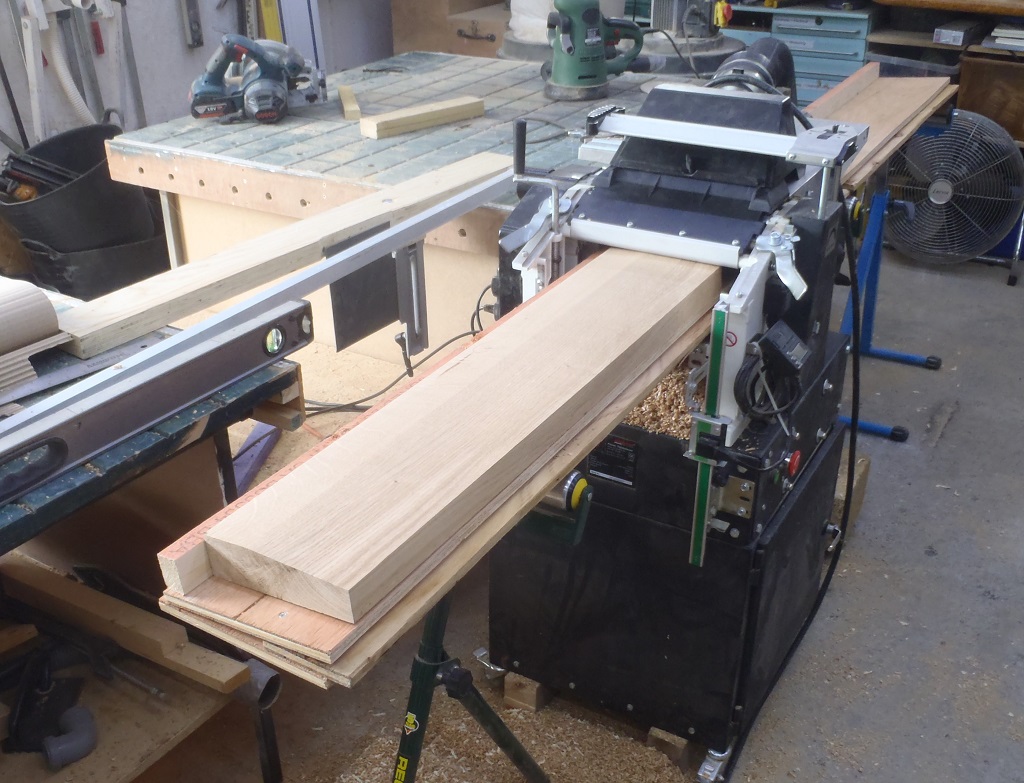
The afternoon was spent in the workshop processing the oak timber that forms the octagon side pieces for each window. We hadn’t attended this task for a while and we discovered that some of the oak pieces had warped very slightly and we are wondering whether that will badly affect the quality of the join when we make the octagon joints. So we took four pieces, 2 wide and 2 narrow ones, and sliced them down to the required widths of 97mm and 70mm. there are two straight ones and two of the slightly warped ones. We will then put the pieces through the router with the special cutter to form the tongue and groove joint angled (at 22.5°) and learn how they fit together with different conditions.
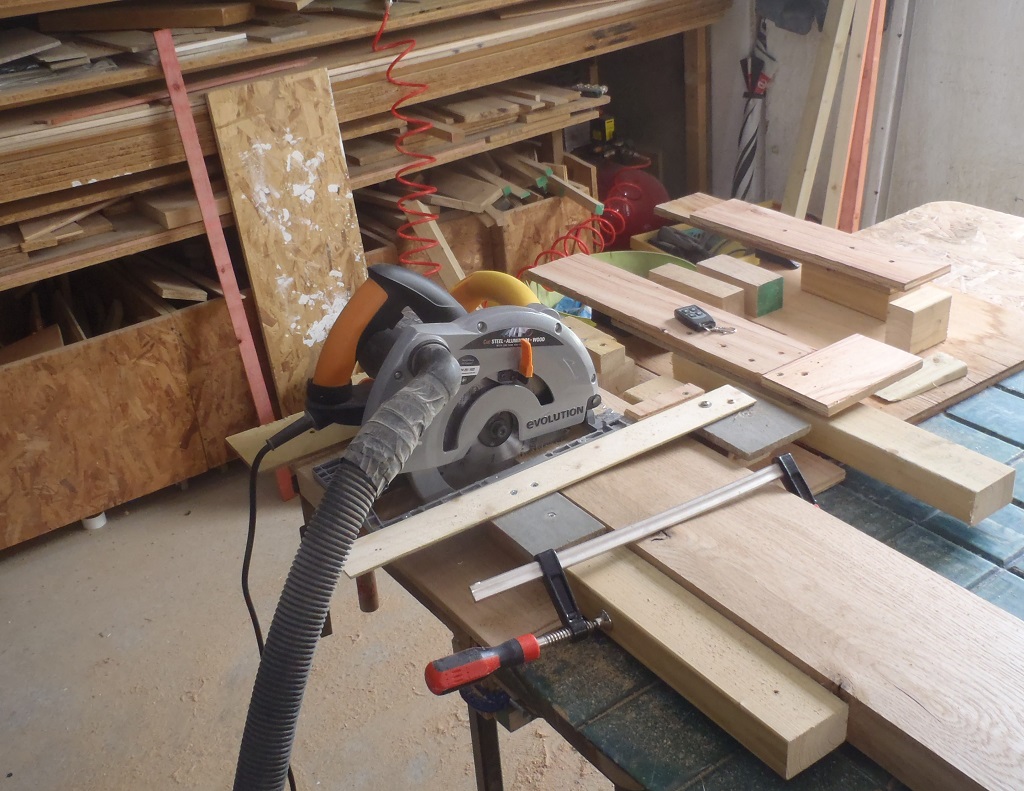
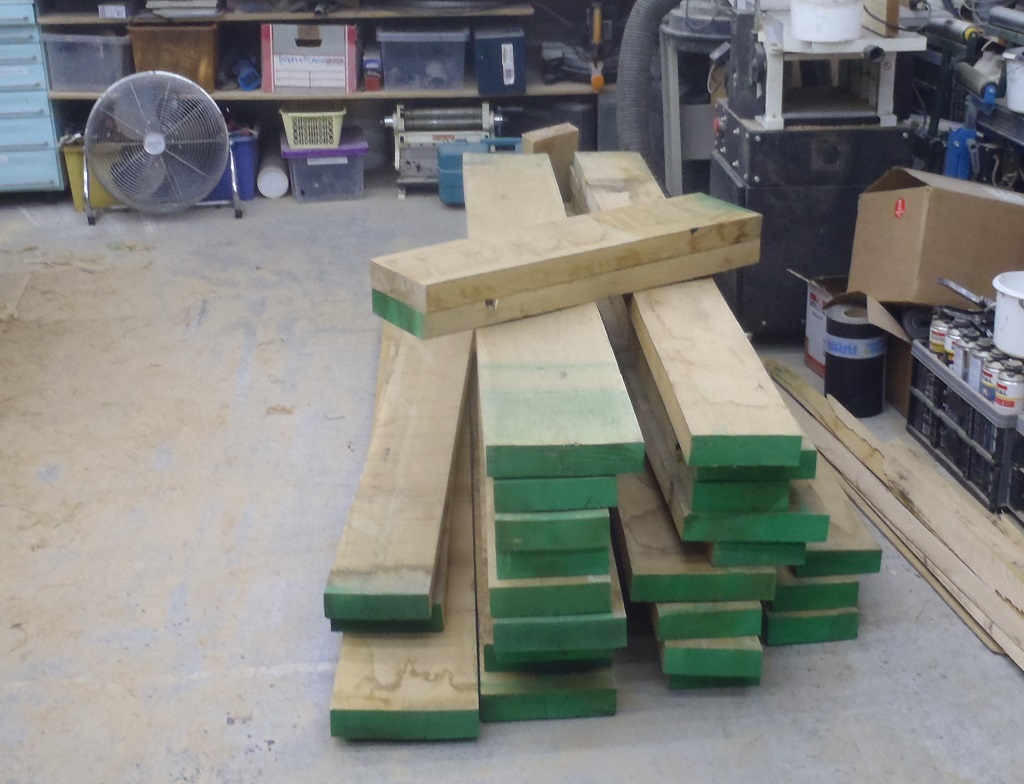
Friday morning duly saw the test pieces processed and the tongue and groove seem to be working just fine, including the ones that were slightly warped. This meant that we could and did carry on and we processed all the other fifty pieces of oak timber, slicing a new 45degree angled slope at a consistent width, a wider one of 97mm and a narrower one at 70mm.
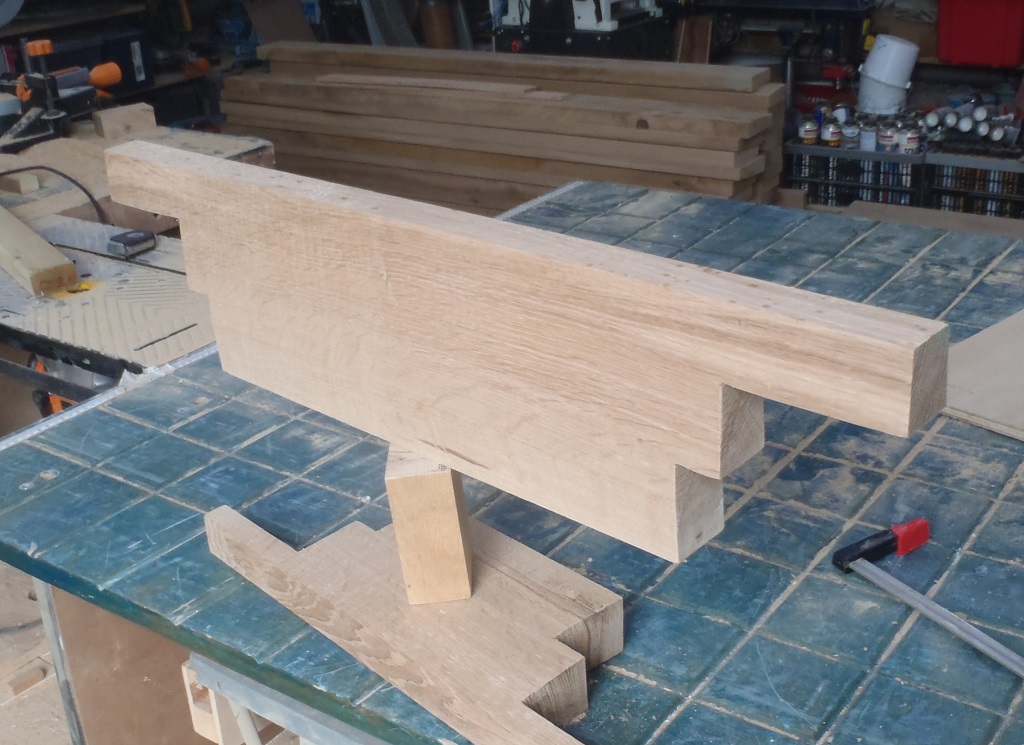
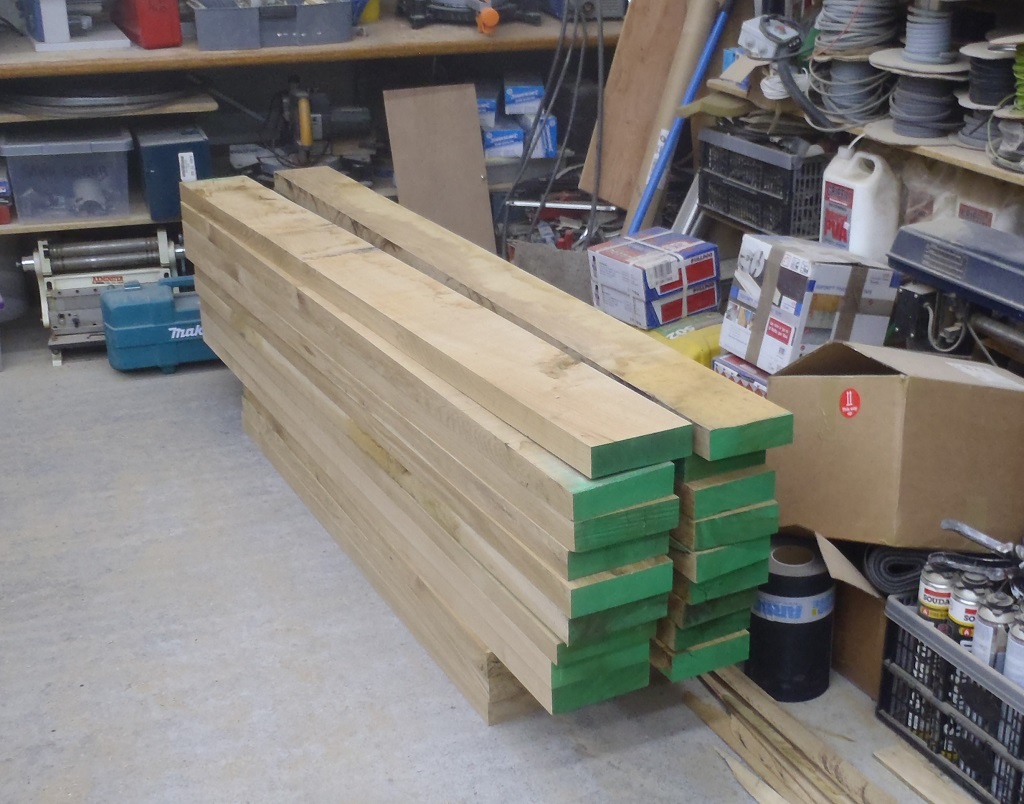
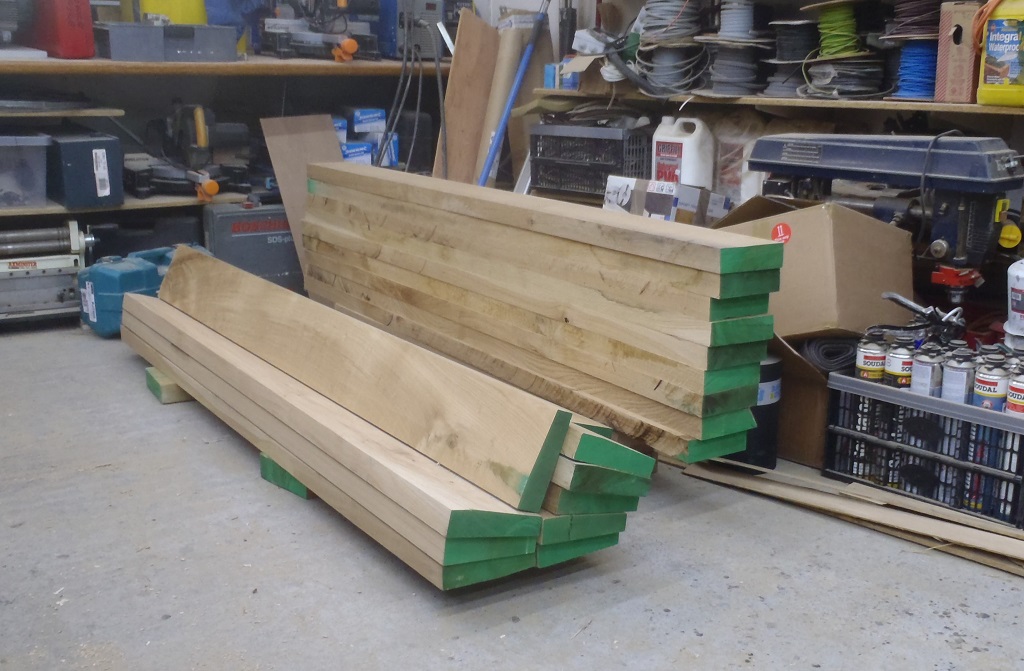
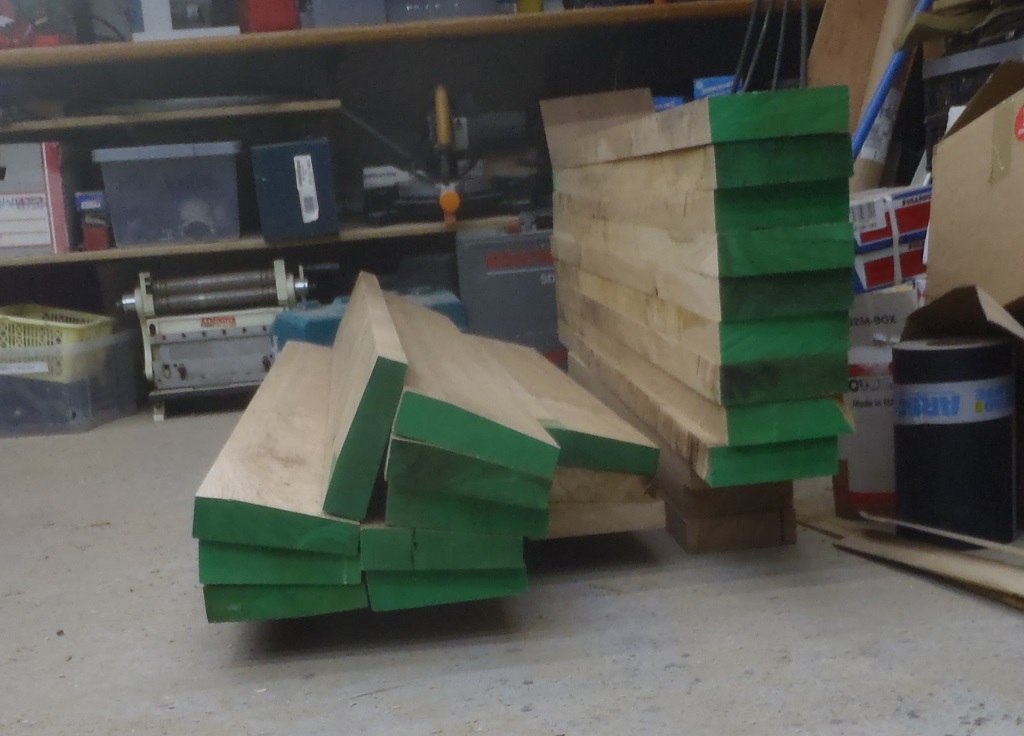
On Saturday, we got on with the job of cutting the 22.5° angled tongue and groove special joint on all the pieces of oak and also rounded off the sharp edge on the wide pieces. We have two sets of oak pieces with quite a series of cuts and slices.
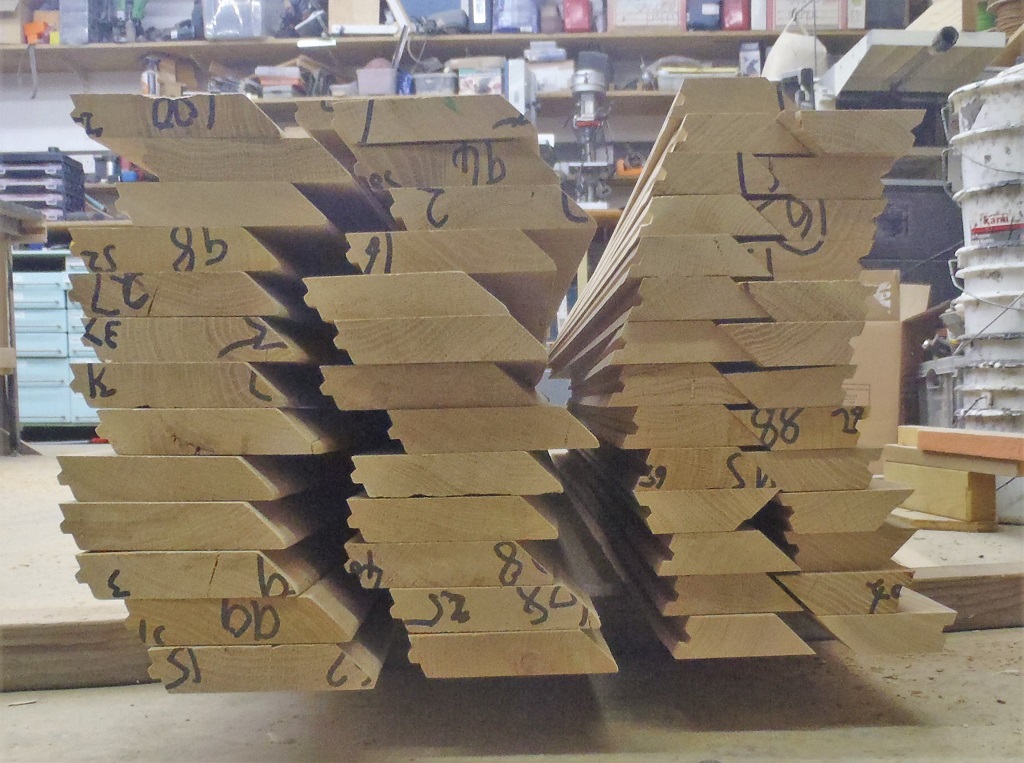
Window-octagon-parts-to-cover-cladding-ends
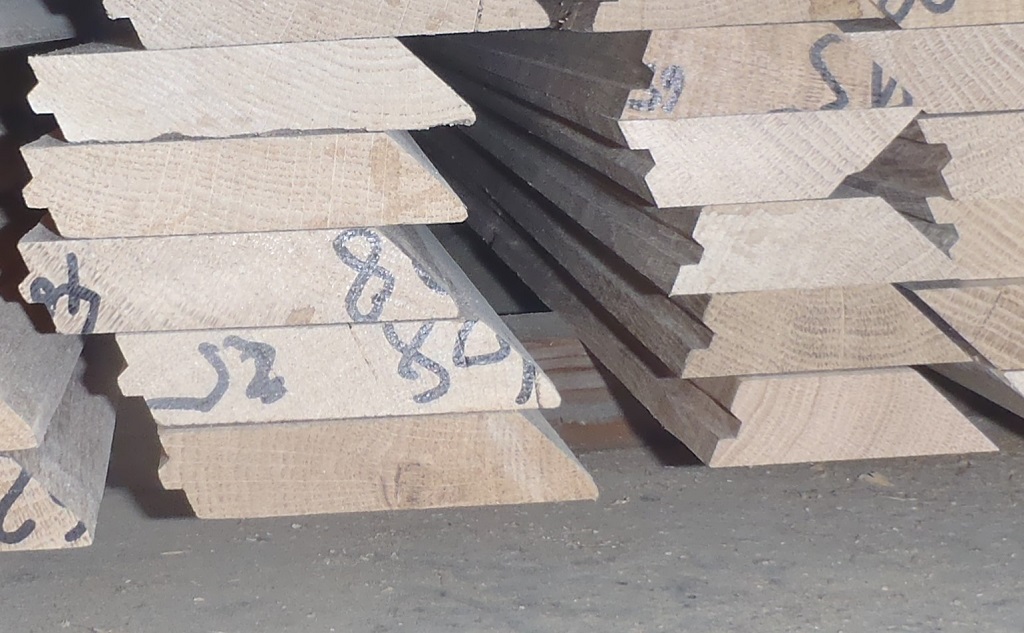
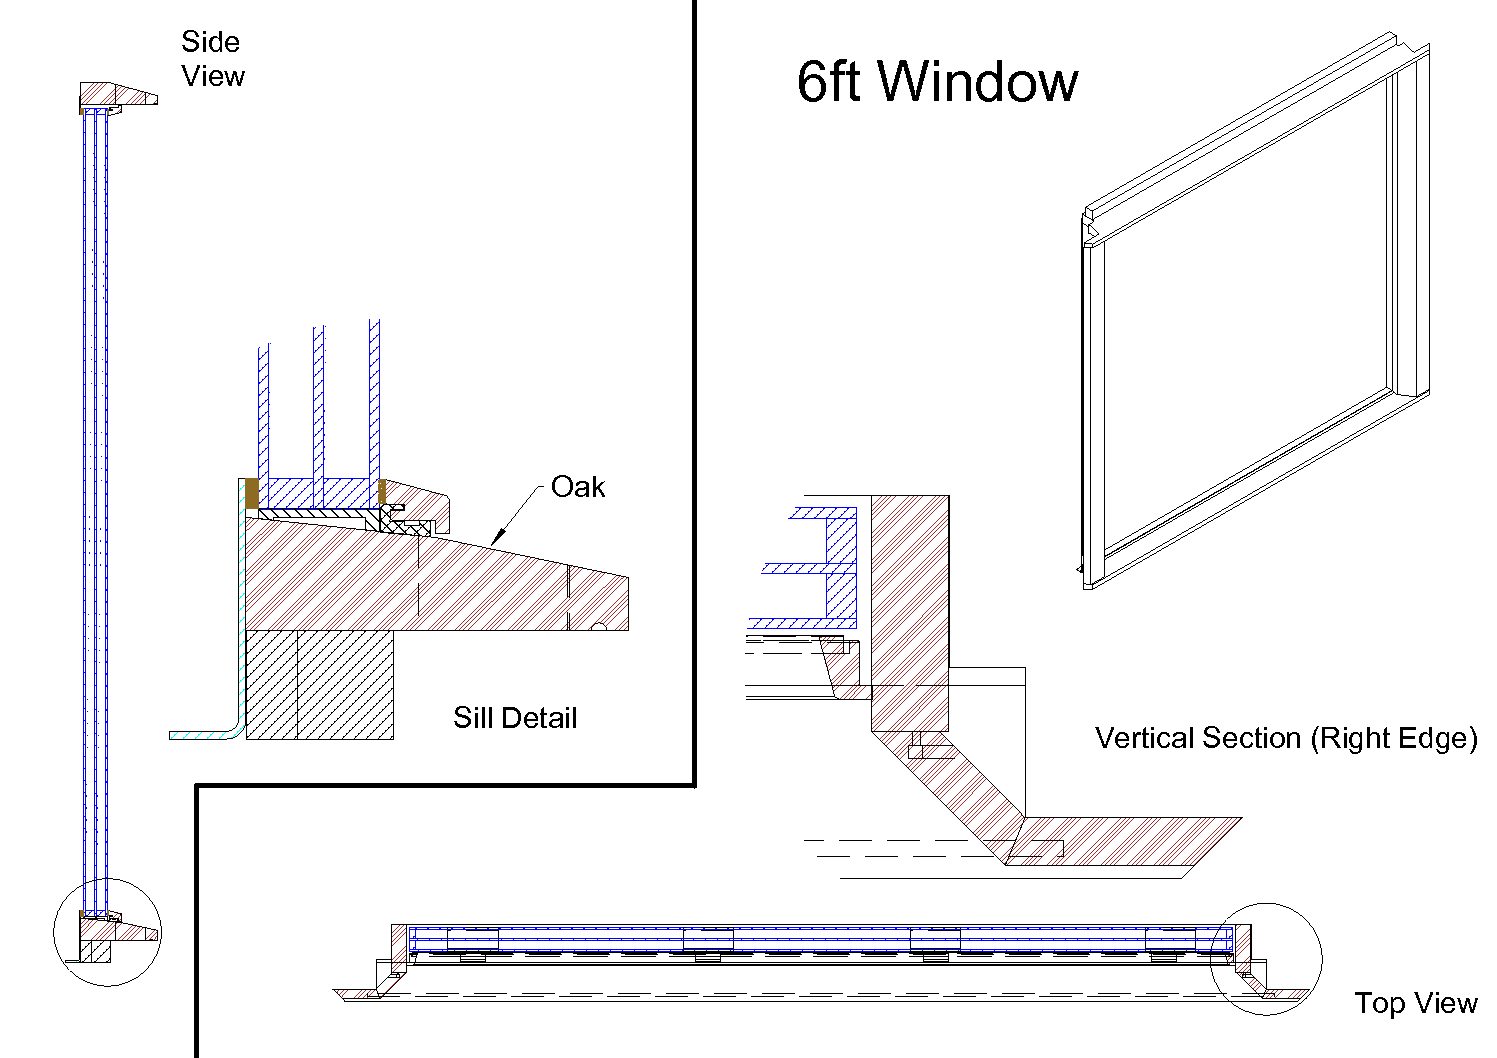
Tounge-and-groove-octagon-joints
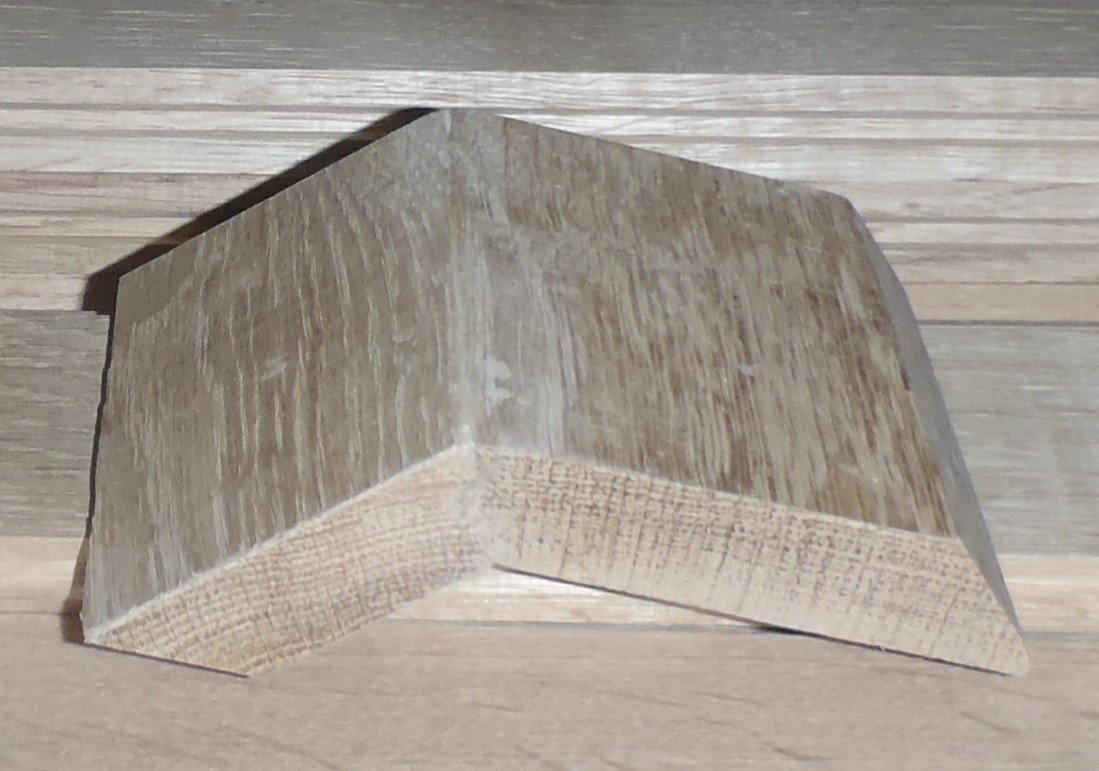
Test-octagon-parts-glued-up
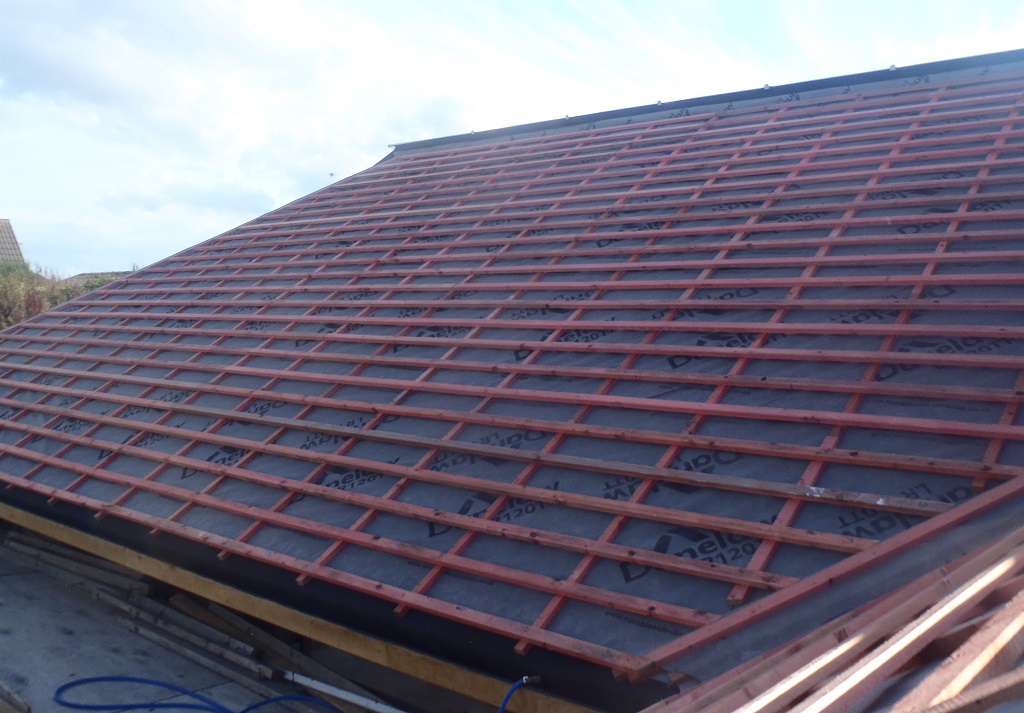
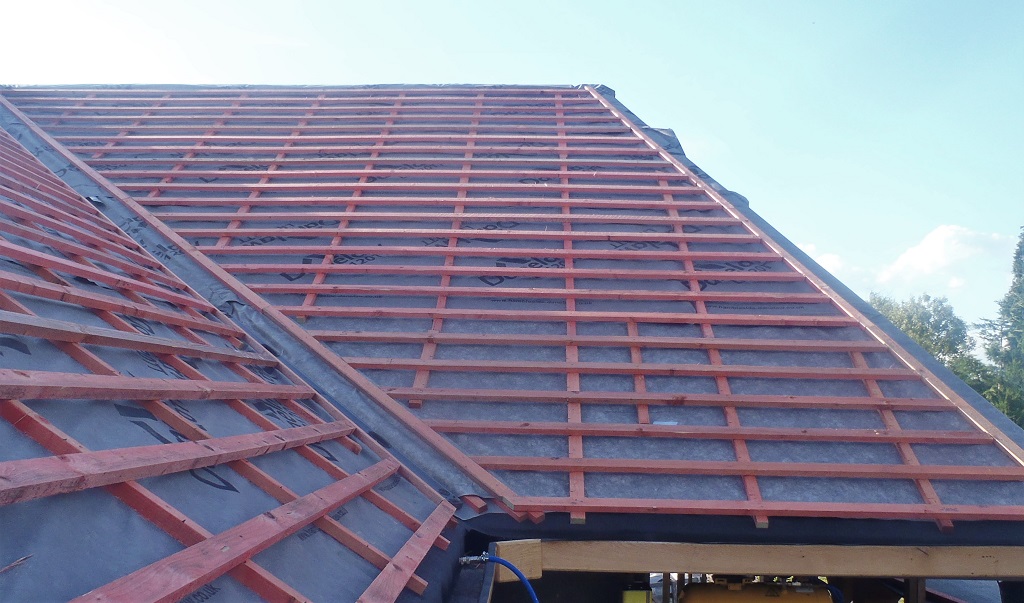
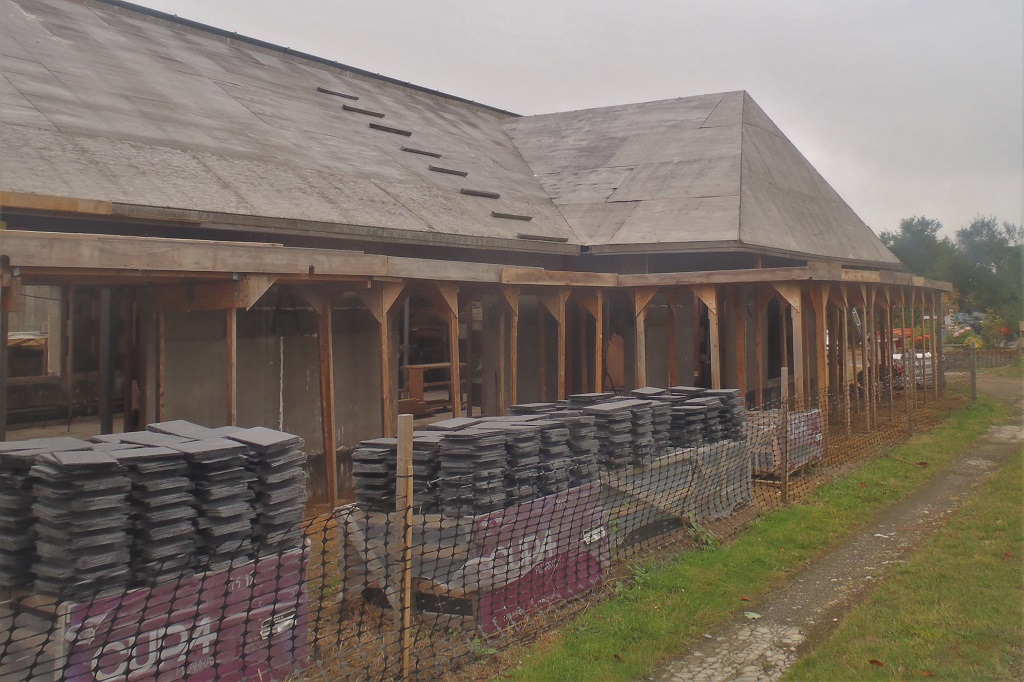
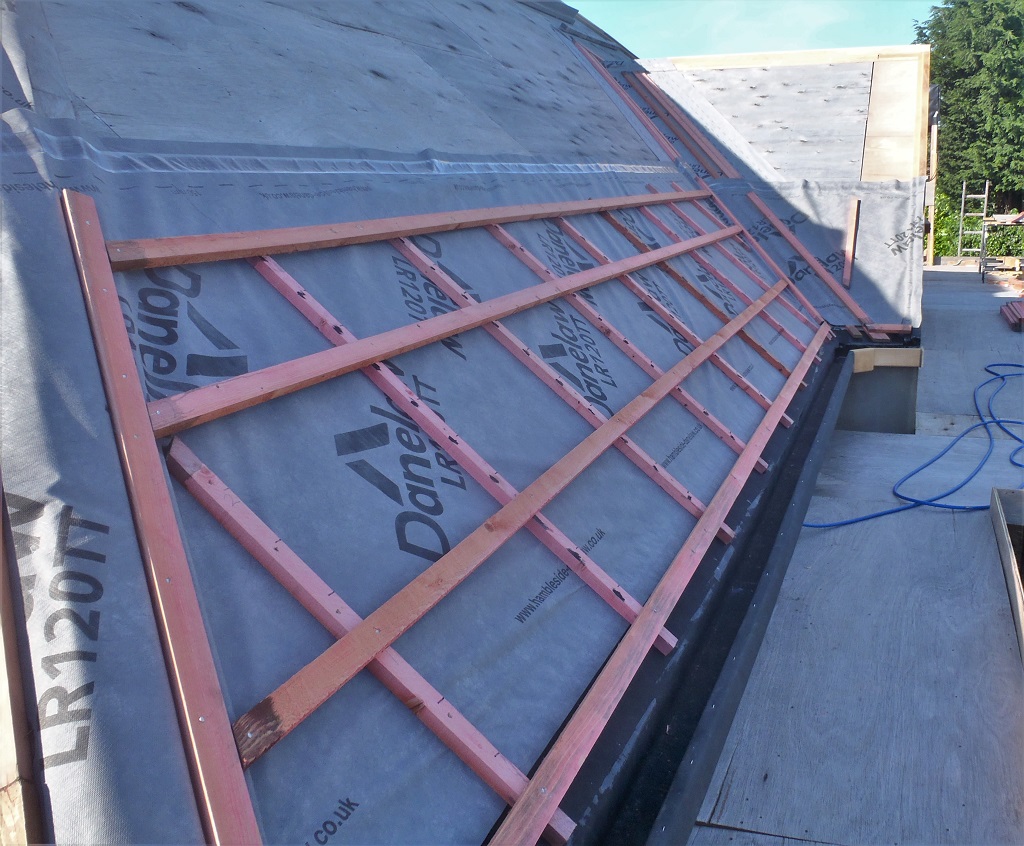
For next week, the weather forecast is for dry but chilly days so we will be working out on the roof to get the rubber liners in the gutters and then get the breathable membrane strips up and all the wooden battens nailed into place too.