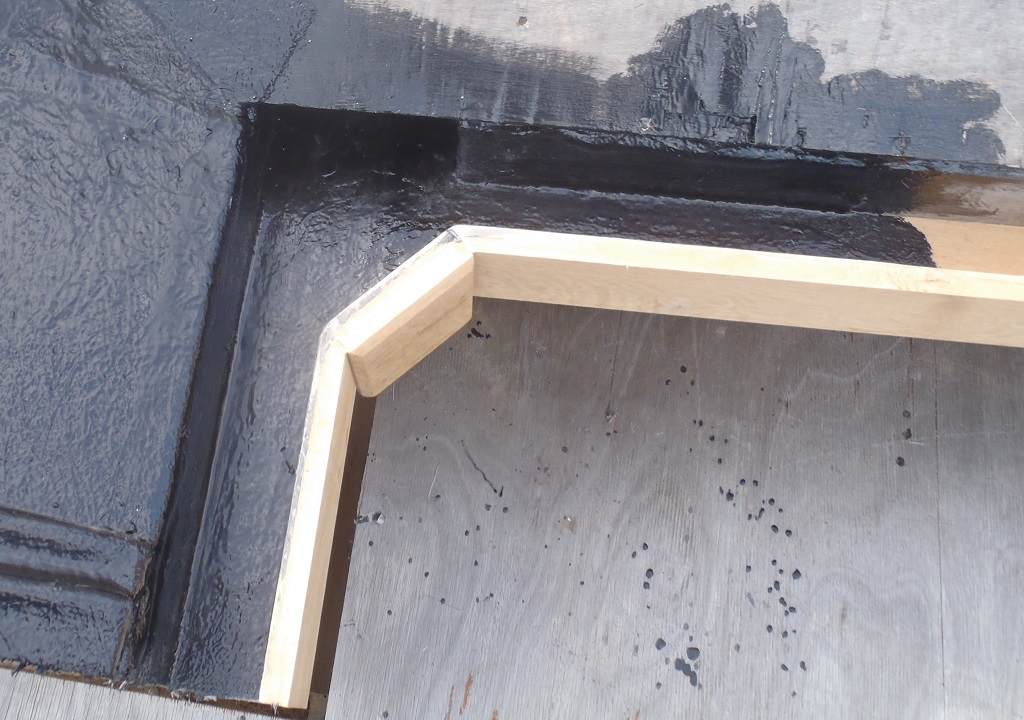
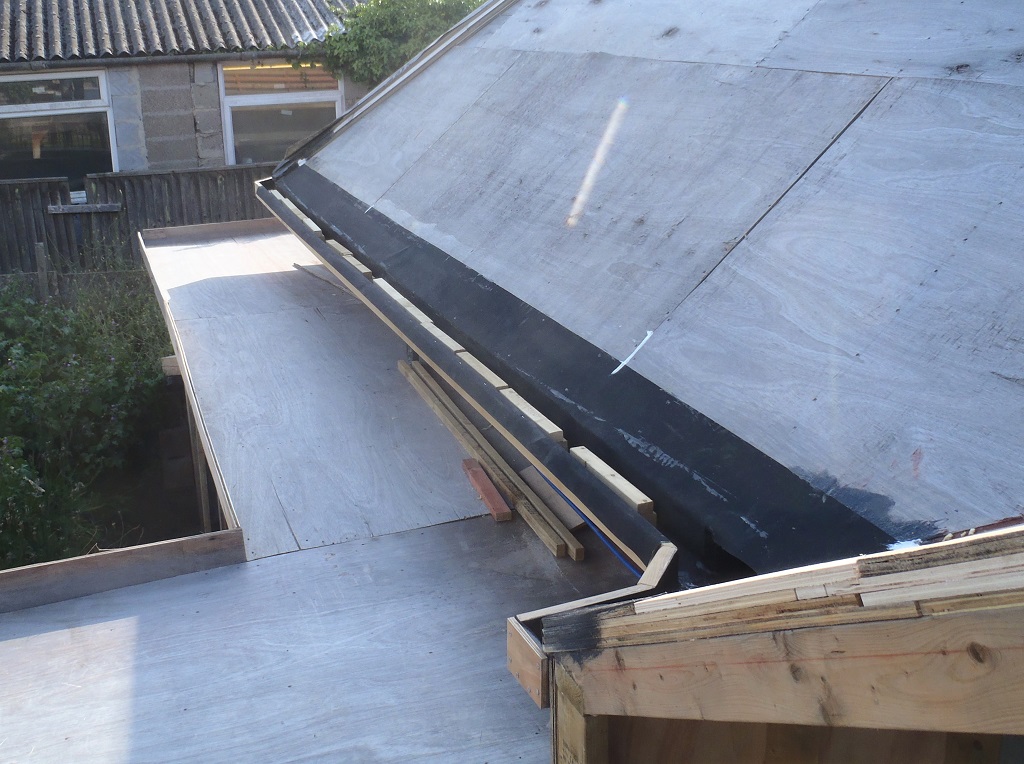
On Monday this week, taking advantage of the good weather, we proceeded to glass-fibre and resin the two complex junctions and the corner we installed last week. The two Downpipe Channels on either side of the Conservatory, designated P-Q1 and P-Q2, and the outer corner for the P and A roofs, the P-A corner.
These were rubbed down and smoothed off, removing bubbled up left-over glue etc. Next, the glass-fibre matting was cut up to fit the various surfaces and angles and then painted into place with the base resin layer. After rubbing that lot down smooth, the final top-coat black resin layer was applied and left to set overnight.
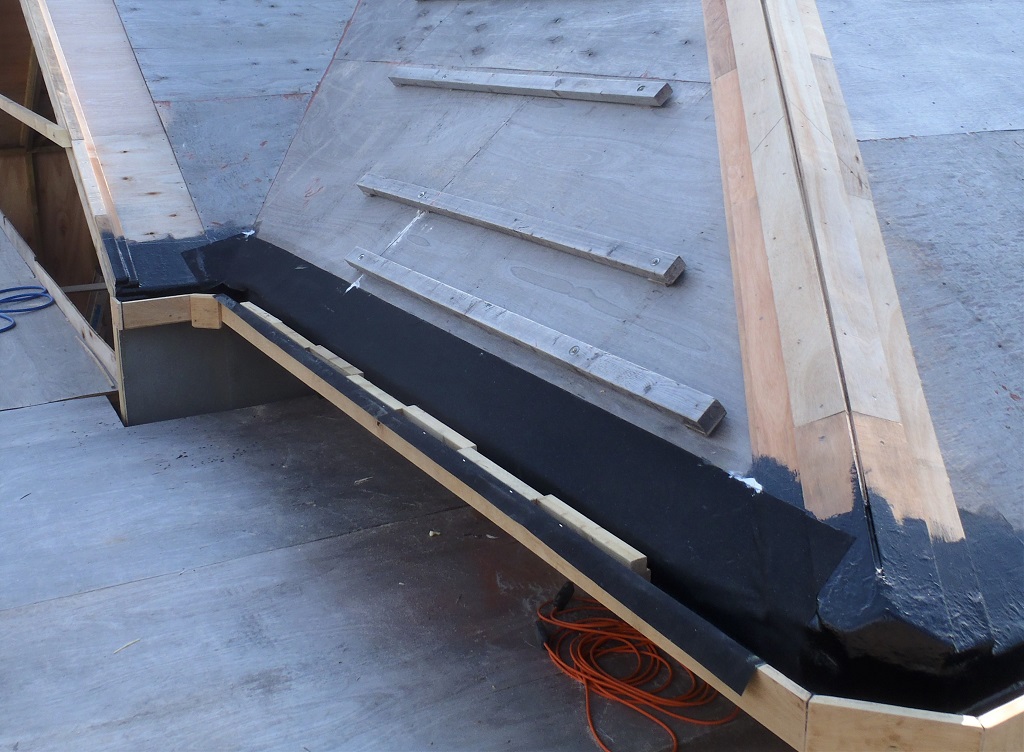
Q1-downpipe-finished
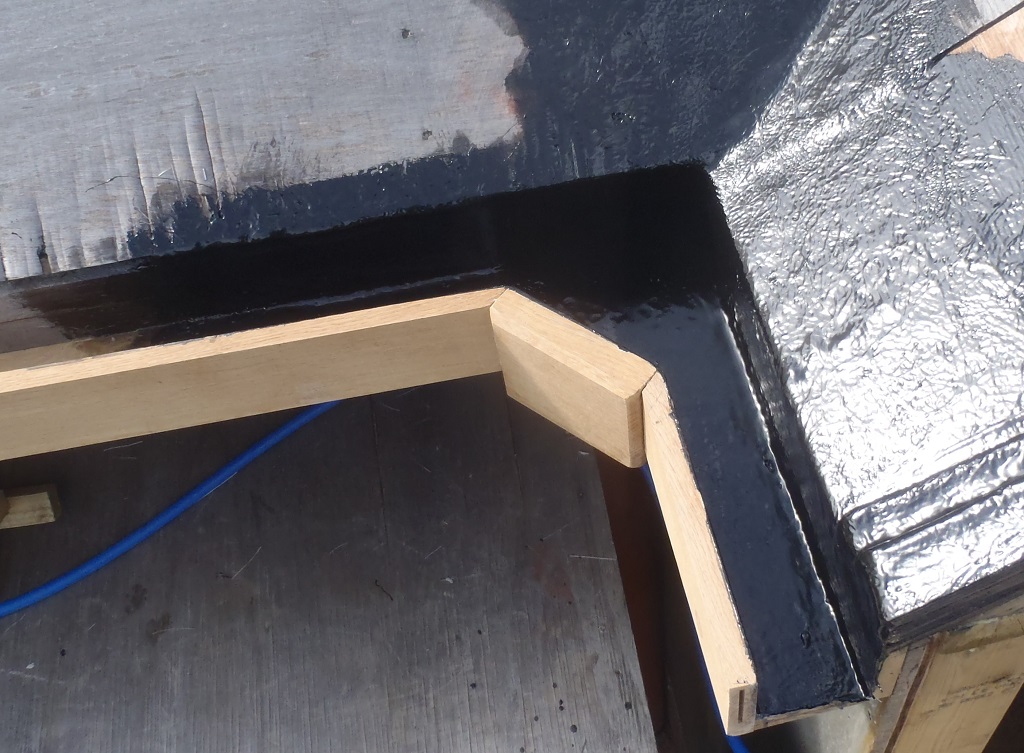
Q2-Downpipe-finished
PA-corner-finished
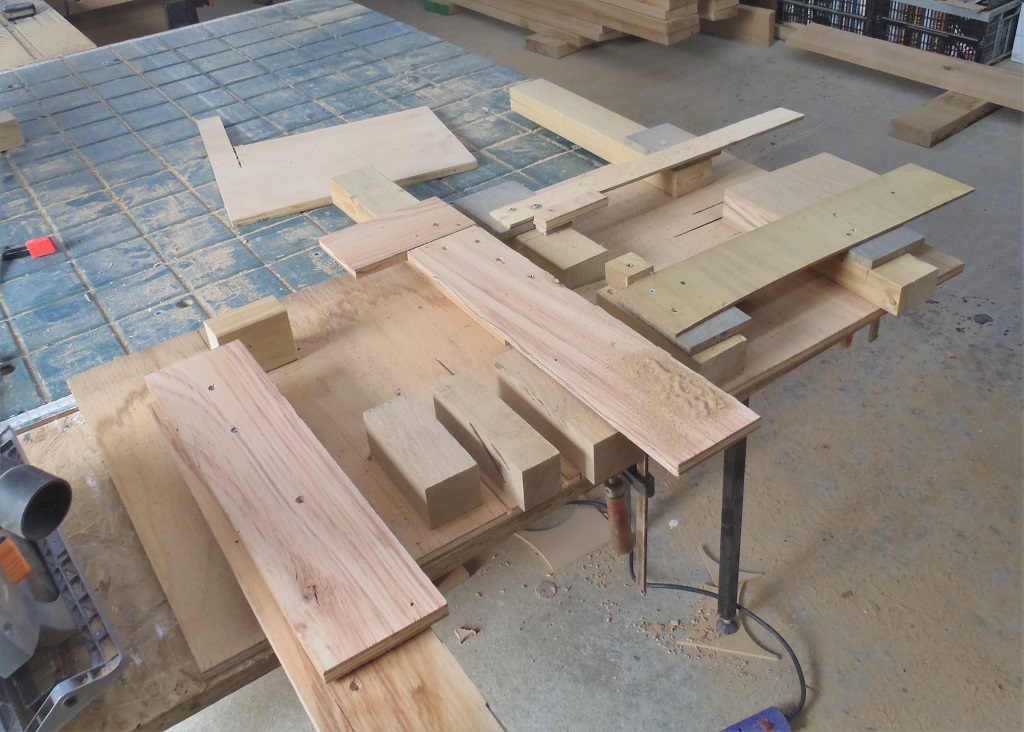
The other little job was to complete building up the layers of the plywood strips for the P-A Hip line, up to the kerb.
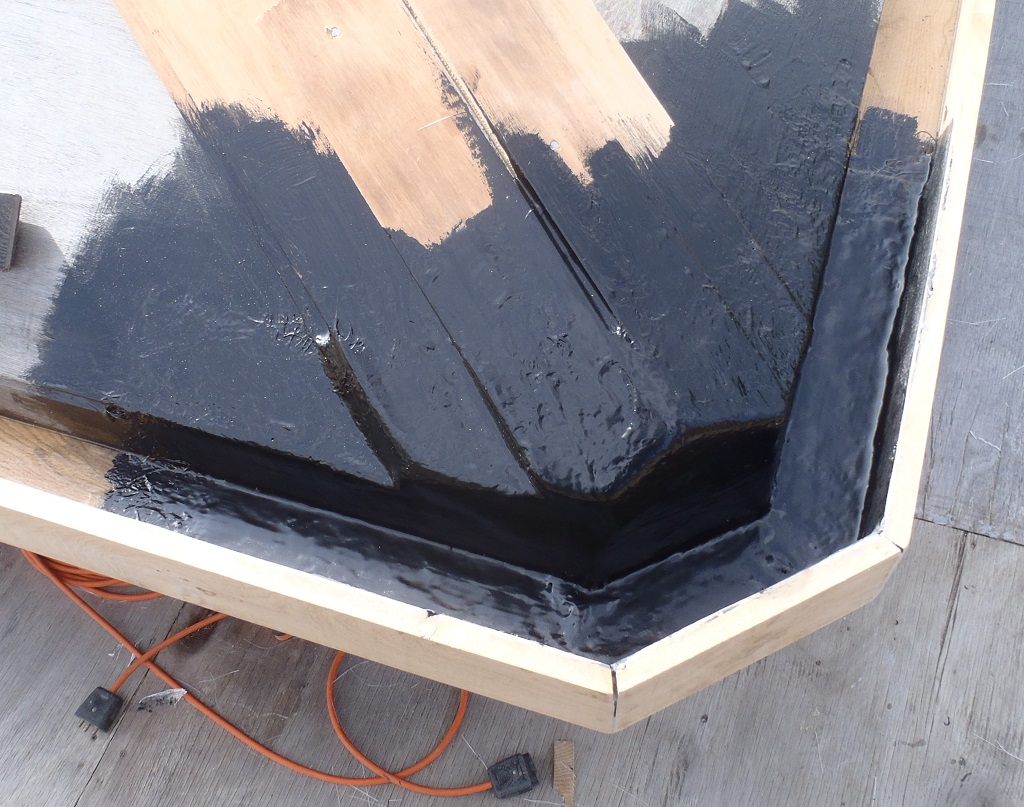
Upon the next day, in the afternoon (the morning was spent doing an emergency repair in a friend’s bathroom shower unit), we tidied up the fibreglass-fibre coated junctions and also reconnected the drain pipes to the Downpipe Channels too, all before the rain arrived later on.
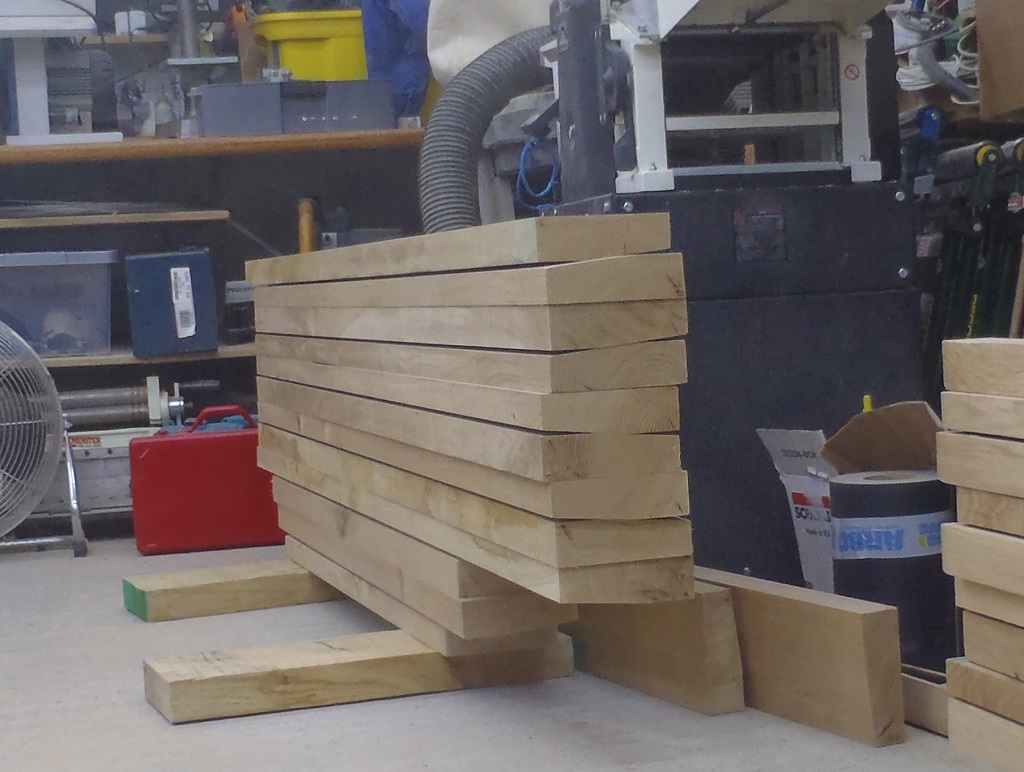
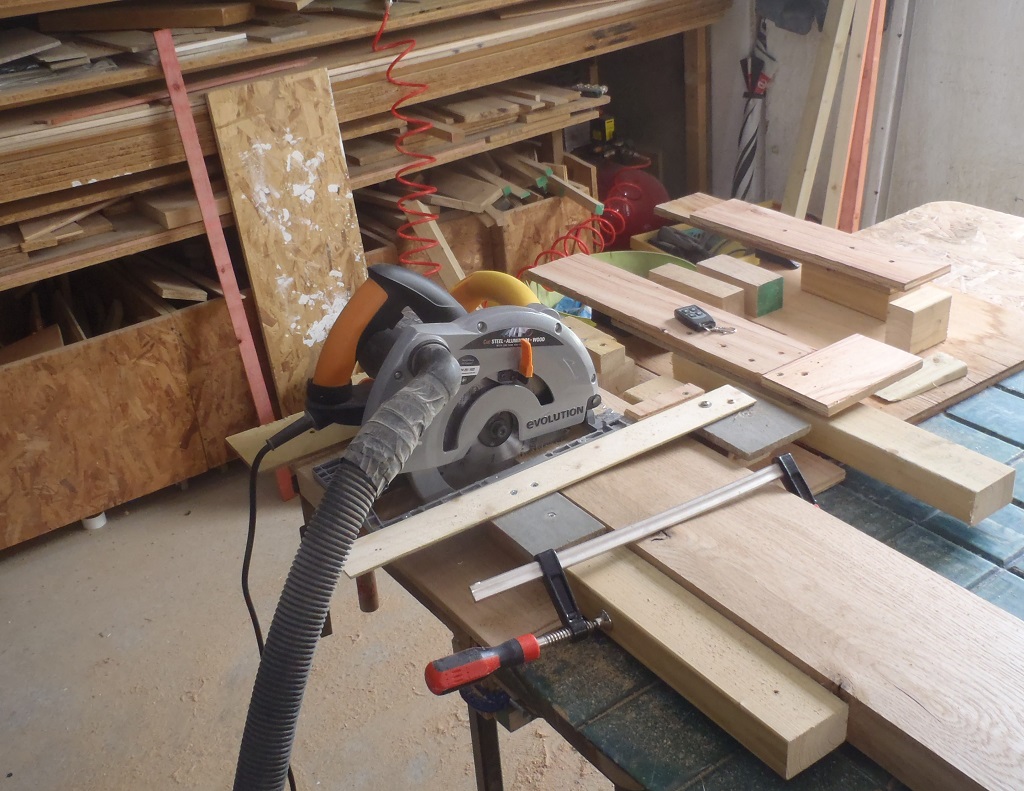
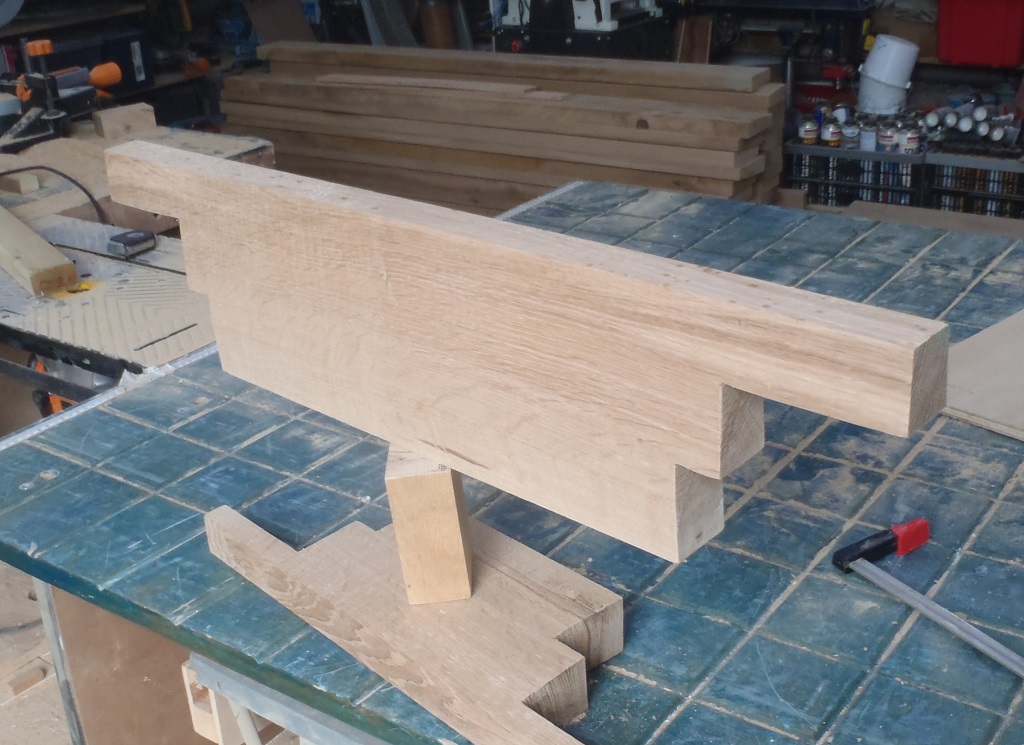
After that small job, we returned to the workshop to continue with the job of cutting the slope into the other set of Oak timber pieces, this time for the Headers (the top of the windows). We planed the 14 pieces including our prototype piece.
Headers-sloped
Then everything was cleaned up and put away, we had finished with the planer for the time being and generally swept up the workshop.
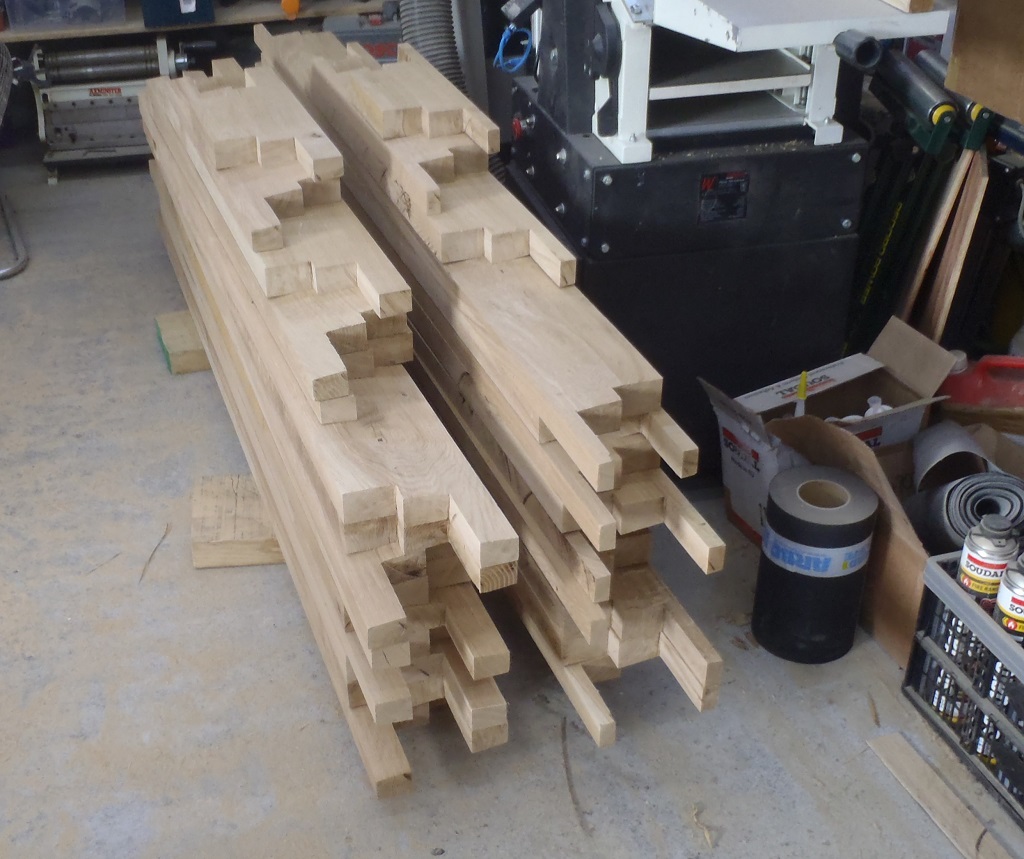
The next several days, while we waited for the wet weather to go pass, we shaped the ends (both ends) of both the Sill and Headers so they will fit into the 13 window holes already in the house. We built two jigs to guide our circular saw to cut the various lines in a couple of directions, and produce the first step to make these complex shapes.
End-shaping-jigs
Sawing-end-of-sill-with-jigs
The saw cuts were manually finished off using an old-fashioned carpenters saw because it is made of a thicker metal to help slide into the pre-made slots. We also made use of the jigsaw to help.
Small-window-sill-ends-cut
Sills-and-Headers-with-ends-cut
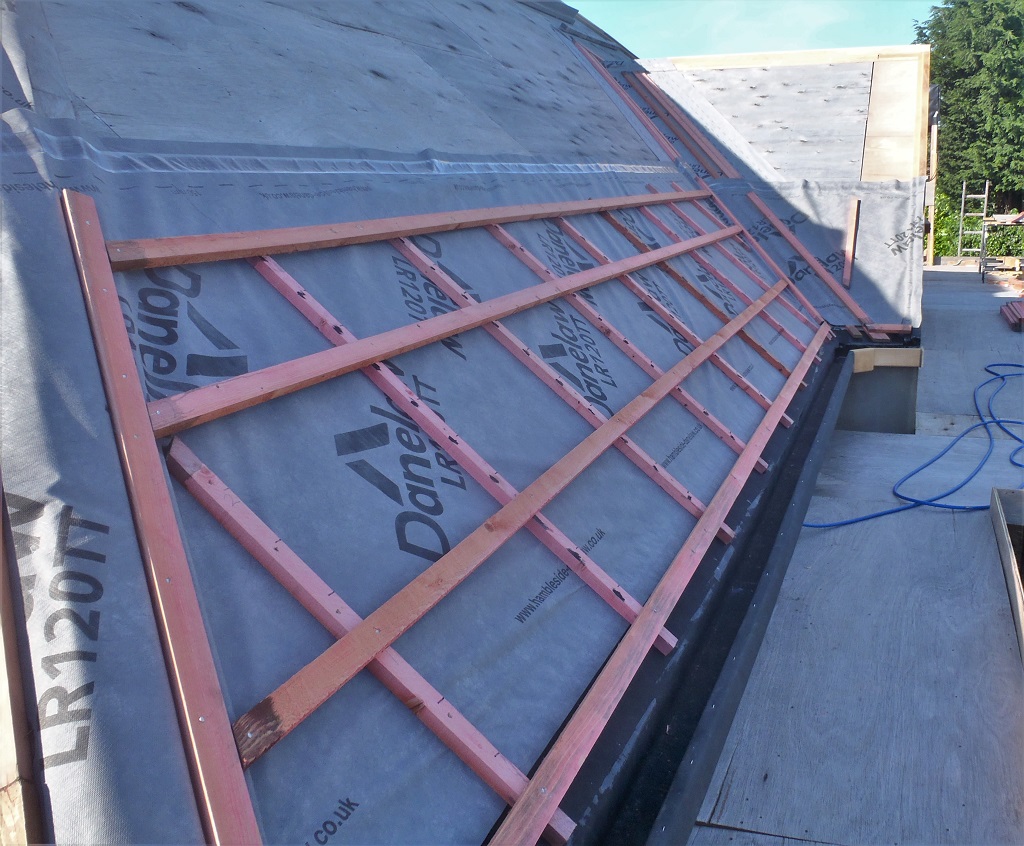
The remainder of the week, Friday and Saturday, we got on with the task of applying the breathable and rubber membranes to the P and Q roofs and building up the counter and tile battens.
The first job was to install the rubber strips into the gutters, on the P roof (both the 1st and 2nd sections, either side of the conservatory) and used the double layer contact glue to stick down the rubber ends to the glass-fibre black surfaces. Then we glued remainder of the rubber that goes up the slope using the rubber glue, again allowing the two surfaces to dry a bit before carefully rolling the rubber membrane up the roof. We wanted to ensure that we don’t get rainwater slipping behind the rubber and into the gutters but on the wrong side (o boy!) as it will take a few days to get the whole P roof all covered in the breathable membrane and the chances are that we will get more rain!!
P1-Gutter-lining-glued-in
P2-Gutter-lining-glued
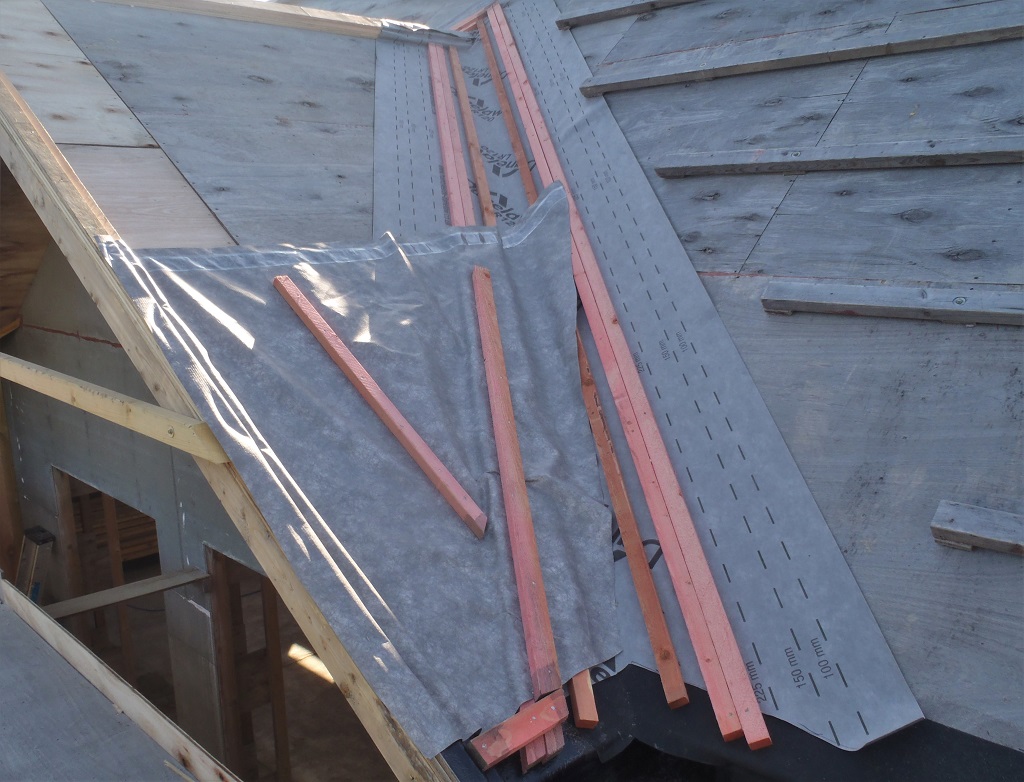
The last job of Friday, was to stick on the three layers plywood strips along the ridge line of the Q roof and also the outer edge too, all ready for the flashing slates (with its rubber under-skirt) to be applied.
For our last day of the week, we then got the two sets of valley counter battens that will support the glass-fibre trough installed, sitting on top of a metre wide breathable membrane. The two came together at the top, along with the ridge line. We put on excess lengths of battens, just in case we need it all when we sort out the complex arrangement of the main slates and the flashing slates meeting together and maintaining waterproofing etc.
The last task was to lay down the first row of the breathable membrane along the bottom, overlapping the rubber by 100mm and going over the hip and valley ends. This was secured down with the counter battens at each rafter position. We got the P1 section covered as well as both sides of the Q done too.
P1-start-of-membrane-and-battens
Q2-Valley-and-start-of-membrane