Because of the changeable and very wet weather we had this week, we decided to switch over to our backup plan and work on our Windows and sort out the Oak Timber for the framework.
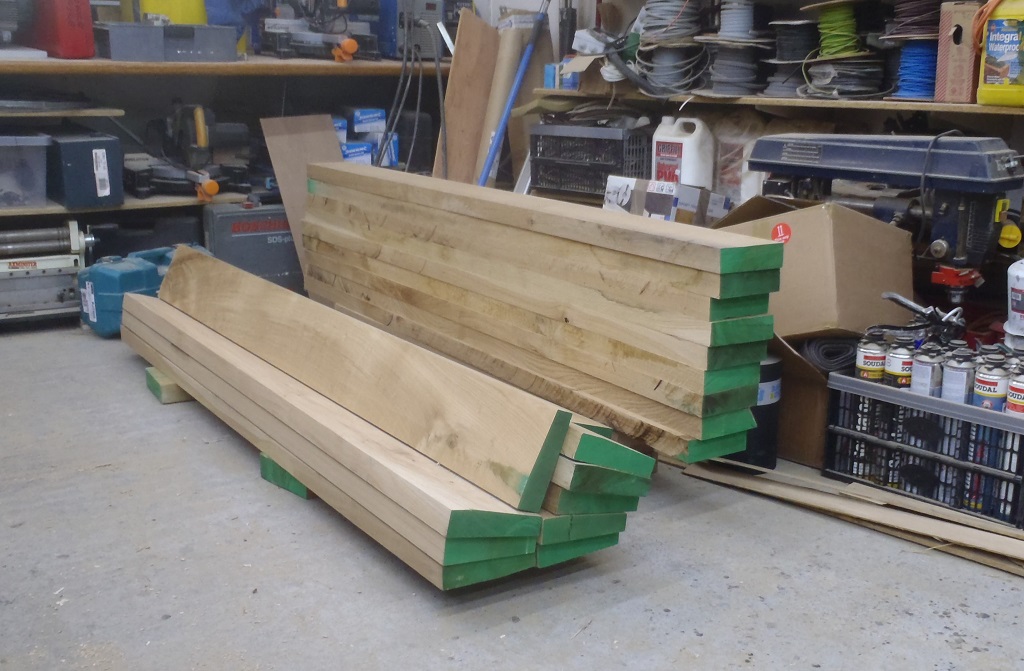
We got 13 windows (9 large, 3 medium and 1 small), each having a Sill and a Header plus a octagon shaped “pillar” vertically on each side, made from three different Oak timber sizes. For this week, we worked on the Sill and Header pieces, using 50mm thick Oak timber planks. We pulled out from storage all those planks that were wider than 160mm. The Sills will need to be 175mm deep and the Headers 145mm deep.
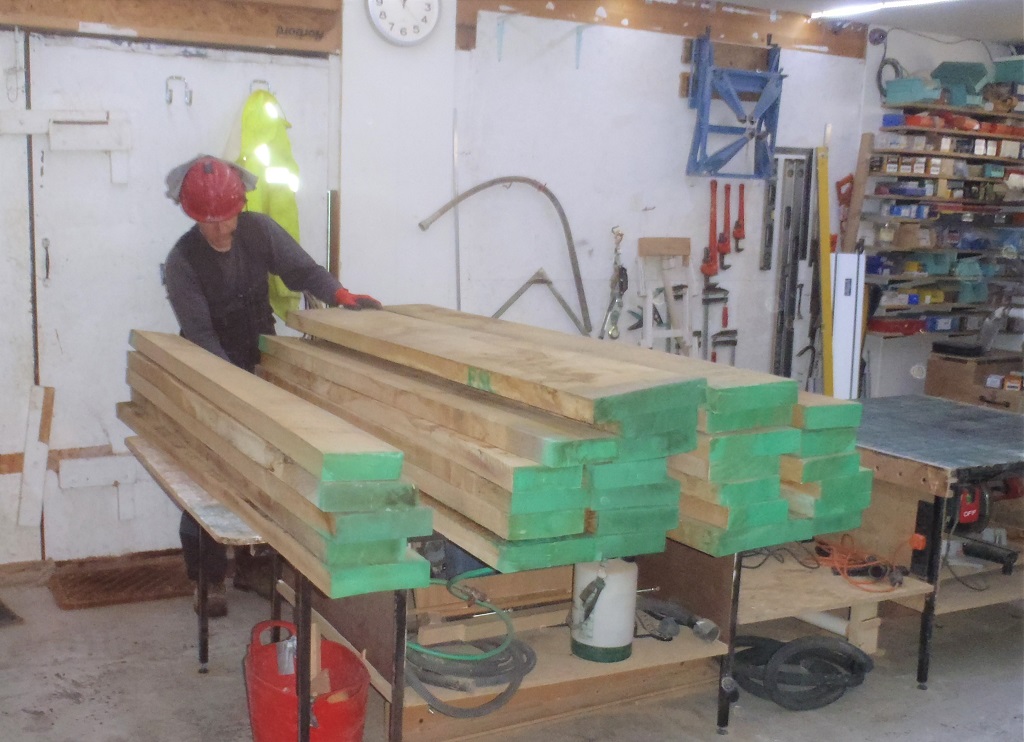
30-pieces-of-Oak-for-window-sills-and-headers
We found 30 planks in all and we have rejected four of them for being too warped or twisted down the length. We may have to use one or two of these rejects if we find ourselves running out.
The next job was to slice a straight edge to establish a base line to work from. We had to use a standard mobile circular saw to get a deep enough blade depth as our Oak timber were, in some cases, deeper than 50mm. The track saw we had, which would have been ideal for this job, could only cut about 48mm thick.
One-edge-straitened
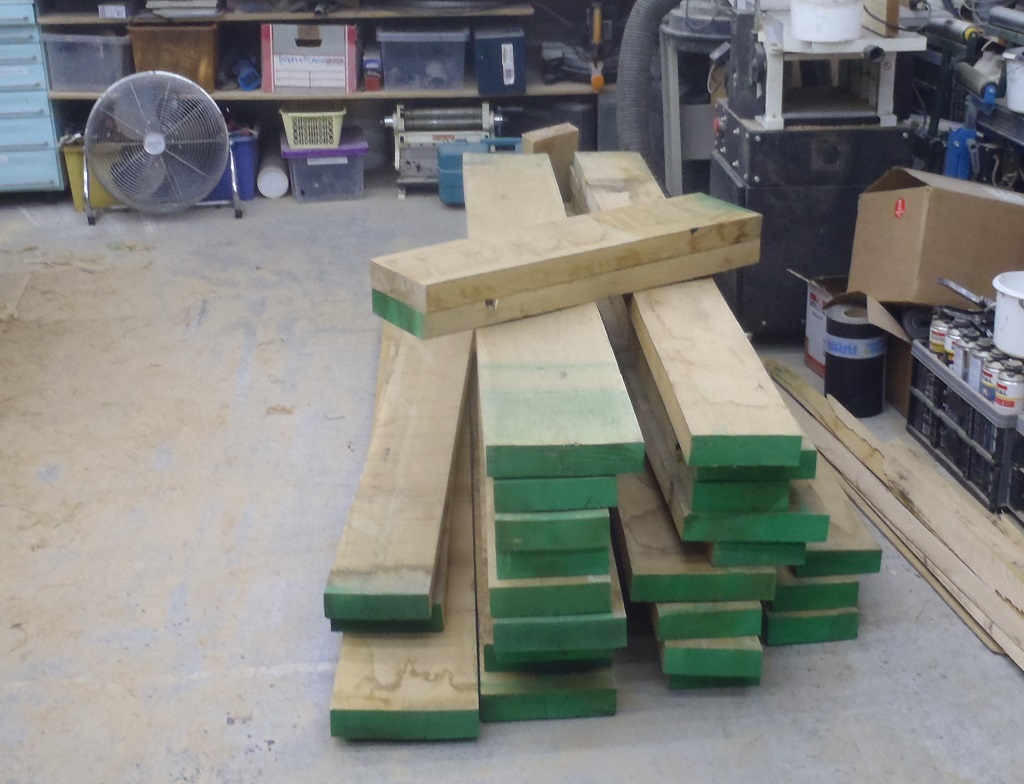
The next task was to pass all the pieces through the big circular saw module in our workbench. We selected 12 pieces for the wider 178mm set and another 12 for the smaller 153mm set plus one left over which we cut in half (for our single narrow window), one each for the two sets. Initially, we had to cut very slowly as the equipment was prone to overheating and the safety protection breaker kept tripping. Also the blade was getting hot too and leaving scorch marks on the Oak. We decided to change the blade to a branded and pleasantly discovered that it started cutting much more cleanly, a little bit faster and no heating at all!! Just shows you that one should really change the original blade that came with the machine to a more professional branded blade!!
After all that fuss, we got our planer equipment out, plus our two extension tables and proceeded to plane one flat side of all the 26 planks plus two spare “test” pieces for prototyping the complicated shapes later on.
After careful analysis at this half way point, we then earmarked which plank would go for the Large windows (9 of these), another 3 for the medium windows and the odd one for the narrow window. We also flipped around each piece to find the best edge for the nicest visual presentation too.
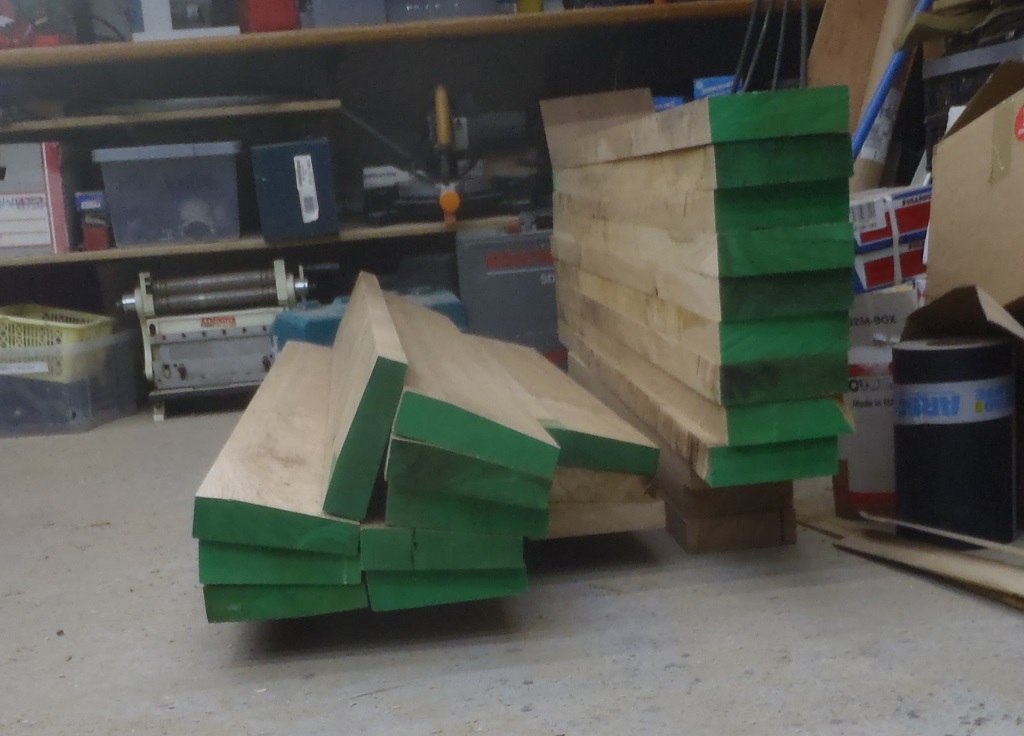
The next stage of operation is to convert the planer machine into thickener mode (we put away the long two extension tables) and got out four roller support stands and using a long straight aluminium bar to adjust the heights of the rollers (we had to do this every time we adjusted the thickener to plane off more material) and got all 28 pieces planed down to a general 46mm thickness. The finished surfaces were not perfect because we knew that much of the “bad” parts will disappear when we cut the slope in, and also there are sections that will be cut away to develop the outer wings of the sill and headers.
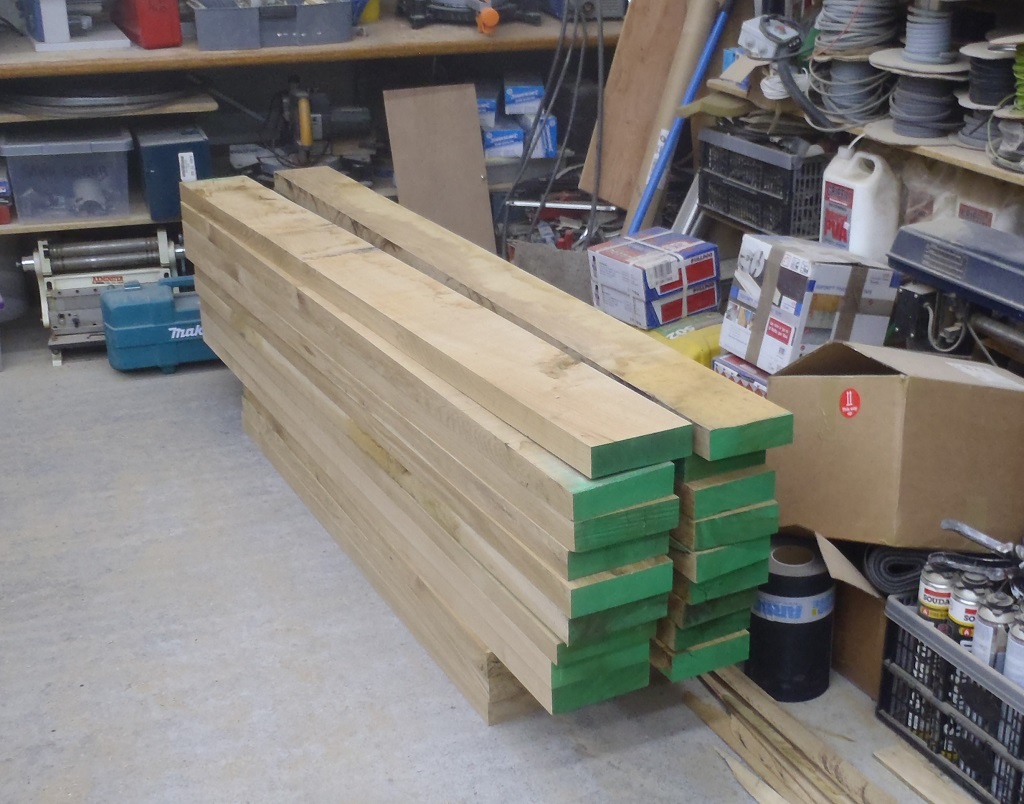
Ready-for-slope-cutting
The final job for this week (day 4 of wet rainy weather, we measured that we had 23mm of rain in that time!!) was to build a angled support jig that will guide our oak planks through the planer and cut the slope on them.
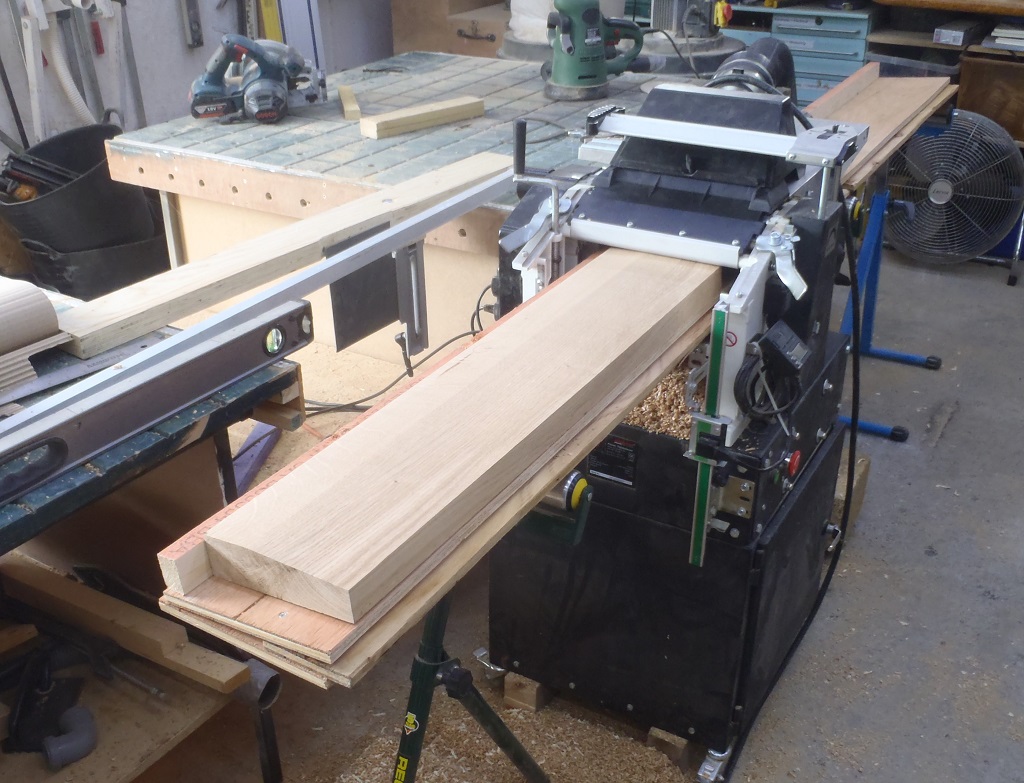
Planing-the-slope-on-the-sills
We managed to do all the wider 173mm Sill timber pieces.
Sills-finished-planing-1
Sills-finished-planing-2
We stopped here because the weather changed for the better and we could get on with outside tasks.
When we get wet weather again, we will continue with the job of cutting the slope into the narrower set (the headers) and then cut the fancy shaped ends and round off the edges etc.
Leave a Reply
You must be logged in to post a comment.