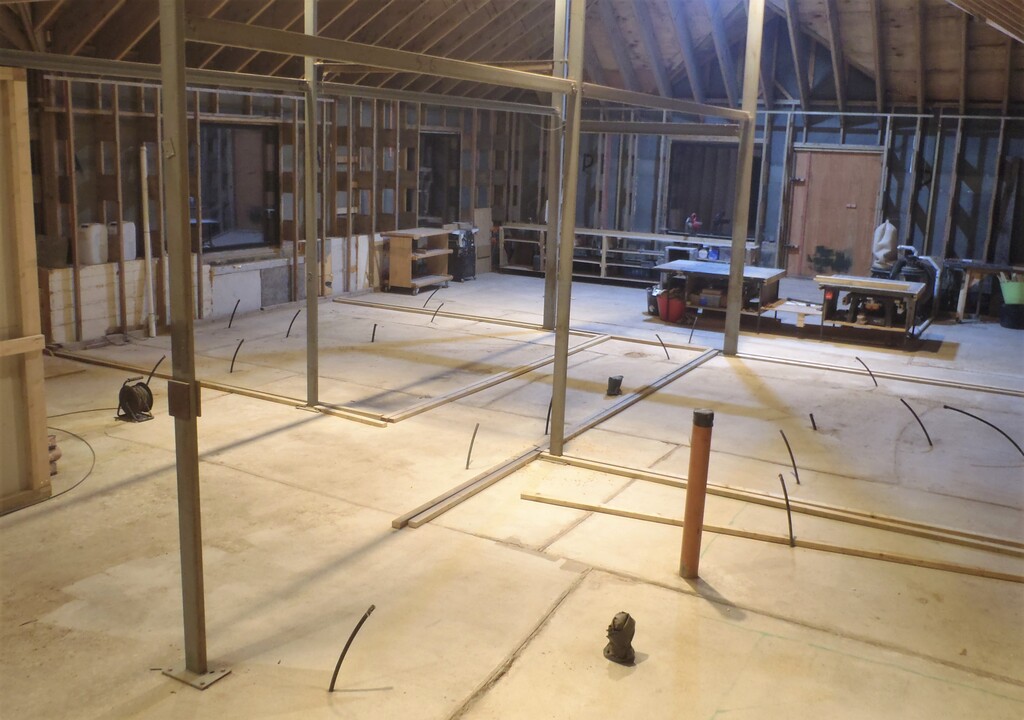
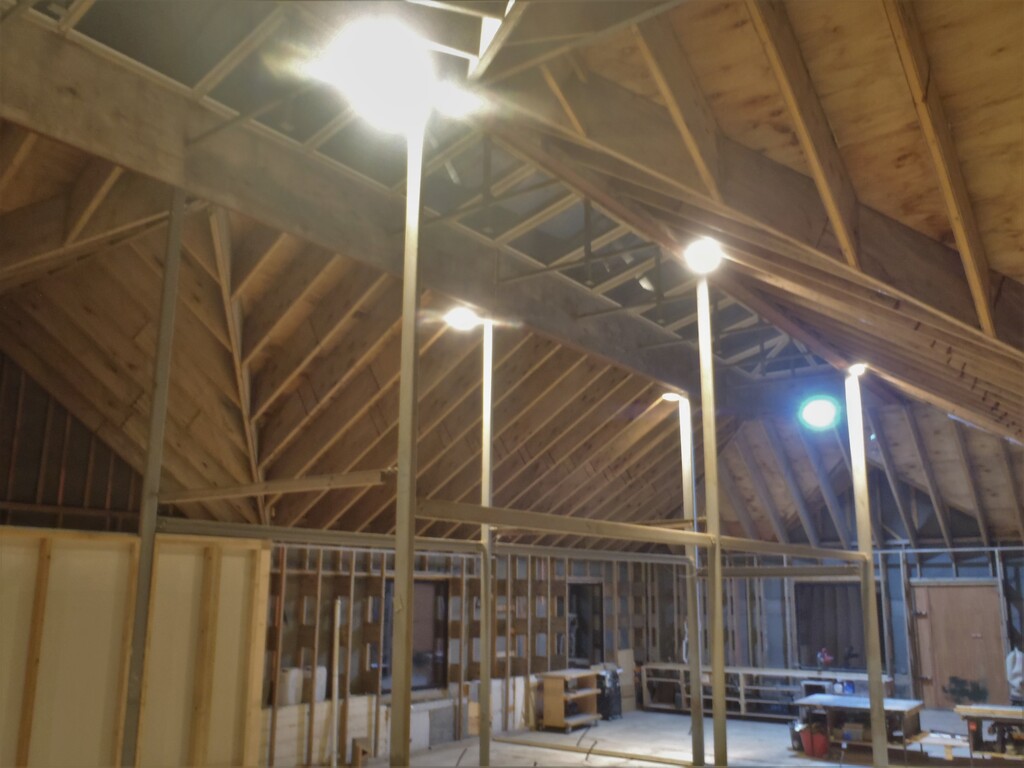
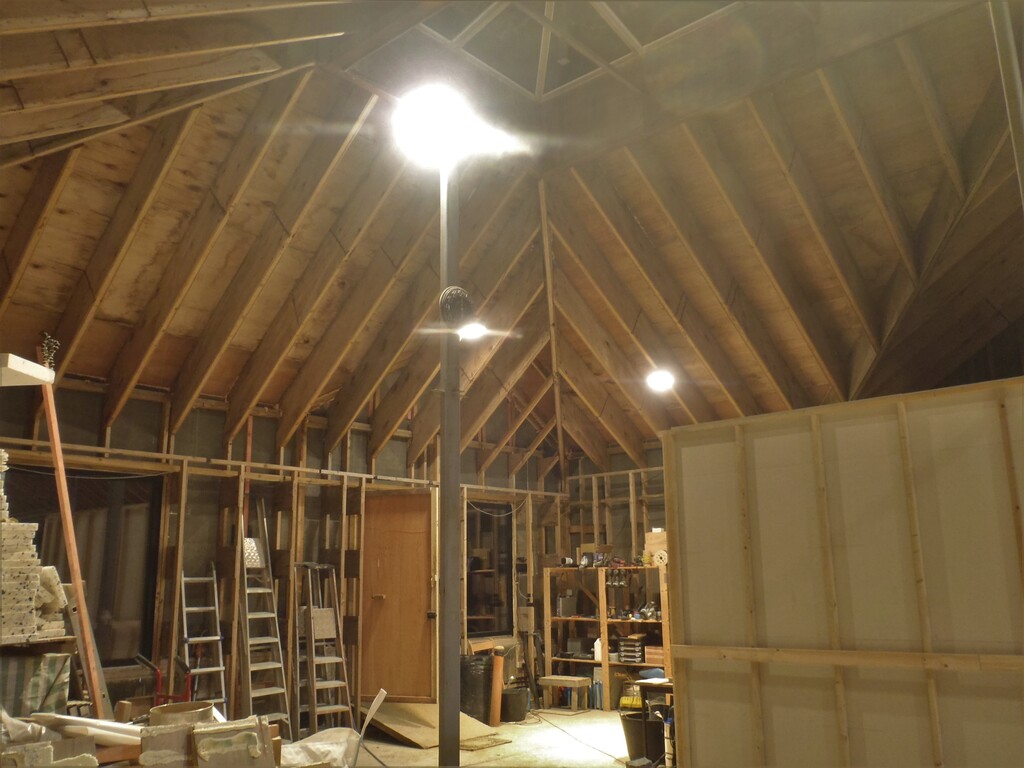
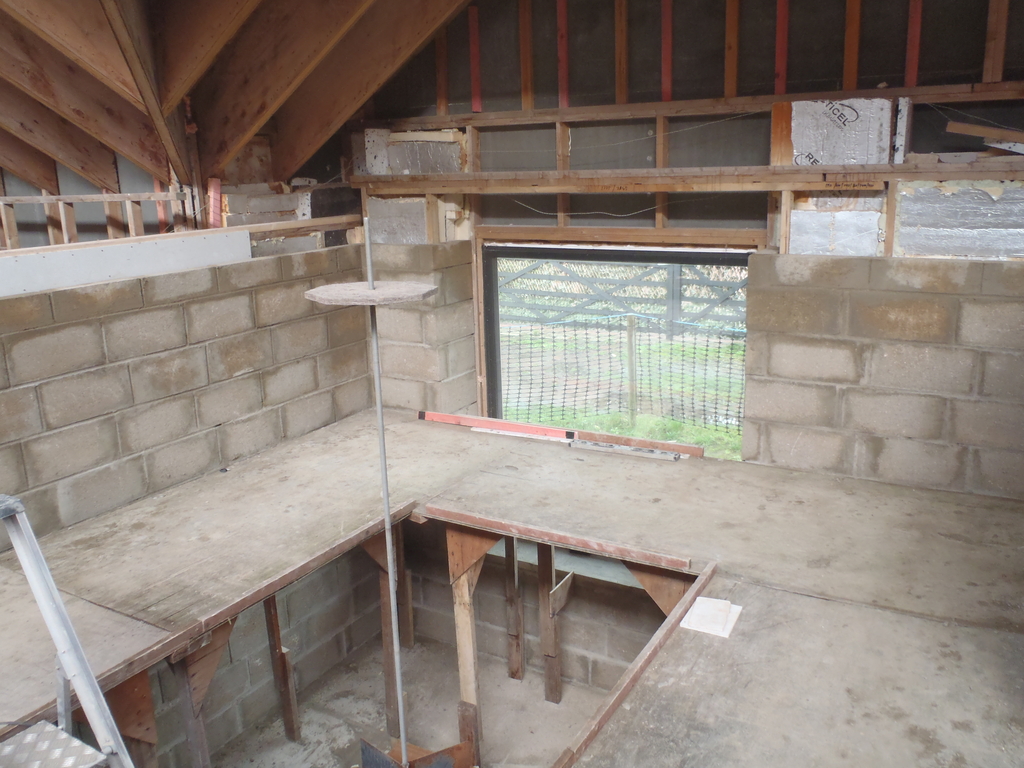
This week it is the turn of the Concrete Beams and hundreds more of the concrete blocks to be hoisted up and laid out to form the roof of the Entertainment Room’s internal sound proofing shell.
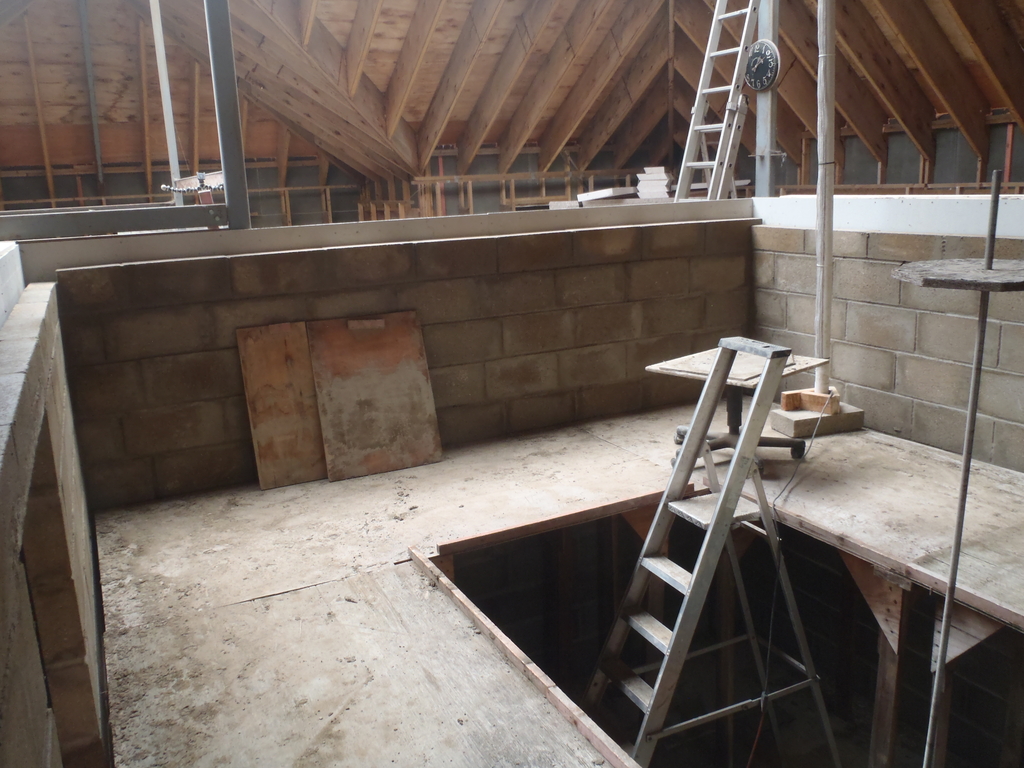
The first job was to construct a lifting hoist location where each individual 120kg beam is lifted up and swung around, to get pass the skylight metal leg and lowered down to the top of the concrete wall.
We got three of our shorter metal scaffolding modules, plugged them together and then clamped the whole thing to the wooden wall. Then we got our metal hoisting arm up (only just fitted, avoiding the skylight) and then attached the electric winch.
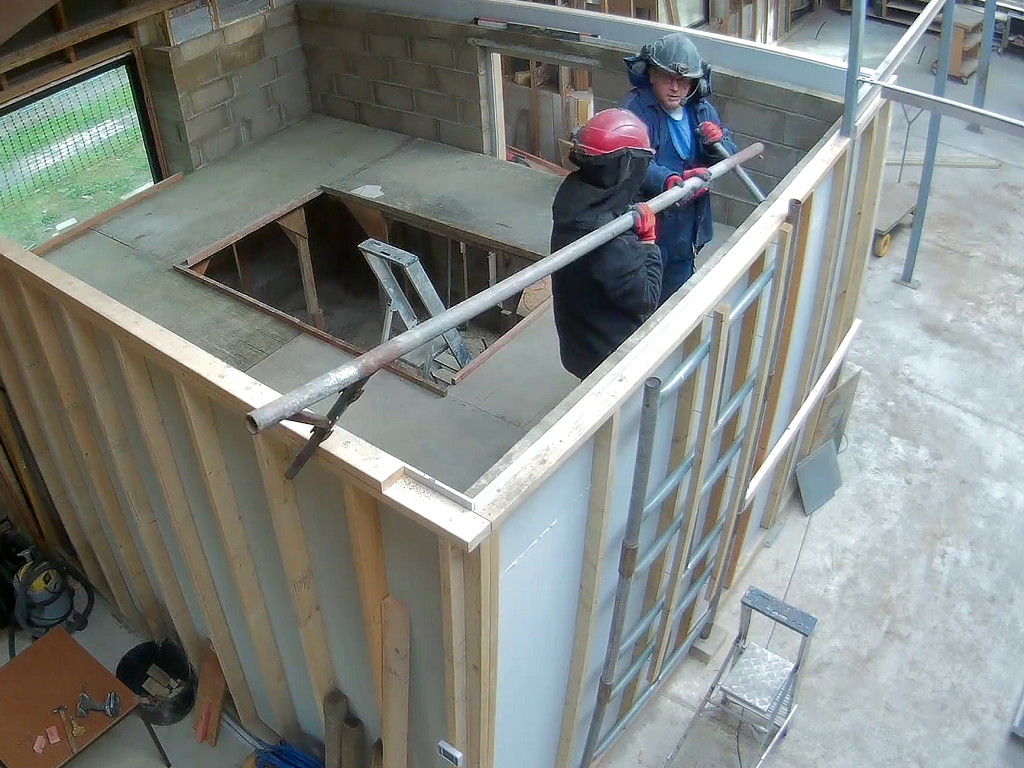
EntRoom-Setting-up-hoist
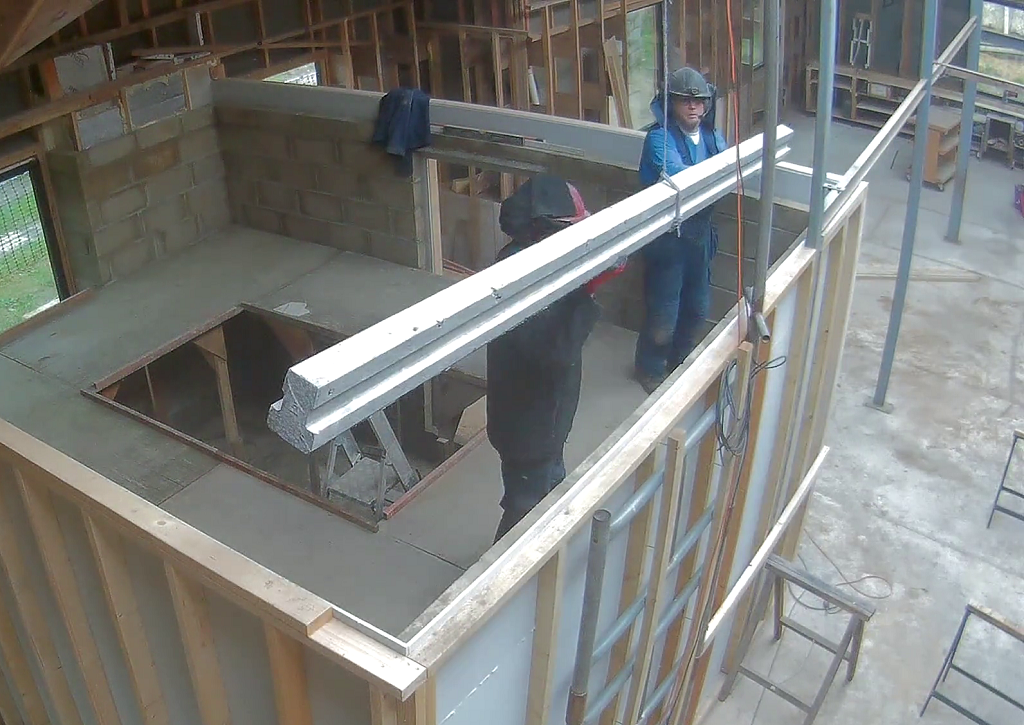
EntRoom-Hoisting-a-beam-up
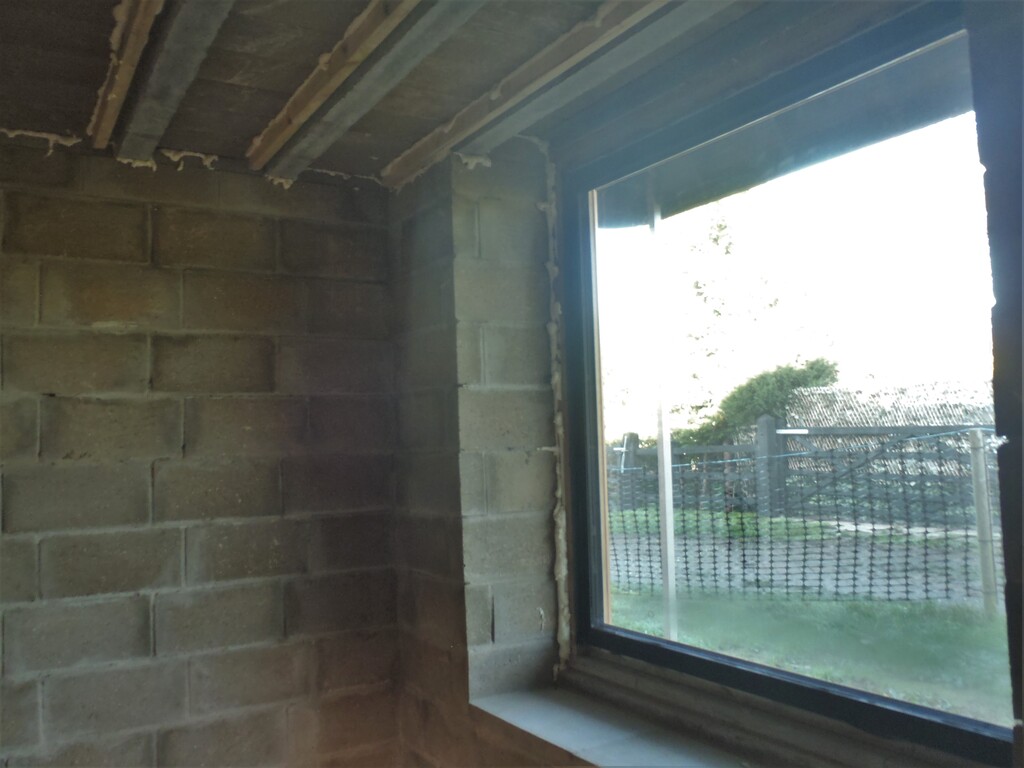
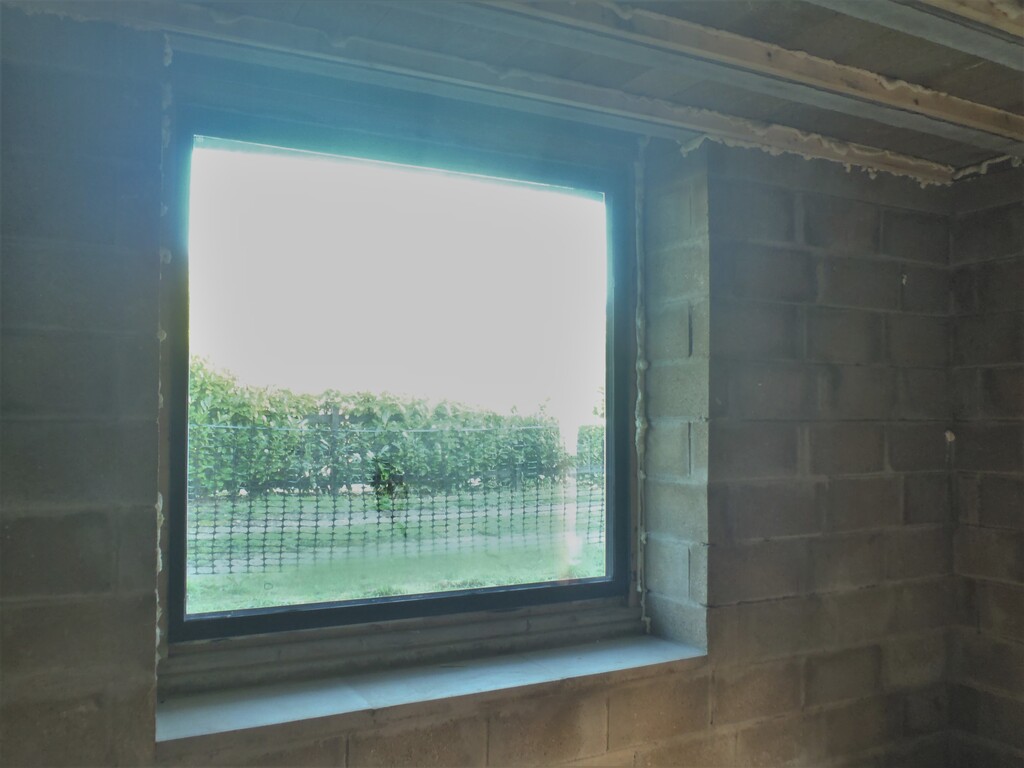
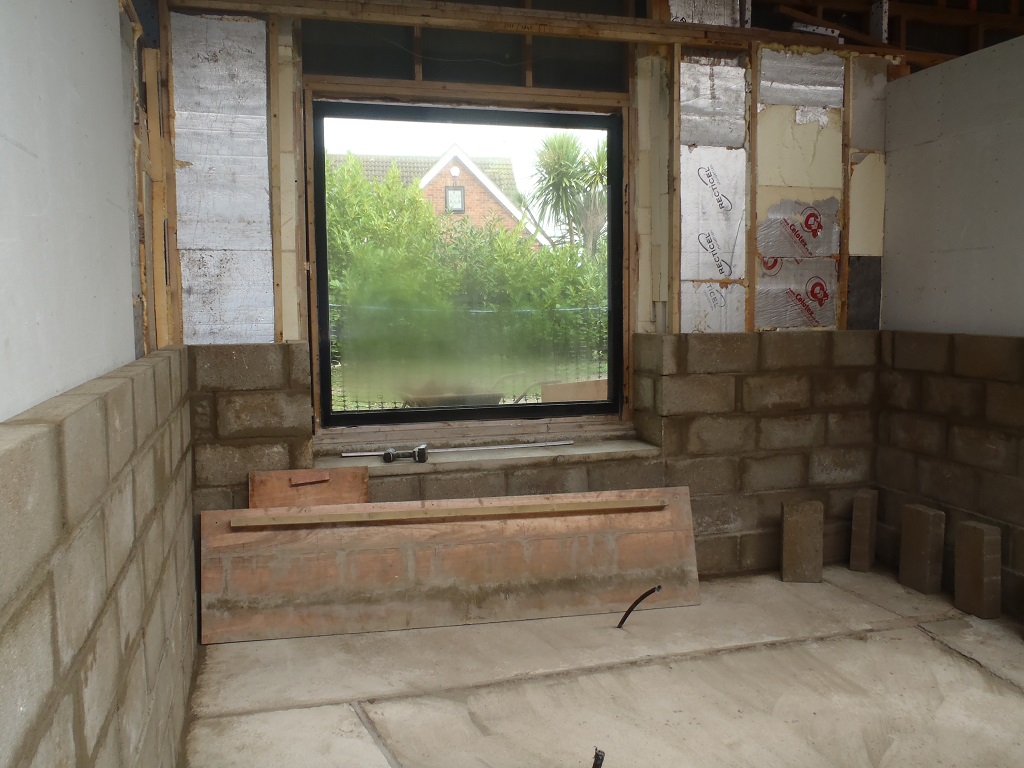
We first lifted two beams up and got them positioned over the far end of the room, near the window. This allowed us to then set and position the second of our heavy duty angle iron piece, with clearance holes drilled into it and then glued and screwed on to the wooden legs of the external wall.
Then we sliced up one of our paving slabs down the middle to give us two similar pieces, 900mm long by 300mm wide, plus a small bit left-over from the previous time of using the paving slabs at the bottom of the window, to make a filling in piece measuring 240mm wide by 300mm deep. Then, we glued on half bricks on the edge of all three pieces so that they can sit on the concrete beam and form the lid over the window, sitting on the metal angle iron and the beam. We wanted to raise this “lid” higher to maximise the space above the window to ensure that we had enough room for our mechanism for controlling the automatic window blinds. We glued these composite pieces using regular PU glue to stick them into place.
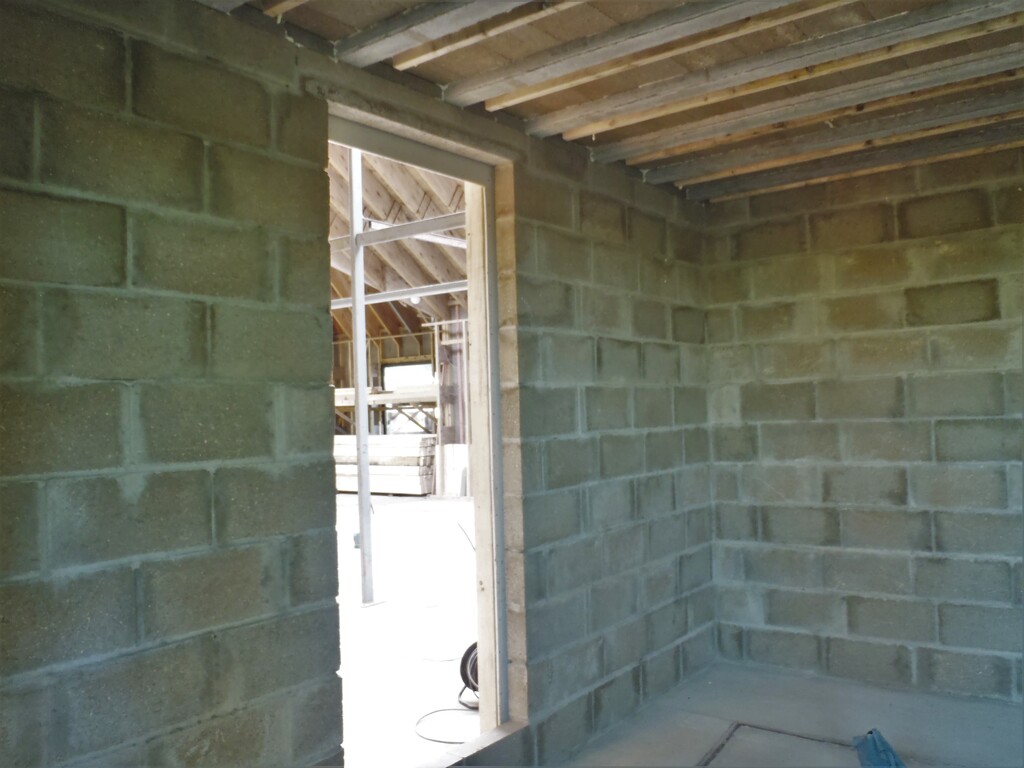
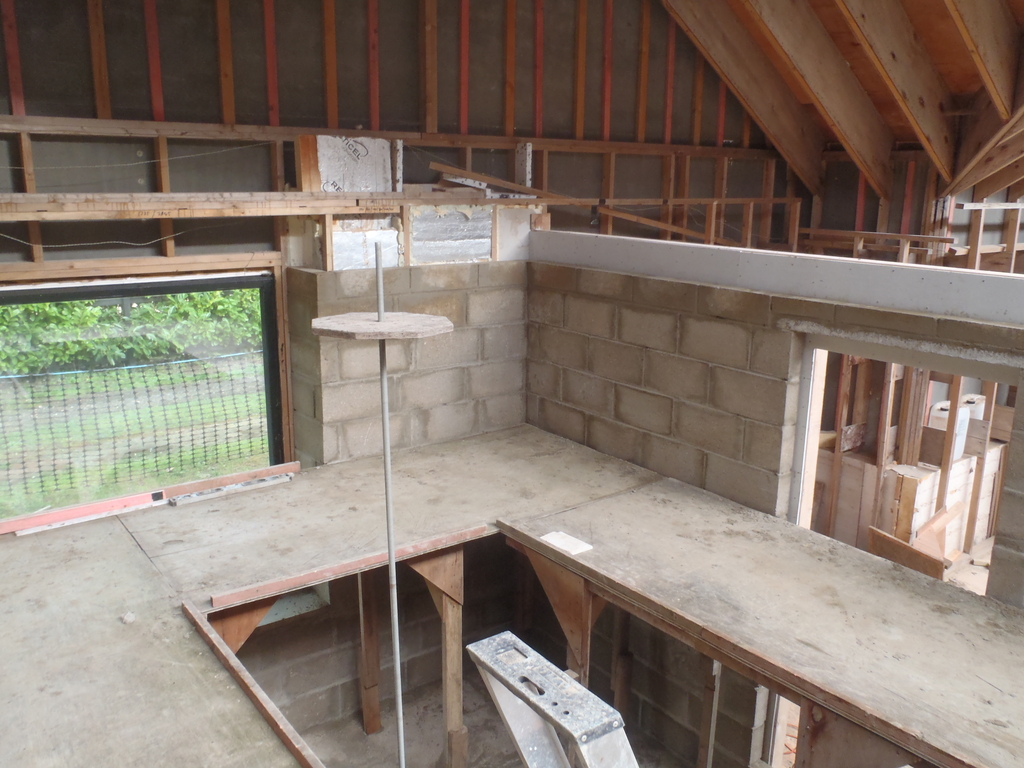
On Tuesday and Wednesday, we proceeded to lift up the remaining eight beams and 162 blocks, plus 5 further blocks sliced down the middle to form the finishing piece in each row.
We used spray PU foam to act as a glue and space filling at the same time on each block as we inserted a block along the beam. Not forgetting the two driveway 50mm thick concrete bricks were placed at the start and end of each beam to fill in the gap between them sitting on the wall.
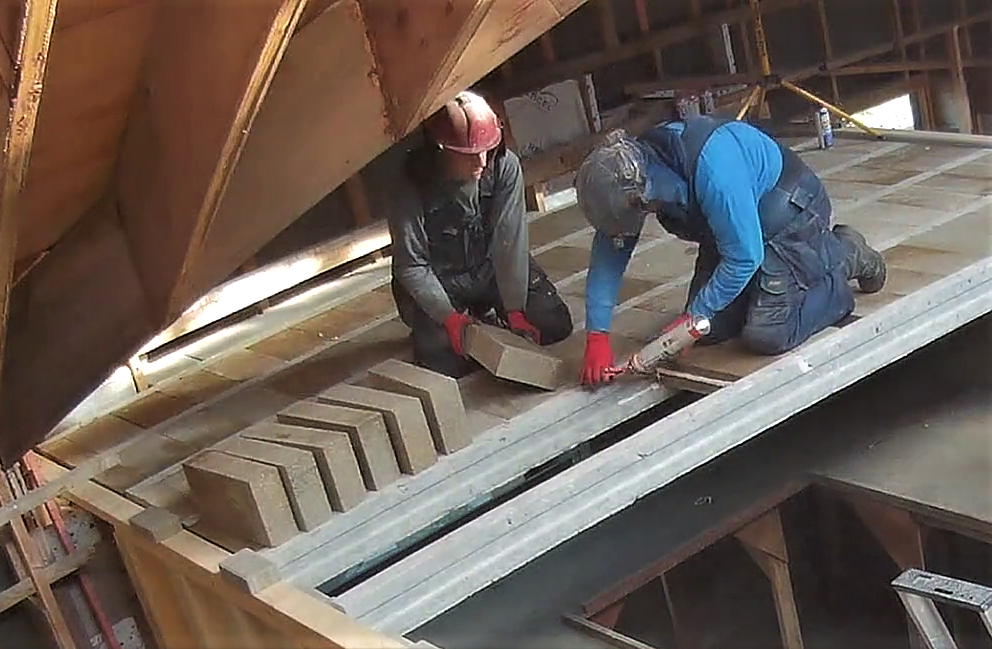
EntRoom-Gluing-blocks-in-with-foam
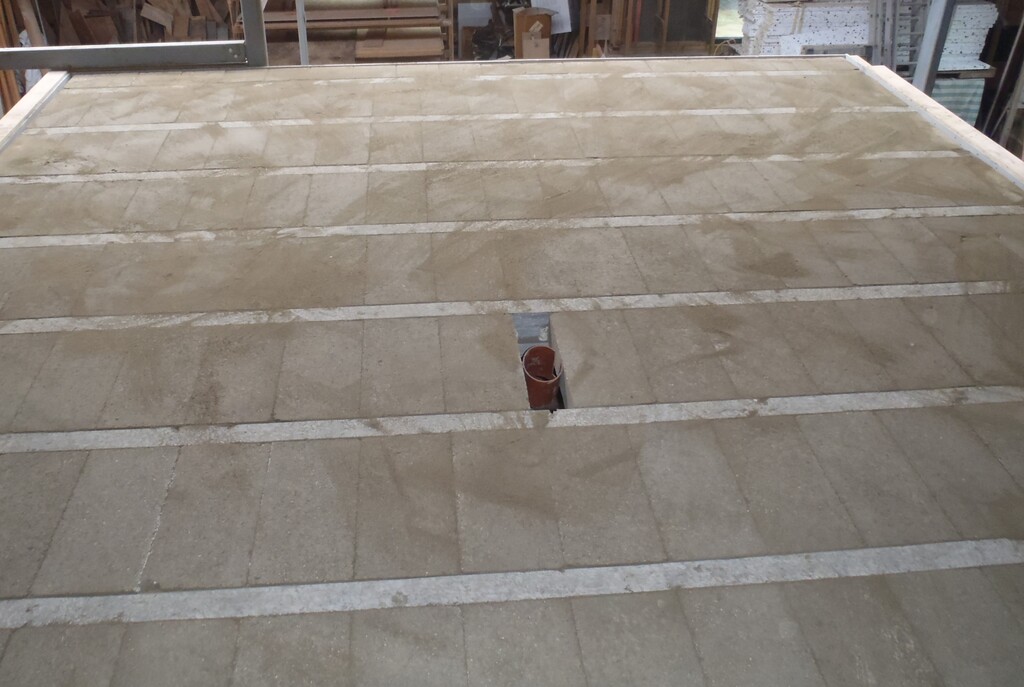
The last day, Thursday, we had to fill in the tenth row which was half the width so we sliced nine blocks in half to produce a filling in piece, measuring in a set between 190mm to 200mm wide and also cutting down two more bricks to fill in the final space on the wall.

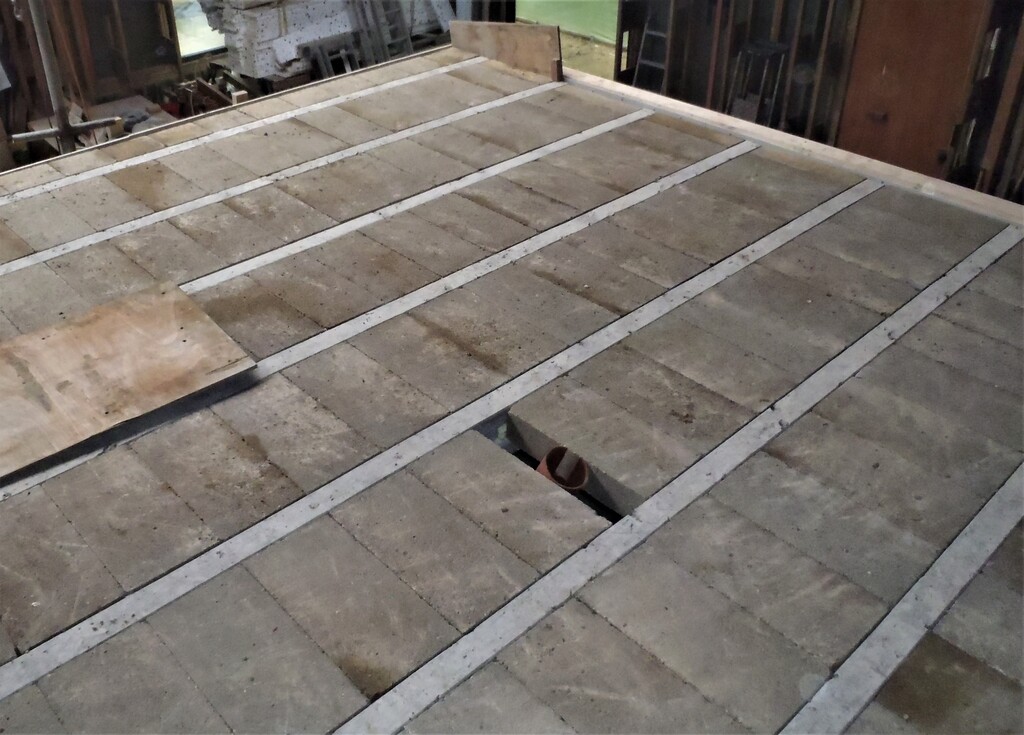
EntRoom-All-blocks-installed
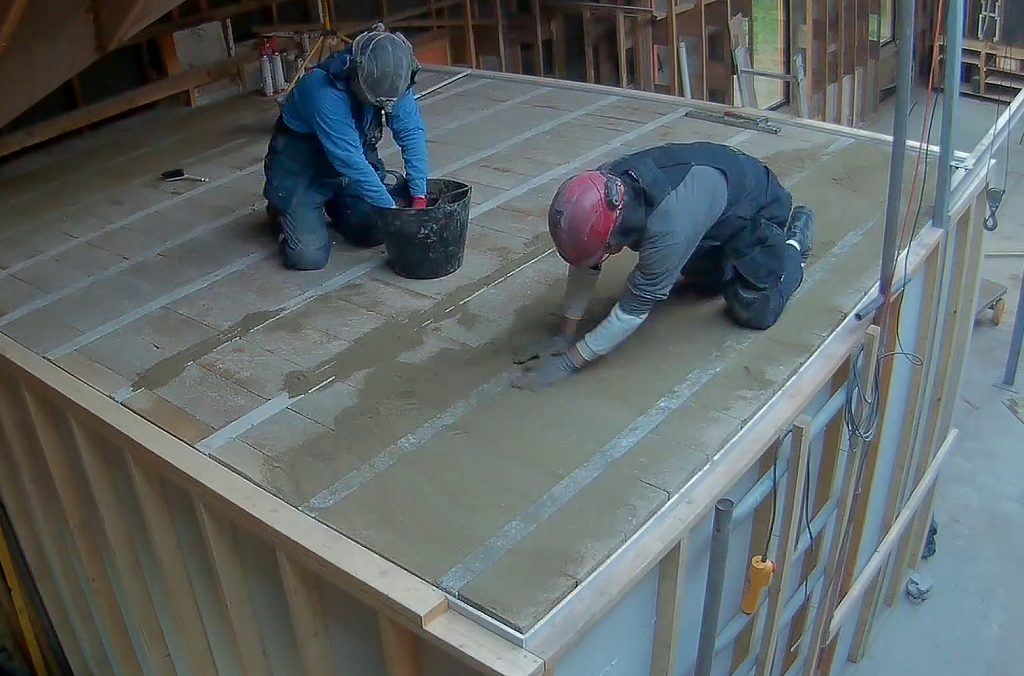
We had a half bag of cement powder left over so adding two buckets of soft sand, we mixed them together in a dry form, ready to vibrate in all the joints on the roof. But first, we nicked a quarter of it to make the normal mortar “muck” to stick down the last row of half blocks to the top of the wall and finishing off the whole roof.
Then we proceeded to pour the dry mix all over the roof, brushing it over all the joints, banging and vibrating the roof using a piece of wood and club hammer and filled up the cracks between the blocks and beams. Finally, we went over the roof surface and sprayed a small quantity of water to help activate the cement and harden it up.

EntRoom-Grouting-the-blocks
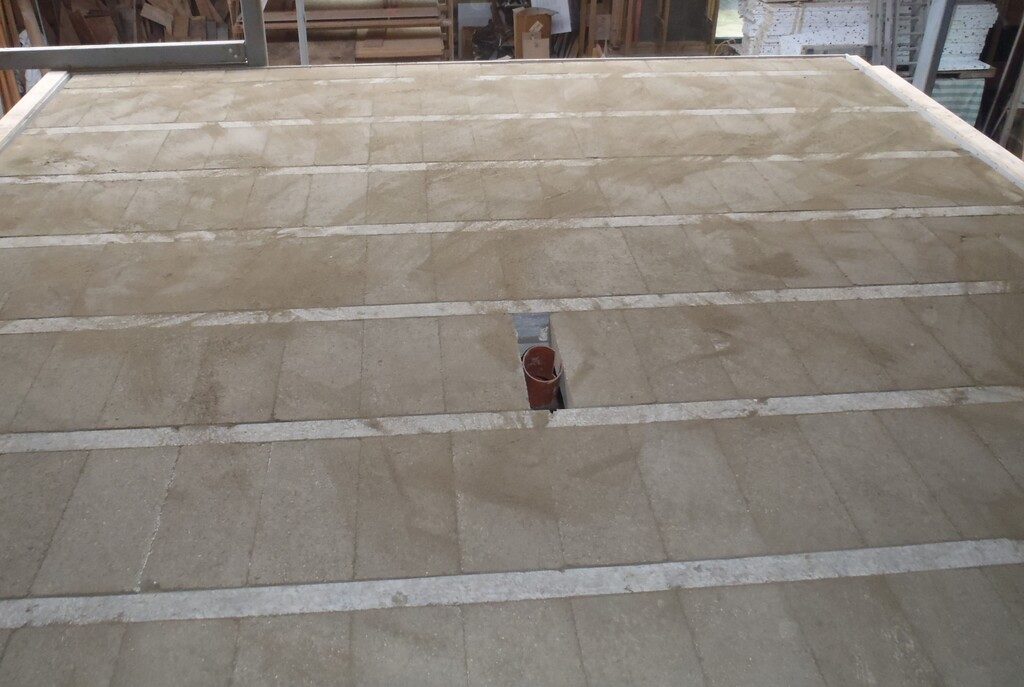
EntRoom-Blocks-grouted
The rest of Thursday and much of Friday was spent tidying up all the equipment, taking down the winch motor and its metal lifting arm, sweeping the floor and creating a “rubbish” bag down the bottom of the garden (using one of those large ton bags and four old metal re-bars to act as legs) and moved all the broken and sliced concrete block remainders, dismantle the various wooden templates and finally moved the cement mixer away from the Front door area.
One thought that came up, was to get the ceiling battens installed now, rather than later on because we might forget to do it before we put up the First Floor Joists, which may impede our attempts in screwing up the CLS 63mm battens up inside the Entertainment Room. So Saturday was spent in doing that to get it all done and dusted before we forget and before we dismantled the wooden platforms too. We drilled six holes through each row of the concrete blocks (they are 6mm holes), just alongside each concrete beams, a total of 60 holes for the 150mm long screws to go through and grip the CLS plank of timber.
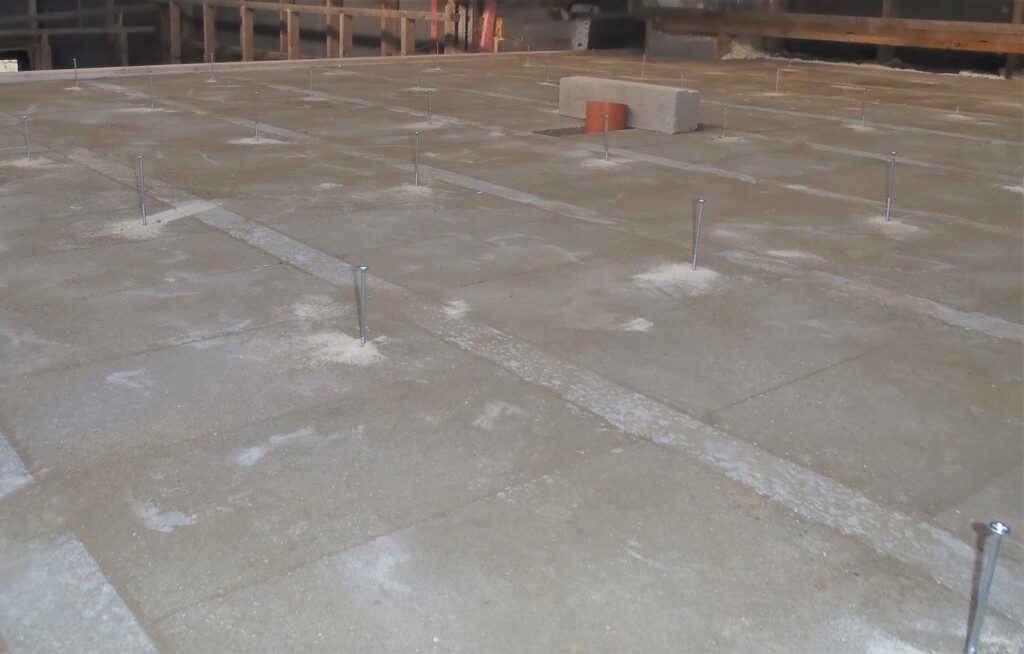
EntRoom-Roof-sprouts-screws
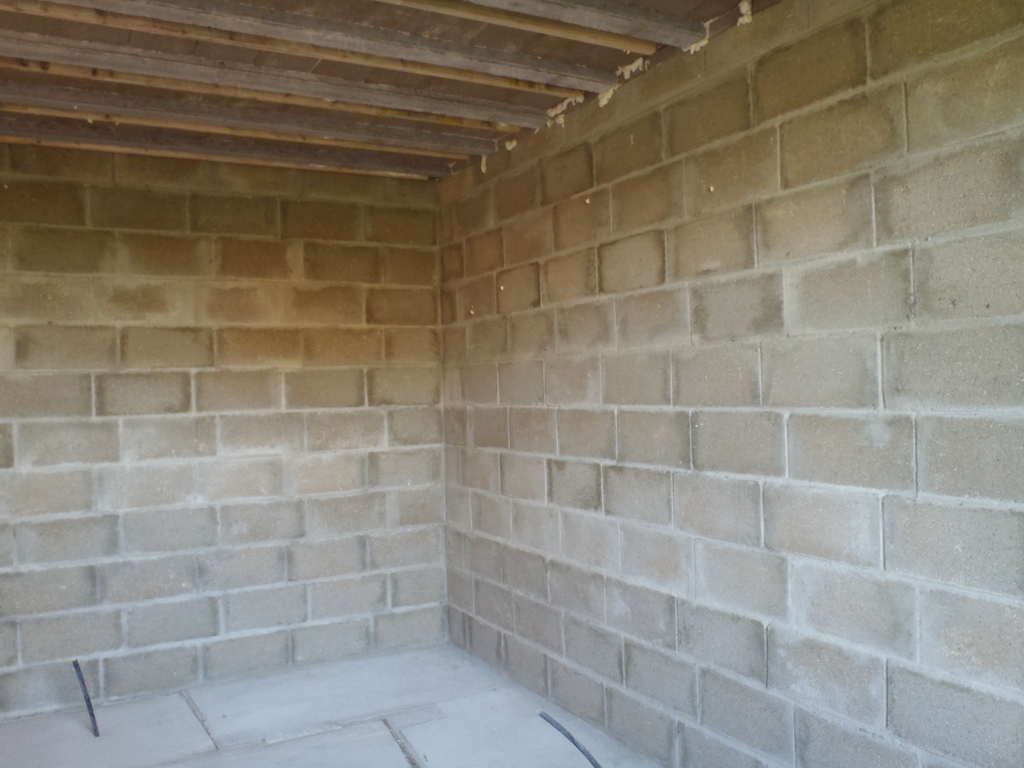
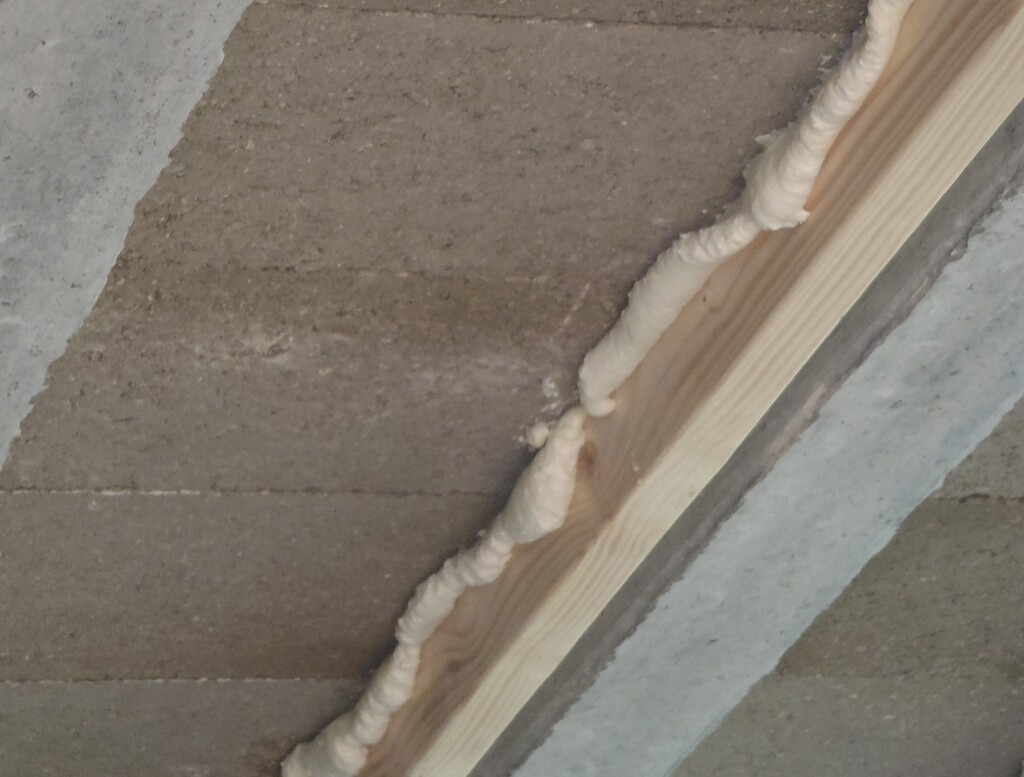
We used 3.6 meter long 63mm sized pieces because they very nicely brought the surface of the ceiling just clear of the concrete beams, which makes it very easy to then screw and glue up the ceiling boards later on. We then screwed the wood up leaving a gap which we sprayed PU foam glue into, after which we tightened the wood up squashing the foam tight.
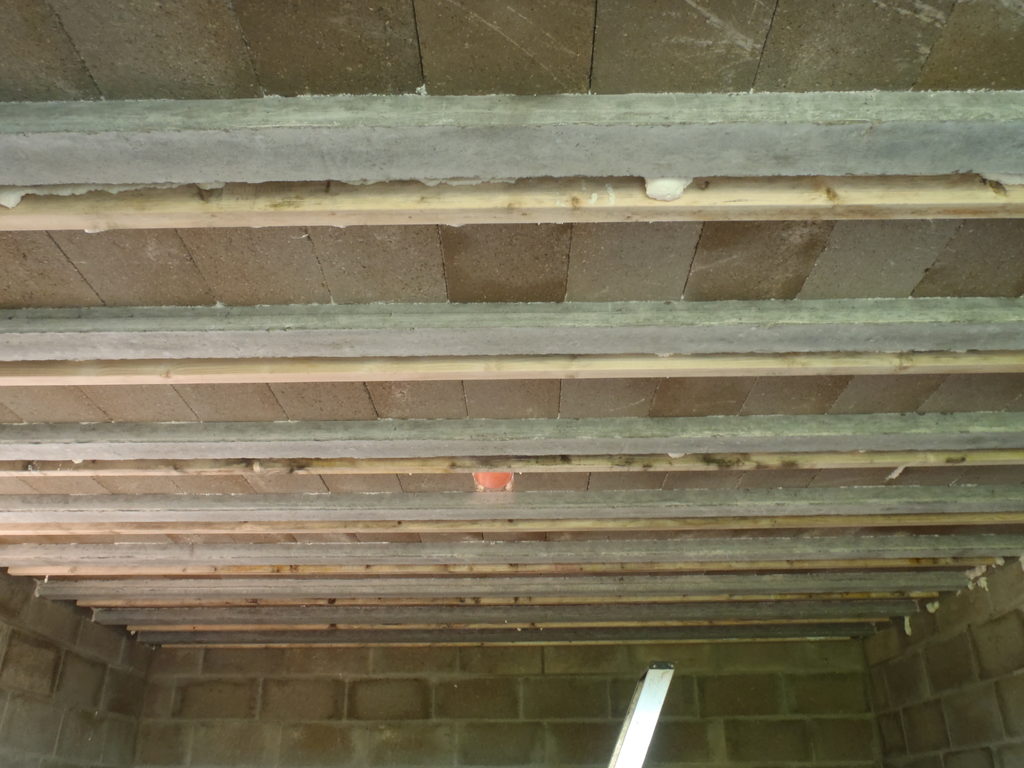
EntRoom-Ceiling-support-battens-

EntRoom-Ceiling-support-battens-glued
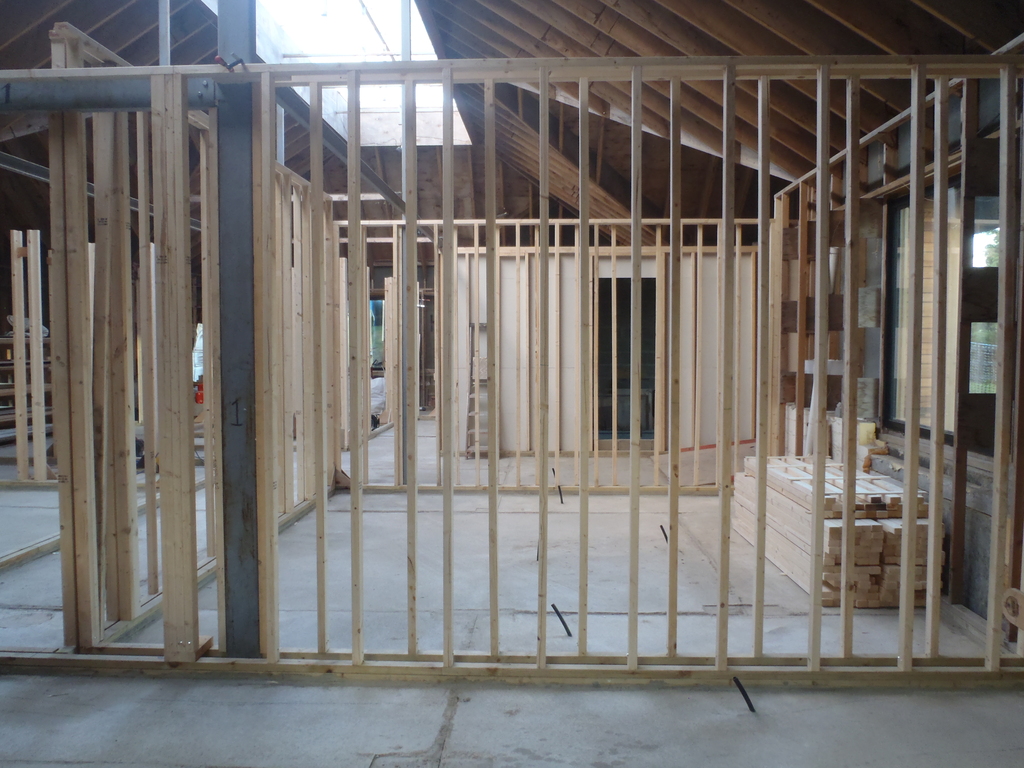
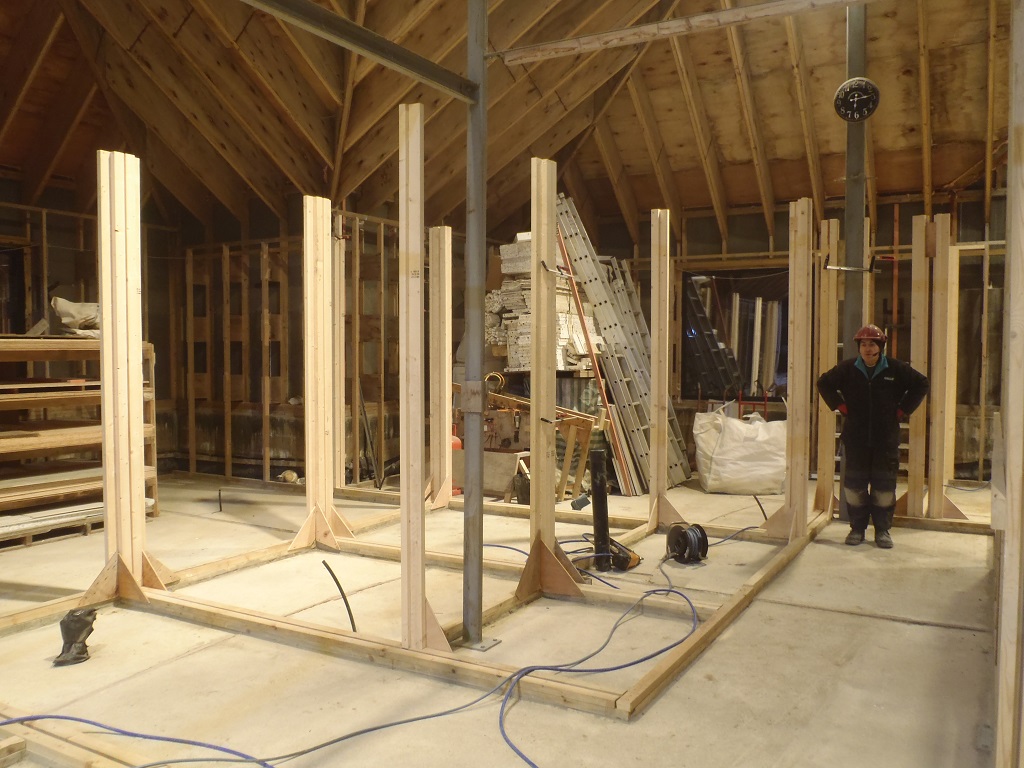
So in just over three weeks, we constructed a complete concrete shell from start to finish! Not Bad! And it took only a little bit longer to build the wooden framework that surrounds the whole room. Very nice to see that all complete.
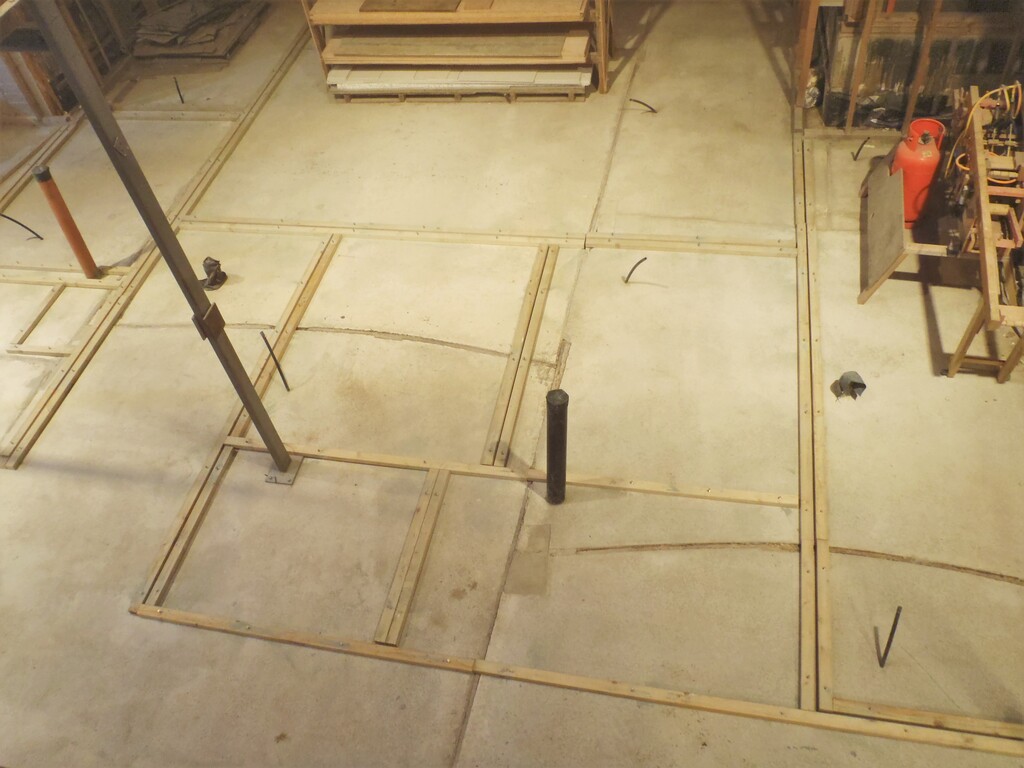
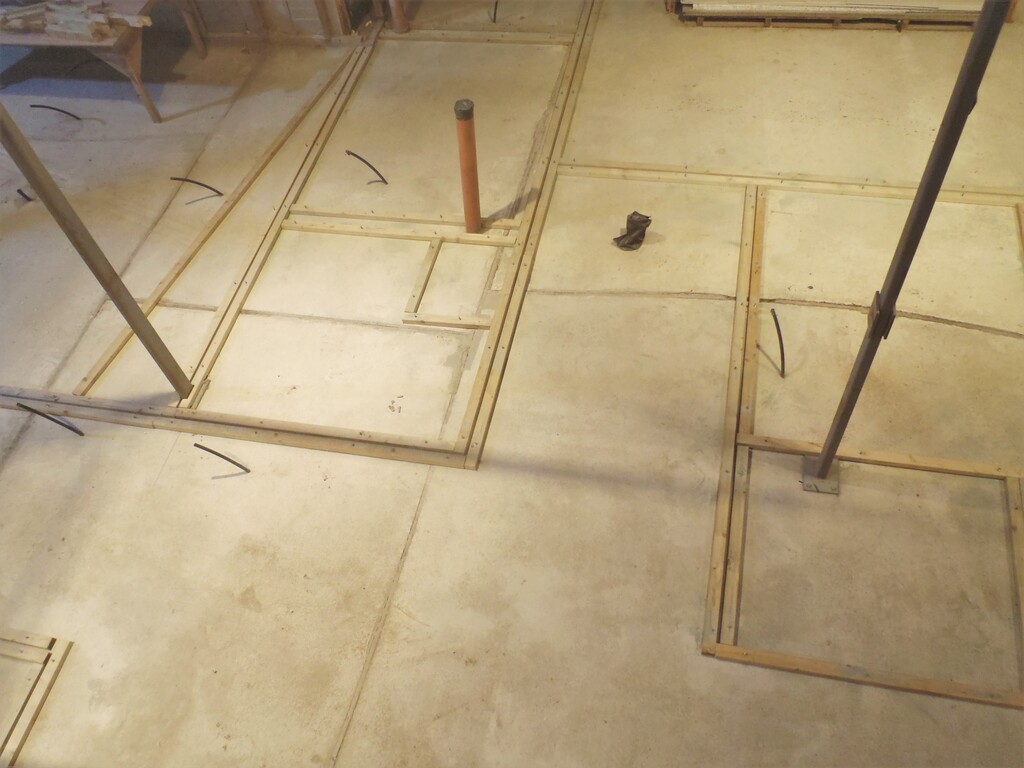
The next job is to start bedding down the footplate (double layer of treated CLS planks) that makes up rest of the rooms onto the concrete floor.