Author: Shaun

  • Experimental Resurfacing Of Loke Project All Finished

    This week, our neighbour finished off laying out the new surface in our Loke, all filled in with the asphalt recycled material. More compacting was required and the heavier petrol driven compactor was employed to help drive the material further into the cells of the grid modules and now, it is much tighter and more solid.

    Experimental Resurfacing Of Loke Project All Finished

    End-of-the-loke-grids-March-2021

    Experimental Resurfacing Of Loke Project All Finished

    Loke-resurfaced-March-2021-1

    Experimental Resurfacing Of Loke Project All Finished

    Loke-resurfaced-March-2021-2


    We had a bit of left-over from the last order, so the excess was spread further down and around our own entrance way, raising it up a little bit but we still got a channel down the middle to help guide any rain water to the bottom and kept away from our two houses.
    The section completed was about twenty-five metres long and it costs about £1200 So to complete the rest of the 136metre Loke would be in the range of £6500
    We are also exploring the possibility of putting down artificial grass along the middle strip, to give it a slash of bright colour, plus also maybe using pale coloured sand or small stones to compact into the surface too.

  • Ground Floor Walls Being Filled with Recycled Polyurethane Foam Boards

    During the last two weeks, starting last Thursday 4th March and on several days, interspersed with other tasks, we have been filling up the ground floor outer walls with approximately 200mm thick of polyurethane foam “seconds”. We hauled out our slicing bench table from its storage corner and connected up the dust extractor vacuum machine and proceeded to slice up all the various pieces of the PU foam boards, all random in thicknesses and sizes as well as having different coverings (most were foiled coated paper but some were glass-fibre impregnated ones). We resumed clockwise around the building, starting at the Front Door and sliced the foam to fit precisely between the wall legs. We also used spray PU foam to help stick everything together and fill in the vertical gaps, to ensure that we had a air-tight block of insulation.
    One of those other tasks, was to build a Homemade Foam Board Shredder so we can tidy up the rubbish we have generated and will continue to do so.
    We have finished the “C”, “B”, the long “A” section and turned onto the “P” wall and now have reach all the way to the far corner of the Great Room and its Patio Window. We cannot go any further because we got our CLS timber storage located here with the high shelf with other lengths of timber planks resting on it. We will skip that bit and move around to continue on the “N” and “M” walls (part of Bedroom 1) and then around into the “L” and “J” and so on.

    Ground Floor Walls Being Filled with Recycled Polyurethane Foam Boards

    Putting-foam-into-the-walls-1

    Ground Floor Walls Being Filled with Recycled Polyurethane Foam Boards

    Putting-foam-into-the-walls-2

    Ground Floor Walls Being Filled with Recycled Polyurethane Foam Boards

    Putting-foam-into-the-walls-3

    Ground Floor Walls Being Filled with Recycled Polyurethane Foam Boards

    Putting-foam-into-the-walls-4


  • The Loke Scraped, Hardcore Laid and First section of Grid Completed with Crushed Recycled Asphalt

    On several days over the previous couple of weeks, our Loke has been scraped down the middle to remove 2.5metres wide strip of old surface and grass plus dirt. That was taken away by a bloke with a grabber in his 15ton lorry.
    We then buried a pipe under the middle of the loke to act as a conduit for any future needs.

    The Loke Scraped, Hardcore Laid and First section of Grid Completed with Crushed Recycled Asphalt

    Loke-scraped-clean

    The Loke Scraped, Hardcore Laid and First section of Grid Completed with Crushed Recycled Asphalt

    Conduit-placed


    Then twelve tons of crushed concrete arrived and distributed into the 25 metre strip, levelled and crushed down using our mini-digger.
    This week, we had a delivery of the recycled crushed asphalt material, just 4 tons to start off with. Then, ourselves with our neighbour, did another scraping using a wide CLS timber with pieces of plywood screwed to it to form the careful shape we want to finish off, guided by a taut string and smooth out the rectangular in front of the neighbour’s first gateway. The special shape is with the two parallel tracks to have a slight angle to them so any rainwater will be encouraged to flow into the centre channel and then flow down the Loke without spilling into anyone’s garden.
    The Loke Scraped, Hardcore Laid and First section of Grid Completed with Crushed Recycled Asphalt

    Loke-after-hardcore-and-first-grids


    Then a grid of twelve by five modules was clipped together and positioned 500mm away from the gate posts. The small gap was filled in with additional line of these plastic 40mm high grid modules, but with their width trimmed down to fit. The whole area was then loaded up with the crushed asphalt and then raked all over, with plenty of thumping using our lighter-weighted electric compacter to vibrate the material to settle down into each little cells (each measuring just about 70mm square and seven of these cells on a side to form the overall 500mm grid modules).
    The Loke Scraped, Hardcore Laid and First section of Grid Completed with Crushed Recycled Asphalt

    First-set-of-grid-placed-and-filled


    We will go back in a few days time to put down more “fines” to top up any cells that has settled more than others. The next task is to form the two tracks coming down the Loke, connected to this initial finished area and this will take us to the second rectangular section in front of the 2nd gateway. We will have to order more recycled asphalt material, probably another 4 tons.

  • Homemade Foam Board Shredder

    Today, we thought we had better build a quick “Home-made” foam board shredder so we can deal with all the millions of pieces of cut-offs we will be generating from slicing down the large boards. Many has unformed bumpy edges and other defects plus also there will be narrow strips left-over pieces as well. We always planned to “throw” this rubbish away under our suspended ground floor (we got 400mm of space to fill with insulation) but the random nature of all these cut-offs meant that it would be very awkward and annoying to try to get them laying down flat and reasonably efficiently connected together to form a good insulated barrier against the concrete foundations so we considered that it would be so much easier to shred this rubbish up and just pour it in like fluffy balls.
    So we took our garden cultivator which had eight rotating blades, unbolted the handles and wheels, screwed together a new framework to bolt the motor and its blades to and then build a box around the whole lot to allow a large “ton” bag to hang underneath to collect the shredding.

    Homemade Foam Board Shredder

    Foam-shredder-Mk1-1

    Homemade Foam Board Shredder

    Foam-shredder-Mk1-2

    Homemade Foam Board Shredder

    Foam-shredder-Mk1-3


    We have to make some improvements as our tests revealed that the foam would get trapped in between the blades so that is the next task when we have a moment spare.

  • Arrival of Eleven Pallets of Timber Sheet Materials

    On a few days from Friday 5th March to Thursday 11th March, we had the delivery of a load of sheet wood material of various types. All the material is earmarked for our internal structure of our house, doing walls and floors and a little bit of ceiling as well. We ordered it all now because there is several price increases coming because the world of timber is becoming too popular in building houses and high rises using wood instead of bricks and mortar? couldn’t they wait another year for us to get ours done first?? Phew!
    So we ordered the following sheet materials ..

    • 280 sheets of 18mm OSB 3 boards
    •  30 sheets of 11mm OSB 3 boards
    • 170 sheets of 22mm thick flooring grade ‘Tongue and Groove’ chipboards
    • 150 sheets of 19mm thick flooring grade ‘Tongue and Groove’ chipboard

    That is about 15 tons of wood stuff!
    We organised the bottom of our site to store these eleven pallets into four main stacks, each one is covered over with tarpaulin. We had already several tarpaulin sheets but these were lightweight ones and we decided to invest in much heavier duty alternatives, deliberately paying out a premium ‘insurance’ price, to protect our money and our building material while we get on with the other structural jobs that needs to be done first before we can use these sheet materials.
    Approximately, the chipboards will be used first, specifically the 19mm thick ones, to cover the first floor joists when we have finished building the framework on the ground floor and installed the first floor joists. Then once we got all the utility conduits mapped out and inserted, we can nail up the 18mm thick OSB boards to form the walls in all our rooms. Finally, the other thicker chipboards will be used to construct the suspended floors downstairs. The odd 11mm OSB will be used to cover up the roof rafters around in the storage triangular voids up on the first floor to hide away the insulation and rafters to make a neat finish.

    Arrival of Eleven Pallets of Timber Sheet Materials

    Lots-of-sheet-wood

    Arrival of Eleven Pallets of Timber Sheet Materials

    A-wall-of-OSB-6-Tons


    We estimate that we will save about £1000 on the future price increases and we spent about £150 on the better quality tarpaulin for long-term weather protection thus a win-win for us!

  • Insulation PU Foam Seconds Arrives on Forty Pallets!

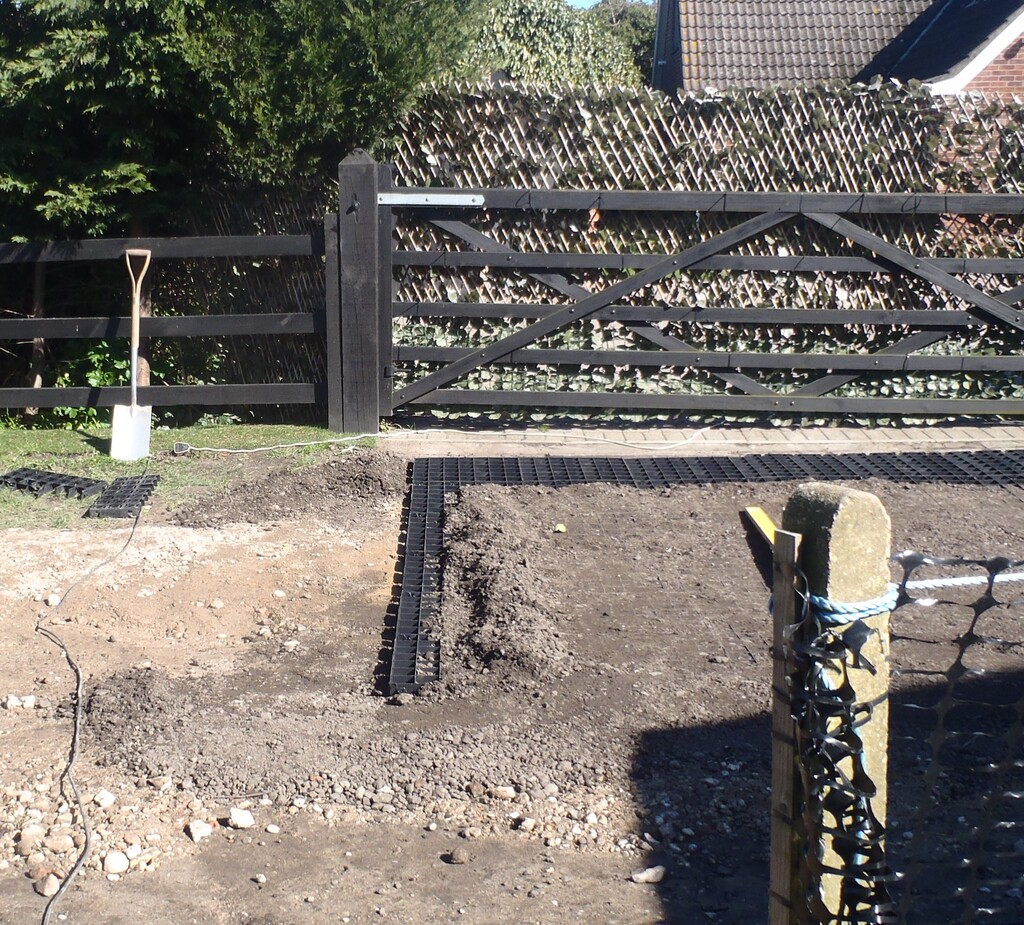
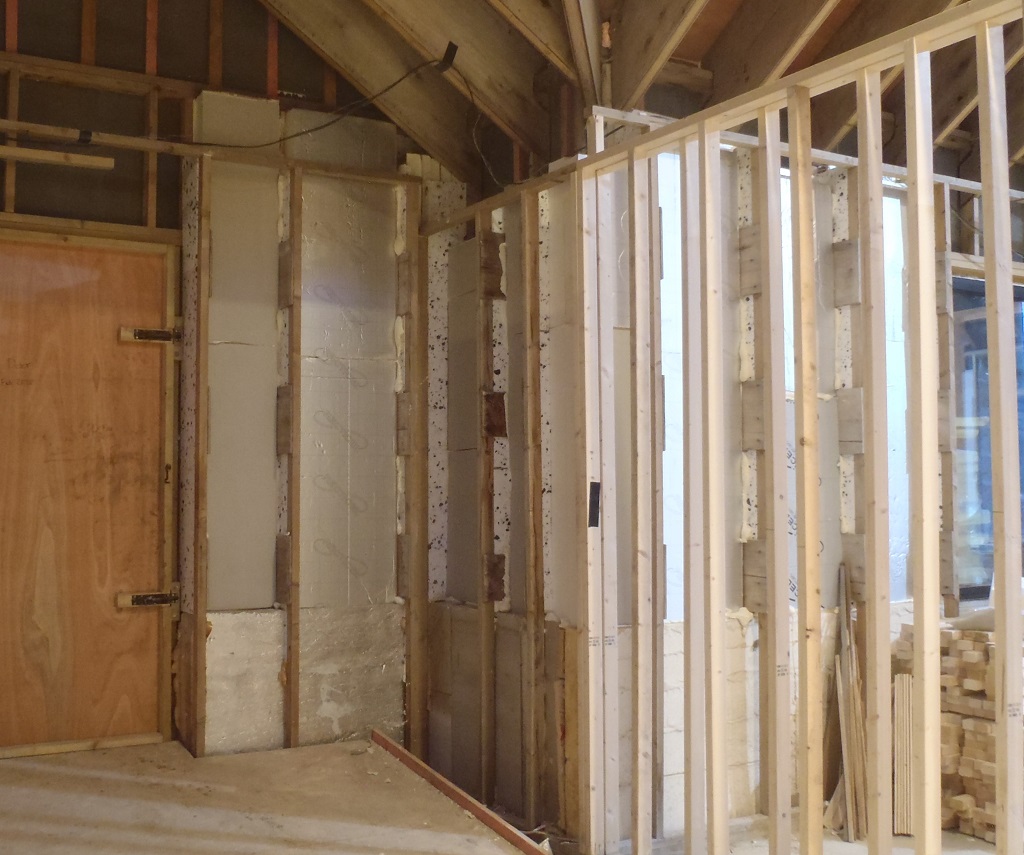
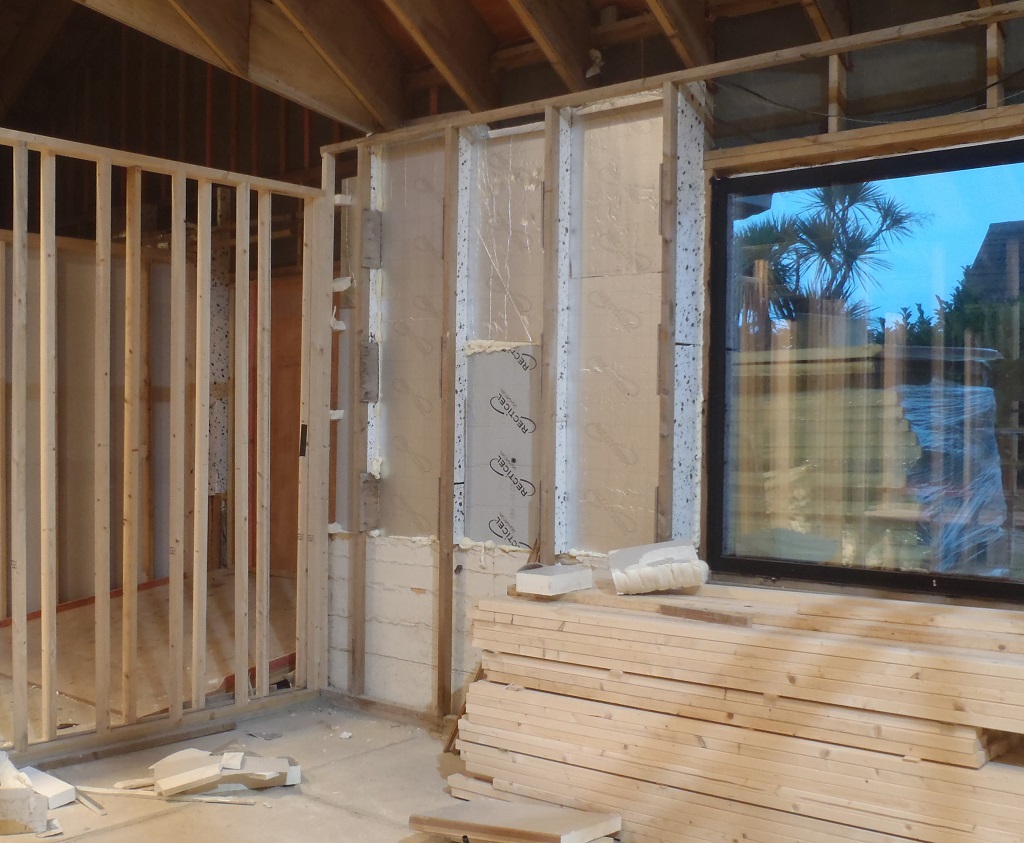
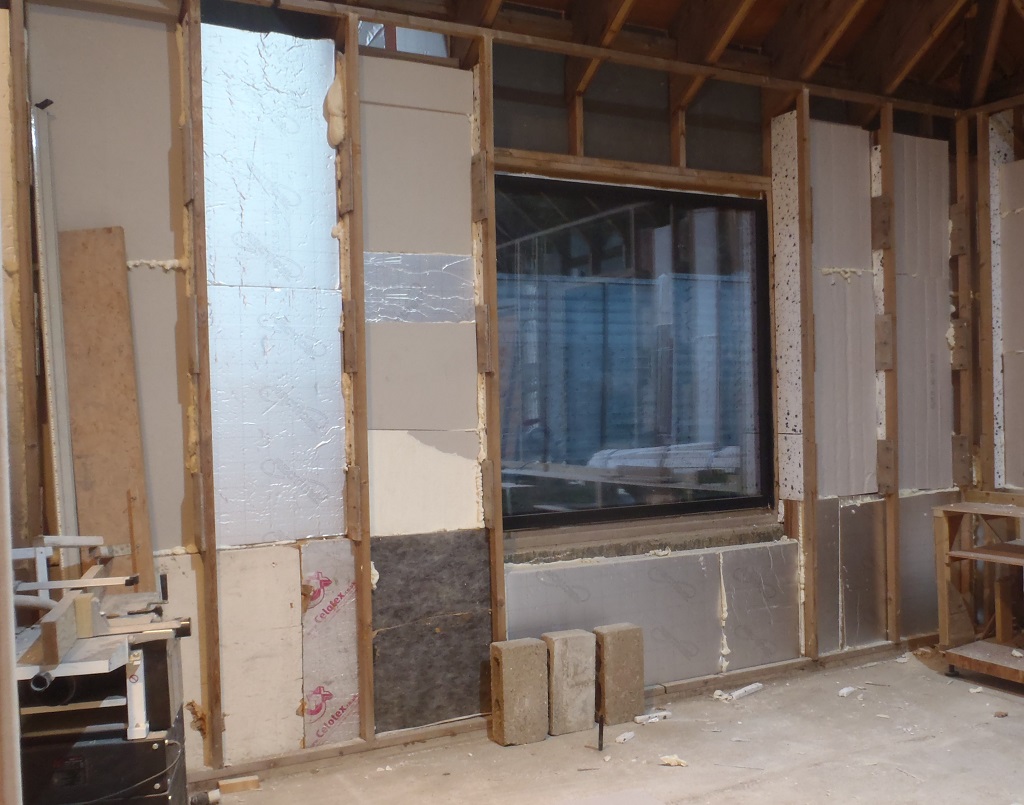
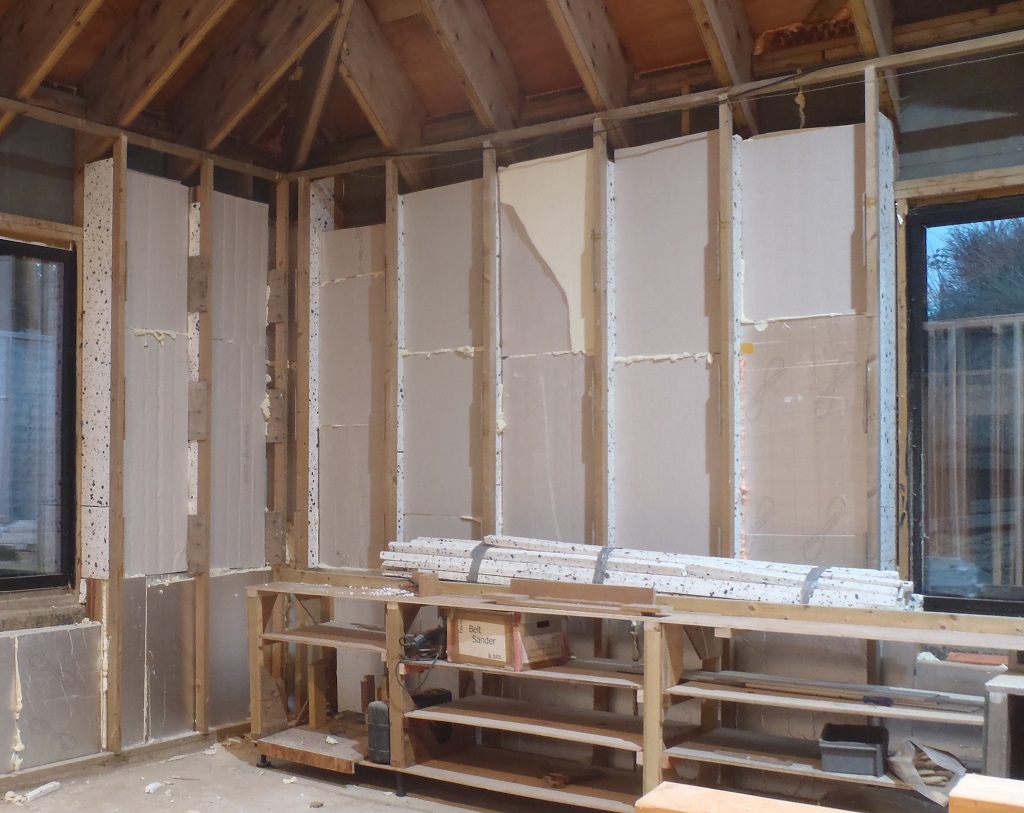
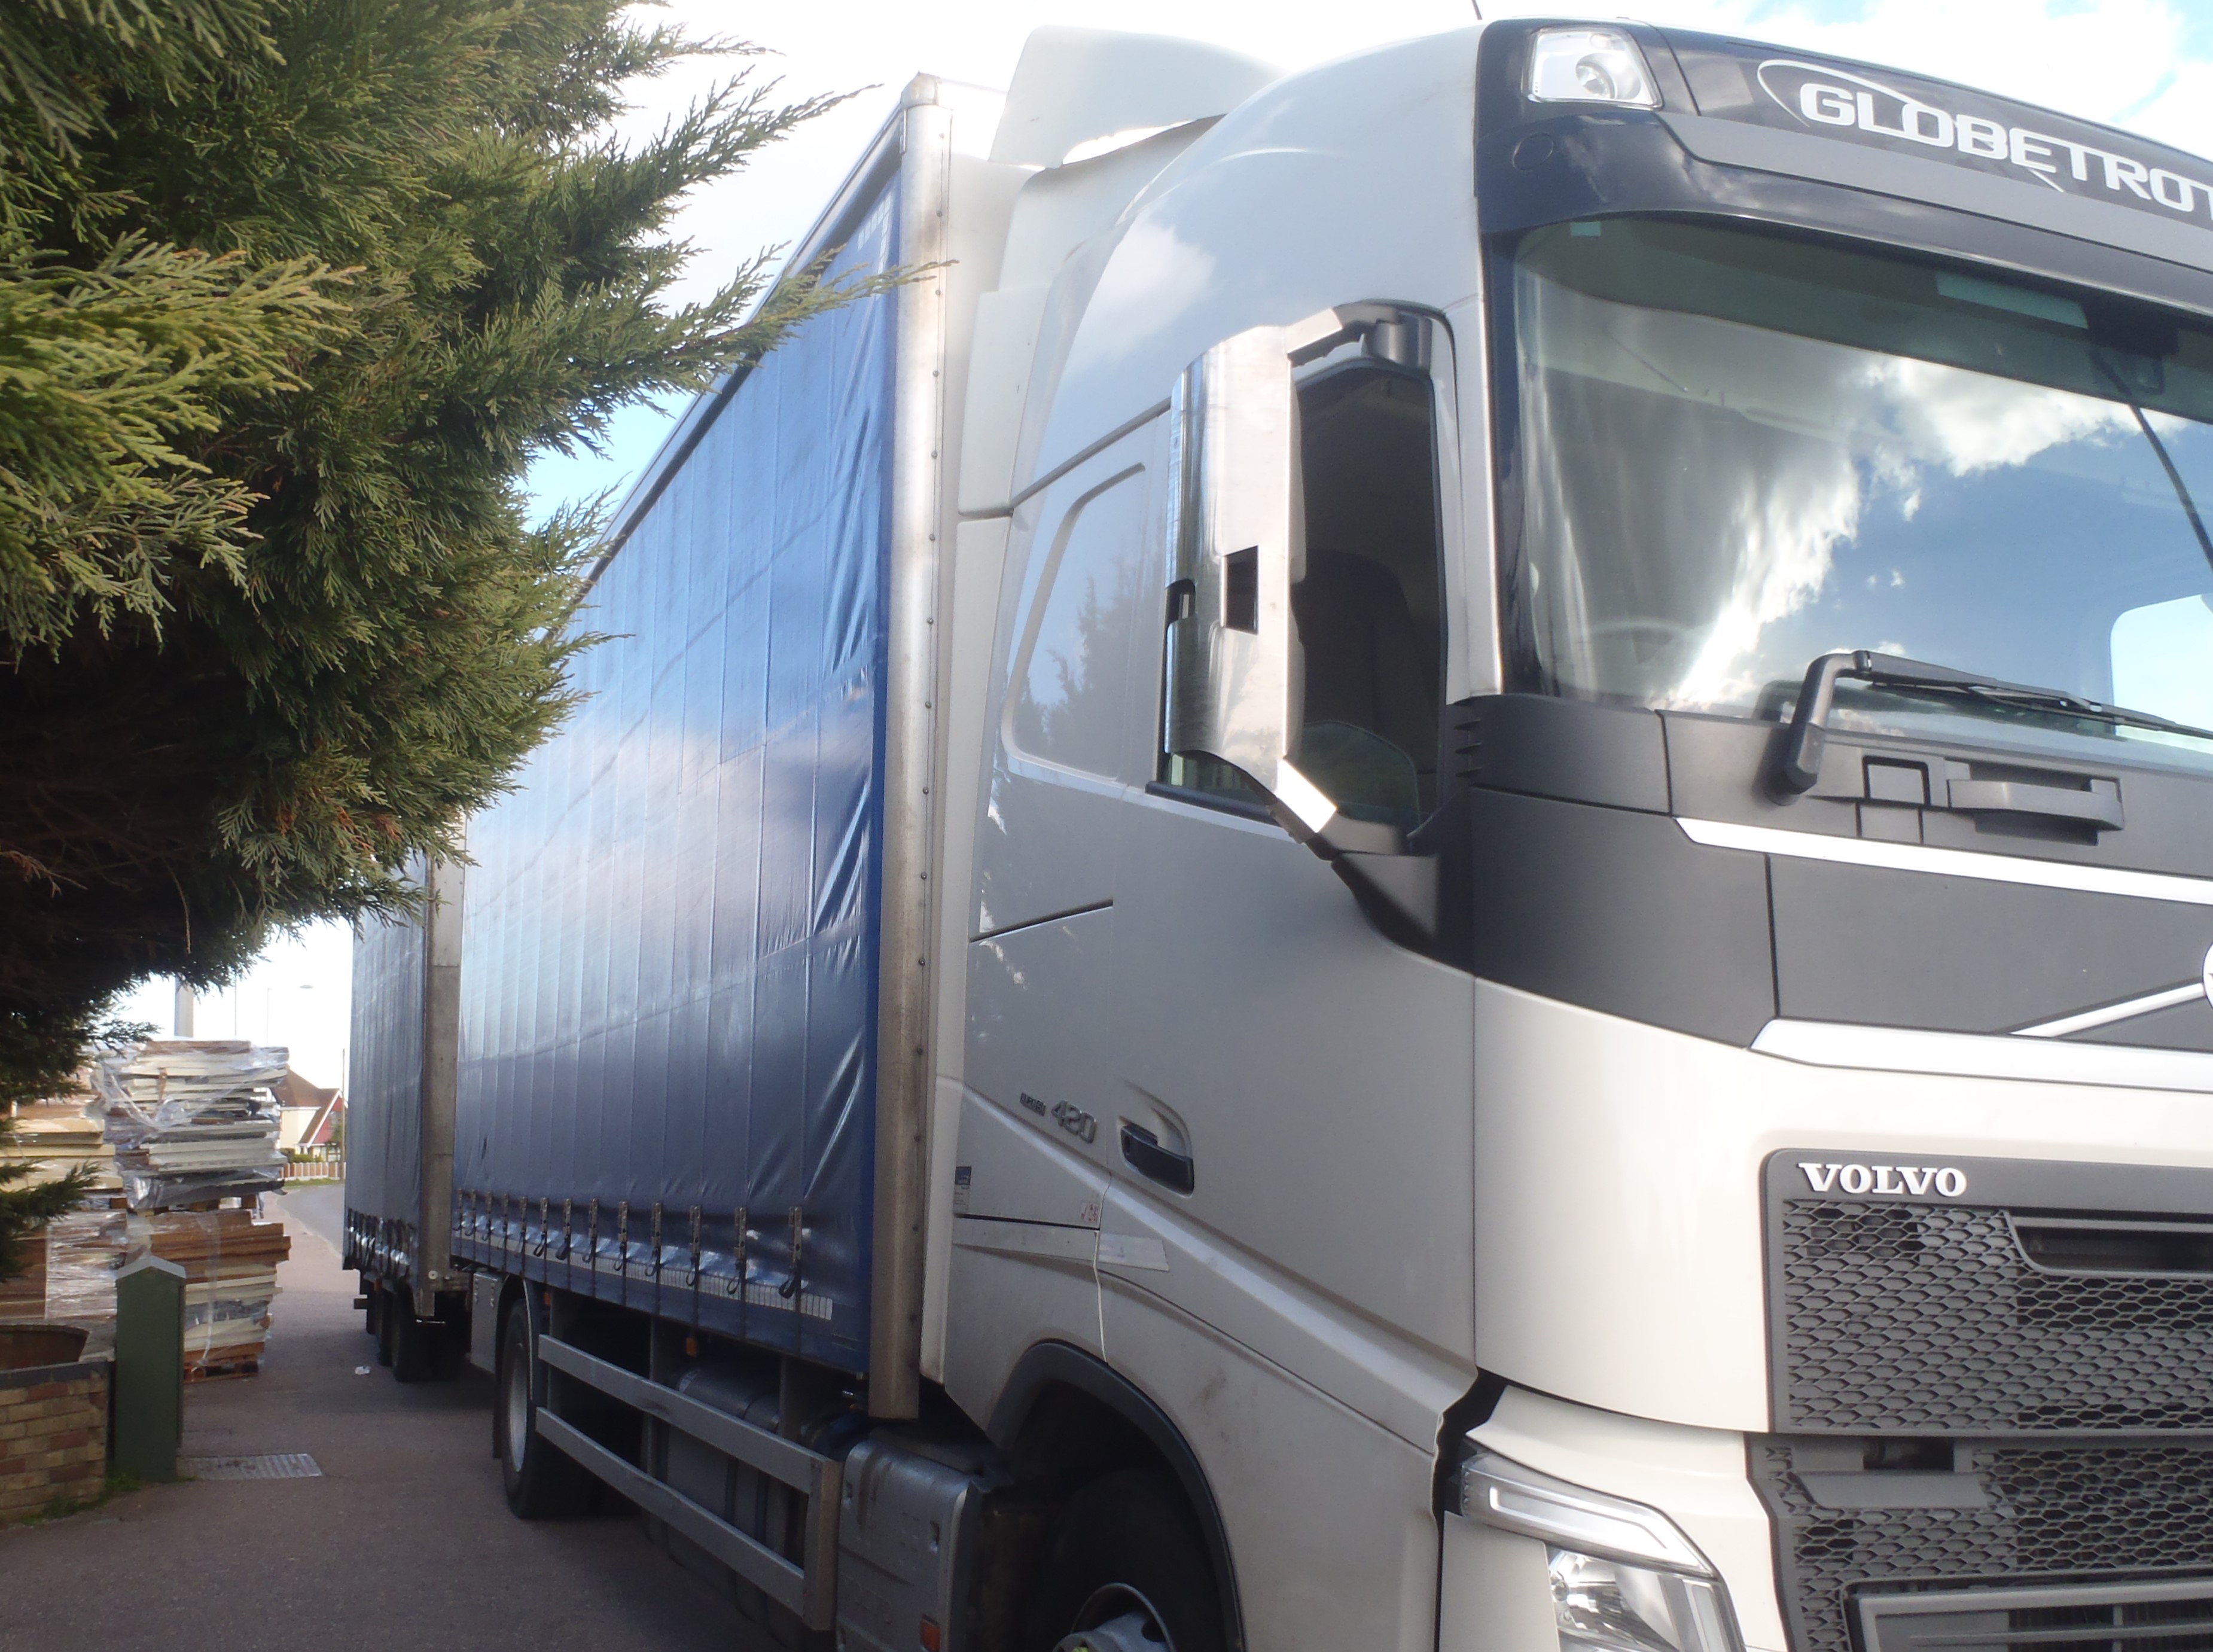
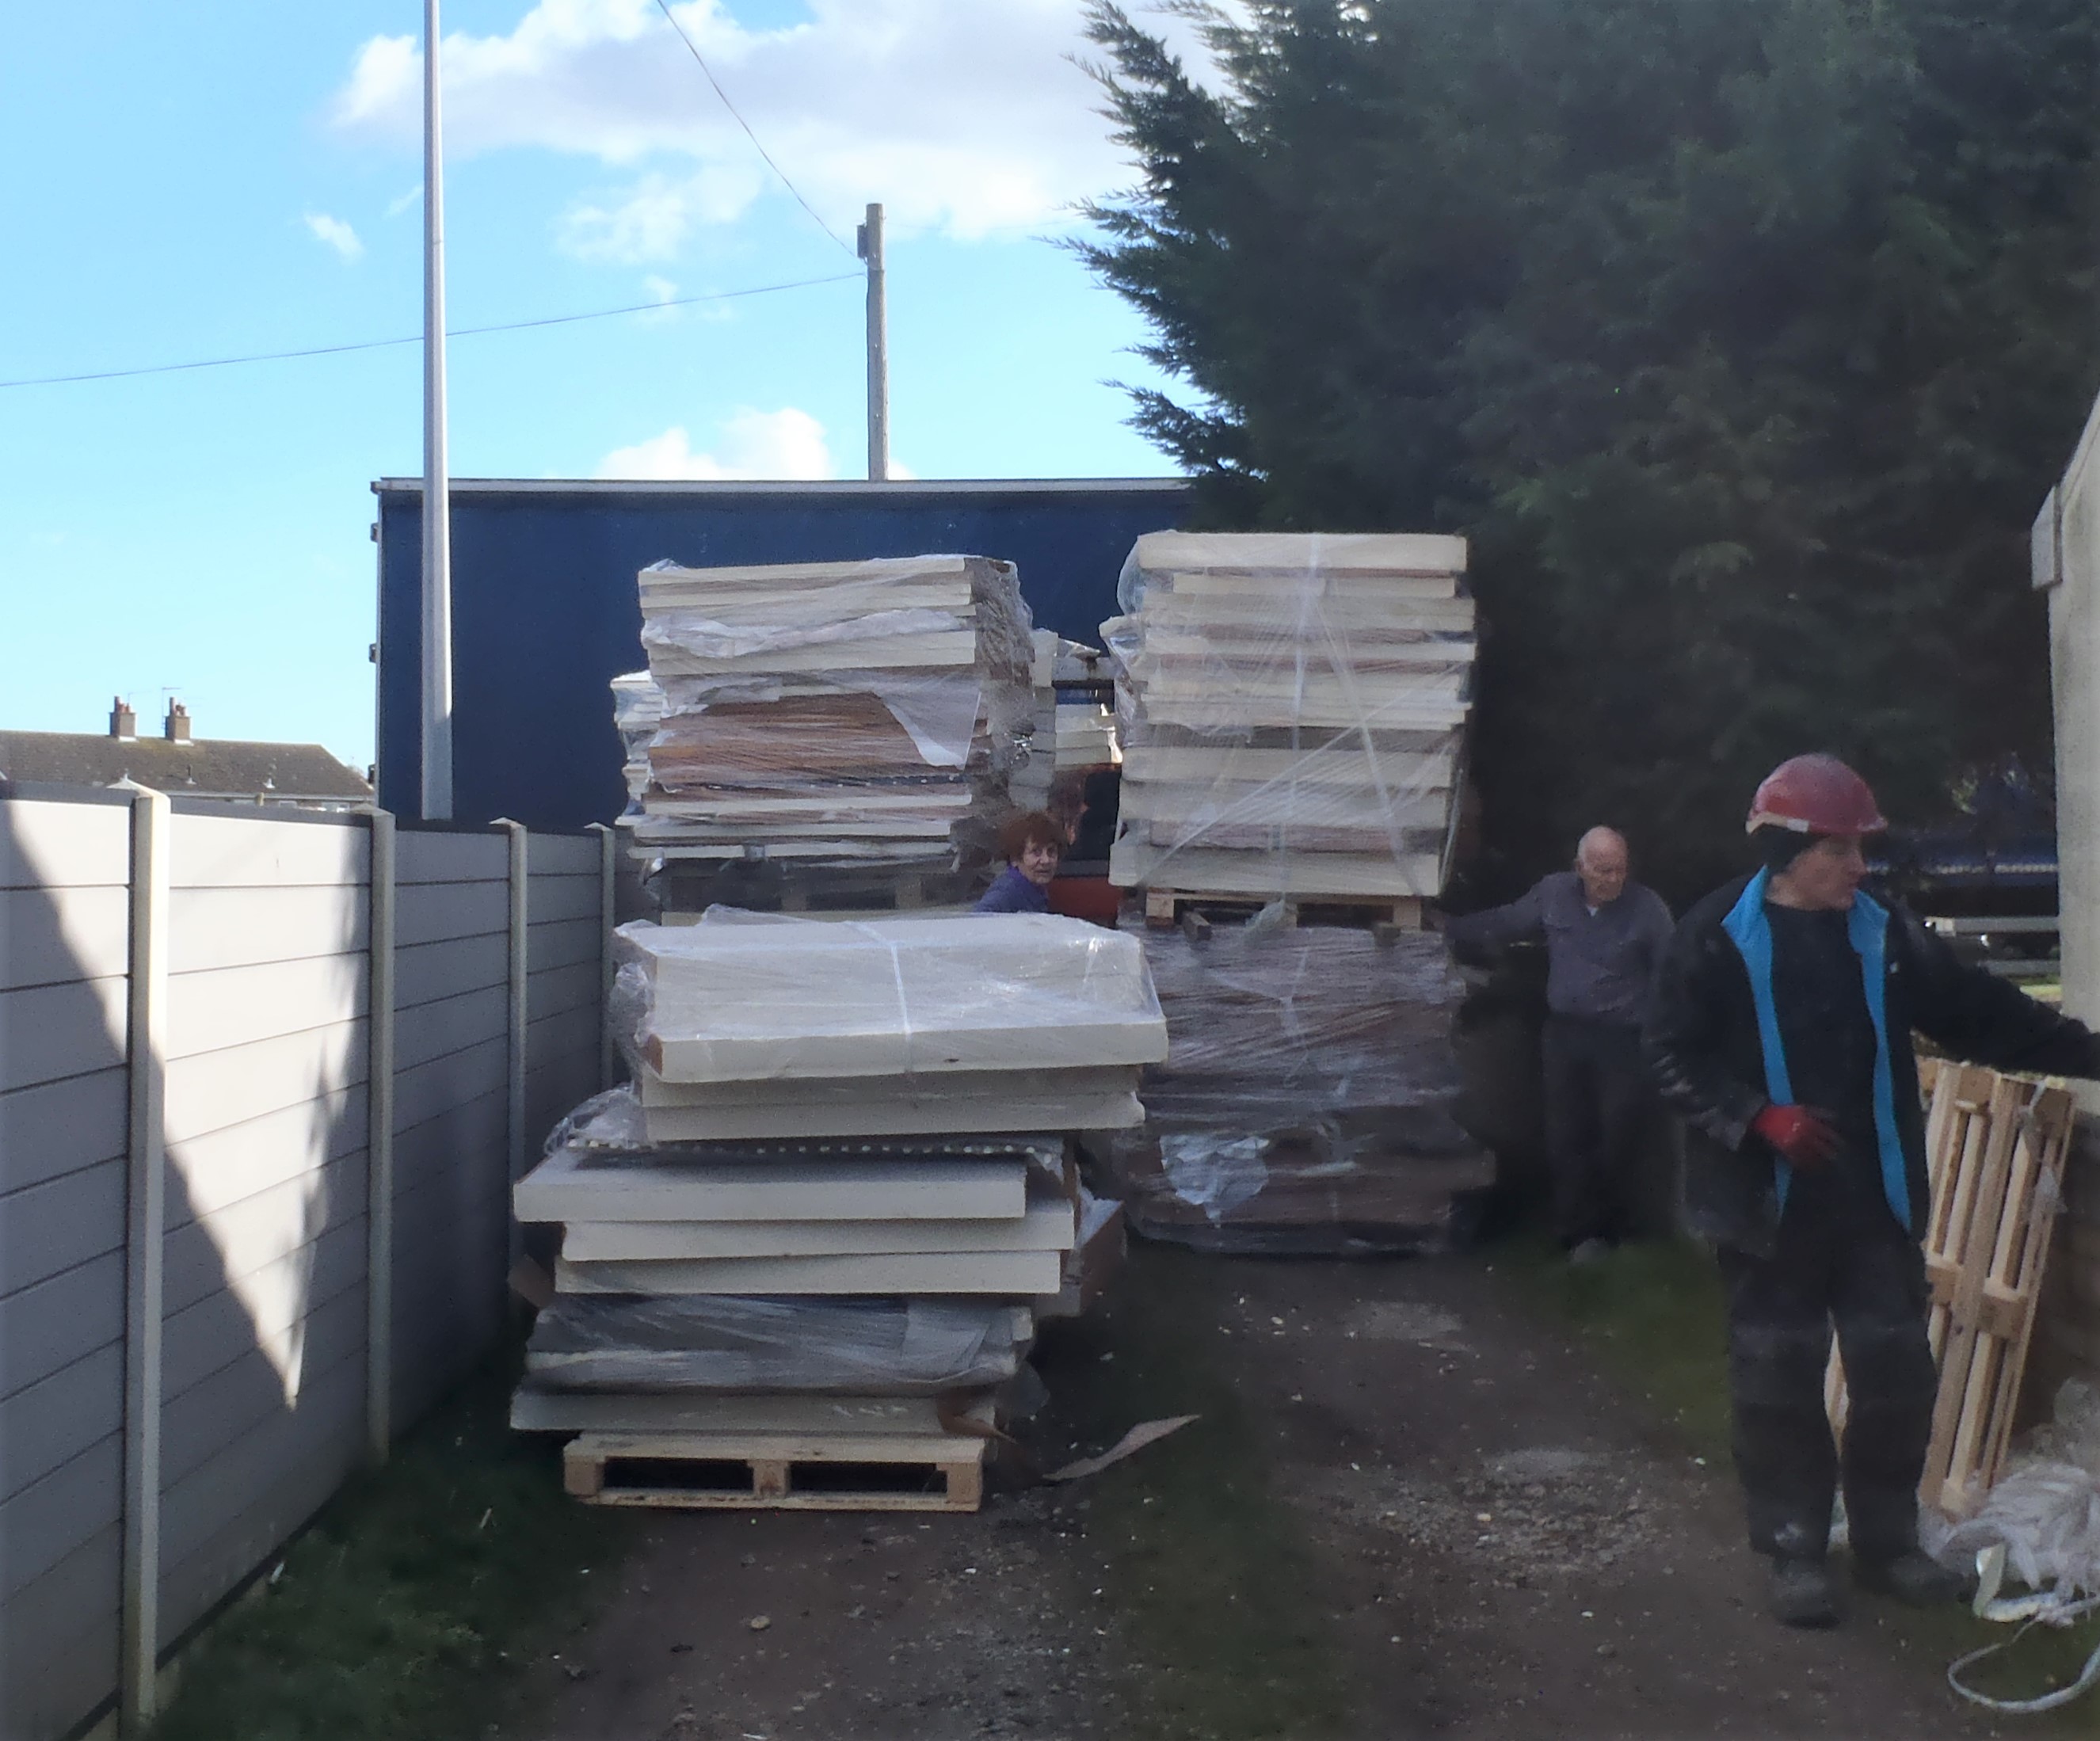
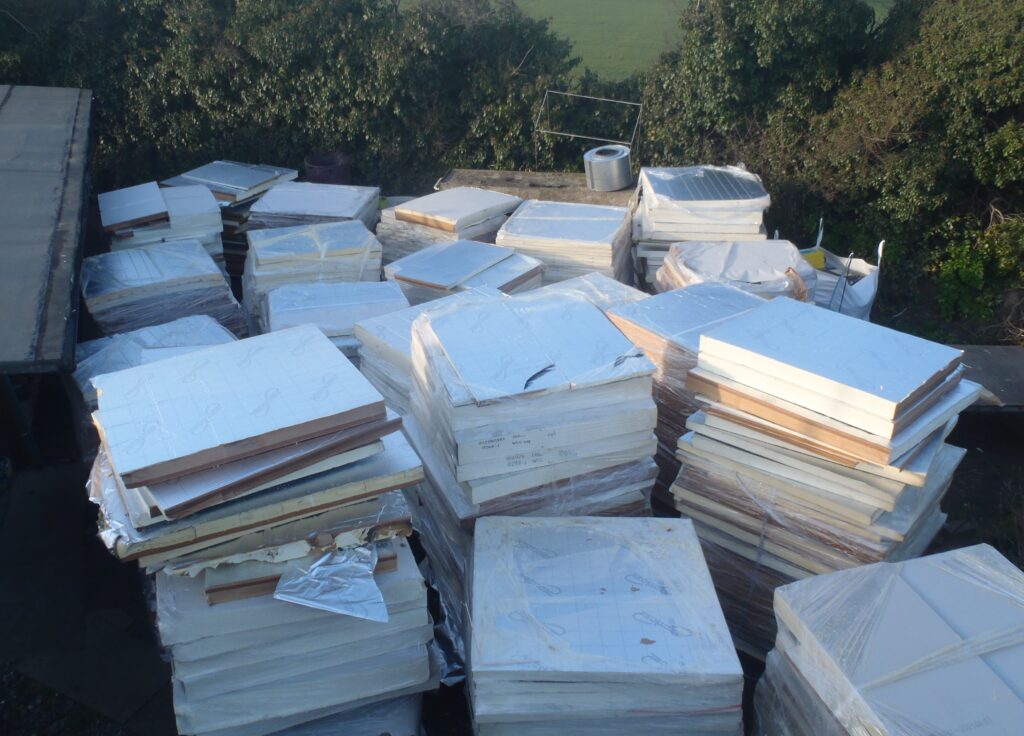
    On Friday, saw the arrival of the huge load of “Seconds” PU foam boards, all the way from South Wales where an outfit takes spoiled foam boards from the nearby factory and processes then and resells them to anyone who wants them. We wanted it all including the bad parts! By buying everything it makes it slightly more expensive than glass wool, nearly twice as expensive but it is so much easier and nicer to handle than the dreaded glass wool! Plus also, for our walls, the rigid boards are much more reliable and holds its shape vertically in the walls, compared with glass wool, especially the deep amount we are aiming for, over 300mm thick and we didn’t want the wool material collapsing under its own weight after a decade or so. So we found this outfit that packets this spoiled PU foam boards. This time, we wanted as much as he had and could fit on the lorry. We got forty pallets, each measuring roughly four feet by 4 feet and 4 feet high. There were 28 pallets loaded into the main part of the lorry, plus an additional 12 pallets loaded on a second trailer linked to the main truck.

    Insulation PU Foam Seconds Arrives on Forty Pallets!

    Insulation-delivery-truck-and-trailer


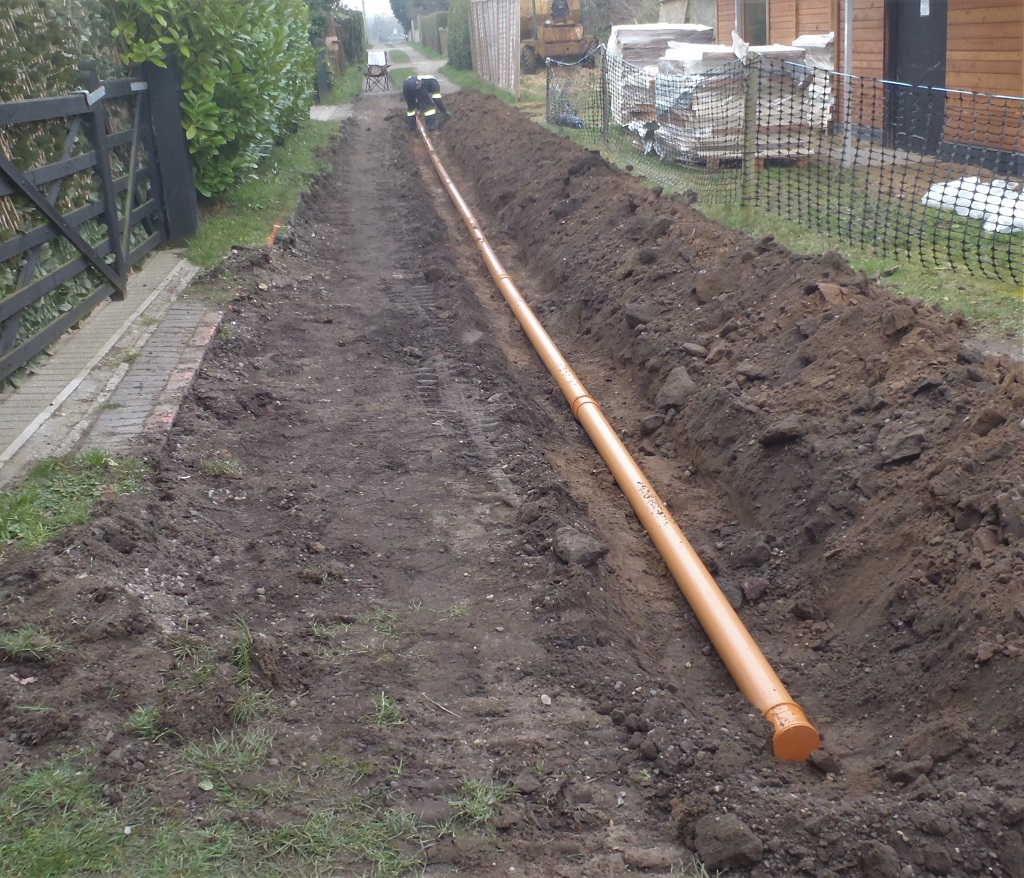
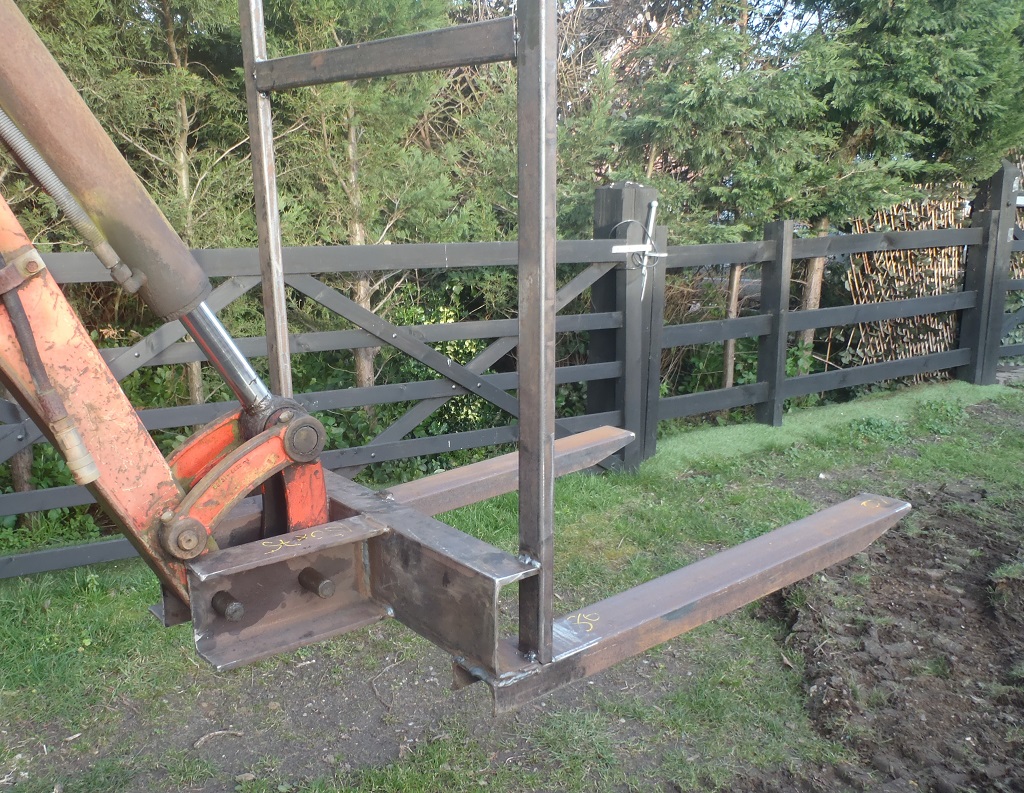
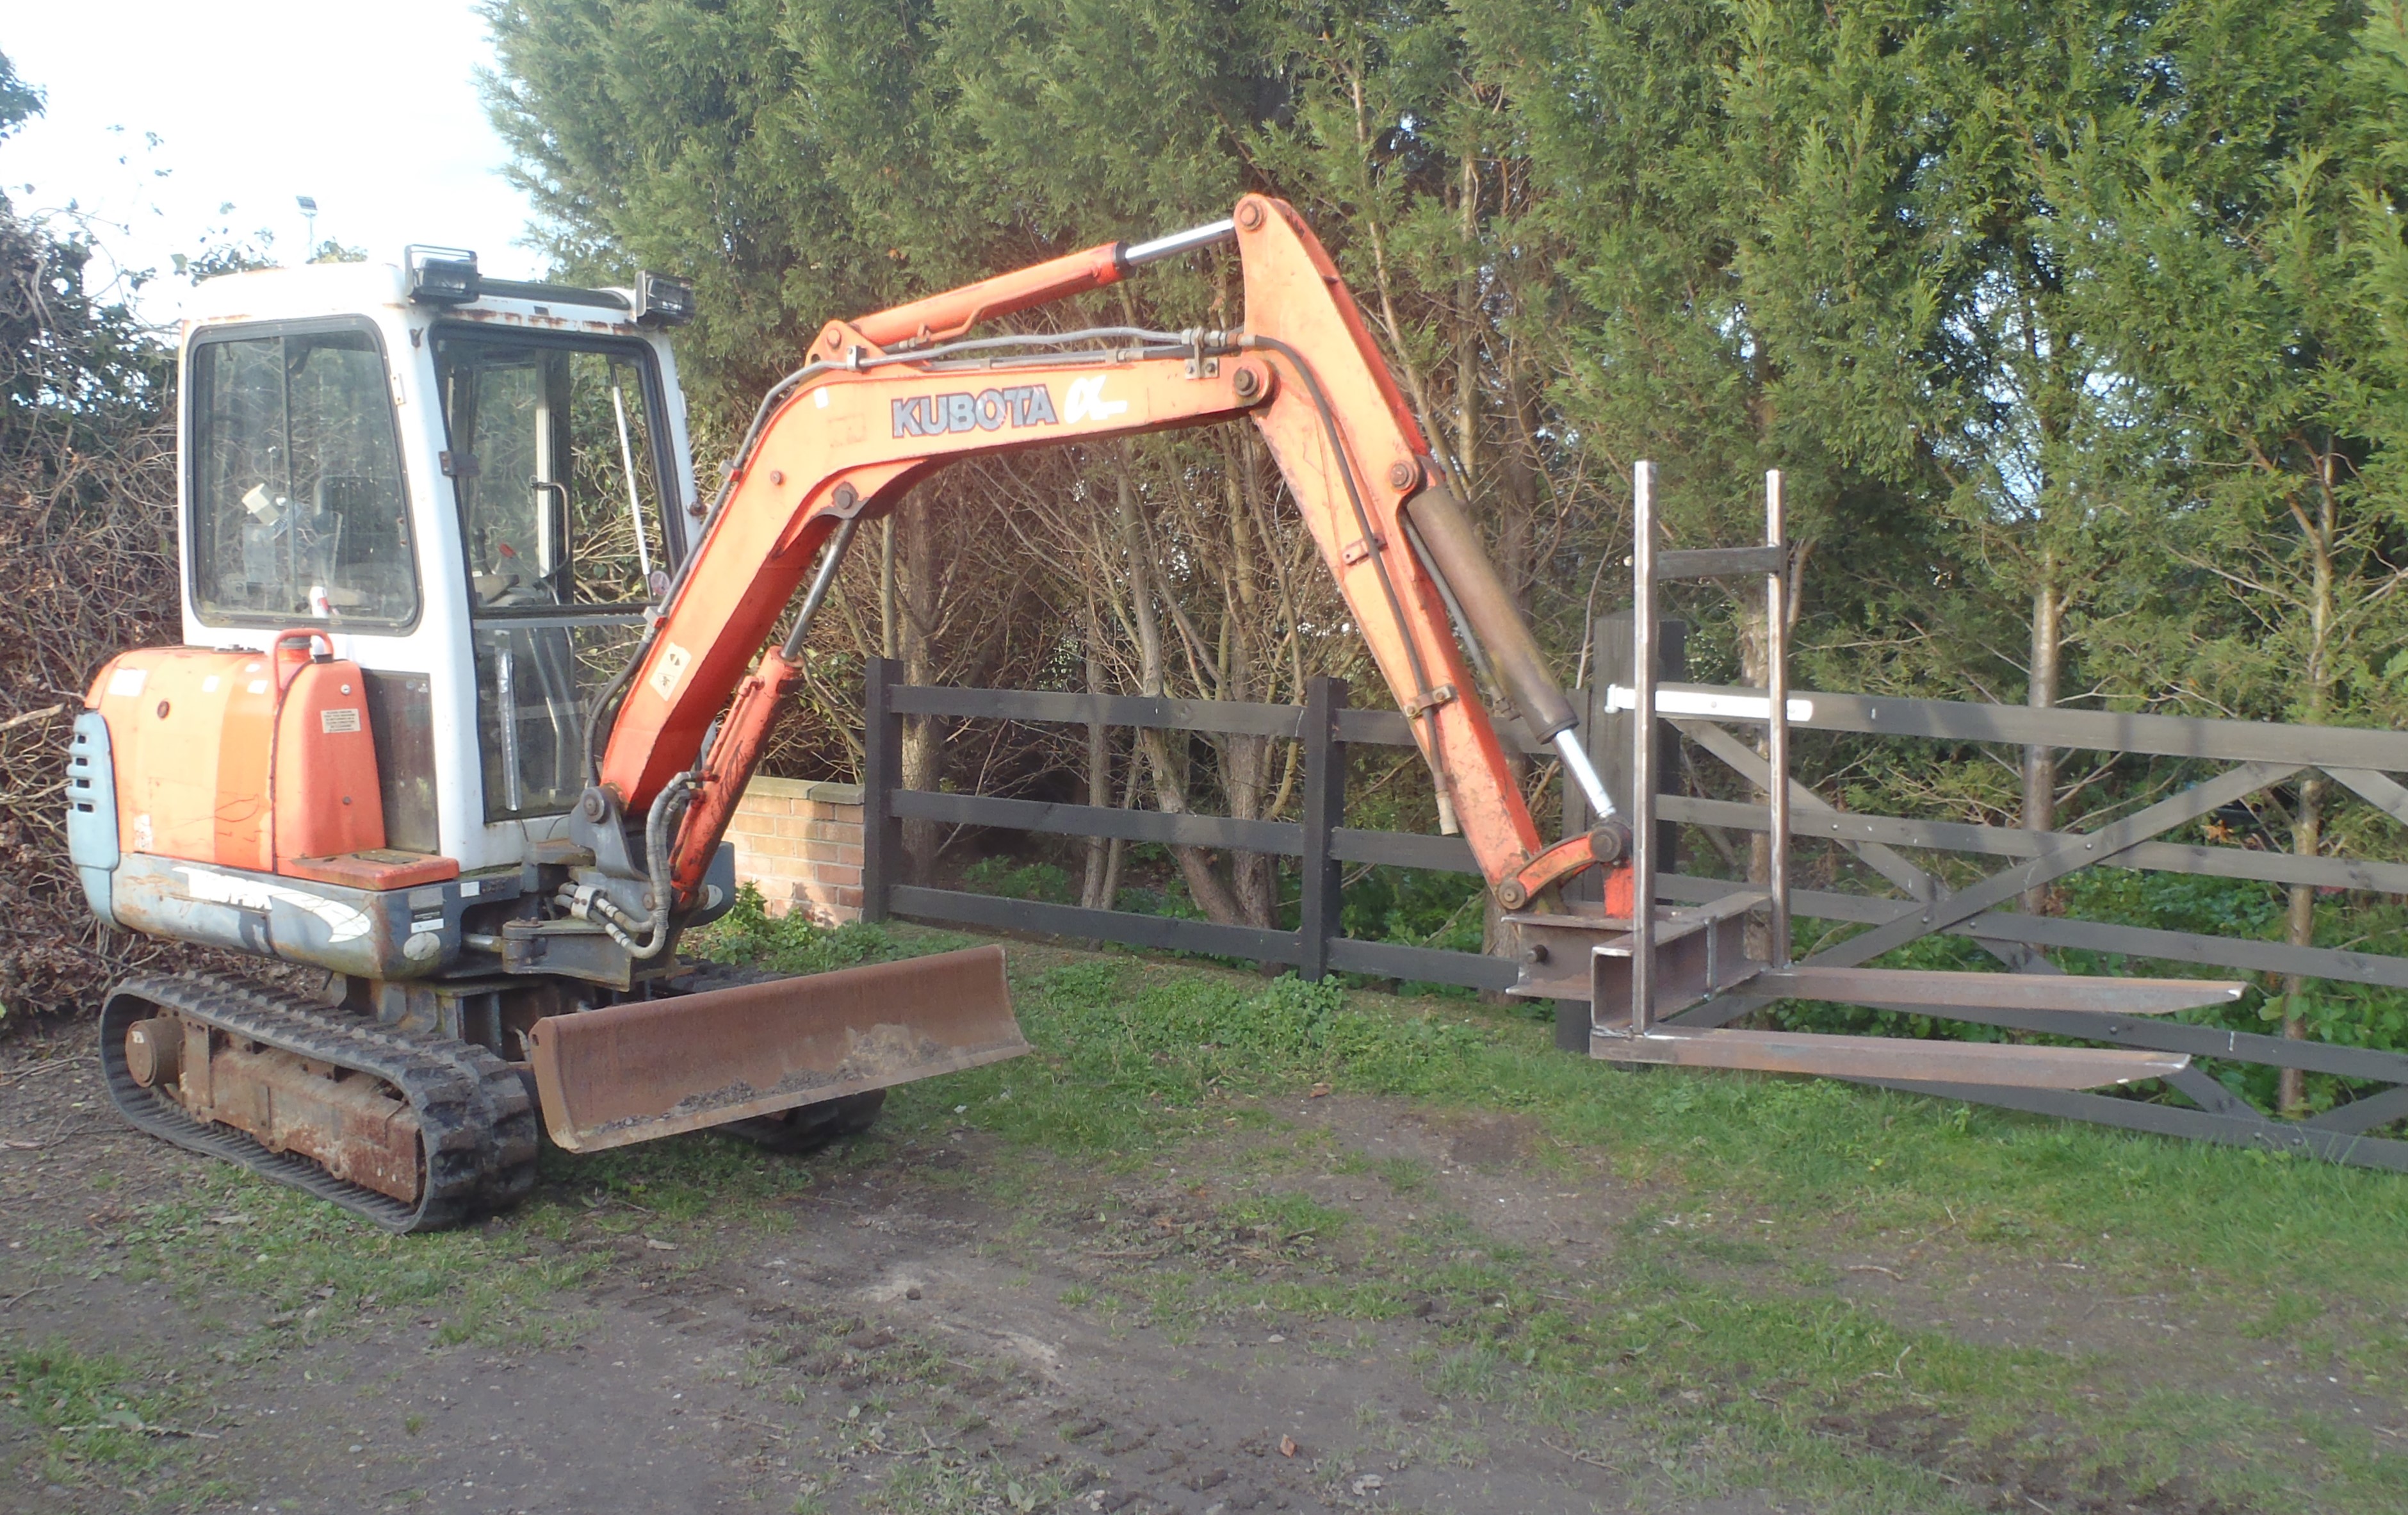
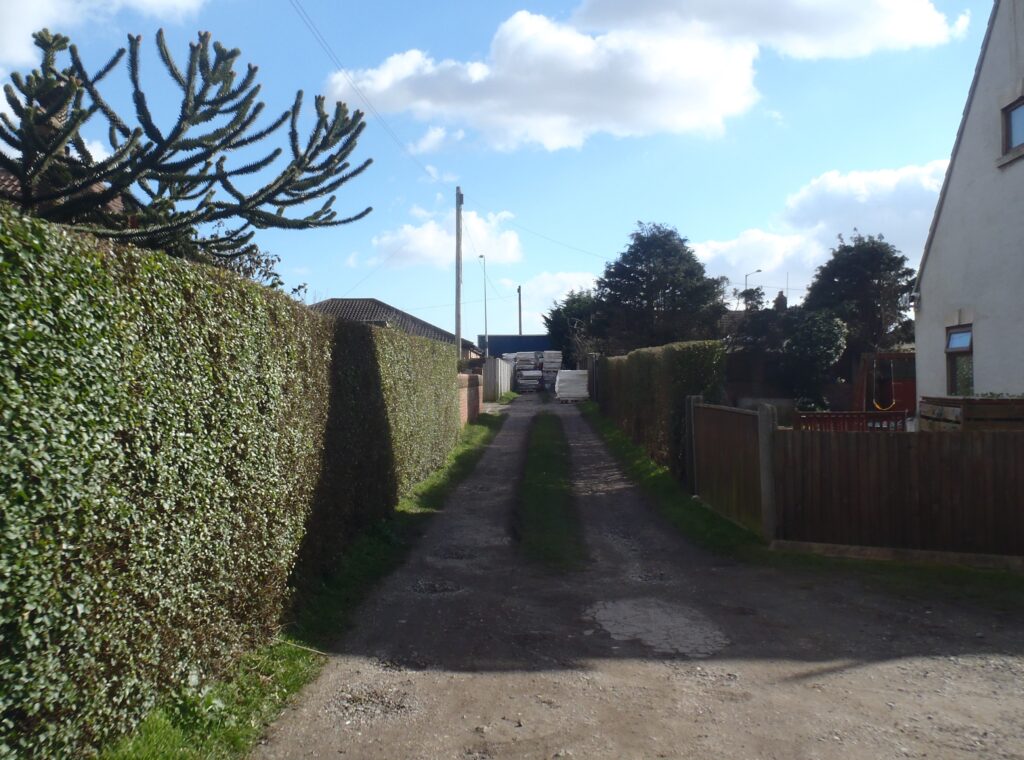
    It was slightly more complicated because the driver didn’t want to drive down our Loke and also didn’t want to abandon his trailer module in a layby up the road (was afraid that it would be blocked in). So we took our mini-digger with our new Fork Lift Attachment for our Mini-Digger up the Loke to the main Beccles Road and unloaded all the pallets up there and transported them down on our large flatbed trolley. We had the fabulous assistance from all our neighbours, helping to load two pallets on the trolley and getting that down to our property. That was twenty separate trips in all! Phew!

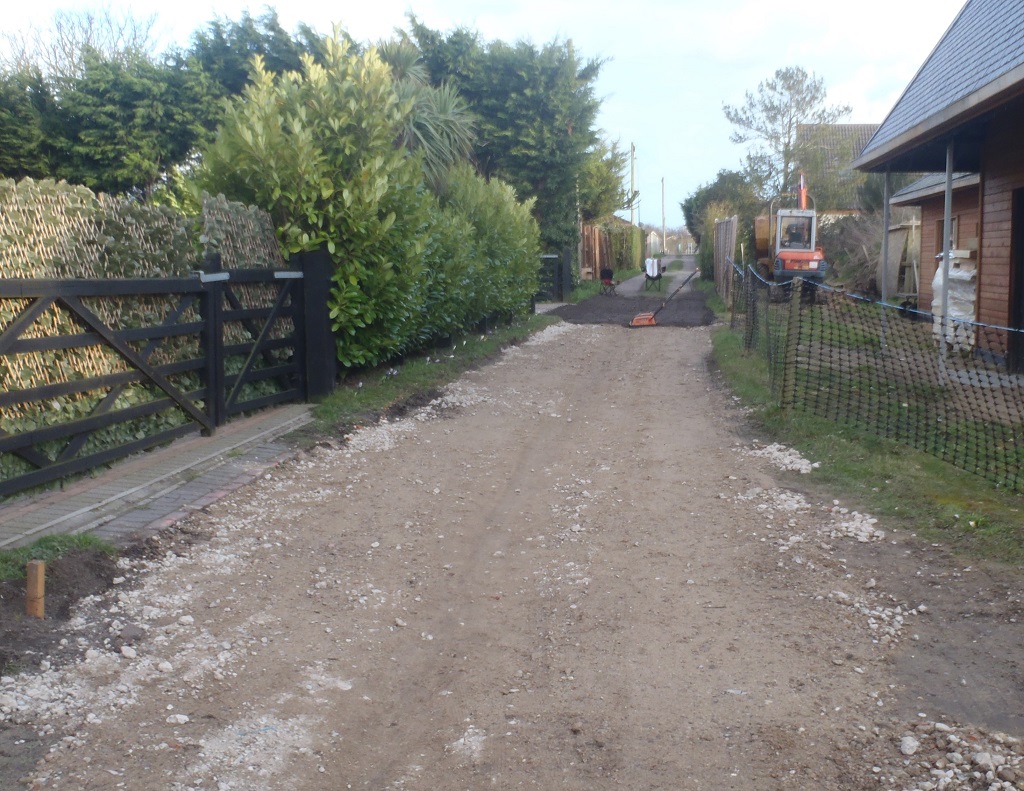
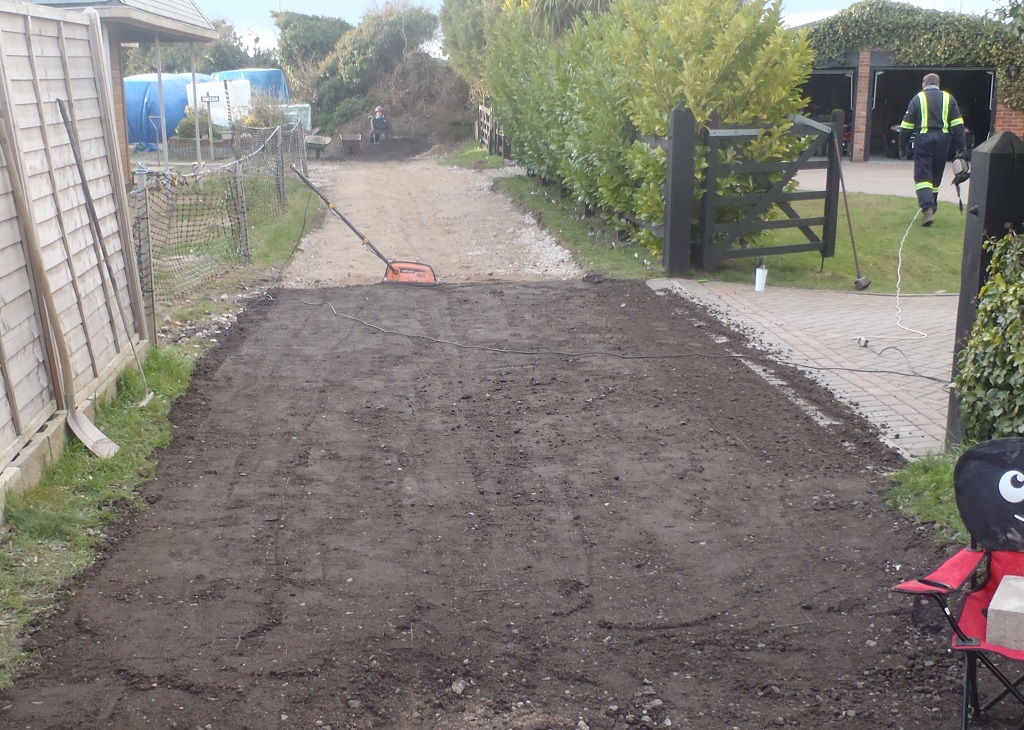
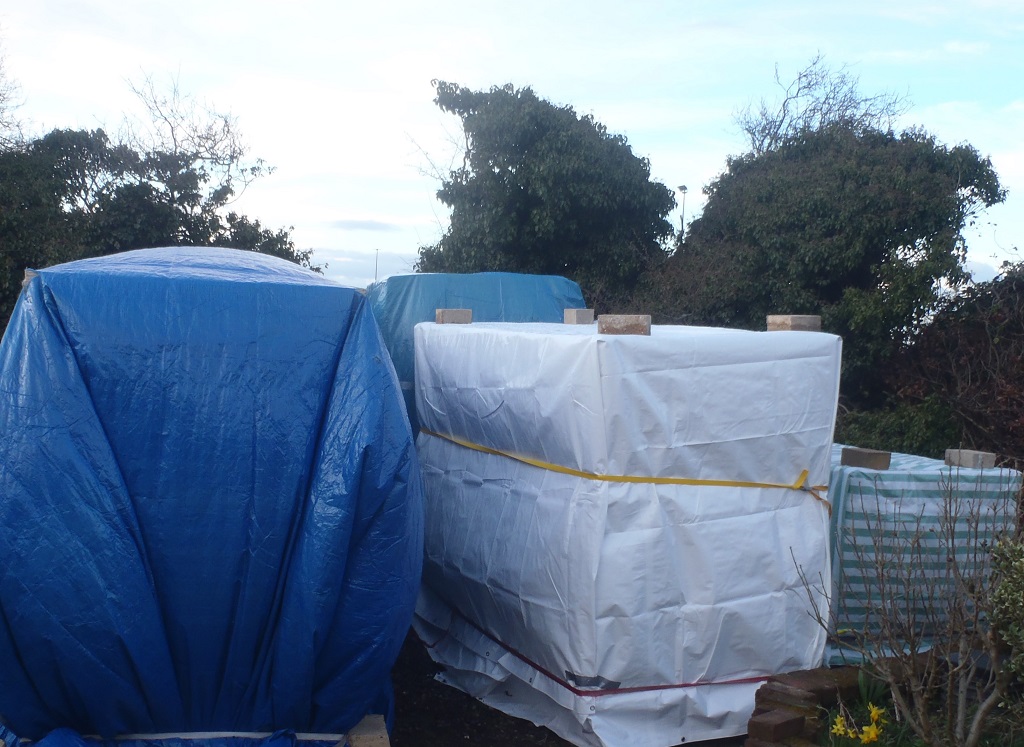
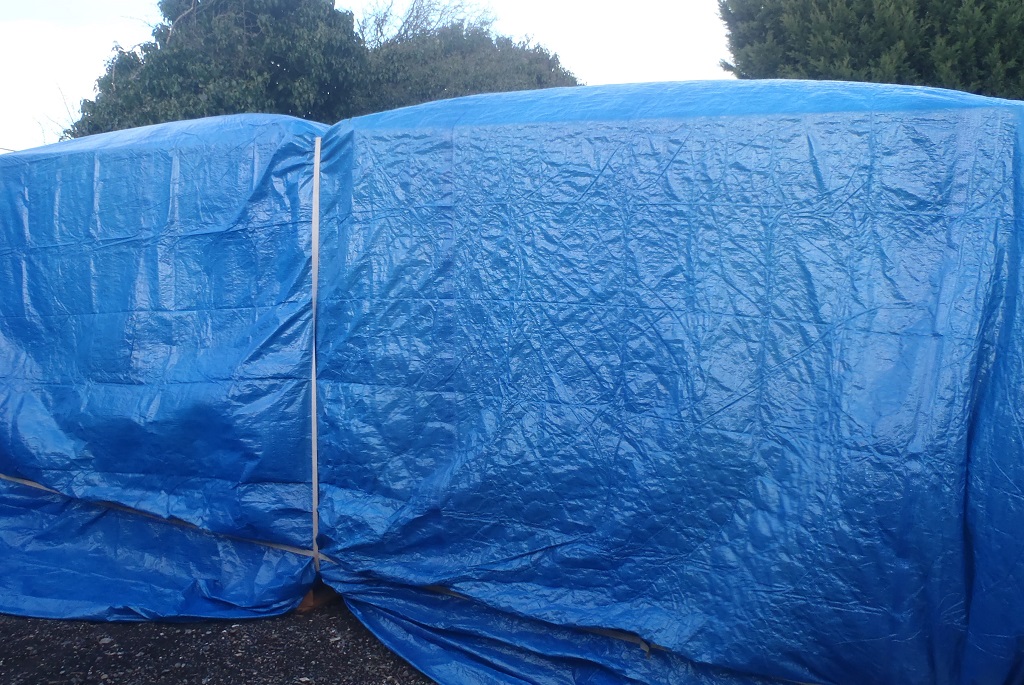
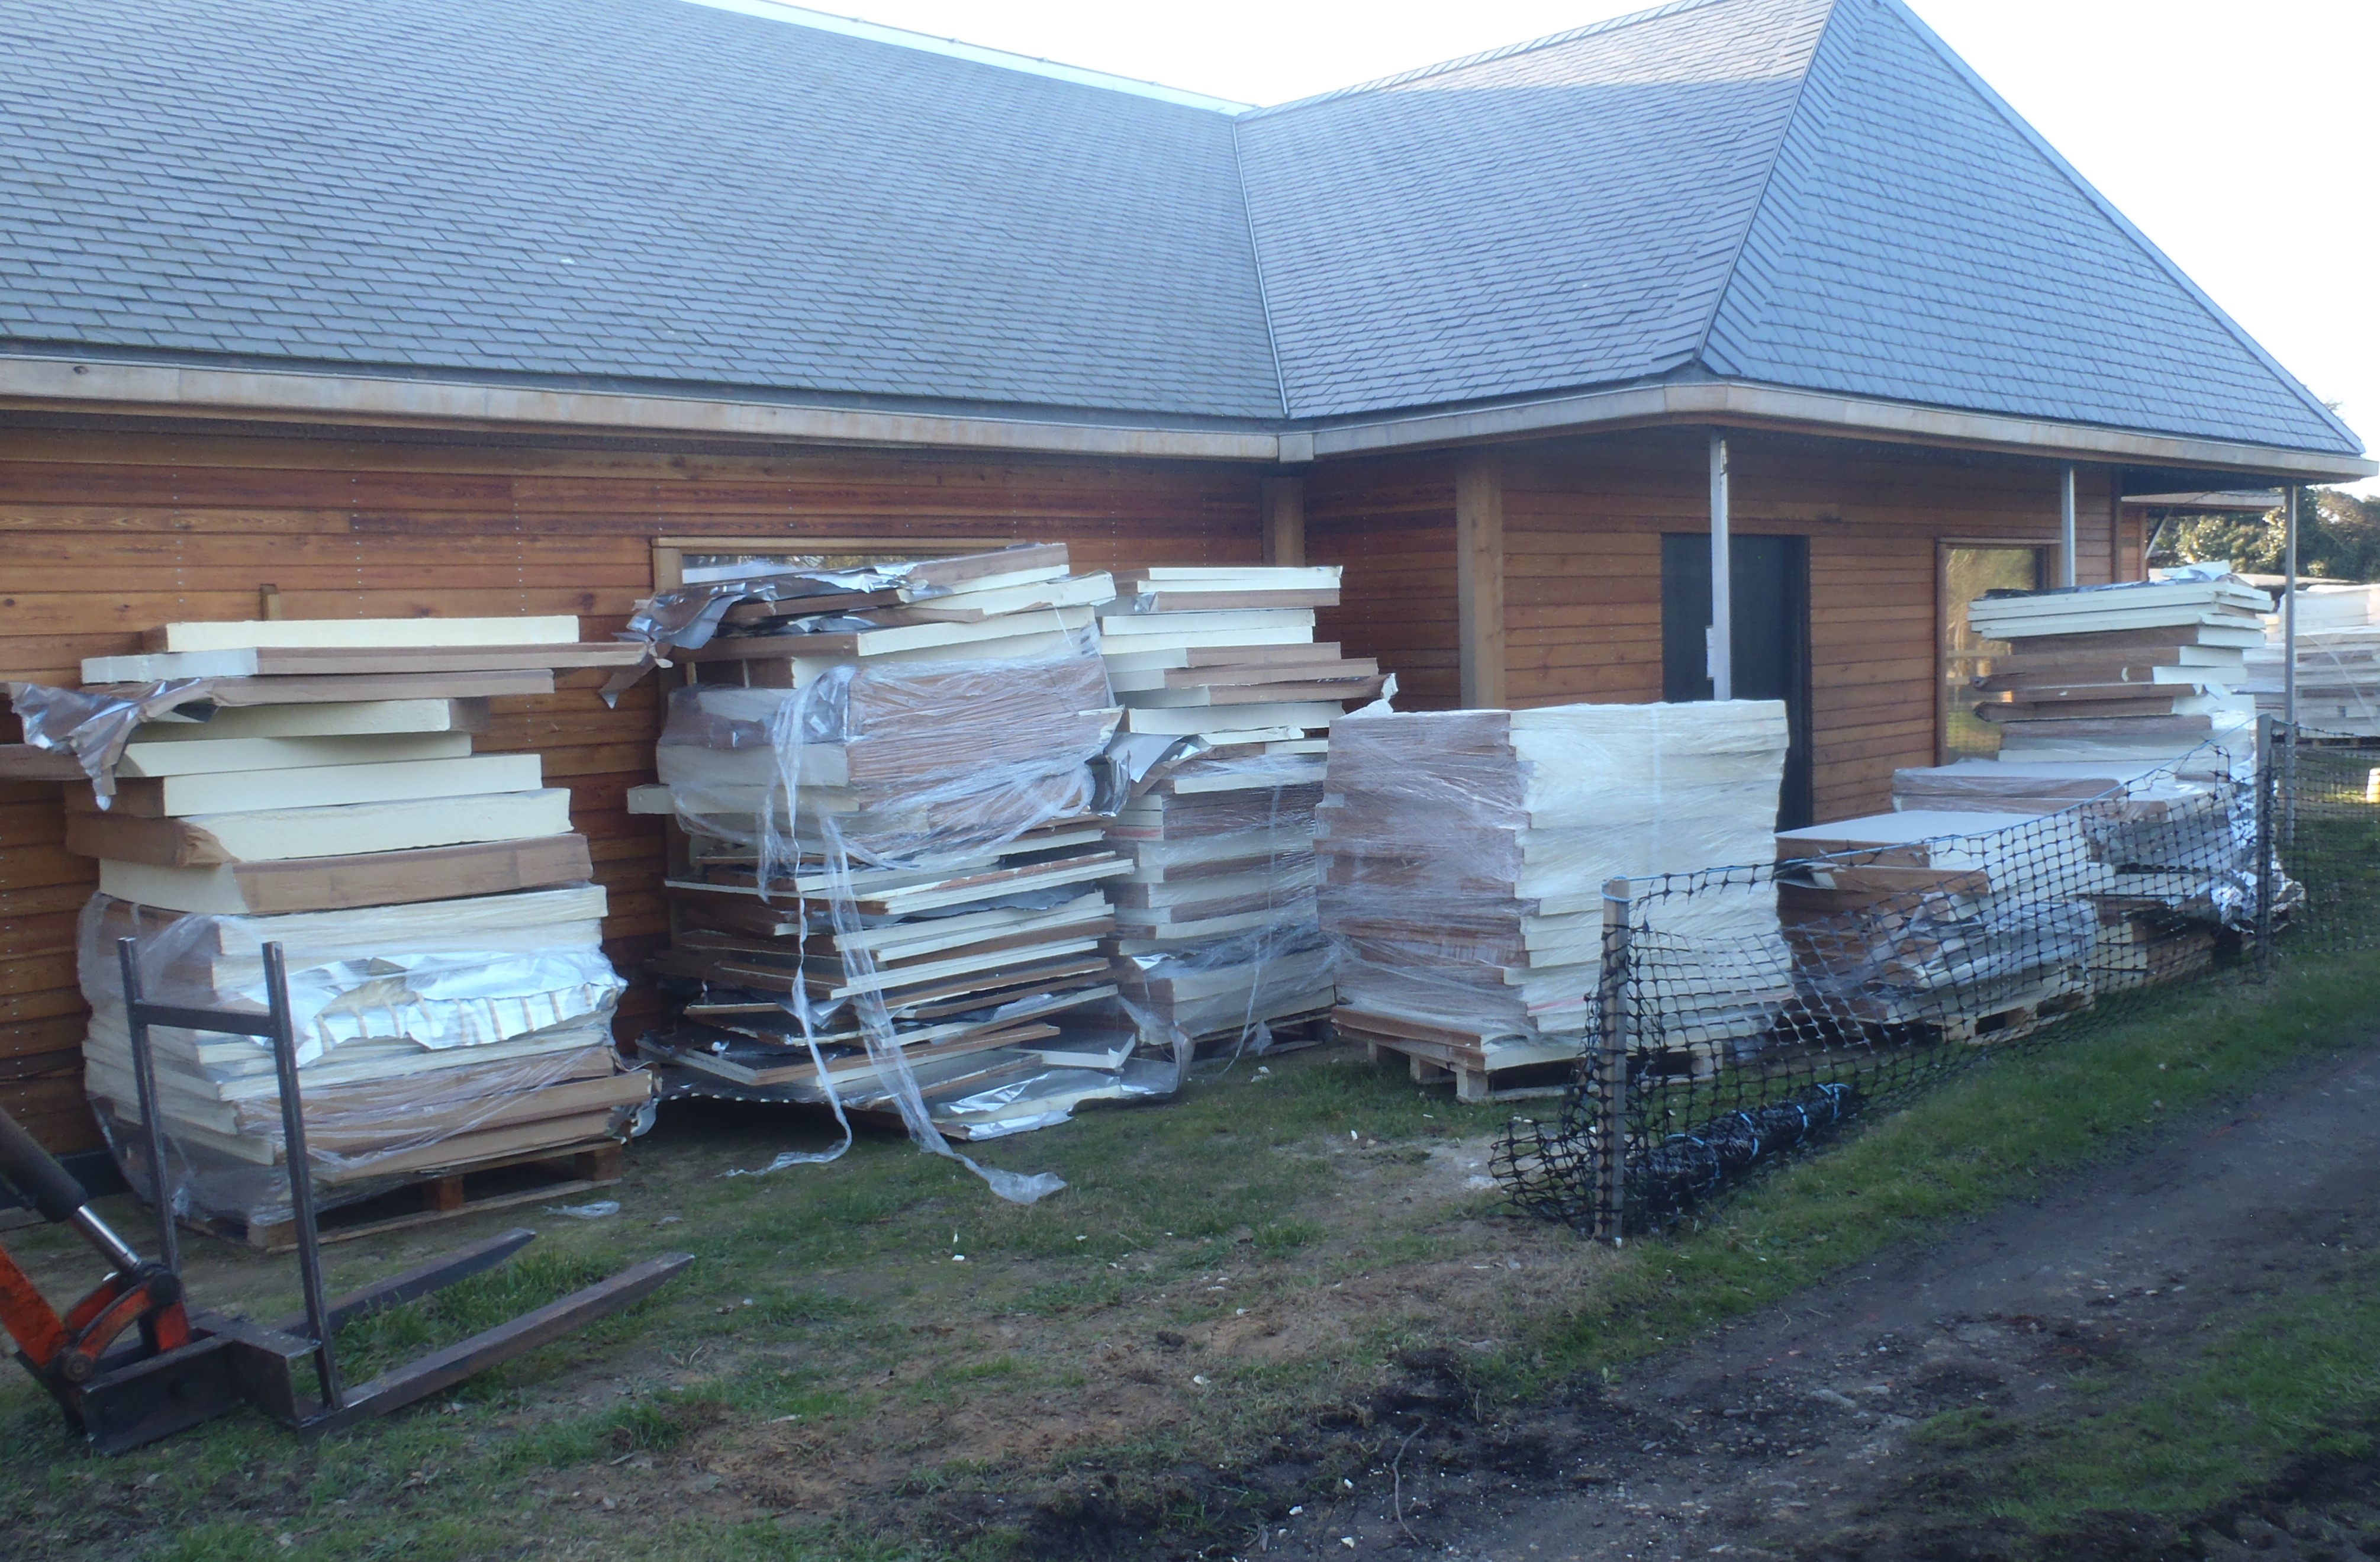
    We landed the pallets all over the place in a random manner, just to get them out of the way and clear the Loke as quick as possible. It took us over two hours to unload the lorry and a further hour to finish transporting the rest! Double Phew!

    Insulation PU Foam Seconds Arrives on Forty Pallets!

    Blocking-the-loke-with-Insulation-1

    Insulation PU Foam Seconds Arrives on Forty Pallets!

    Blocking-the-loke-with-Insulation-2


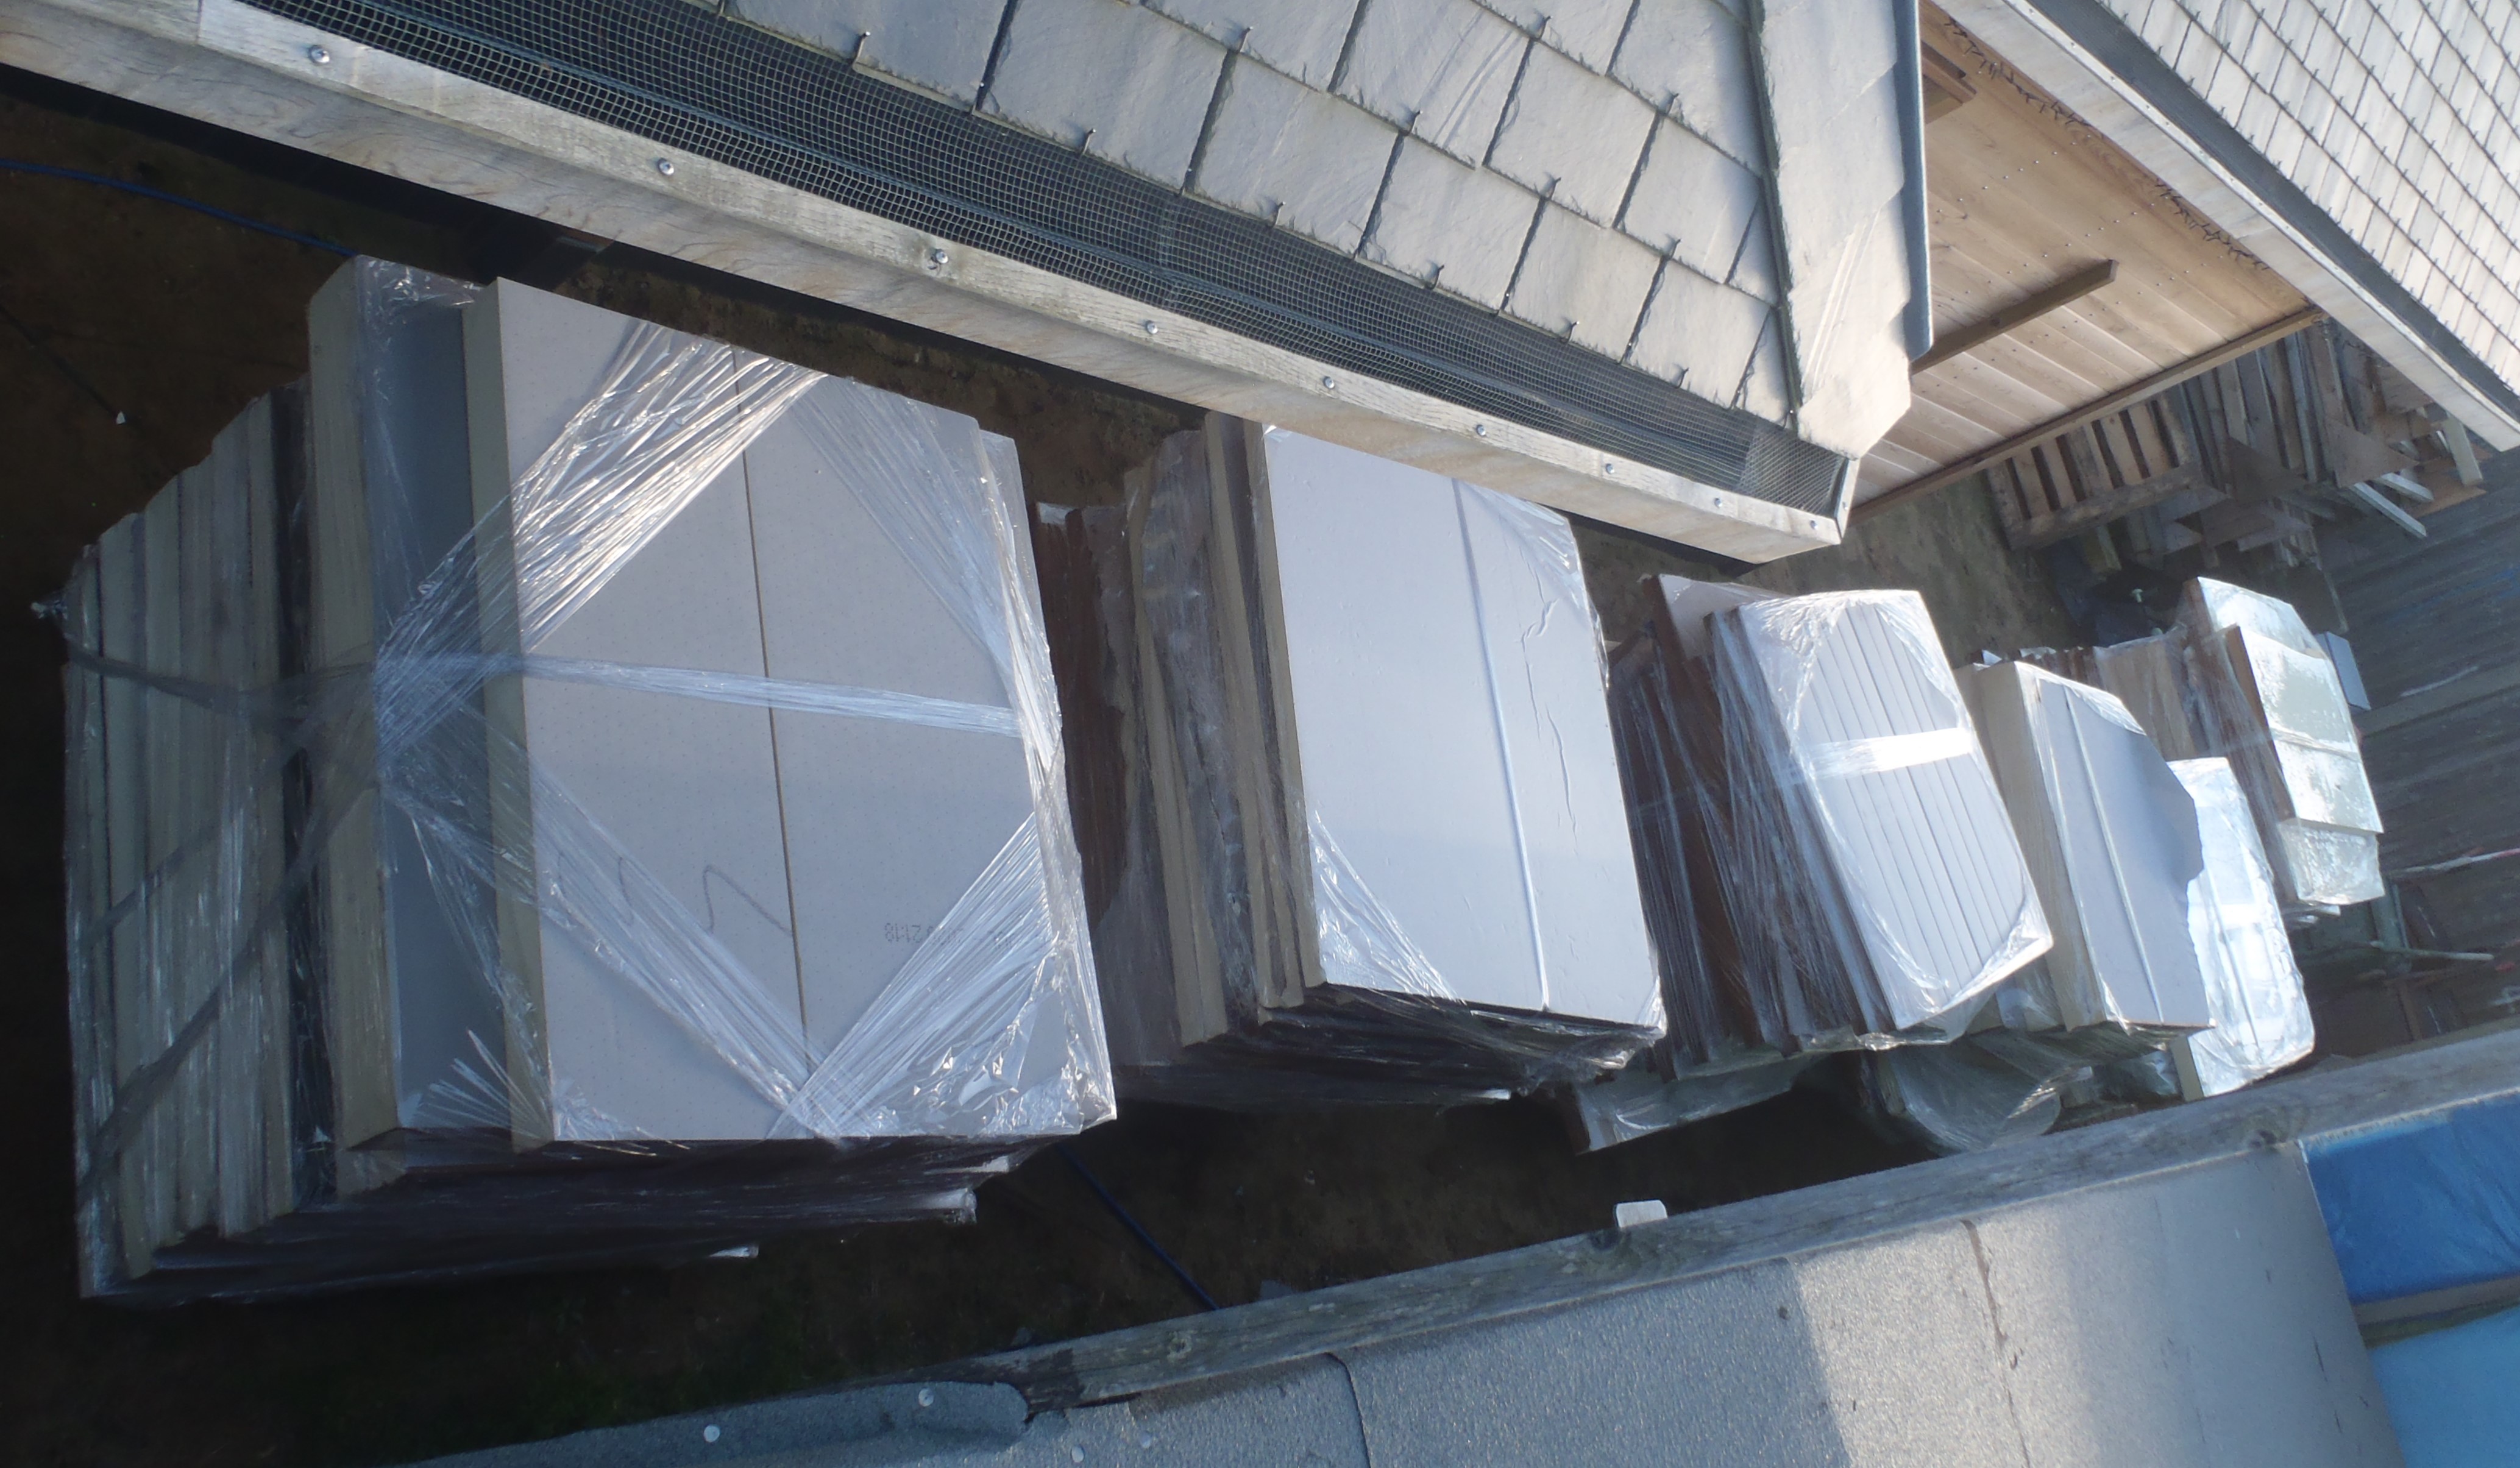
    This load of insulation boards will be sliced up and fitted into and between the legs of our wooden walls, filling it up to a depth of around 200 to 240mm deep, and then the rest will be filled up with glass wool. About three quarters of this load of foam boards will be used up in filling the walls, the rest will be used to start the job of filling the roof rafters and we do need another lorry load of seconds again to get that particular job done too!!

    Insulation PU Foam Seconds Arrives on Forty Pallets!

    Big-Piles-of-Insulation-1

    Insulation PU Foam Seconds Arrives on Forty Pallets!

    Big-Piles-of-Insulation-2

    Insulation PU Foam Seconds Arrives on Forty Pallets!

    Big-Piles-of-Insulation-3


  • Pallet Fork Attachment for our Mini-Digger

    We decided that we needed to construct our own Pallet Forks to enable us to unload the load of Pallets that would be arriving soon, full of PU foam boards. We had plenty of left-over pieces of steel, both a large and medium sized C channel bars, some rectangular box bars and angle iron pieces too.
    We took an old 4foot pallet and measured the spacing so we could design a particular size and spacing of the prongs, of course it had to be a compromise and a slight gamble against the unknown shape and size of the forty pallets coming.

    All the pieces were cut using our plasma cutter and then welded together using our MIG welder. Then an angle grinder with various cutting and grinding discs to clean up the ends and edges.

    Then, it was time to practice using this new piece of equipment attached on the mini-digger, using a suitable pallet, loaded with 10 concrete blocks to emulate what the weight would be like and getting the movement of the digger’s two arms to work in a way that lifted and moved the pallet in a horizontal manner without tilting too far forward or backwards.

    Pallet Fork Attachment for our Mini-Digger

    Pallet-forks-fabricobbled-1

    Pallet Fork Attachment for our Mini-Digger

    Pallet-forks-fabricobbled-2


    We are ready!

  • Beast from the East MkII Hits

    Today, we had a large amount of extra snow dropping on top of the small amount we had yesterday, to make deep drifts of up to a foot deep, window sills loaded up with 6inches of very fluffy snow and icicles forming under our gutters.

    Beast from the East MkII Hits

    Snow-Feb-2020-1

    Beast from the East MkII Hits

    Snow-Feb-2020-2

    Beast from the East MkII Hits

    Snow-Feb-2020-3

    Beast from the East MkII Hits

    Snow-Feb-2020-4


    The snow is too dry and doesn’t stick together very well. It is too cold and it is not melting.
    It is still coming down as a very very fine flakes and apparently forecast to carry on until Wednesday.

  • Driveway GeoGrid Plastic Modules Arrives for resurfacing the Loke

    Today, the first pallet of these plastic grid modules that helps retains the gravel and other crushed stony material has arrived. We ordered one pallet which has 260 individual modules.

    Driveway GeoGrid Plastic Modules Arrives for resurfacing the Loke

    Pallet-of-260-grids


    Each module measures 500mm by 500mm and its 40mm high.
    Driveway GeoGrid Plastic Modules Arrives for resurfacing the Loke

    A-pair-of-grids


    They have lugs on two sides and key slots on the other two sides so each one can be interlocked together to form a rigid strong grid that is then filled with all sorts of different material. We are planning to use recycled crushed asphalt tarmac recycled road material to create a darker finish. We have a design of two metre wide tracks, separated by half a metre.
    Driveway GeoGrid Plastic Modules Arrives for resurfacing the Loke

    Grid-connecting-lugs

    Driveway GeoGrid Plastic Modules Arrives for resurfacing the Loke

    LokeGrids


    Then at each entrances, we expand out and interlock more of these plastic modules to form a larger sturdy surface so our vehicles can turn in without scrubbing up the material and forming ruts and potholes.
    we are working with our neighbour and sharing the tasks, we will do the initial removal using our mini-digger to scrape and remove the old grass and dirt plus the two old cinder and bricks tracks. Then the neighbour would take over to lay down the crushed asphalt material, compacting it in sections and shaping it so any rain water would collect towards the centre of the Loke and run down hill to the soakaway module that we will have made later on.

  • New Wall Hanging Toilet and Frame Arrives for Evaluation

    Today saw the arrival of our new toilet and wall frame!

    New Wall Hanging Toilet and Frame Arrives for Evaluation

    New-wall-hung-toilet


    We wanted to see and learn all the construction requirements for these wall-hanging toilets designs, like how the cistern and the metal support framework needs to be incorporated into our wooden walls.
    The Toilet is a rimless design around the bowl but this is a bit misleading, there is still a wide rim (see photo) for the seat to rest upon
    But what they really mean, is the water flushes out and around the top edge of the bowl in a slight groove and then falls into the bowl. You can see the water flow along and that is what they mean by rimless. It is a new fashion and the plus points are that it is much easier to wash the bowl clean and one can see this immediately.
    But on the other hand, it does mean that the power of the flush has to be controlled to avoid the water simply shooting over the edge if it is travelling too fast. There is a controlling valve inside the cistern to regulate this flow rate and yet another piece of equipment that may go wrong over the years.
    New Wall Hanging Toilet and Frame Arrives for Evaluation

    Toilet-hanging-frame-1

    New Wall Hanging Toilet and Frame Arrives for Evaluation

    Toilet-hanging-frame-2


    The toilet bolts onto the Frame which is fixed in the wall and covered with the wall boards.
    We will evaluate this design, by building our cloakroom straight away, plumb the toilet into the sewage system and supply water to the cistern and learn how it all works.

    We will start on this task mid to late January when Shaun has recovered.