Category: Phase 4

Construction of External Skin of House: External Walls, Roof and Skylight. Slate tiles on roof and timber cladding on walls.

  • Finished The Filtration Module and Now Fully Buried!

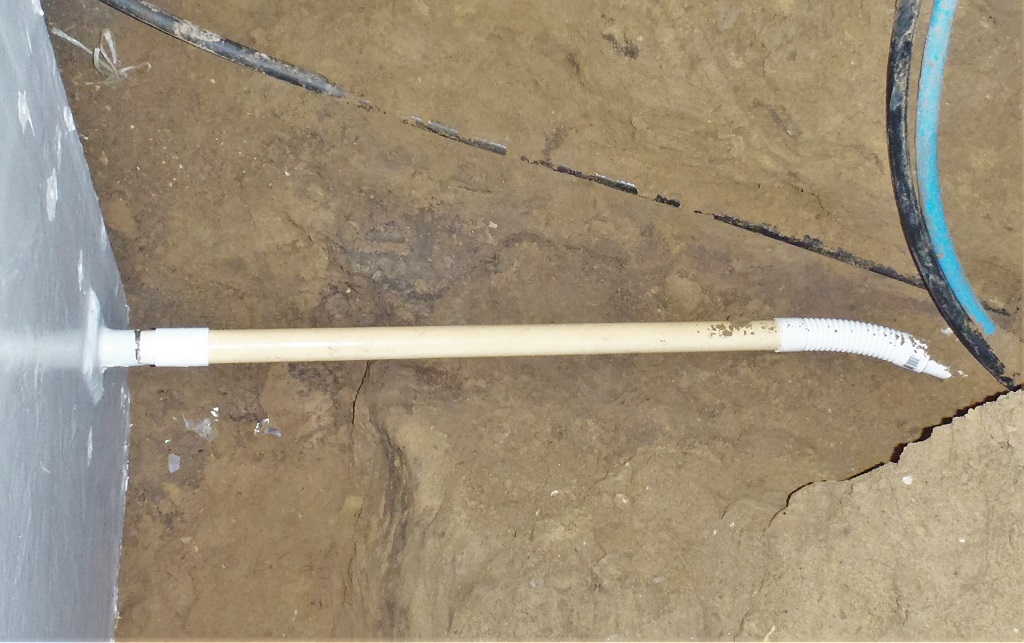
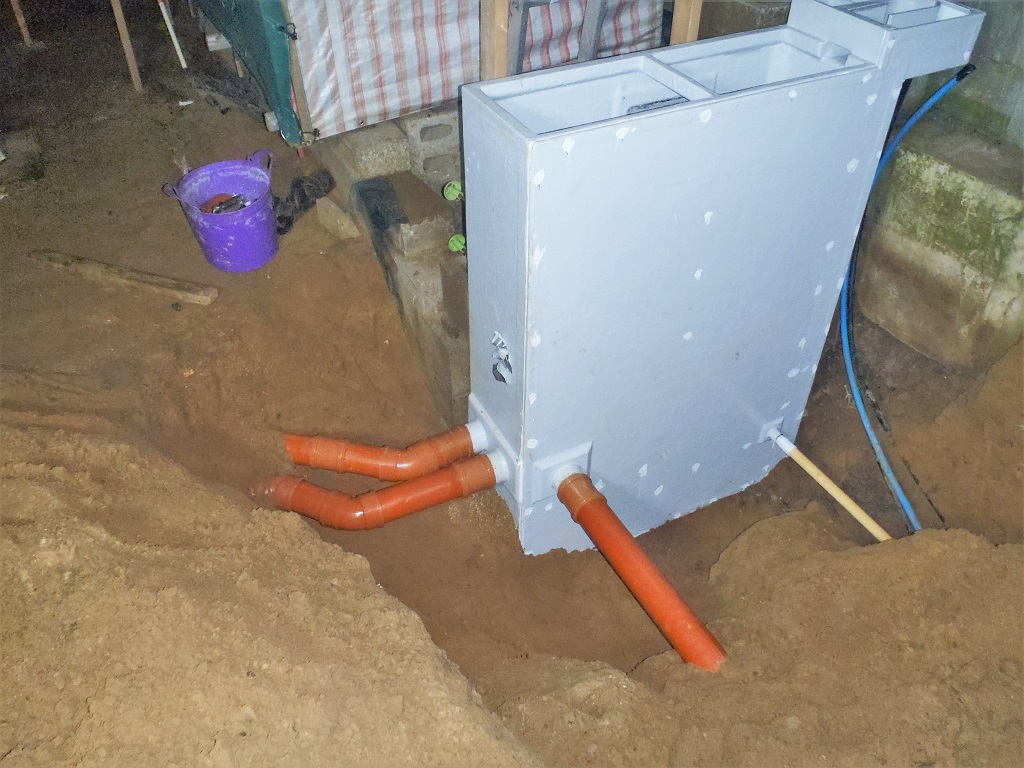
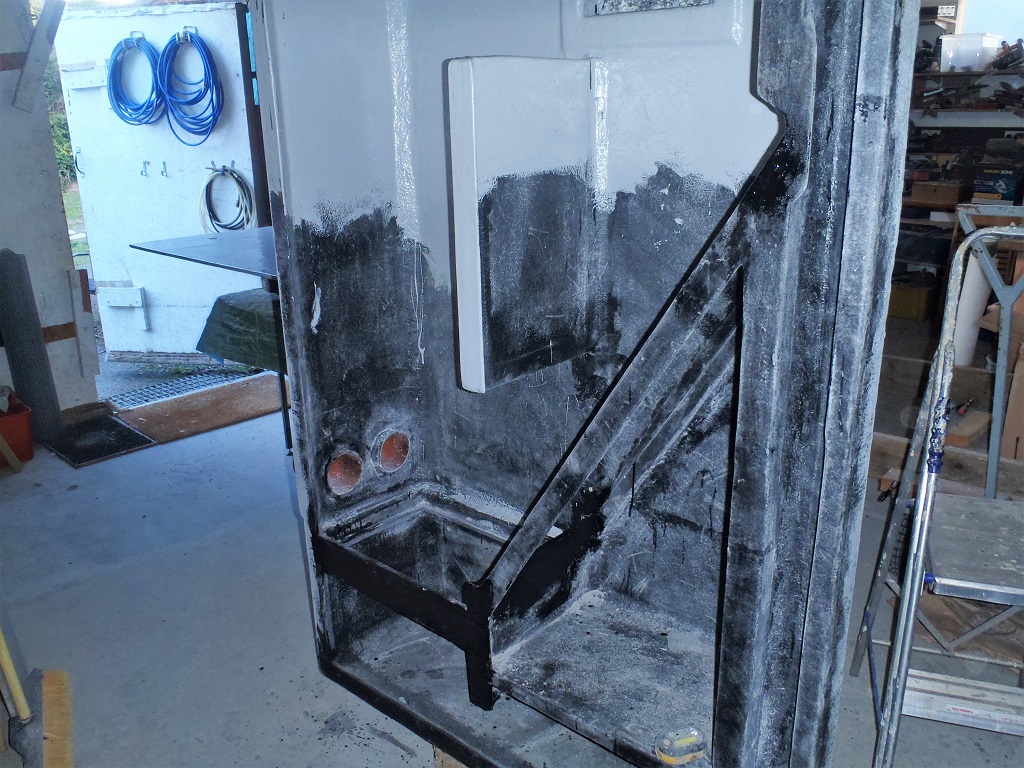
    We finished off connecting the last large drain pipe to the Filtration Module, this being the final last resort overflow connection to the soak-away unit.

    Finished The Filtration Module and Now Fully Buried!

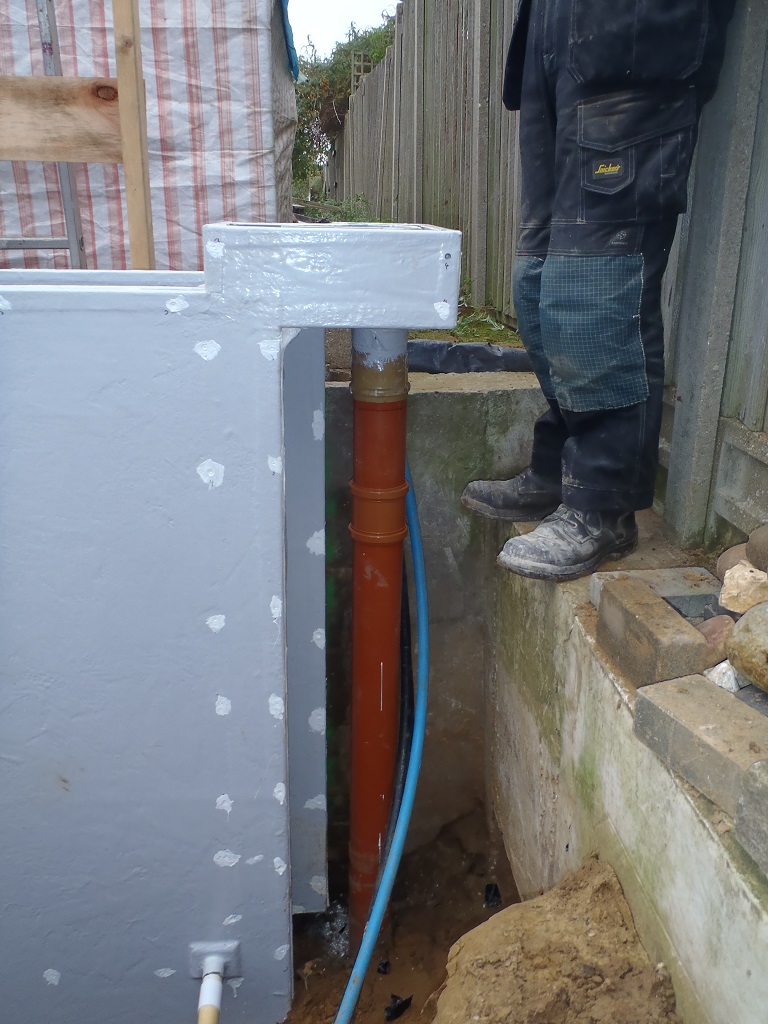
    Filter-overflow-connected-to-soakaway


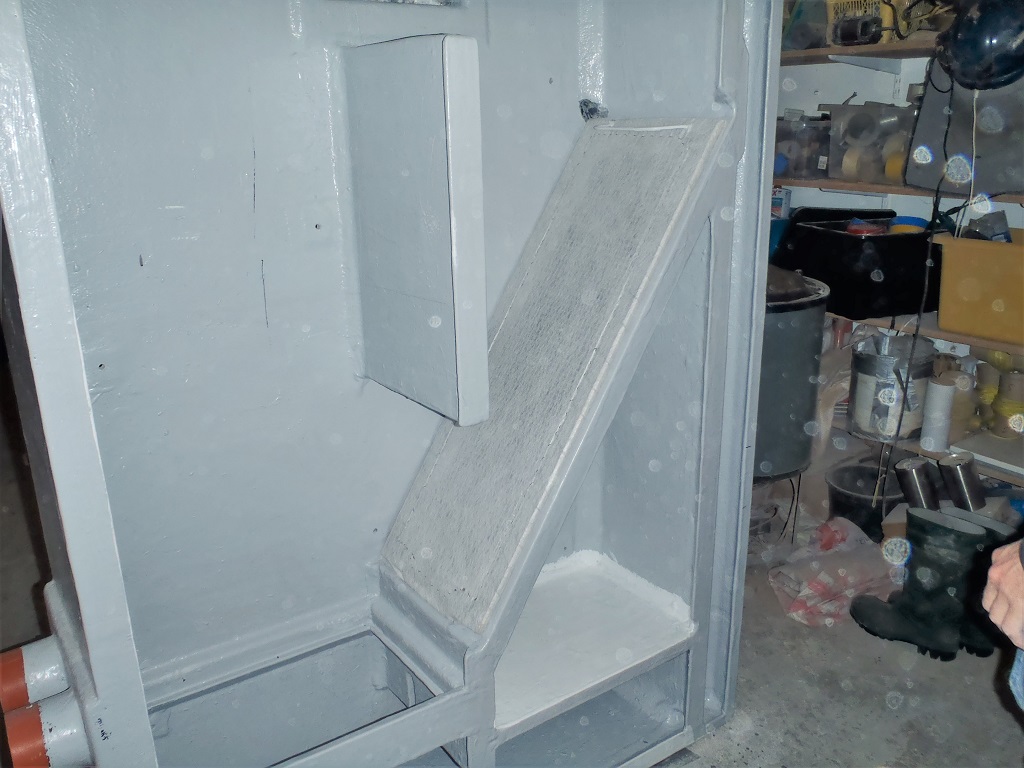
    Then the next job was to climb inside and apply extra sealant around the clean water section and its joints. It was a tight squeeze but we managed it! Finally, we vacuumed out the slightly dirty water in the bottom of the cabinet to reduce the amount of grit and dirt to avoid fouling up our water pump.
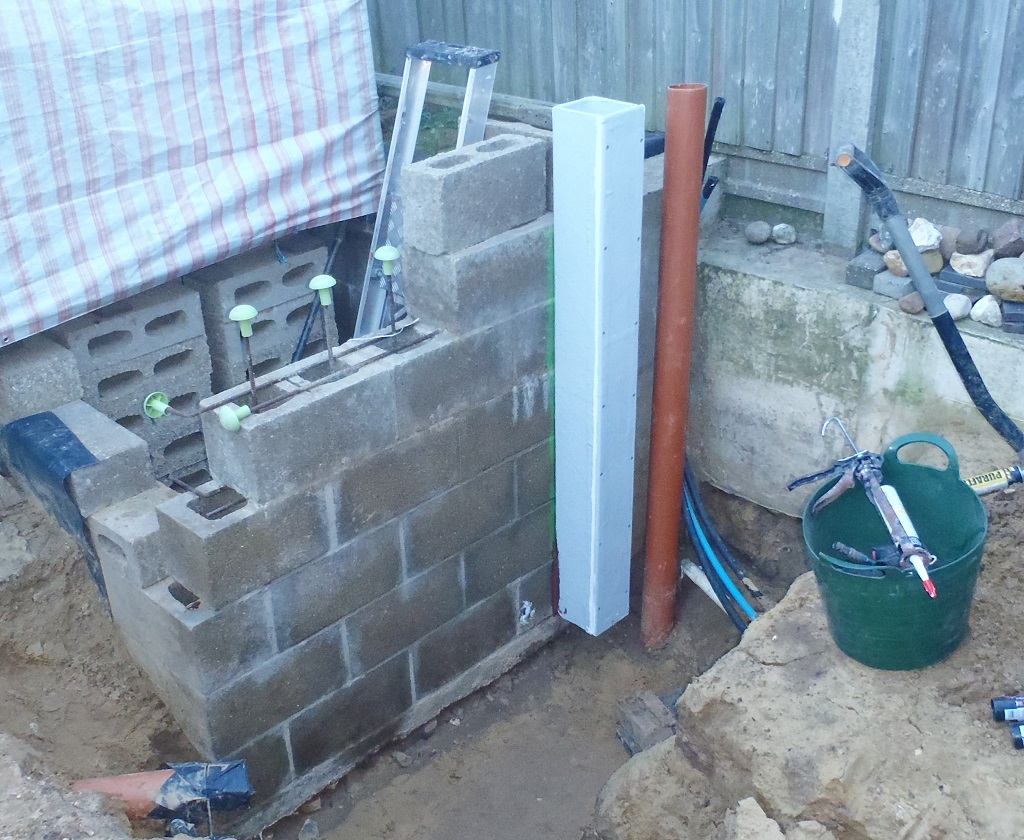
    We spent the remaining of the day shovelling all the sandy soil back in and around the cabinet and piled the excess up around it so it can settle down over time.
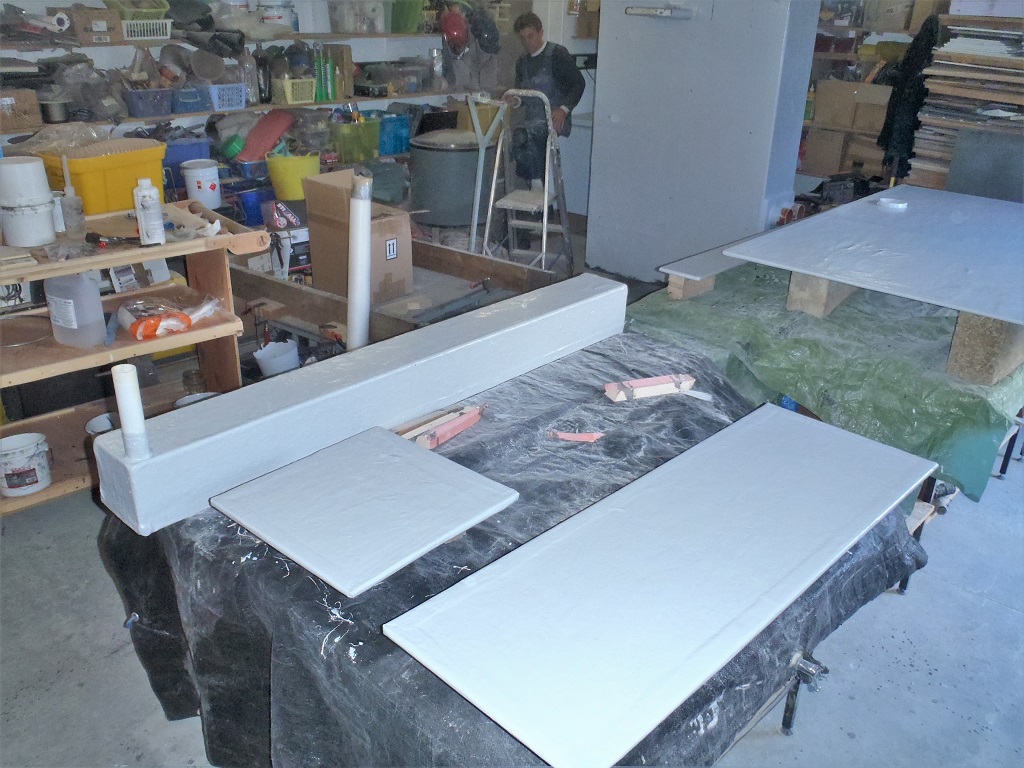
    The last task was to get the lids installed, using stainless steel threaded rods, glued and screwed in various places around the rim and clearance holes in the lid themselves.
    Finished The Filtration Module and Now Fully Buried!

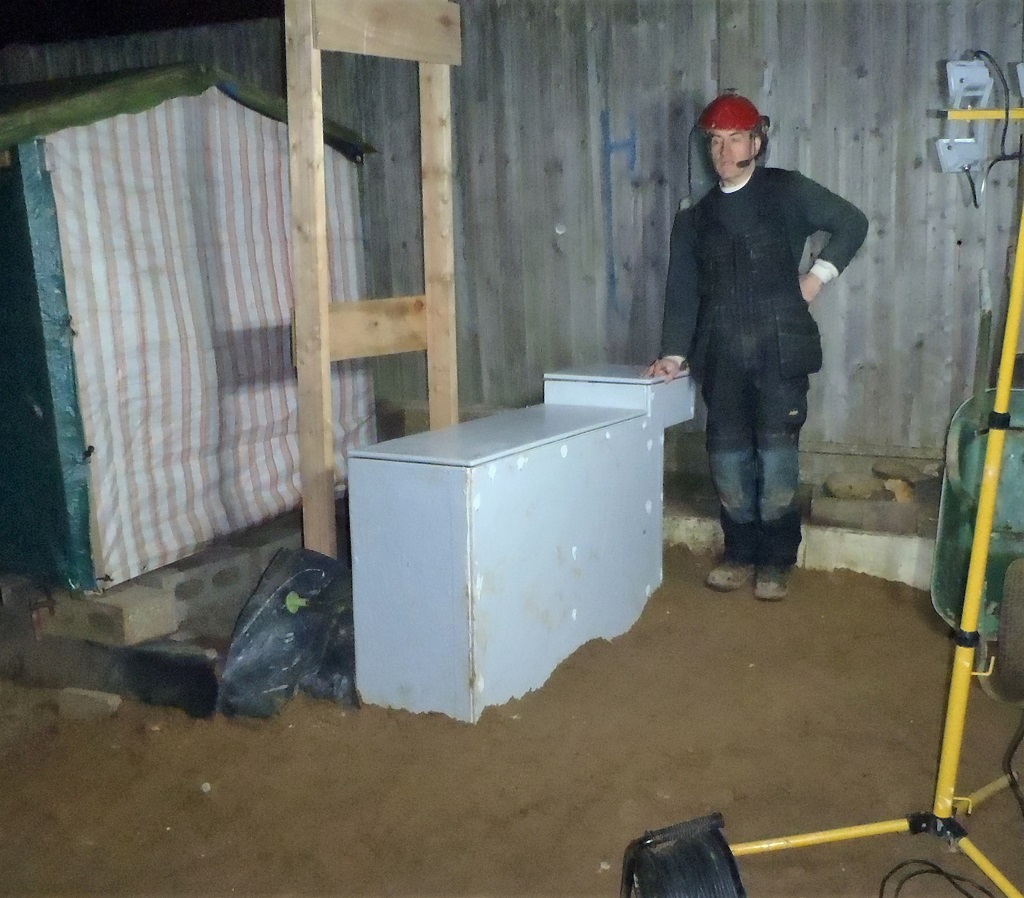
    Rainwater-Filter-Finished


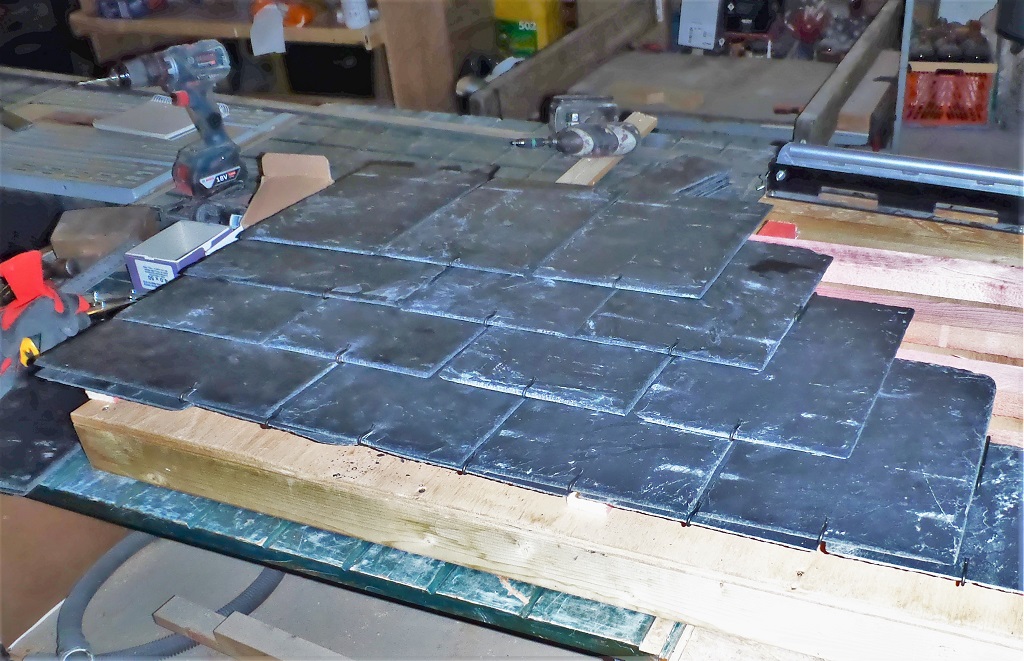
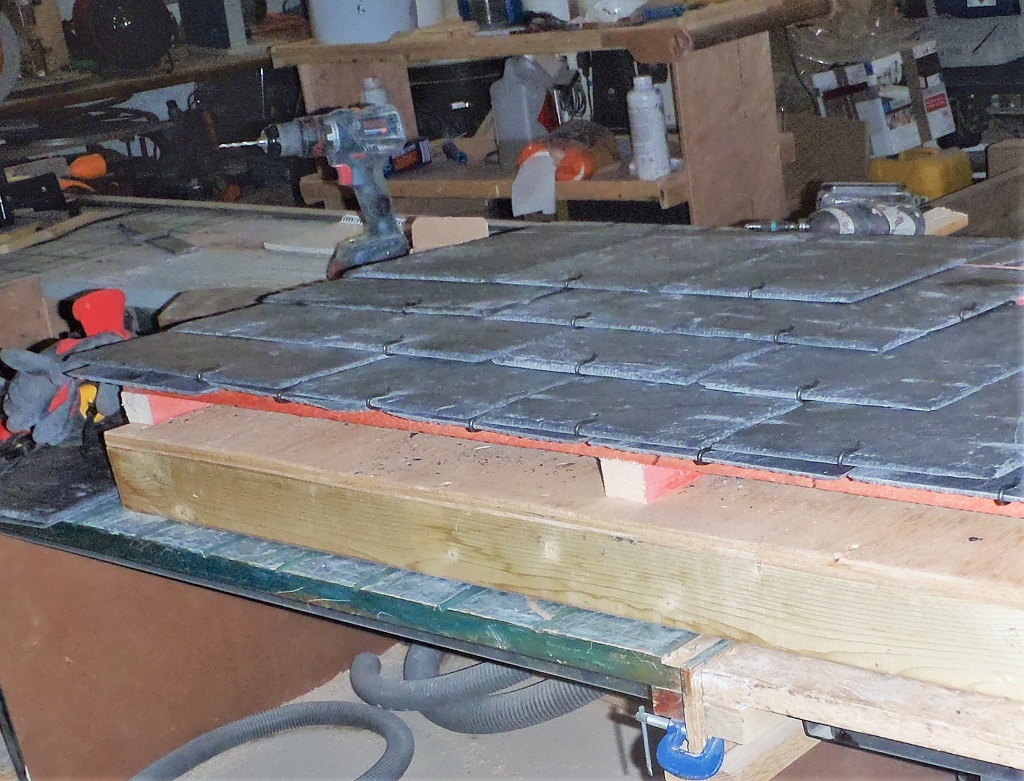
    The filters and baffles were lowered down inside the module and everything is now ready for the next rain shower, at least off the garage roof, but we can now connect up each section of the guttering (as we complete the slate tiling) and any water will be drained and properly filtered to our water storage tank.

  • Filtration Unit Connected to Pipelines

    Today, the job was to connect the three rainwater inlet pipelines (from our two roofs) and the output pipe to the Filtration module. But first, a leak test was performed. Sprinkling water (from our garden hose) on to the wall above the seals, we noticed that there were a couple of leaks along the bottom edge. After carefully scraping away the sand and gravel and cleaning the joint, more white sealant was applied and forced it into the joint. All the edges was done to ensure that we don’t have another leak.
    Next was connecting the rainwater pipeline coming from the garage which needed a simple right angled turn and head straight into the cabinet. Next was the white pipe (this is the clean water after filtration and supplying our underground tank) but we discovered that we needed a 30° turn to make it head perpendicular into the cabinet and no one sold this angle for 40mm diameter pipes (they had 90° and 45° and straight) but nothing else. so we had to go out and buy a flexible small length of pipe. We glued together the required pieces to form the pipeline to the underground storage tank (under the garage).

    Filtration Unit Connected to Pipelines

    Output-to-the-rain-tank-with-bendy-joint


    Finally, the last two rainwater pipelines (from the main house) were connected to the side of the cabinet.
    Filtration Unit Connected to Pipelines

    Filter-connected


    All these joints had to have a slip type of connector which allowed the whole straight connector to slide almost fully onto the pipe, move or rotate the assembled pipeline into place and push the slip connector over the both pieces.
    The last job tomorrow is to do further water leakage tests and then connect the soak-away pipeline to the back of the cabinet to takeaway overflowing water (on those very rare occasions of a very heavy thunderstorm).

  • Another Week On Filtration Module and All Done At Last!

    This report is a summary of our week’s worth of work we did on our rainwater Filtration Module. Most of the time was spent on creating the two filter units and two baffles. The flat one had the wire mesh welded onto a heavy metal framework and then coated in several layers of resin to prevent rusting. The second filter unit is a square box shaped, made with just more of the same wire mesh and this was also coated in resin too. Our geotextile material was delivered and we cut and shaped the material into each of these two filters. The flat one had extra padding tied onto the metal edge to provide a soft conforming interface and reduce any leaks. The outer layer was then stitched into place with fishing line.

    Another Week On Filtration Module and All Done At Last!

    Clean-water-filter-support-ready-for-filter

    Another Week On Filtration Module and All Done At Last!

    Clean-water-filter-finished


    The box filter had the same cloth material wrapped up the inside and folded into the flange edging and coated in several layers of resin to reinforce it and lock the cloth into place.

    Then we made two baffles, which are like flat tea tray like objects, about 400mm (15inches) wide and 580 (22inches) long, with upwards edges approximately 25mm high. We used some more wire mesh and laid two layers of the glass fibre matting (one on the underside of the mesh and the second one inside the tray) and all coated in resin. We had to bend up several tags over the tray so it can support its sibling companion tray on top, and the top tray having water deflectors to help slow down the rainwater rushing into the cabinet.

    Finally, we did some minor adjustments inside the main cabinet, mostly in the area of the clean water filter, near the bottom portion.

    Another job we did this week was the installation of the Return Channel vertical module to the end of the Swimming Lane. It was a lovely day so we took the opportunity to get that done while we remembered it before we tackled the big job of getting the main cabinet installed.

    Another Week On Filtration Module and All Done At Last!

    Swimming-Lane-circulation-column-installed

    Now we just need another moment like this to haul the large heavy module into place.

  • Water Filters Progresses

    Today, we continued with the task of building our two water filters. The long flat one’s frame is now constructed with a heavy thick metal bar around the perimeter and the metal mesh is welded on to it.

    Water Filters Progresses

    Clean-Water-Filter-frame-made-1

    Water Filters Progresses

    Clean-Water-Filter-frame-made-2

    Water Filters Progresses

    Clean-Water-Filter-frame-made-3


    The second filter, the box shaped one, was tidied up, removing excess mesh material and it is now ready for the cloth geotextile fabric to be folded and inserted in.
    Water Filters Progresses

    Dirtywater-Filter-mesh-basket-formed


    Hopefully, tomorrow, we will get our new piece of the geotextile fabric (coming in the post) and we can wrap these two skeleton frameworks and then paint the metalwork in protective resin to stop rusting and also seal and hold the cloth in place.

  • Trial Run in Working with our Slate Tiles

    We constructed a small test rig, to reflect the design and placement of the two layers of the wooden battens to be on our roof and then played with a dozen slate tiles.

    Trial Run in Working with our Slate Tiles

    Roof-slating-test-1

    Trial Run in Working with our Slate Tiles

    Roof-slating-test-2


    The first row of any roof has to have two tiles (the lower tile is cut down in height) to ensure that the rainwater will be directed down the slate and not drip through onto the battens and the breathable membrane. We tested using the copper nails (through two holes) to see how they work, and tested using the hook nails (a bent rod of metal running underneath and hooks on the bottom edge)
    Trial Run in Working with our Slate Tiles

    Roof-slating-test-3


    It is quite obvious that there is a need for a “filler” to be inserted on the first batten, to take the place of the missing third tile, so we will fold up our gutter metal mesh guard several times to the required thickness and when that is nailed on the first batten row, that will provide the extra height needed.
    The overhang distance of the bottom edge of the slate tiles will be about 55mm so we will position the first line of battens so that the tiles will hang over the gutters by 25mm, and the rainwater drips nicely in.

  • Six Days on Water Filter Cabinet, Almost There!

    This is a combined report showing our progress of creating our rain water filtration module. It has been a very fiddly work, constrained by the slow “drying” time of the polyester resin substance, but also having to take time and care to prepare, tidy-up and adjust the glass-fibre surfaces after each application of the resin. It is a slow job.
    But we can report that we are nearly there now, with the completion of all the “lids”, the swimming lane Return channel unit and much of the main cabinet, all coated in the final top-coat light grey coating.

    Six Days on Water Filter Cabinet, Almost There!

    Filter-Fibreglassing-Day-9-1

    Six Days on Water Filter Cabinet, Almost There!

    Filter-Fibreglassing-Day-9-2


    Today, we started designing and producing two filters, the first one designed (in a box like shape) to tackle the initial very dirty flush of rain water collected off the roofs and the second one, being a long flat slope for providing a final filter to ensure minimal particles of “rubbish” doesn’t get into our rainwater storage tank.
    Six Days on Water Filter Cabinet, Almost There!

    Mesh-to-support-Clean-water-filter

    Six Days on Water Filter Cabinet, Almost There!

    Dirtywater-filter-basket


    These are made from heavy-duty weld mesh, supporting some geotextile fabric, mounted with a reinforced metal rim and the rim coated in protective resin.
    We needed to make these filters now so we could confirm that everything fits into place, so we will achieve the correct flow of the water and that we could successfully remove and put back them via the proper entrance (the top of the cabinet). Just in case we needed to make further adjustments to the internal layout, as we did exactly this the other day (the long sloping filter didn’t come down low enough and would have held quite a bit of rainwater back in the pipes running from the buildings), before we applied the final light grey top-coat.. Also, it is only sensible to make sure that we design and make these filters and baffles here and now (in the workshop) so we can test the created products before we close up the filter and make it much harder to test things.

    So on Monday and Tuesday, we will complete these final bits and pieces and then tackle the next problem of transporting this heavy unit and installing it into our flooded hole in the ground – We had lots of rain these last few days!! But the next week look drier so the hole should hopefully dry up!

  • The Last Four Pallets of Slates Arrive

    Sometime during the afternoon, we had the delivery of the remaining four pallets of our slates and they were unloaded alongside our Loke, following the line as we intended, but alas, one of the pallets was dumped on top of two others!

    The Last Four Pallets of Slates Arrive

    Last-of-slates-delivered


    We did not want this, as we wanted to be able to take a handful of tiles out from each crate in turn so the roof would get a more random pattern, just in case, one crate would be loaded in the quarry from one spot in the slate mine and by the eleventh crate, could be using another part of the mine with slightly different colouration and texture. Hence, as recommended by experts, to take a few tiles from every crate, to mix it up a bit, and get a more balanced finished on our roof.

  • First Batch of Slates Arrive

    We had a delivery of the remaining timber battens, 720 metres of 38mm by 25mm sized lengths, but actually, we only got 714 metres so they short-changed us by 6 metres (but we did get extra of the larger battens) !

    First Batch of Slates Arrive

    The-smaller-roofing-battens-have-arrived


    We now have all our wooden battens, ready for our roof.

    We also had the first batch of our Slates , seven pallets, in total, containing over eleven thousand standard sized and 750 extra wide ones.

    First Batch of Slates Arrive

    Slates-being-delivered

    First Batch of Slates Arrive

    First-7-Pallets-of-slates


    Each pallet has over 1800 slates in 3 layers. We are expecting a further four more pallets of standard size in a few days.

  • Exterior of Filter Module Coated in Glass-Fibre and Cleaning up Other Pieces

    We resumed the task of coating the filtration unit in the structural layer of glass-fibre, in doing the exterior of our large filter box.

    Exterior of Filter Module Coated in Glass-Fibre and Cleaning up Other Pieces

    Filter-Fibreglassing-Day-3


    Then the rest of the day was spent cleaning up all the other pieces, trimming excess glass-fibre sticking out and sanding down rough patches and edges. We did one small experiment to find out how we can coat the final exposed edges, by using four layers of glass-fibre tissue cut into strips and then painted onto the flat top and bending it around and down the two sides. It seemed to have worked but we will inspect tomorrow or Monday.

    We are nearly finished doing this stage of work and all is left to do is to apply the top “finishing” coat to provide the smooth glossy surface inside and out. Then we just need to chuck it into the hole in the ground, connect up the pipes .. and hey presto – that is that – grin!

  • Fibre-glassing the Filter Day 2

    We continued to apply the Resin and Fibreglass layers to the Filter Parts. We completed all of the insides with their two layers as well as the two layers on the insides of the lids and side panel. The outsides of the filter will have a single layer of resin and fibre-glass as they will not be submersed permanently in water so need less protection. The outside of the swimming lane return channel was coated last thing today.

    Fibre-glassing the Filter Day 2

    Filter-Fibreglassing-Day-2-1

    Fibre-glassing the Filter Day 2

    Filter-Fibreglassing-Day-2-2

    Fibre-glassing the Filter Day 2

    Filter-Fibreglassing-Day-2-3