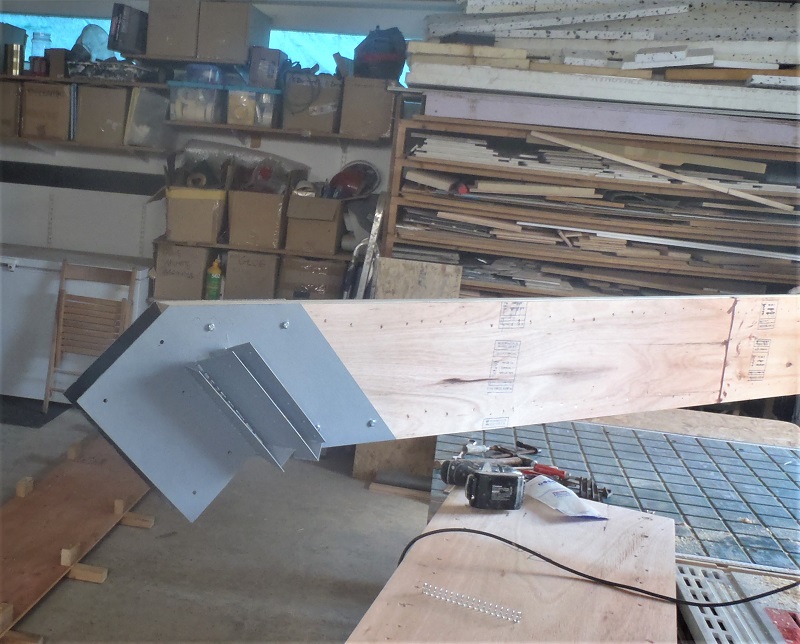
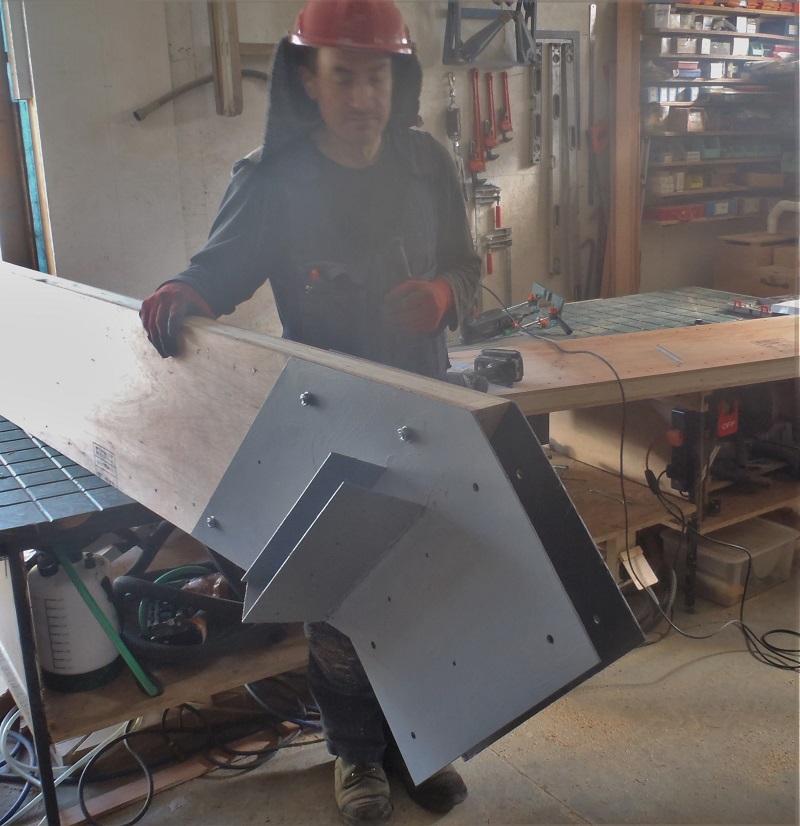
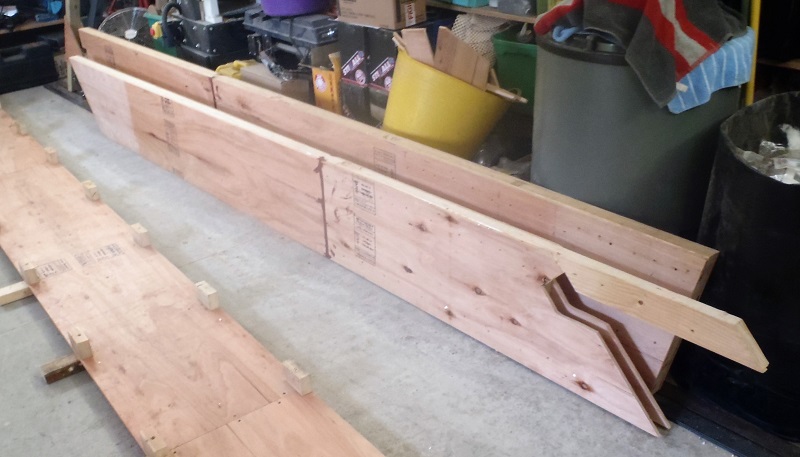
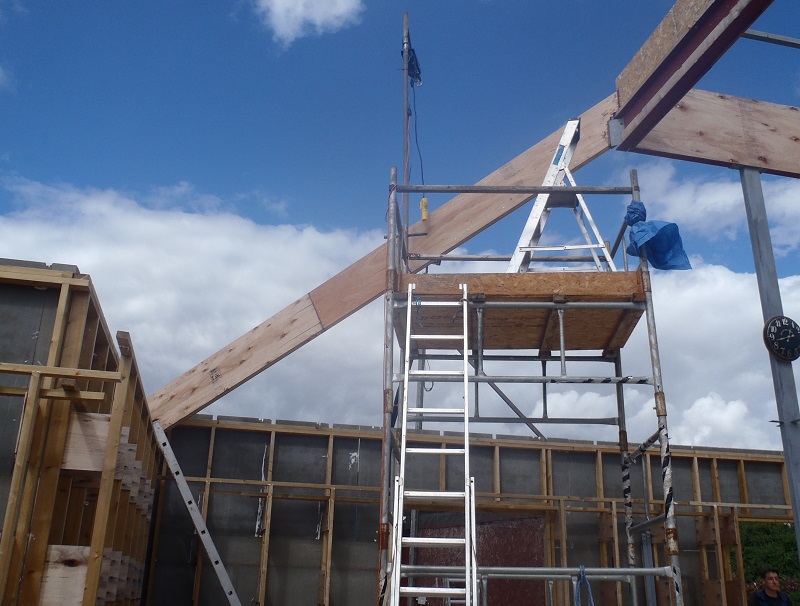
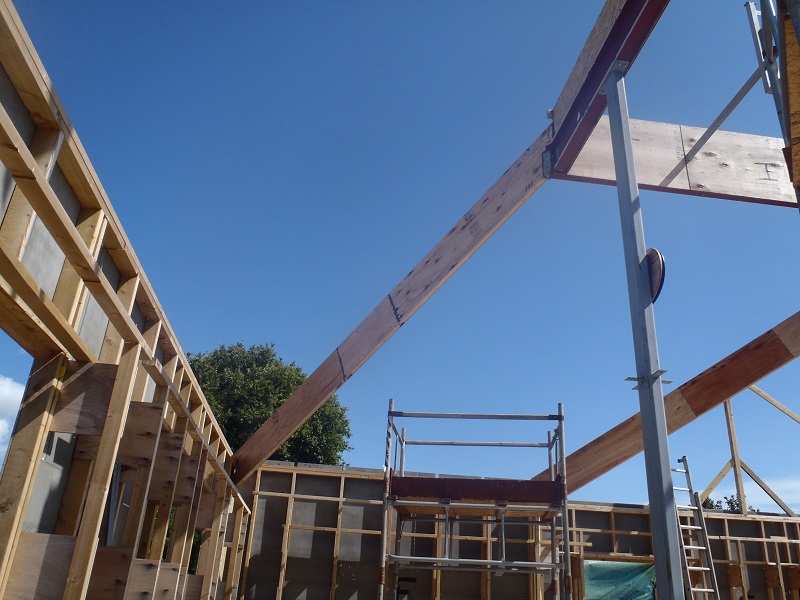
We had a lovely day of sunshine and we assembled our two part K Ridge into one solid piece with a 45 degree bend on it, ready for the final preparation tasks and lifting it into place tomorrow.
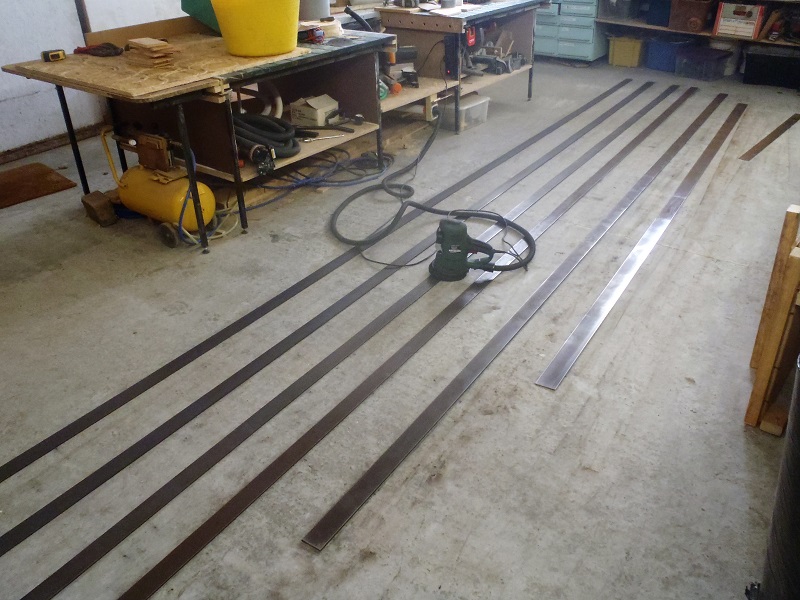
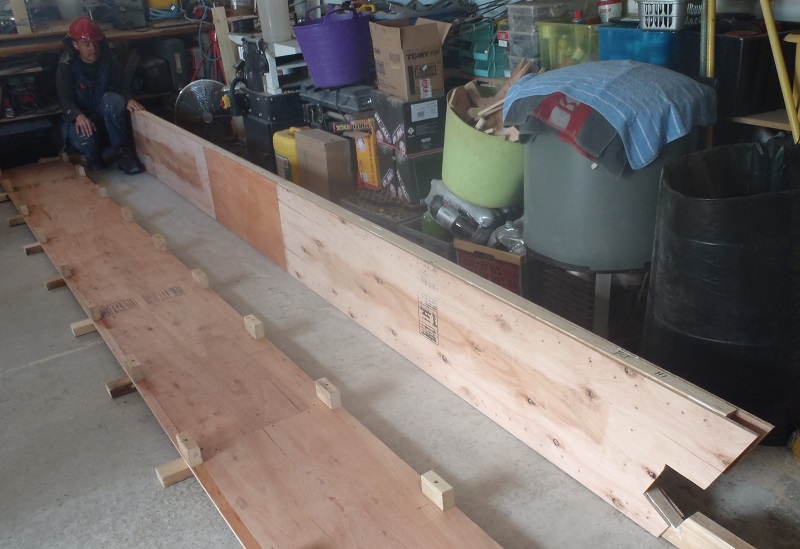
The two parts were carried out and placed on four trestles so we had plenty of room to fiddle with the metal elbow brackets to get them all lined up etc. Once we got that done, we brought out the long 6 metre steel strips and proceeded to put one at the time, along the edge of the rafter, including bending half way along around the elbow joint and then drilling pilot holes into the wood and finally drilling clearance 8mm holes for the 80mm coach screws to be inserted and tightened up.
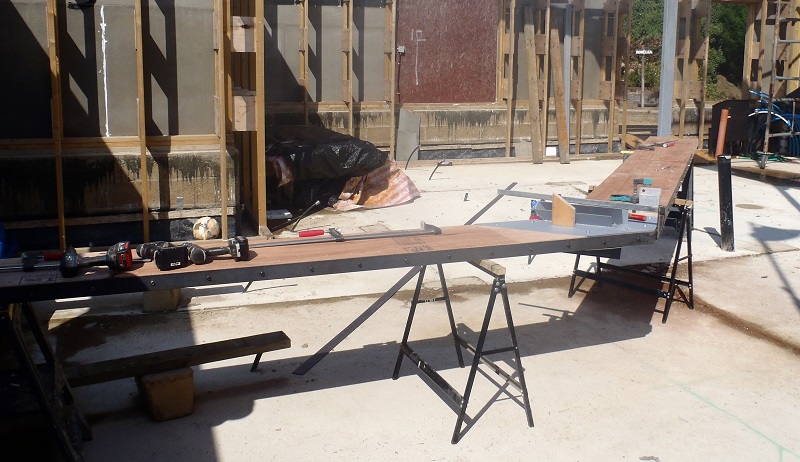
K-Ridge-Plates-and-First-strip-done
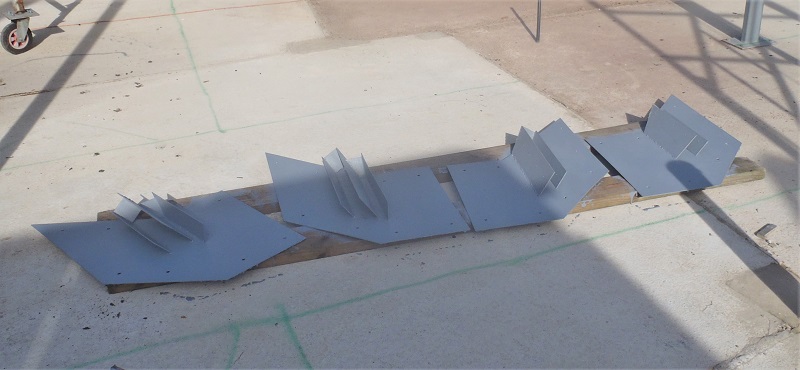
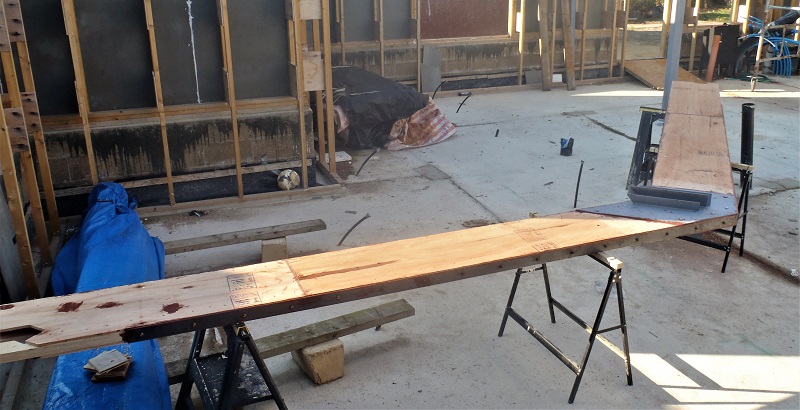
After lunch, we finished off the other steel strip (bending that one too and doing the drilling tasks again). We had to use a heavy club hammer to bash the steel strip to make it bend around the 45degree corner so it was as neat and sharp as possible.

K-Ridge-All-metal-work-fixed
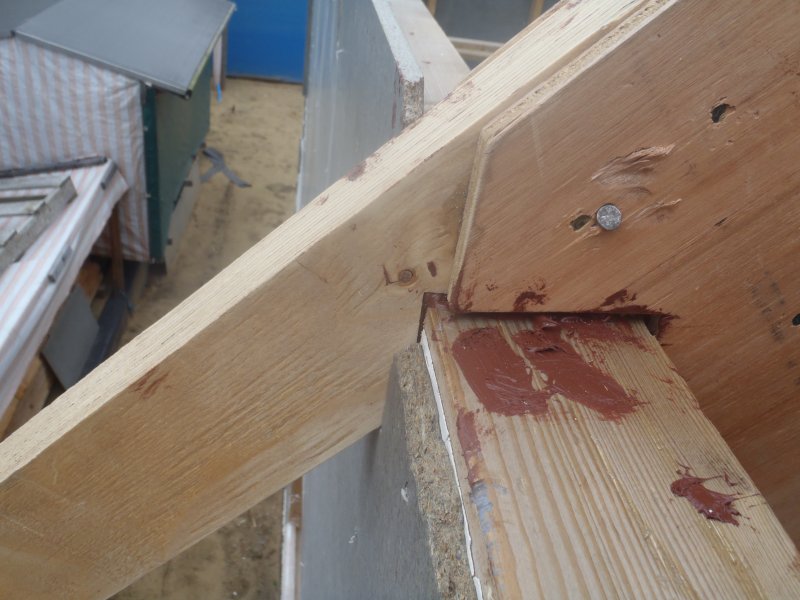
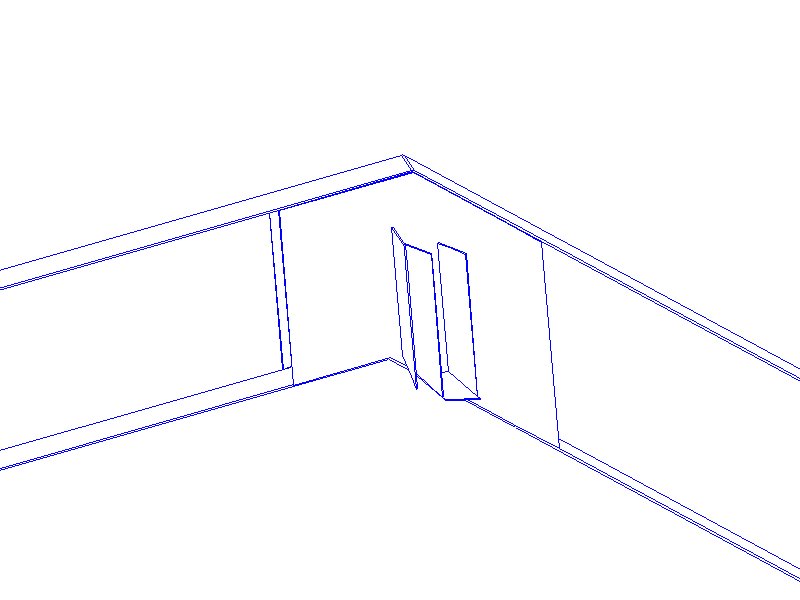
Then, it was the messy job next .. the glue! Leaving the two steel strips attached to the two parts of the rafter to hold it all aligned, we removed the two big elbow brackets so we could clean them and apply a layer of glue on both the metal surface and the wood surface too. We decided that before we started gluing, we would do a bit more sanding of the surfaces of the plywood as they didn’t quite have the same thickness and there was a small step. Then all the dust was vacuumed up and now we could do the gluing! We used a notched trowel to spread the silicone glue evenly over the contact surface (both sides of the rafters etc.). Then we juggled to get everything back together again! It wiggled back easily enough and we got it all bolted together very tight indeed!
The next job was to remove each steel edge strip one at a time, to clean them, apply the glue and then put it back and tighten down all 32 bolts and squeezing the glue out! We did the same on the other strip! All the excess glue was tidied up and put into gaps here and there to make a smooth and neat finish.

K-Ridge-Everything-glued-1
K-Ridge-Everything-glued-2
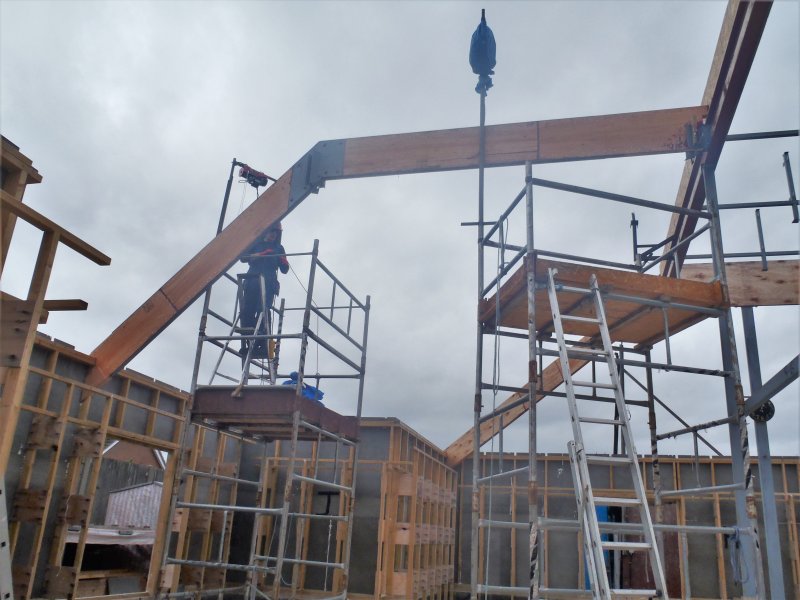
Tomorrow, we will paint the bare metal surfaces with the metal rust protection paint and then lift it up and slot it into position .. just like that! We will also measure the weight of the whole thing to see what the finished article weighs, probably about 100kg – thank goodness that our motorised winch can handle up to 250kg – Phew!!