This morning, we took out the completed rafter we had glued and nailed yesterday out to get it up into the HI corner of the building (Bedroom 3). We had a pile of excess timber material plus the other corner legs, all covered up so we had to try a different method of lifting the rafter up. We thought we would try lifting it using just the one winch motor, the one on the very tall and much stronger support arm. Actually, it turned out to be relatively easy to control, to lift the sticking out end up and over the wall first and swing the rest of the rafter back up and above the steel I-Beam and bring it down into position quite easily. It slid into place without fuss so that was that. We did our usual of gluing the corner leg into the two cement boards and screw them all together. Then glued the webbing and bird’s mouth all over the place and plus the metal bracket and the kerb at the other end of the rafter. The whole lot then was reinserted back into position and nails hammered into the side of the metal bracket and screws at the wall end to fix things down while we waited for the glue to set.
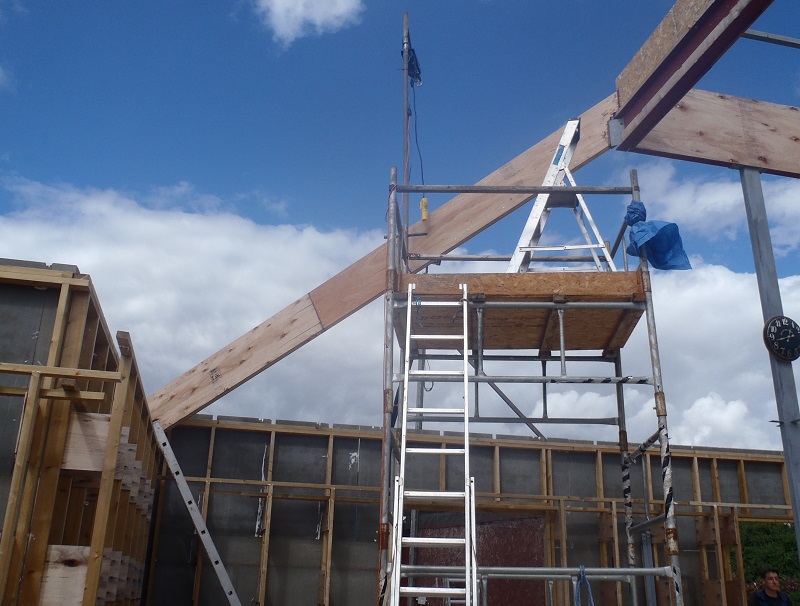
Rafter-HI-Installed
And that was it! Using the single winch might turn out to be a good discovery and may speed up the operation of getting all the rafters up and into position. We will see. The next job with these special LVL Rafters is to make the metal bracing bracket that will join and support both the K Ridge and O Ridge together. After those are done, there would be only 7 more diagonal rafters (4 Hips and 3 Valleys) to go and we would be finished with these complicated and specialised elements of our roof!