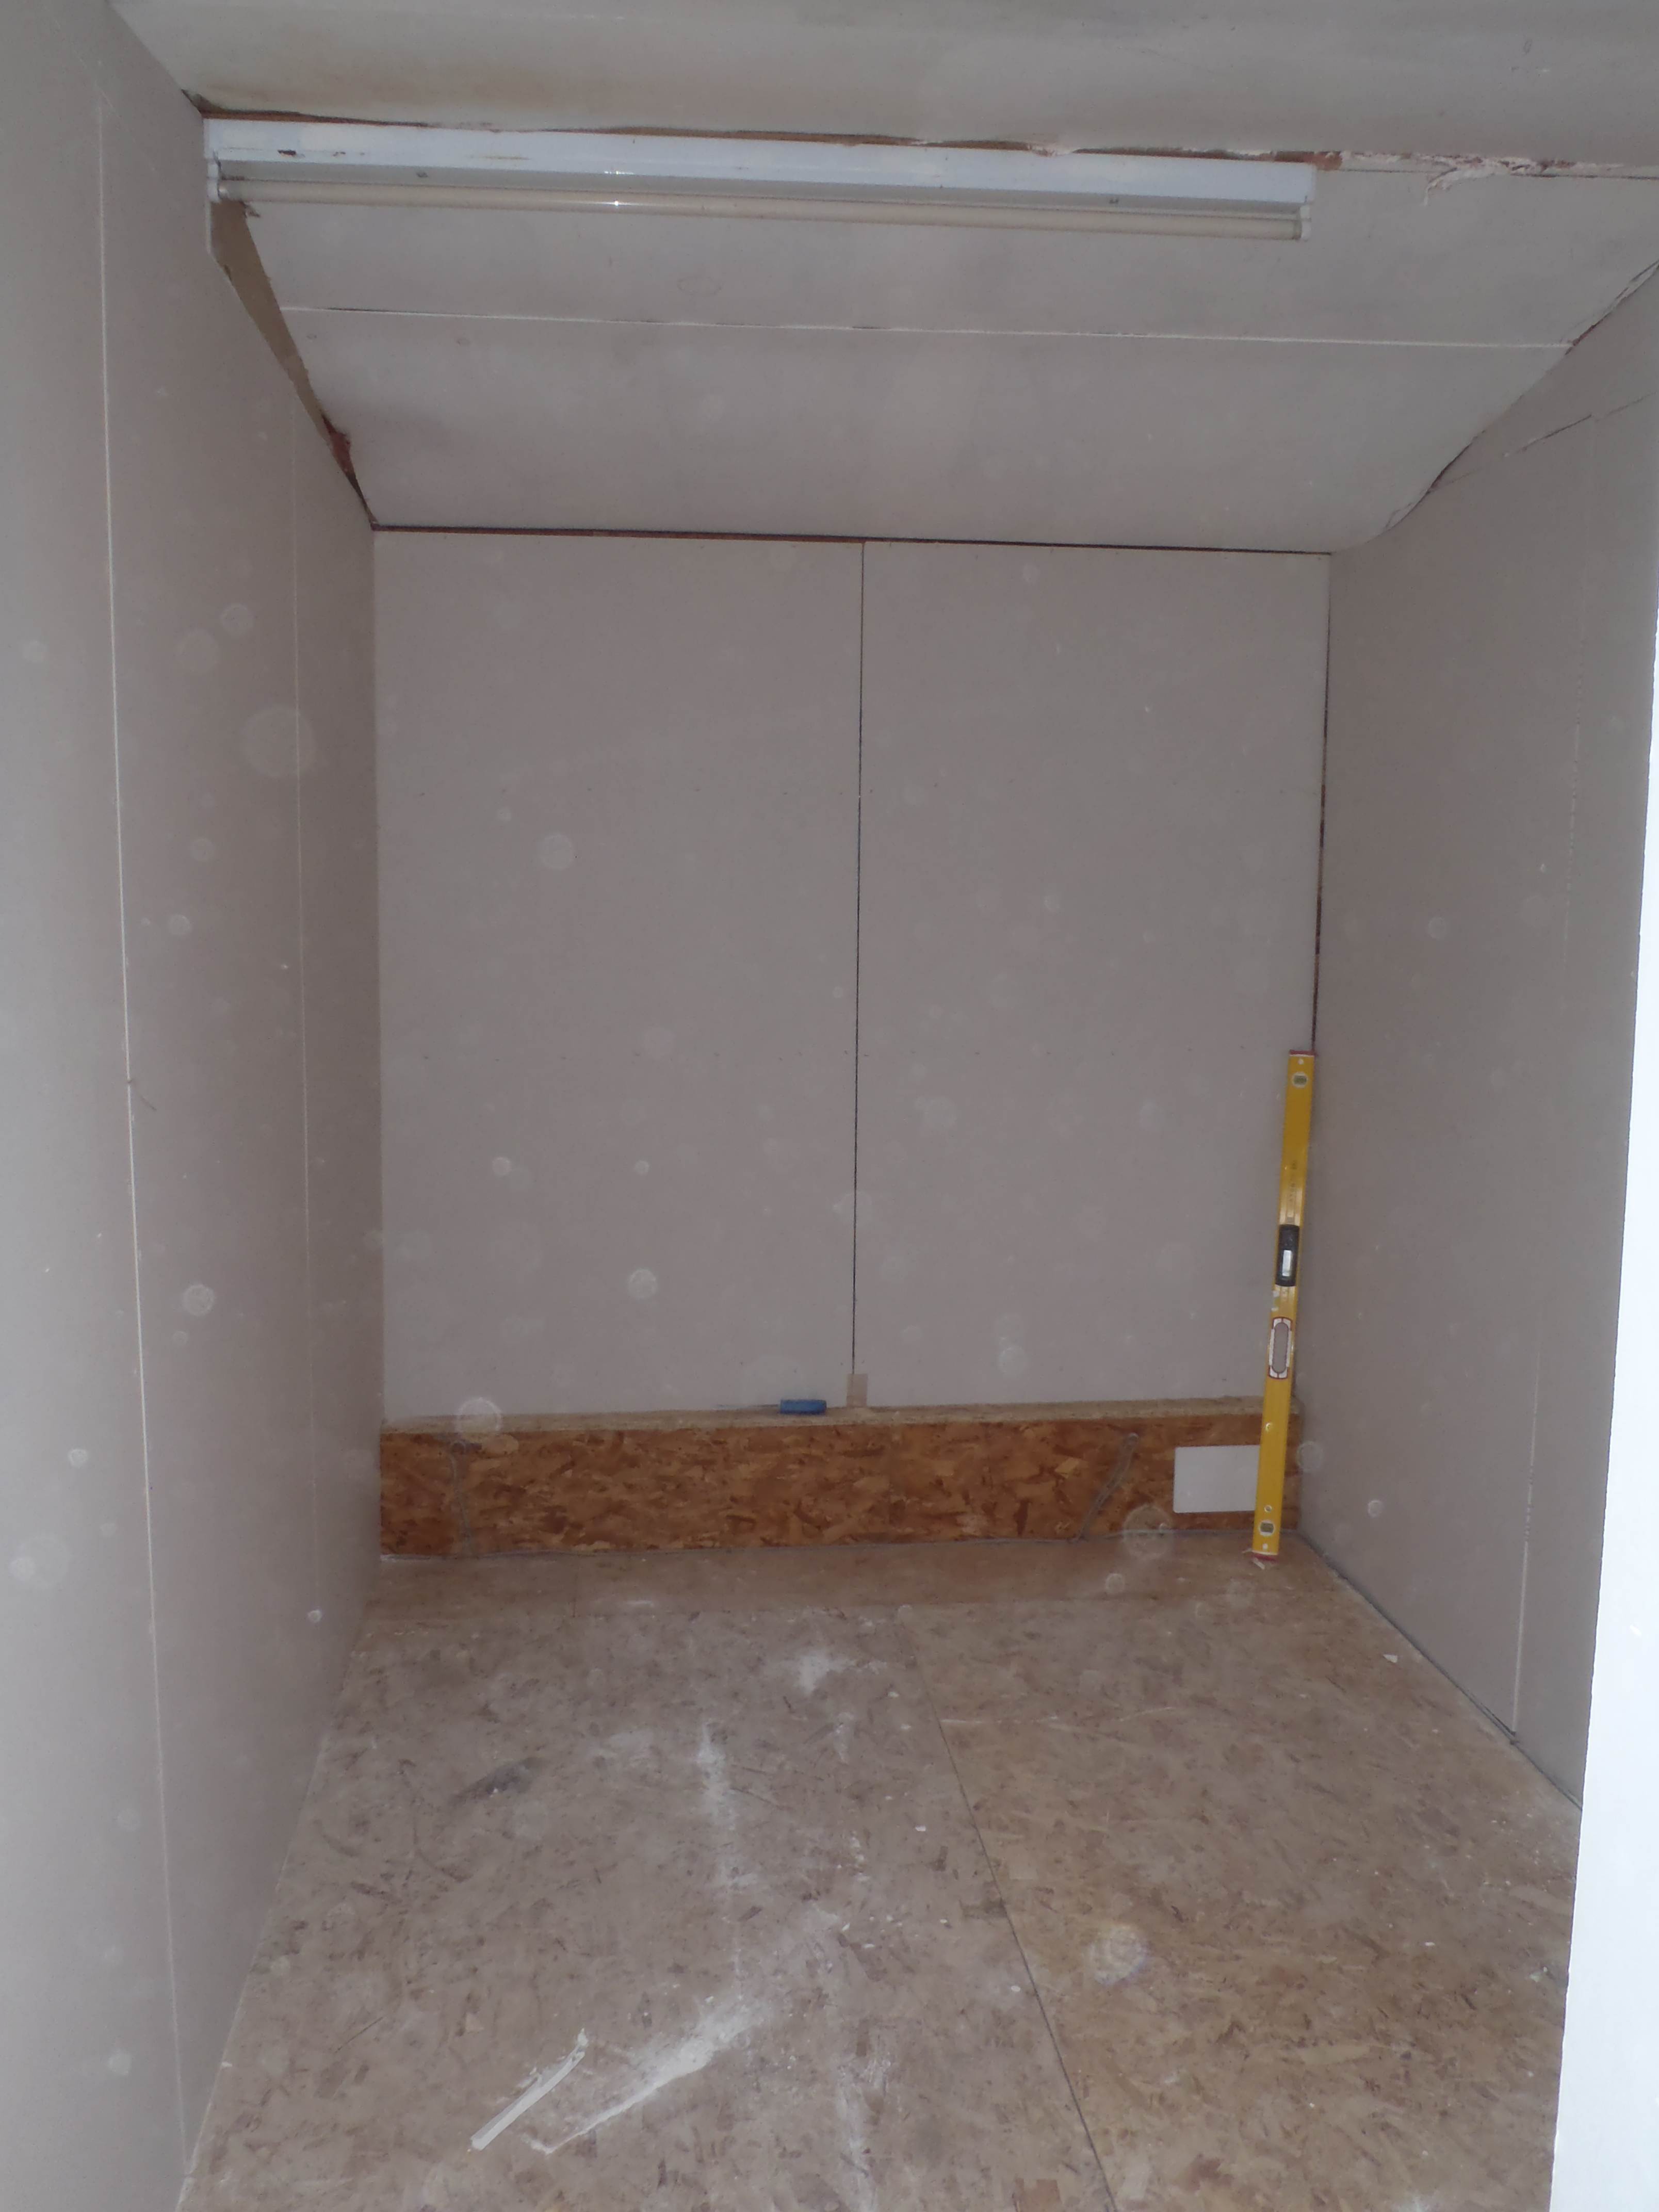
All the walls and door had their first and second coat of varnish (until we ran out of course!). the outside surfaces of the left wall and the front wall had one coat to seal in the surface ready for the normal white emulsion.
The shower tray was carefully angled, with the drain hole in the lowest point, and the four edges were sliced to make them vertical. The drain hole was drilled using several different sizes of hole cutters to make a sloping into the hole ready for the glass fibre resin to be painted on and seal the 40mm plumbing waste pipe connector. Then the upstand side pieces were screwed into place to form the tray with a lip to contain the shower water.
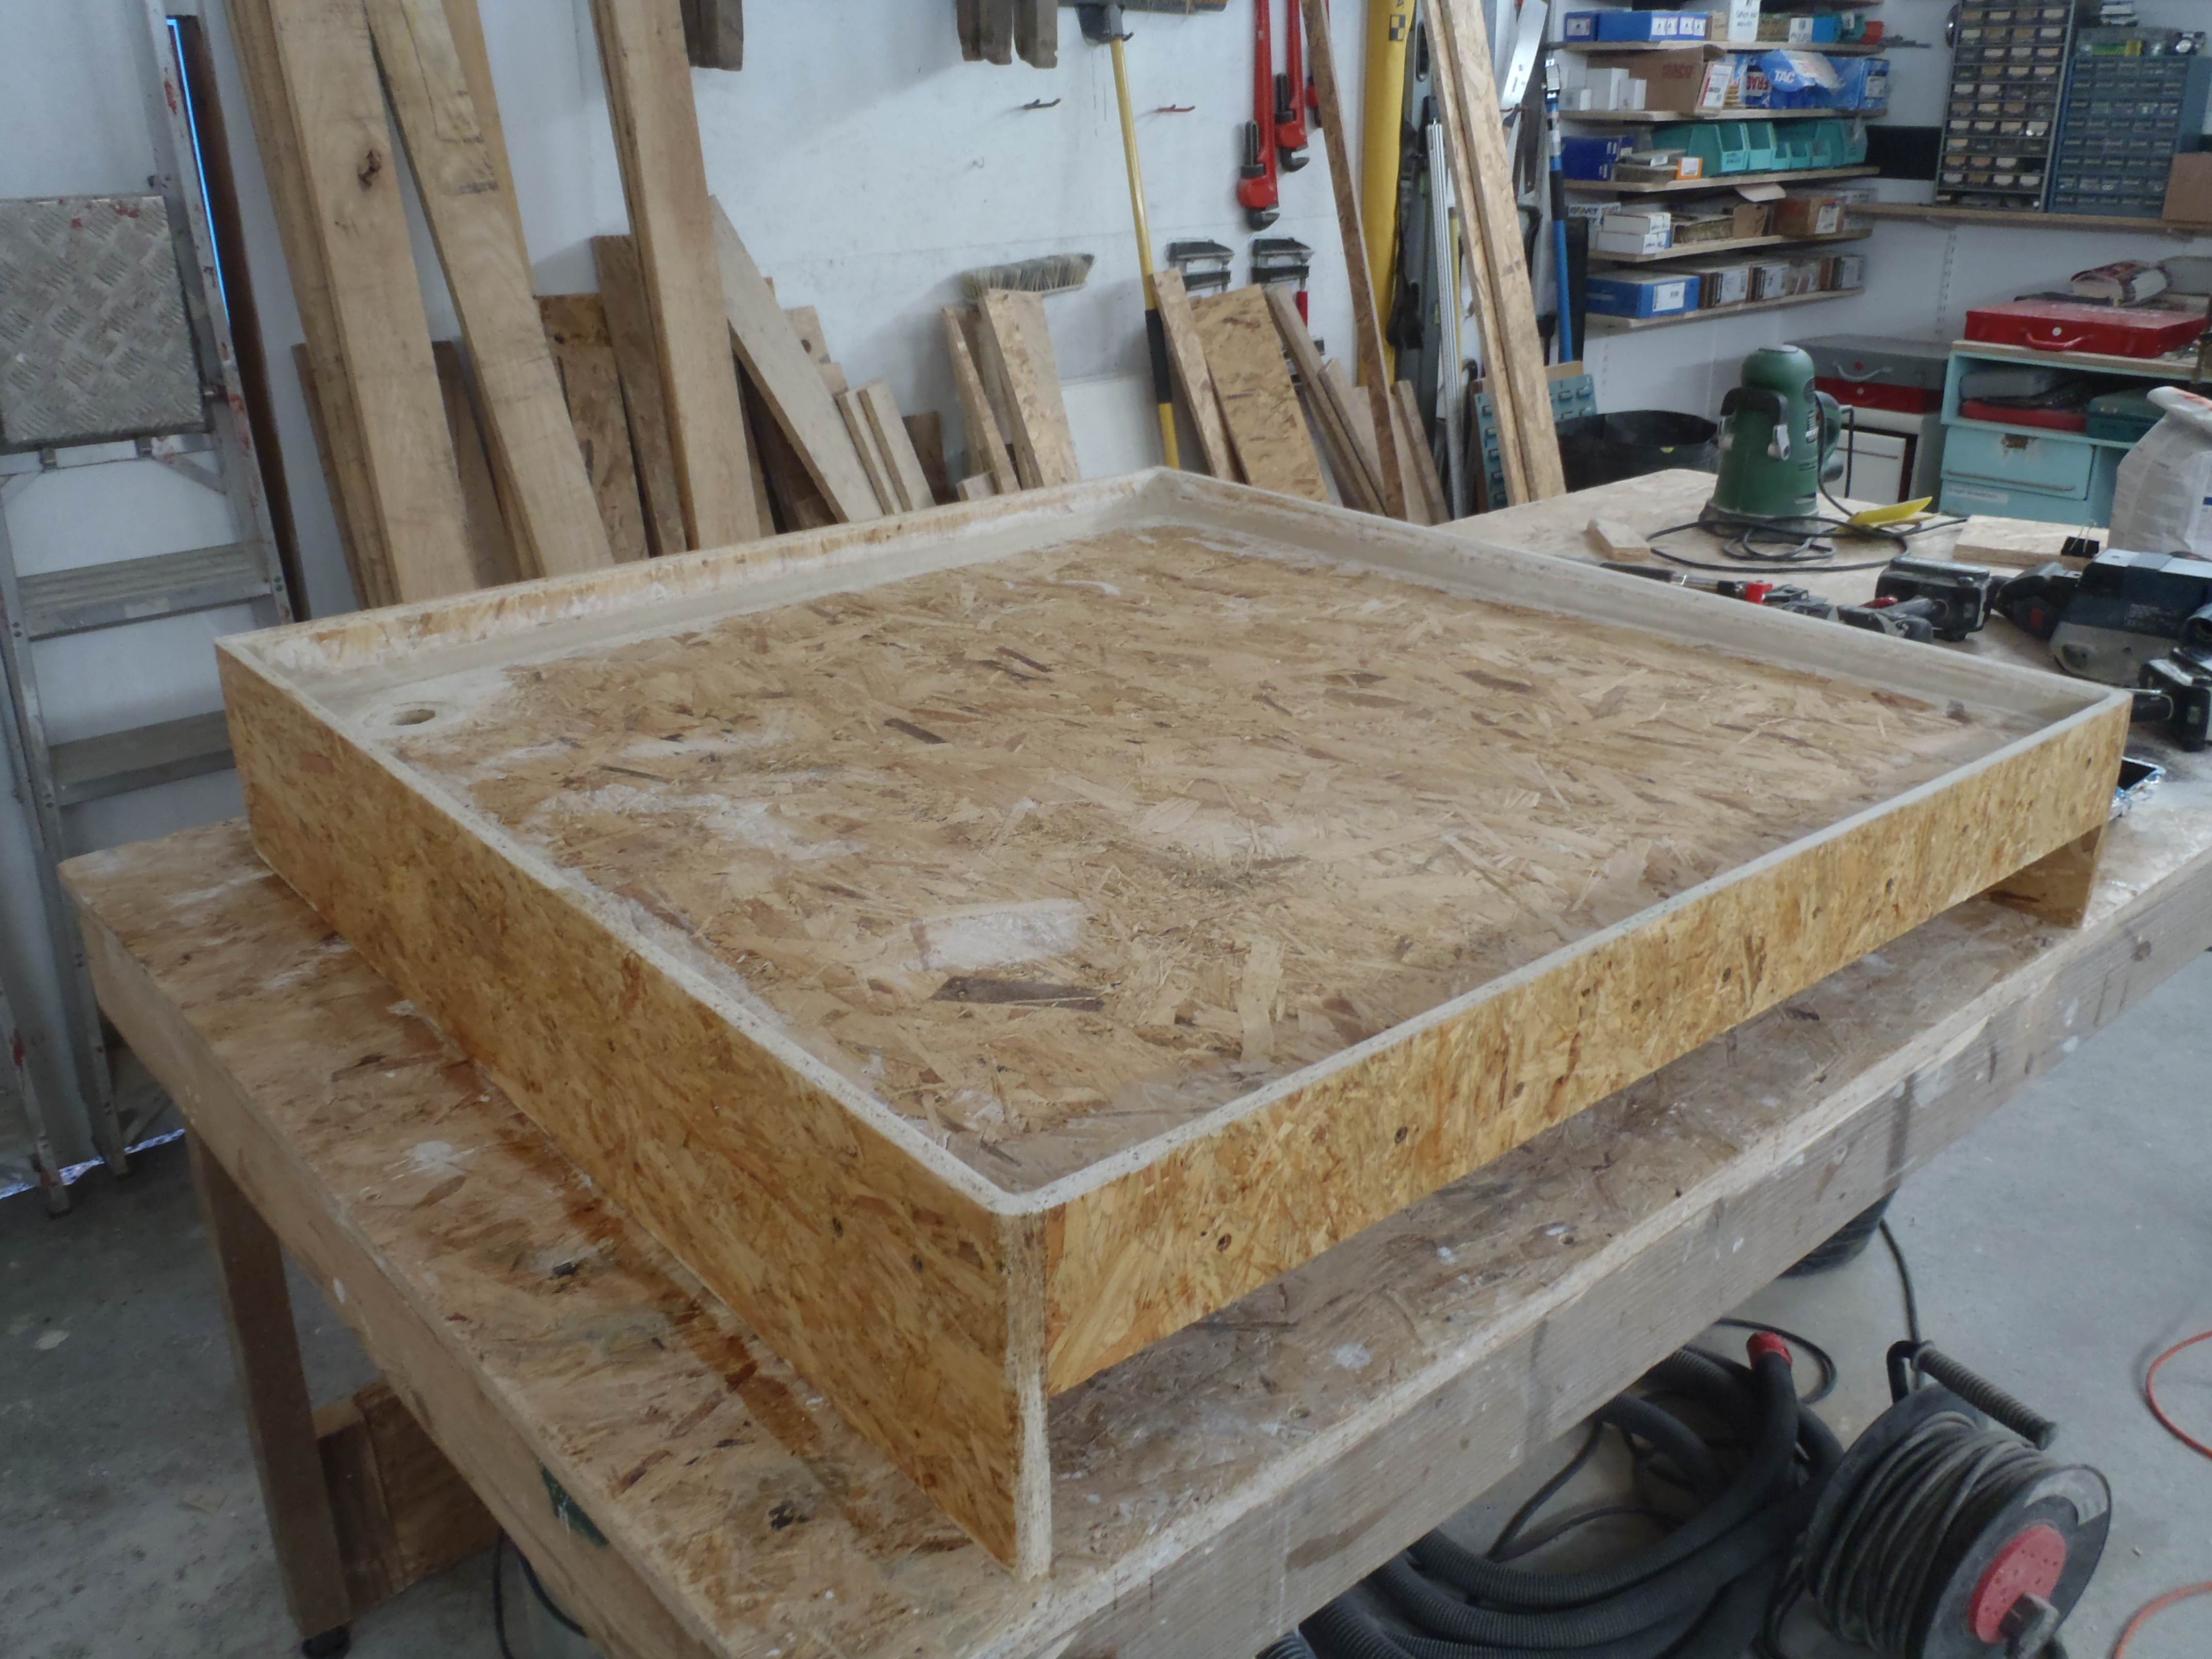
Shower tray assembled
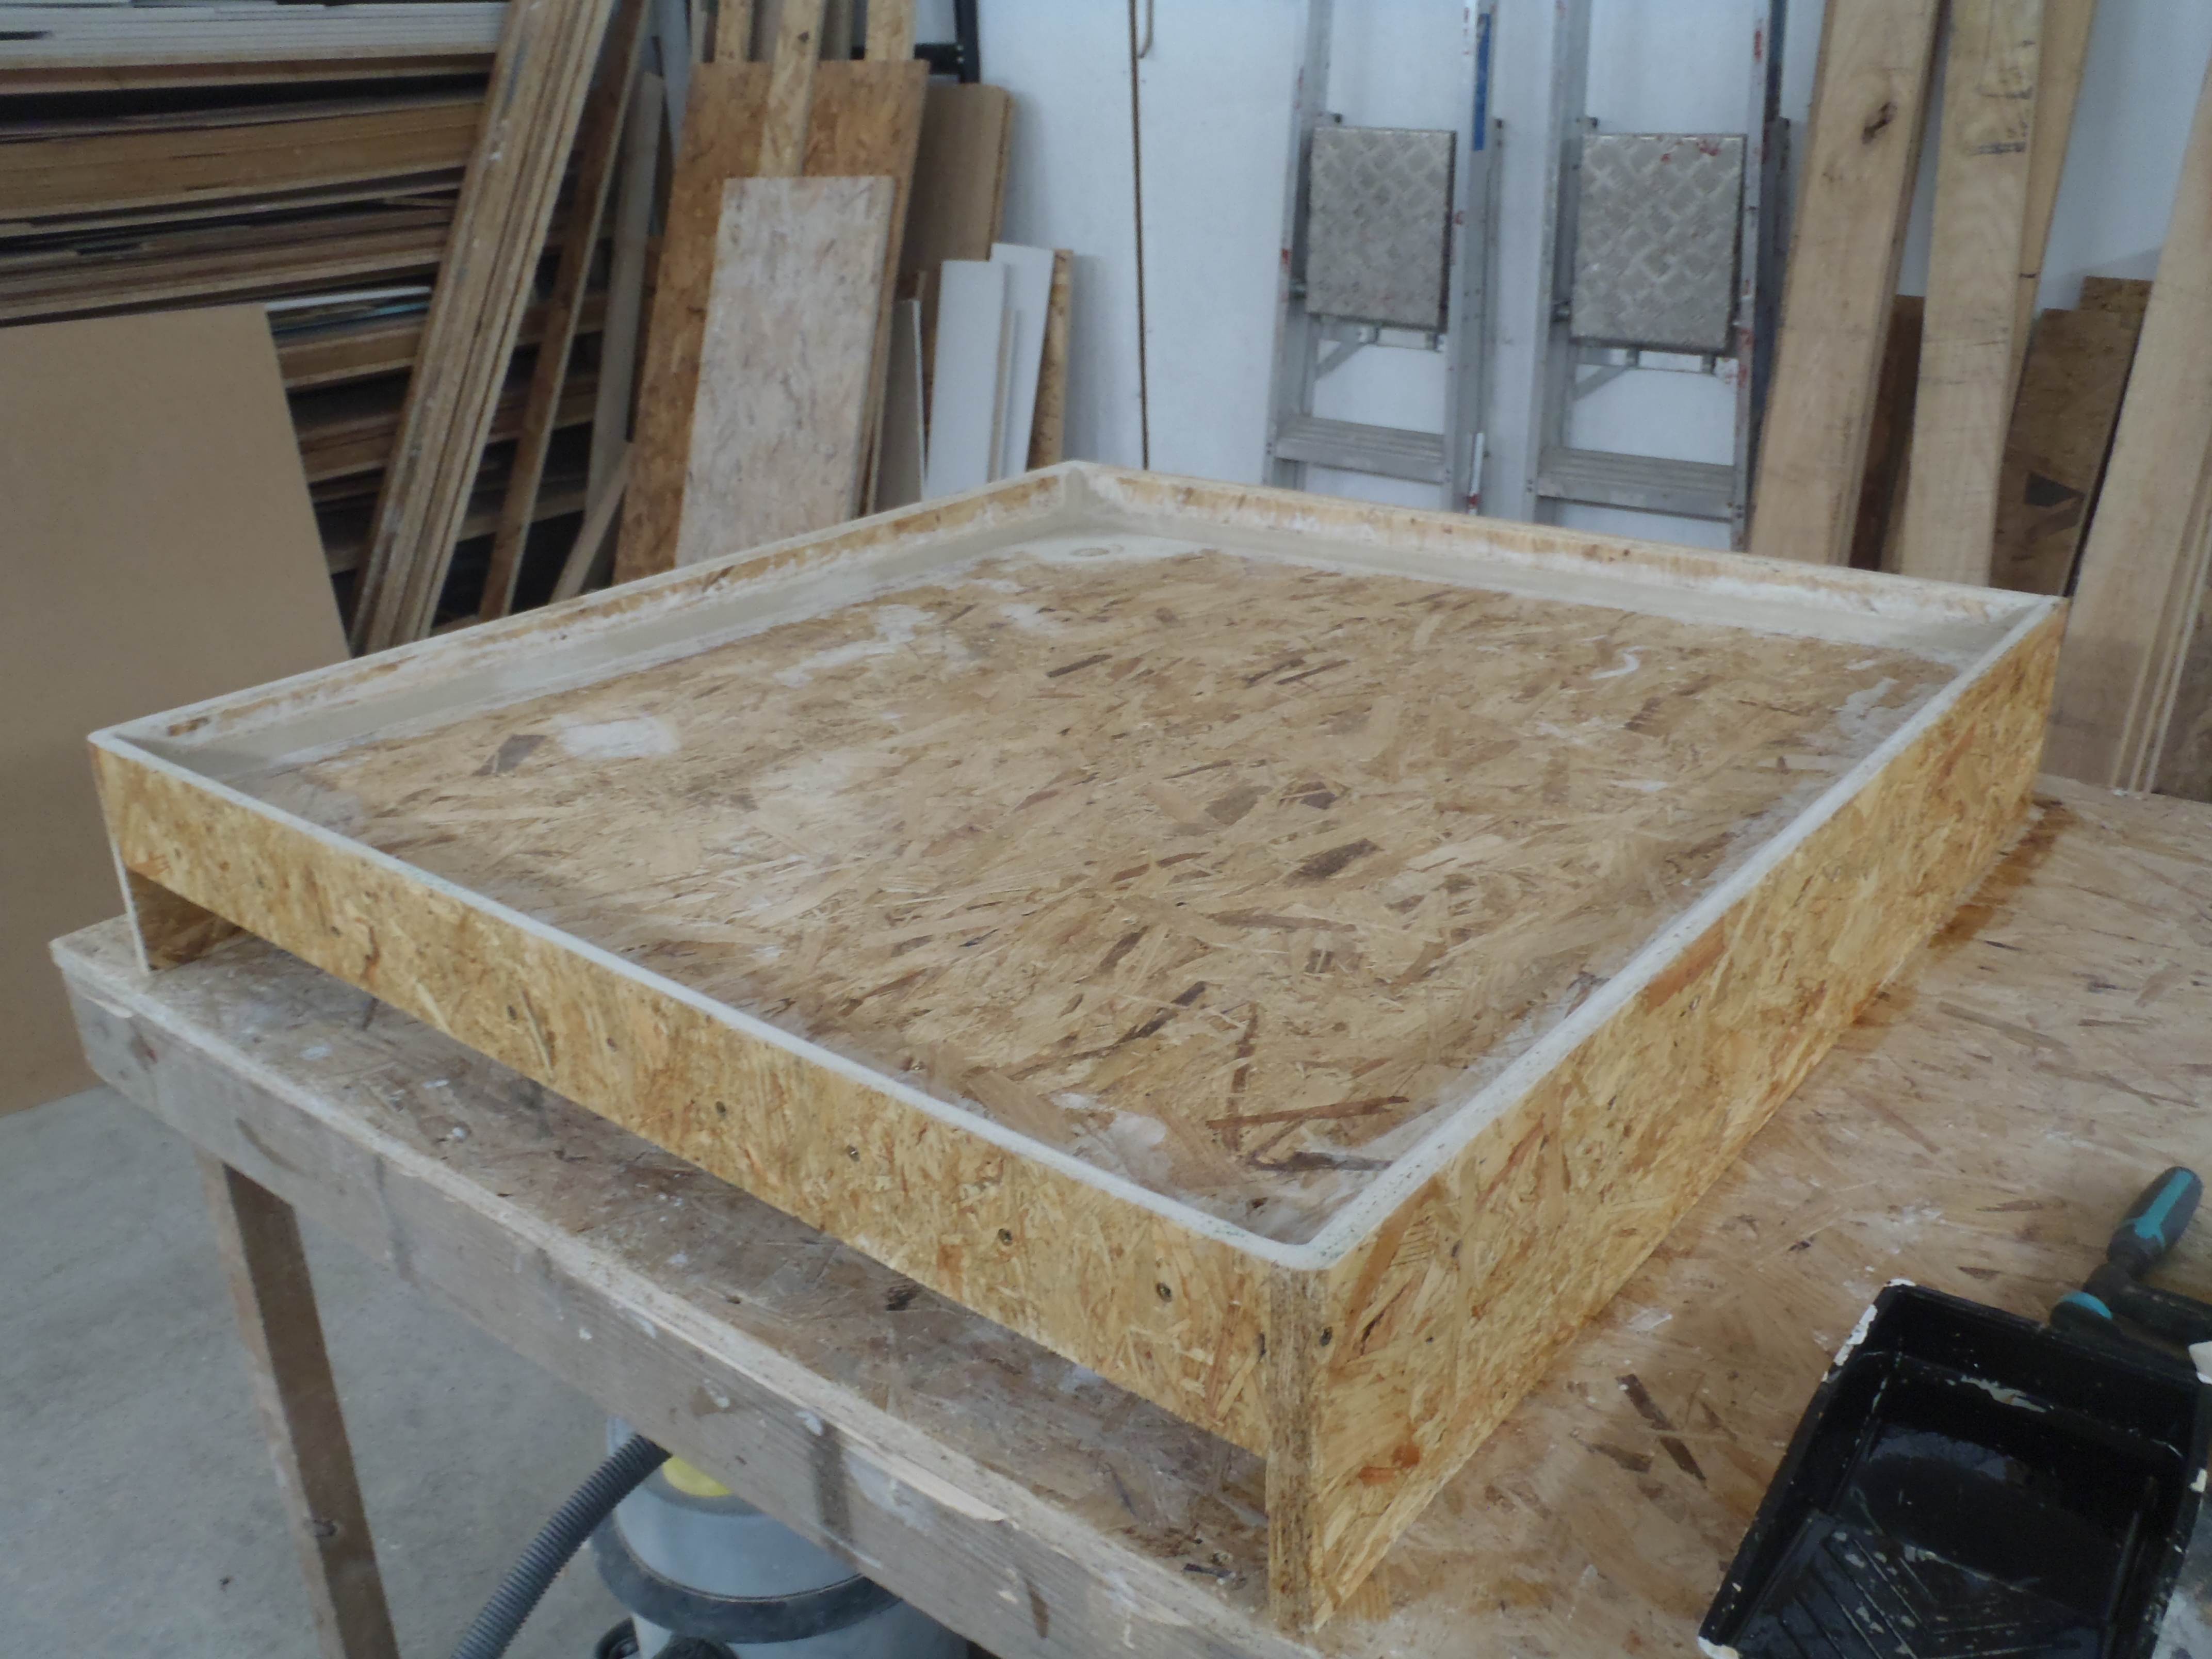
Shower tray assembled
The whole tray measures 1016mm by 1074mm and the slope drops by 20mm in both right to left and front to back.