Category: Temporary Accommodations

  • Carpets, Carpets and Carpets

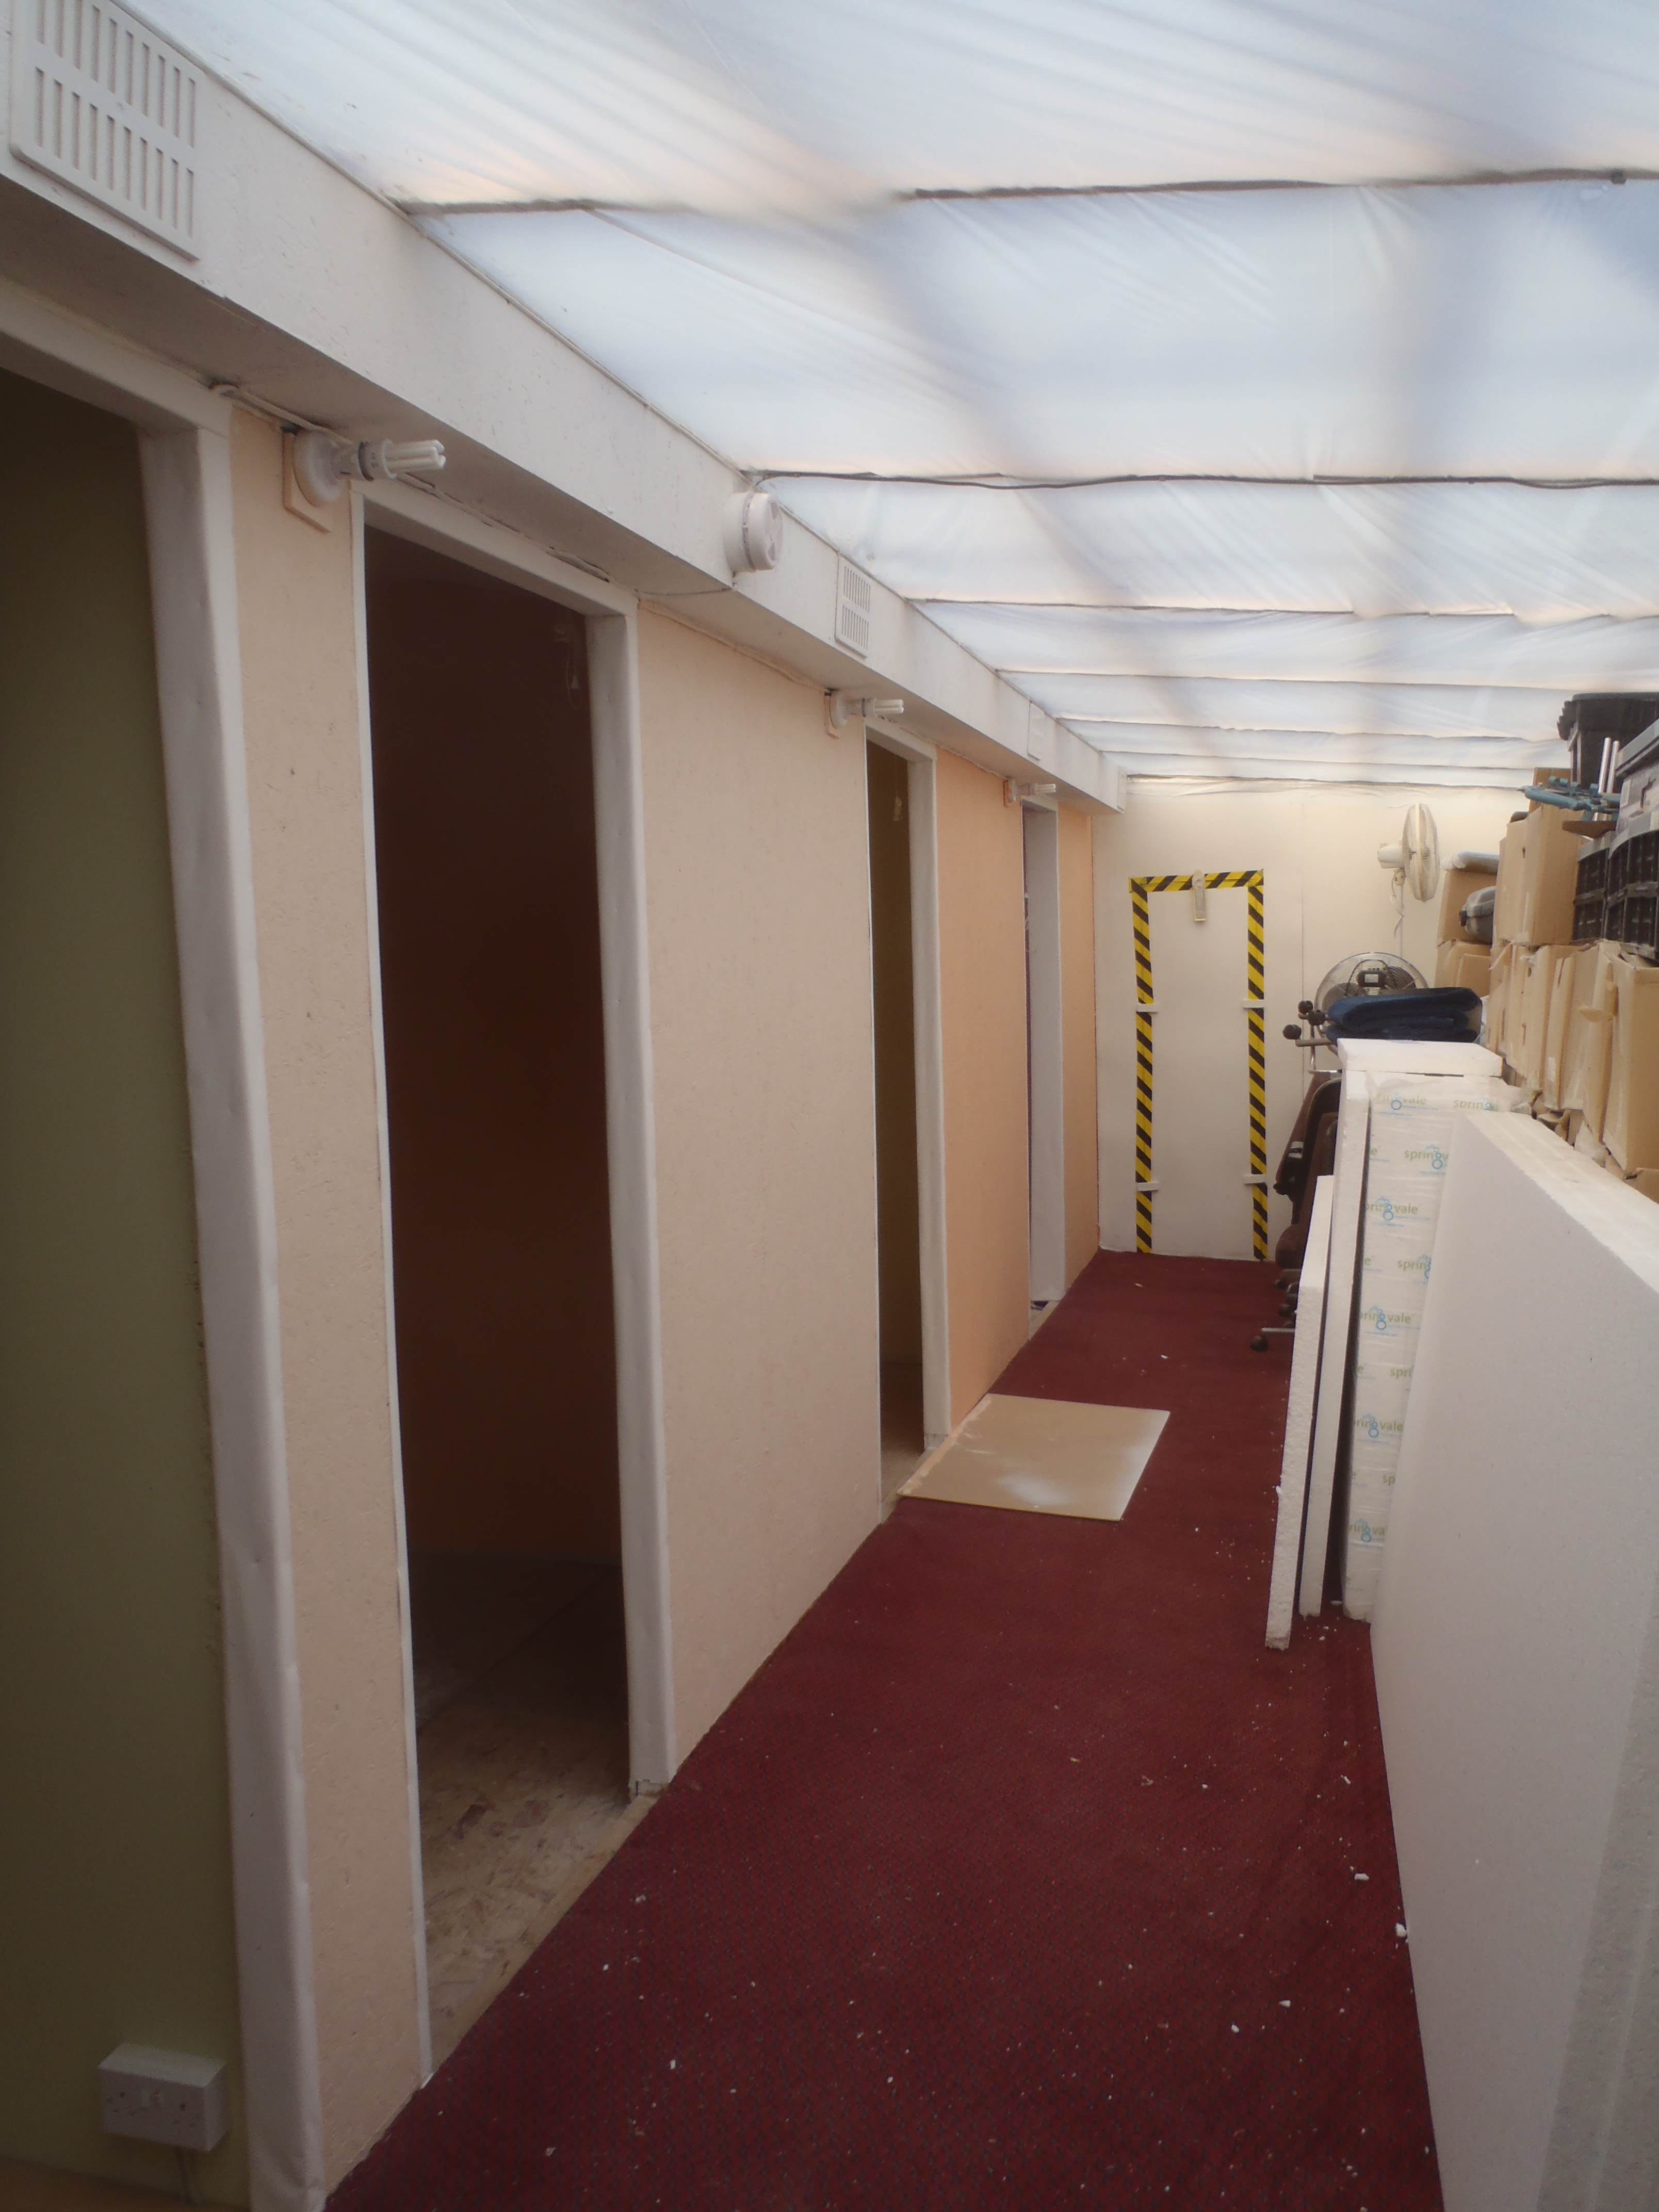
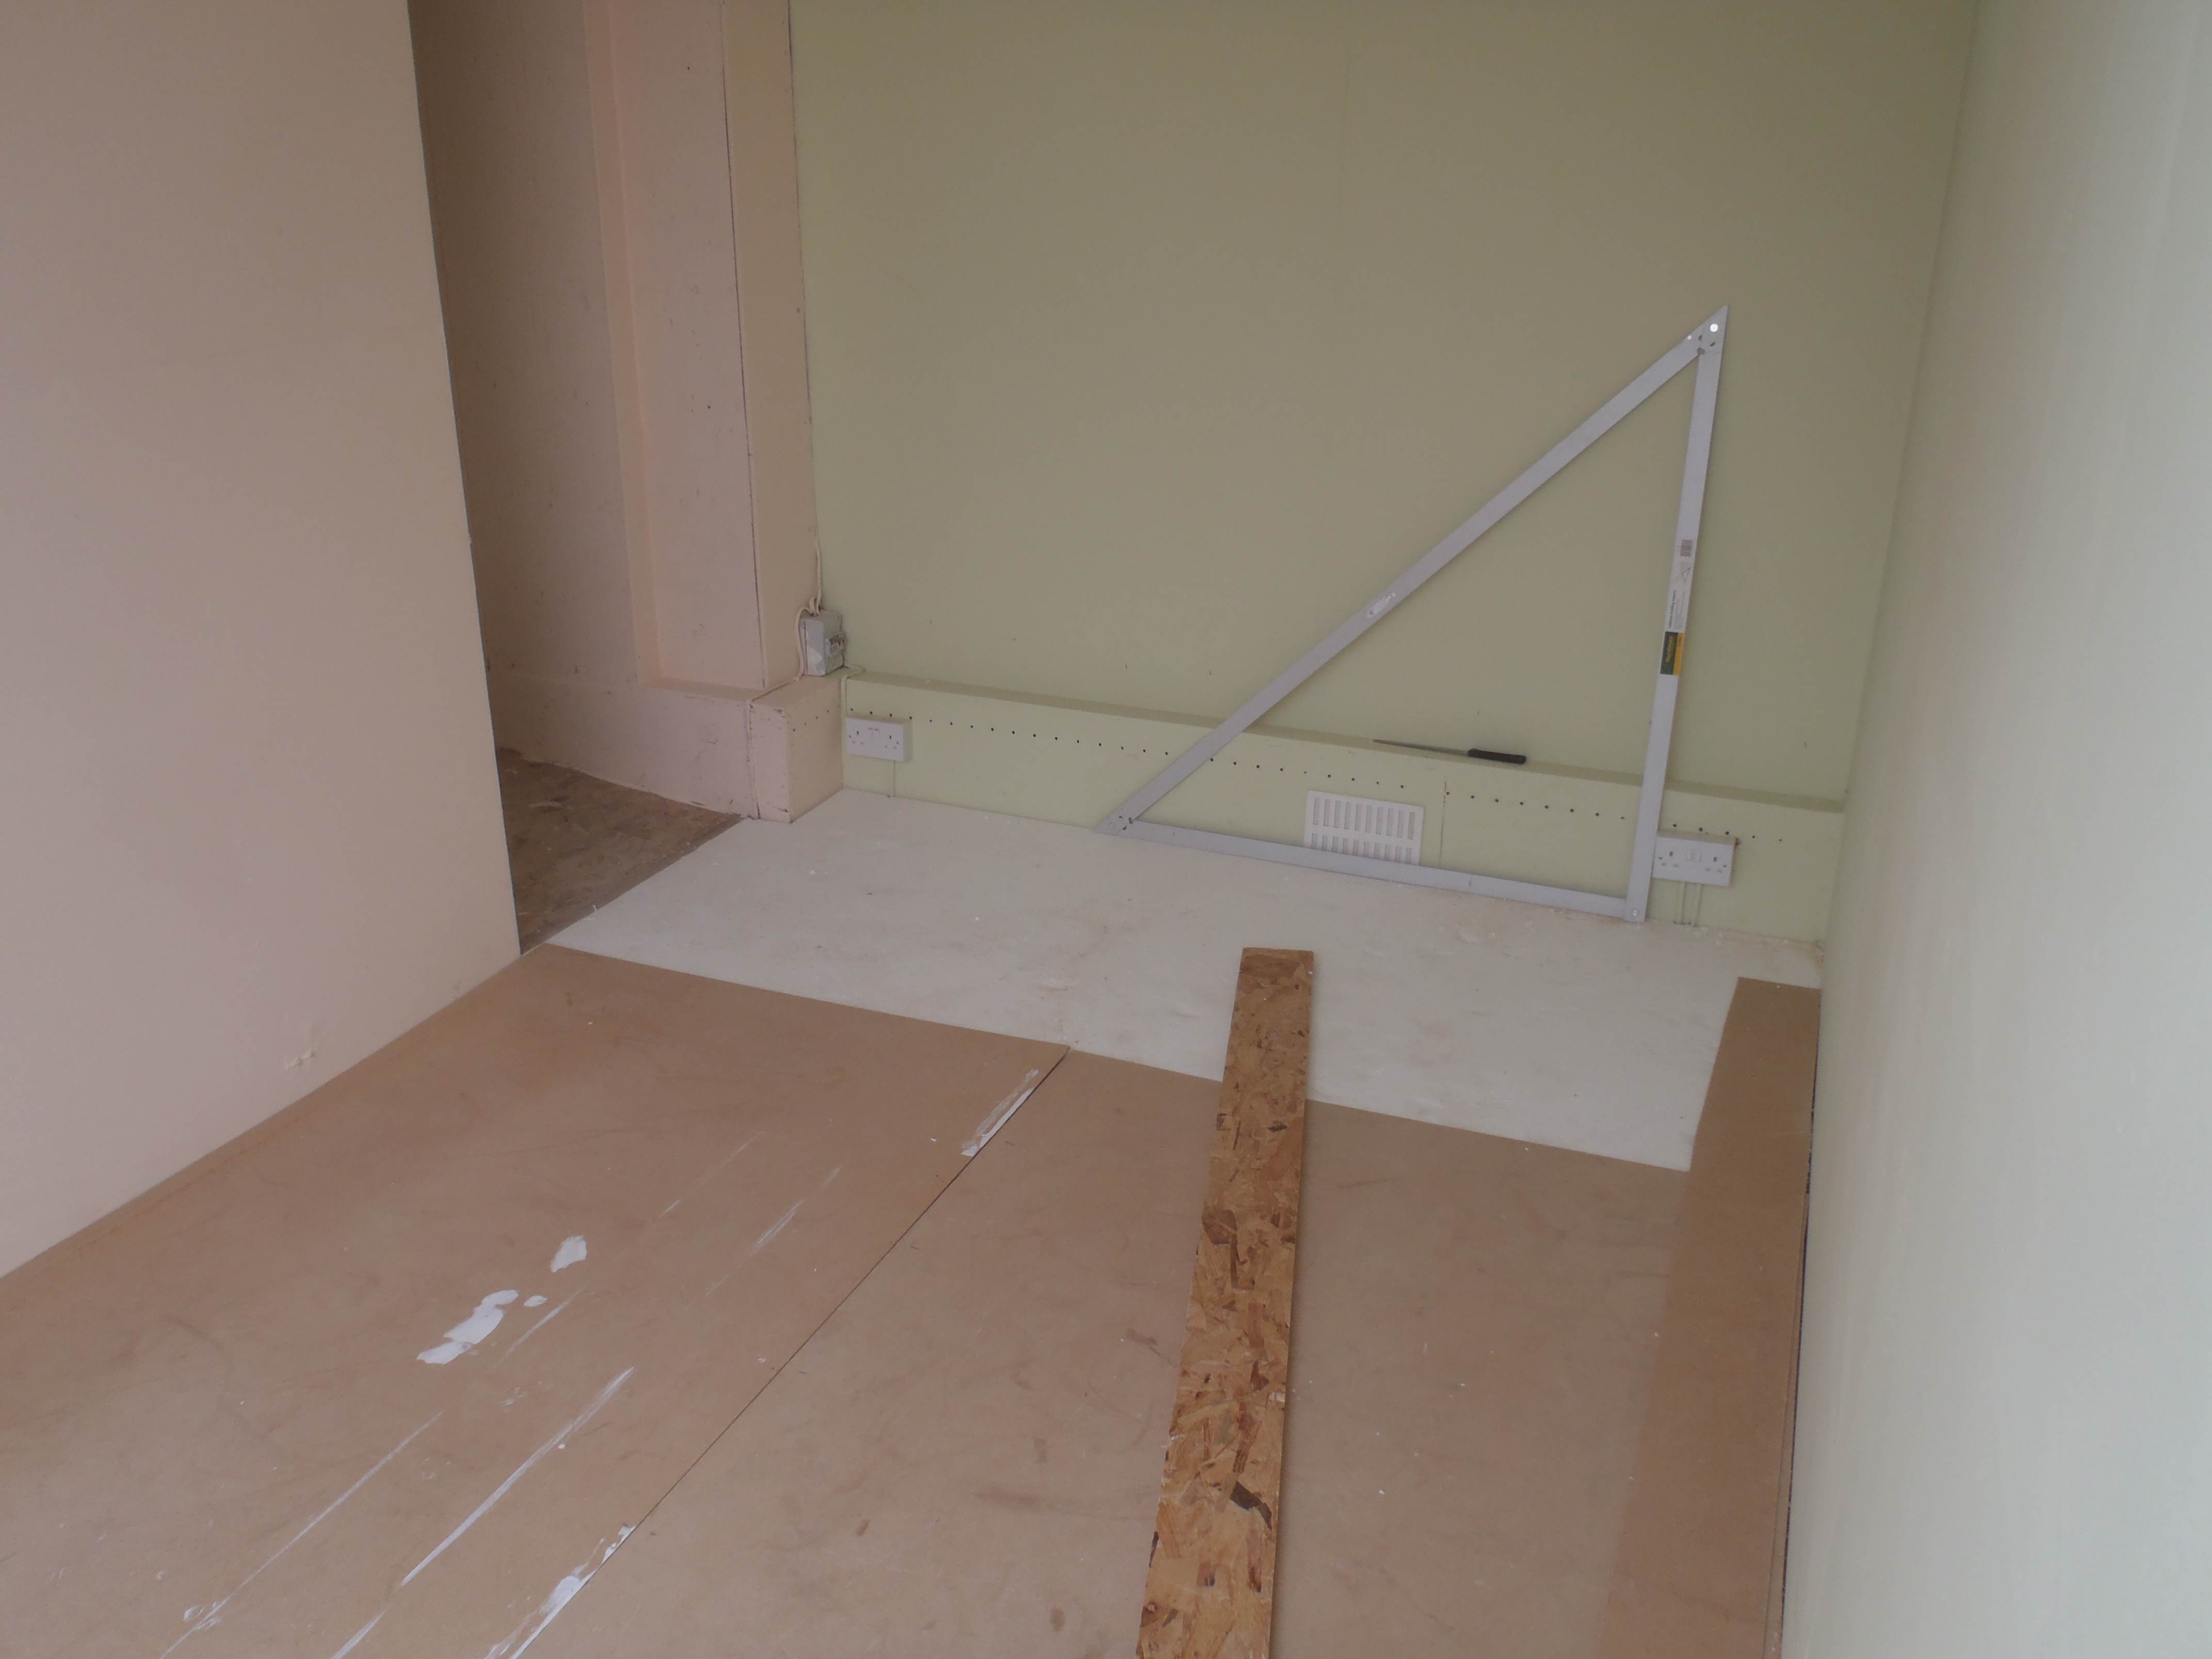
    We pulled out all our old and left over pieces, from storage, of carpets rescued from previous homes! One of them had a totally “falling apart to dust” foam backing, we took it outside and laid it out to bash it and allow the wind to take the dust away but we resorted to using the heavy duty vacuum cleaner! It is a browny colour for bedroom 2!

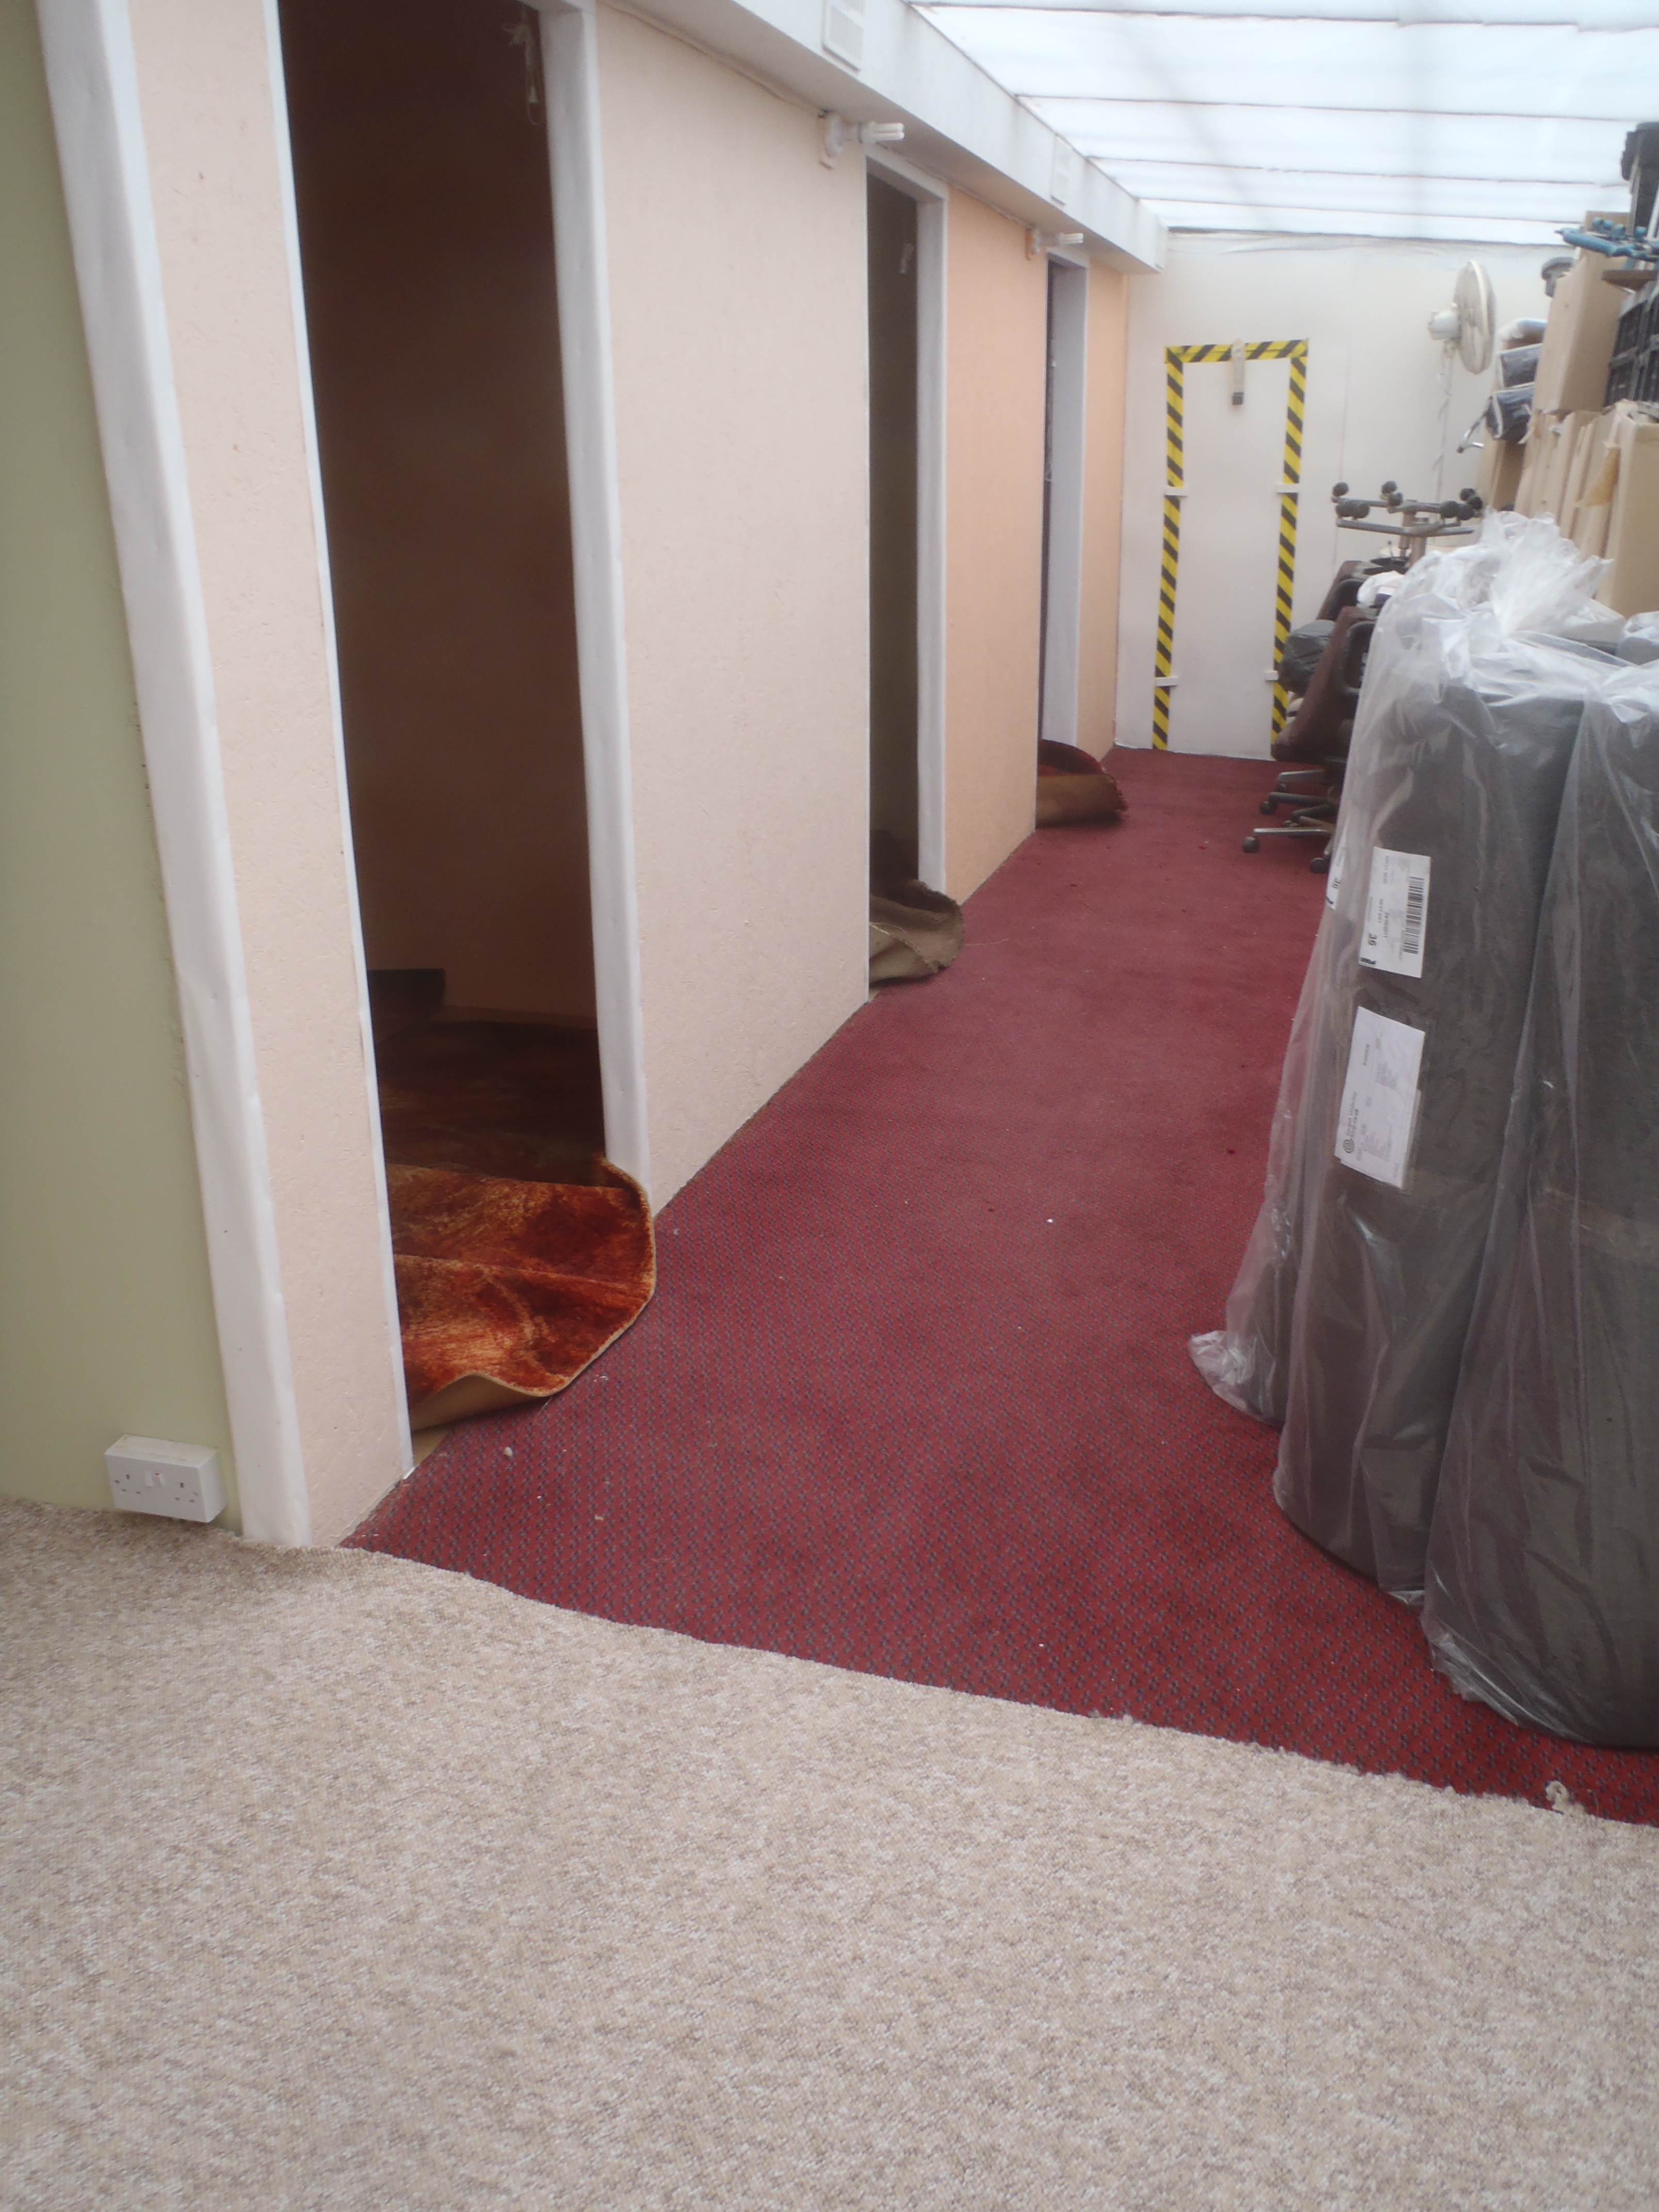
    A red one which is over 45 years old is for bedroom 3! A new left over piece is, a beige colour, is for the lounge. And finally another bronze goldie colour for bedroom 1.

    Tomorrow it is the task of trimming all of them to fit!

  • Day 4 of building up Floors

    The final room, bedroom 3, was completed today!

  • Flooring Day 3

    Bedroom 1 was completed today and also bedroom 2!


    Just bedroom 3 to go! Then it’s carpets time!

  • Floor Laying Day 2

    We completed the Lounge today with the two layers of the hardboard sheets being laid down. The second layer was glued down to minimise slippage.


    Bedroom 1 is now two third completed, with the foam and one layer of hardboard down. It was far simpler to do than the Lounge and it was much quicker so hopefully the other bedrooms will not take too long to finish!

  • The Final Painting Task is finally done!

    The doorways in the corridor had their final white touch up done to create a nice and crisp edging around each door frame.

    We were talking today whether a little “mobile” wall would be useful in the corridor to segregate the Lounge area from the piles of boxes being stored in the corridor, it might be painted the lilac colour!

  • Flooring Surface is Laid!

    The rooms in the temporary living quarters started having their final flooring laid down. A layer of 50mm polystyrene foam sheets, with two layers of 3.6mm hardboard on top.

    The lounge was the first room and it was quite complicated with the doorway into the garden room and garage to fit into plus the air ducting turning the corners as well. We have managed to get the foam down and most of the first layer of the hardboard.

    The other rooms should be simpler by far!

  • Final Day of Painting (Day 6)

    Bedroom 3 has all its four walls done in the pale purple colour. It turned out that only one coat was needed, apart from a little touch up on the joining tapes on the plasterboards and corners.

    Actually there is one more little job to do .. .. the door frames on bedroom 2 and 3 to complete the white borders!

  • Day 5 of Paint, Paint and Paint!

    It was decided that the pinky yellow colour was still too yellow when painted on the walls. More red colour was mixed in and bedroom 1 had another coat to cover up the pinky yellow. It is now more like an orange!

    The same orange was employed on the final two walls in bedroom 2.

    The little bit left of the orange colour was painted on the last two panels in the sun corridor to cover up the slightly off white colour.

    All the ceilings in all four rooms were done to cover up the primer treatment.

    A new tin of white paint, a cheaper brand, was bought, along with a small sample of deep purple, for mixing into the white to make a pale purple colour for bedroom 3.


    One more day should do the trick!

  • Painting day 4

    Today we completed the lounge (the pale green and peach colours). The ceiling seems to be holding the white better now that we have covered the watermarks with the oil primer.

    The front door frame was painted white to make a neater job.

    Bedroom 1 is also nearly finished, the pale green is on two walls and maybe a second coat of the pink yellow paint might be required, after discovering that the paint is perhaps thinner than we first thought.

    Bedroom 2 had two walls done in the pale green too! We await the outcome of the pink yellow coverage in bedroom 1 first before committing the remaining of the paint to bedroom 2.

    All the doorway (lunge and bedrooms) framework was given their coat of white paint.


  • Painting Day 3

    All the ceilings (lounge, bedroom 1 to 3 and hallway) were painted with white vinyl matt (another old tin on the self!). The batten and edges of the new plasterboard on the ceiling in the hallway was hand brushed with the same paint.

    The reddish magnolia (peach colour?) was the first to be applied in the lounge on the long wall (the one that goes from the entrance into the garage down to the hallway). All the edges and corners were painted by hand and the 12inch roller followed after!

    Then it was the Pale Green’s turn! The edges and corners as well as around the electrical sockets was painted with our home made pale green colour. The lounge and bedroom 1 was completed.


    Finally the ceilings (apart from the hallway) were spot treated with an oil based primer to cover up various patches of water leak stains. These ceilings are part of the old storage shed and we had problems with the roofing felt a few years ago hence the water marks!

    Tomorrow they (the ceilings) will have their final top coat of white.