Category: Temporary Accommodations

  • Day 2 of Painting

    The visuals were mixing colours from all our old pots of emulsion paint. We got a large quantity of yellow, a little of pale blue and also a little of a pinkish orange colour. The expert (Daphne) decided that the pale blue mixed into the yellow produced a nice pale green! We used half the yellow, the other half was mixed with the orangey pink (called Bongo Jazz) and produced a pinky yellow! We also had some redder magnolia. So we are set to coat our lounge and bedrooms!
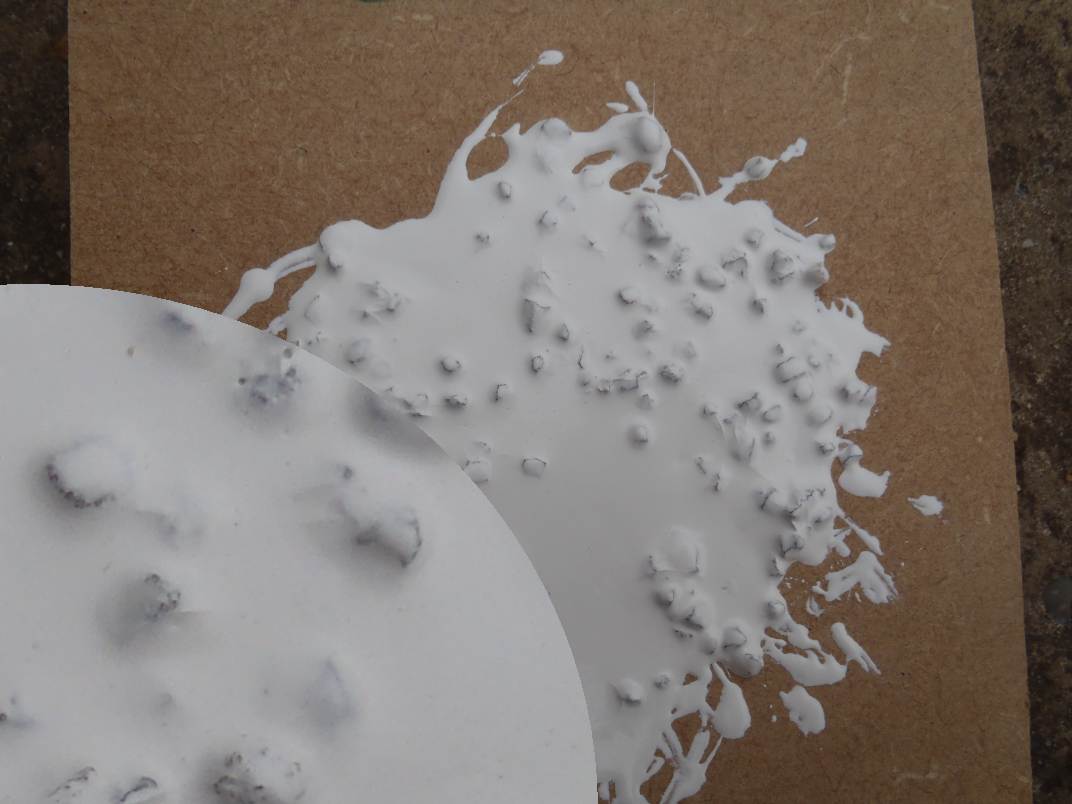
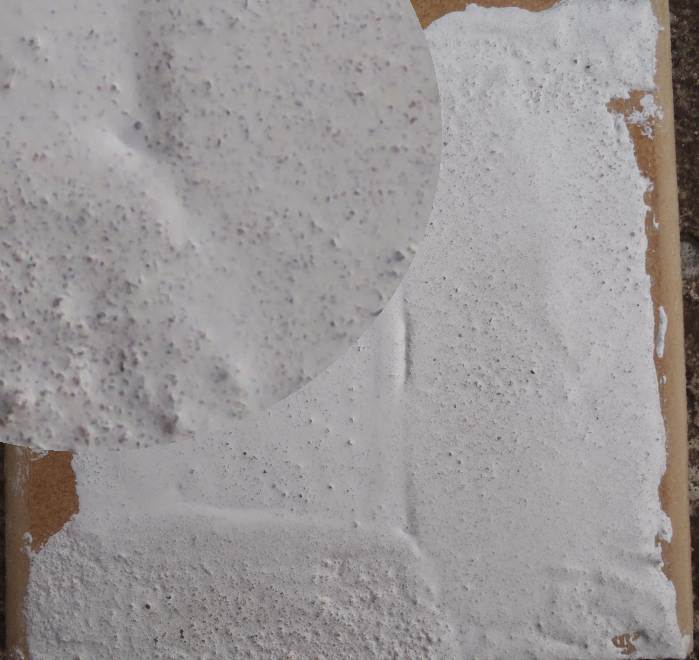
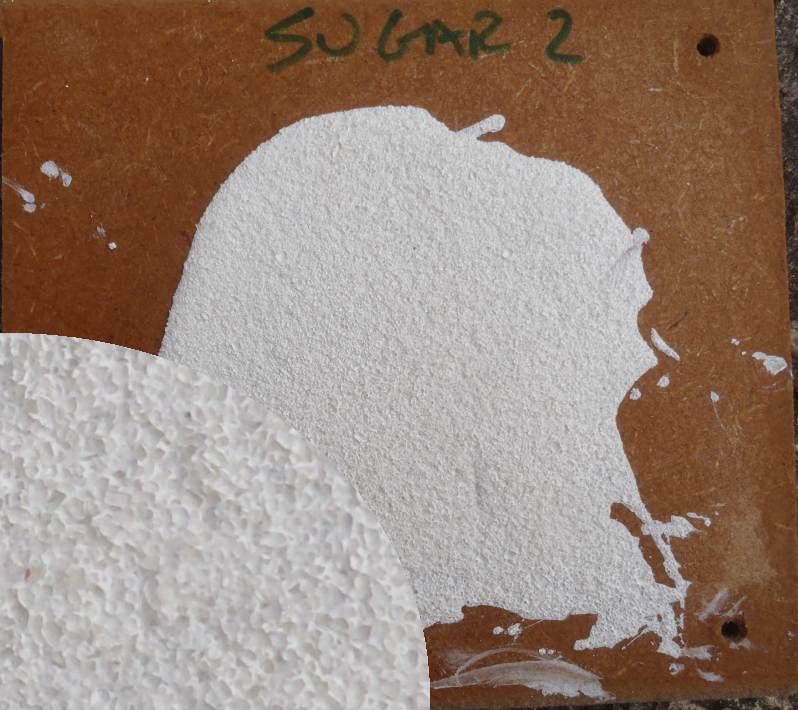
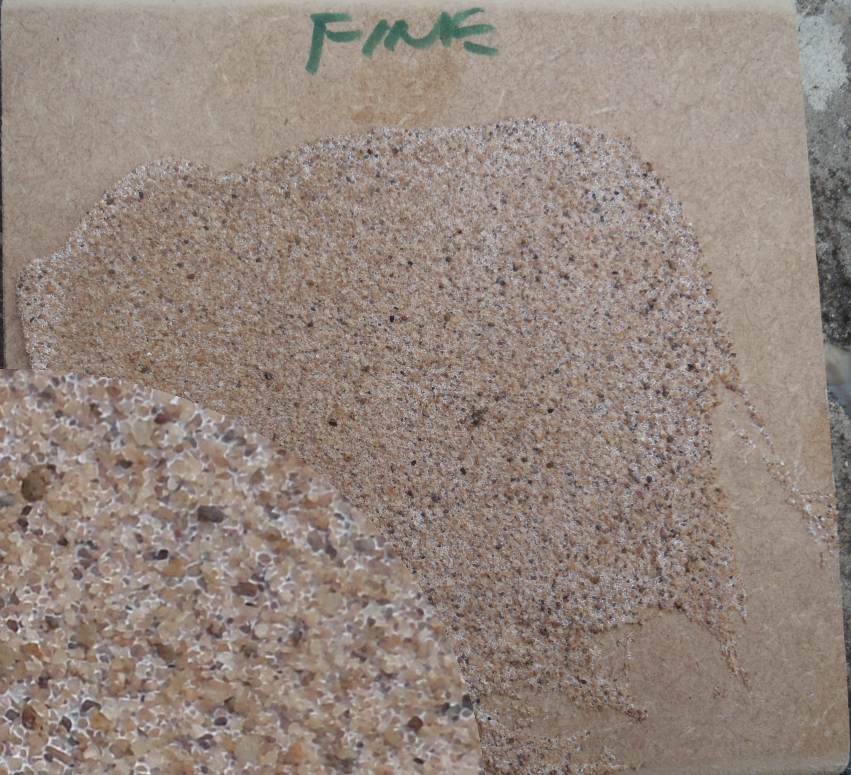
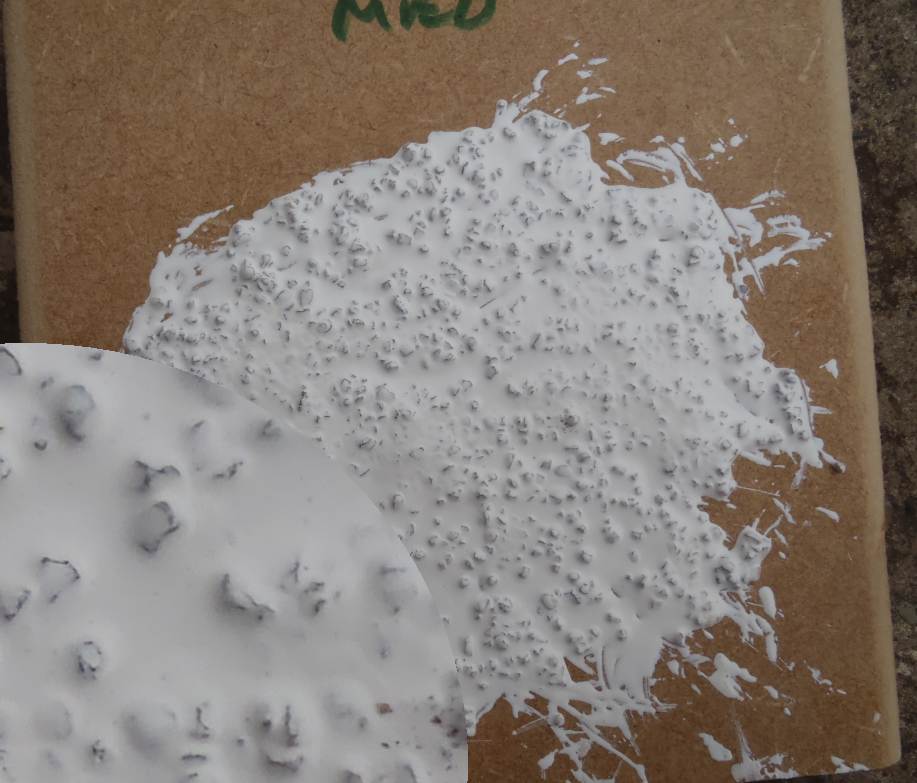
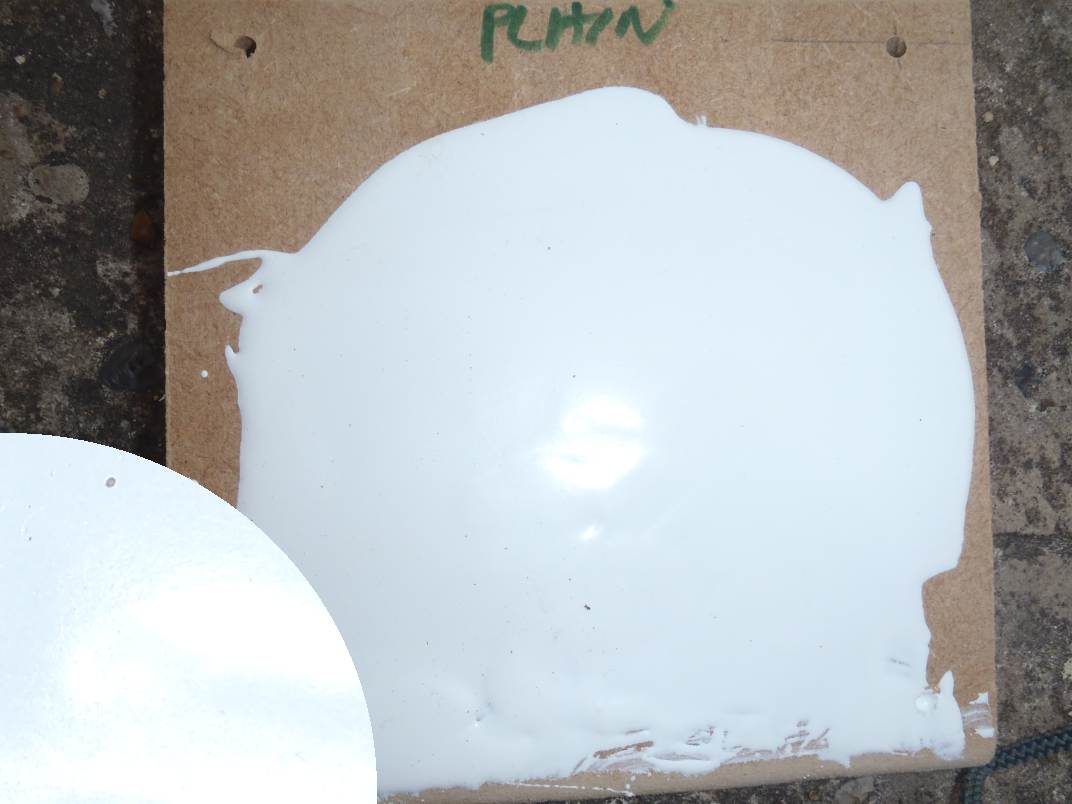
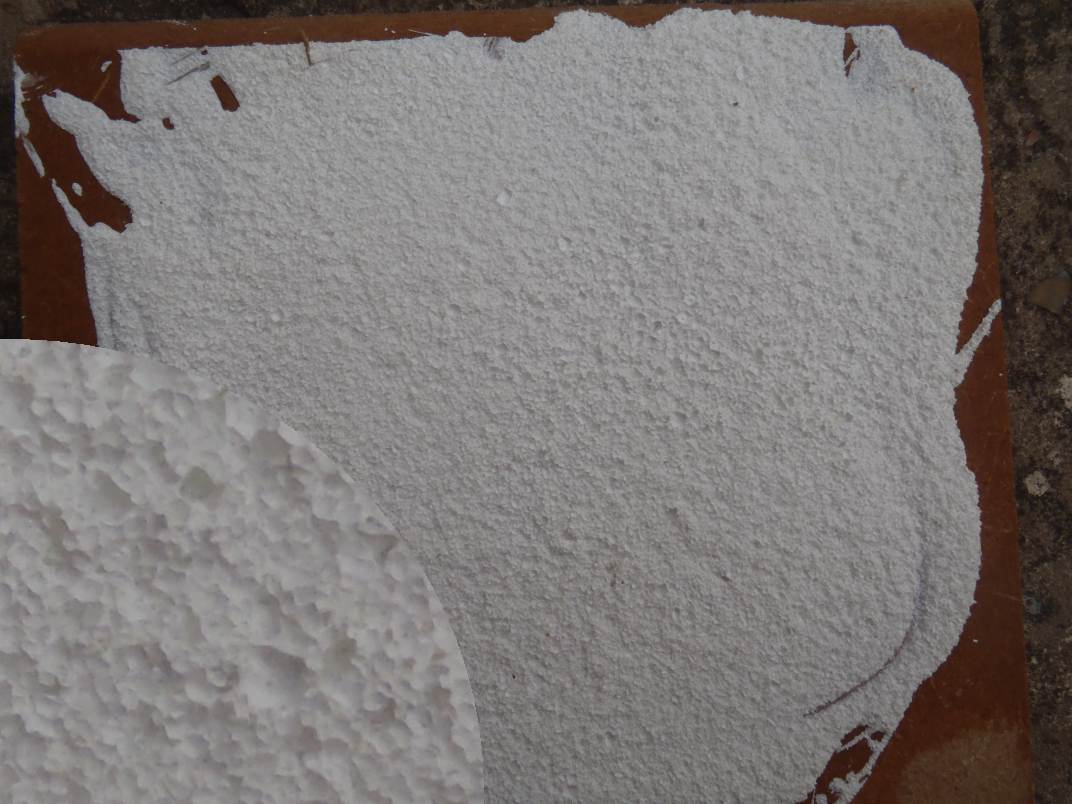
    Paint colour tests

    Paint colour tests

    We will be using the colours labeled B, D and F
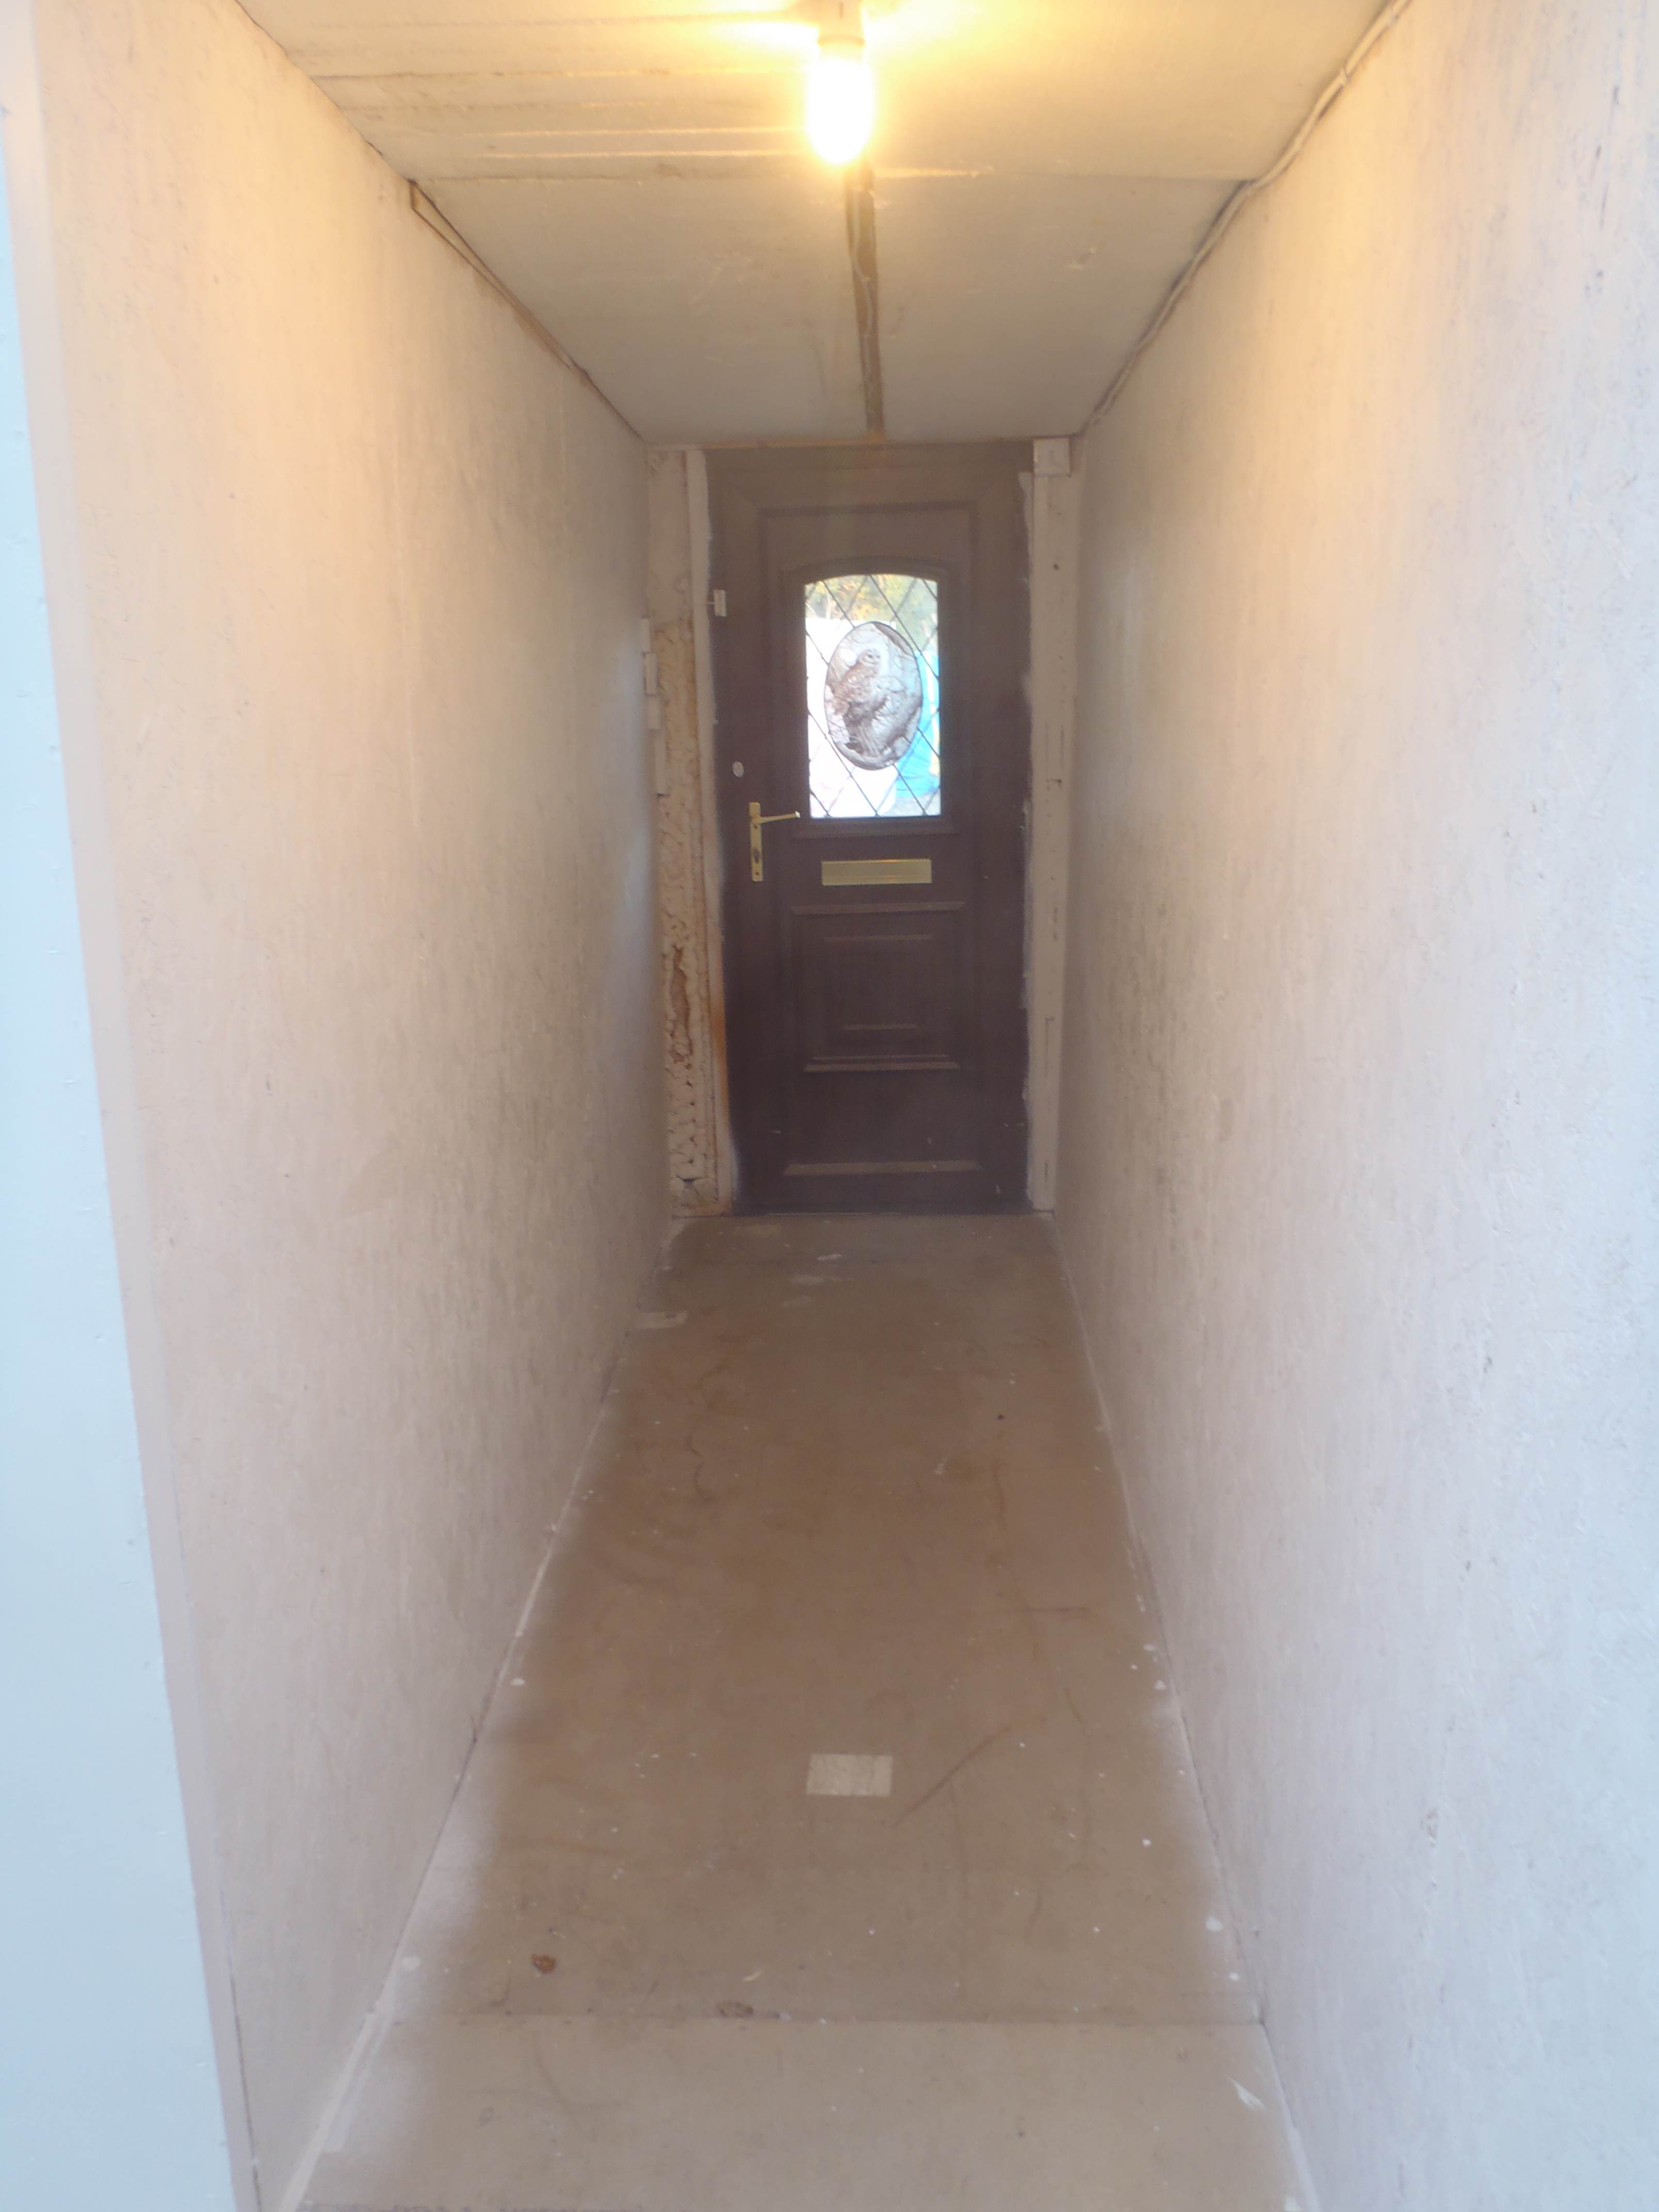
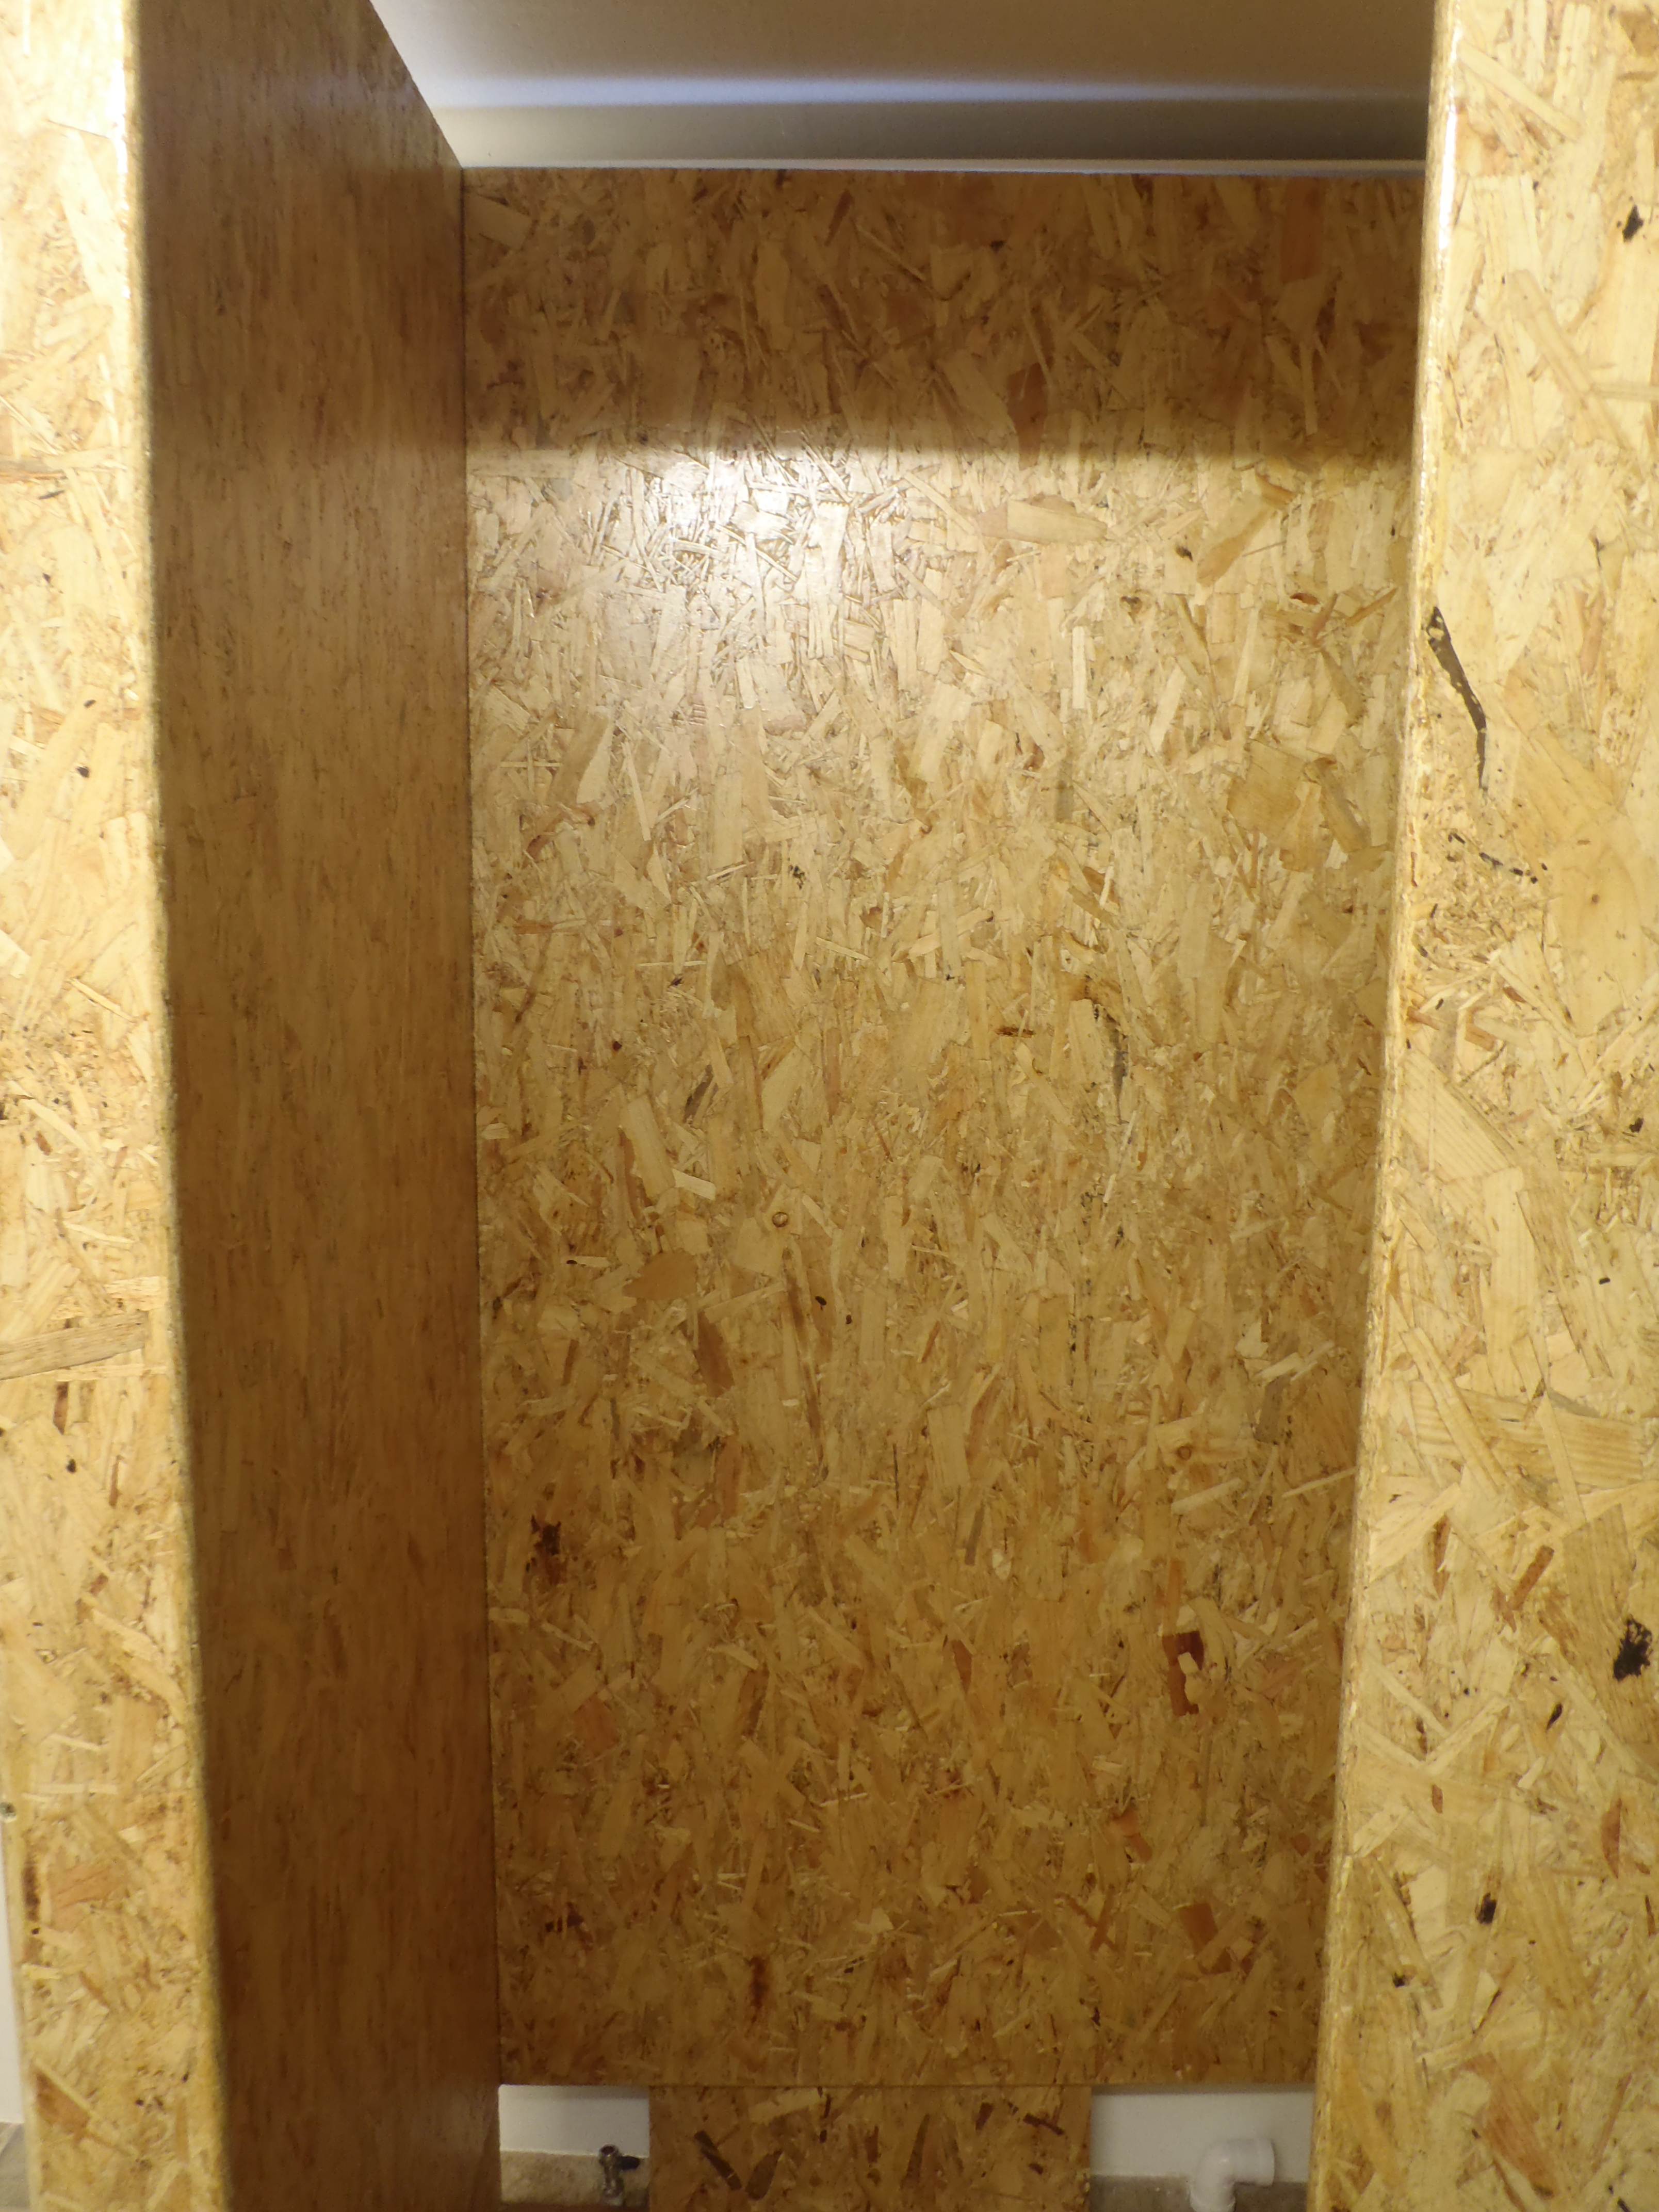
    Also we did a final plasterboard job of covering up the exposed polystyrene foam in the ceiling of the entrance hallway for fire protection.

    That will be painted white along with the other four rooms!

  • Corridor and Hall Painted

    The whole length of the Sun Corridor and Entrance Hall has been painted a glorious white! We found several pots of old white emulsion and mixed the whole lot together.

    We tried using the spray painting machine and after having to dilute the paint with water (about third water to two third paint) to get it to work. Spraying the OSB boards in the Hall did quite well as it fills in the millions of little indents but the spraying pattern on the wall does need careful motions and control to make an even finish or faint stripes might appear.

    But for the majority of the wall surfaces, we resorted to the usual 12inch roller! We went around all the edges with a small pot and brush to fill in the places that a roller would not reach and we managed to do two coats today!


    We will paint the ceiling of the four rooms white as well and since we are nearly out of the cheaper white emulsion, we will go and buy another 10litres pot. We calculated that we will need about 75 square metres of coverage. The walls on the other hand, adds up to about 200 square metres and we should have enough of other old pots of emulsion (a yellow, a pale blue and a bit of Bongo Jazz!) so our lounge and our bedrooms would have some relief of colour to break the sheer whiteness!!

  • Smoothing Door holes

    We smoothed off the door holes in and out of the three bedroom and the larger opening that is the lounge. The cut-outs are quite rough with sawn edges and plasterboards showing.

    We took standard backing wallpaper and rolled up a length (2100mm – 7geet) in the other direction to create a long tube. We then flattened it to produce a multilayer strip 140mm wide which we wrapped around the edges of the doorways. They were held up with staples.

    We also have been using a pre-formed hardboard shaped like a capital L which were the protection strips for the worktop. It is a very similar idea of wallpaper rolled up and flattened but in their case, they have use some sort of glue to mould it into a stiffen shape! We simply cut them up and used the pieces to cover the horizontal top edges of our door ways!

  • Shower Cubicle Bits and Pieces

    We put together a light box with two low energy bulbs in it, to provide plenty of light inside the shower! It was made of spare pieces of our fermacell boards to make a box, with aluminium foil glued onto the inside surfaces, to reflect as much light as possible downwards. The light switch is mounted outside high up on the cubicle.

    We also fitted an air duct from the cubicle to the main ducting to provide some extraction of the steam and heat, to draw in fresh air, as the whole cubicle is one sealed box (ceiling and walls all joined together). The fresh air will enter around the door itself! It probably would get hot very quickly and may feel too stuffy! So we thought we had better fit an air extraction point!

  • Shower Cubicle Day 9

    We got back to finishing off the Shower cubicle today. We wired up a switched fuse electrical unit to allow us to isolate any of the equipment in and around the shower cubicle (lighting, the data recorder and the shower pump itself).

    Various water pipes were connected on the back of the cubicle before it was pushed finally into it resting place.

    And finally a lid is being made for the heat exchanger!

  • Shower Cubicle Day 7

    The shower tray now does not leak! The sealant did the trick! We made the roof for the shower cubicle and cut out a small opening to insert a polycarbonate plastic sheet to act as a light source. This and the shower tray were giving their first coat of varnish.

    The cold water valve was changed over from the straight kind to a right angle type. That is ok and the water is now back on.

    We have all the plumbing bits to assemble the heat exchanger now so that is the next job.

  • Shower Cubicle Day 6

    The shower tray and its white topcoat has set nicely overnight. The sugar was vacuumed up and washed under the outside tap. The water flowed away very nicely so no unwanted build-up of water would not happen unless someone carelessly put their foot over the drain hole of course!! But we did have a small leak around the plastic pipe adapter inside the drain hole. The resin didn’t quite fill all the gap between the wooden hole and the plastic pipe even though we had taped up the opening etc. The lesson learnt here is that this kind of resin (polyester) is too thin and doesn’t stick and build up by itself. We applied some PU sealant in and around the plastic pipe up inside the drain hole to try and seal the leak. Tomorrow will tell!!

    Finished shower tray

    Finished shower tray

    Another adjustment needed was the cold water feed coming up out of the floor which is currently a straight up shut-off valve but unfortunately we need it to do a right angle turn so the cold water can enter under the tray itself to connect to our heat exchanger. The afternoon was spend draining the hot water tank and blocking off the header tank to allow us to change the fitting.

  • Shower Cubicle Day 5

    the four walls of the shower cubicle has been assembled in the Garden Room. It is now waiting for the tray to be finished and the cubicle’s roof cut and varnished.

    The shower’s tray was trimmed around the edges removing excess glass fibre (horrible stuff and very itchy!) and the surfaces rubbed down to remove any pieces of glass fibre sticking out. After the analysis of the samples, the white topcoat was applied all over and sugar sprinkled carefully on it over most of the area, only avoiding the drain hole and the edges.


    Tomorrow it is the turn of the Heat Exchanger!

  • Shower Cubicle Samples

    Here are the pictures and result of the samples we made yesterday.


    Today we have done two more samples where we mixed the fine sand into the white topcoat first before applying to the surface, and the second sample was sugar again but this time just sprinkling it over the resin without patting or touching it at all.

    The result and our conclusion is that the sugar method is the best (without patting it) which produces a very even and nice rough surface without deep holes!

  • Shower Cubicle Day 4

    The second coat of varnish was applied after buying another tin, this time a full gloss finish, on the final wall and the door missed out yesterday.

    We started messing with very smelly polyester resin and glass fibre, to coat the tray in two layers, to provide a tough waterproof surface. Very messy indeed but thank goodness for latex rubber gloves!

    We made five small samples of the white topcoat using different size sand grains and sugar! And later we can decide which is the best for providing a good grip for our feet on the wet soapy shower tray!

    The sugar idea came off the web and once the resin is hardened then simply wash and dissolve the sugar leaving behind a textured surface!