In the glorious sunshine, while it was far too hot indoors, we decided to start one of our Summer job now. We needed to do some serious maintenance to our exterior cladding of our house, giving it a thorough clean, and give it a good treatment of oil, and perhaps a touch of colour dye as well.
So, the first part of this task, is to clean the larch cladding and the oak guttering and the oak surrounds at each window.
We got our pressure washer out, pulled the hose off the reel, all 50 metres of it and only just got to the far end of the house! And started washing down the walls, using the rotating nozzle that seems to do the trick of shifting the dust and dirt out of the grain of the wood. Some of the larch has fungi growing on them as well, especially in those locations that don’t have a lot of sunshine on them, and gets wet from the rain. We are planning to apply some anti-fungi treatment, mixed in with the timber oil solution as well and give the wood some protection against further fungi growth.
But, right now, we slowly worked our way around the whole house, doing each section by section. We even blasted the gutters as well, they are starting to turn silver and the pressure washer seems to give them a new leaf of life and colour again.
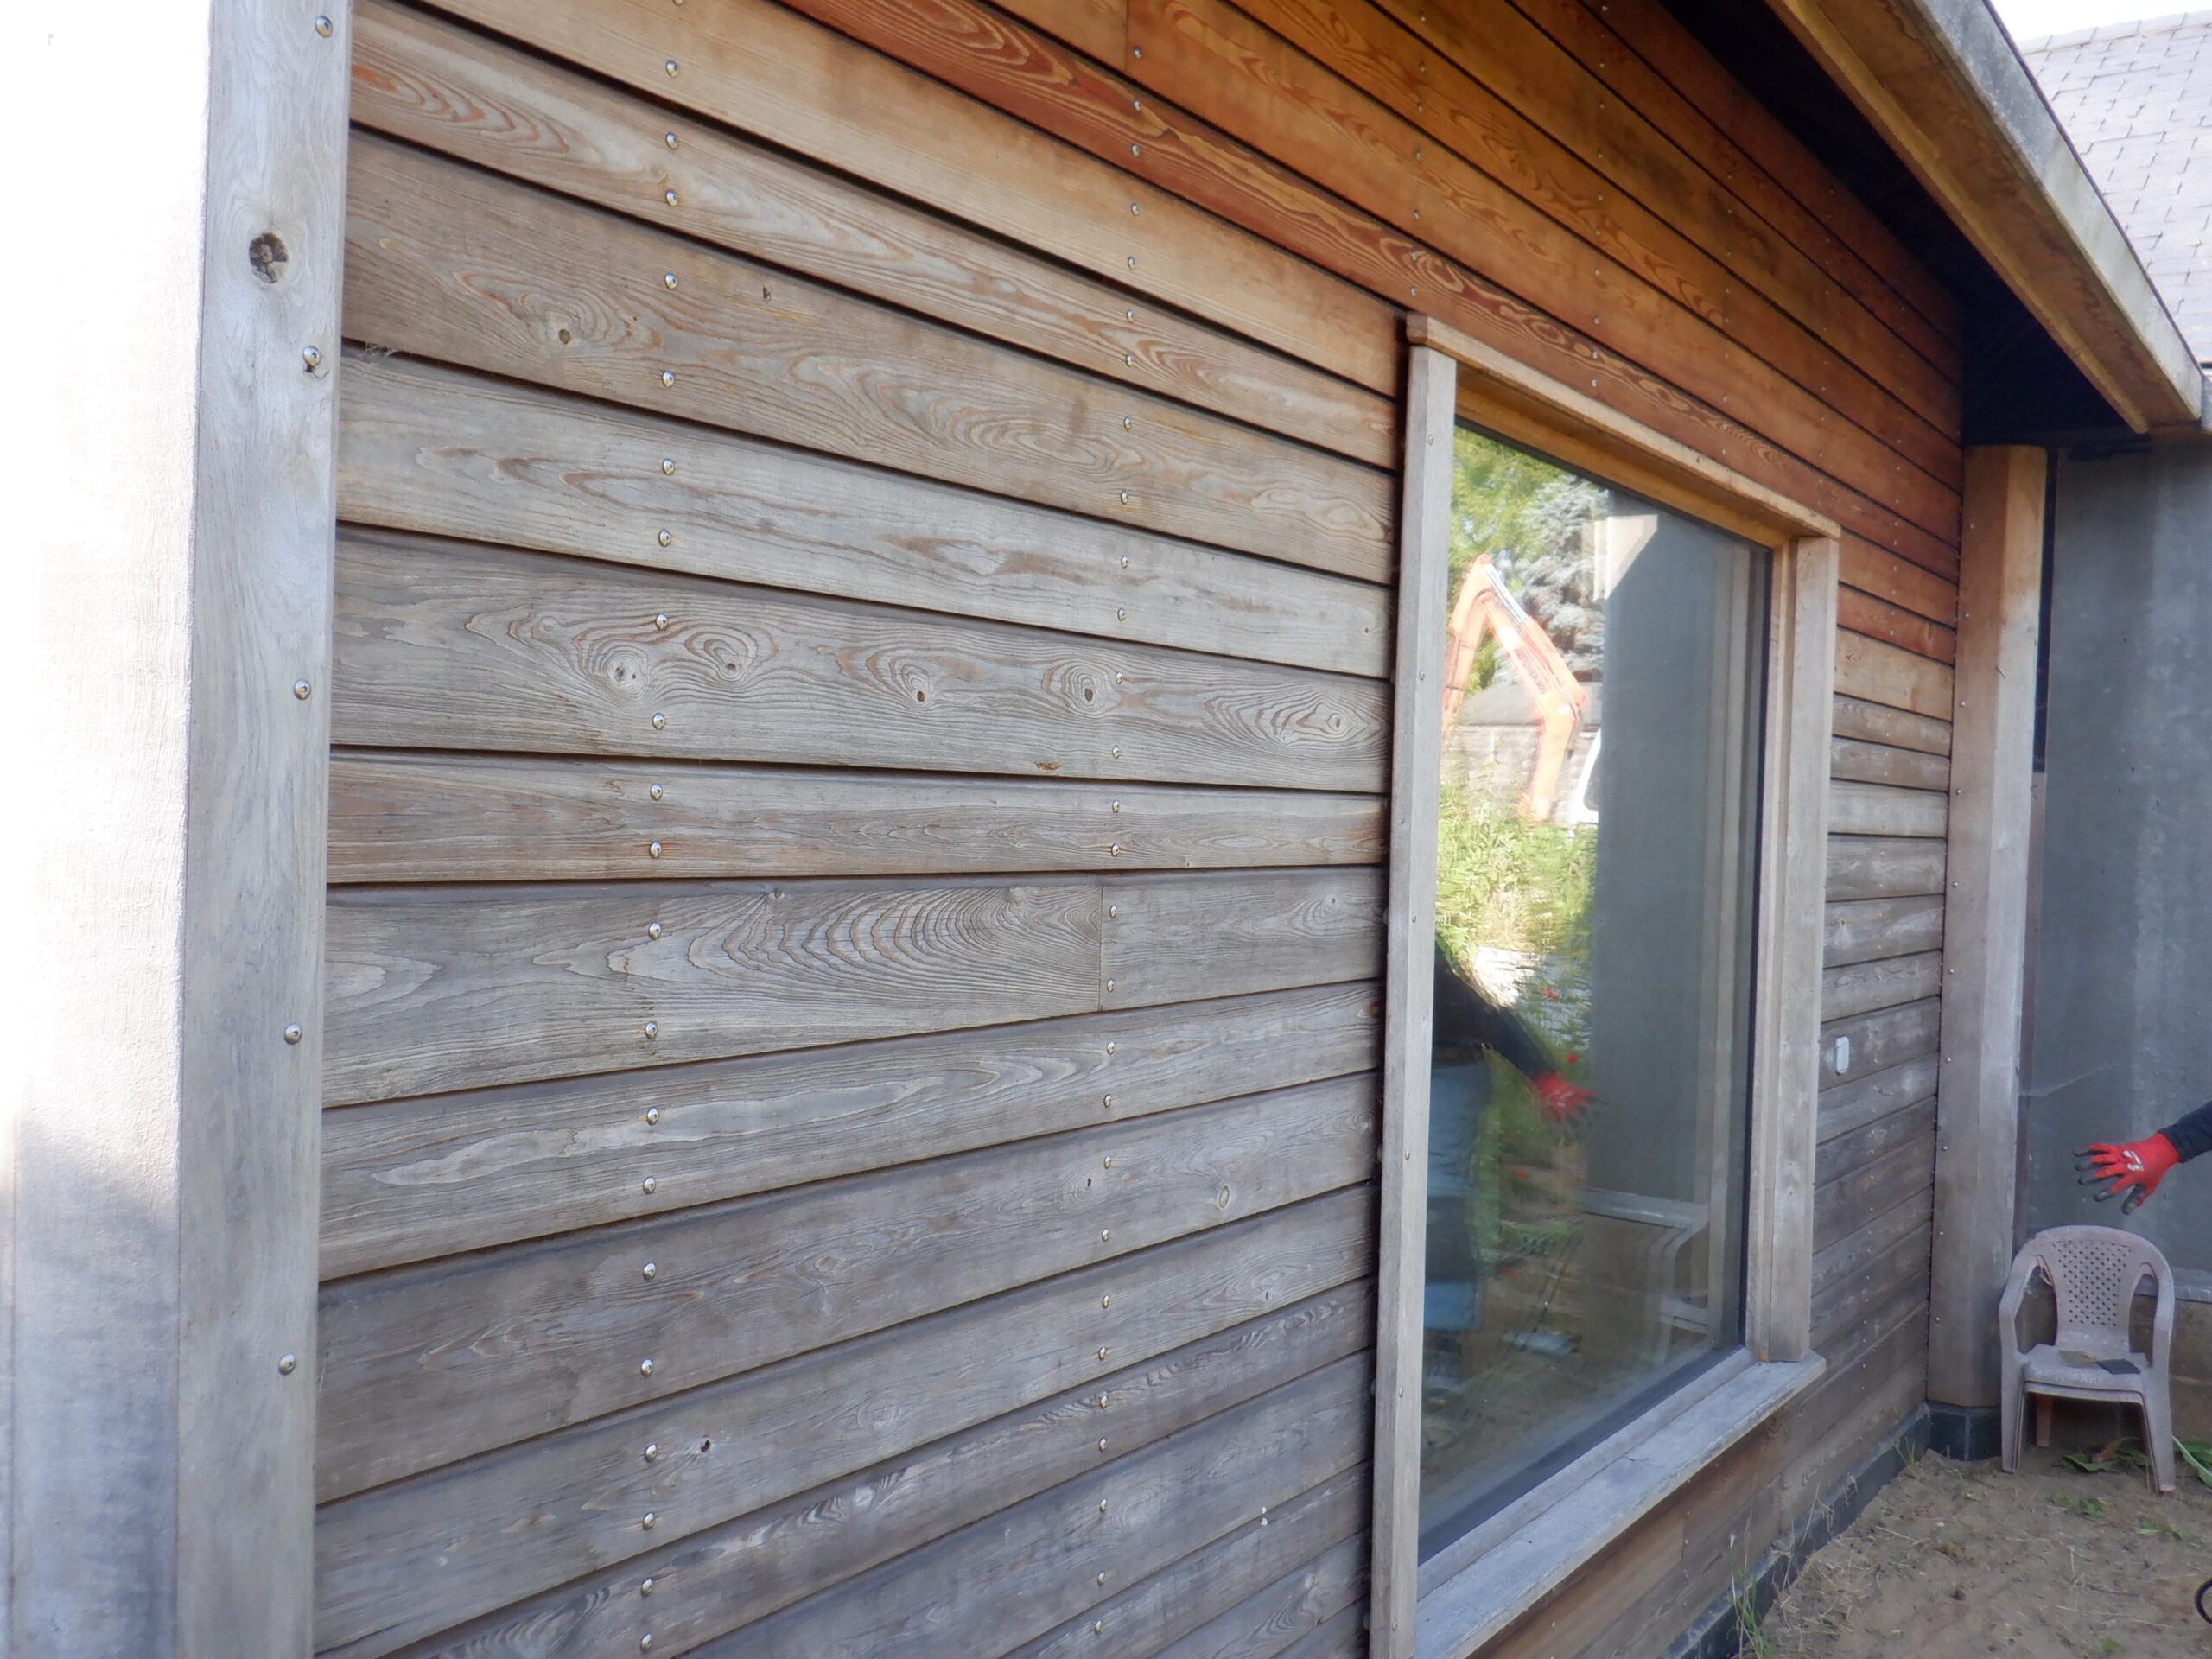
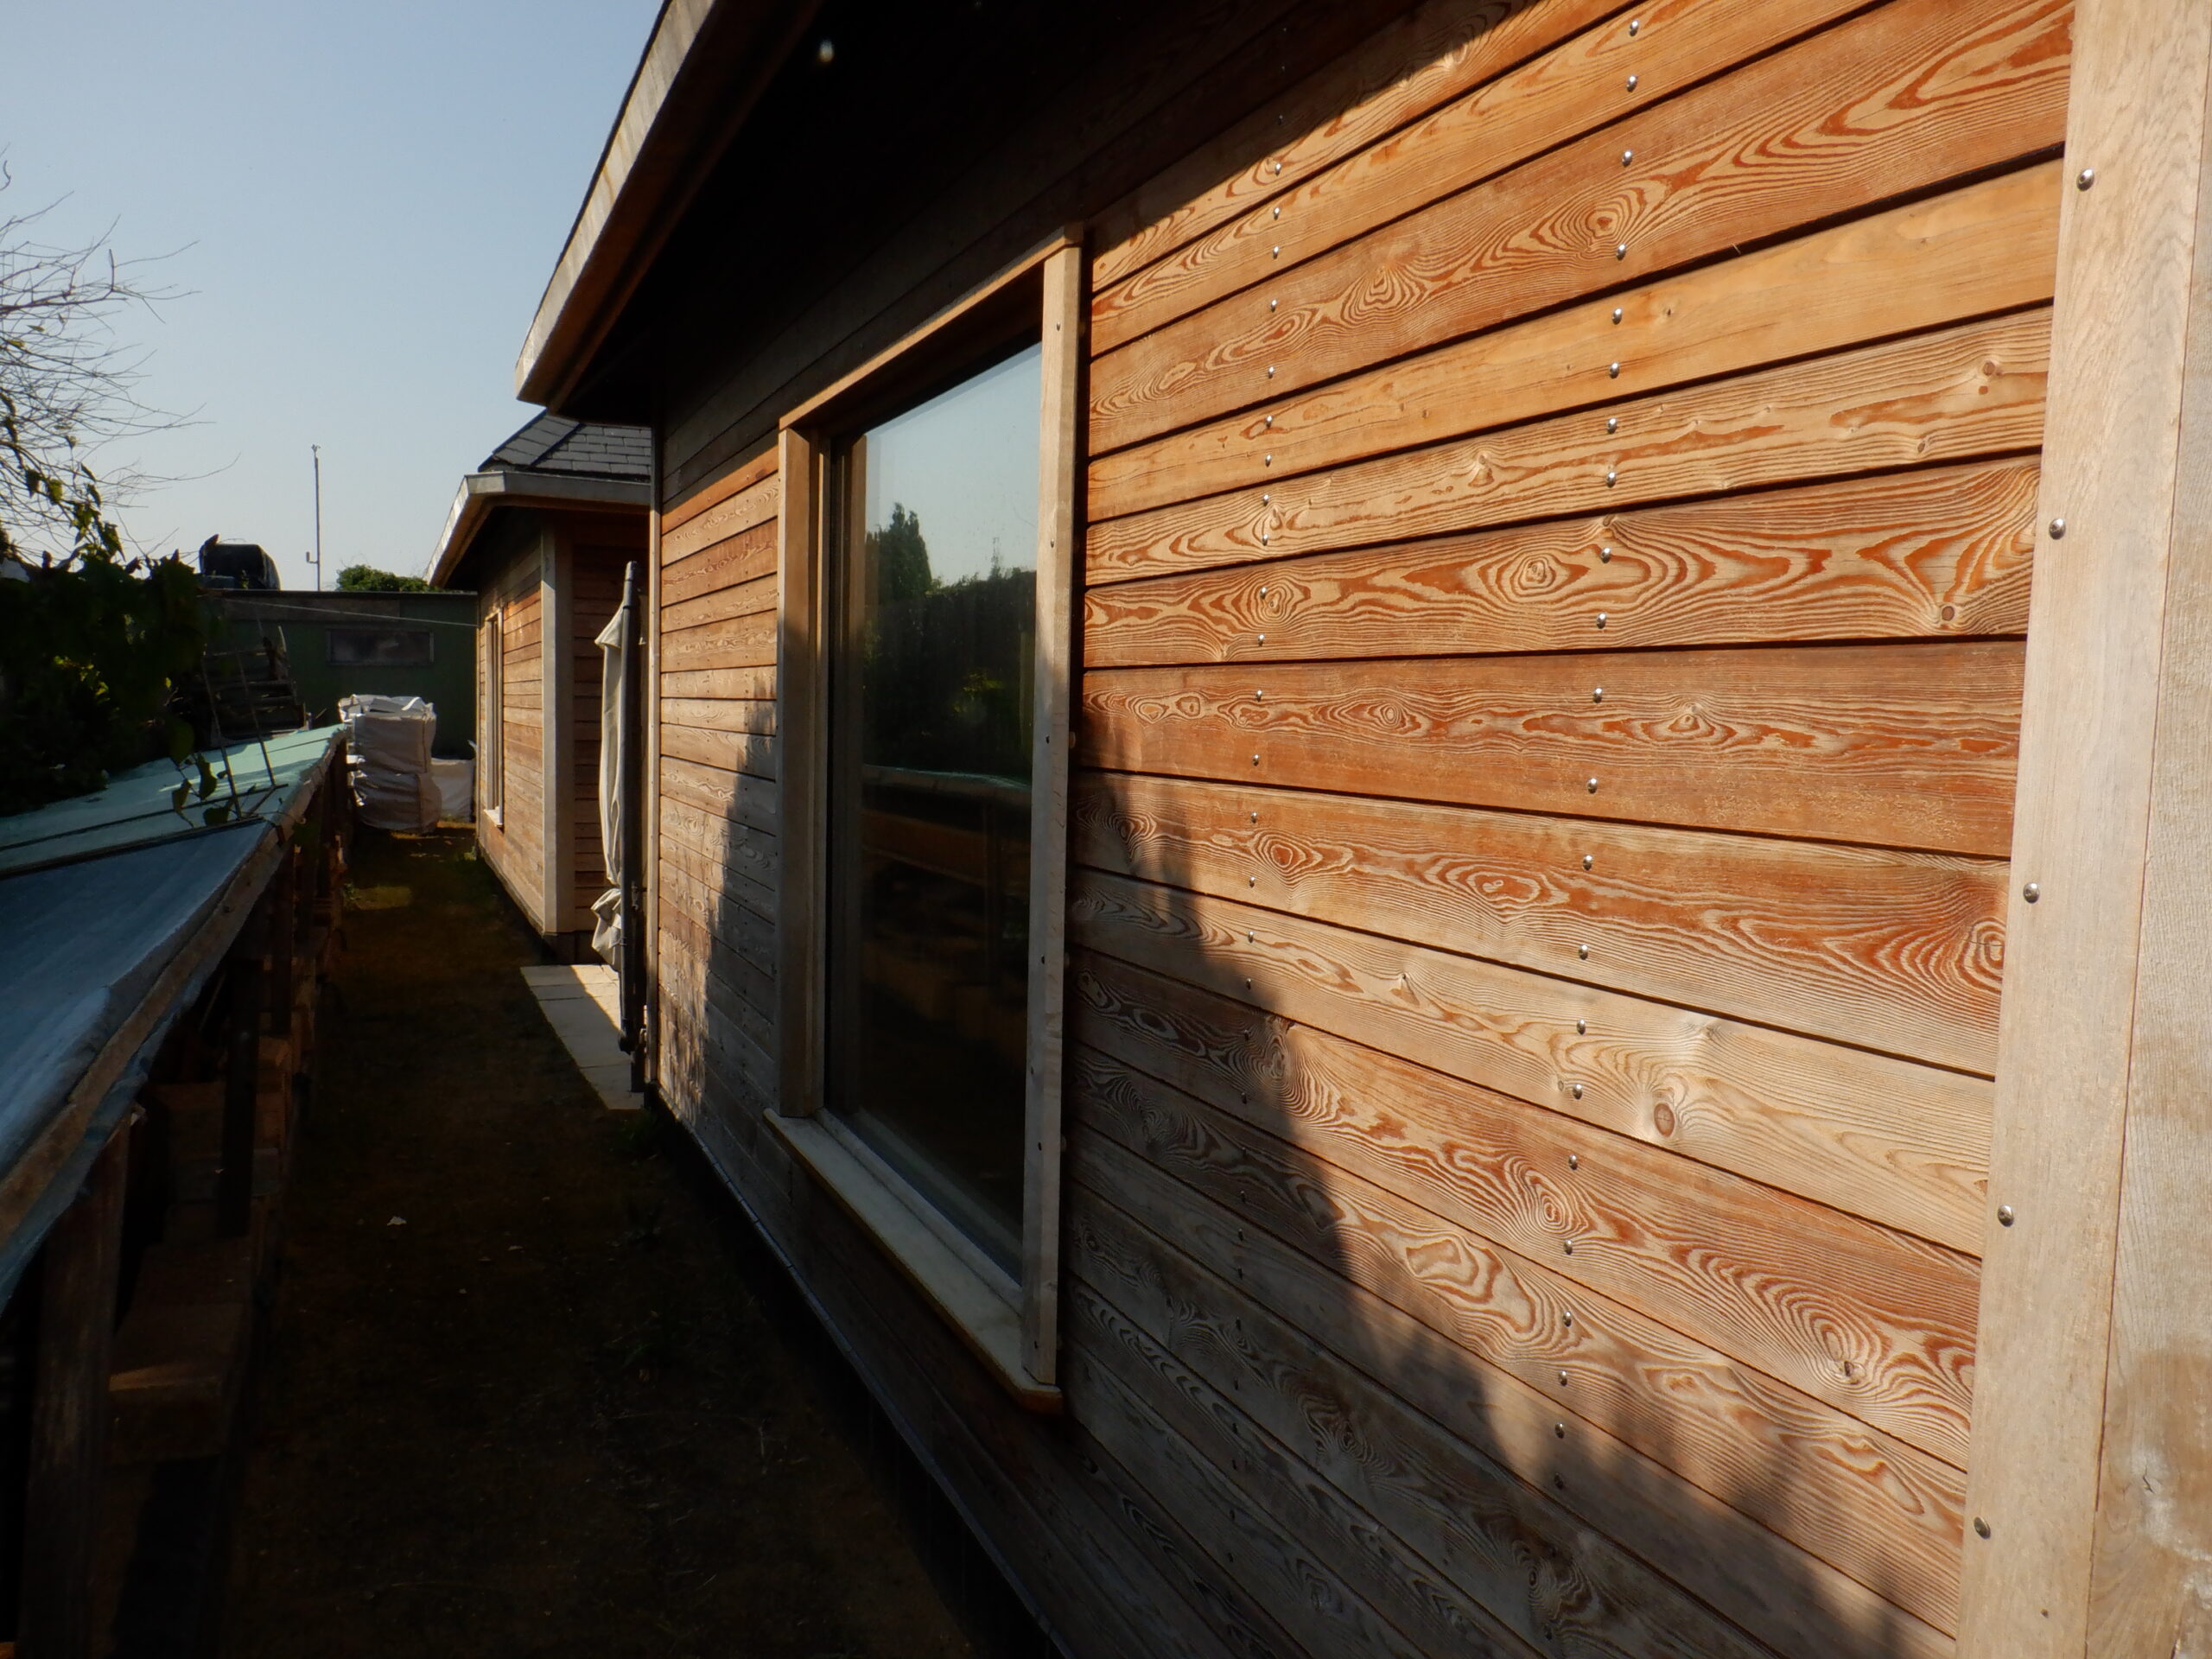
P1 Wall before cleaning
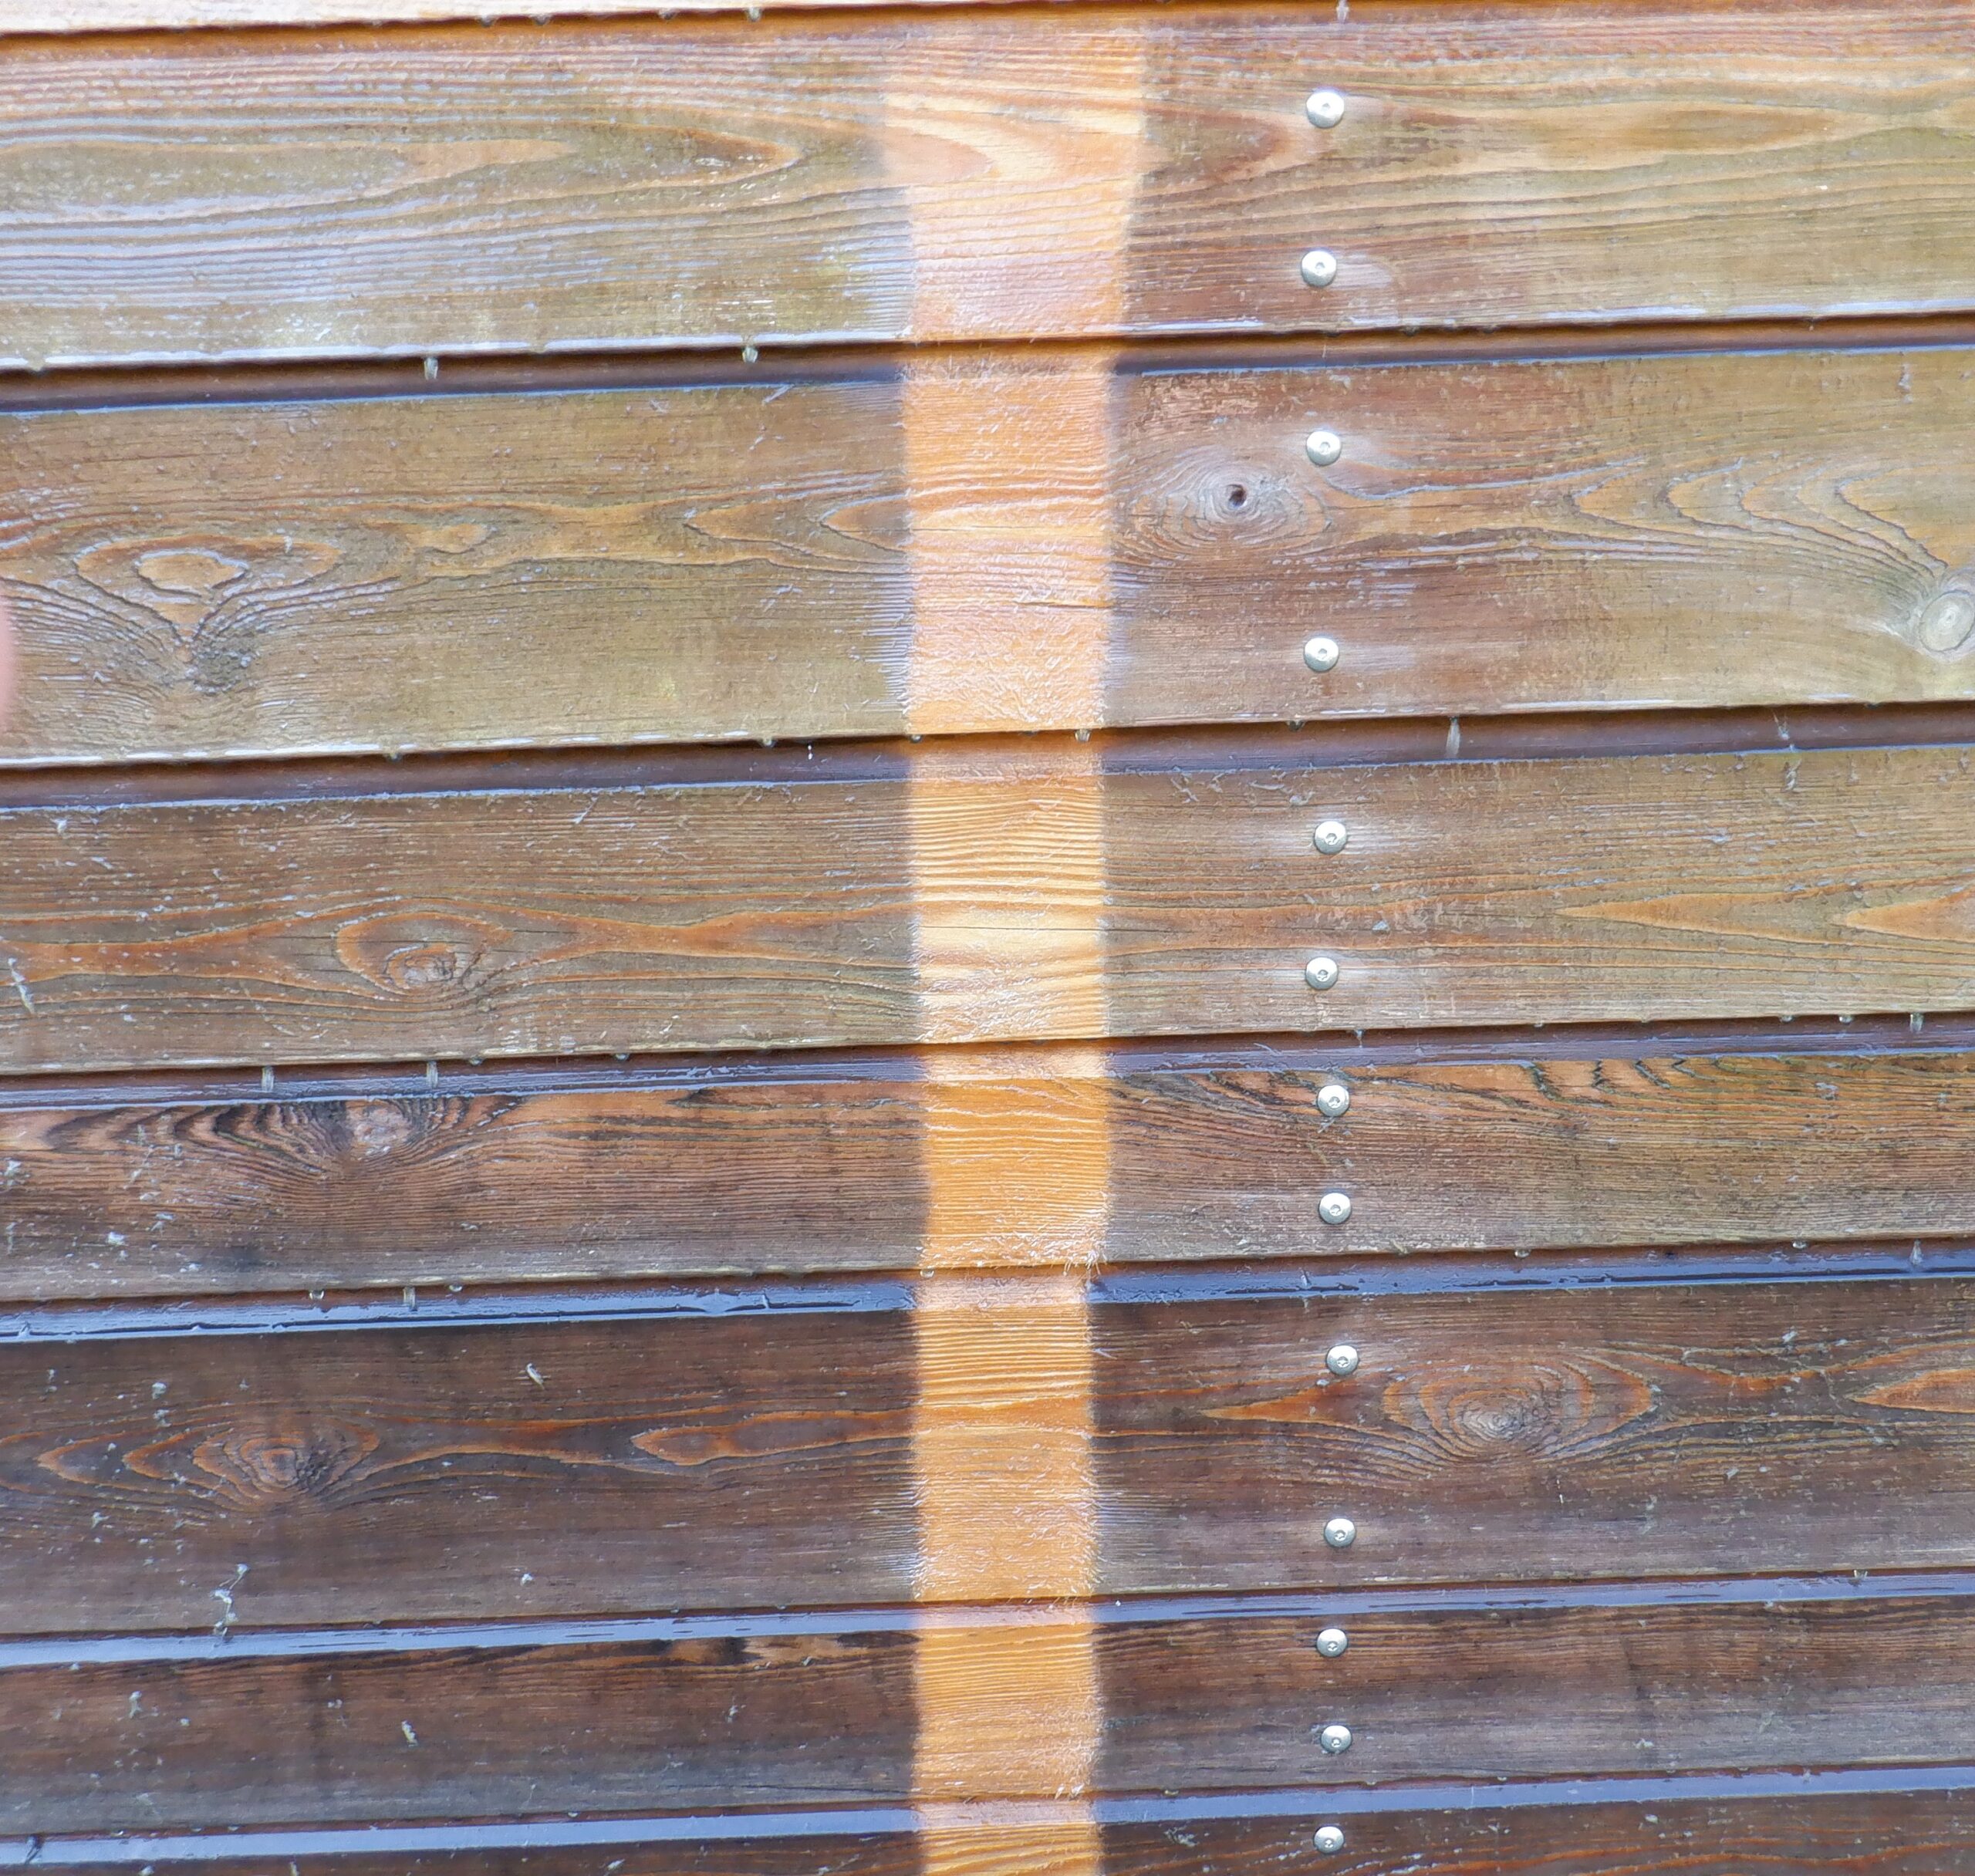
Clean a Stripe
As you can see from the photo, the walls were definitely grimy, and also, much of the original “burnt” colouring has disappeared as well. It is amazing that the Sun was able to bleach even the burnt colouring. O Boy!
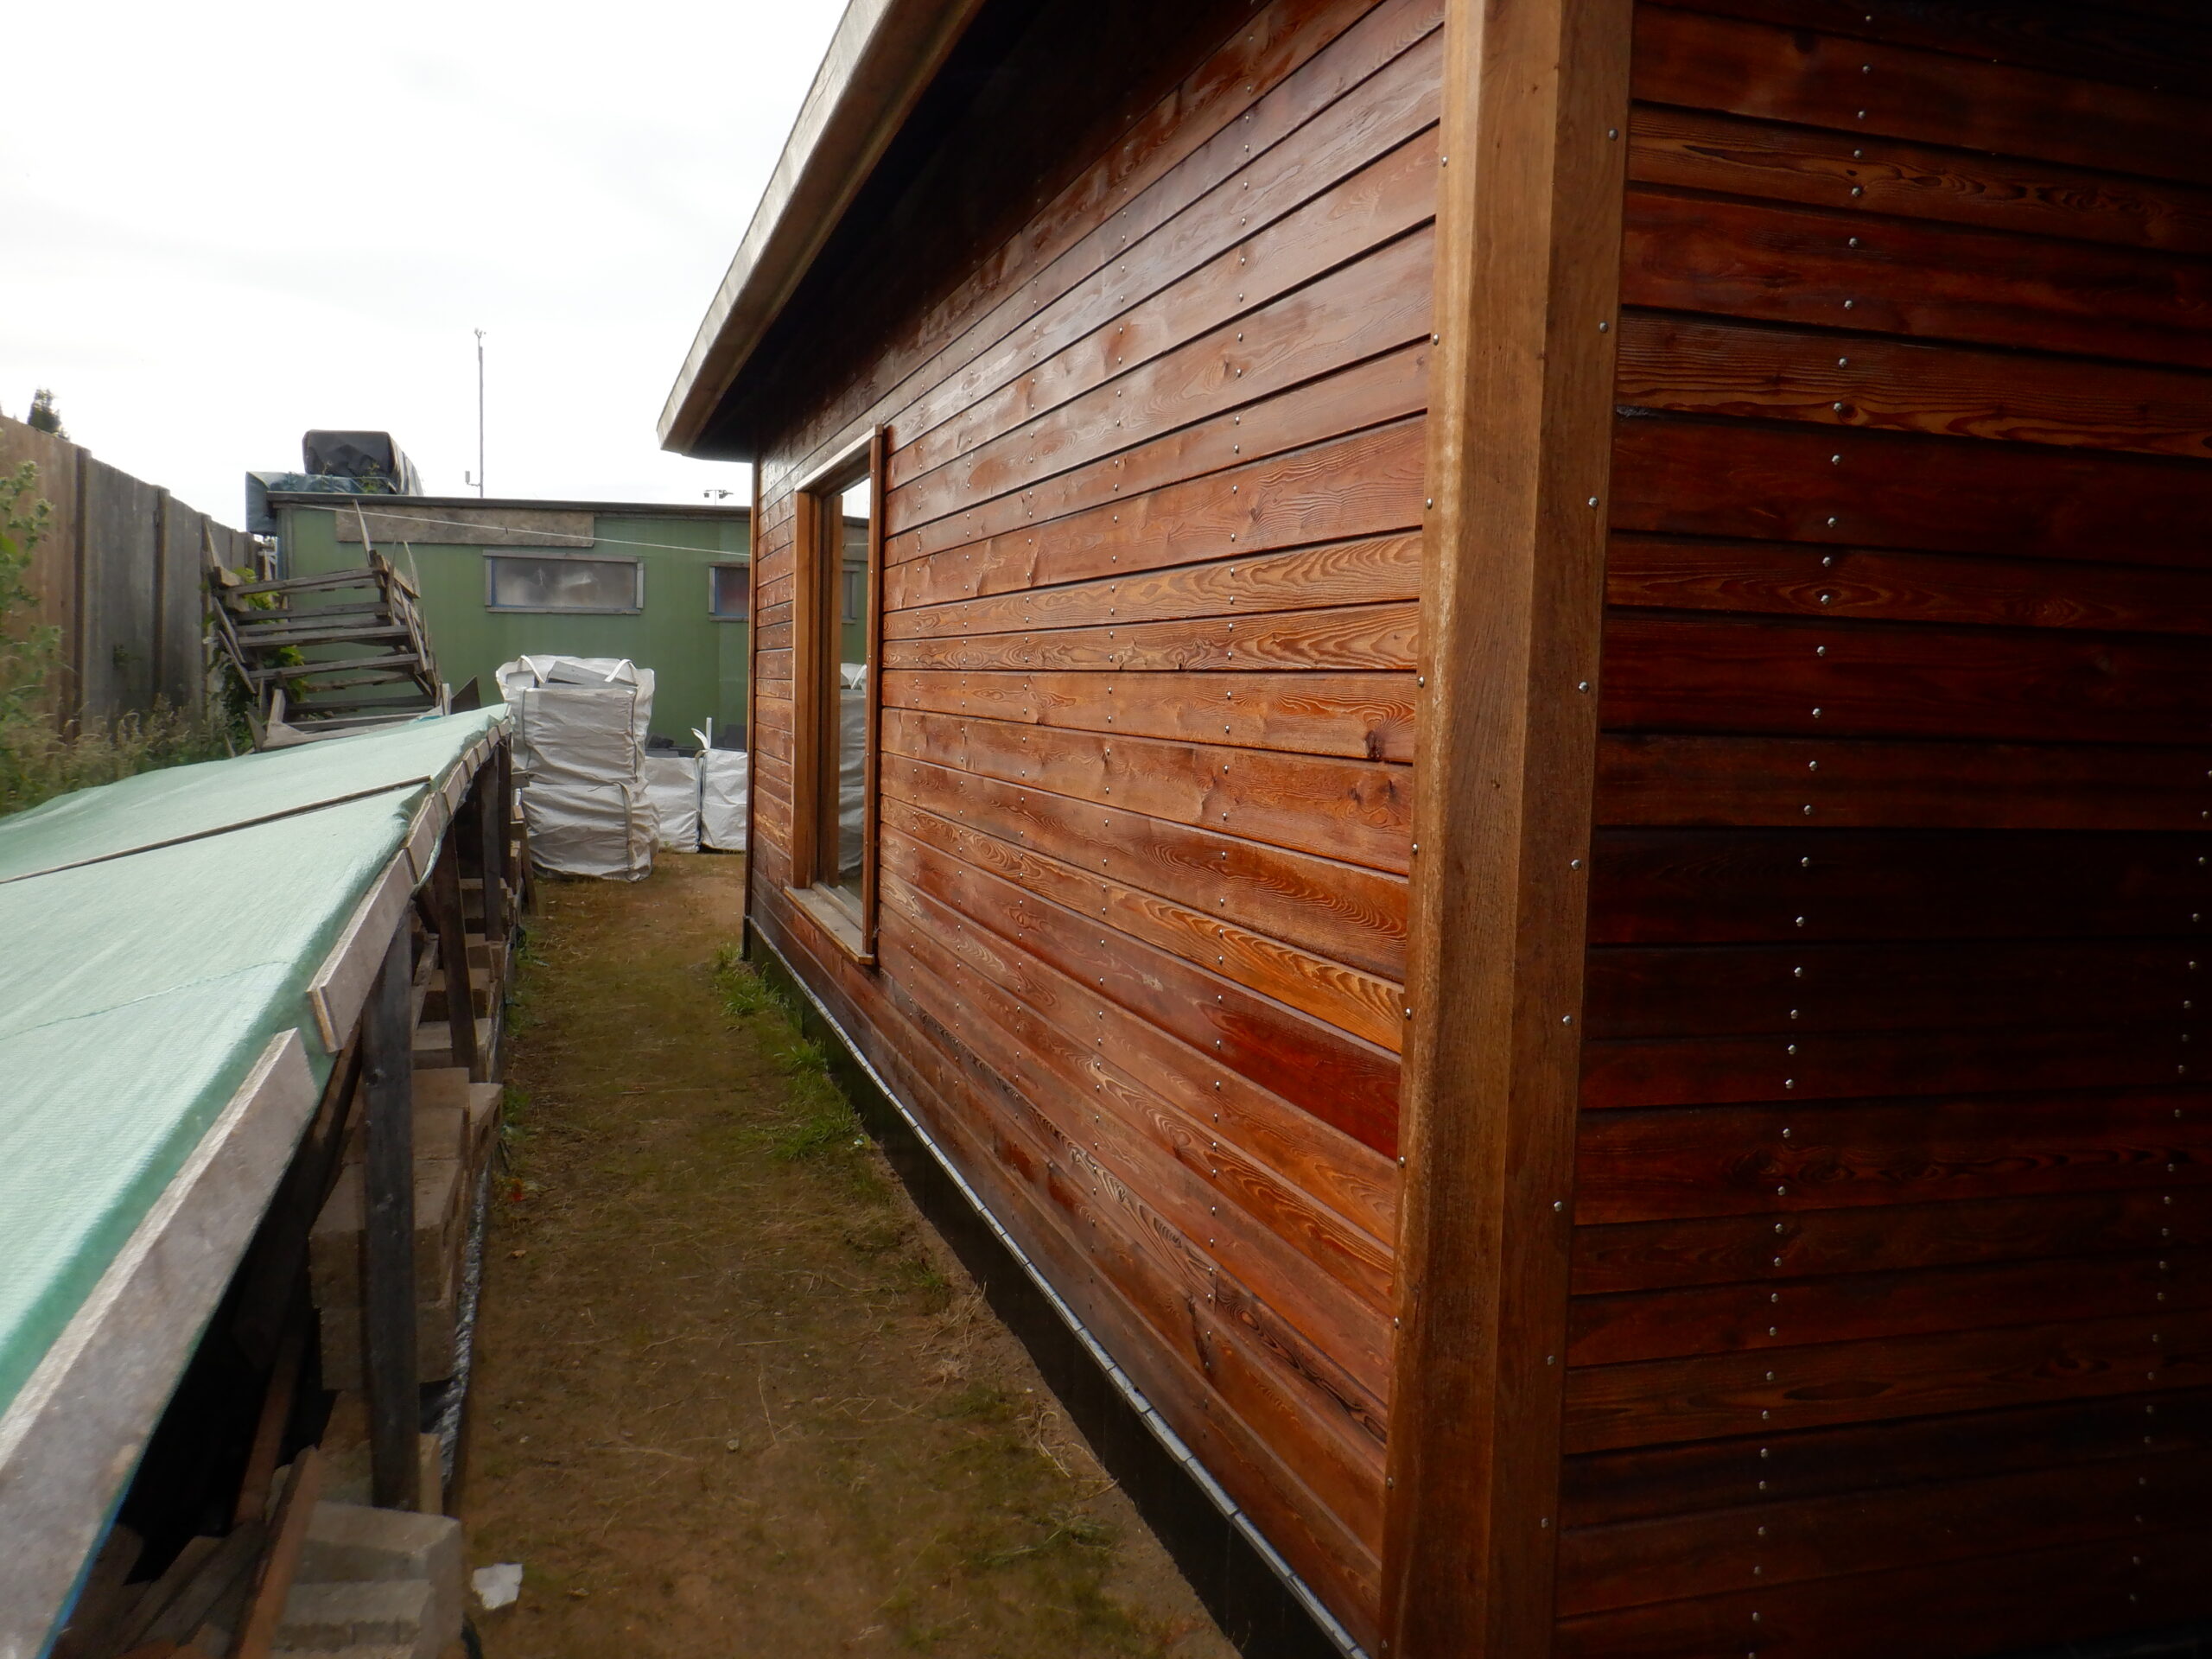
So we now have a fresh looking house again!
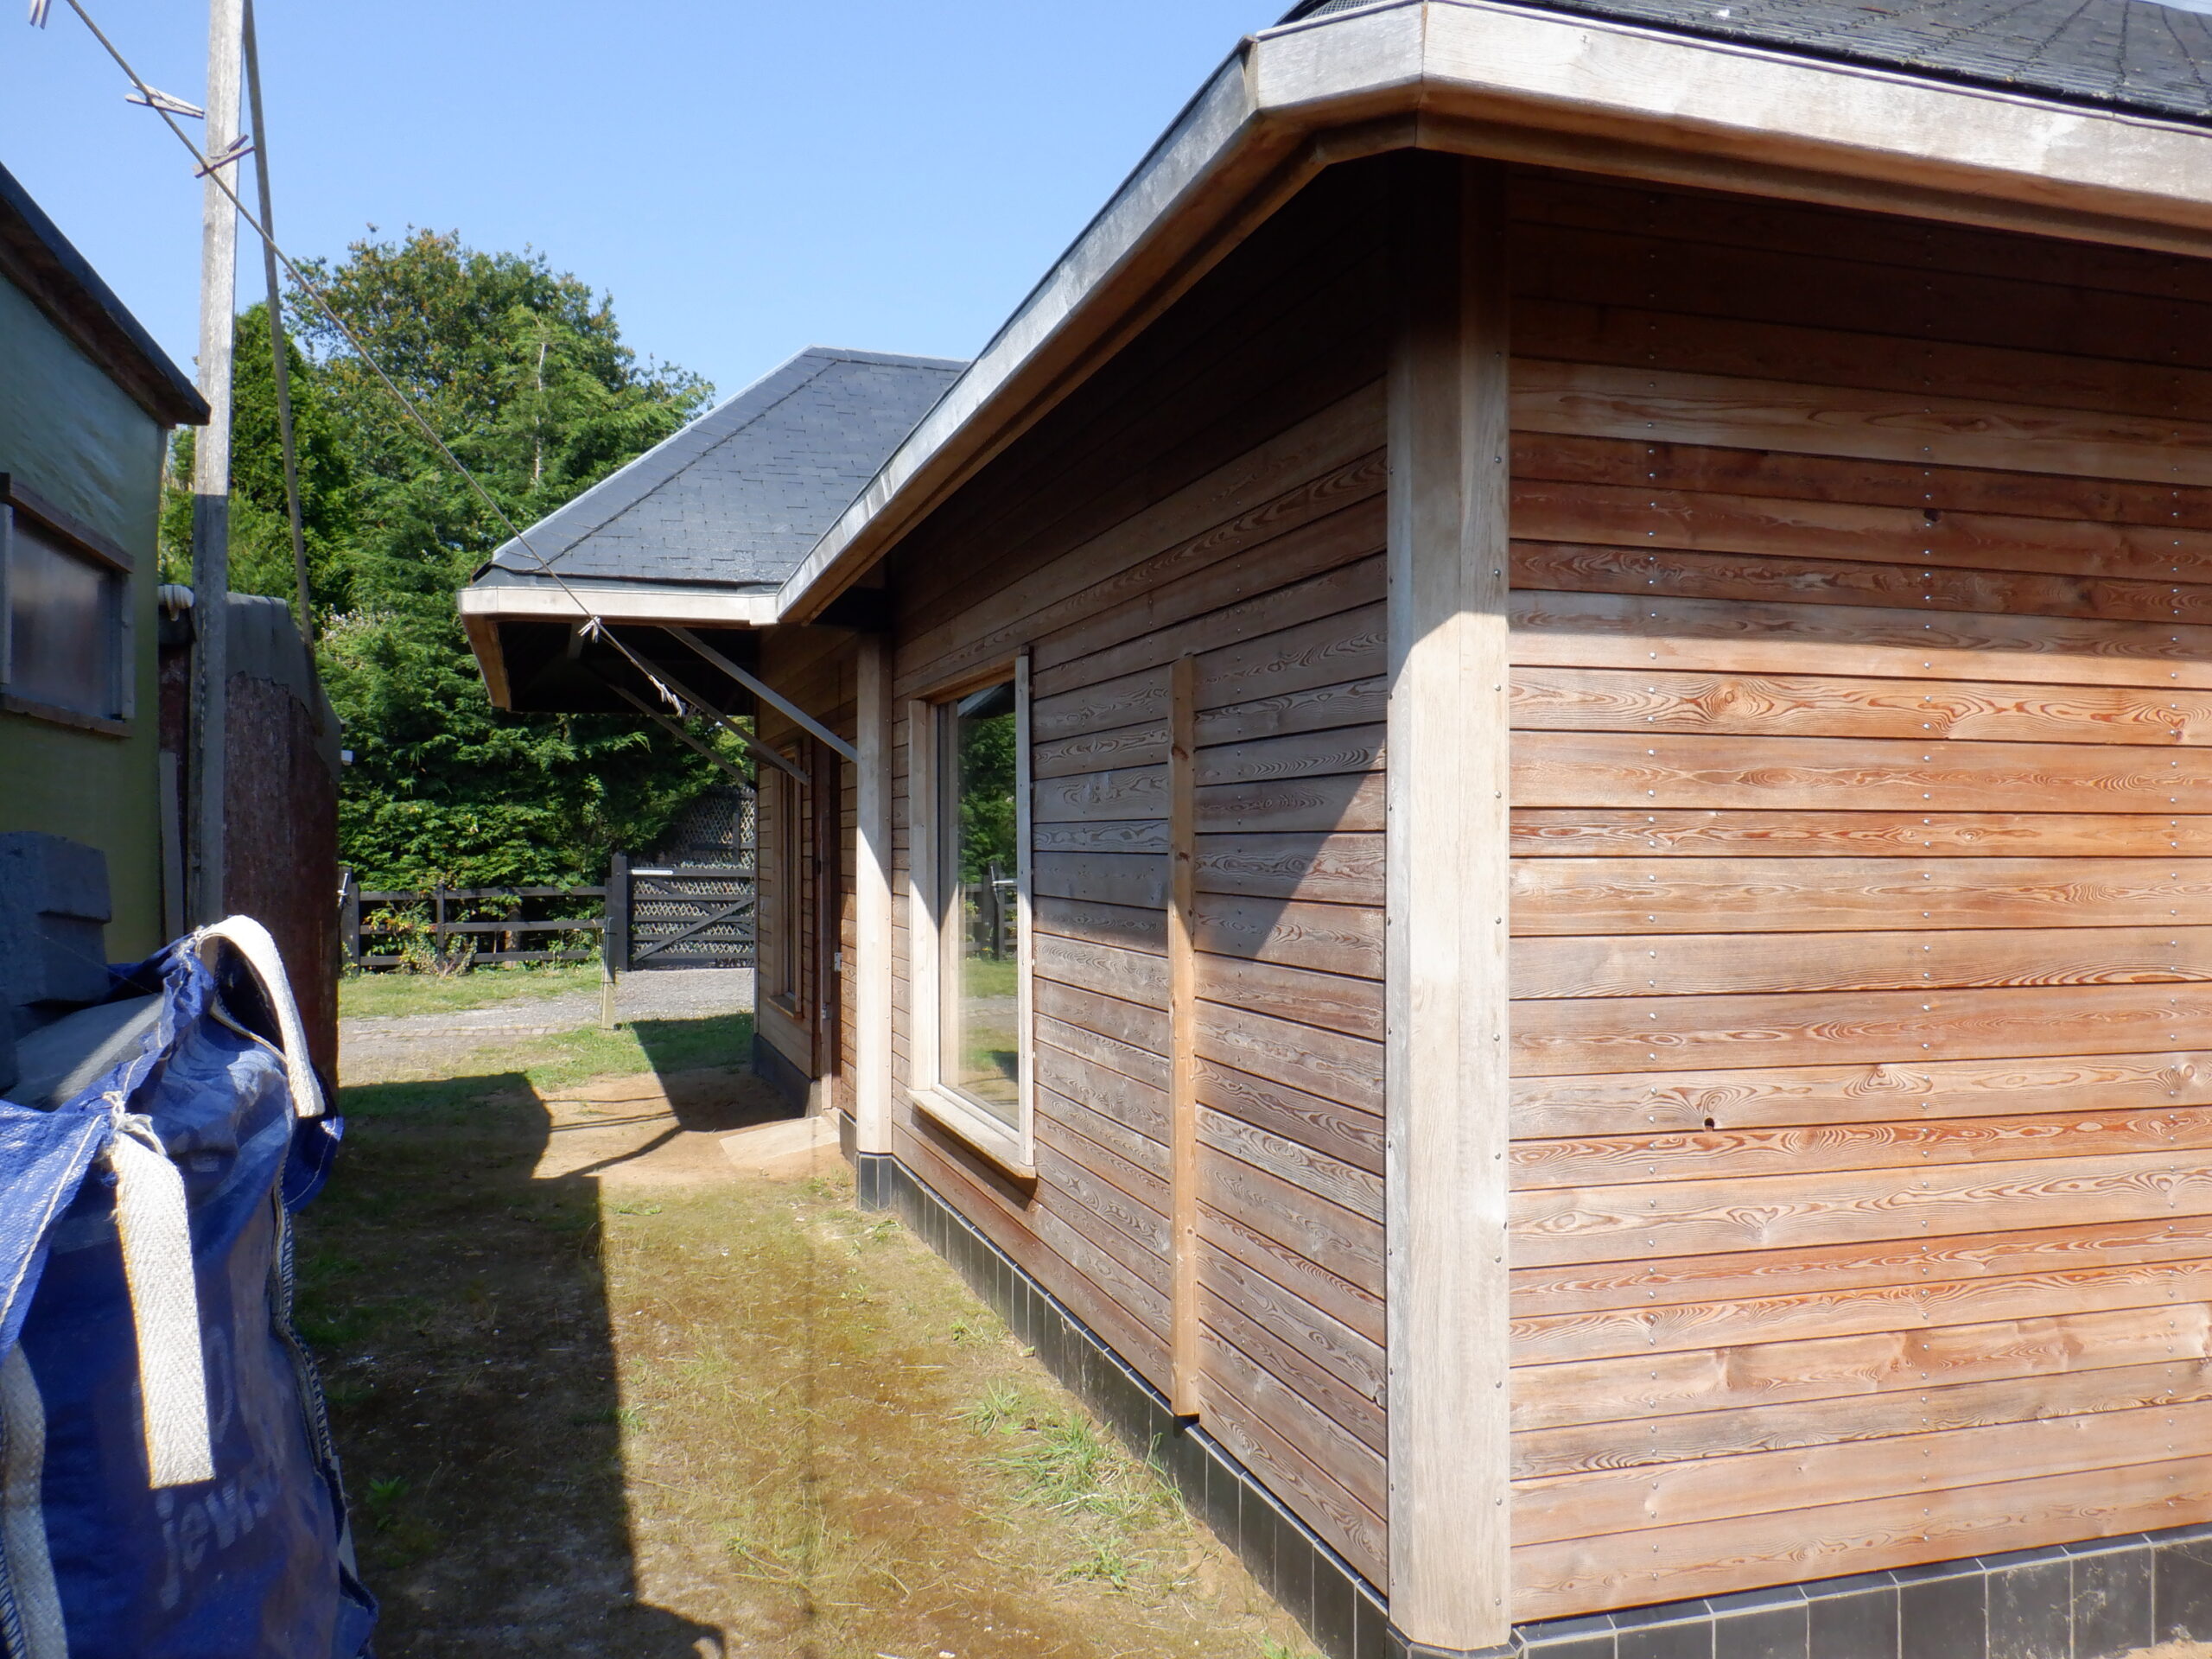
Walls all Cleaned up (1)
Walls all Cleaned up (2)
Walls all Cleaned up (3)
We have decided that the Larch Cladding had come out much better than we thought so we are not going to add any colouring dyes to the timber oil and just leave it natural.
We pulled out a spray machine that we required from somewhere in the past but discovered that the old Lead Acid battery was dead. After replacing that with a 12V mains supply adapter, we got lovely pumping noises .. but no liquid coming out the nozzle! Upon opening up the little pump, we discovered that the rubber membranes had stiffen up and were no longer flexible anymore. So, we ordered a replacement 12V pump, trying to match the specifications, like size and shape and wattage, as much as possible. Our new one is only slightly more powerful but otherwise the same. We swopped the two pumps around and we now have a lovely sprayer. We poured in our timber oil we still had from our original application and poured in about 25litres into the tank. We started on the O section, at the back of the house, and worked our way clockwise around the house. We even sprayed all the Oak framework around each window, plus also the Oak covers on the corners of the building.
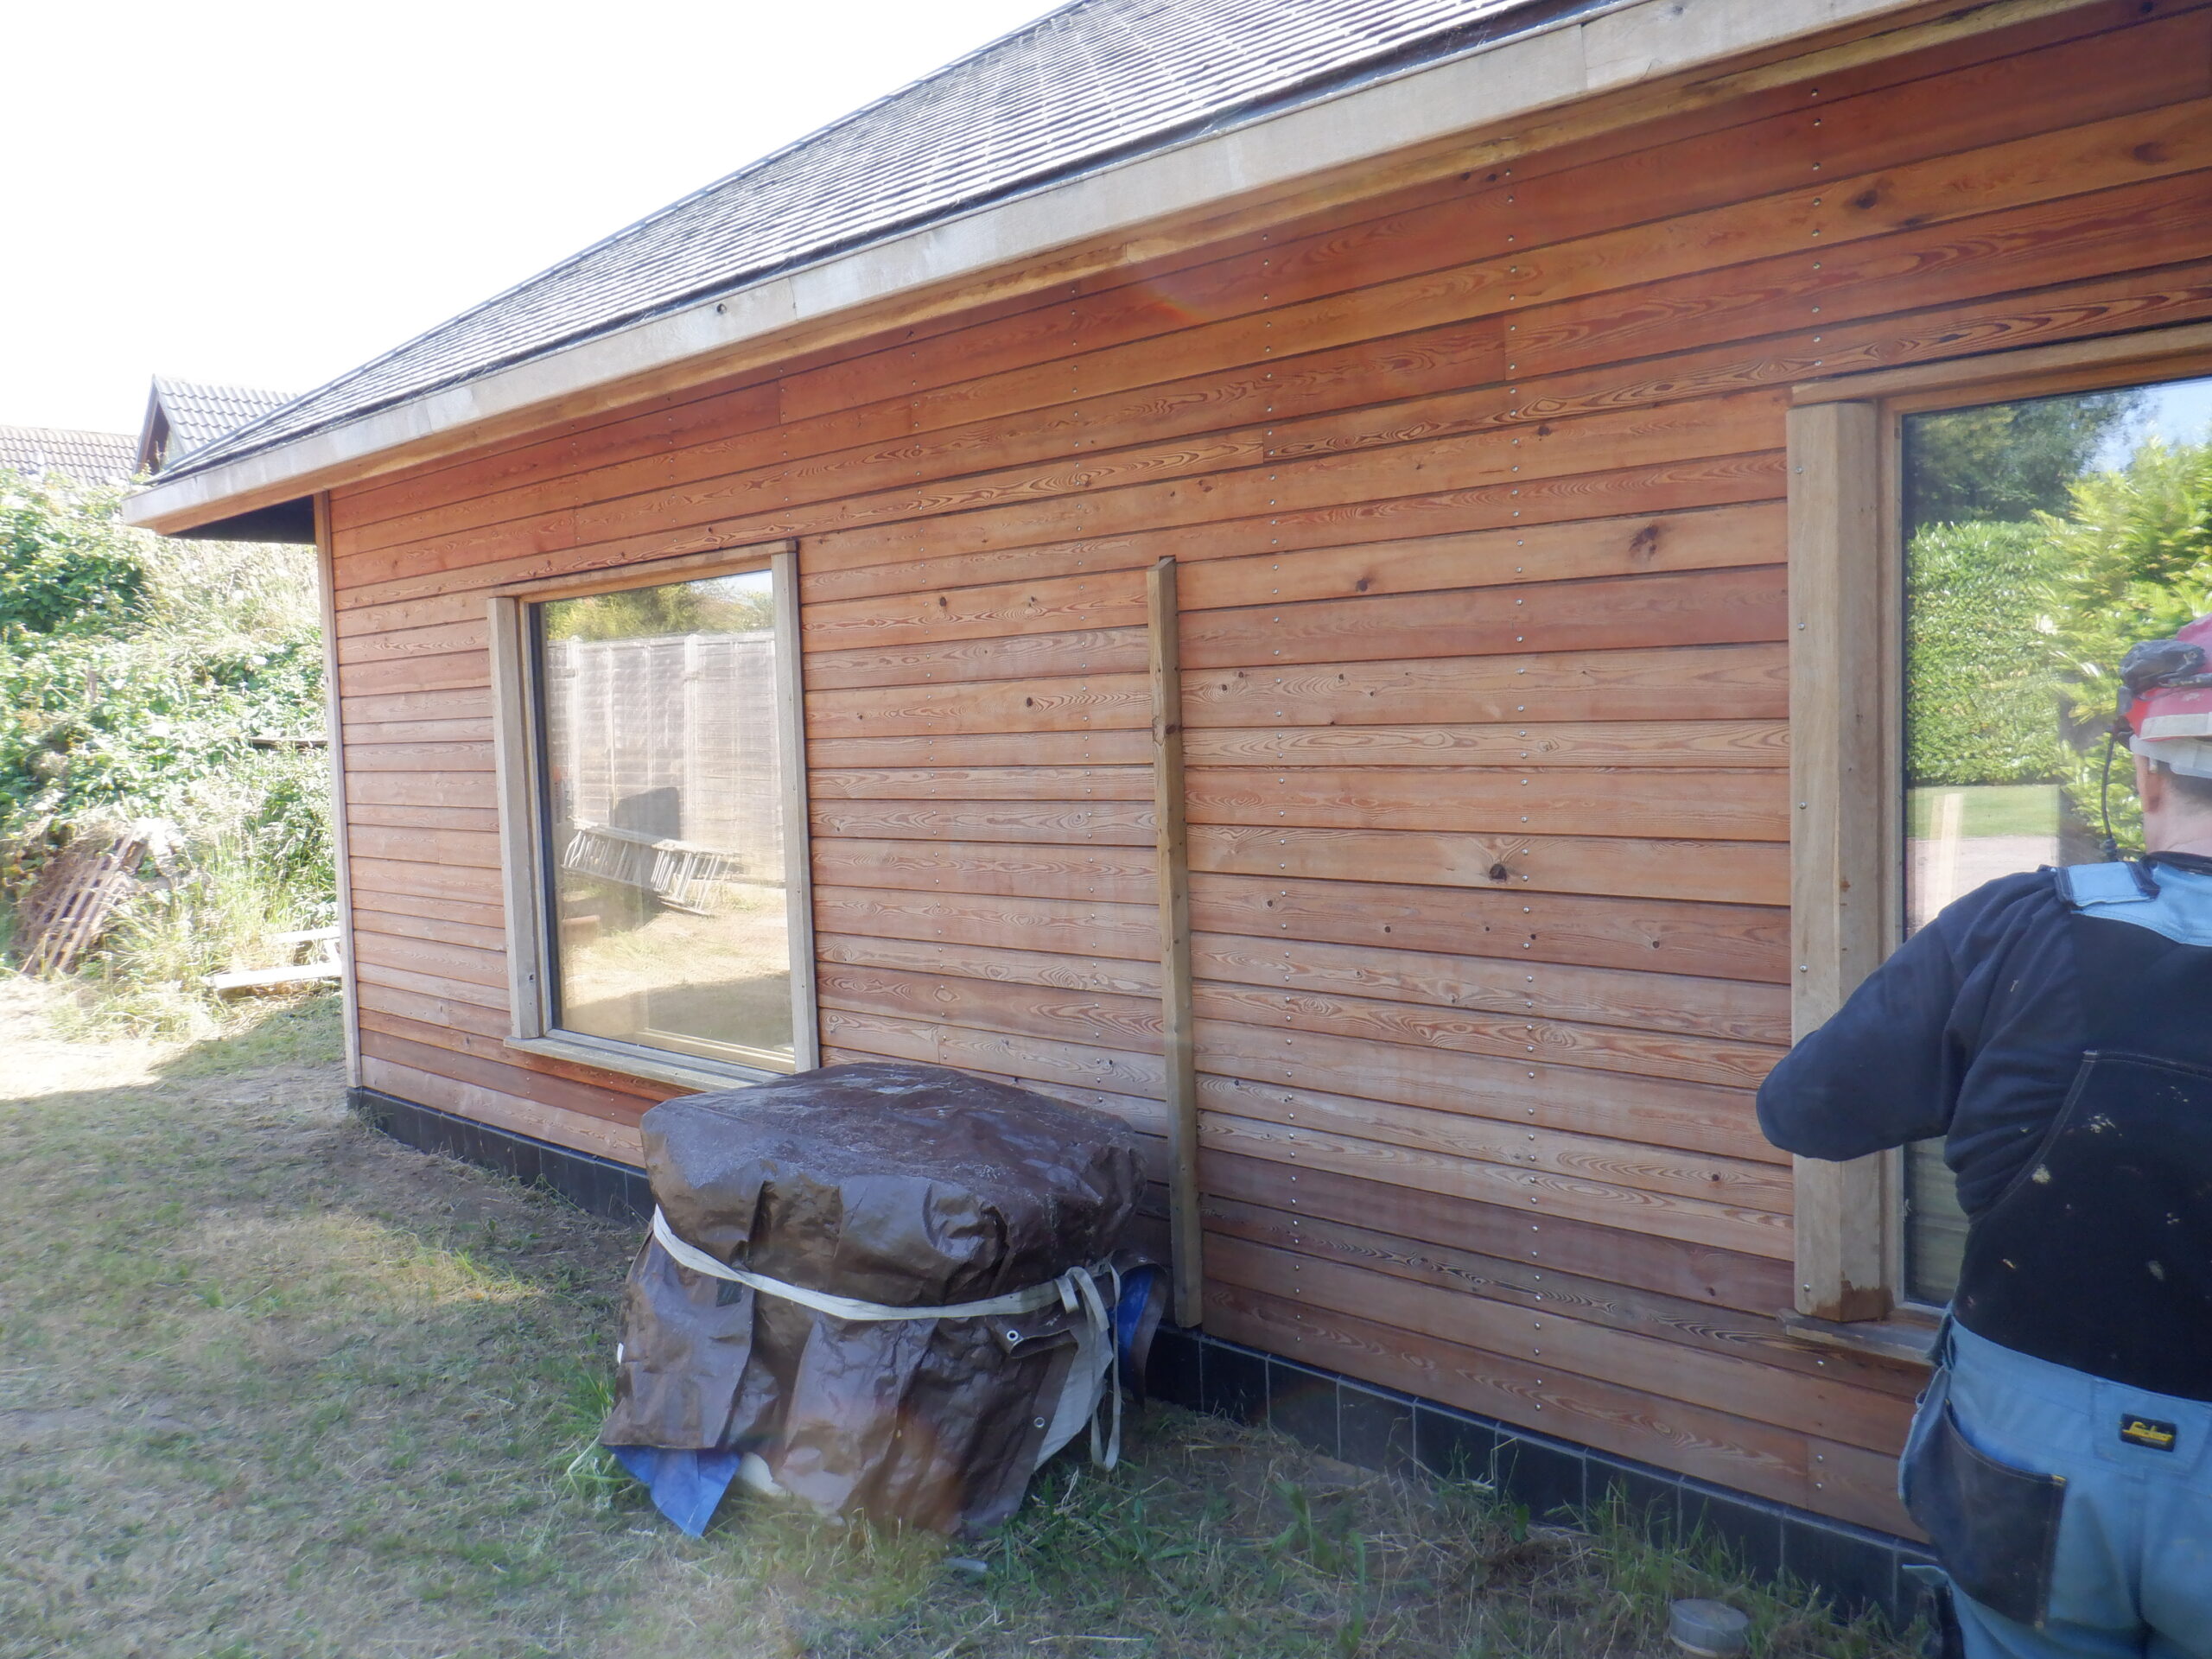
Cladding all re oiled (1)

Cladding all re oiled (4)
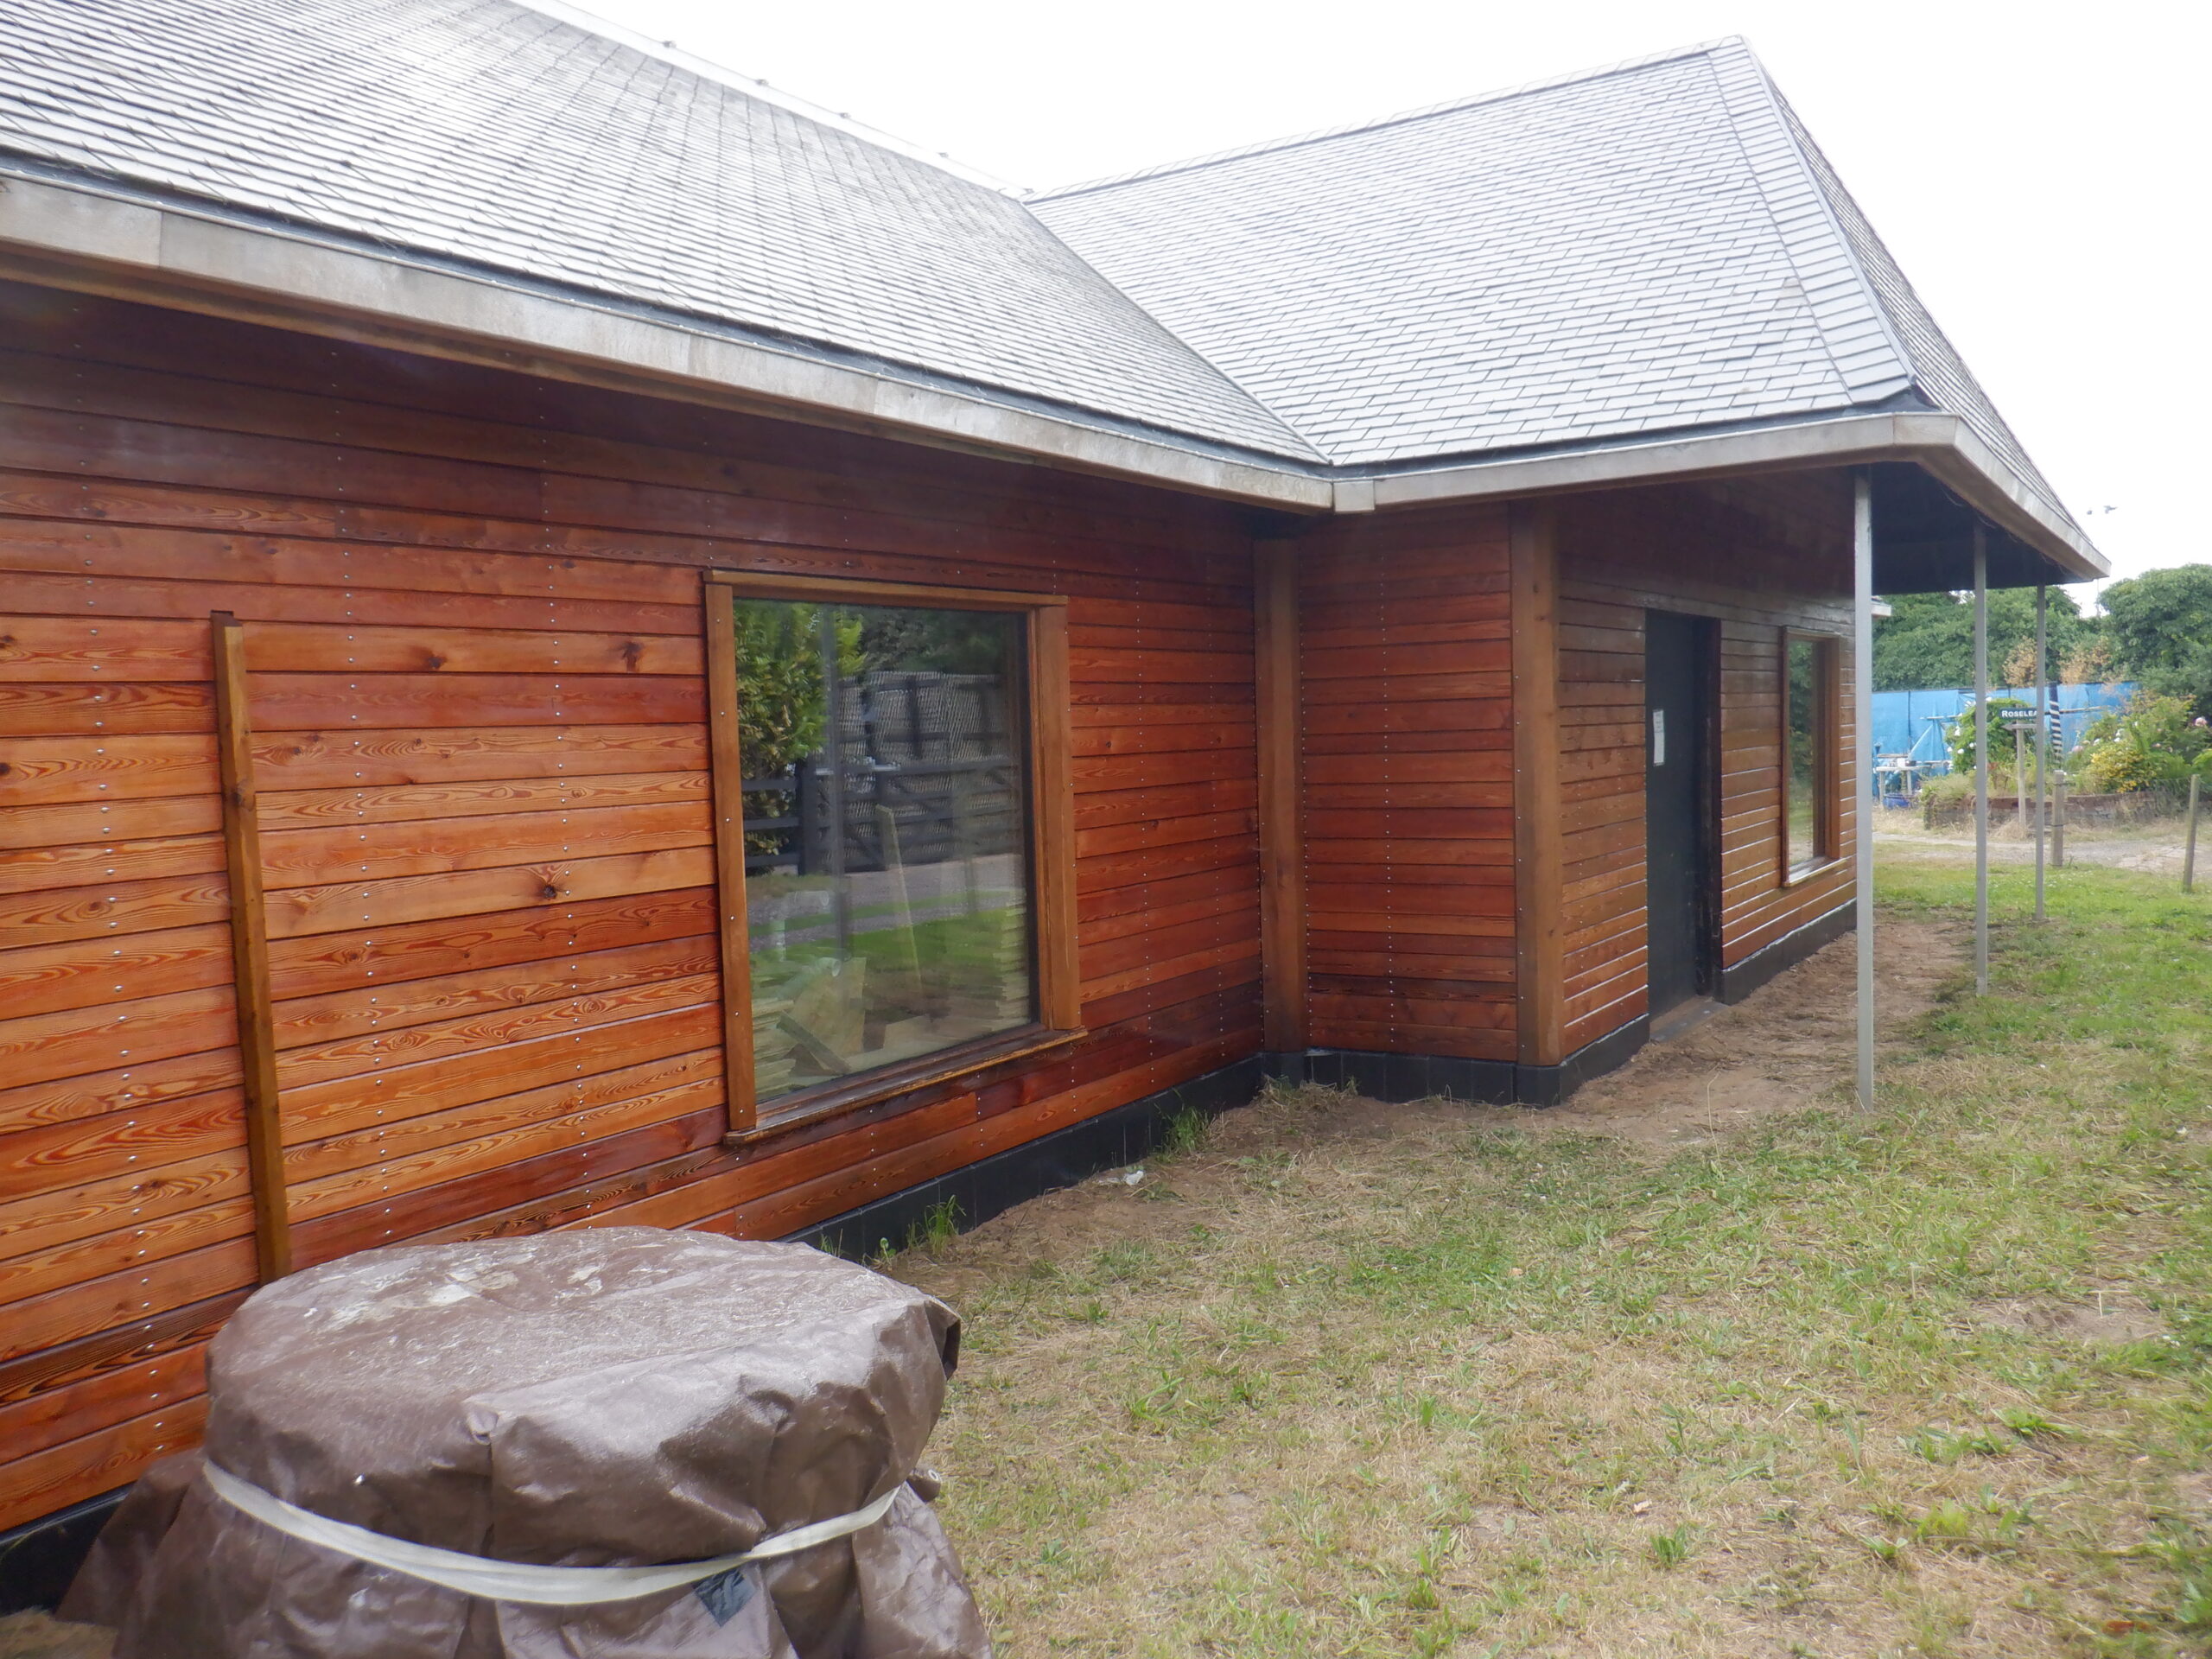
Cladding all re oiled (6)
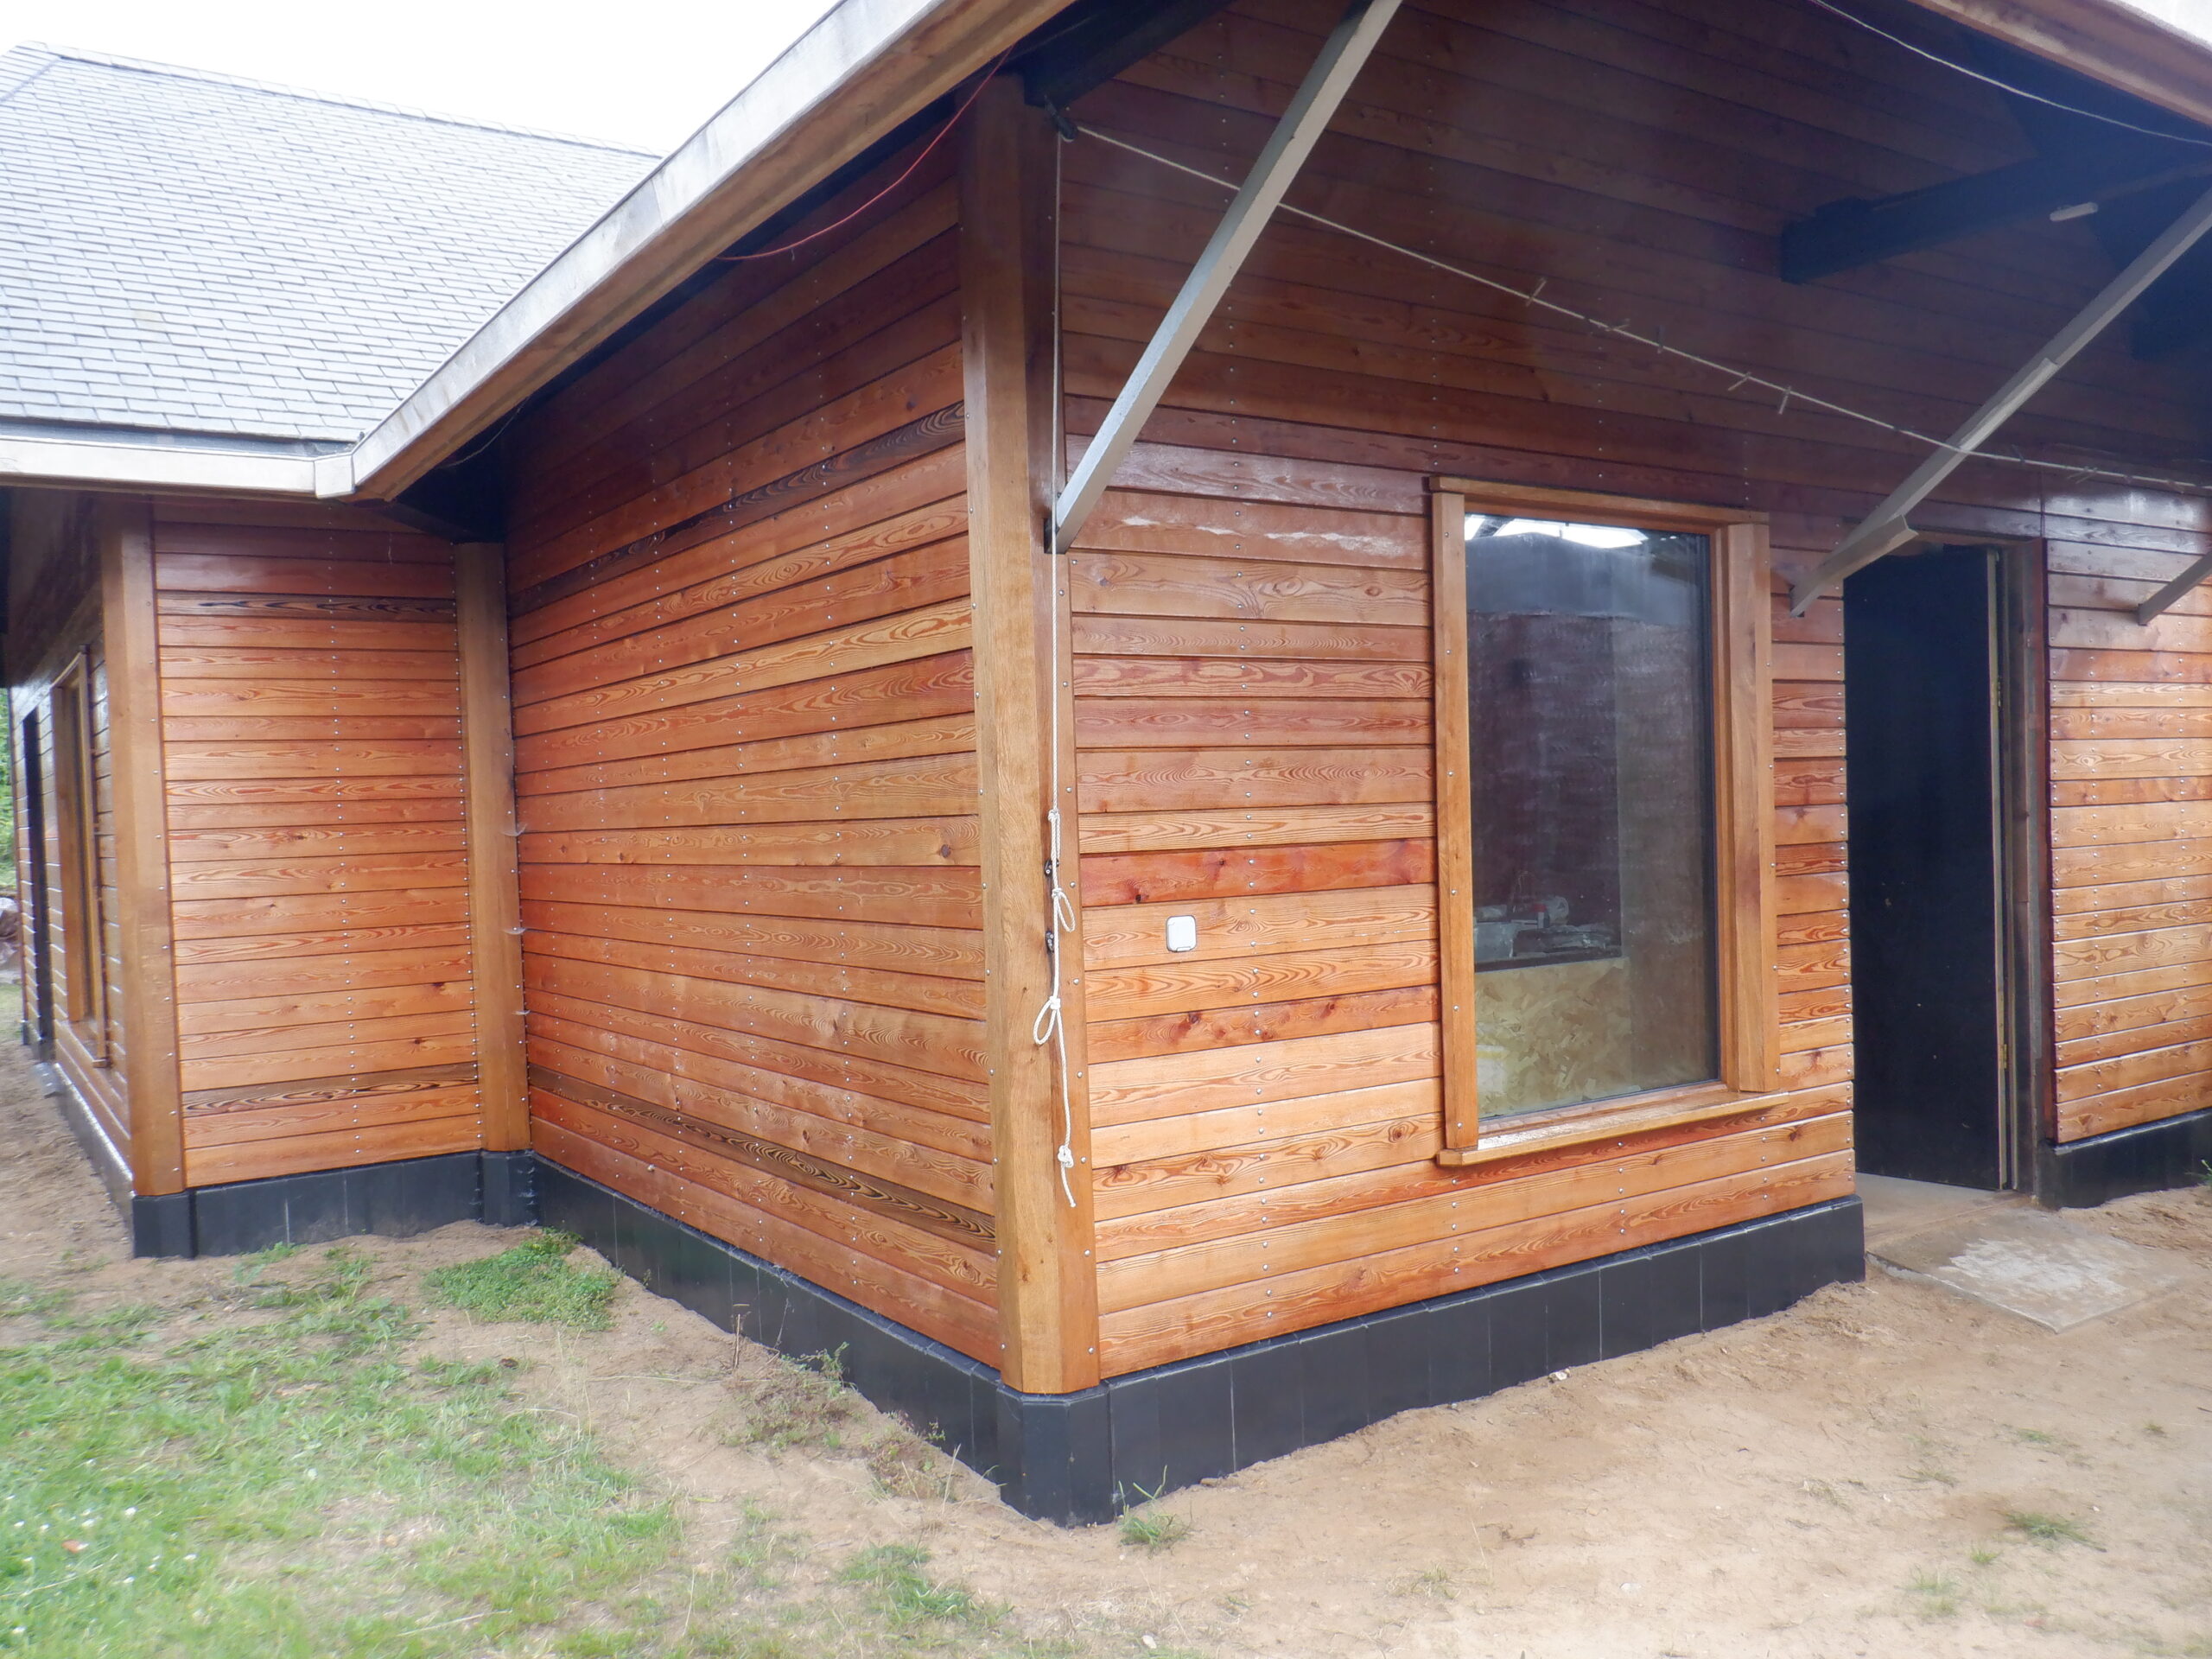
Cladding all re oiled (8)
We then had to wash all of our twelve windows, to remove the oil that had splattered onto the glass. We used a handy little vacuum wiper that sucks off the soapy water after the glass has been scrubbed.
And, because we had washed the windows, we went around and painting more oil onto the sills. Some of them needed three coats of the oil before it stopped soaking in.
Finally, we spent an afternoon, rubbing down the Oak timber, to reduce the “fur” texture that had lifted off the surface after we had blasted the timber with our pressure washer. We used a soft sanding pads to knock off most of the white furry surface, also rubbing the sills as well. Some of the windows needed a bit more energetic scrubbing using courser sandpaper.
Leave a Reply
You must be logged in to post a comment.