Author: Shaun

  • Assembling of “O” and “N” Rafters begins

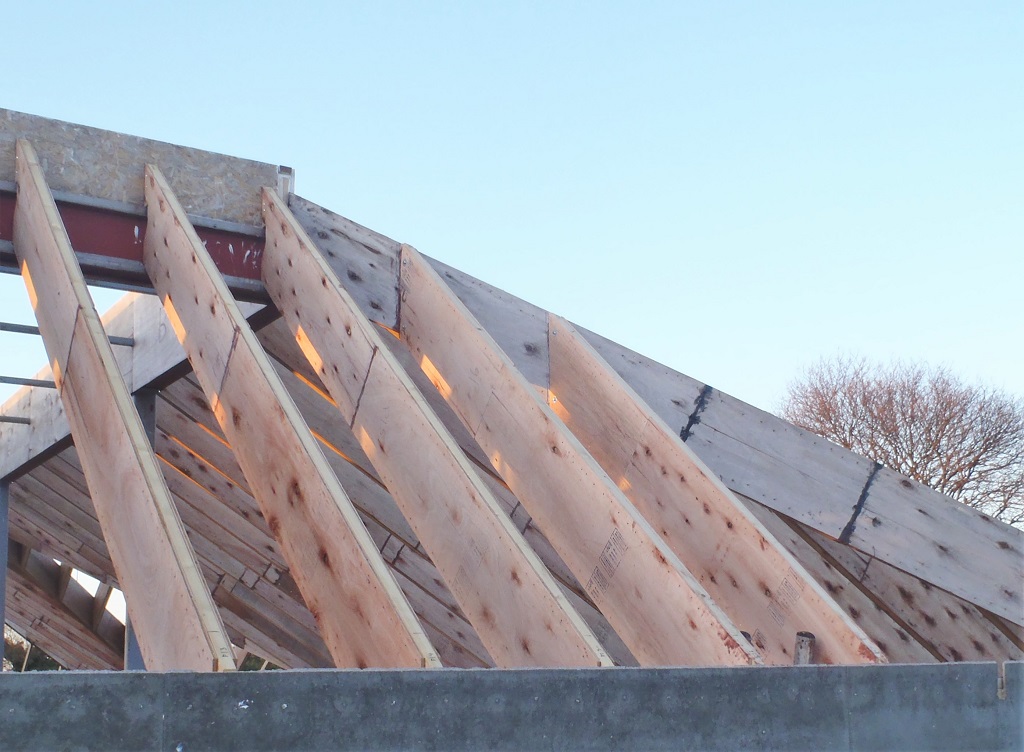
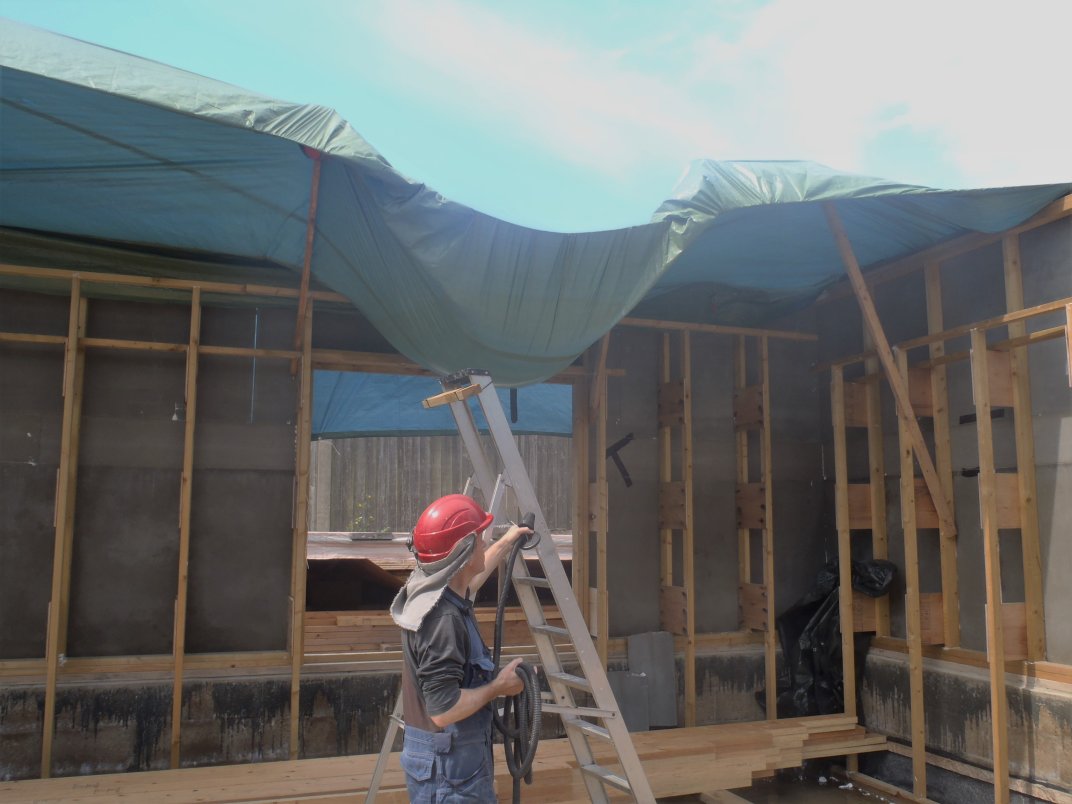
    This morning, we switched over to our latest and last angled cuts, the 45degrees angles, for the webbing. These were for the “O” set of rafters, all six of them, plus two top-flange only ones too. All these rafters have sticking out eves so they have the bird’s mouth notches and also this end of the rafters are fitting onto the walls which means they needed the clearance notches done too.
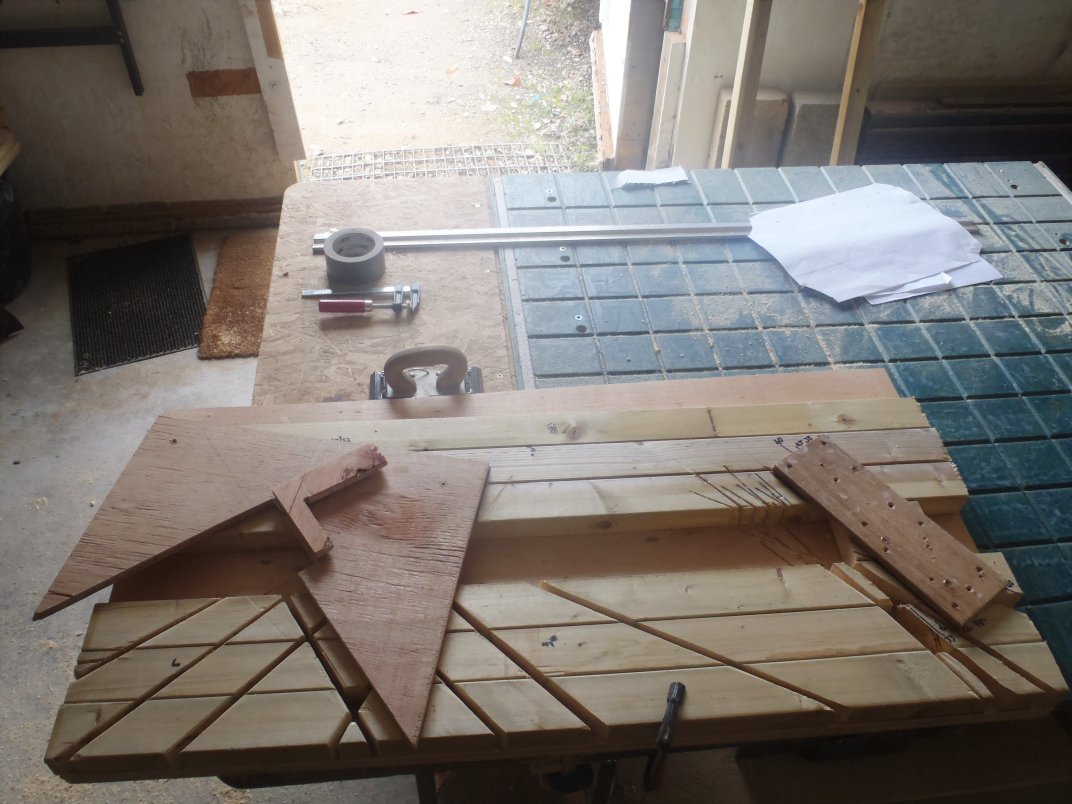
    After lunch, we took the old P2 rafter (the mistake) and chopped off about 200mm off the end to turn it into a N9 rafter instead.
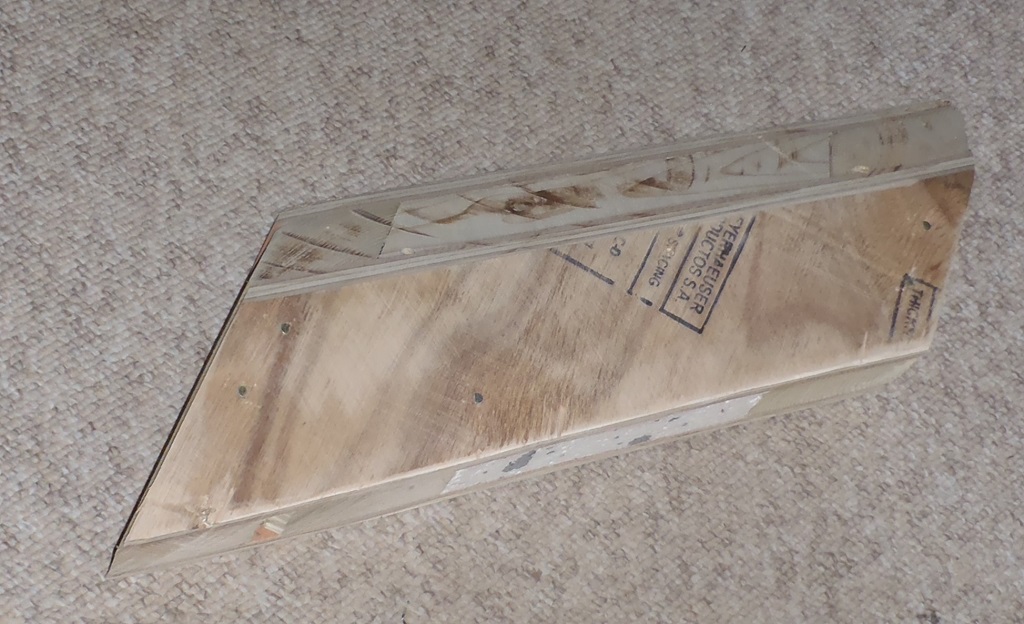
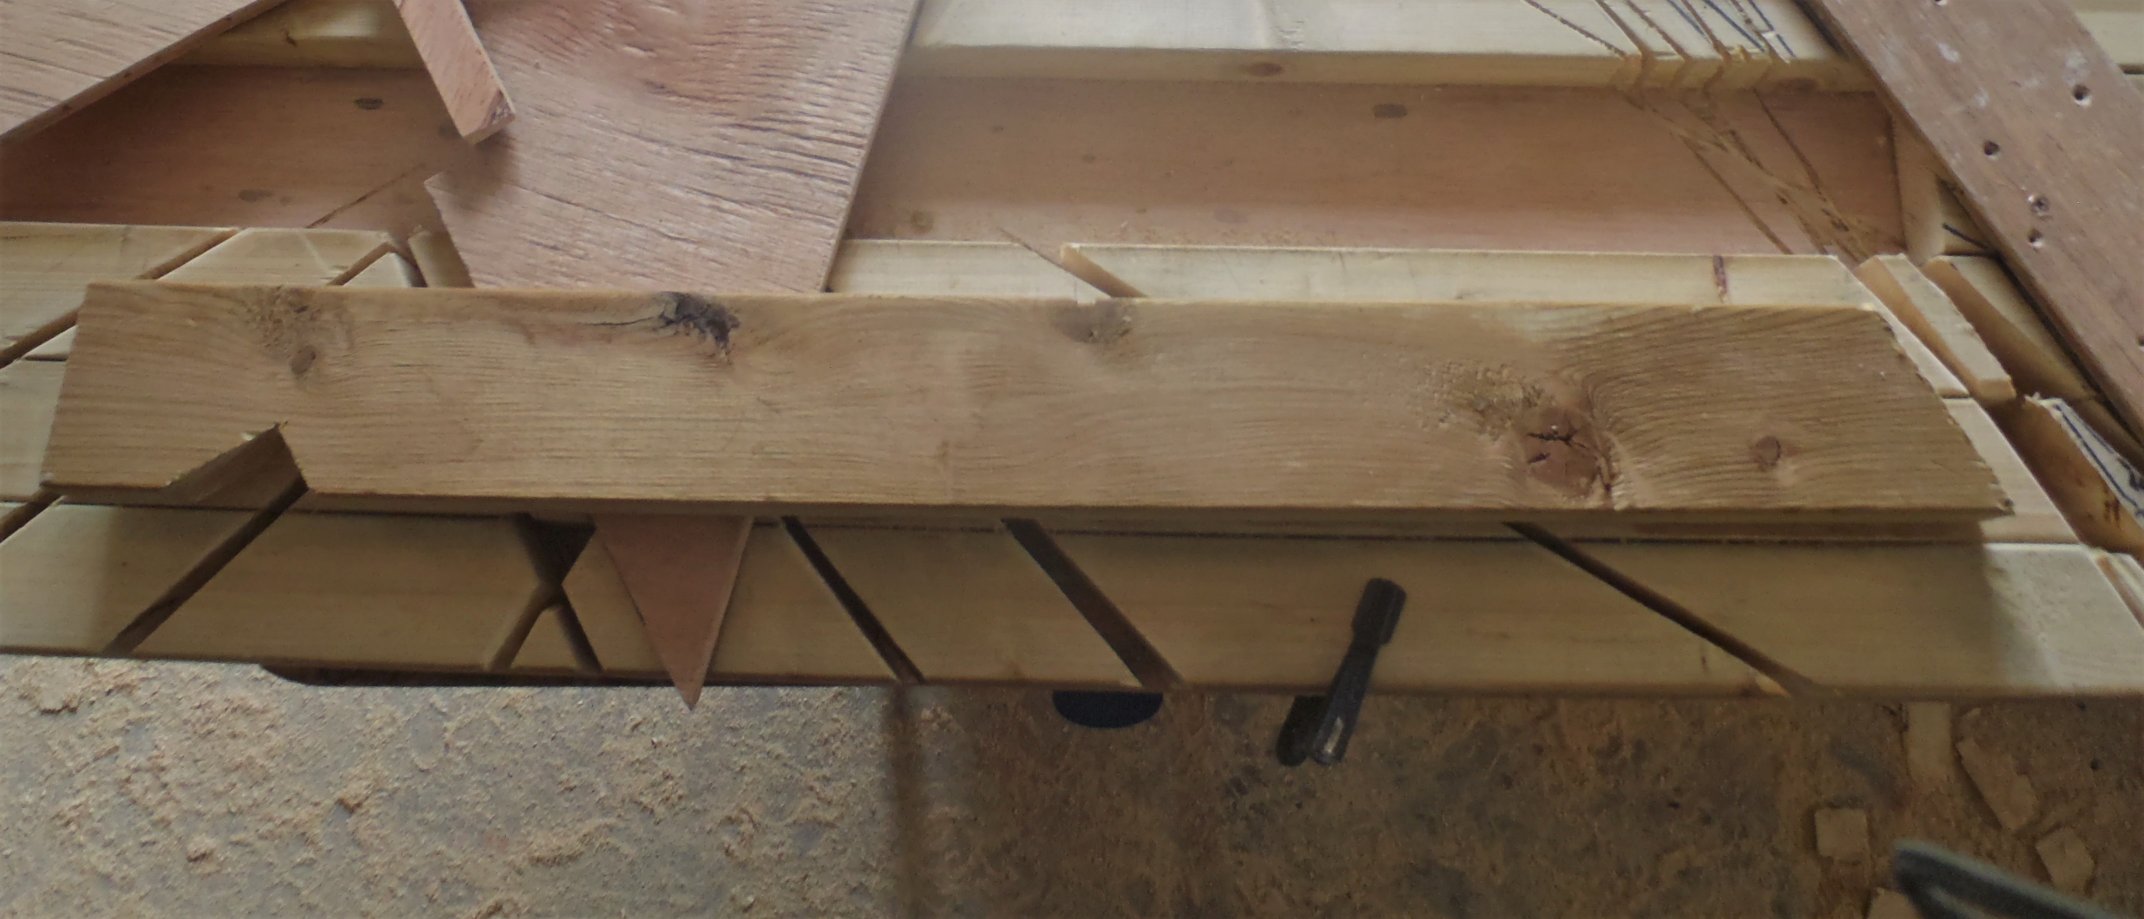
    Assembling of

    Rafter-offcut


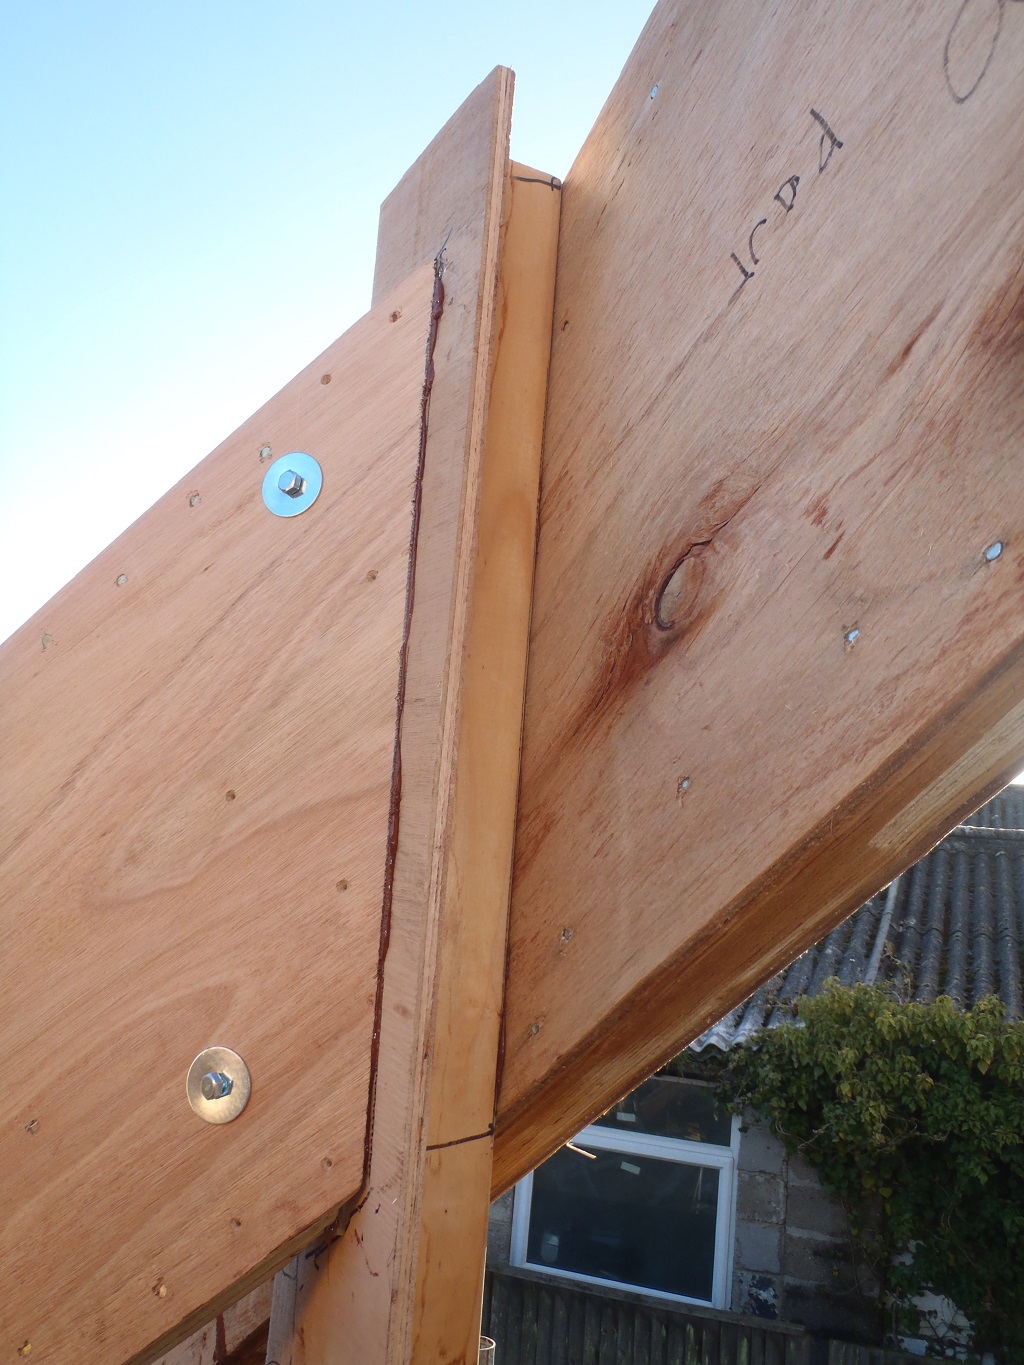
    You can see the internal structure of one of our rafter, with the insulation in and the layers plus also how acute the bevel cuts has to be too!
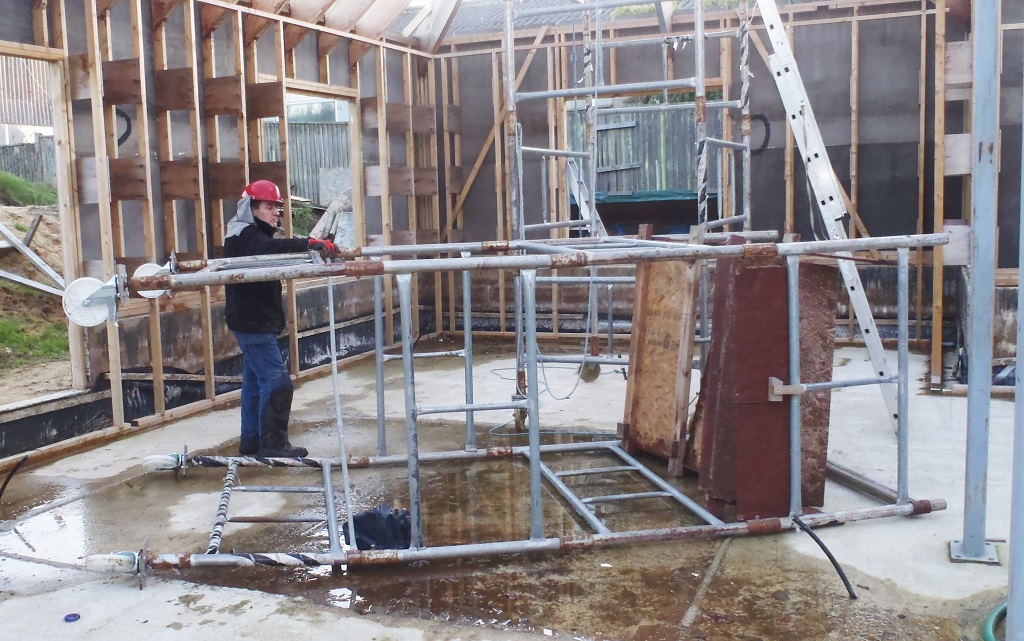
    Then sorting out the pile of webbing, and organising the order of which combination of rafters will go into the template and at the same time, remove the piece of wood from the bird’s mouths that have been half cut up to this point.
    Finally, after cleaning the whole workshop and bringing in 23 strips of the insulation to fill the 14 rafters we are doing, we were ready to start the manufacturing assembling step of producing rafters.
    But with Shaun on light duty at the moment, we did only one session with two rafters in our template and got them all glued and nailed up. Tomorrow, in the afternoon, we will do a couple more sessions, limited by Shaun’s back and get the rest done on Thursday.

  • “N” and “O” Rafters Being Prepared

    Today, while it was a damp horrible day (and also Shaun is restricted to light duties!), we worked in our workshop to cut and prepare the material pieces to build more rafters. We made more noggins (both straight ones and diagonal 45 degrees angled ones), using up lots of odd left-over length of timber we have lying around and made enough to complete all the remaining rafters to build (both “O” and “K” sections).
    Then, we chopped up a series of CLS timber pieces to have ready the top and bottom flanges for the “O” rafters (we had already made a similar set for the “N” rafters last week!). Finally, we paired up all our remaining plywood webbing and sliced the 40 degrees angles that are for the “N” rafters.
    Tomorrow, we will do the “O” plywood webbing which have a 45 degrees angled ends so we will need to modify our templates and get those webbings sliced too. Hopefully, we will also get to create these rafters too and allow them to dry overnight before we take them outside, if we get a lucky break in the weather and installed them up and finish off the roof over the Great Room – Hurray!

  • Two Days Lost to Back Injury

    Work on doing the rafters was postponed while Shaun recovers from his muscles injuries. The recovery is going well. With the weekend here now, he should see him have enough time to gain his physical health back again and start doing some light duty work on Monday.

  • Process Heap of Five Year Old Oak Timber

    While Shaun recovers from his back injury, Stephen went and process our old collection of Oak Timber we bought five years ago. It has been in our garden shed all this time, and since we have our new stock of Oak timber, it was time to rationalise the old set and combine them with the new ones.
    But the problem was that this old heap was very cheap and very roughly sawn with all the original bark and waney edges. It was a jumble of different widths and different lengths. So the first job was to pull out all the pieces that didn’t have the waney edges, about 20 planks out of 60!
    Then, using a long metal guide, the power circular saw was used to cut a straight line to make a narrower plank and finally smaller pieces were sawn off to make batten style pieces that could come to be useful later on. All these Oak pieces were of the 26mm thickness and most were 1.8 to 2 metres long and about half was over 150mm wide and the rest was less then that.

  • Tower Crashes Down!!

    At about 4:30pm, on a cooling afternoon but still lovely sunshine, we had a bit of a disaster! We were moving the scaffolding tower to its new position to install some more rafters into the “P” section of the roof over the Great Room. The problem was that while moving the tower, it had picked up a trailing end of the orange power lead that was hanging off the other tower and somehow hooked itself up on the platform. So both of us suddenly had the same idea of climbing up the tower to rescue the lead but immediately, the tower started toppling over! It was the combined force of our first step onto the bottom rail and the weight of our bodies that made the tower suddenly have its “feet” knocked out from underneath itself! It was one scary moment where we both skipped out of the way, and somehow avoiding the falling metal structure. But it wasn’t a total escape as Shaun sustained some muscle injuries in doing the sudden sideways movement and also trying to stop the tower falling over and strained his muscles on both sides of his back.

    Tower Crashes Down!!

    The-tower-has-fallen


    That was Disaster Number Two and we were left wondering what Number Three will be? O Boy!

  • The Final “P” Rafters Goes Up!

    With a very lovely sun shining down upon us, we proceeded to install the final set of “P” rafters up into the roof framework. The four rafters that goes up into the very far corner (left back corner of the Great Room) and the first two rafters of five that goes into the front left corner of the building.

    The Final

    Rafters-P1P3-and-P4


    But we discovered something wrong with the length and angle of the rafters (P4, P3 and P2). We did P4 first and realised that the angle of the Bevel cuts were incorrect, much too steep compared against the diagonal LVL hip rafter going down into the corner. We had to put in extra spacers to help fill in the gap and provide suitable structural connection. Then P3 rafter was too short by about 120mm in length and Disaster Number One, we seem to have a situation! We have a mismeasurement! When we originally measured this corner, we measured P4 and P2 and put the data into our spreadsheet and that where we got the numbers from to build these rafters. But we did something wrong somewhere and soon, we found it! the length of P2 was in error. We made the P2 rafter 1040mm long via the bottom flange but we realised that the distance from the LVL rafter down to the wall leg was actually 1400mm!! We Found It! A keyboard data entry error or perhaps a lithography error (writing into notepad!) or something! It is really the first time we have made a big mistake with a measurement during this roof phase or indeed other phases of this building project. So we abandoned P2 and finished installing P3 by inserting a large block of wood 62mm thick to fill in the gap and glue plus screws to hold everything together.
    The Final

    Spacer-for-P3

    The Final

    Rafters-P16-and-P17


    We then went onto doing the front left set of rafters and this time, we managed to get up two more rafters (P16 and P17) before the next Disaster Number Two occurred!! See Tower Crashes Down! and this put an end to our day’s work. This was about 4:30pm!

  • Preparing For “N” Rafters

    This afternoon, after a interruption to our work flow due to other meetings, we first went outside to verify the measurements we made last week on the “N” section and updated our spreadsheet. We then started the preparation job for building the next batch of rafters, this time for the “N” section of the roof. Using the new updated spreadsheet (showing the calculations as a result of our verification task earlier) and proceeded to slice and chop up a half a dozen of CLS timber to go towards the heap of material we will need for making another eight more rafters.

  • Birds Mouth Jig and Eve’s End of Rafter Template is Finally Created

    Today, we resumed our creation efforts of a Birds Mouth and End of Eve template. We had a think overnight and we have decided that we could use the battery circular saw machine after all. After careful considerations, we started building up the layers of the template and then lines of 63 CLS timber, three lines at the bottom and a gap for the 89mm CLS Rafter Flange and another three lines of 63mm CLS timber. All this was glued and screwed together because we couldn’t rely on the screws surviving when we cut a whole series of clearance slots at the different angles we will need for making the Birds Mouth. We have five angles in total as follows:
    • 32degrees – rafters coming down onto Wall A and E plus M and I.
    • 33 degrees – Rafters to Wall B and D plus L and J.
    • 40degrees – Rafters to Wall P, N and H.
    • 45degrees – Rafters to Wall O and K.
    • 60degrees – Special Rafters for Porch on Wall C.
    We printed off on A3 paper all the Birds Mouth shapes and stuck it down on our wooden template and drew lines across the surface and used our heavy duty mains powered circular saw which has a thick strong saw blade in it and sliced clearance channels along 8 separate slots. We then did the same at the other end of the template to provide a place where the Ends of the Eve is also done at the same time as both the Birds Mouth and where exactly to cut the end is very much related to what roof angle we are dealing with. The important factor is that the gutter’s must all line up to the same height, no matter what angle the roof is. So we had a collection of numbers to position where the jig needed to go for doing the end of the eves. Again, the heavy duty saw came into its own in making more slots so our battery saw can just slide along the guide and just cut the 89mm CLS timber where we needed and get the job done quickly.
    Next, we took a square piece of plywood and cut out a right angle segment (plus an extra piece to accommodate for the battery saw base plate) and this will provide the actual and exact guide for running the battery saw long. This was similarly done for the other end to provide a guide for the different angles at the end of the timber which will in turn be connected to the Facia board.

    Birds-Mouth-and-end-cutting-jig

    Birds-Mouth-and-end-cutting-jig


    We were successful at the end of the day, by creating a Birds Mouth notch and the correct angled cut on the end of the timber as seen below in the picture
    Test-piece-cut

    Test-piece-cut


    It is quite complex but we made it or at least we hope, so as we haven’t used it in anger under full production runs so we will have to keep our fingers crossed!
    Tomorrow, we continue with the next tools and jig template like the measuring template to help us get the length of each rafter accurate and be able to trim little amounts off the top end.

  • Bird’s Mouth Jig Much More Complex Than Originally Thought

    This afternoon, we tackled the next tool and template we will need for the production of our roof rafters and this time, it was the Bird’s Mouth jig template. We thought we could use the jigsaw machine to give us the means of quickly cutting the two straight sides of the “notch” at the bottom of the 89mm CLS timber. But our tests revealed that the jigsaw does NOT like being guided by an external straight edge, it kept wanting to curve towards the guide edge and bending the blade! it seems that jigsaws works best free form, meaning that one has to follow the line by eye, rather than the whole machine being guided by something else. it was quiet annoying to realise this!
    Next, we tried using a router with a long straight cutter bit but the piece of our timber we are trying to cut is 38mm thick and it proved too hard for the router machine to cope with it all! Phew! Finally, we looked at using a circular saw! But, even though it cuts a lovely straight line, the machine itself is not very symmetrical and would have meant a very complicated template with moving flaps to make it work properly!!
    That brought us to the end of the day and we abandon that task as well!!
    Tomorrow, we will tackle this problem again and probably end up with a simple jig to guide a hand saw and we will have to do the job of making over 200 Bird Mouth notches by muscle power alone! Phew!

  • Water Pump Blockage Sorted and Rain Tent Abandoned!

    This morning, after the thunderstorm and lightning we had from 4am to 6am, and collecting 22mm of rain in that time too, we had to go out and see why the water wasn’t draining away from our floor slab, plus also why our rain shadow tent had a huge bulge in the tarpaulin roof!

    Water-bulge-in-Tarpaulin

    Water-bulge-in-Tarpaulin


    First of all, the pump was running and seems to have been doing so since the early hours! The reason for the water not being suck up was .. lots and lots of wooden rubbish blocking the input vents at the bottom of the motor!! The whole thing was wrapped around with a plastic netting which is where the blockage was so we took off the netting and promptly all the remaining rubbish we couldn’t get out of the water got sucked up and blocked the inside of the pump instead! Argh!
    We unscrewed the bottom plate and after a while of scratching our heads, realised that another piece also came off the bottom to reveal the impeller .. and the blockage of rubbish!! We cleaned it all out, flushed it backwards using the garden hose and put it back together but with an additional metal mesh to try and keep the finer plastic mesh away from the pump and its input vents. The motor went back in the sump hole and it merrily pumped away and within a couple of hours or even less than that, most of the water, which we estimate to be about 7000 litres, was flushed away down into our underground rain soak-away module!!
    Updated-pump-filter

    Updated-pump-filter


    Next, dealing with the bulge in our tarpaulin tent roof, we tried lifting it and pushing it from below, but it was far too heavy. It is likely to have been about 400 litres or more which means it weighs 400kg! It was amazing that the tarpaulin was able to support that amount of water and weight! We solved the problem of shifting the water by the old fashioned trick of syphoning it off with a hose and sucking on the end to get it started (and suffering a mouth full of water!!). It gushed out quite quickly and soon the bulge was no more!
    Syphon-hose-in-water-bulge

    Syphon-hose-in-water-bulge


    But, we discovered that more rain water managed to get inside between the layers of the tarpaulin and the whole thing was sagging in many spots and also some of the eyelets that had rope tying them down had ripped completely out too!
    So we decided to abandon the whole tent idea and take the tarpaulin down. It was much simpler to wrap the LVL timber in another tarpaulin instead to protect it from the rain! Oh Well! That’s Life!