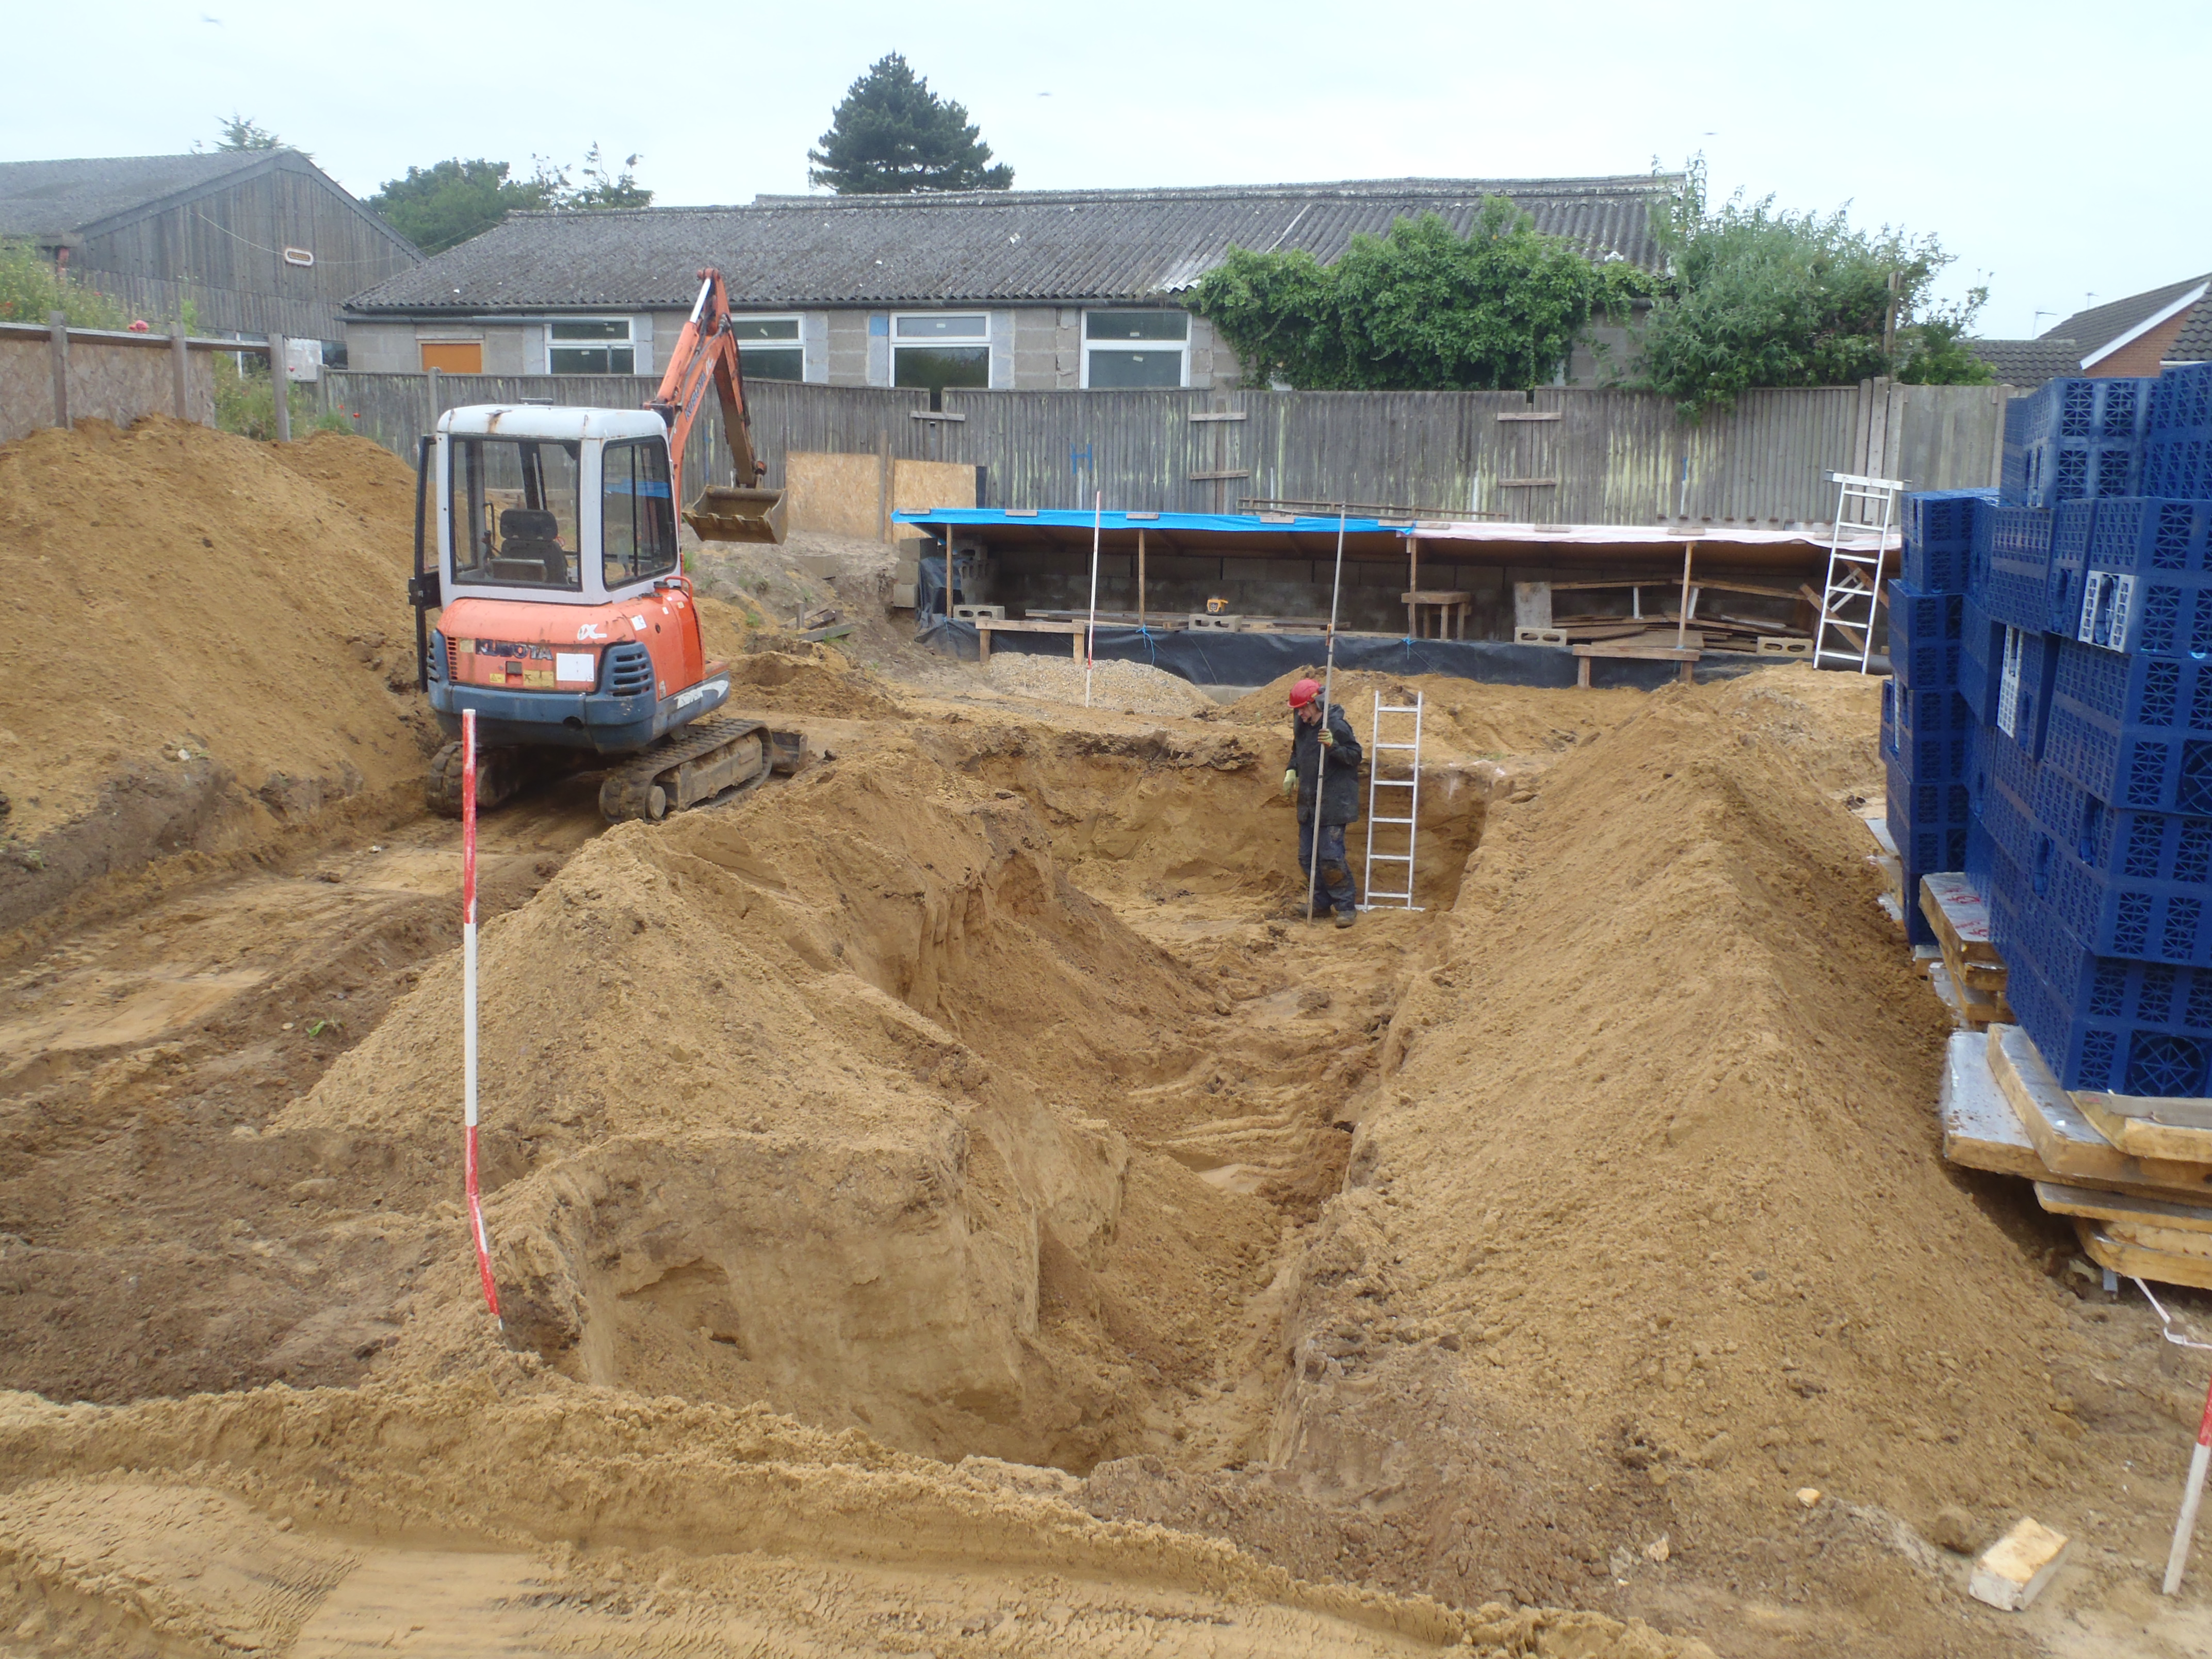
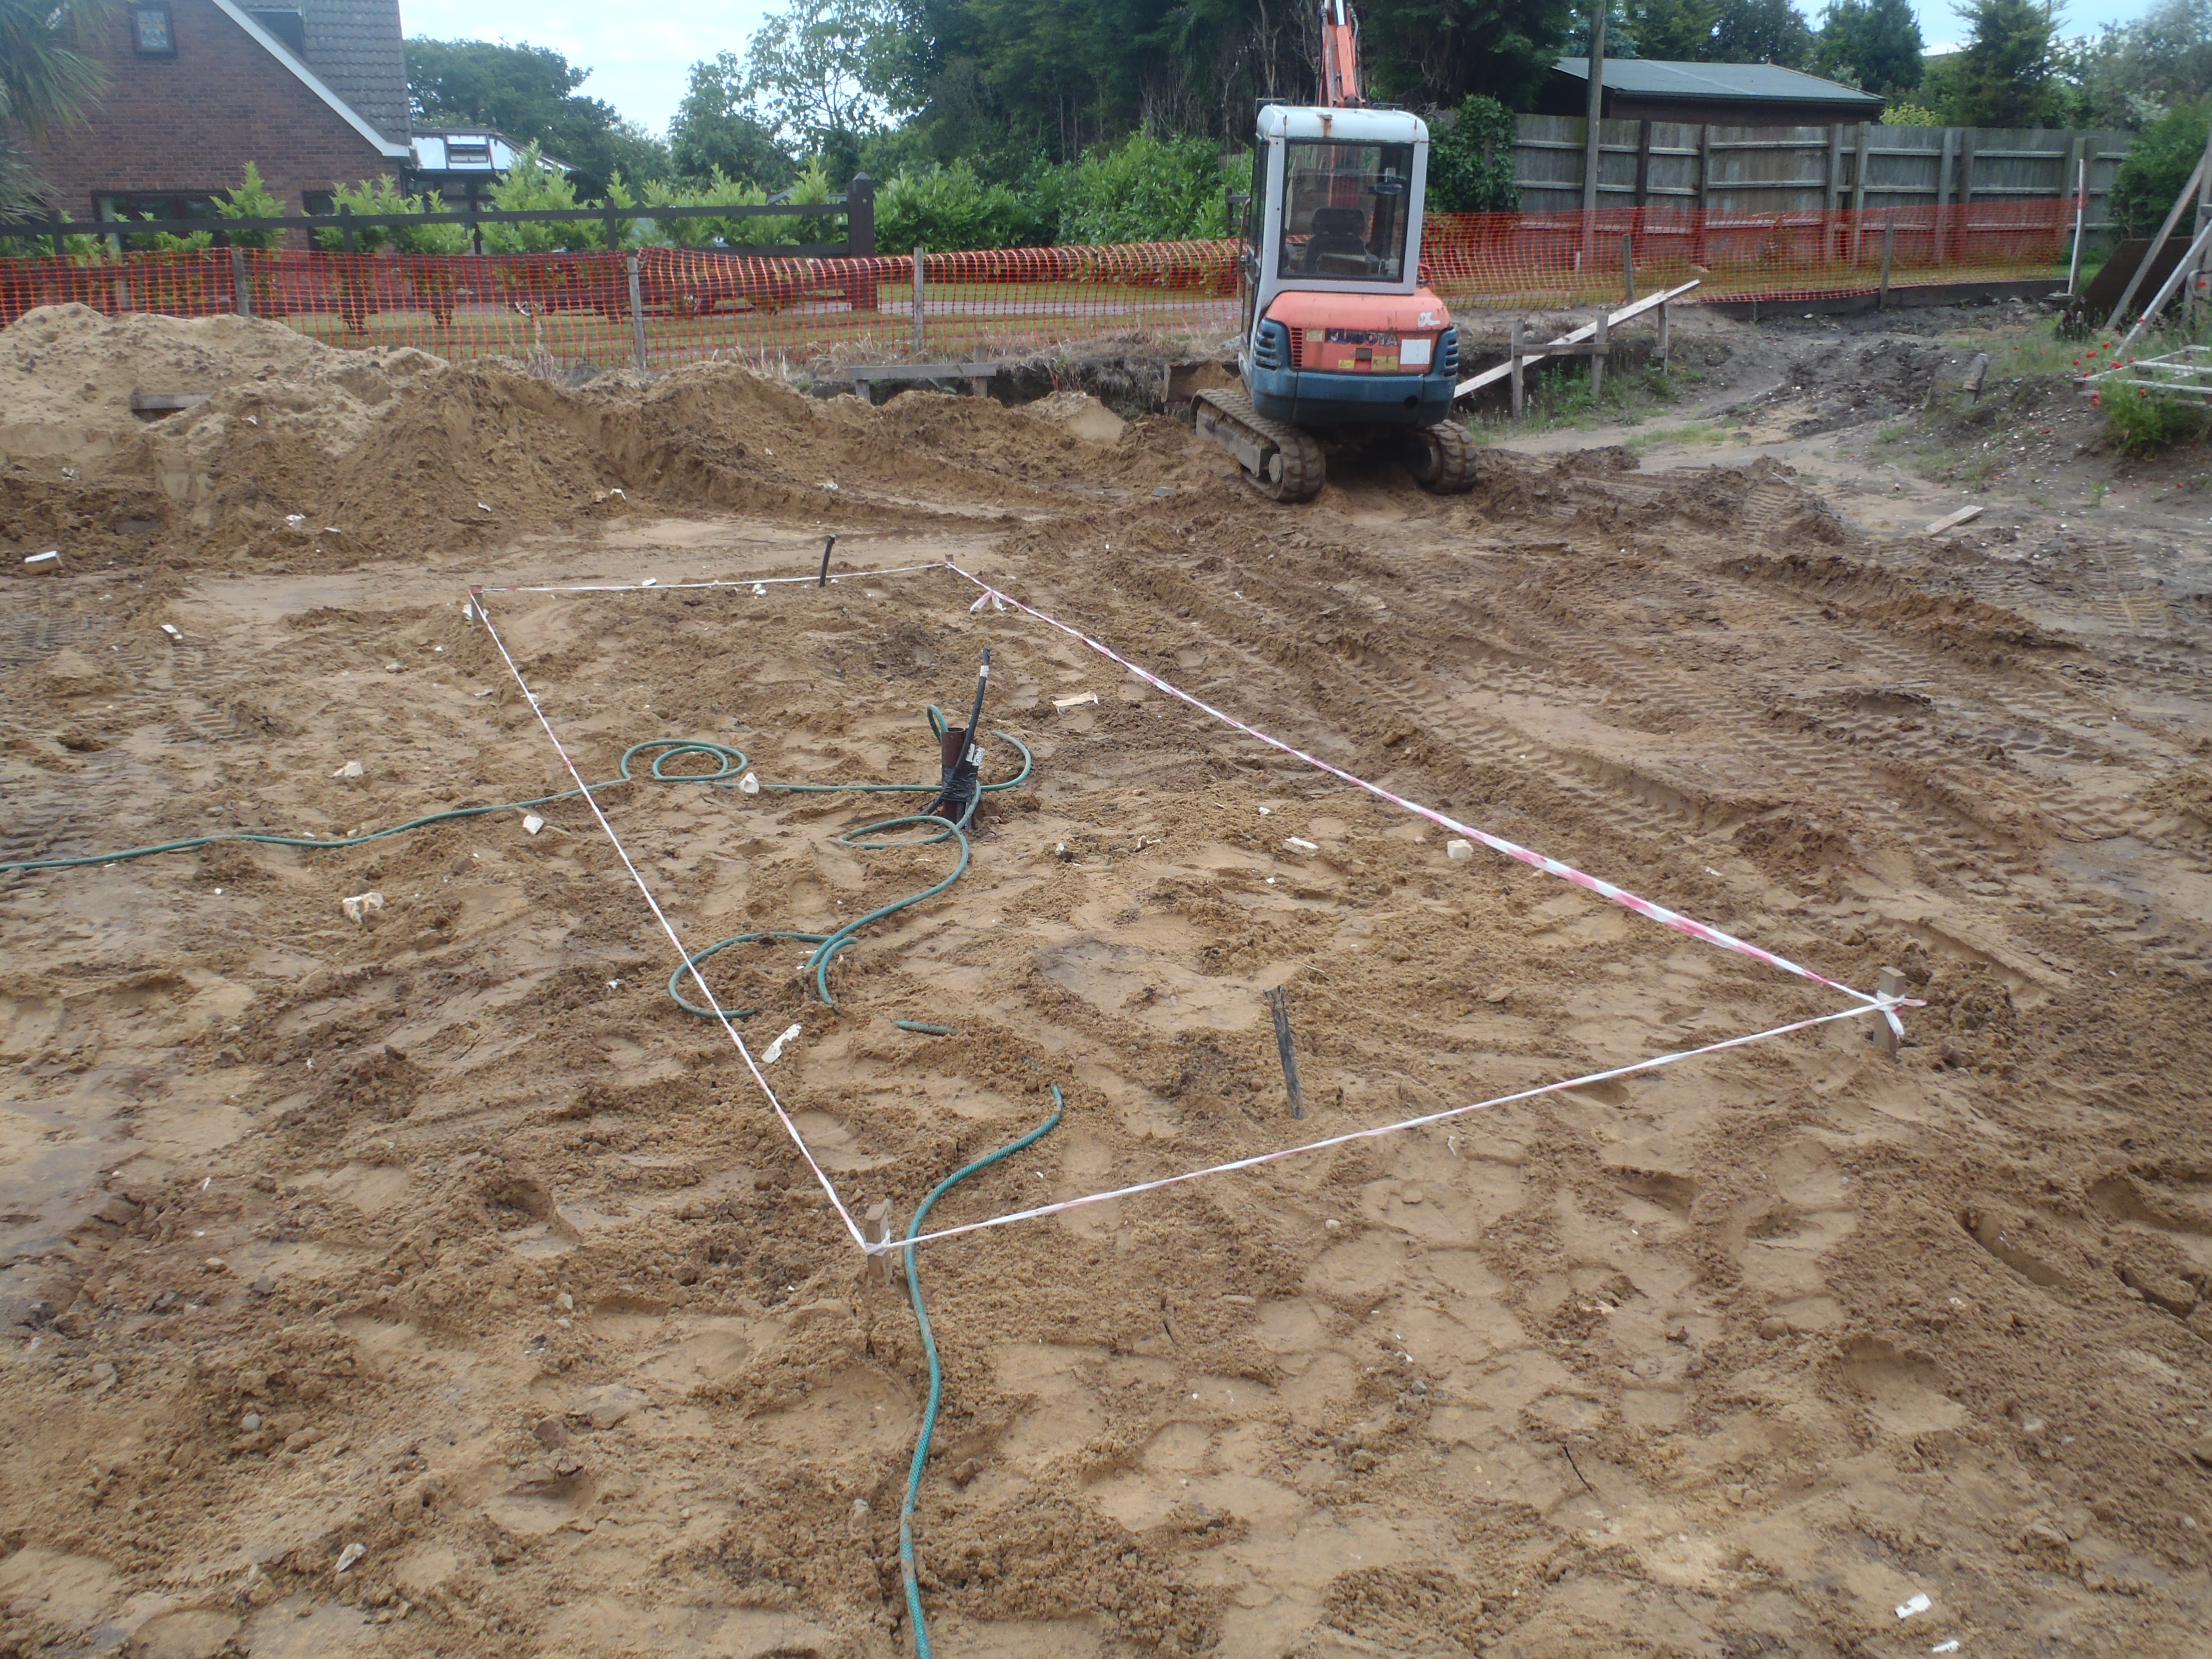
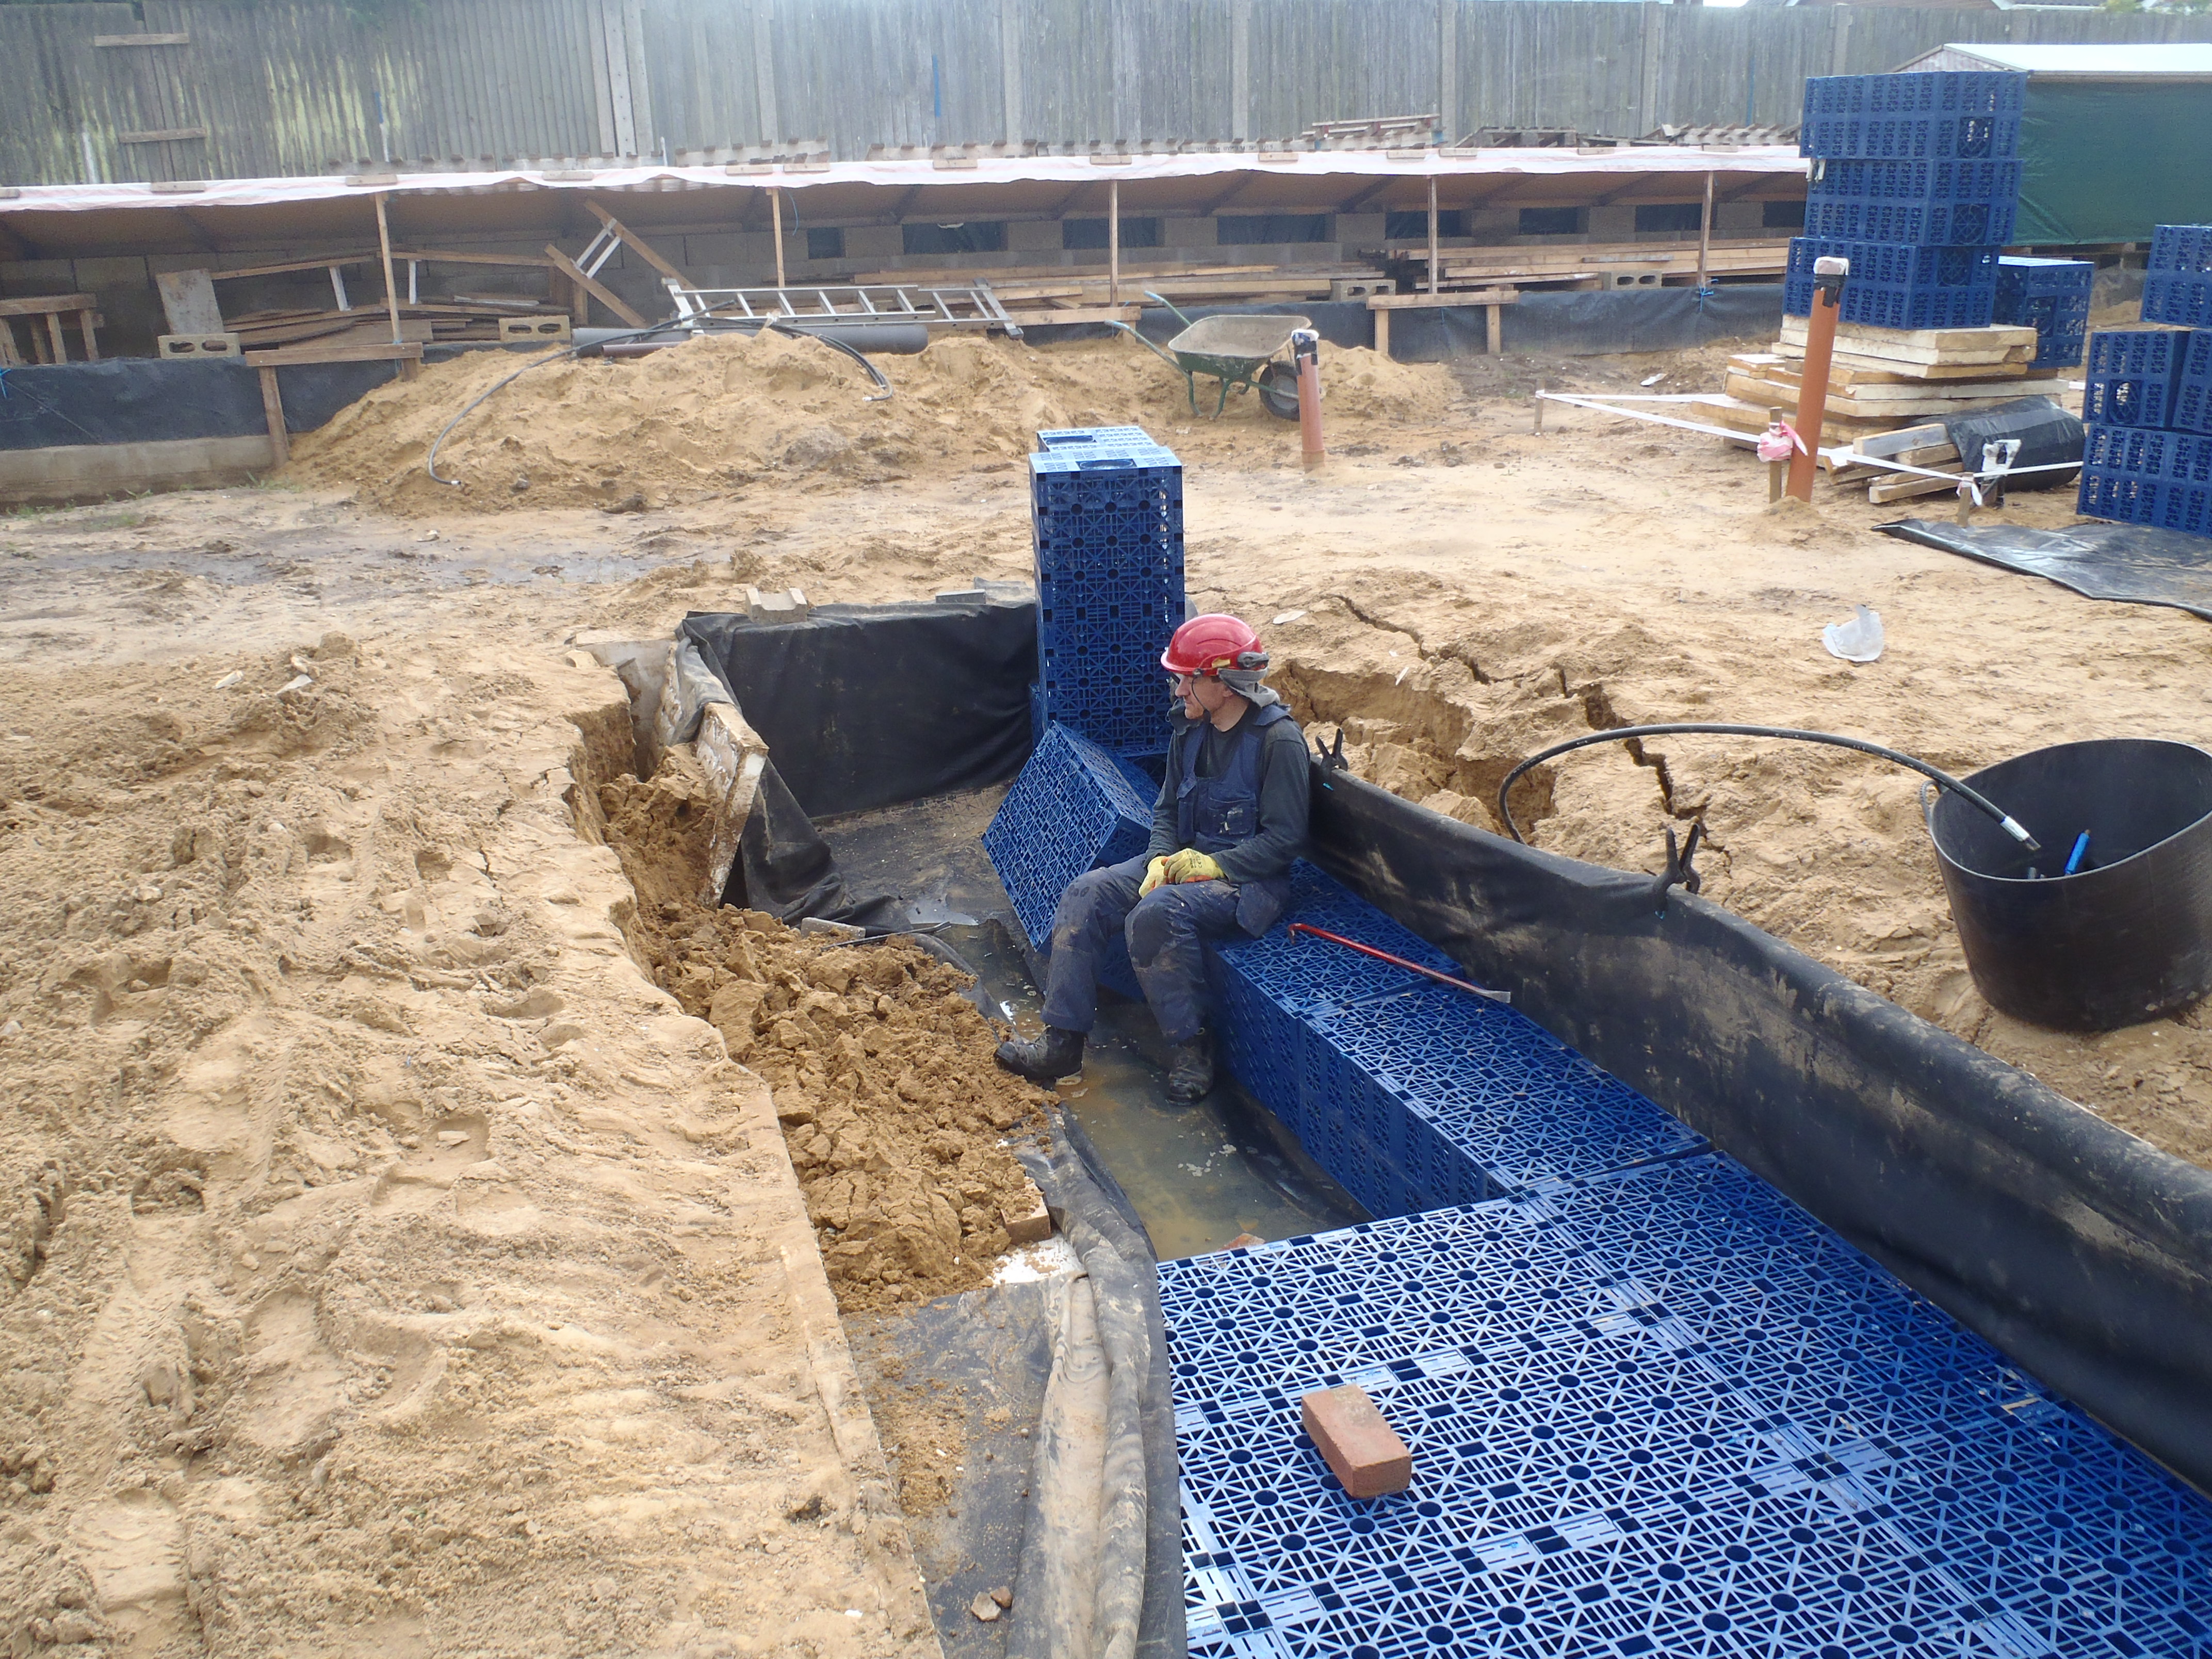
Today, under the glorious hot sun, we finished digging out the hole, for Energy Module Number 5. We then started on the smoothing and leveling process, with the insertion of the guide rails down each side, doing section by section.
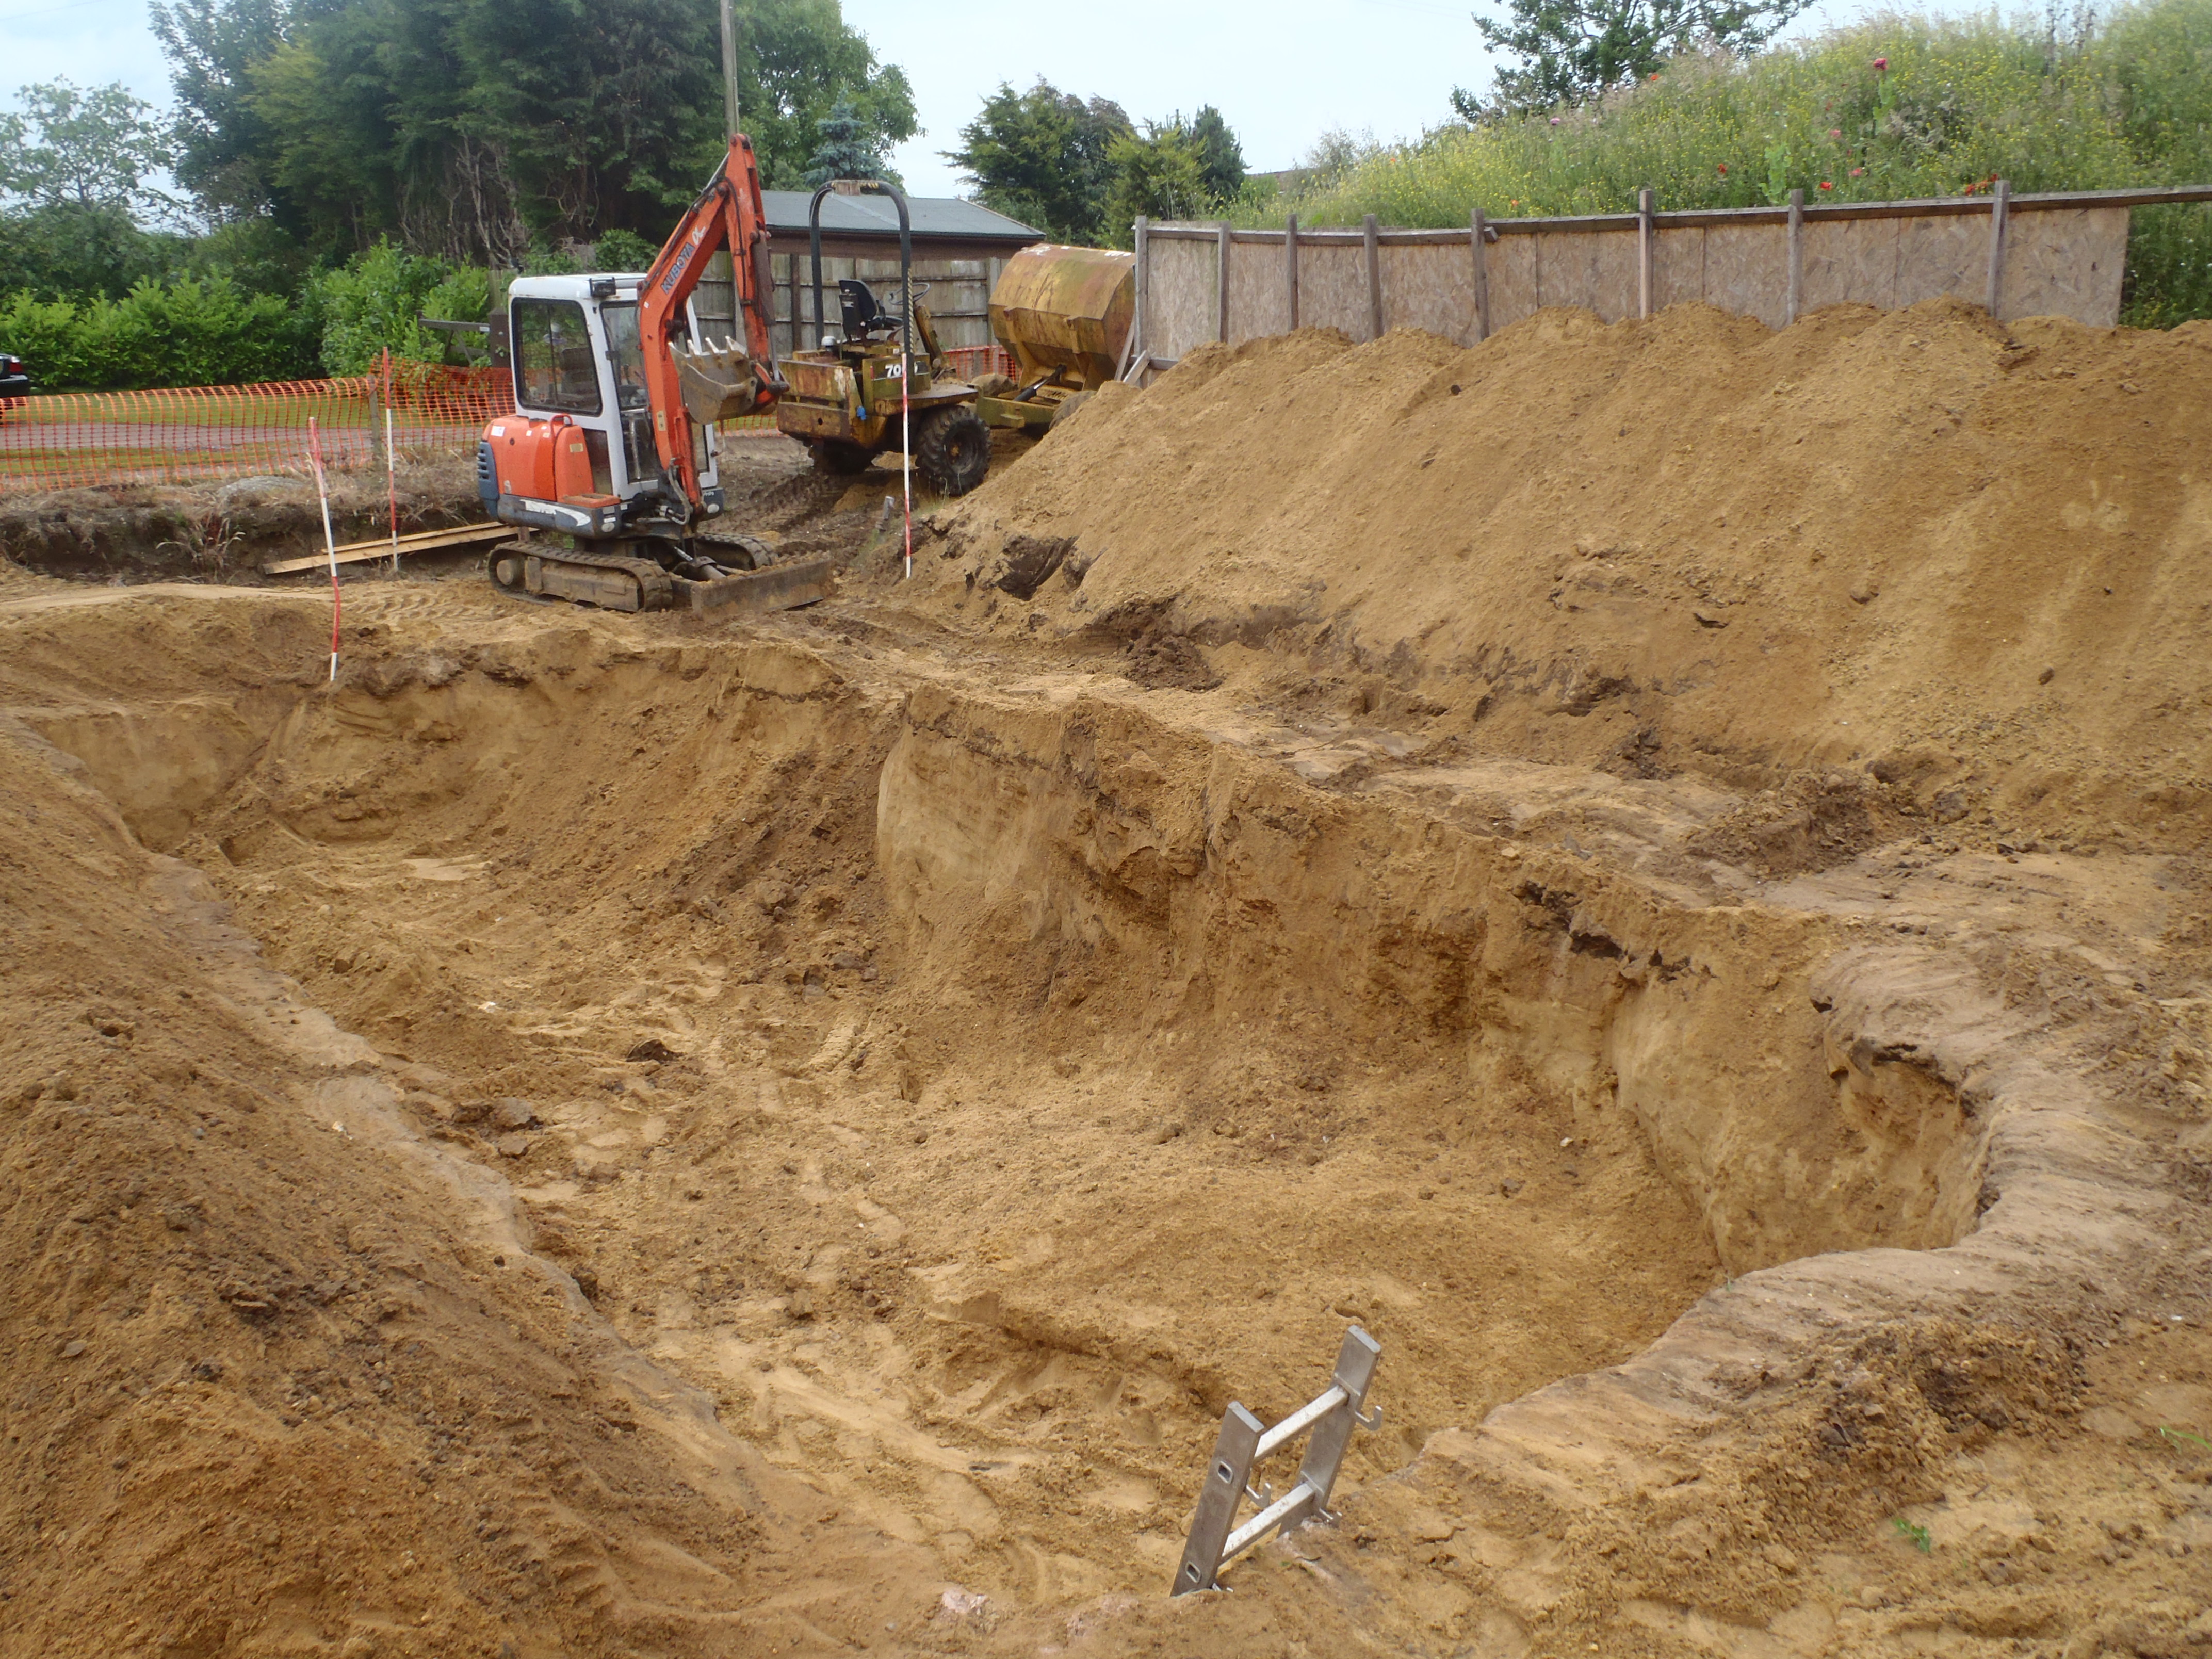
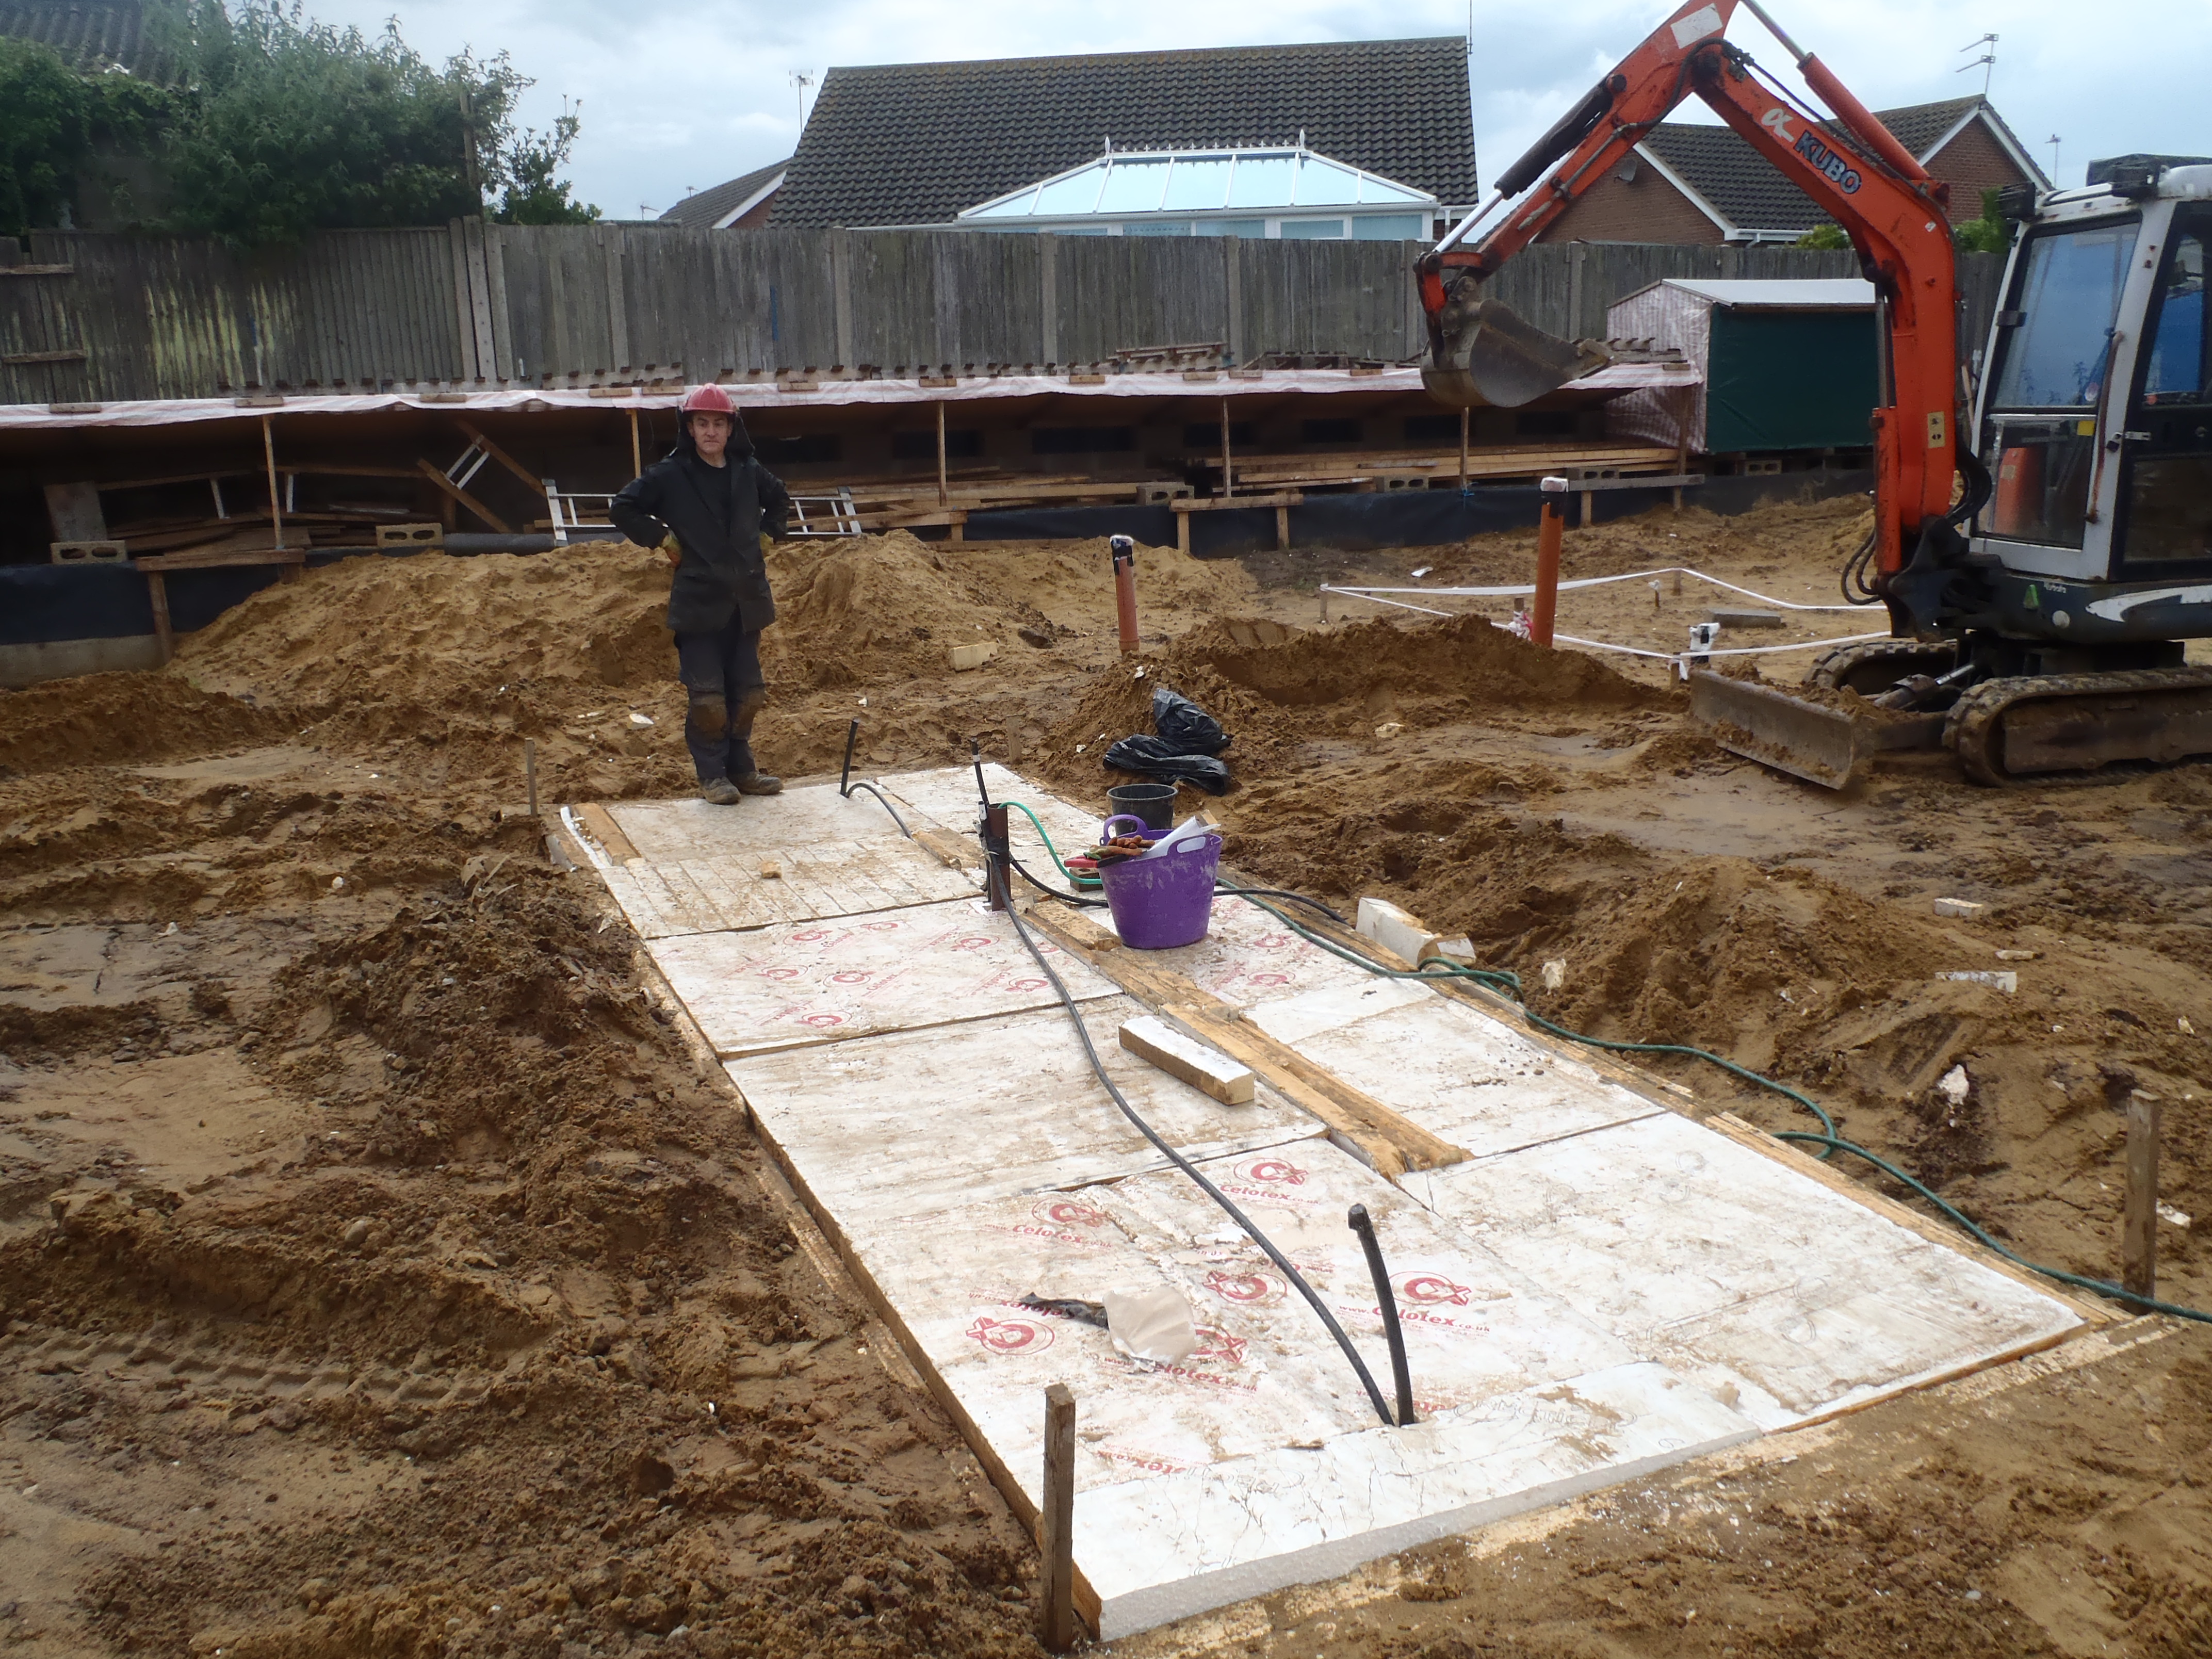
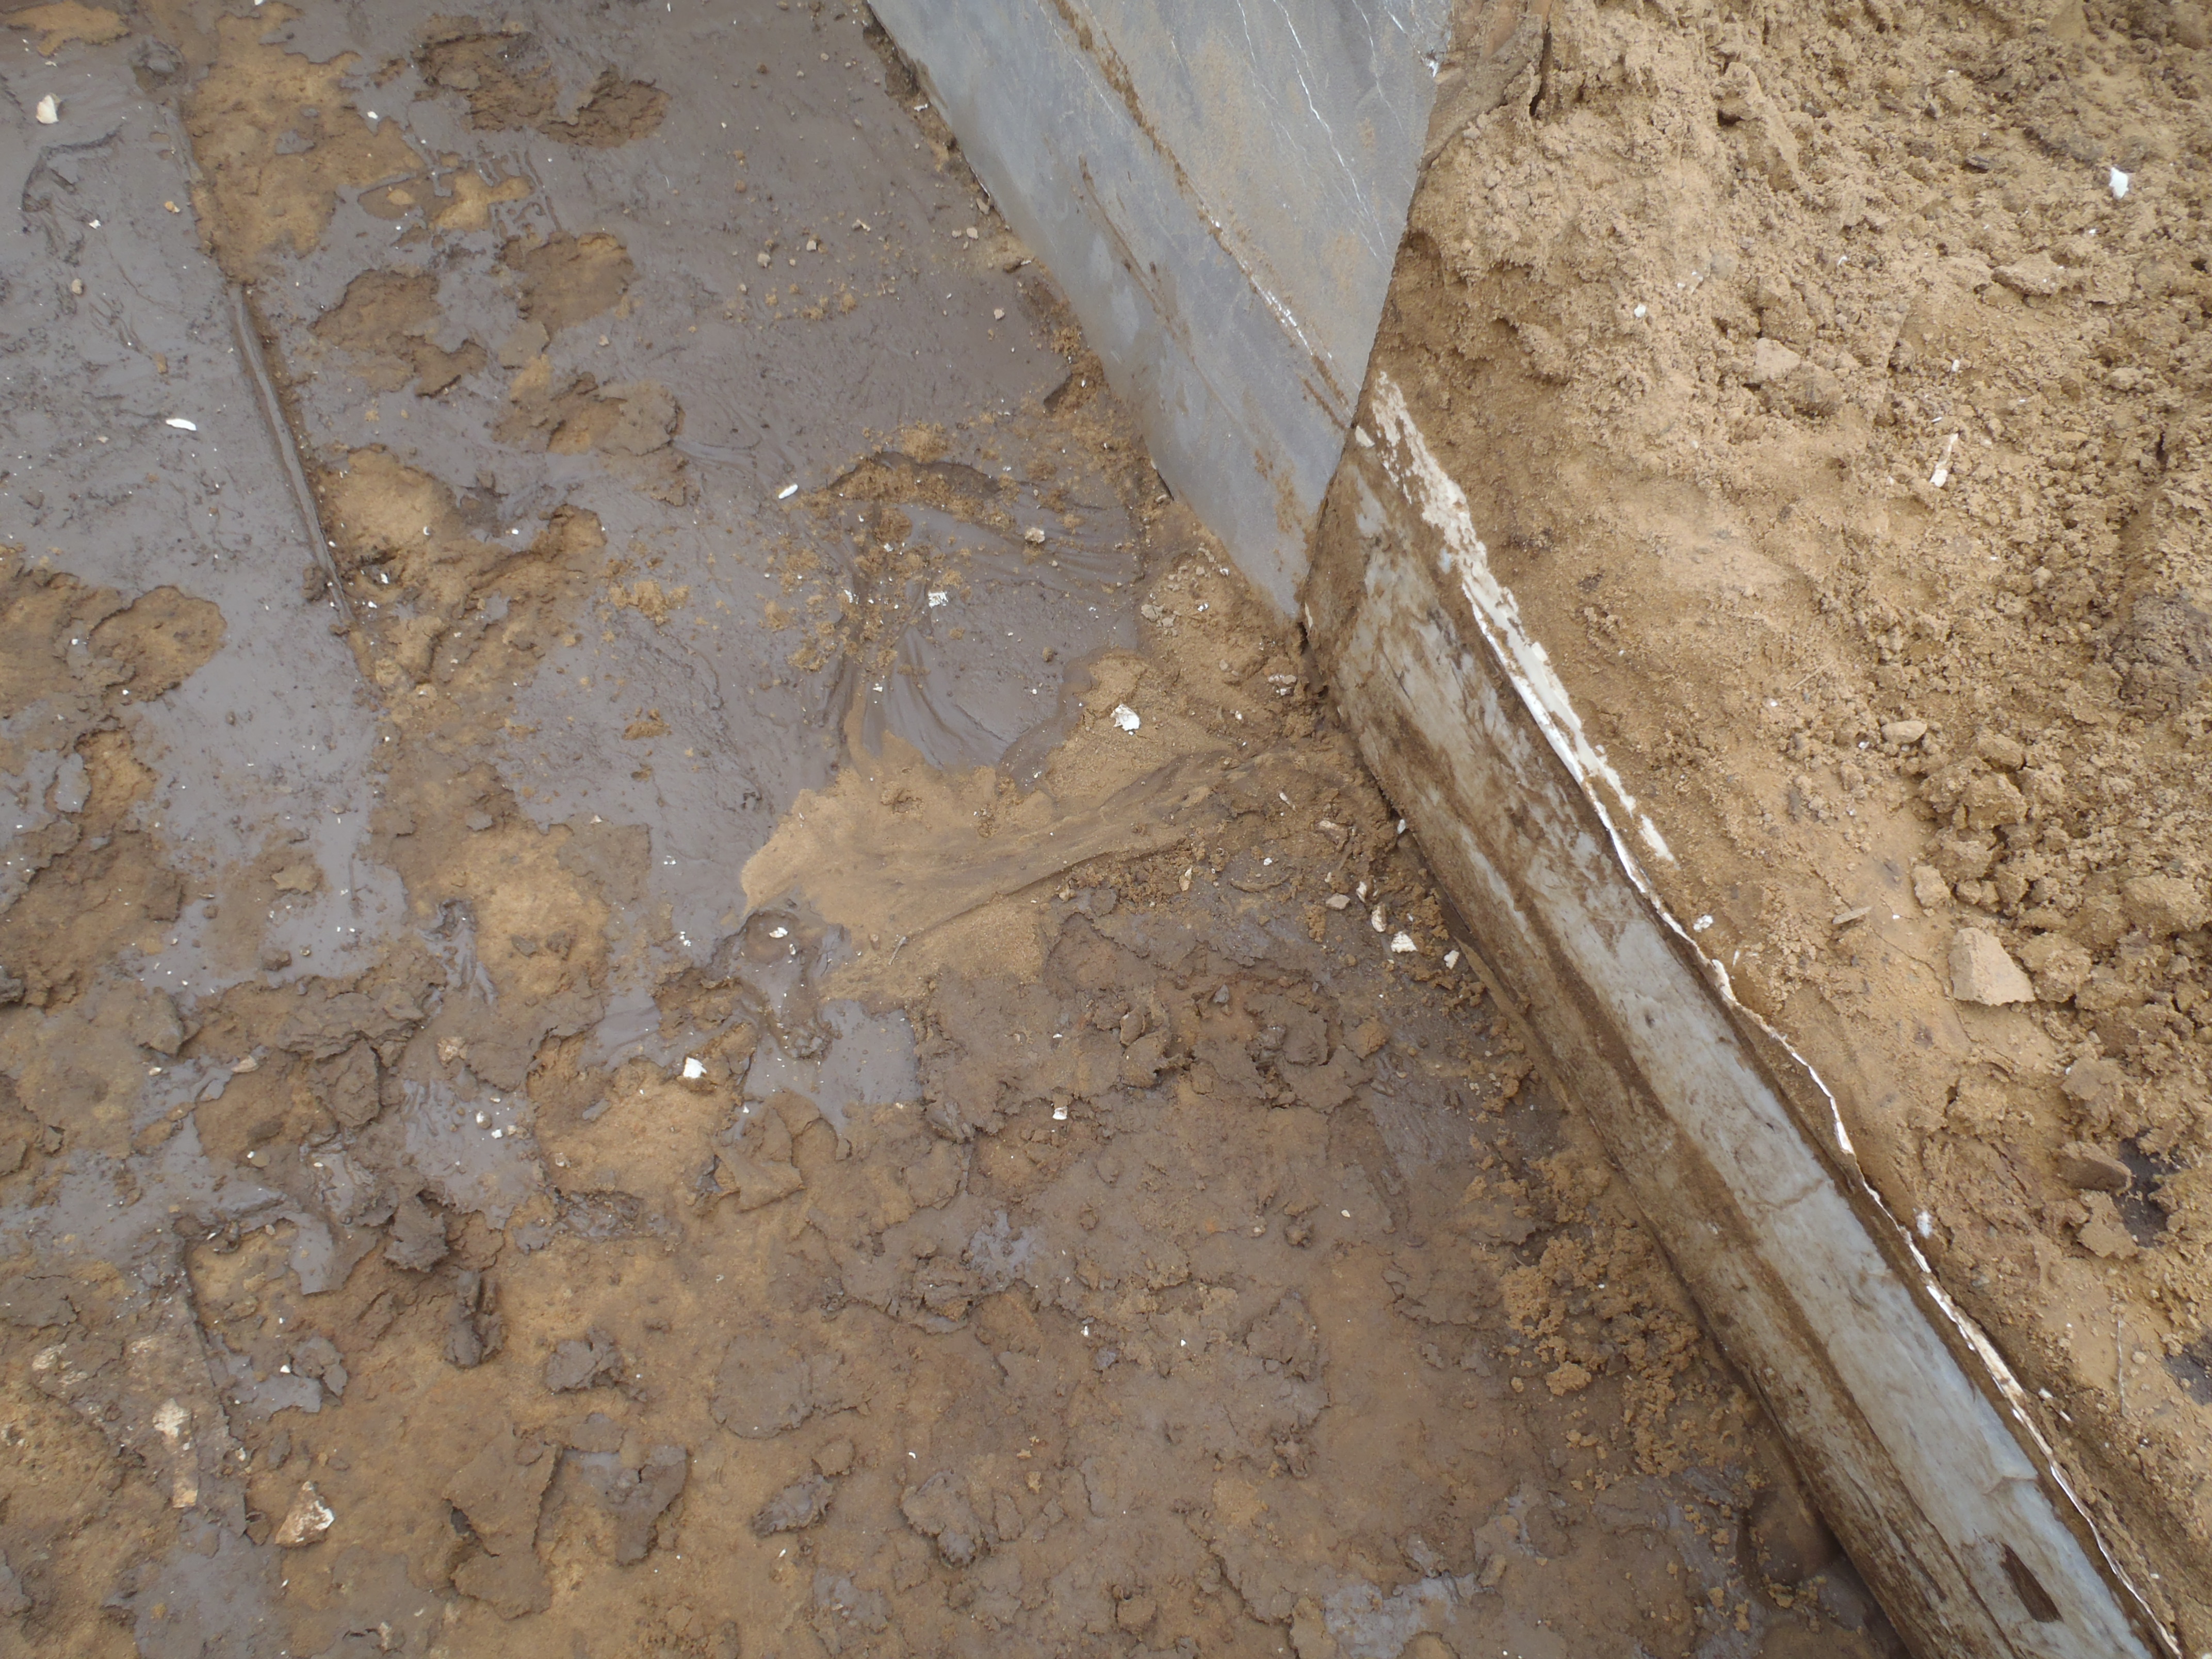
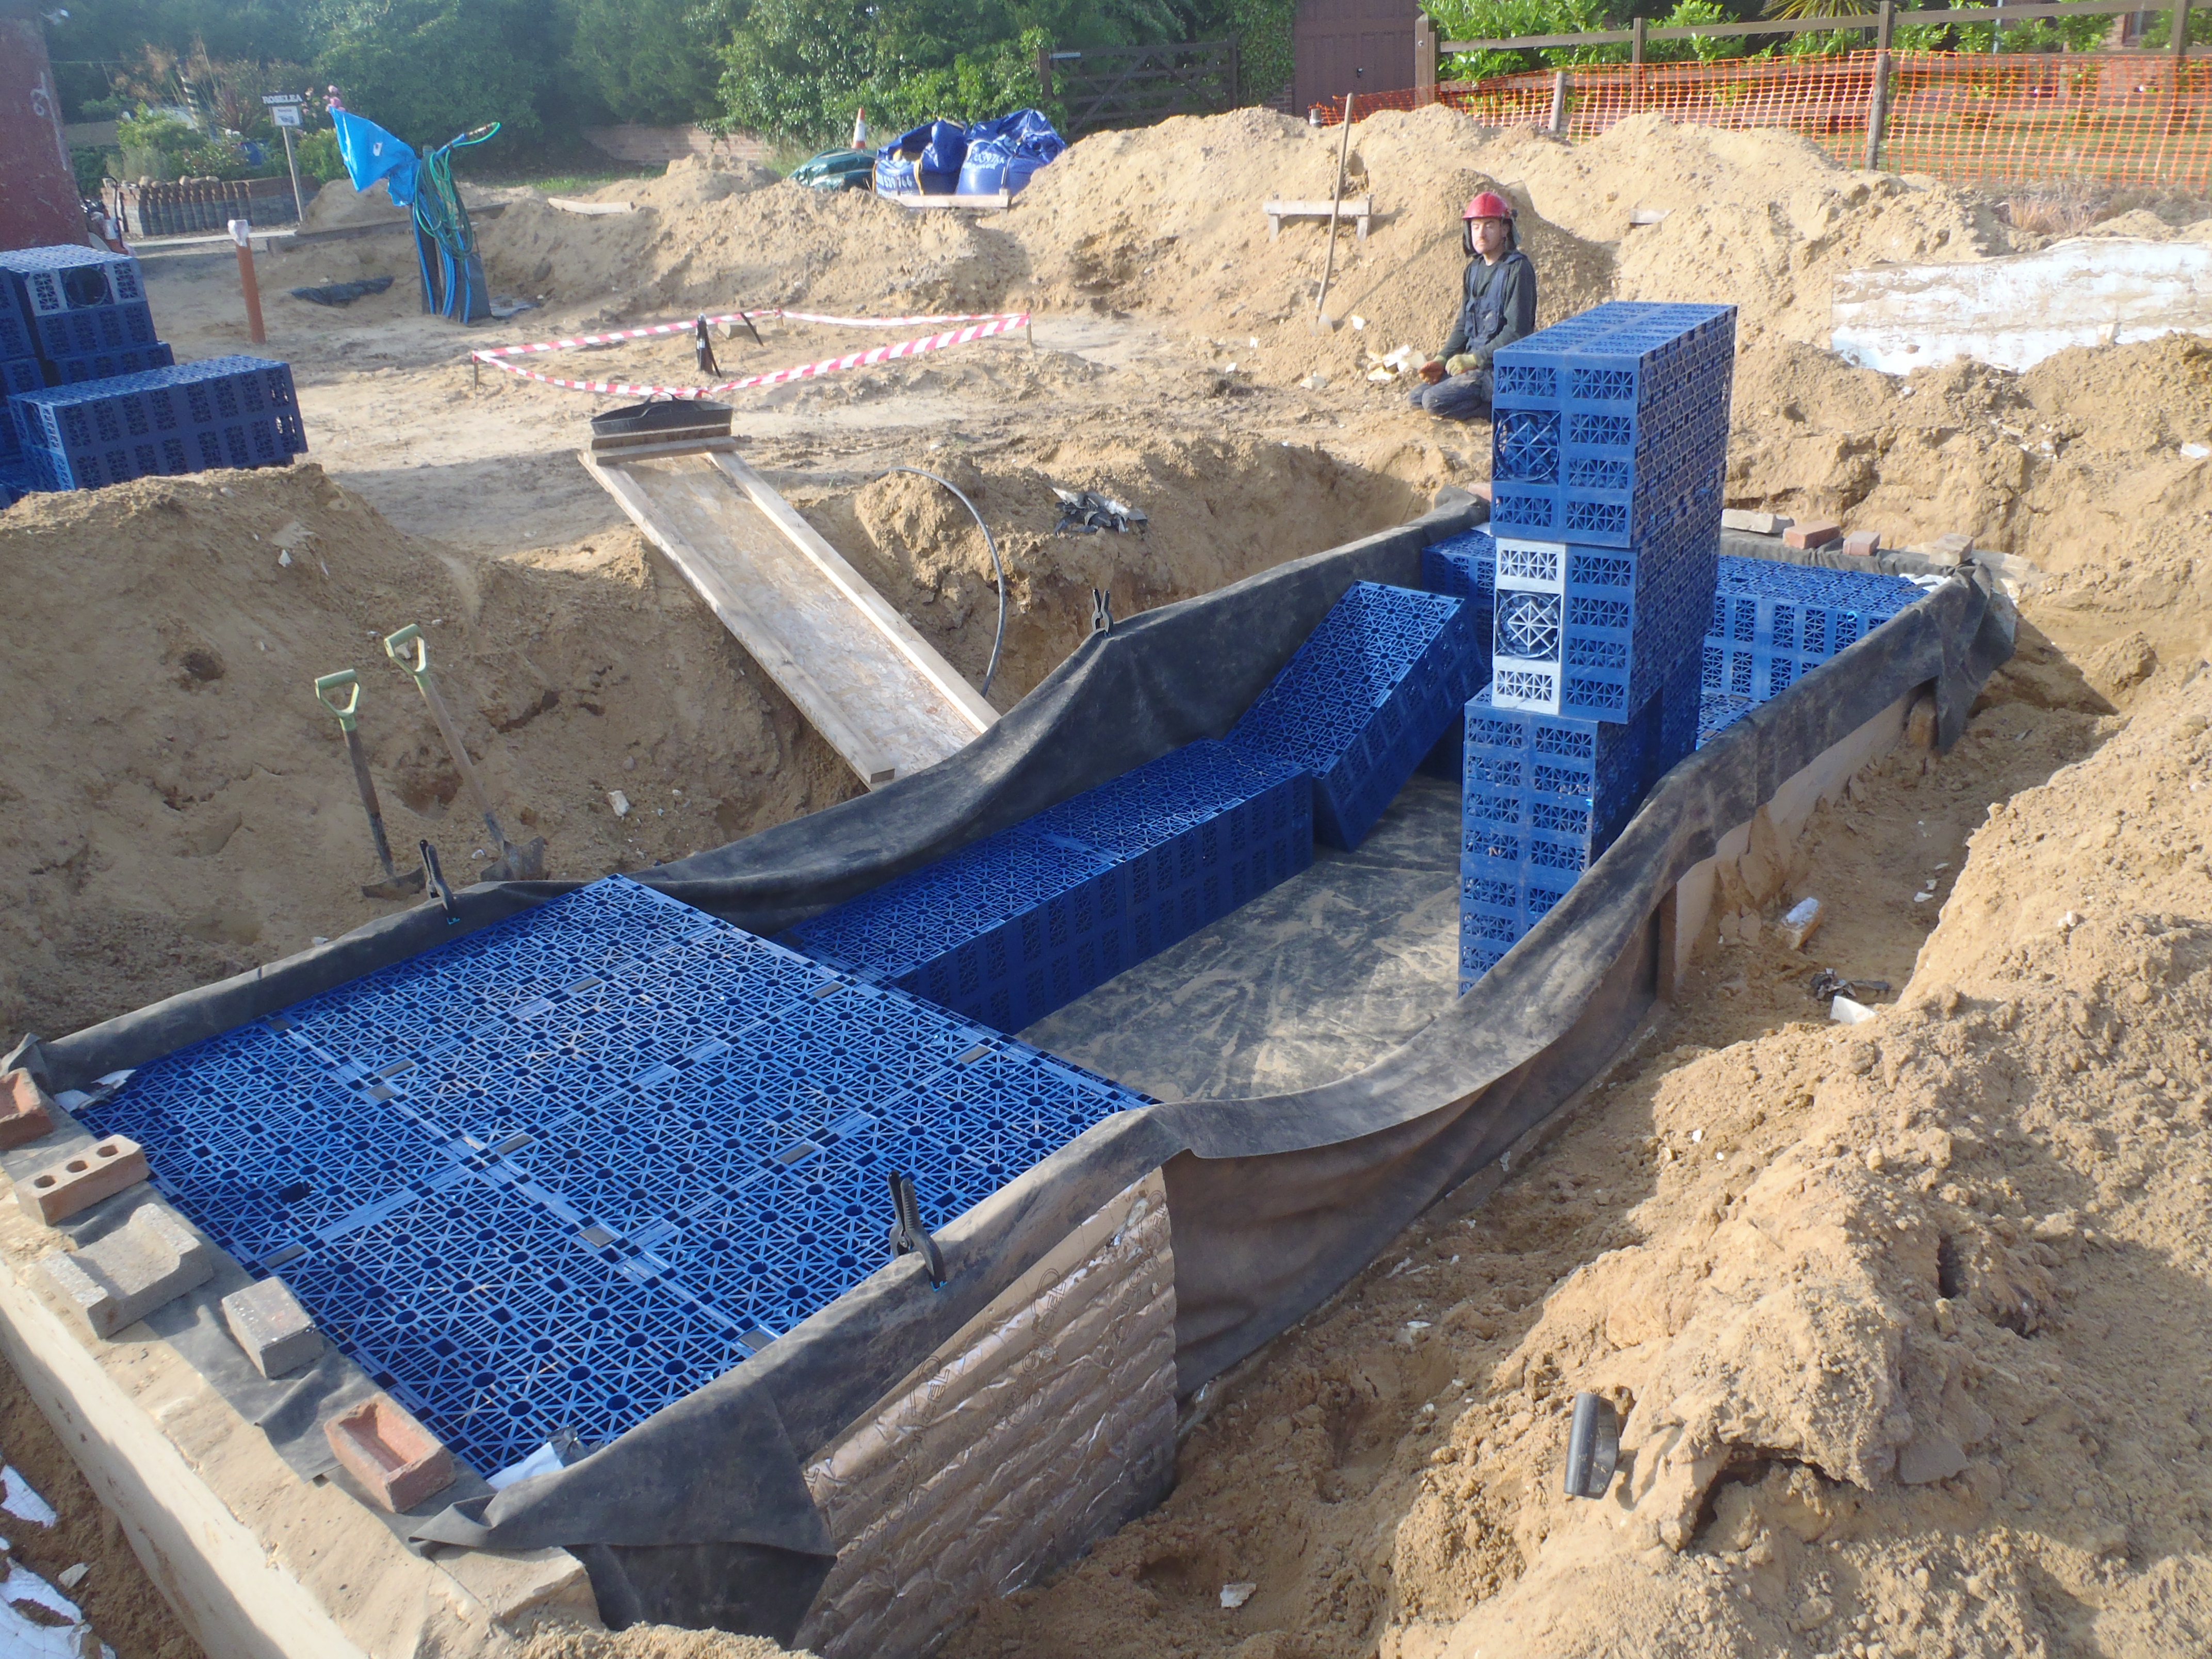
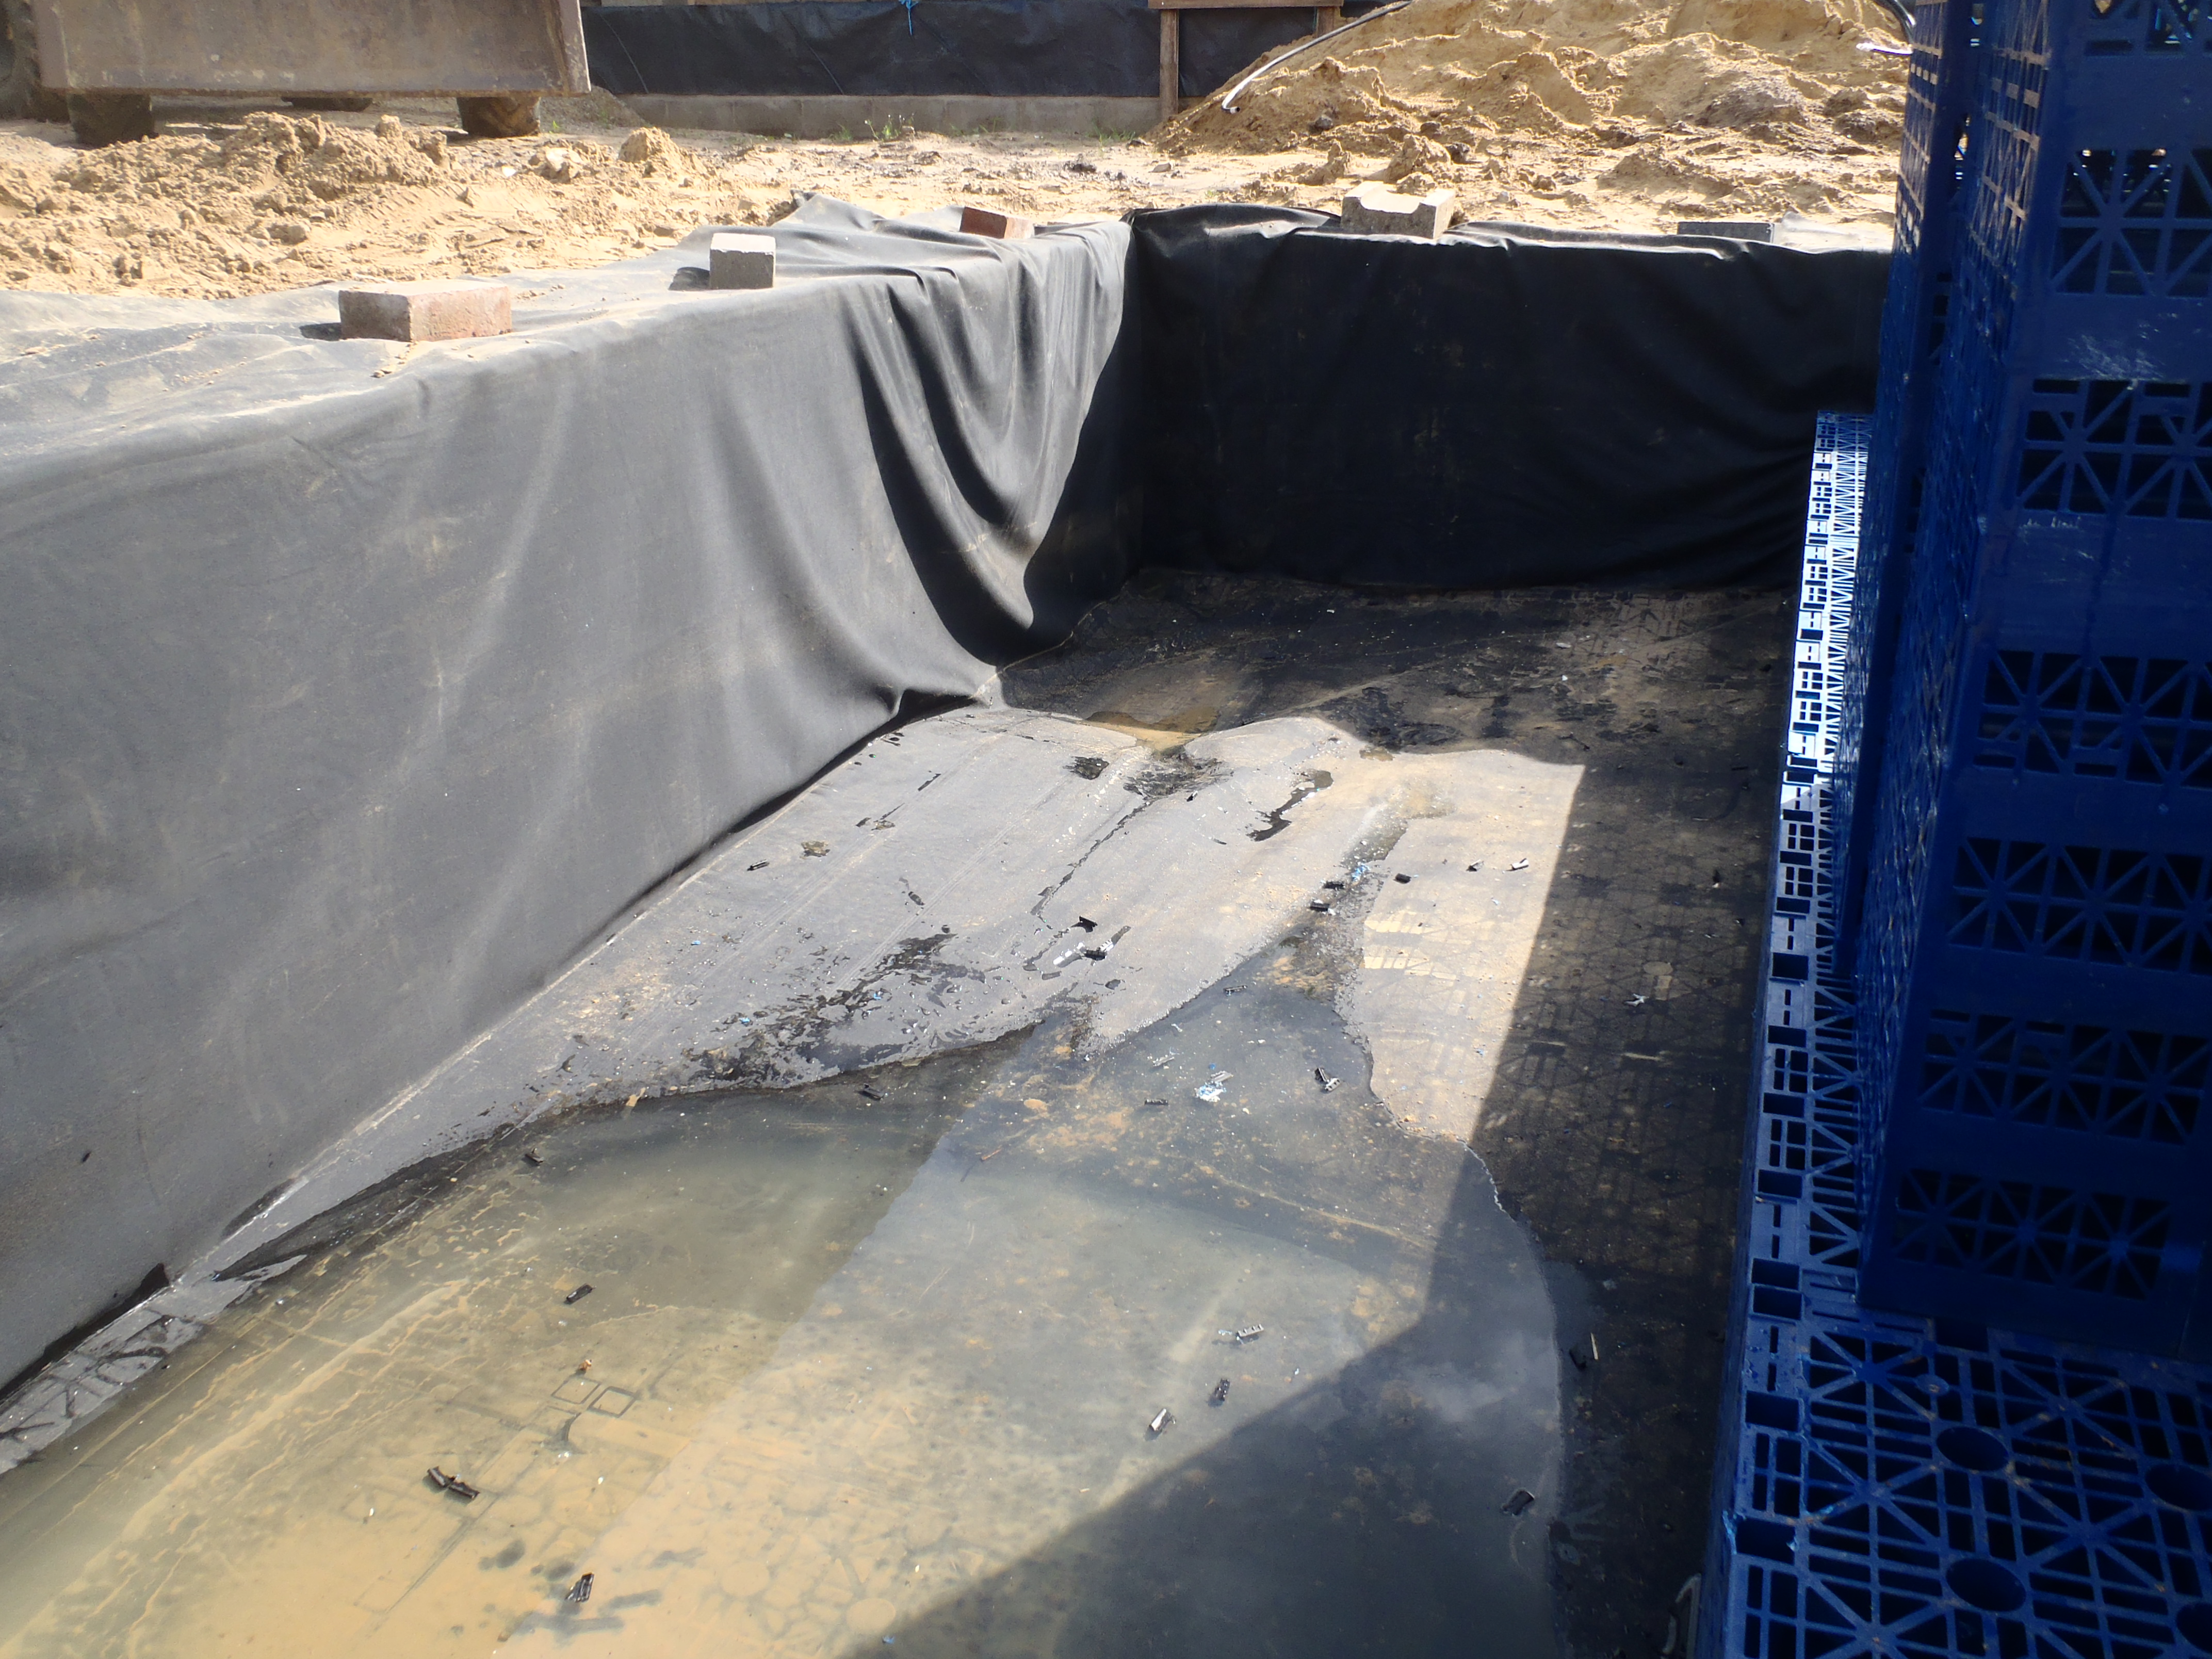
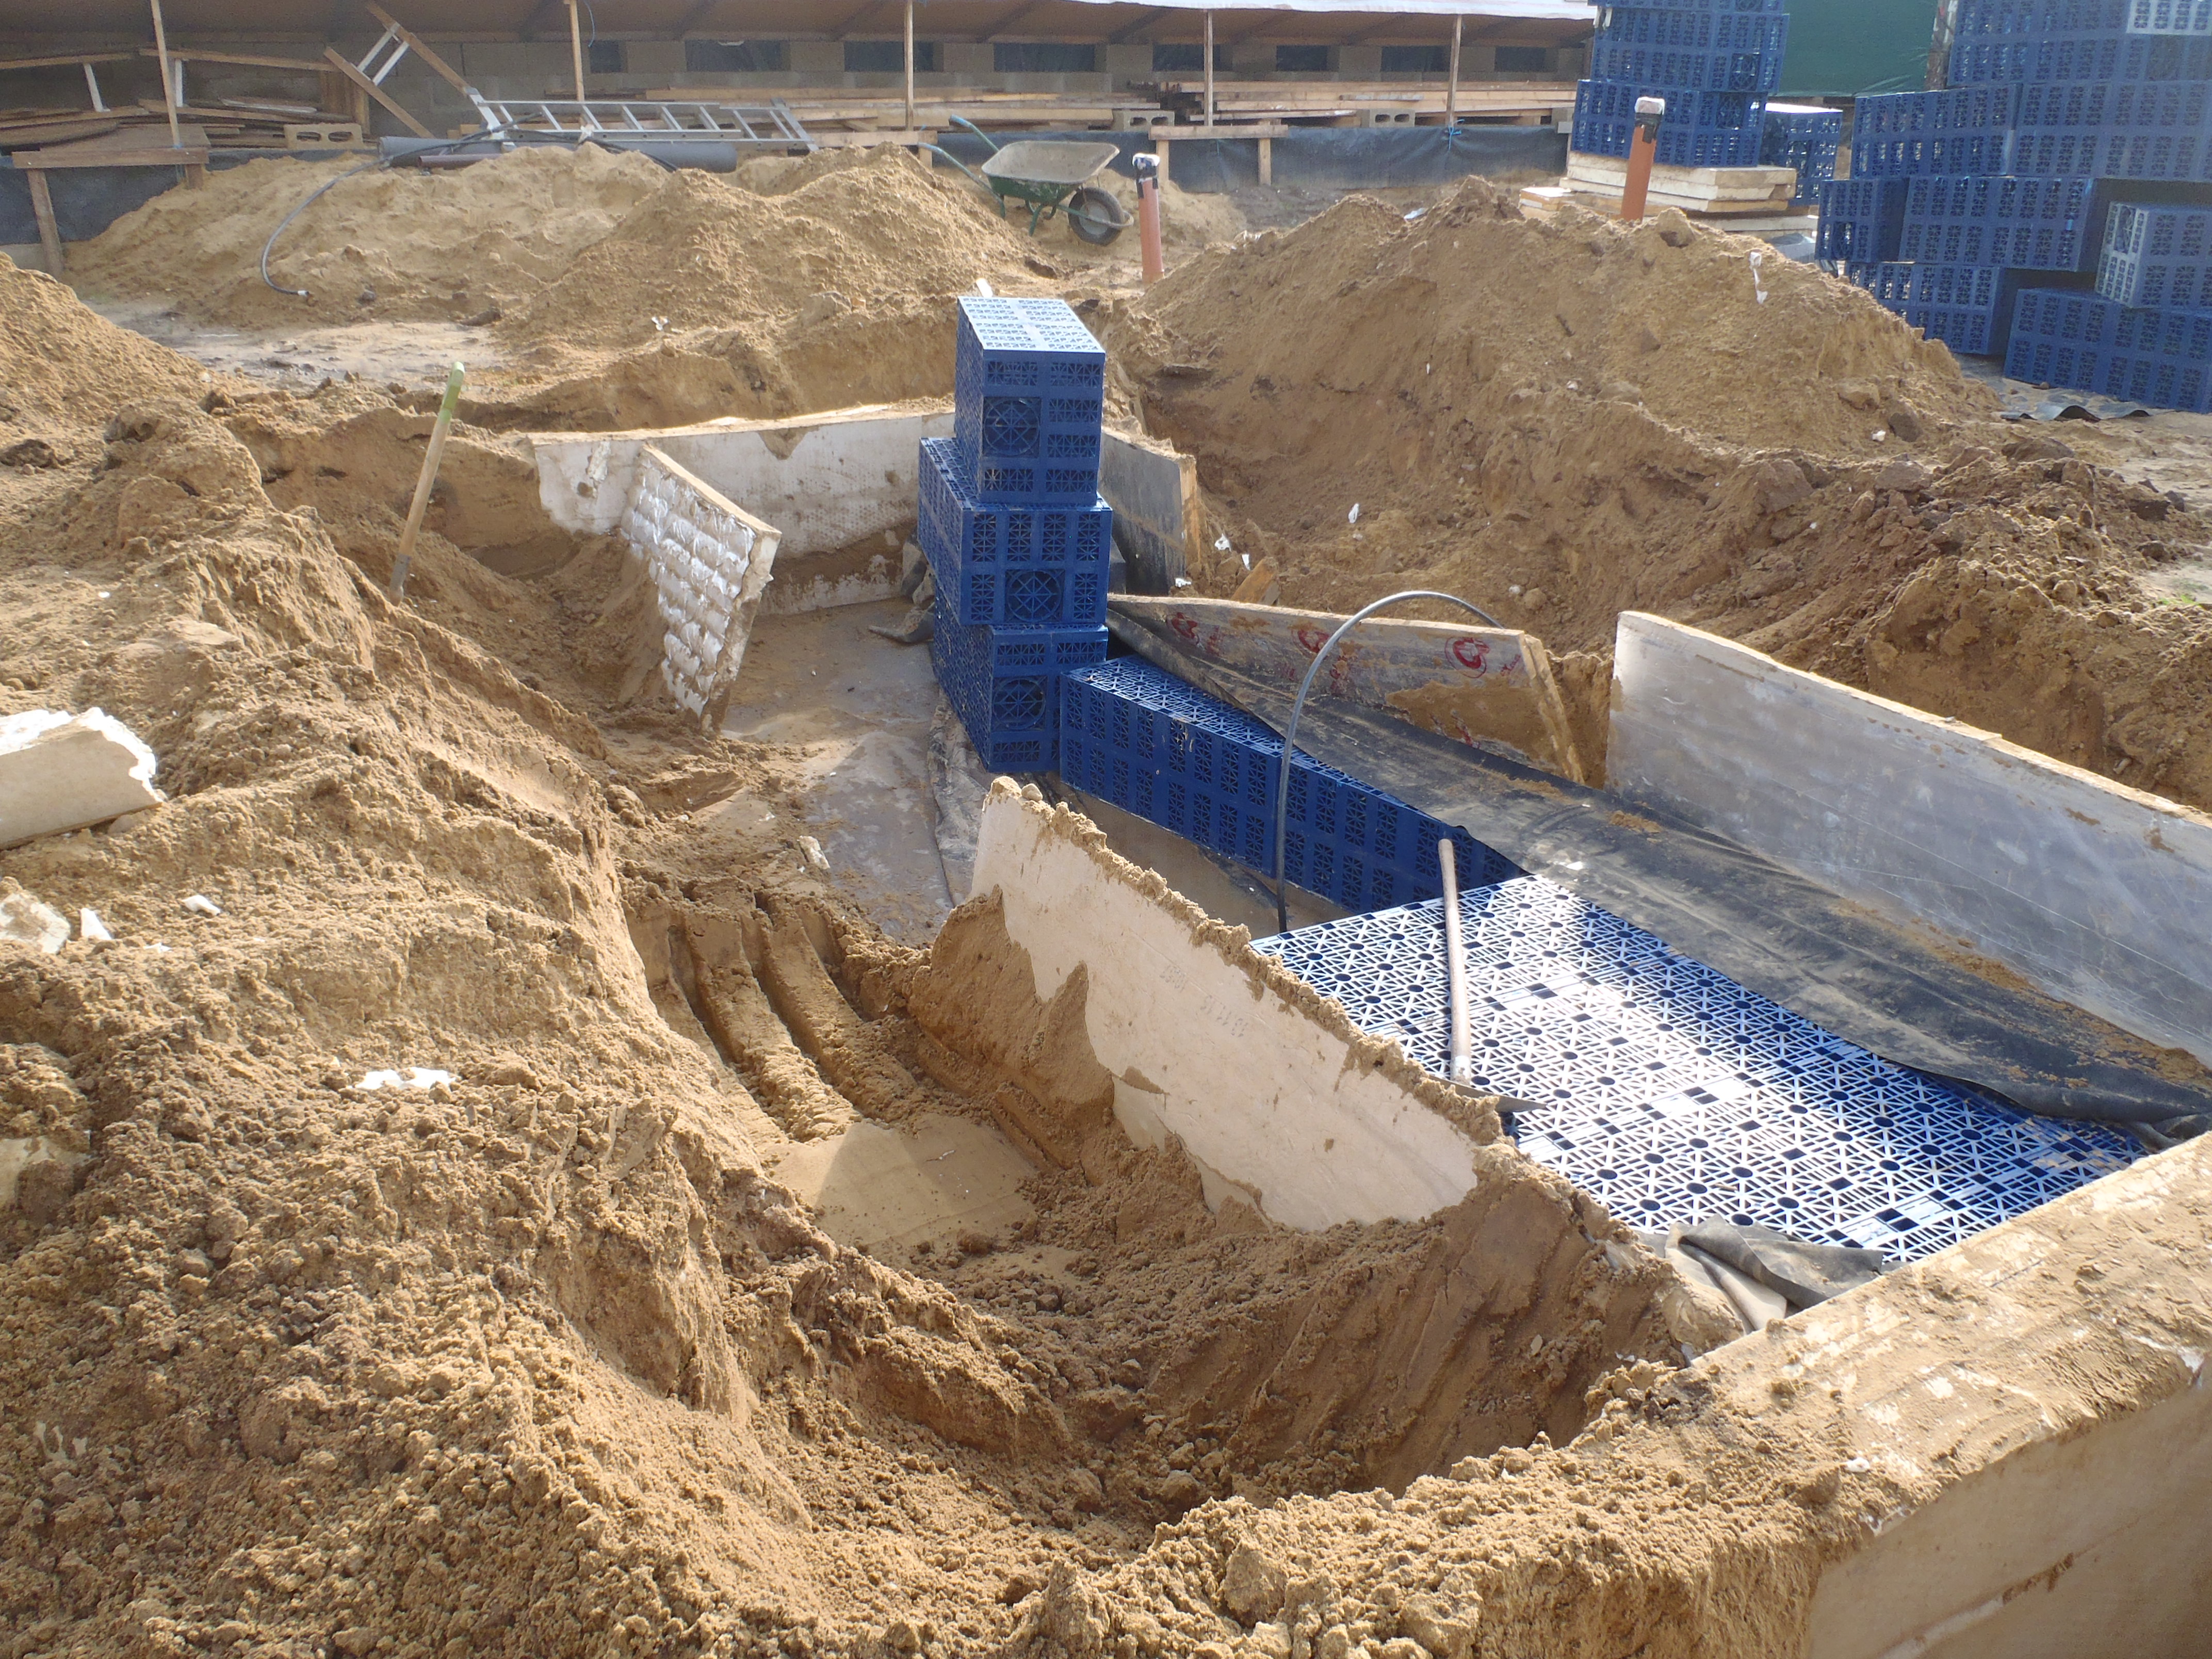
When we reached the middle section, we discovered that the wall just didn’t want to stop “pouring” into our hole, the sand was a very large grain size mixed in with small gravel and it just simply kept falling down into our hole, no matter how much of it we removed!! This was the spot where the mini-digger was also struggling to make it way along the top to do the digging task and it kept slipping slightly sideways towards to the hole – very scary! So We had to shore up the side with a sheet of OSB and posts and it seems to be holding
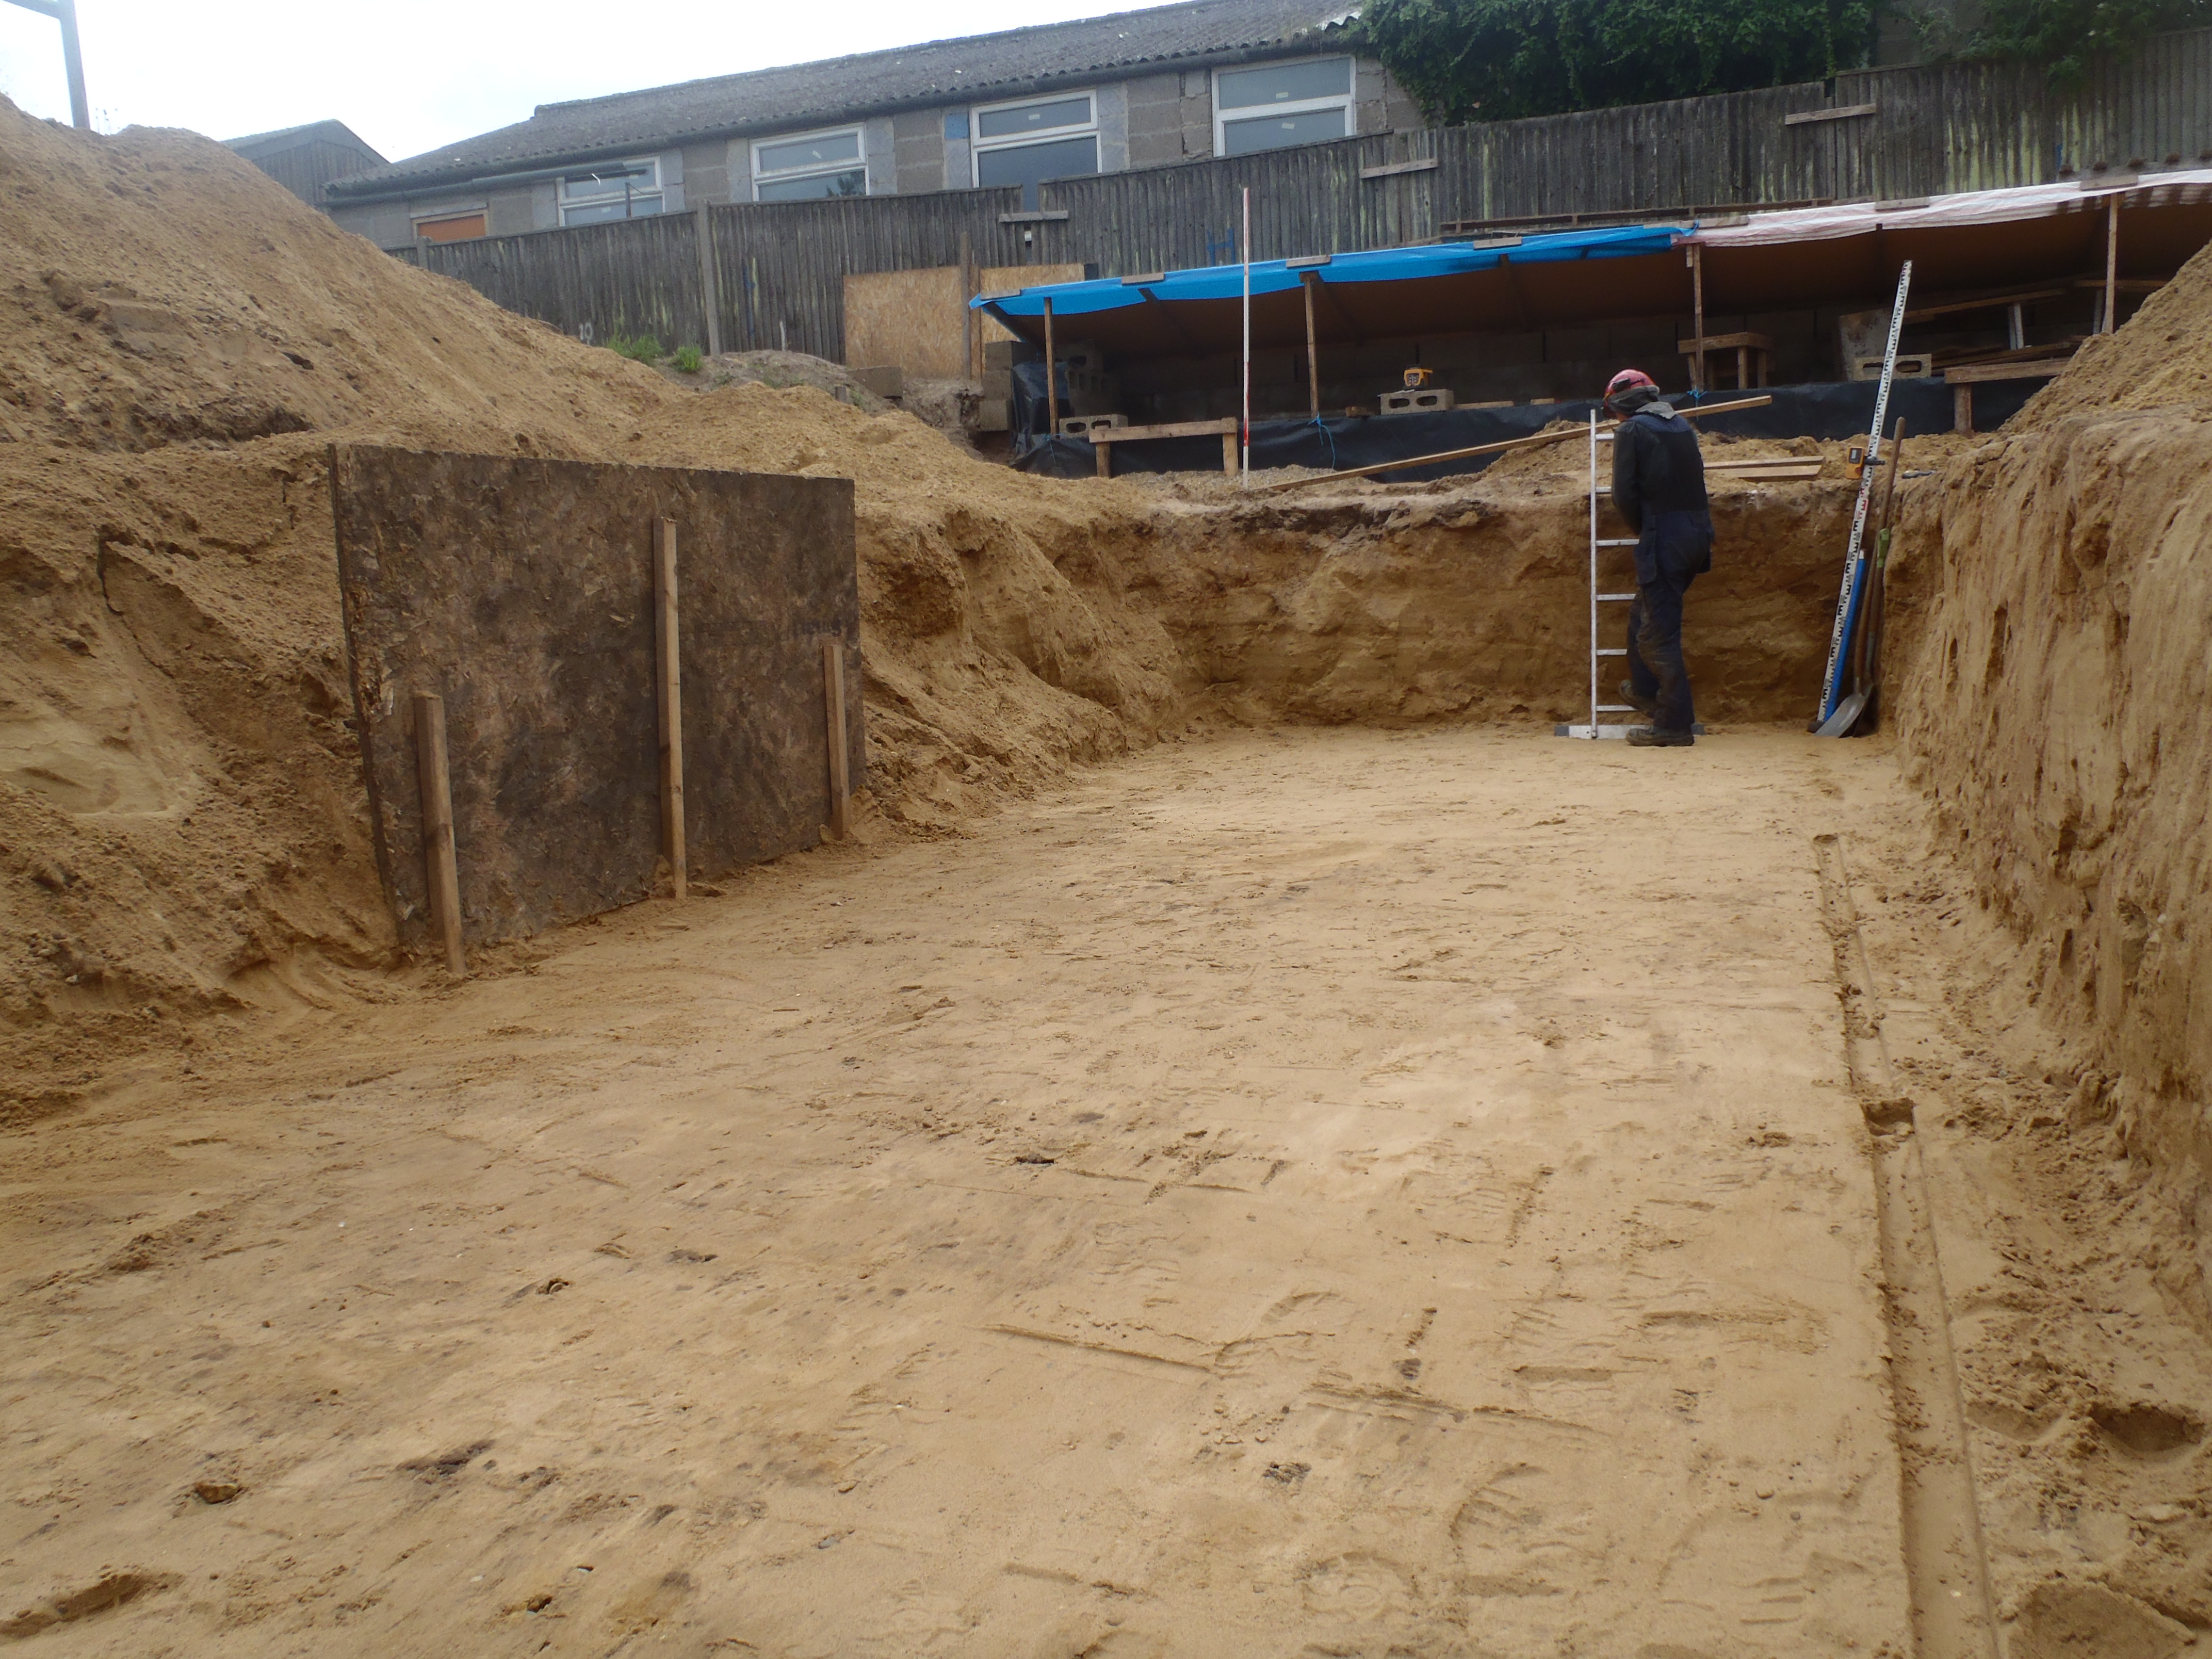
Module-5-Flat-bottomed-hole-1
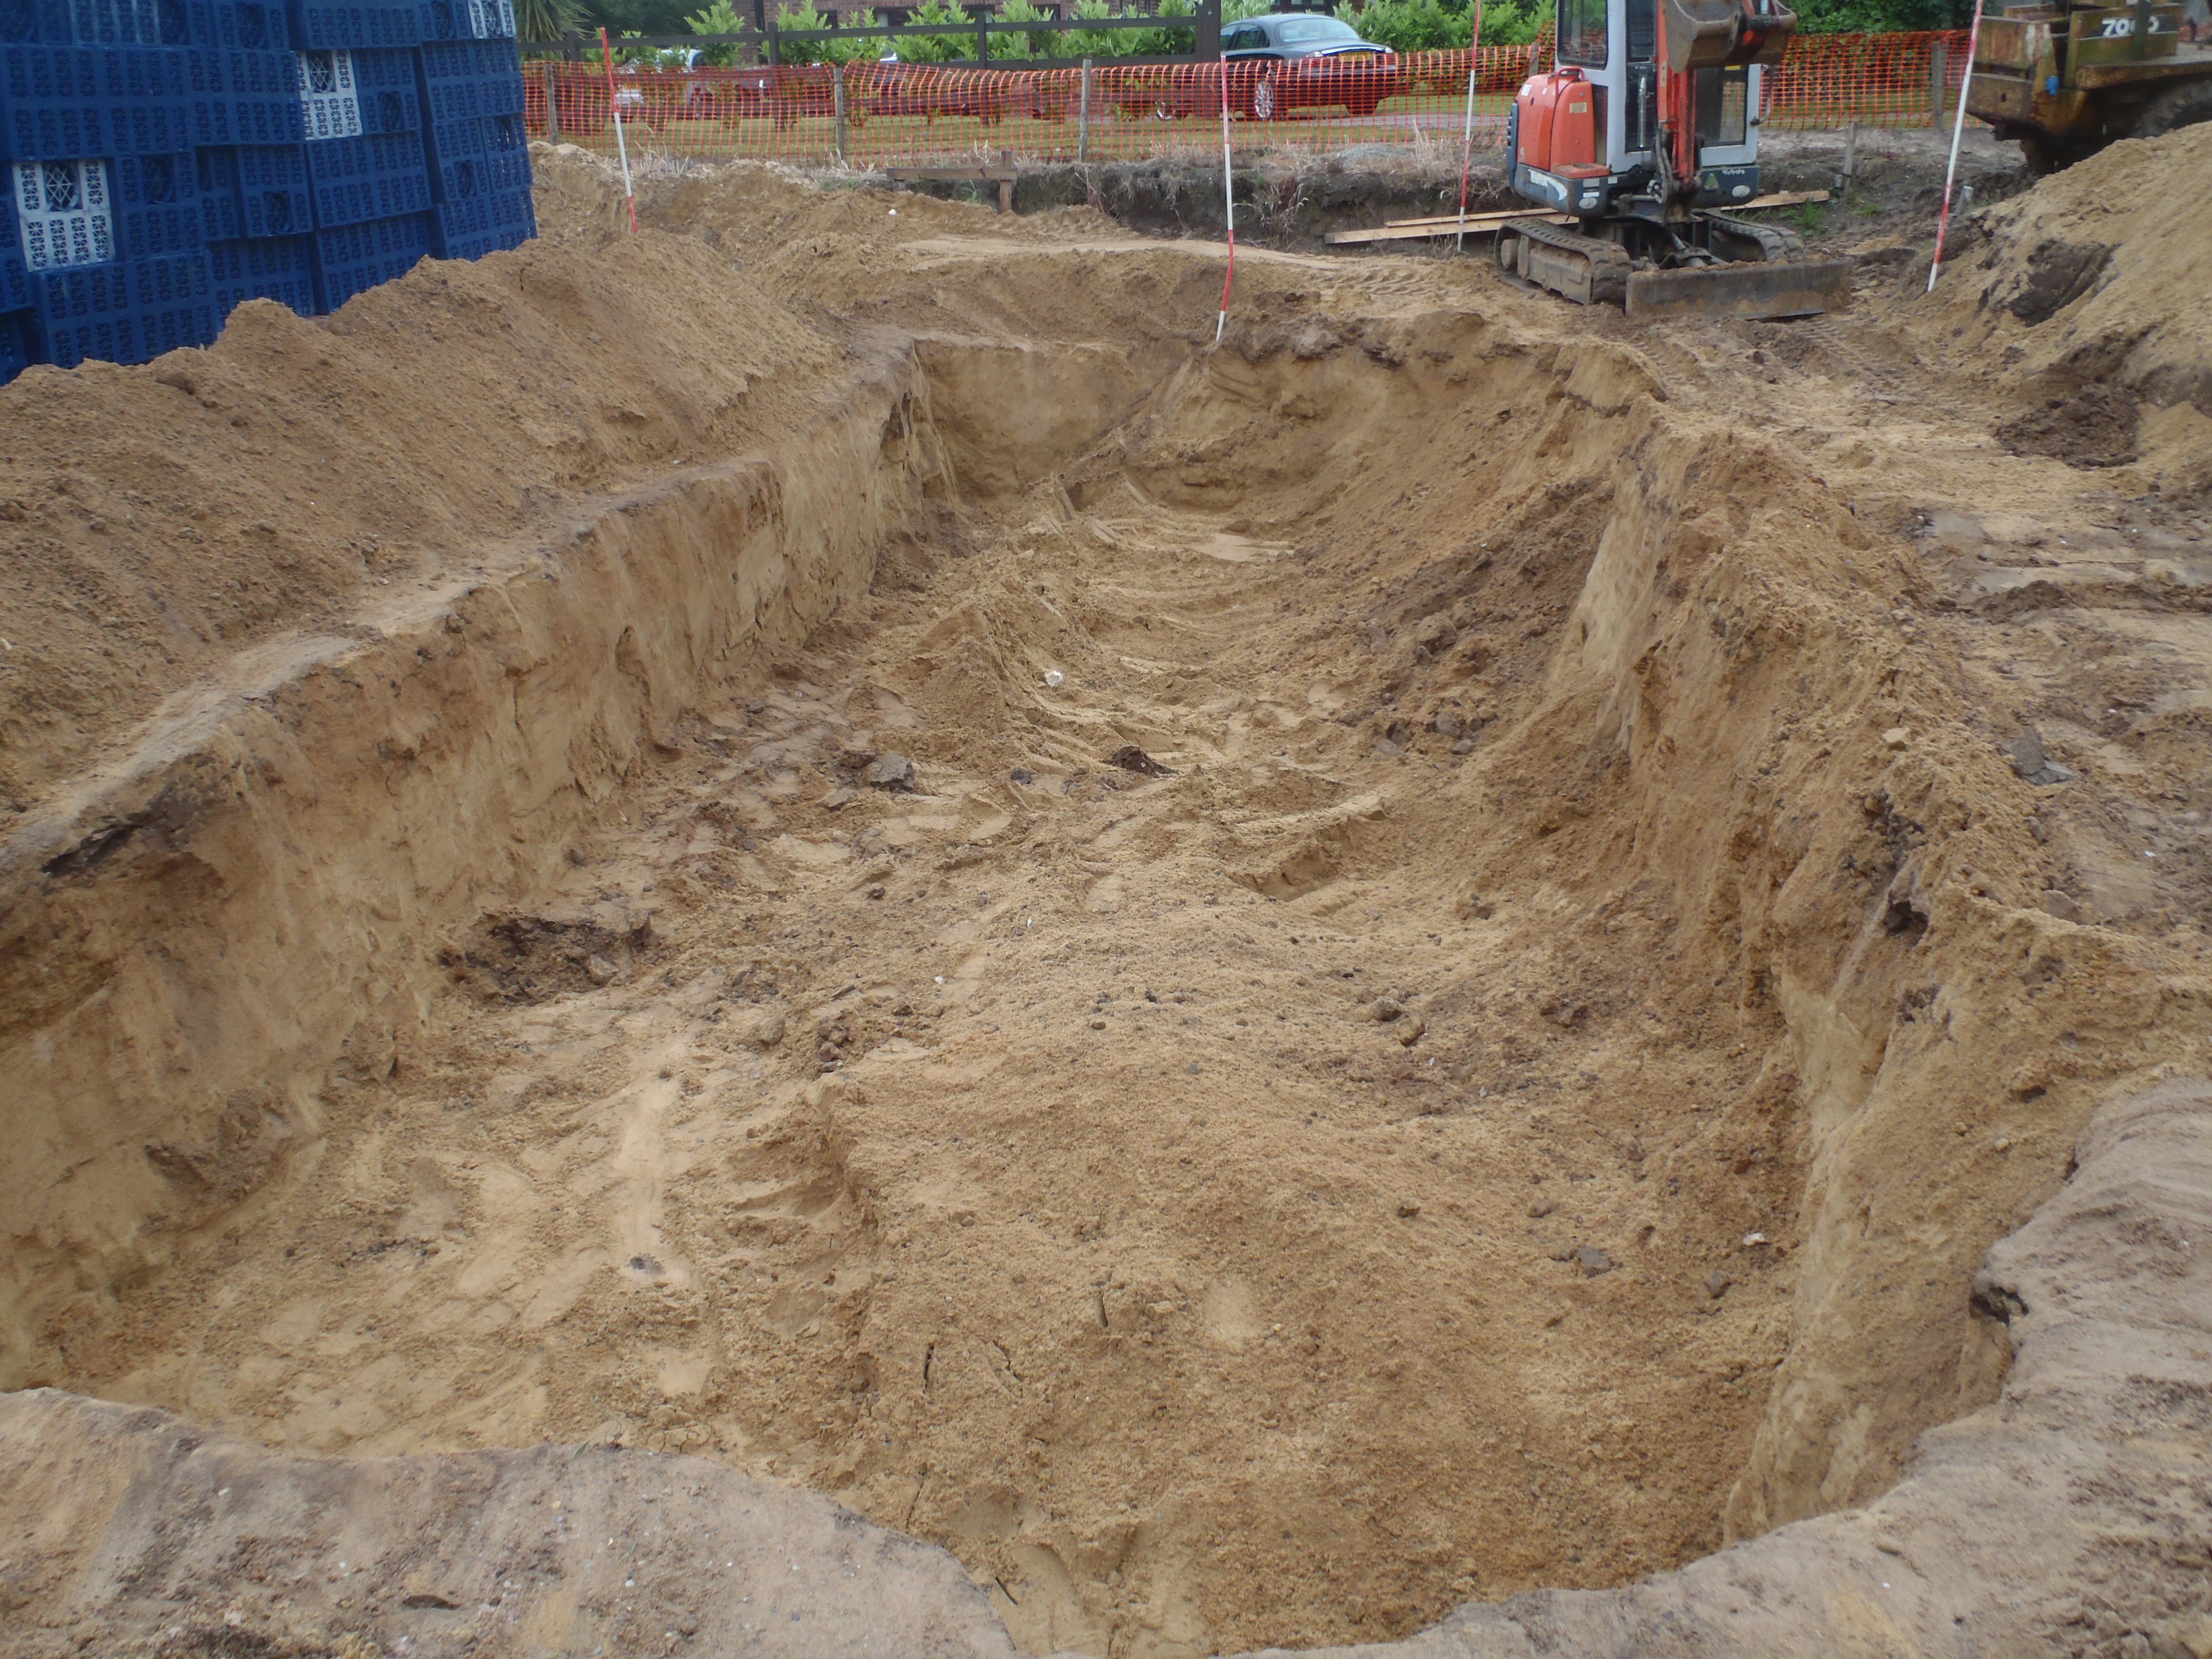
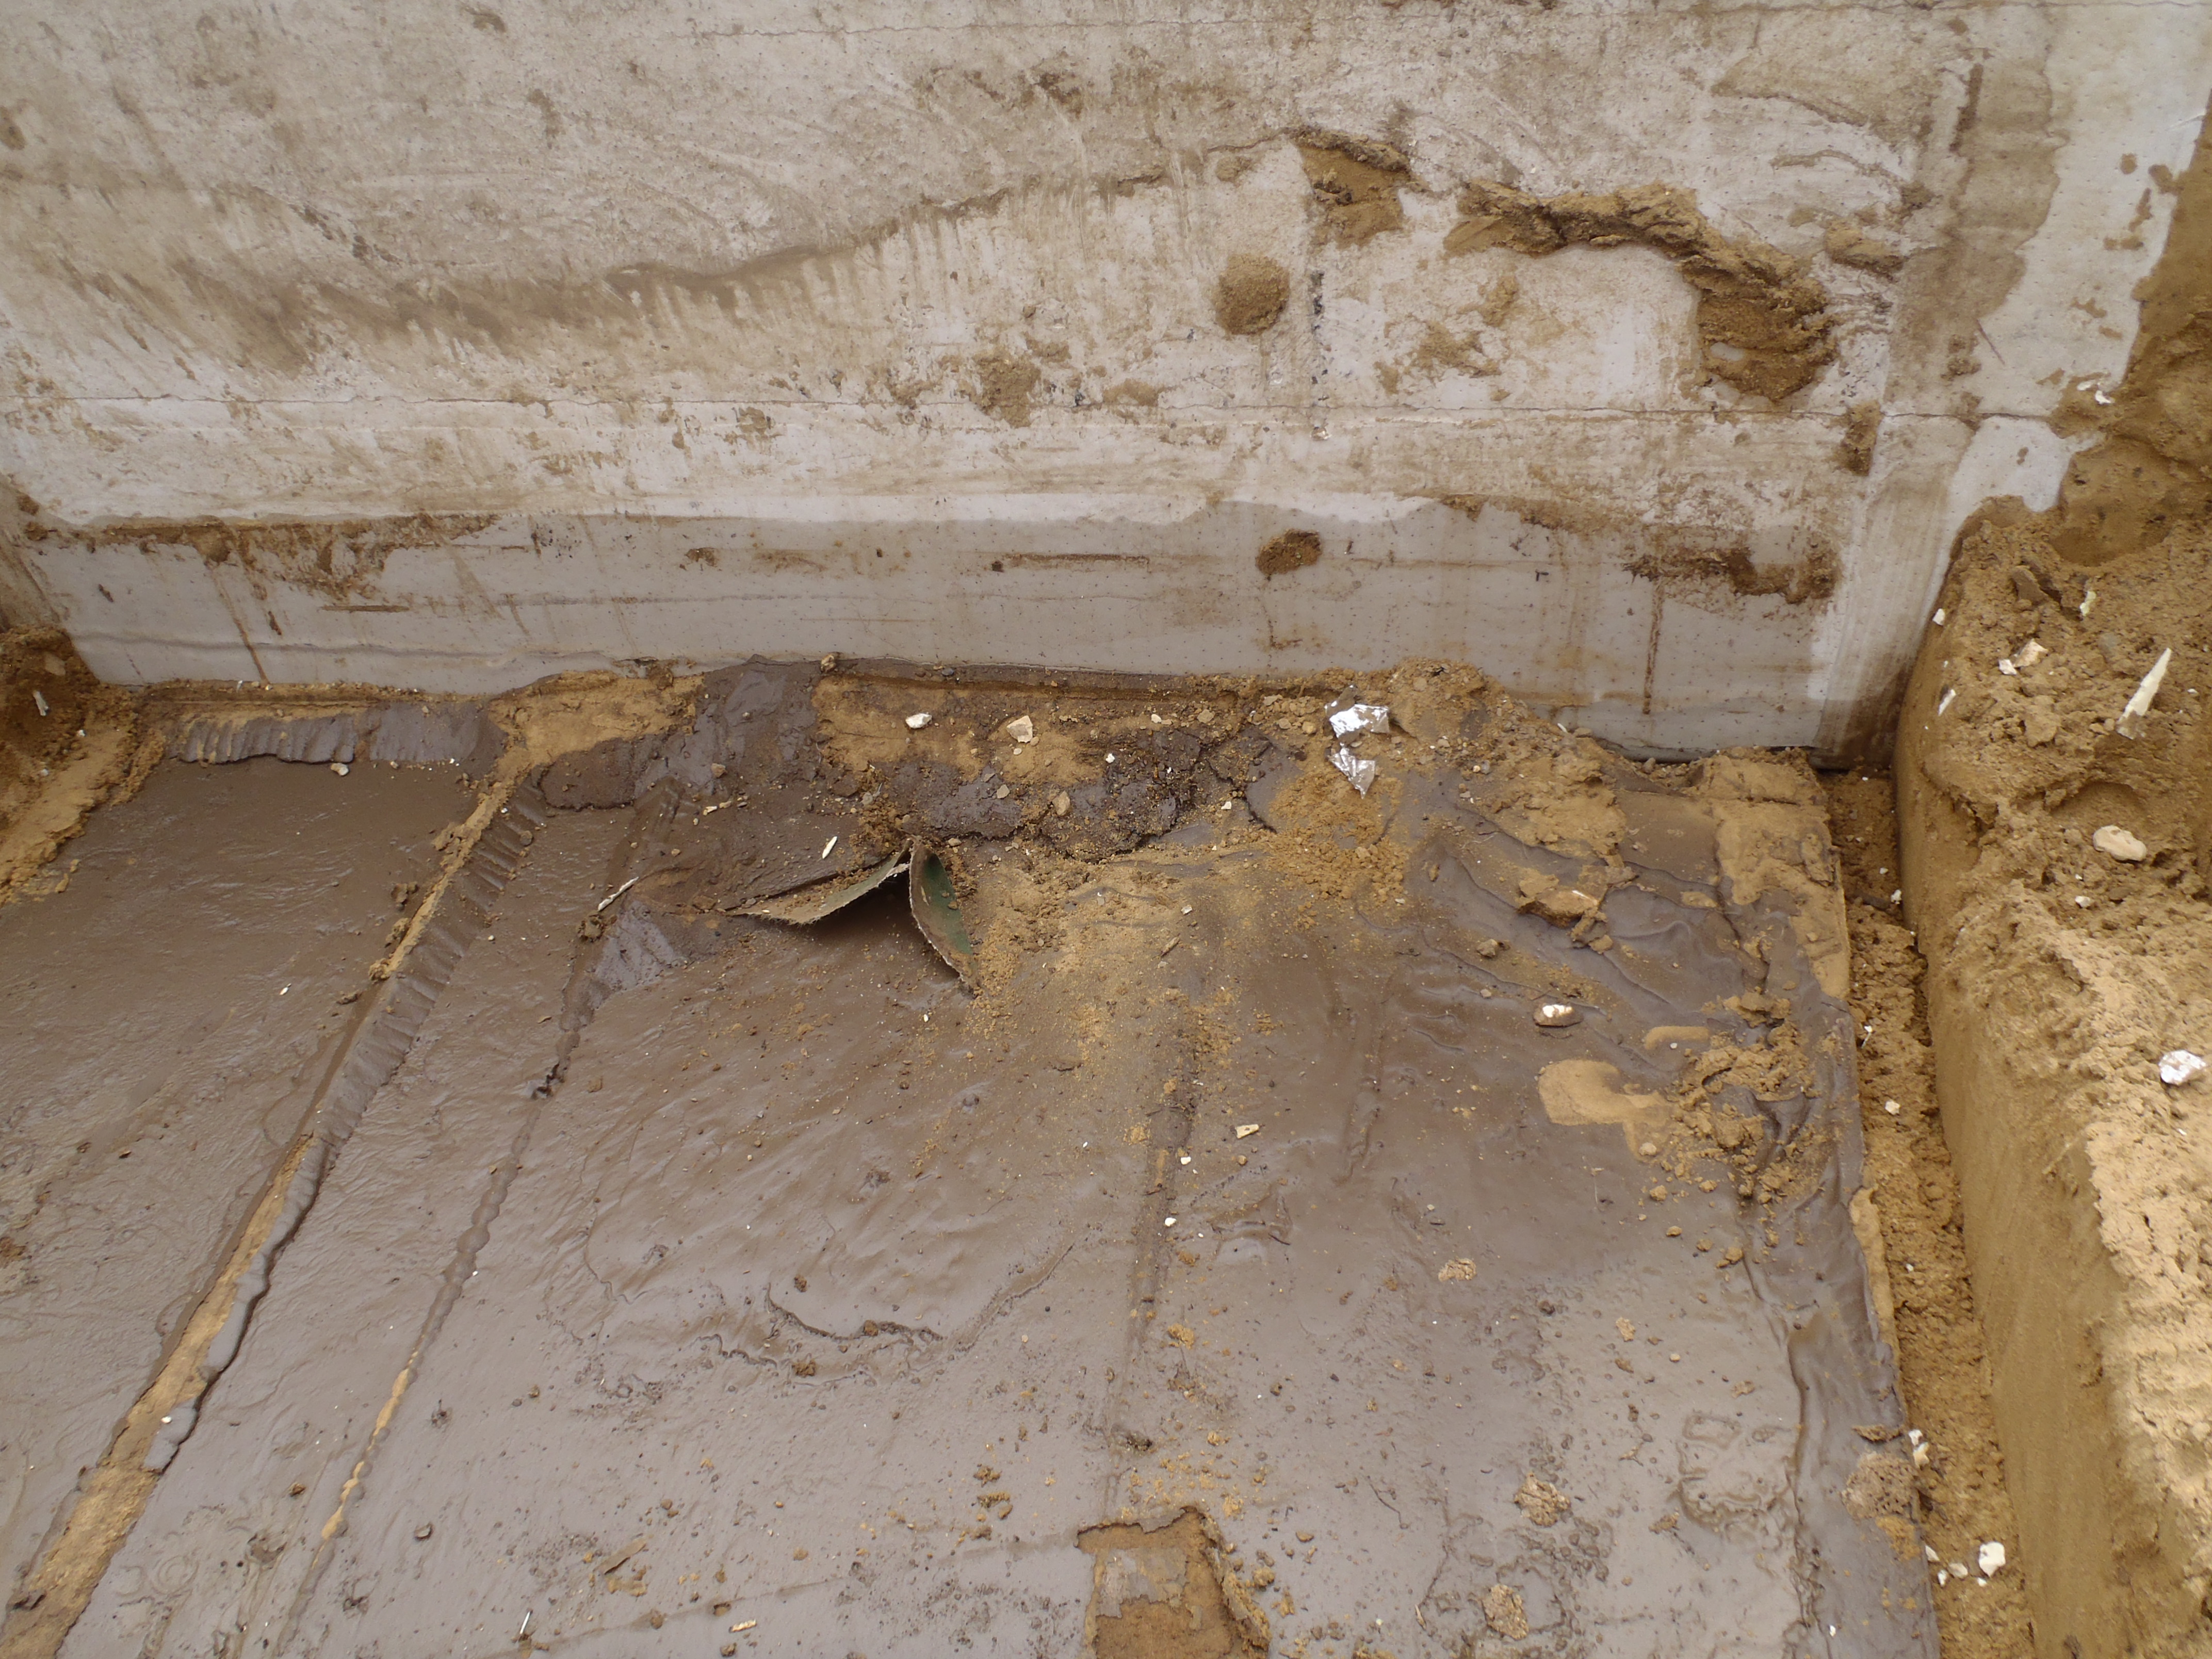
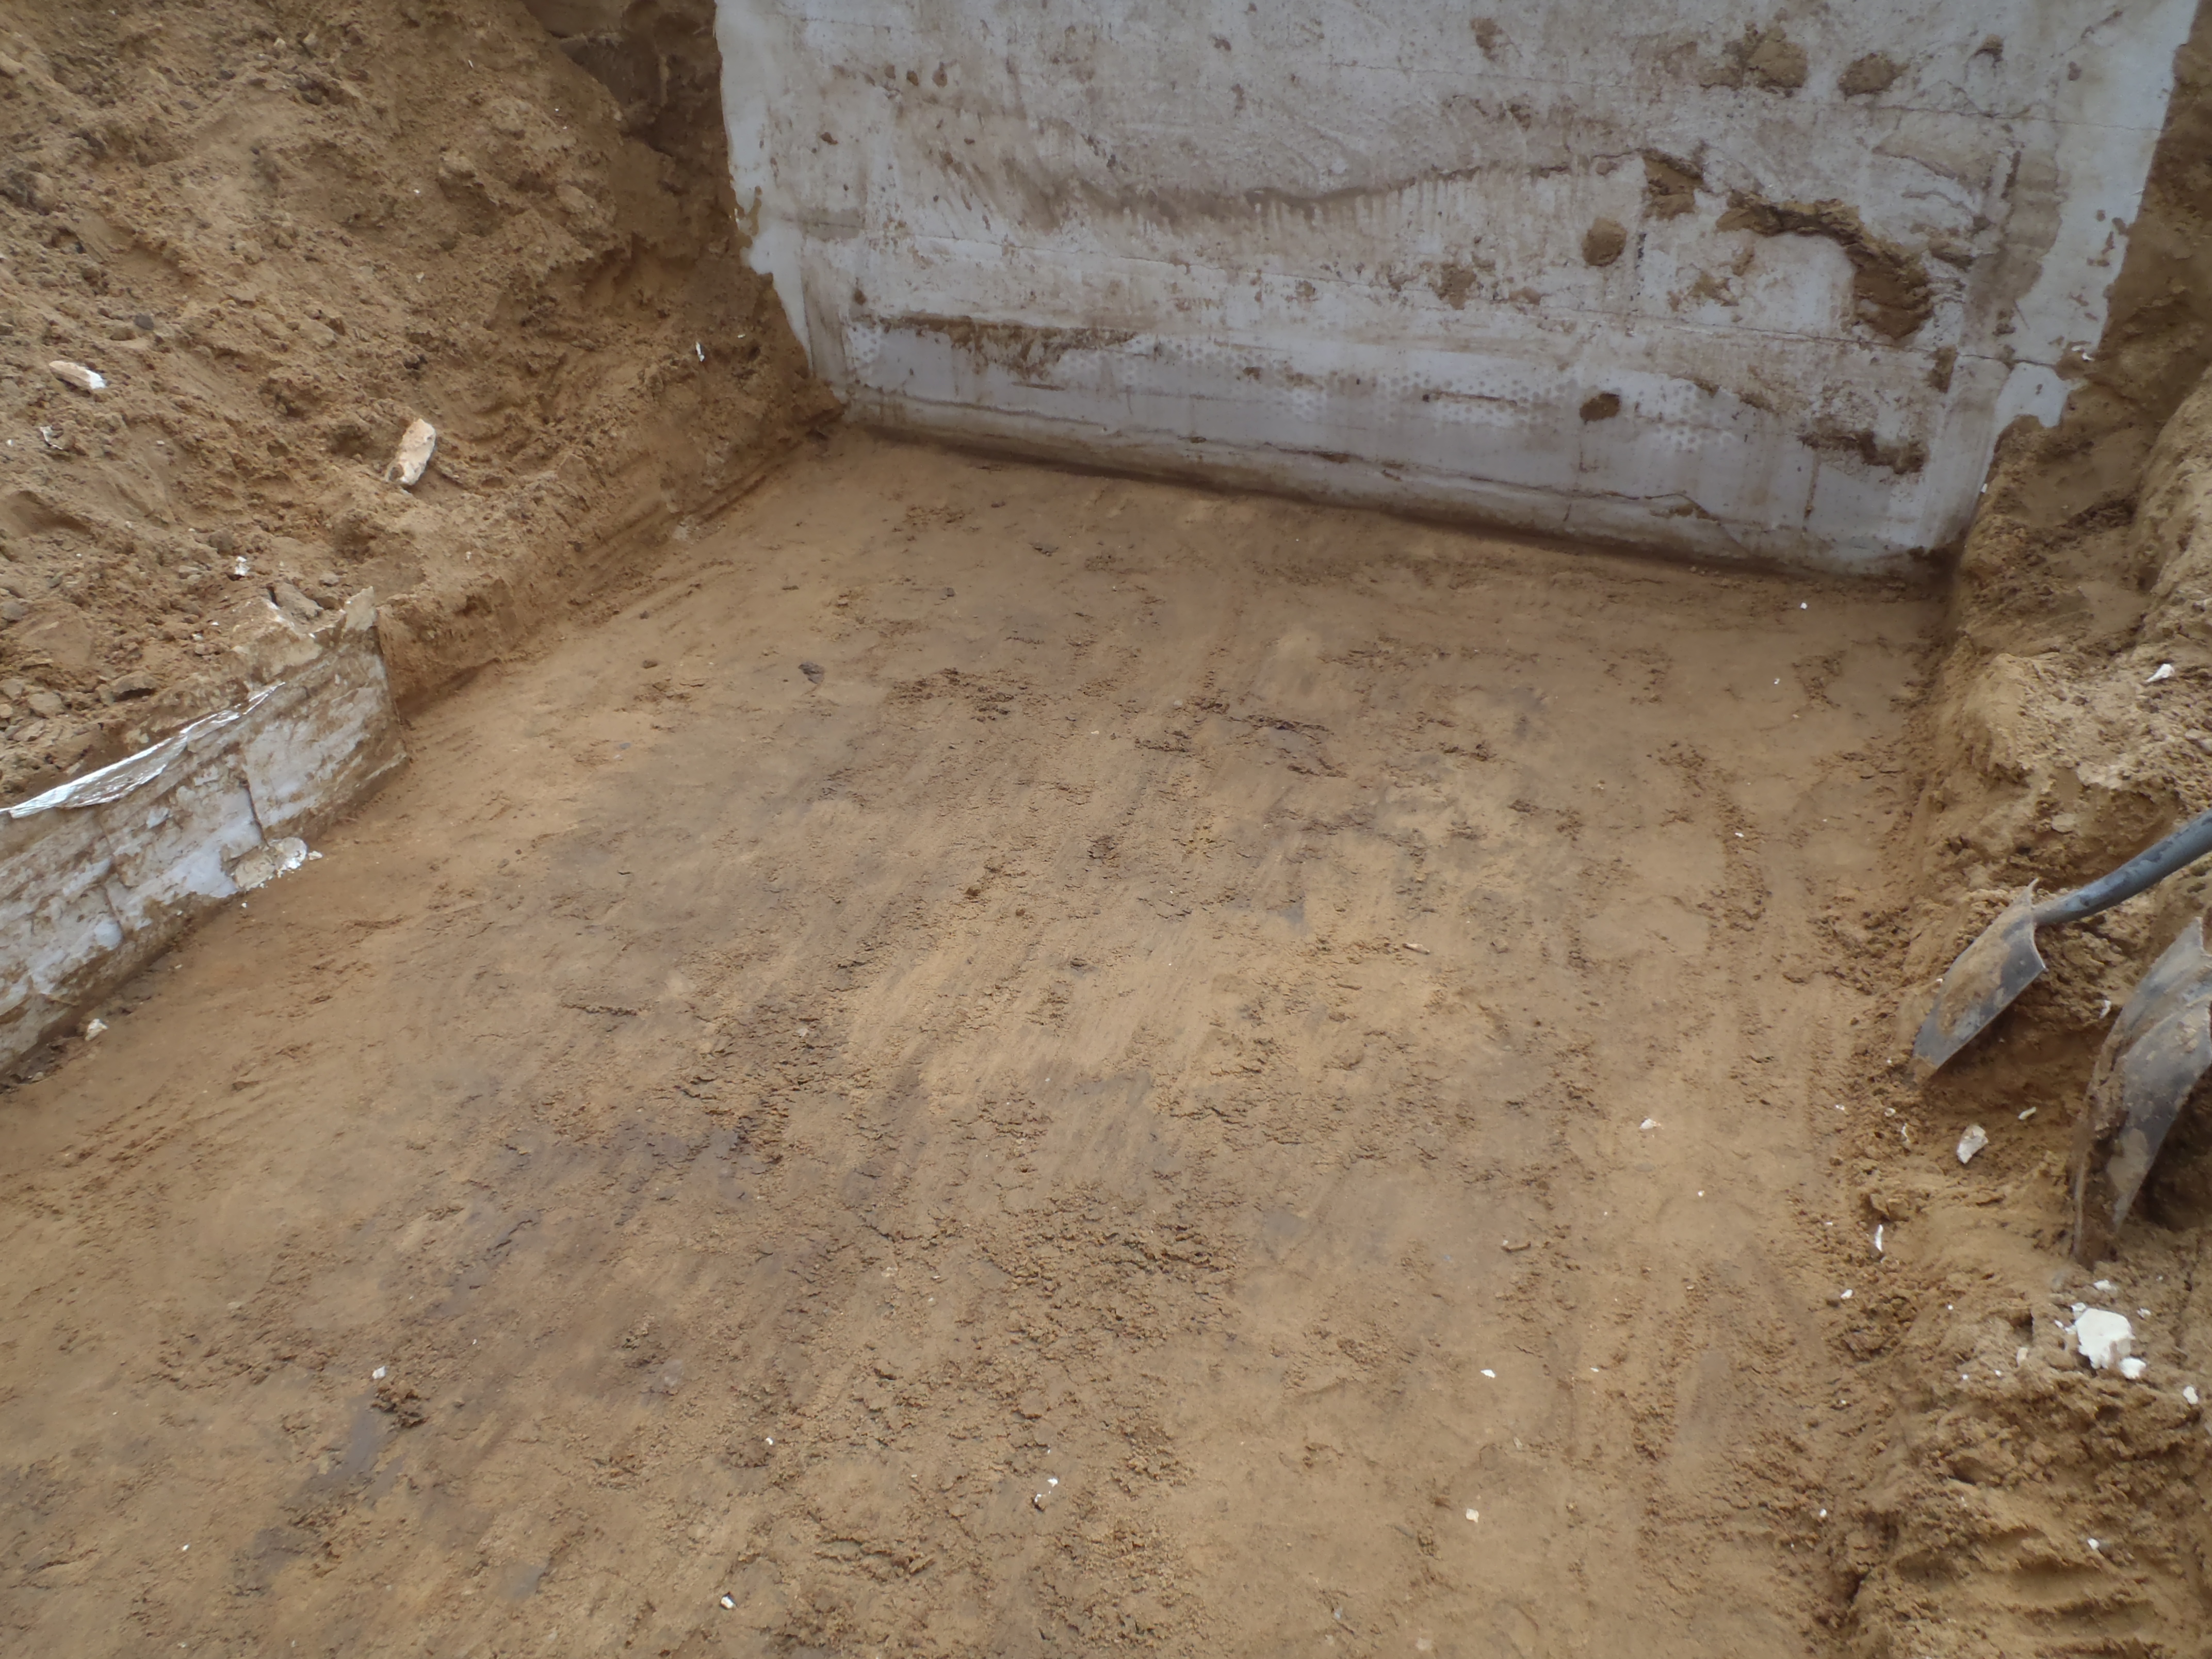
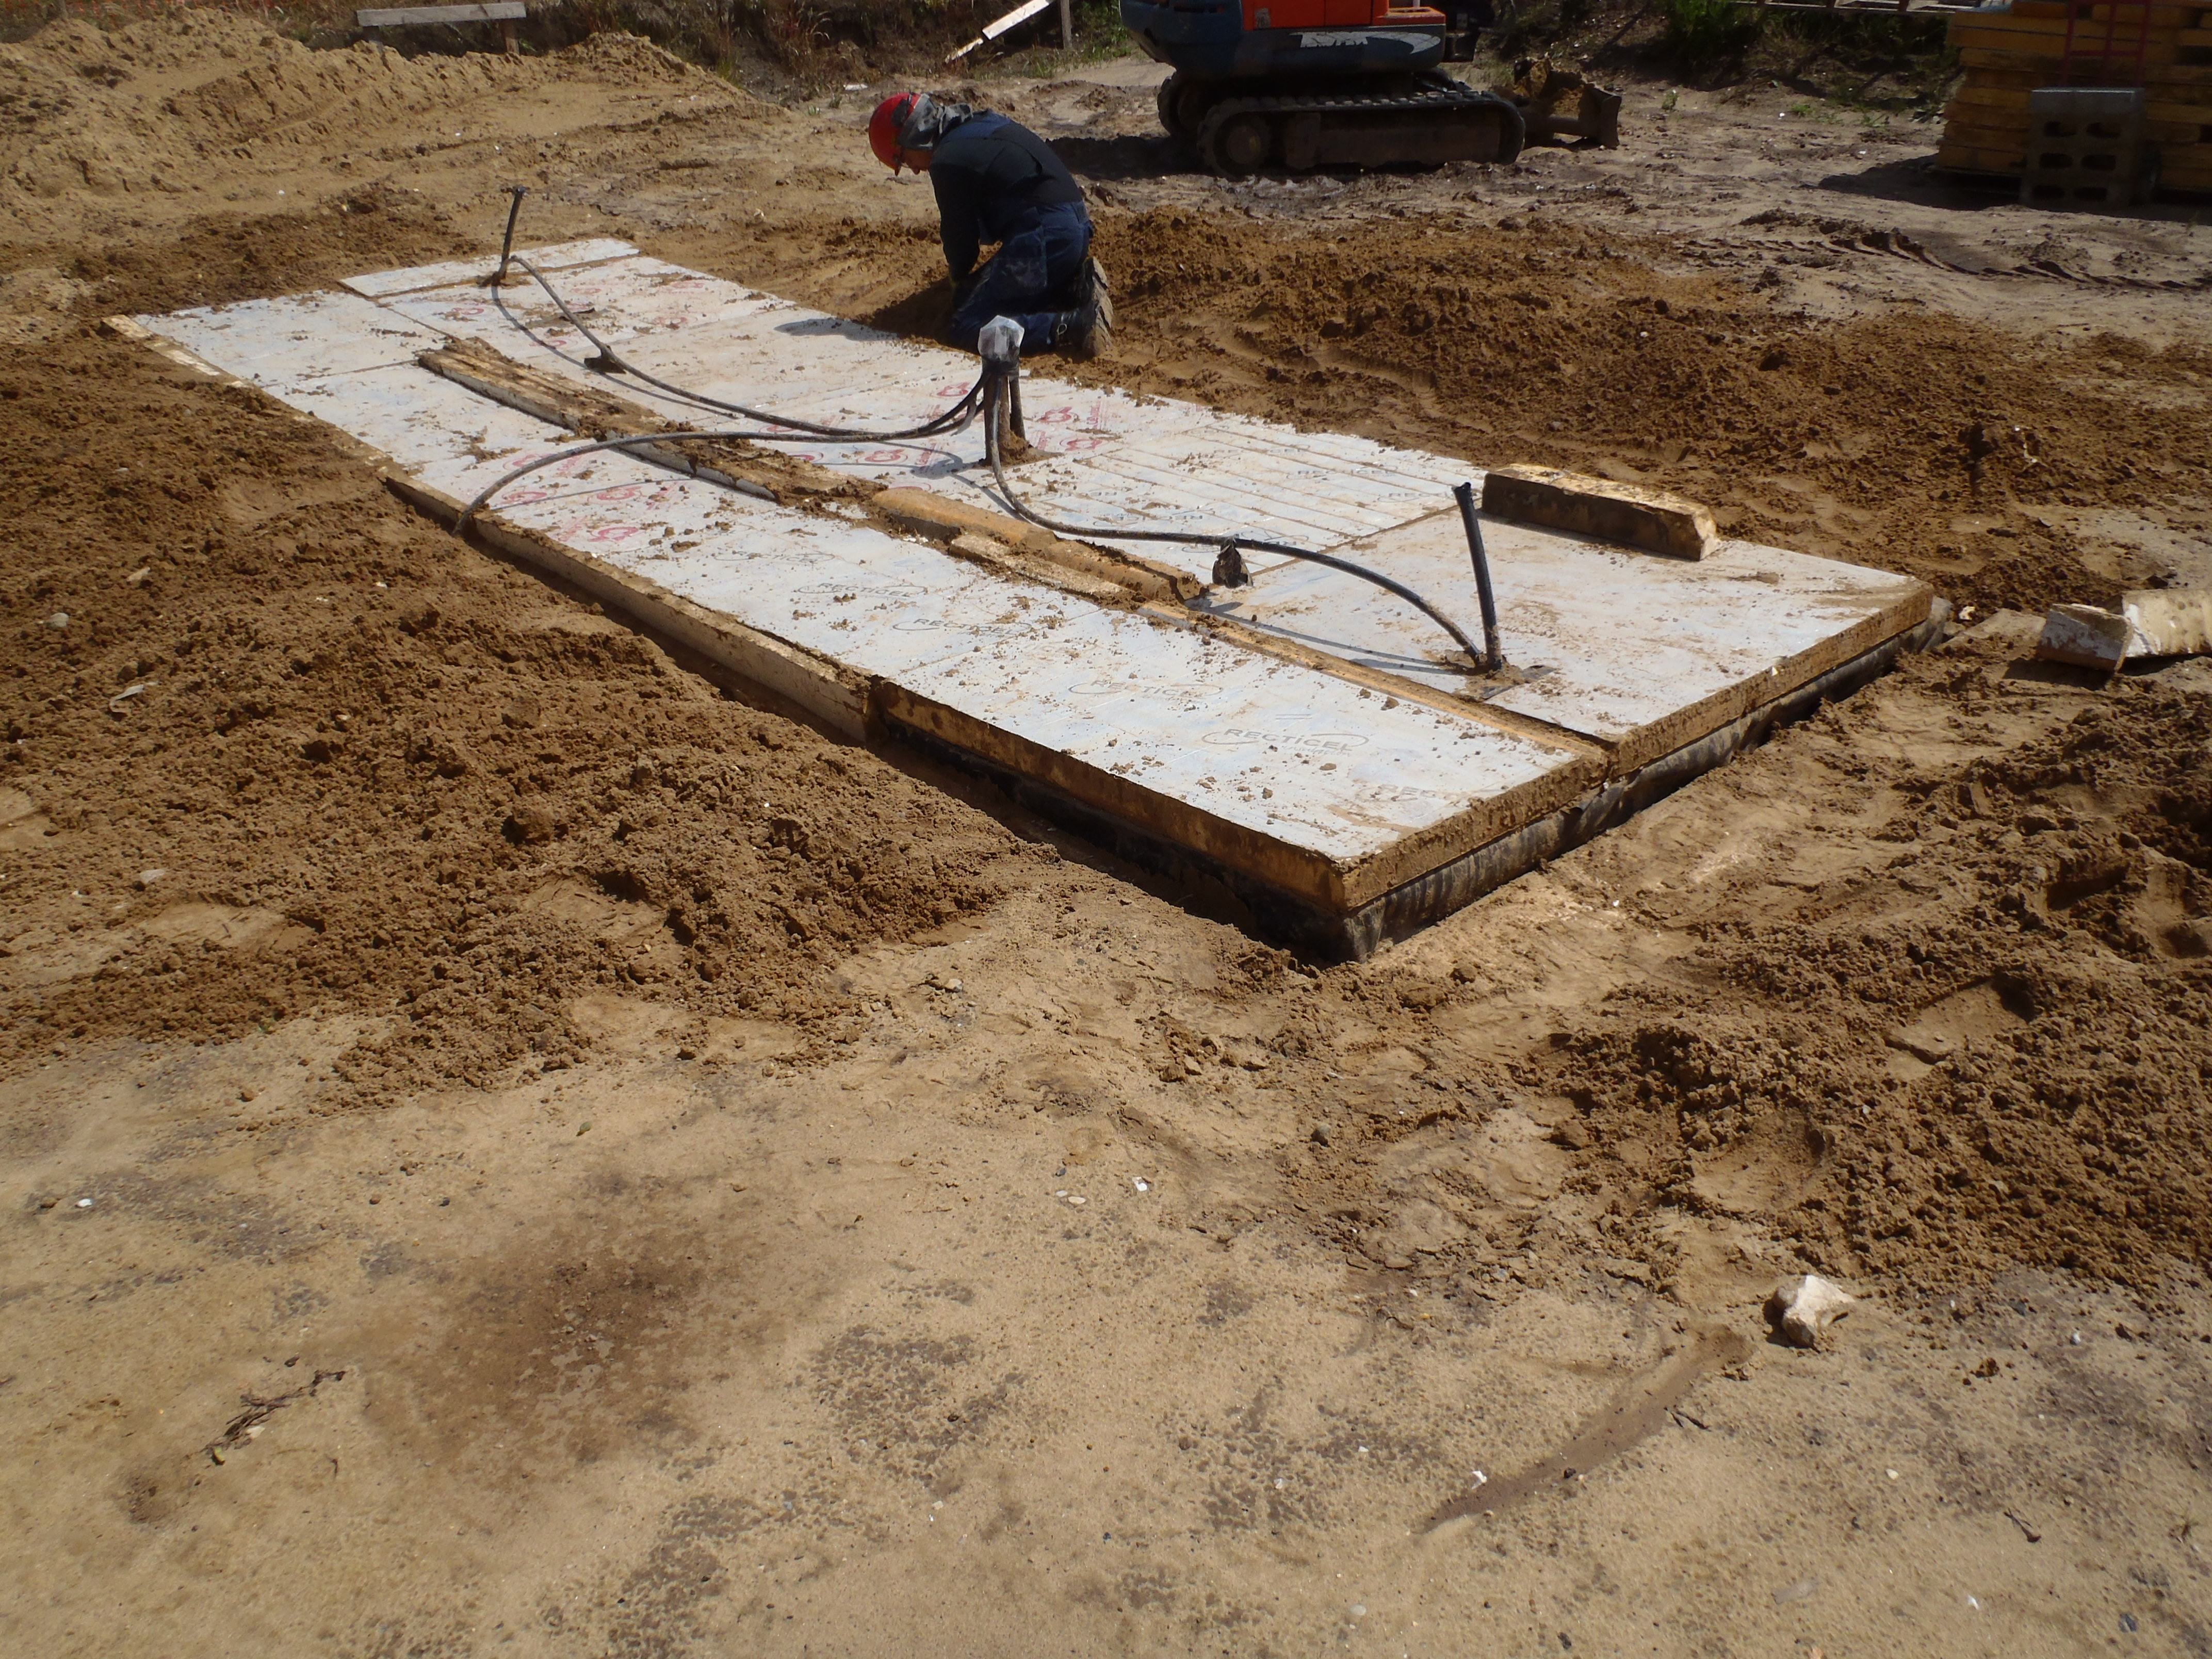
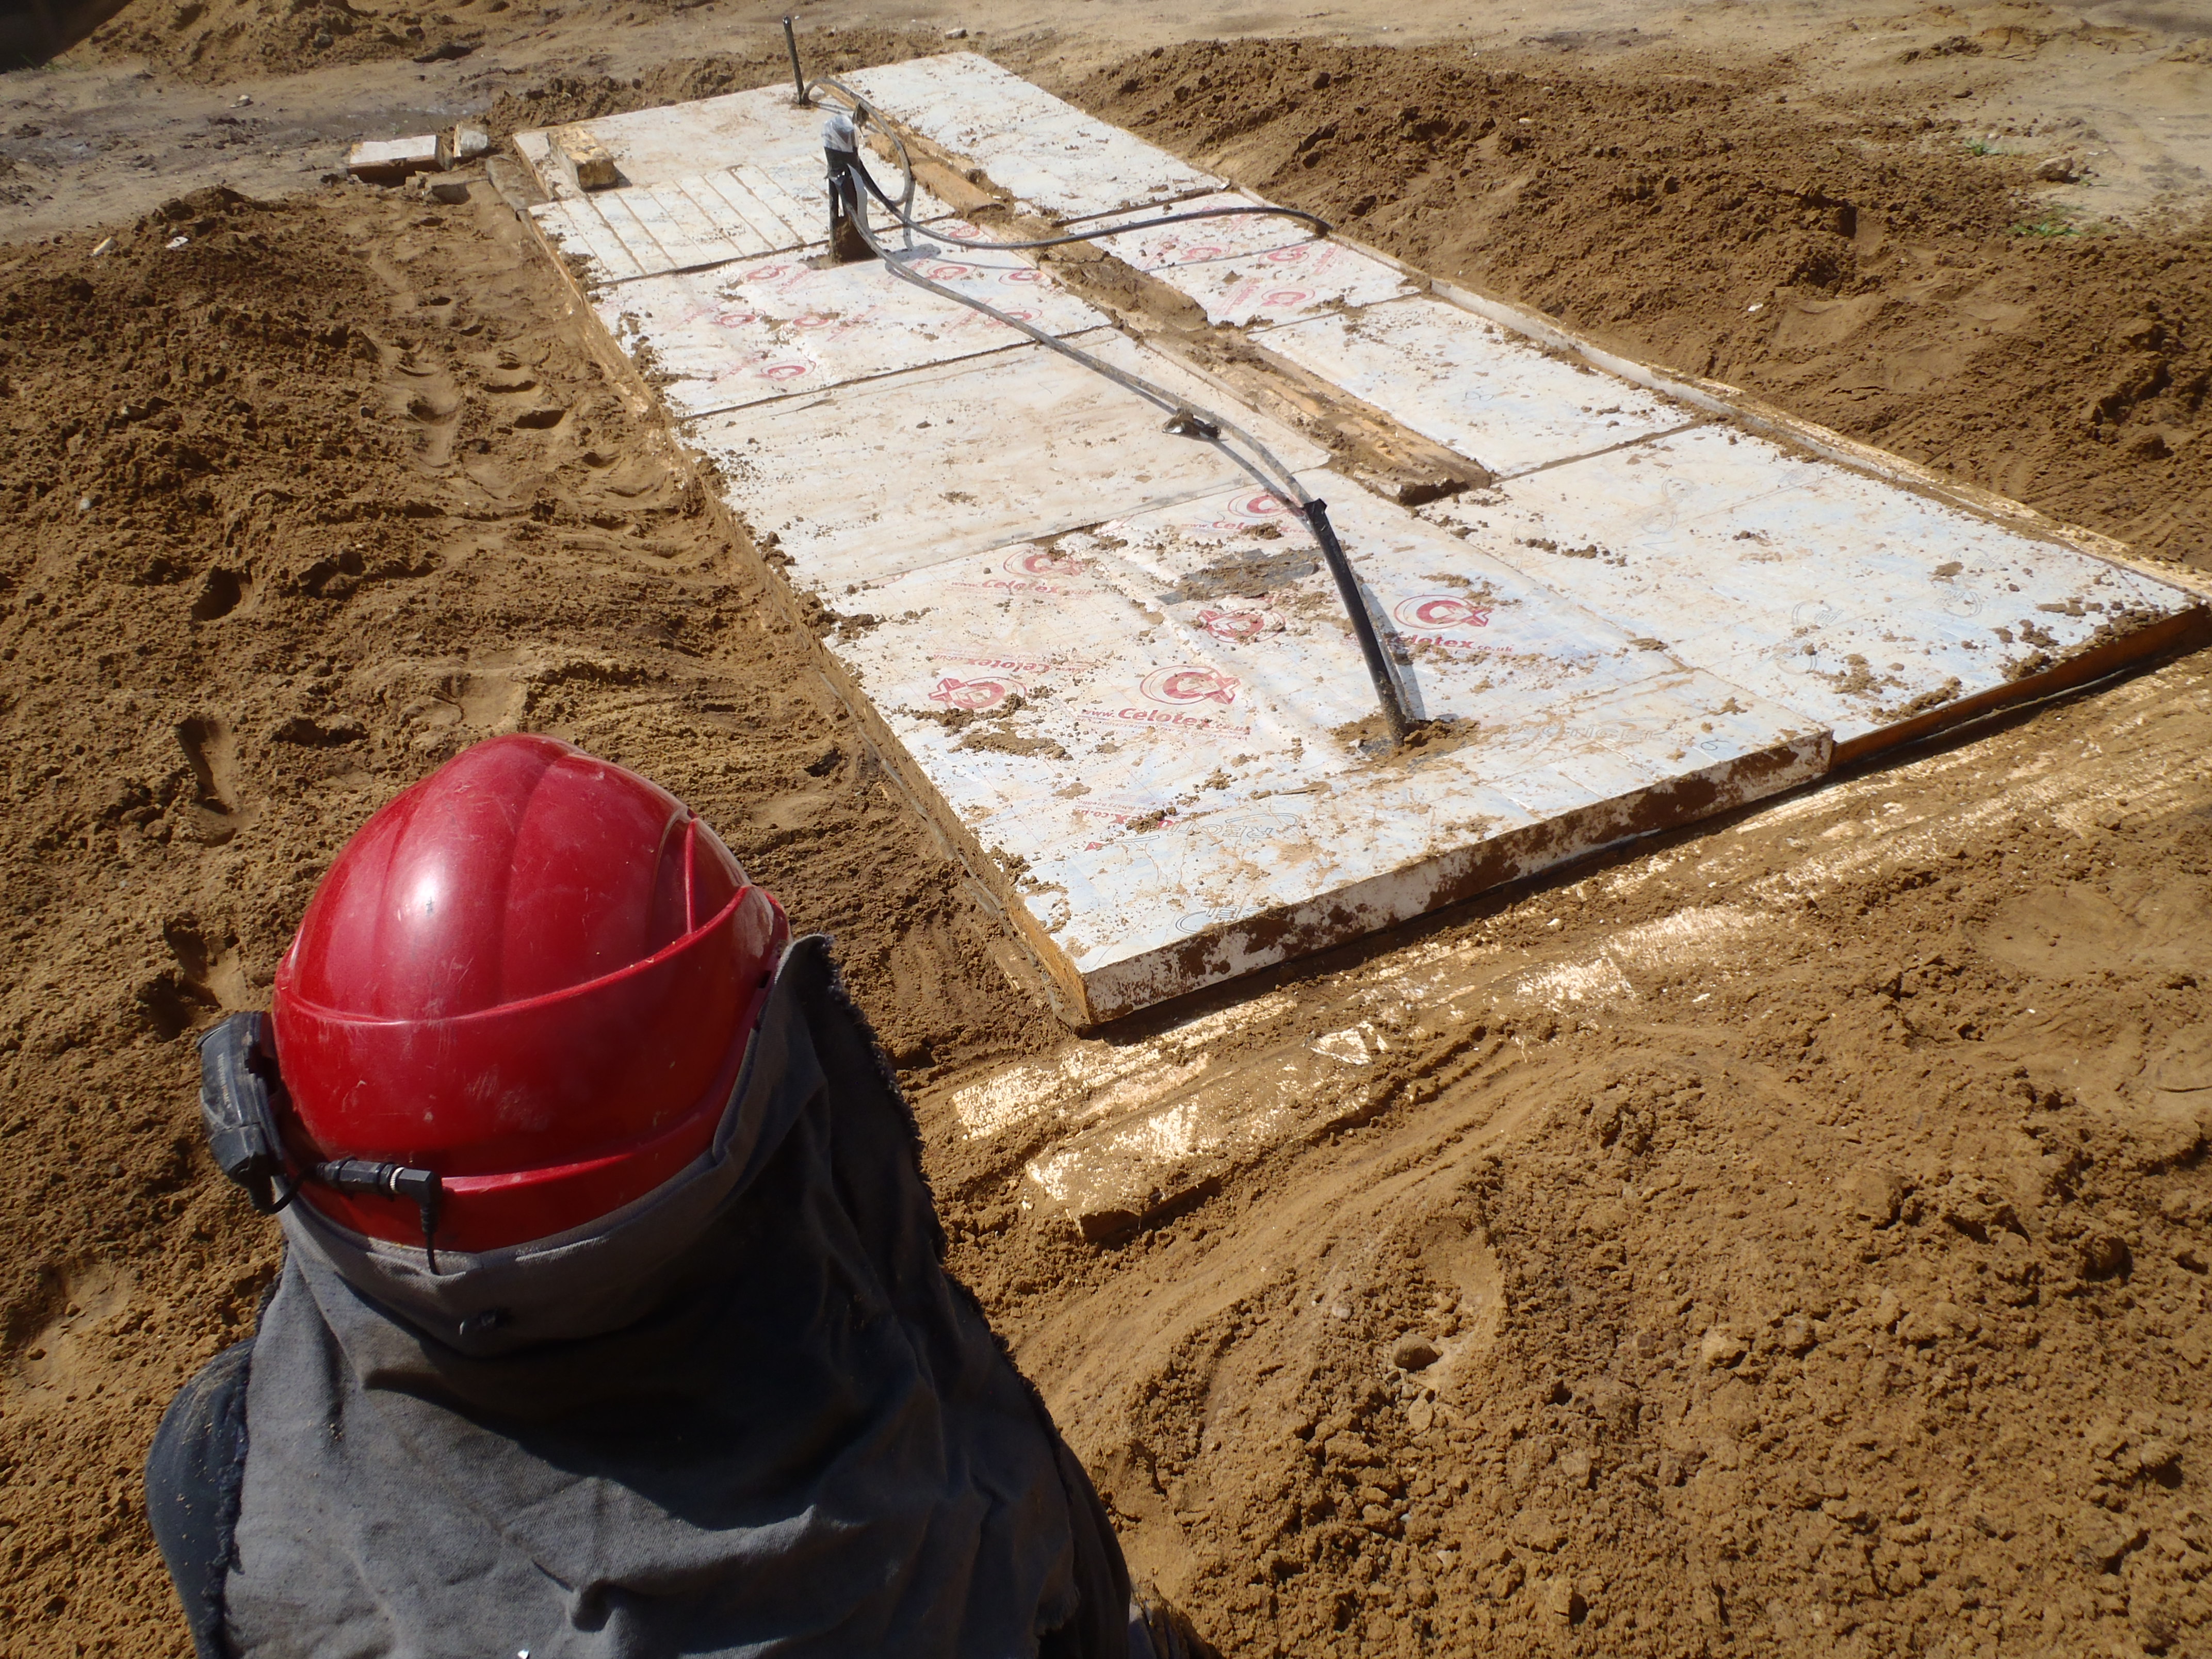
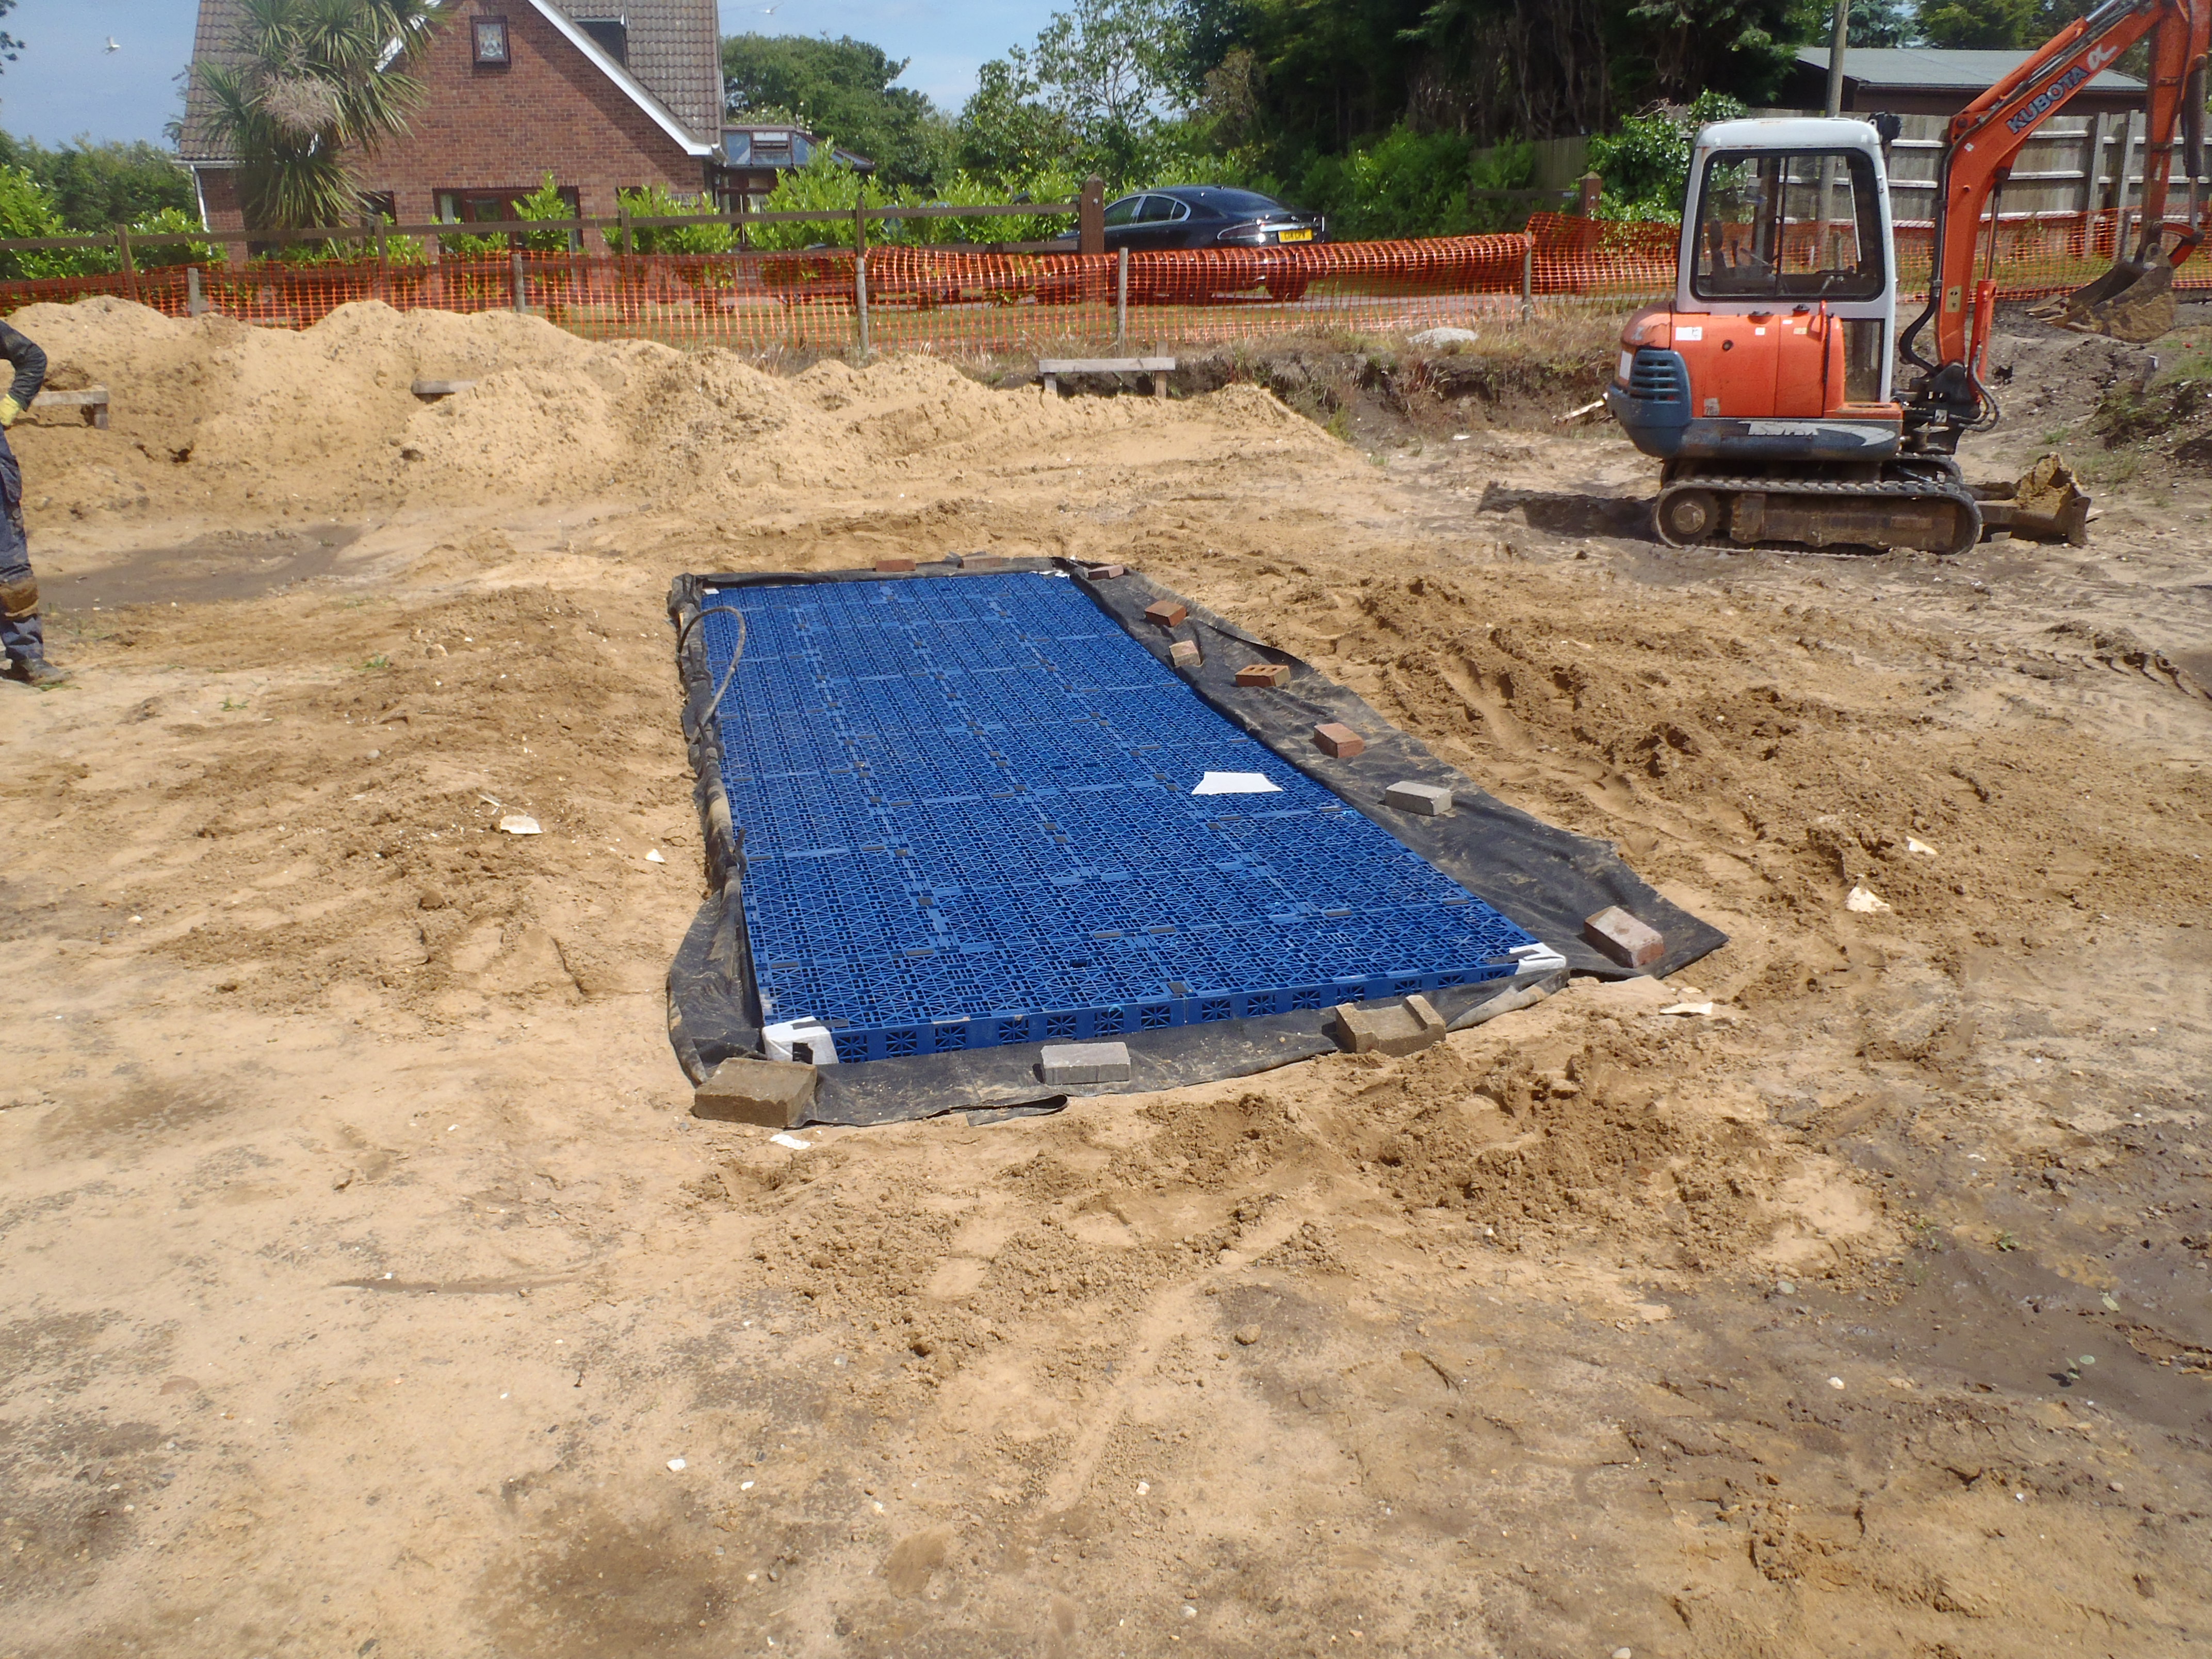
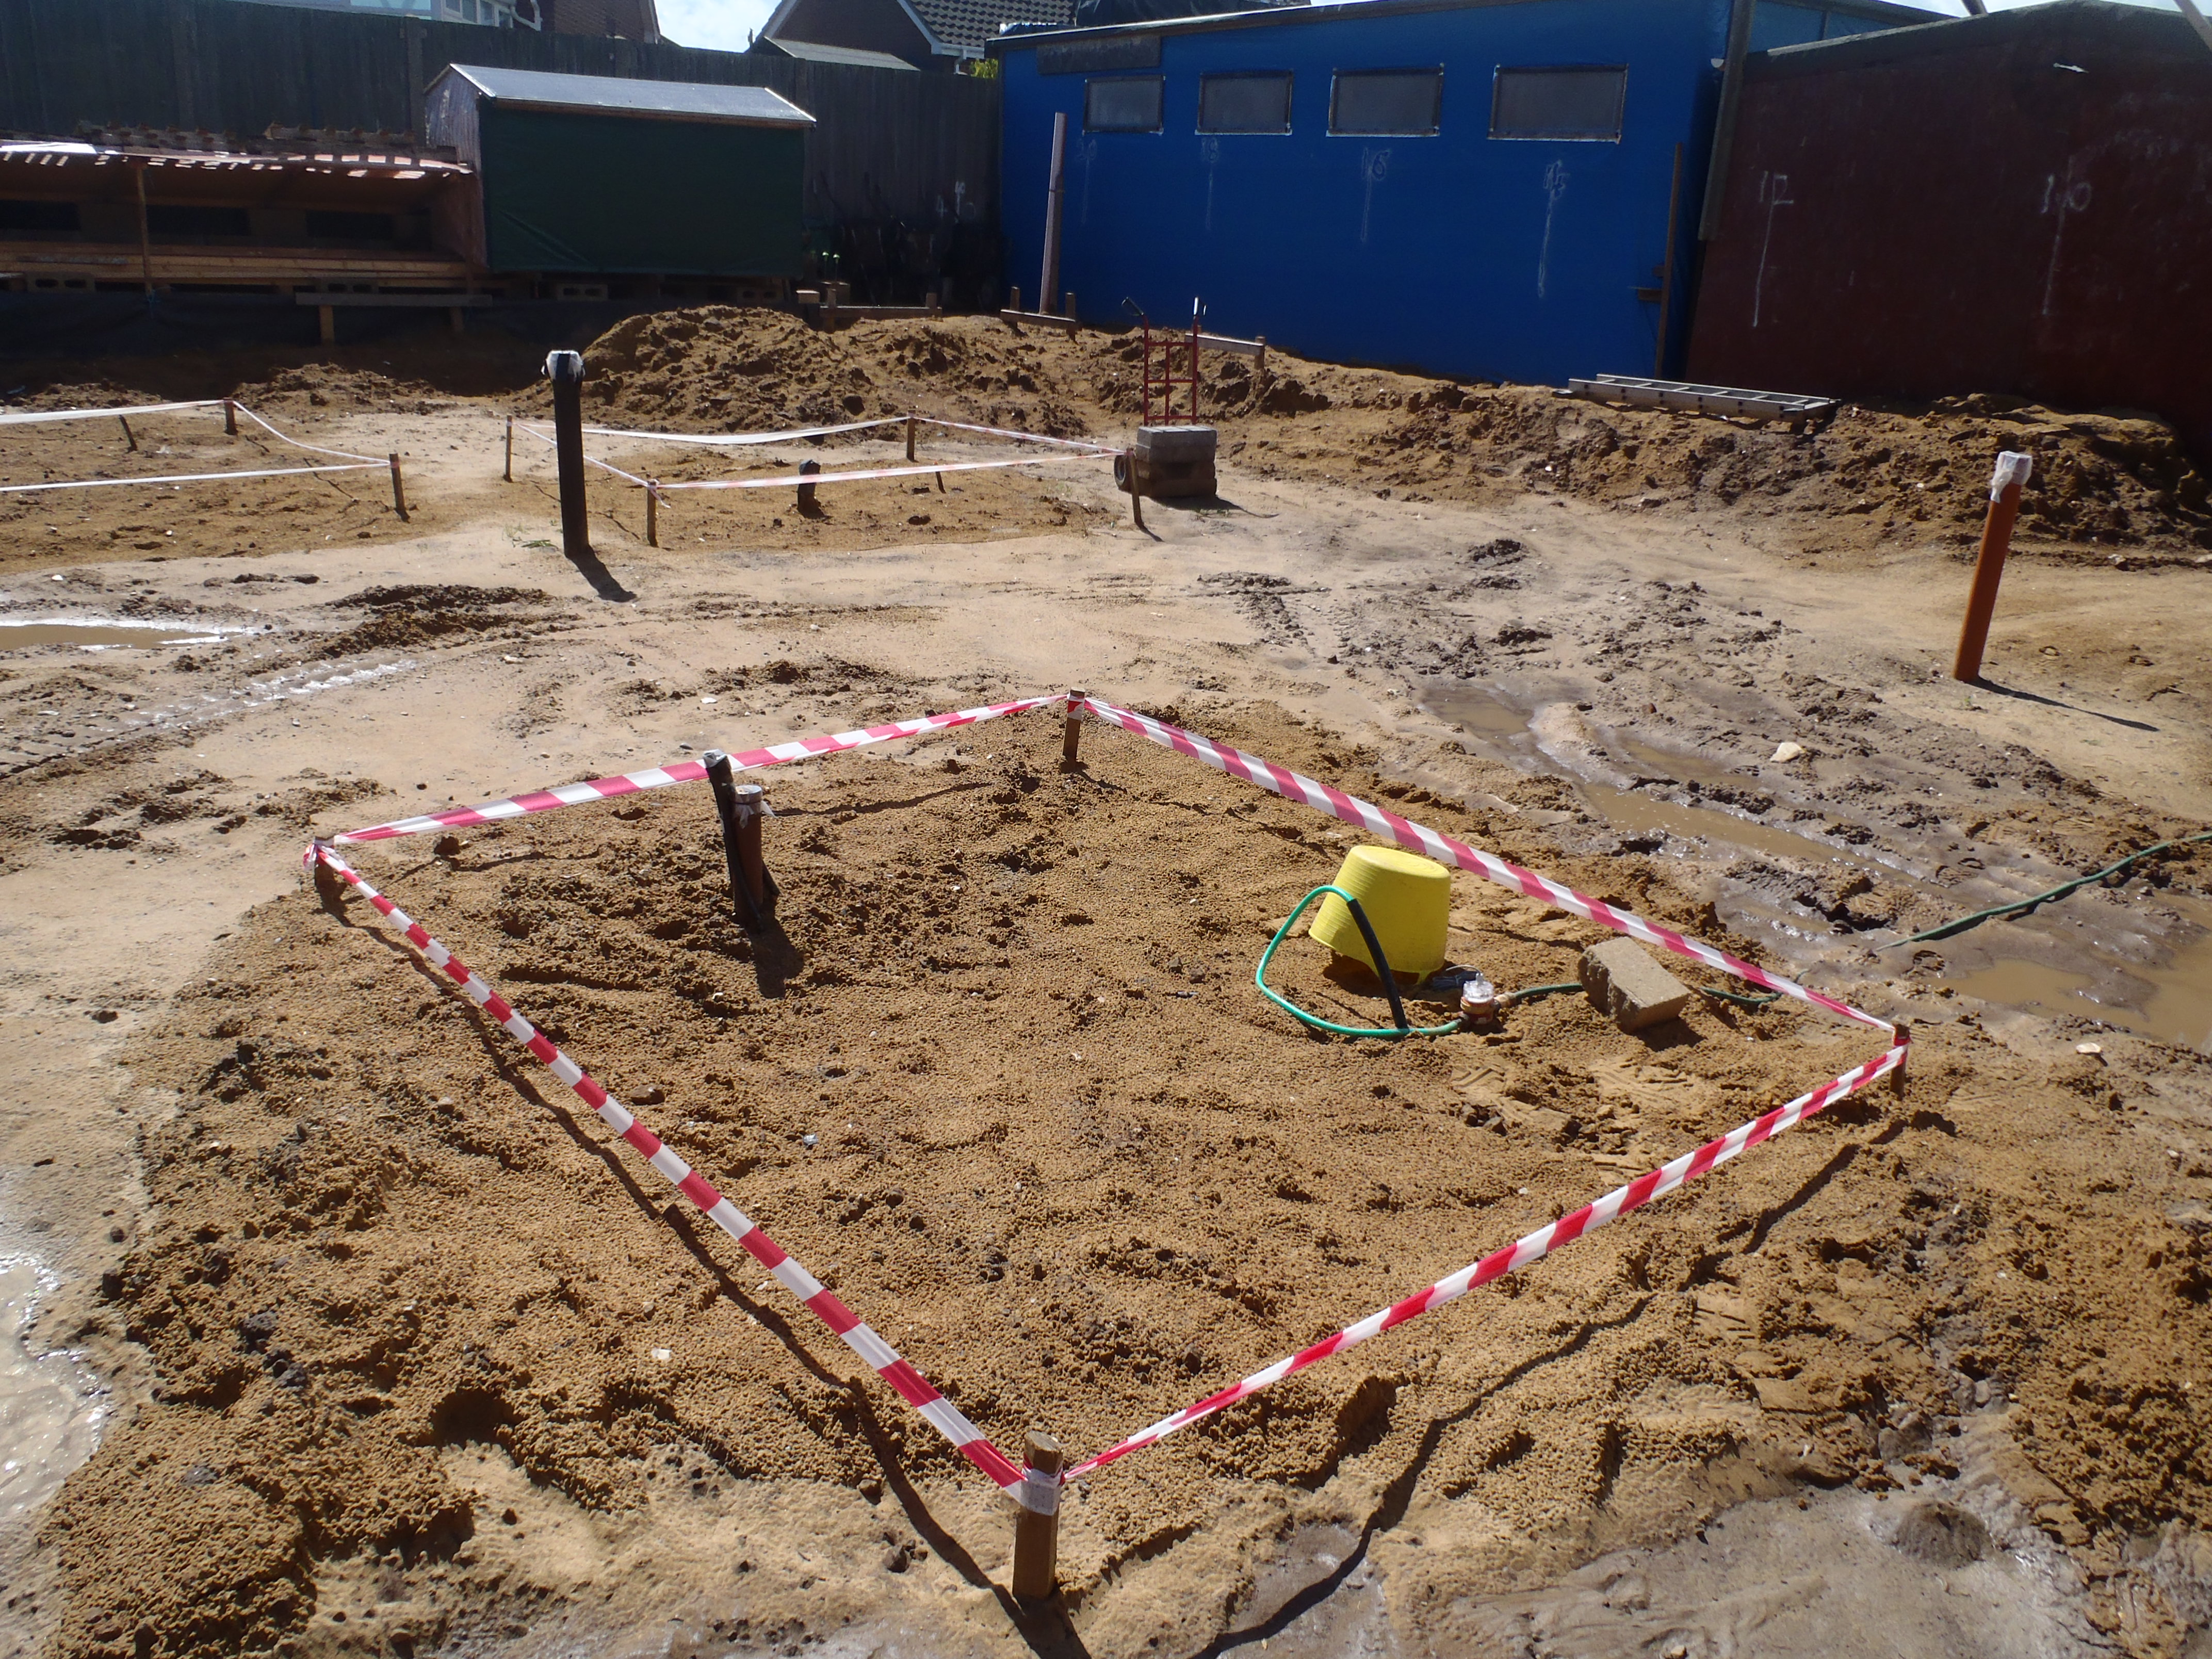
Anyway, we have finally finished removing all the excess sandy soil by hand and it is now all flat and level and ready for the next step of the insulation boards for underneath the bottom of the module.
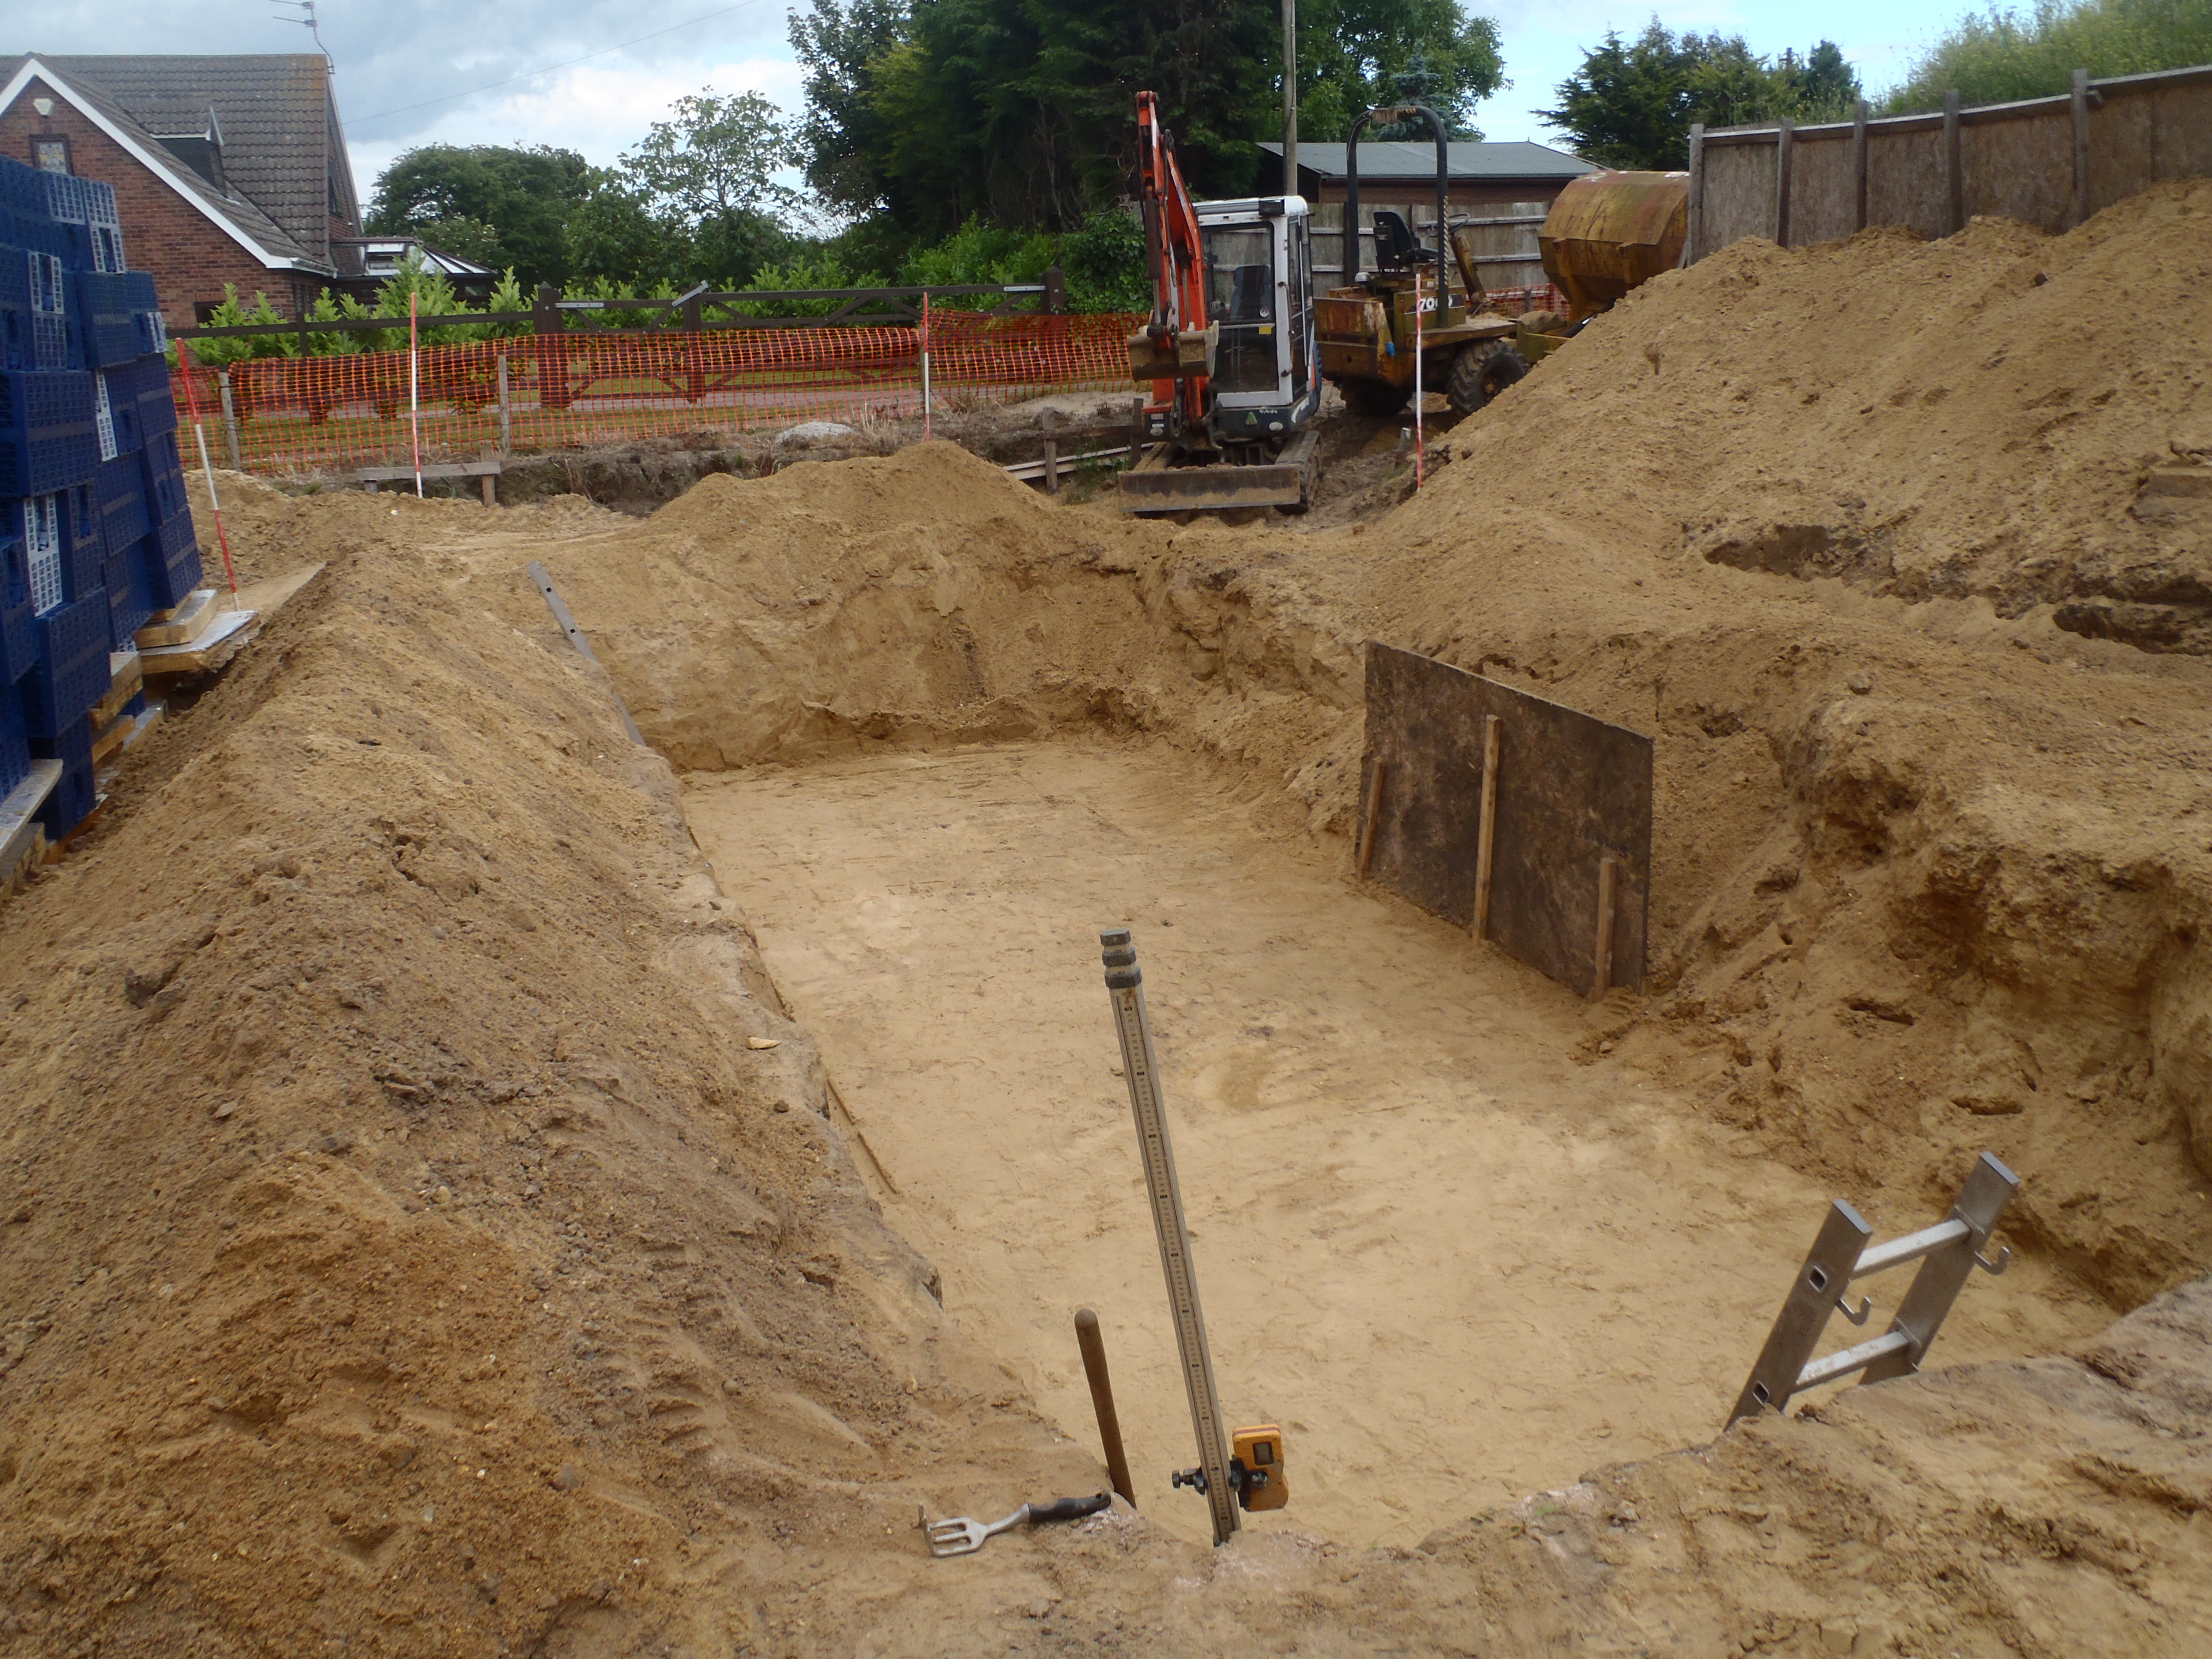
Module-5-Flat-bottomed-hole-2
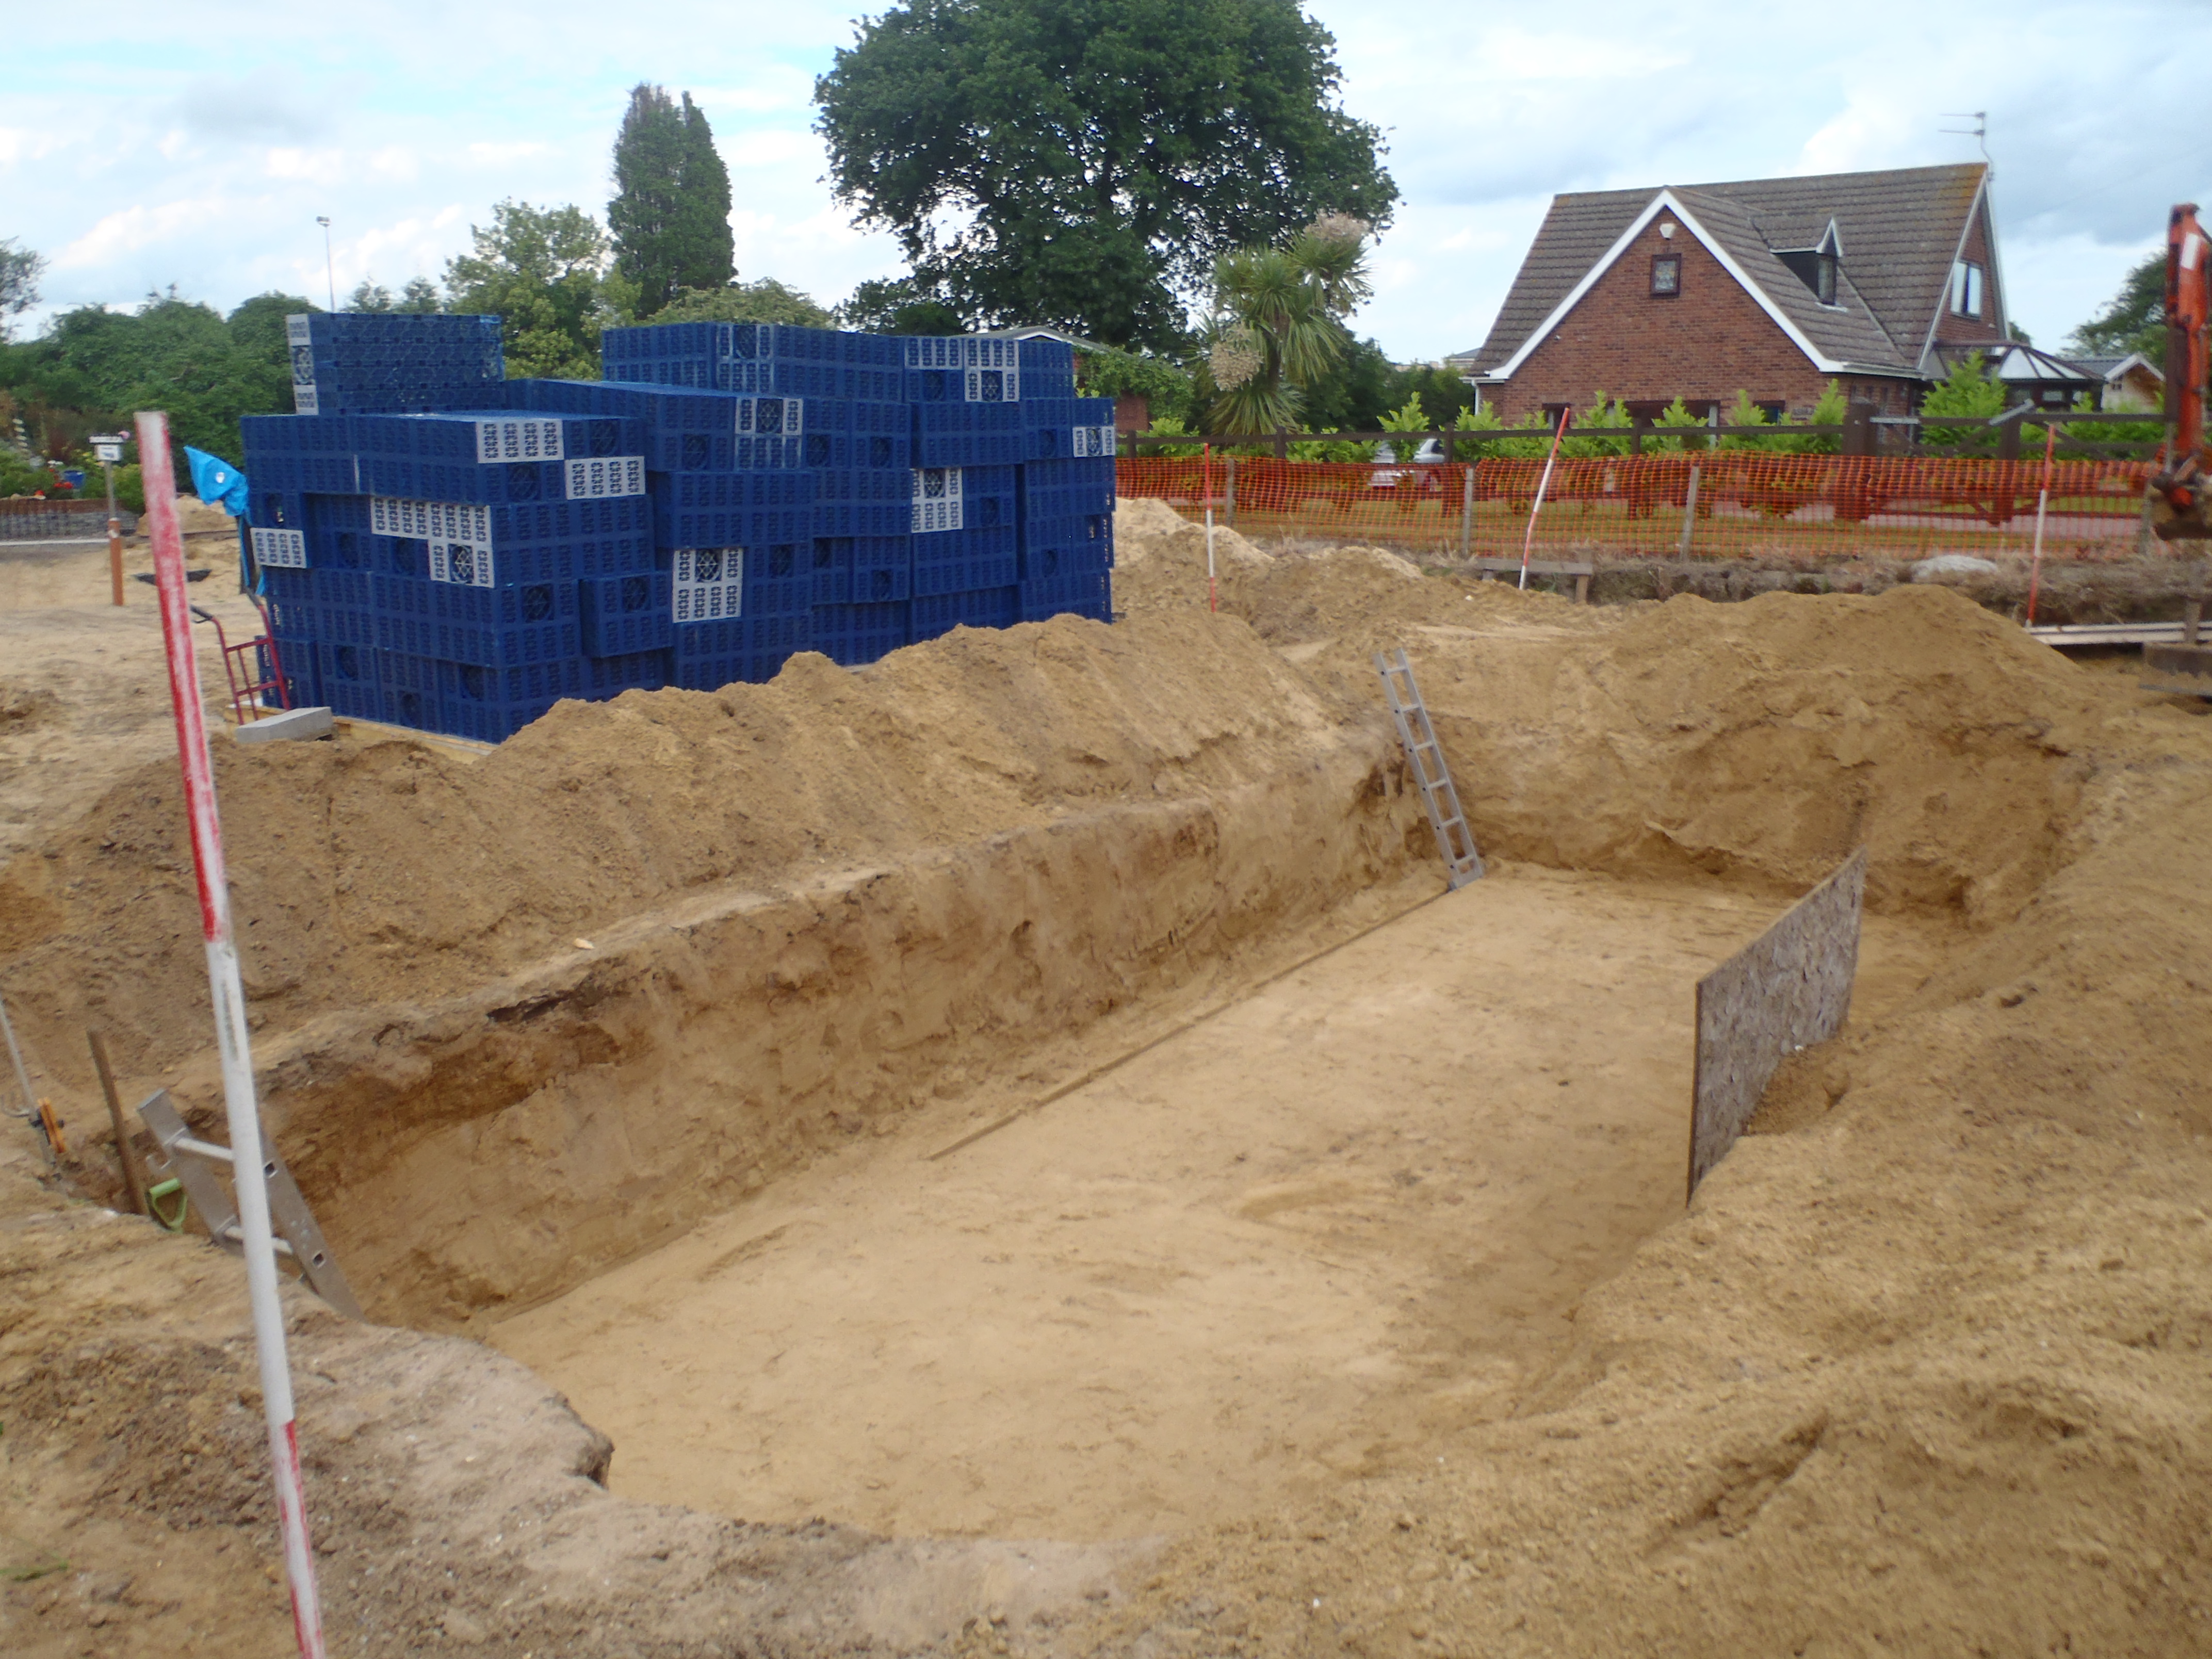
Module-5-Flat-bottomed-hole-3
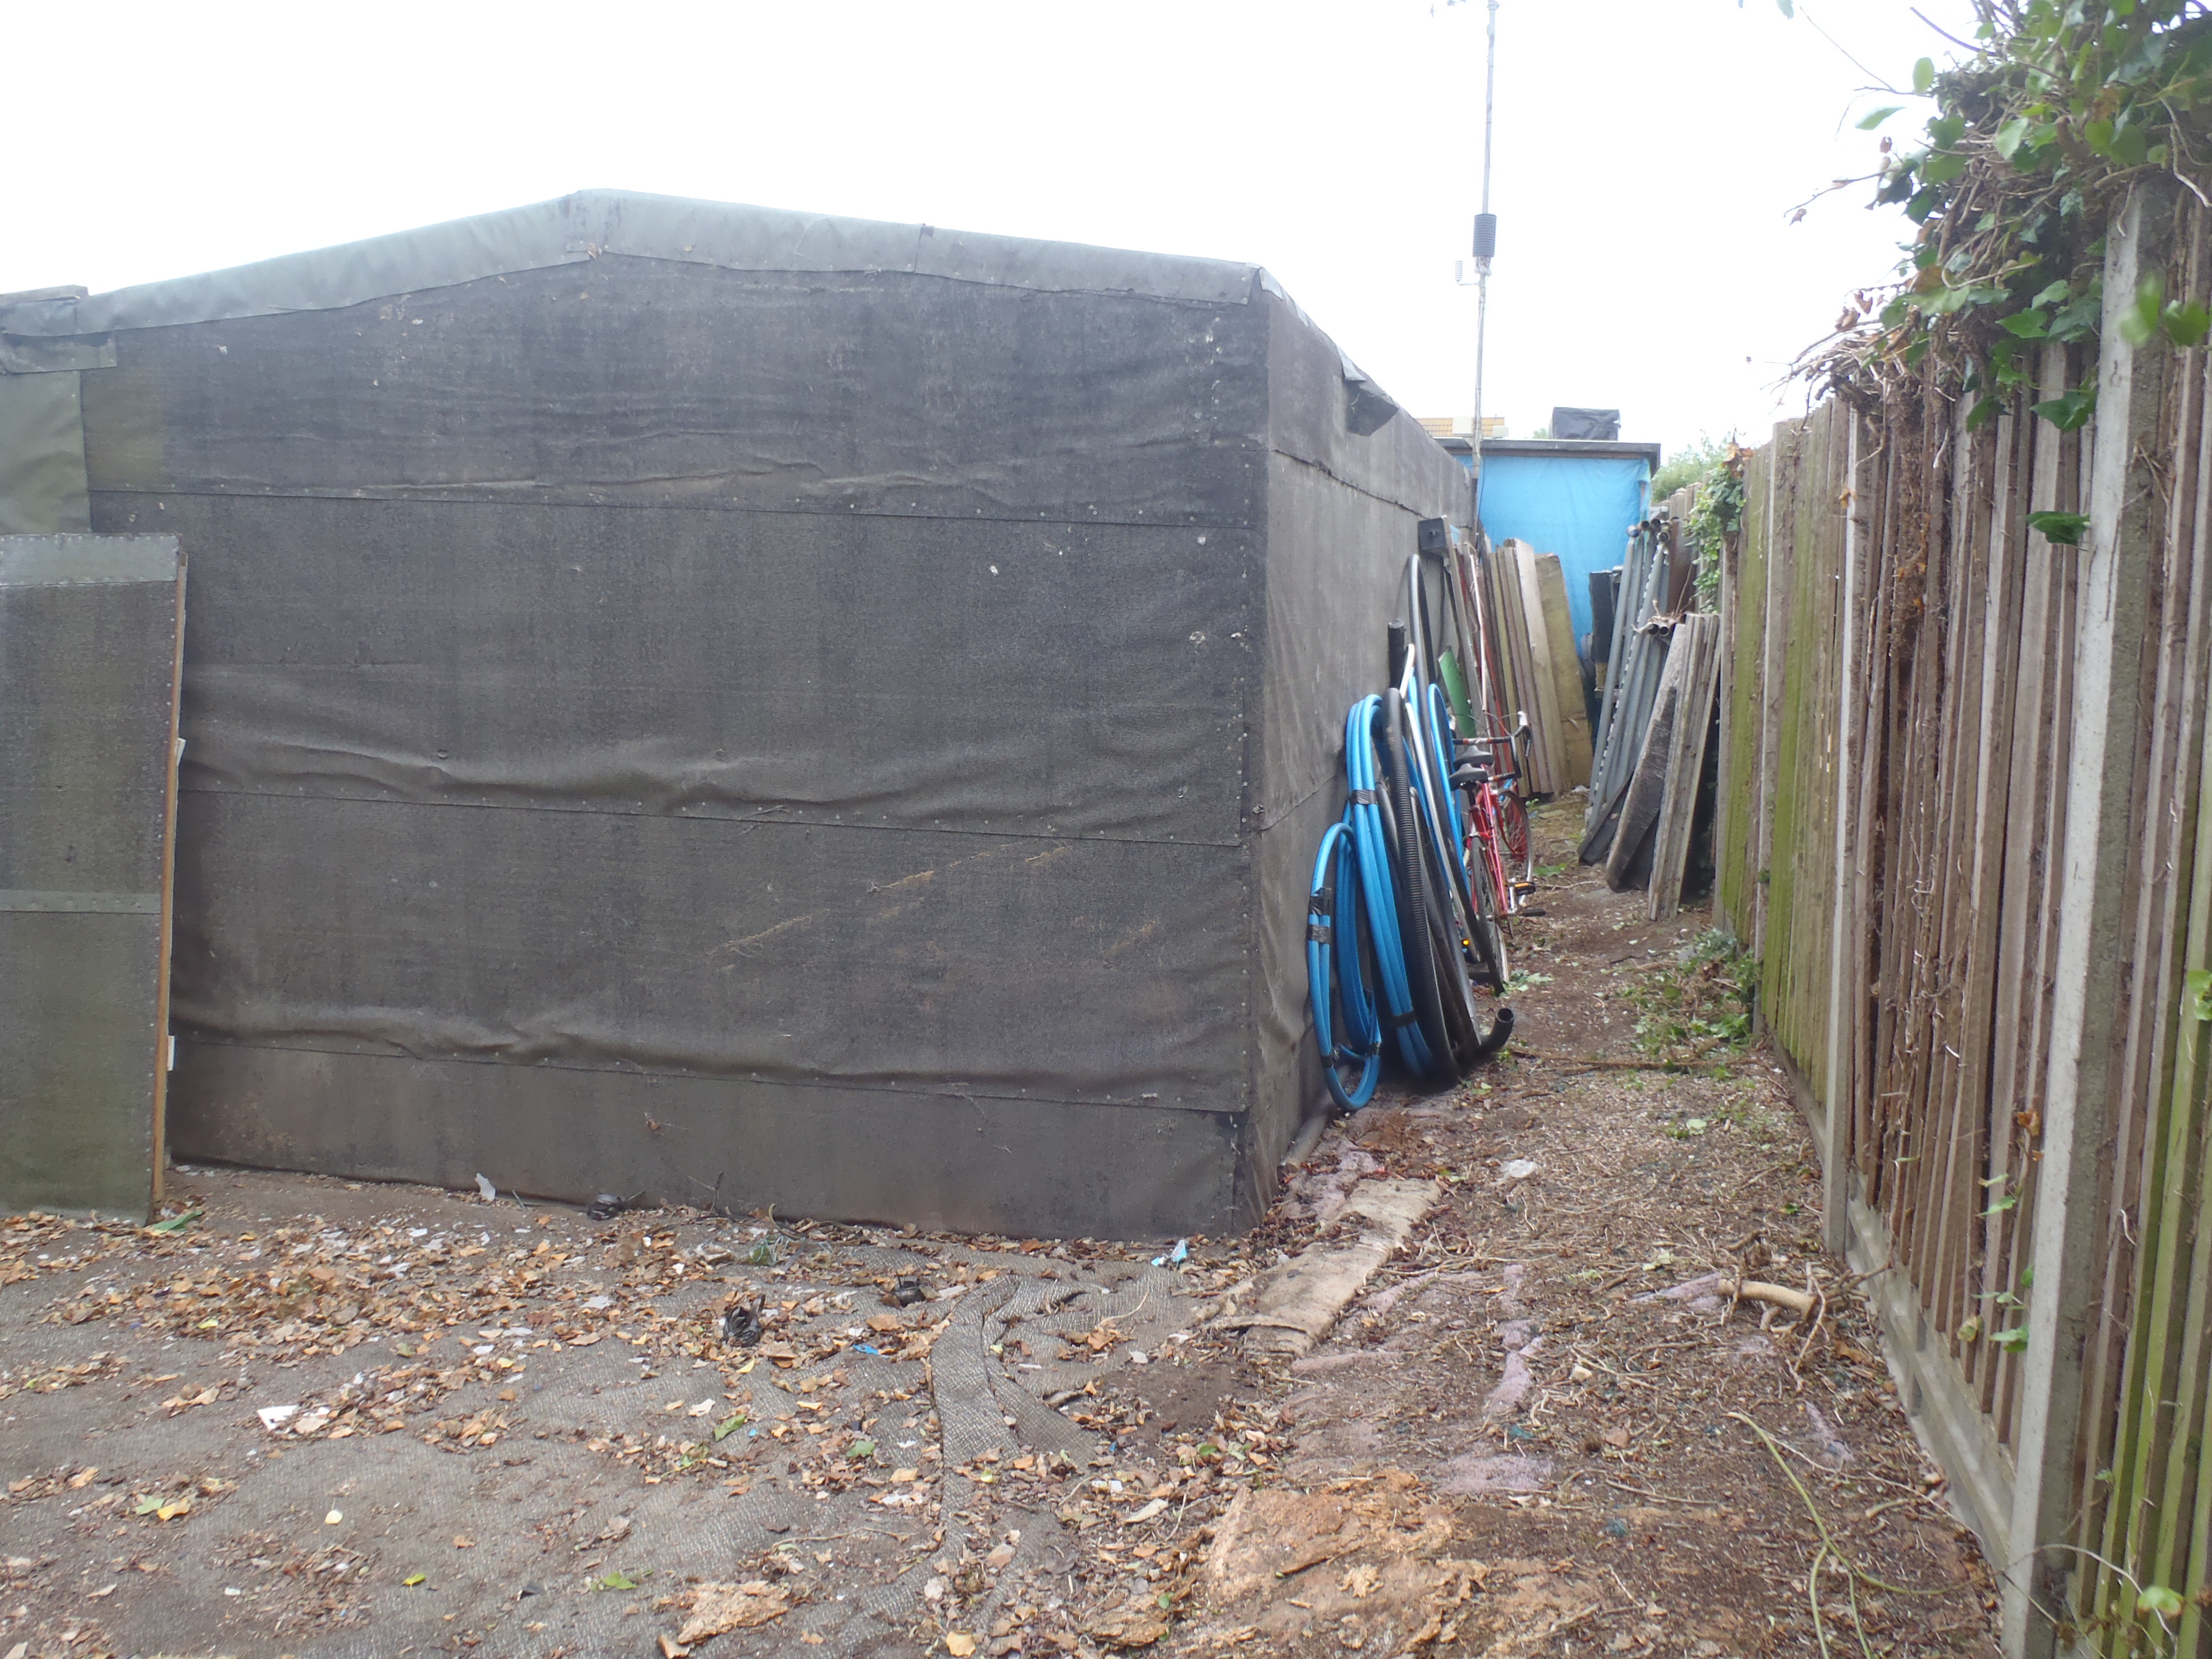
Tomorrow, it is sorting out the pile of the insulation panels to gather up about 60 to 70 pieces of 120mm thick boards plus an extra strip to fill down the middle. More will be revealed tomorrow – grin!