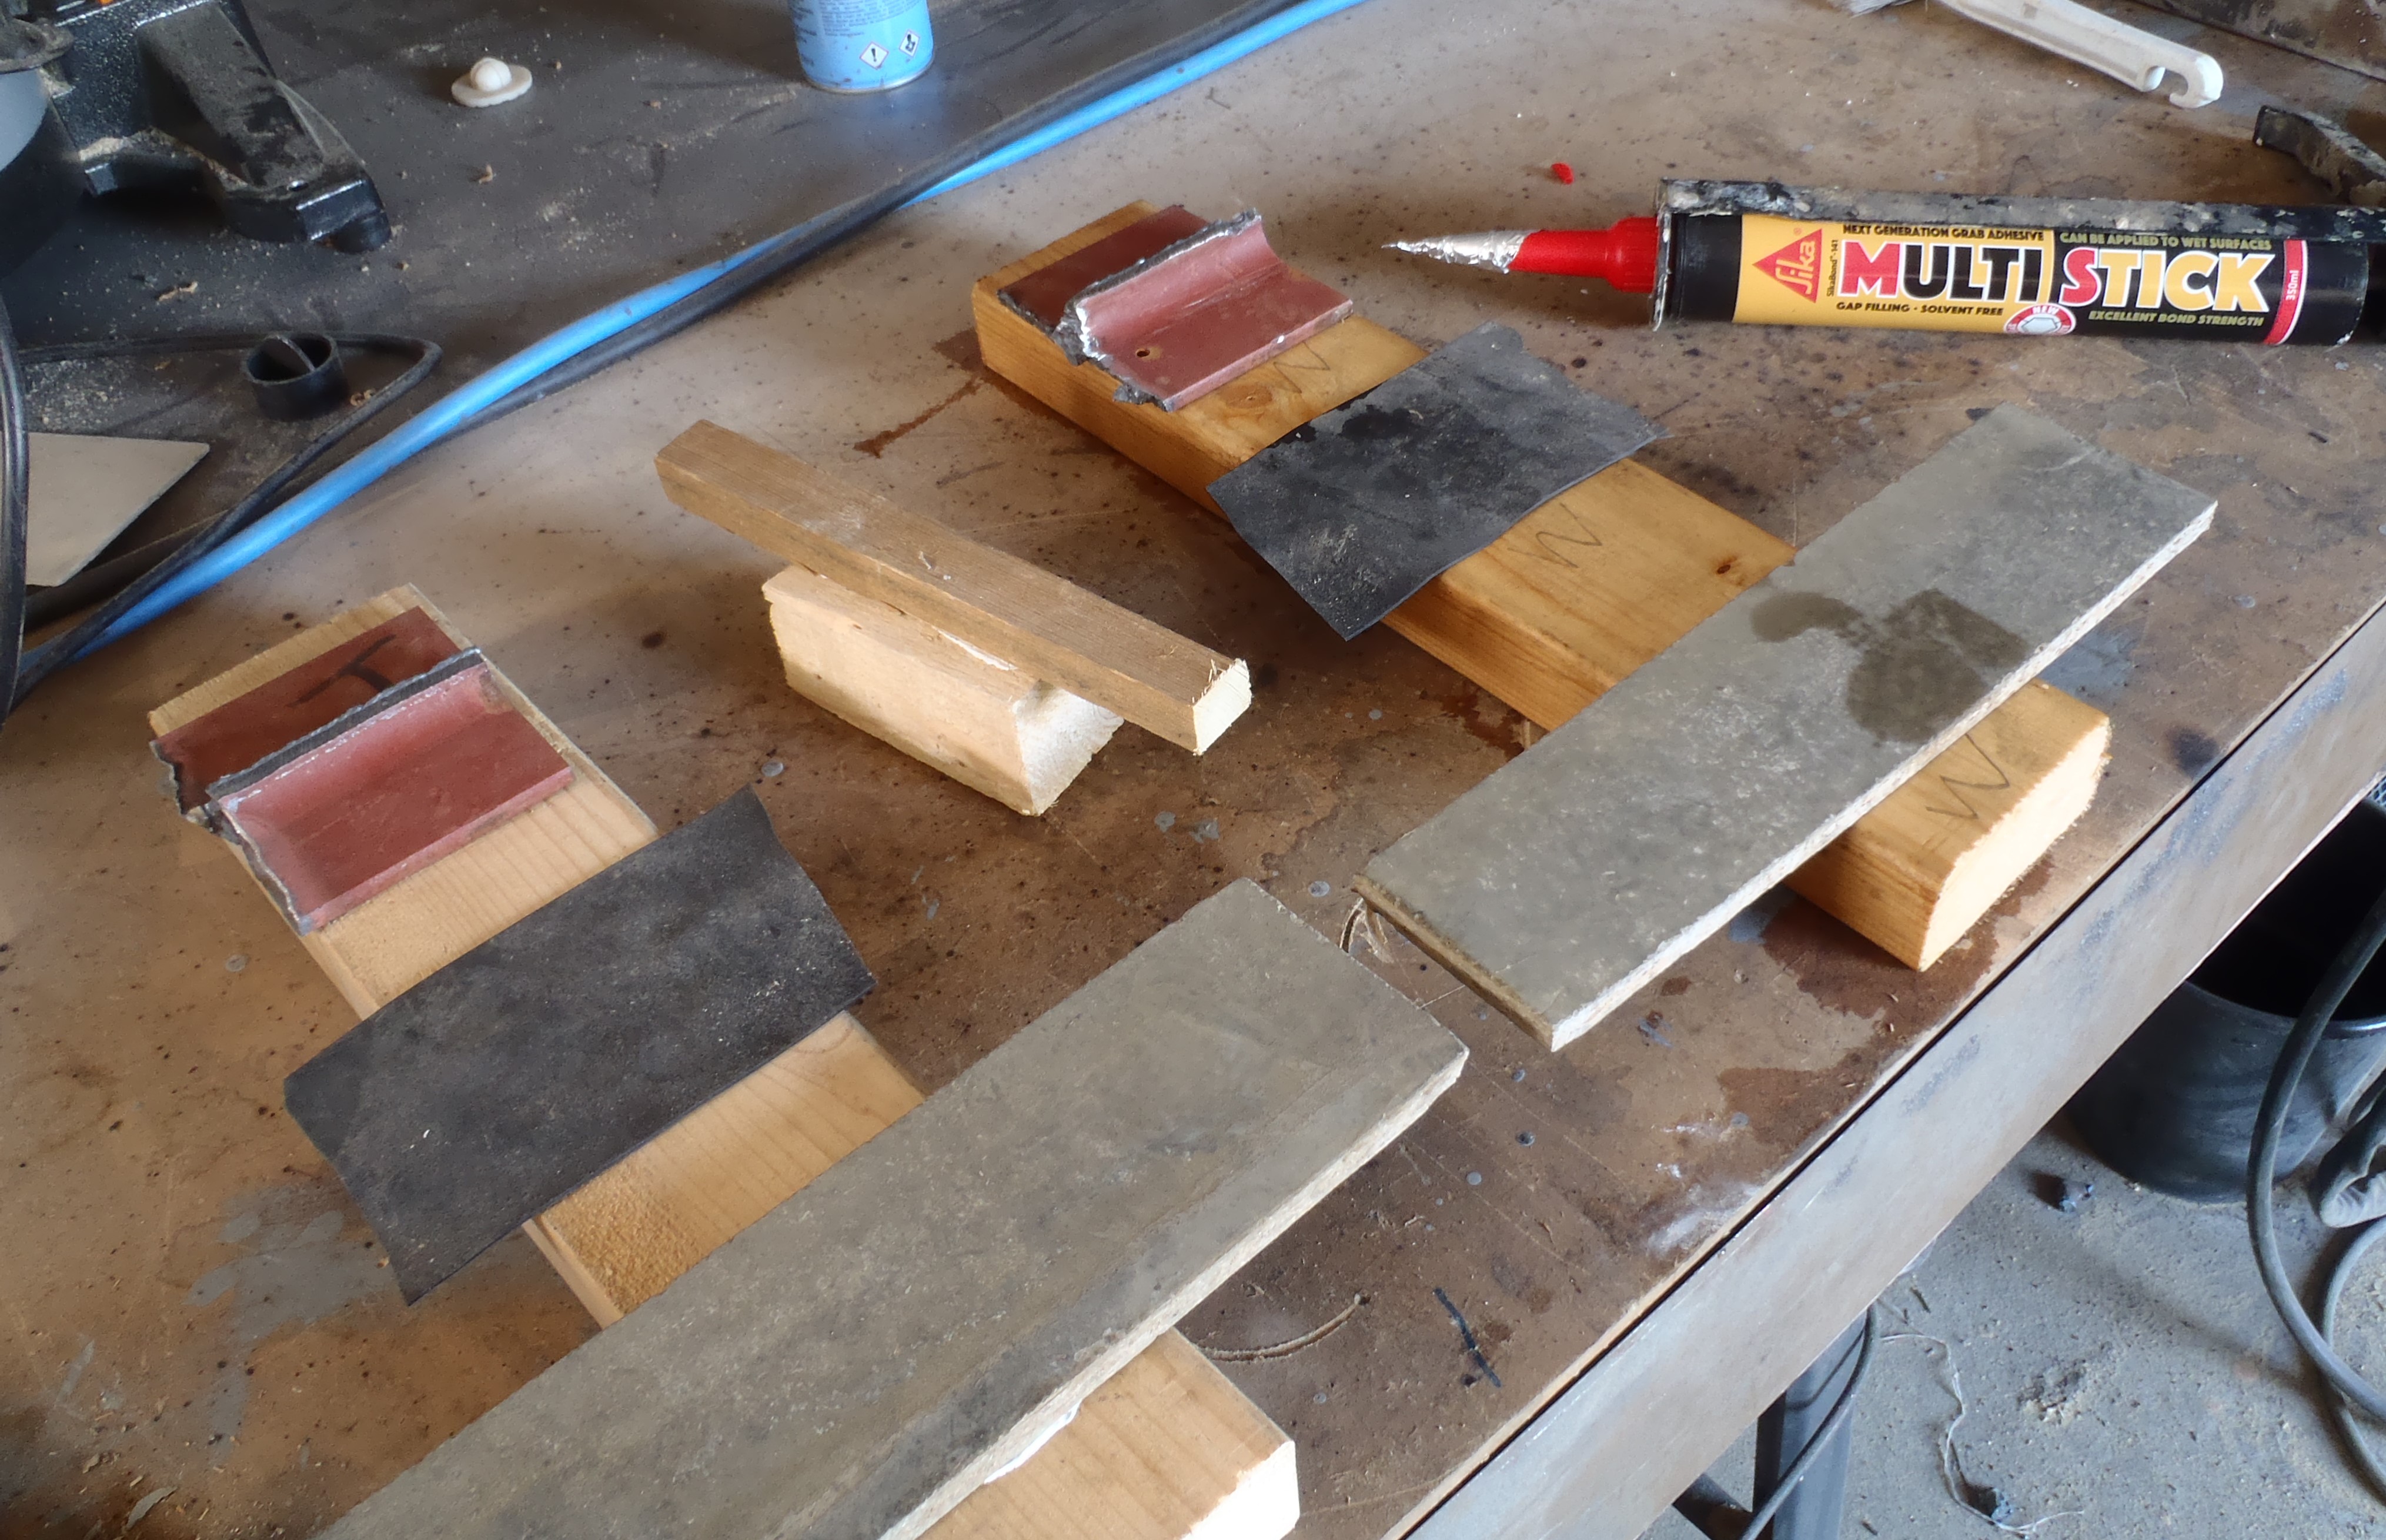
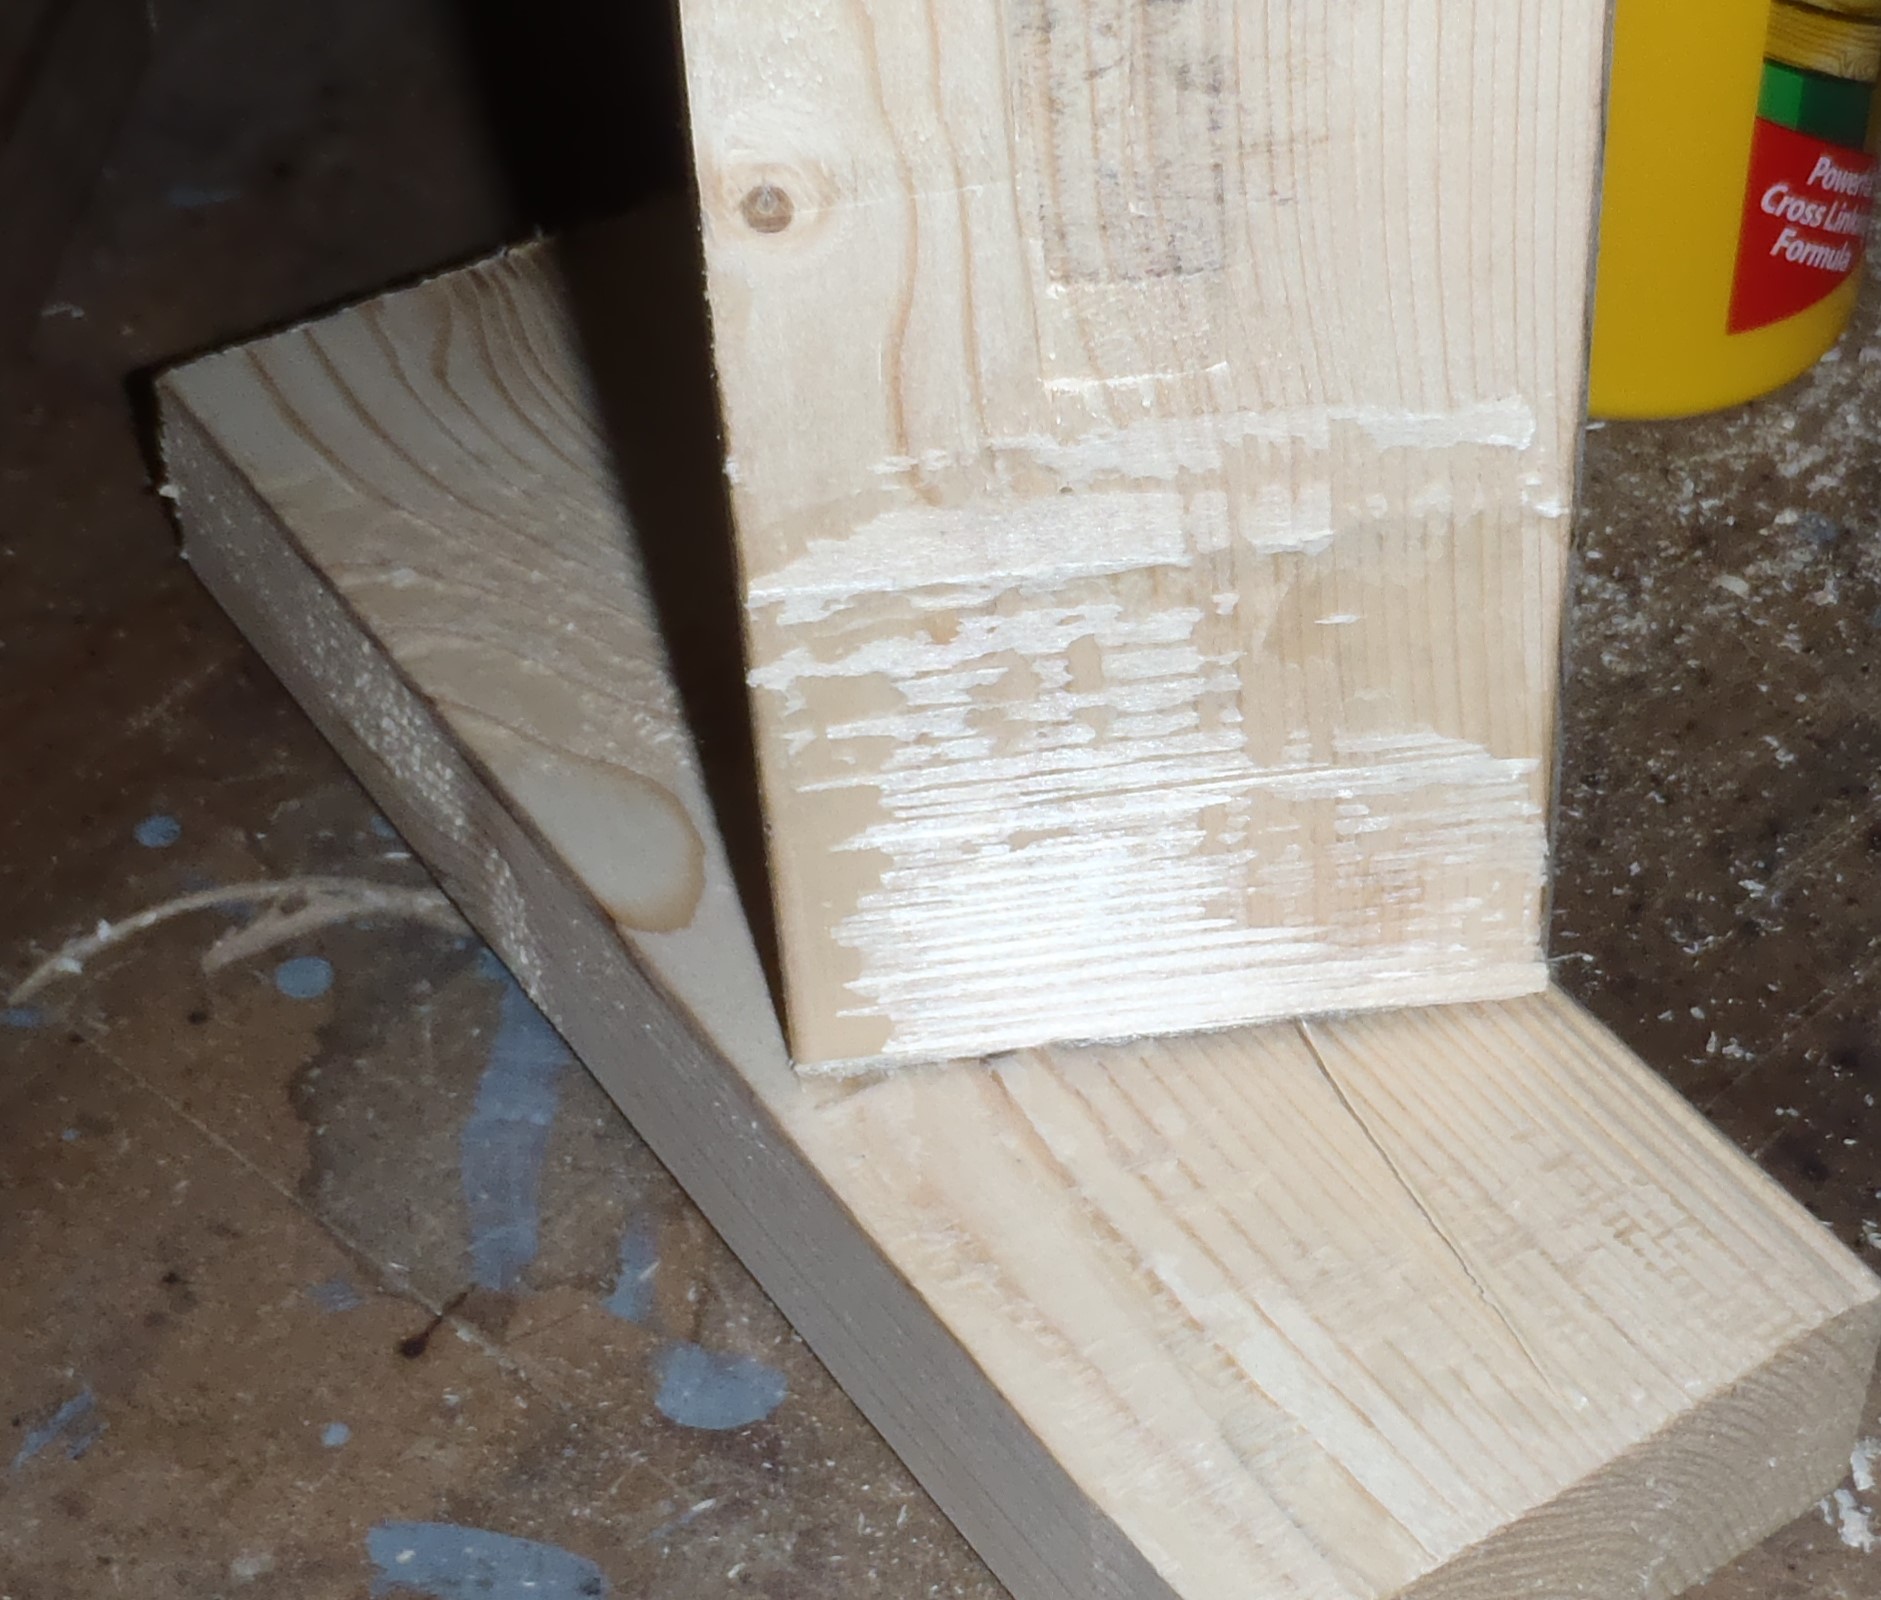
We did another test, this time using a sample of the non-creep crossed linked construction grade wood glue.

This time, we took pieces of CLS timber, one was left as is (looking it age of about 5 years) and the other piece was planed to remove that “dirty” layer.

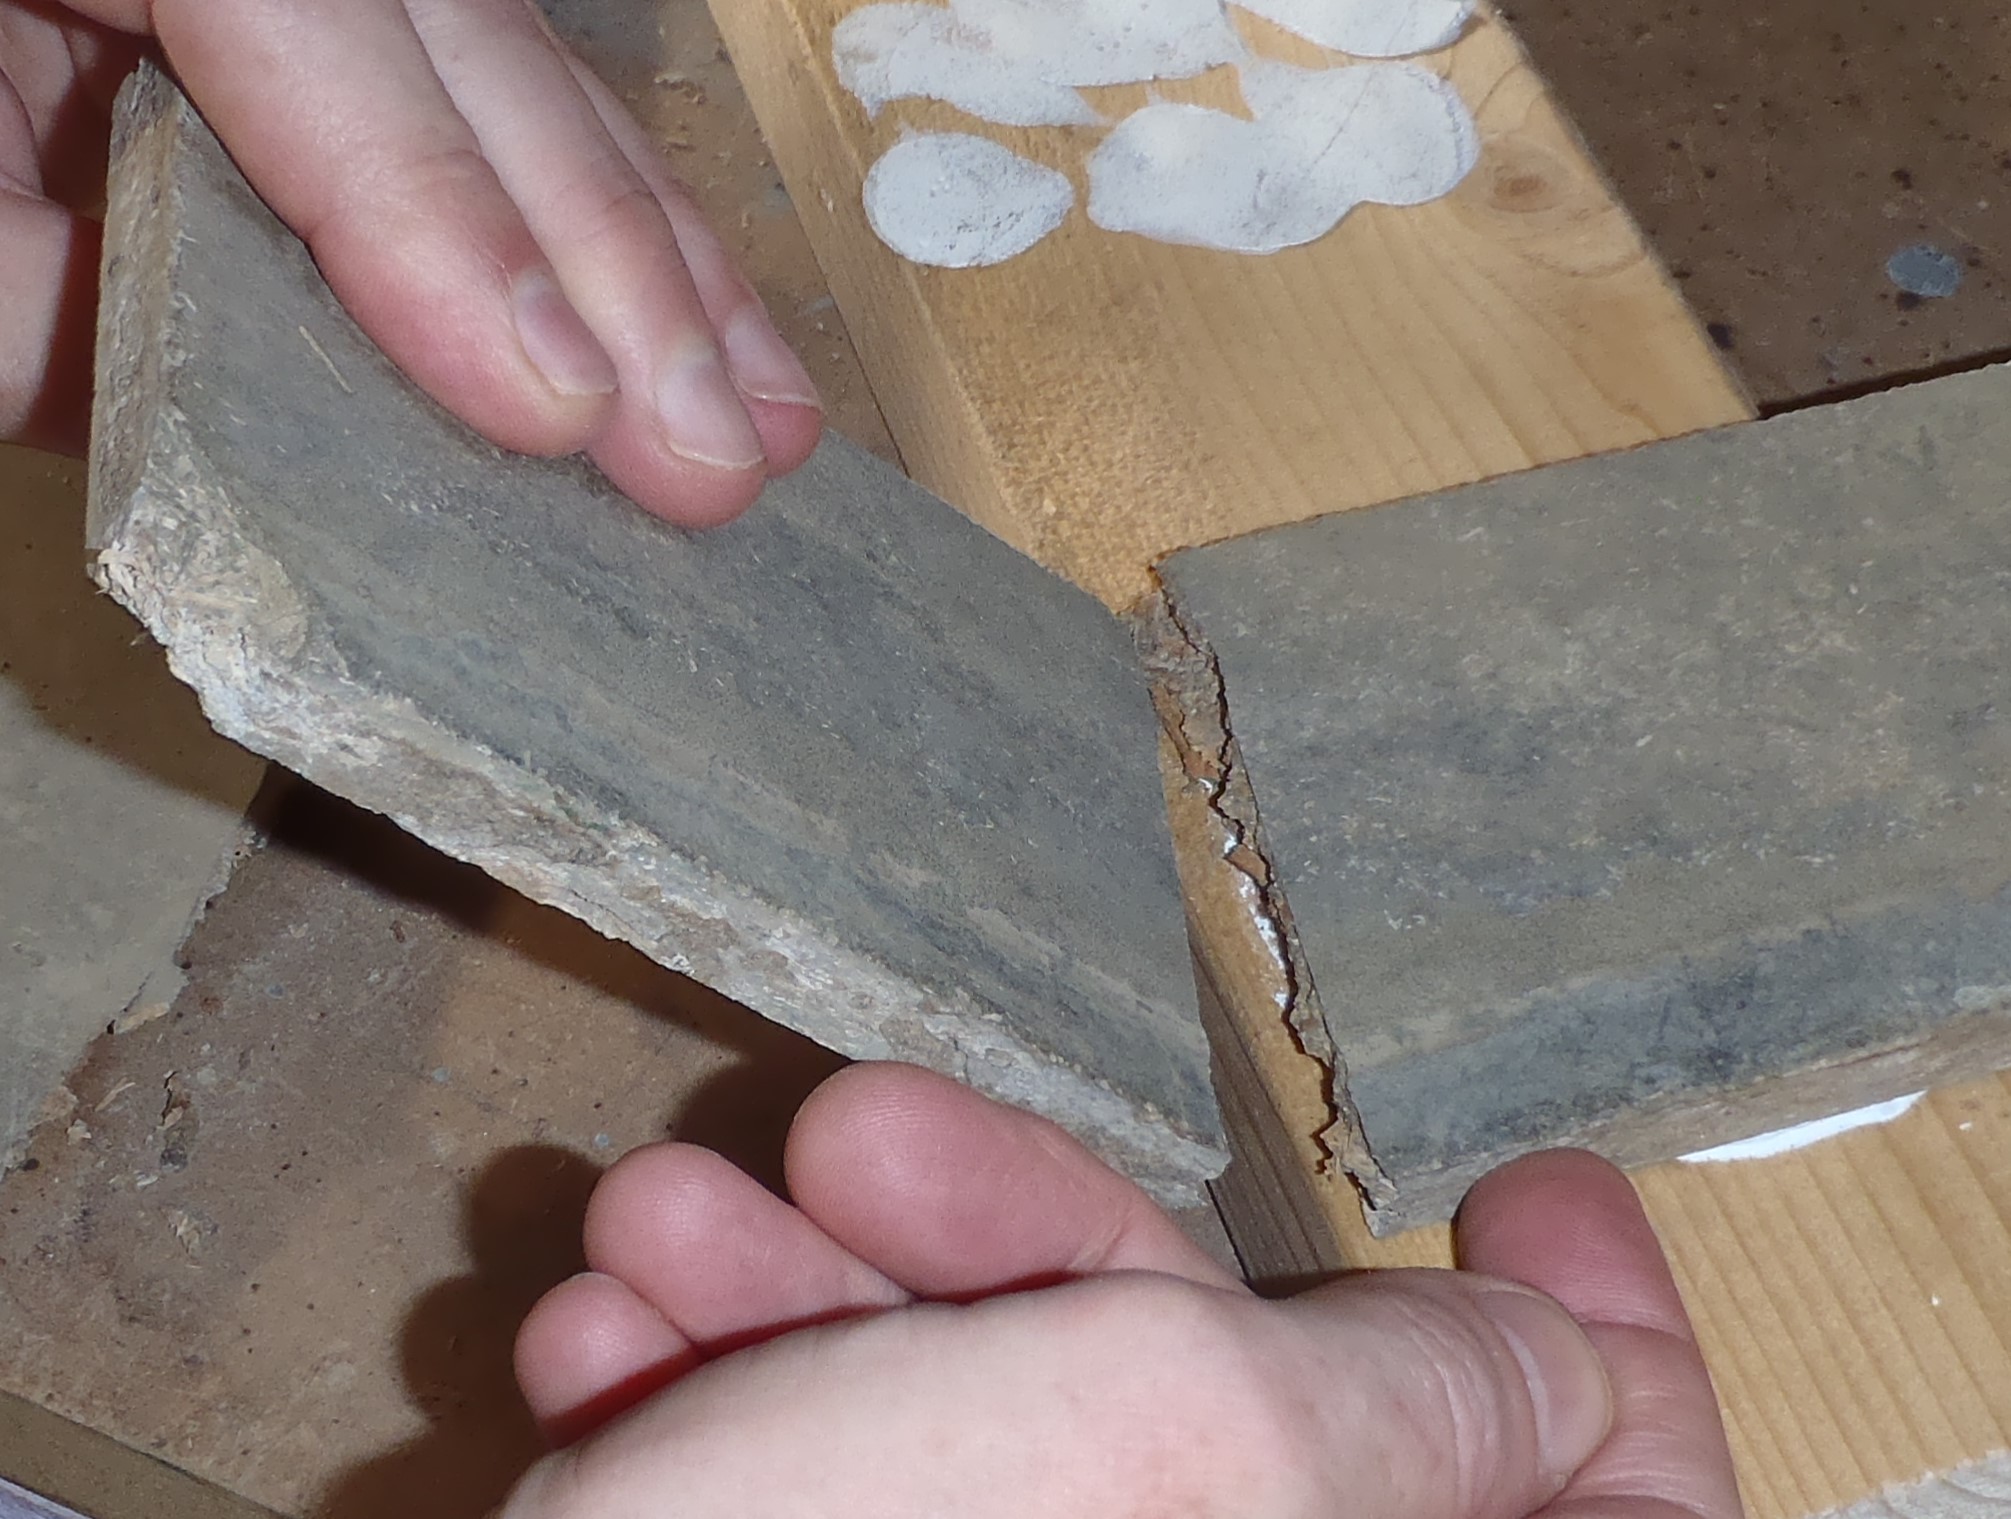
Glue-Test-2-Blocks-glued-together
After drying and curing overnight with the clamps on, we then tried to pull them apart. It was rather hard to do!!
We ended up putting it in the vice and using the strength of the lever principal, managed to snap the joint apart. It was quite hard to do, bearing in mind that the joint was at the end of the timber grain, which is the weakest point.
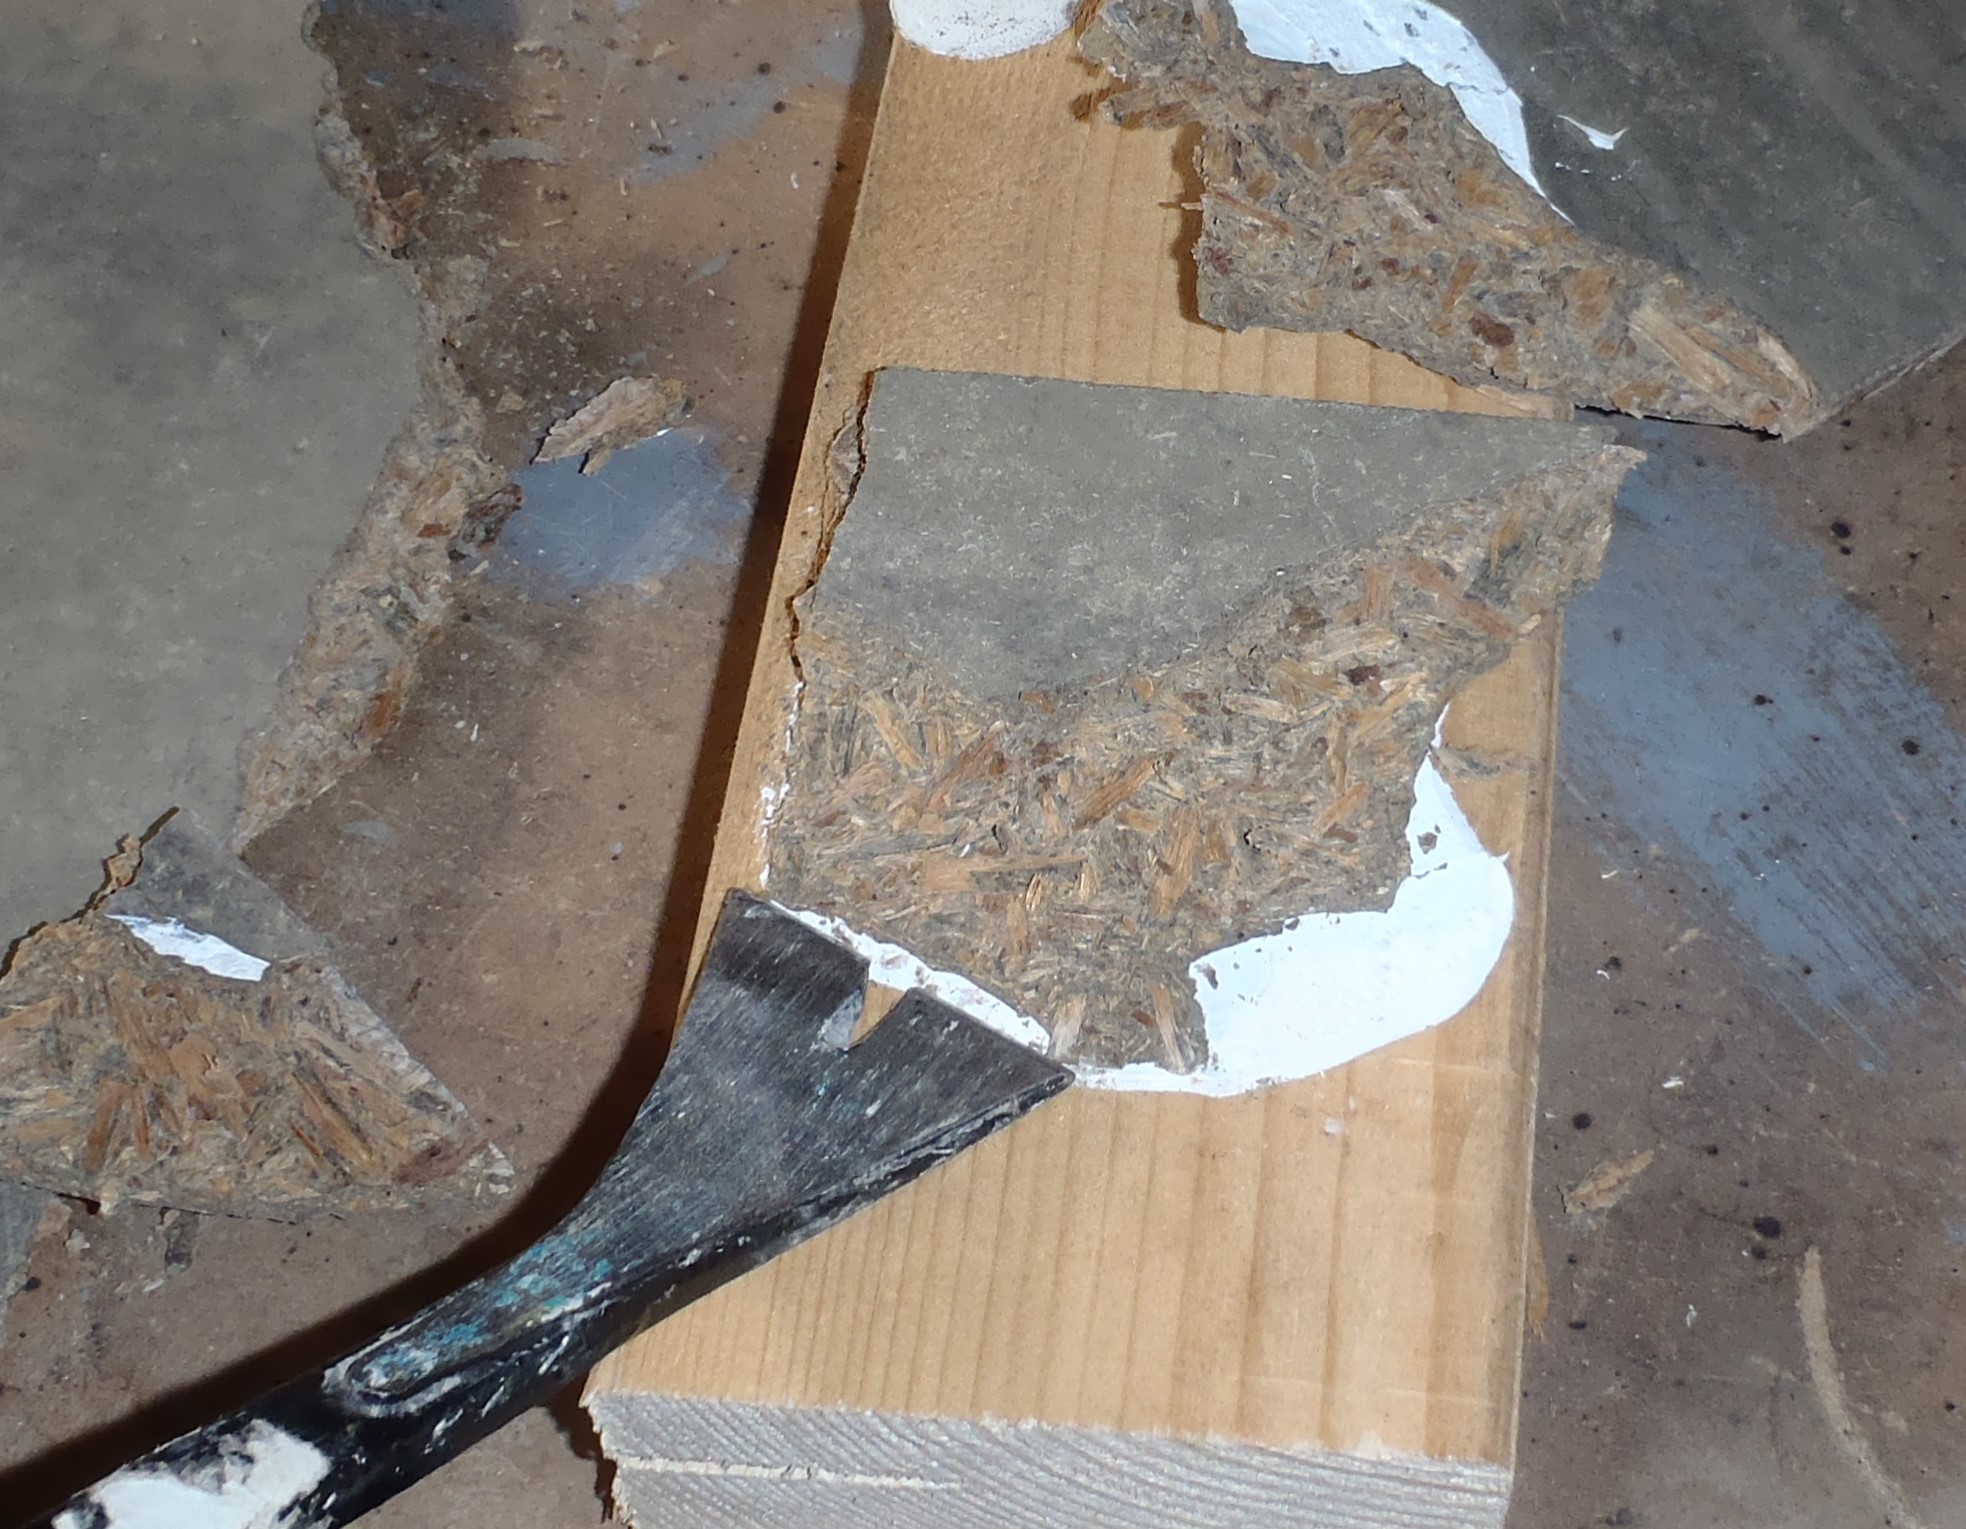
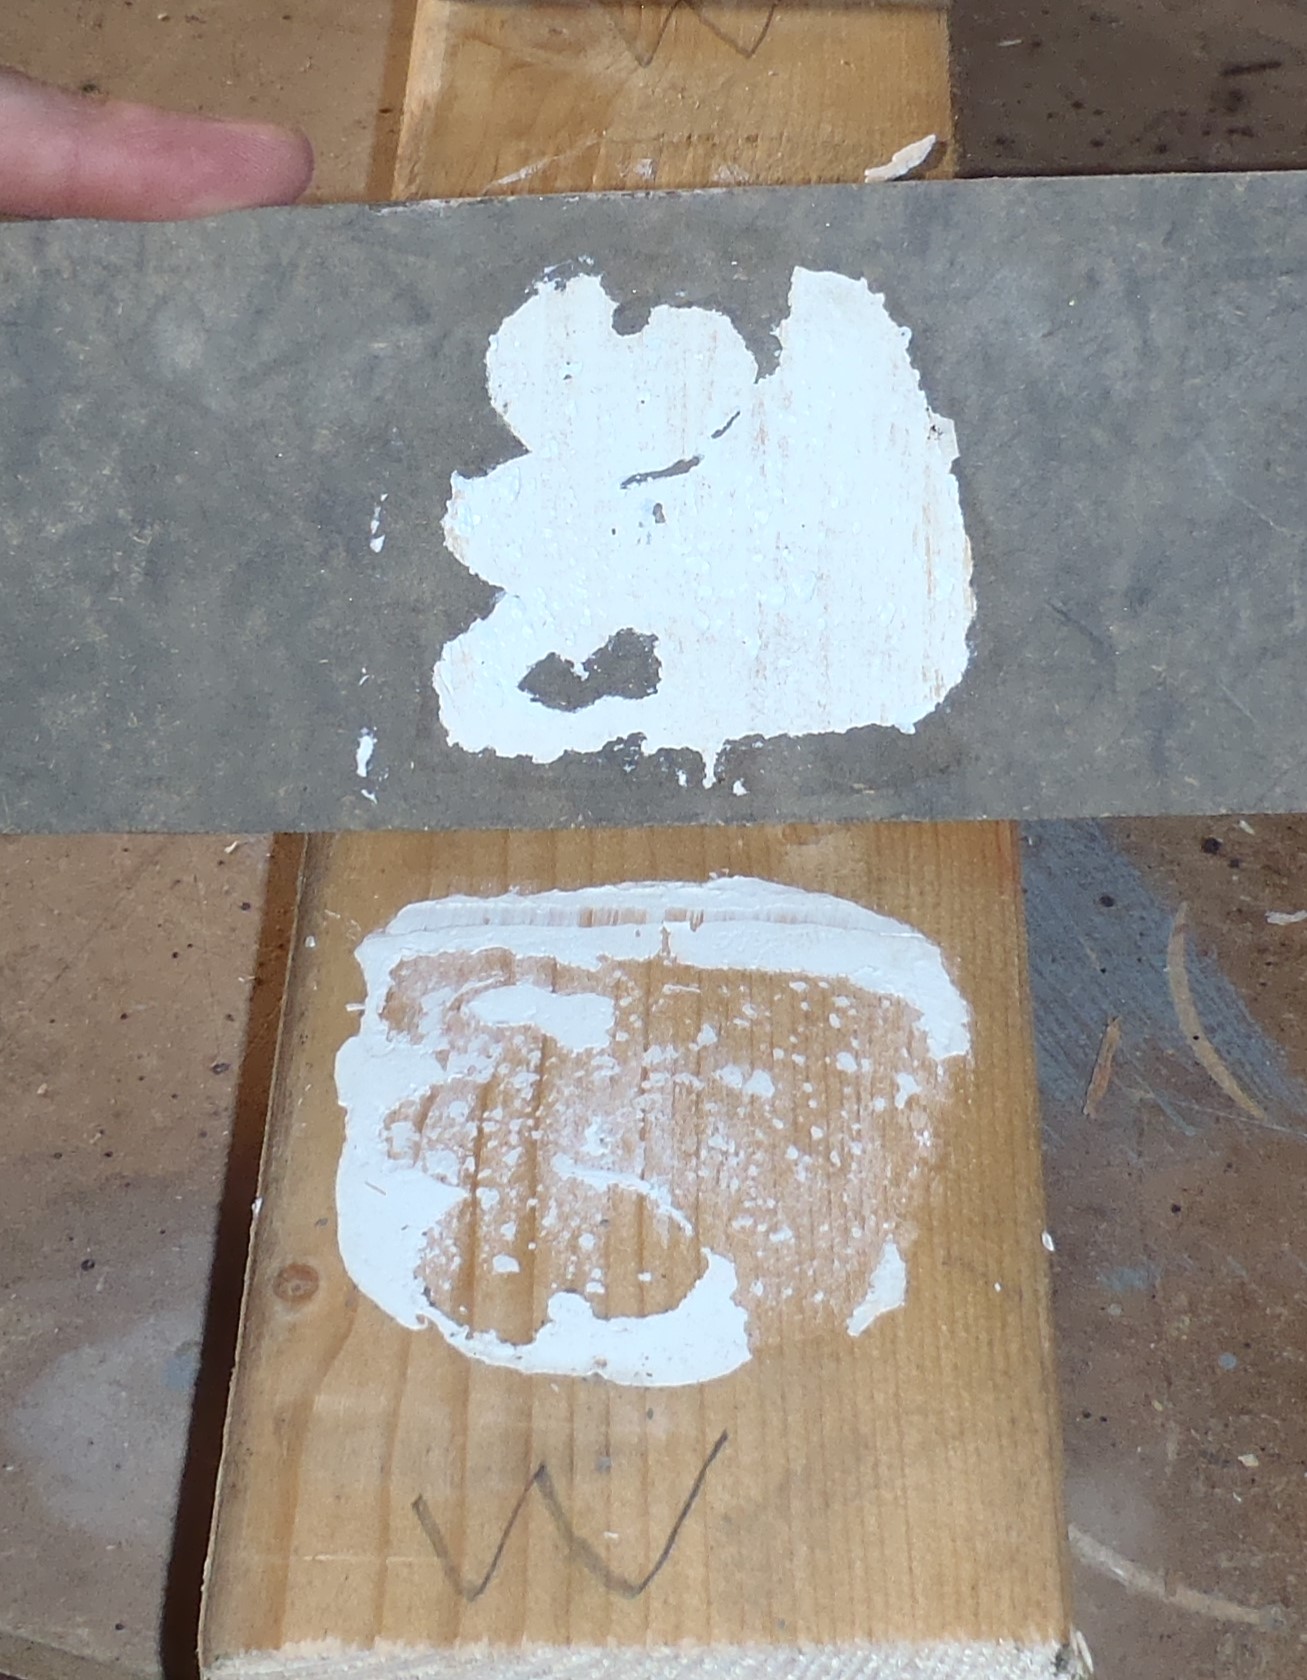
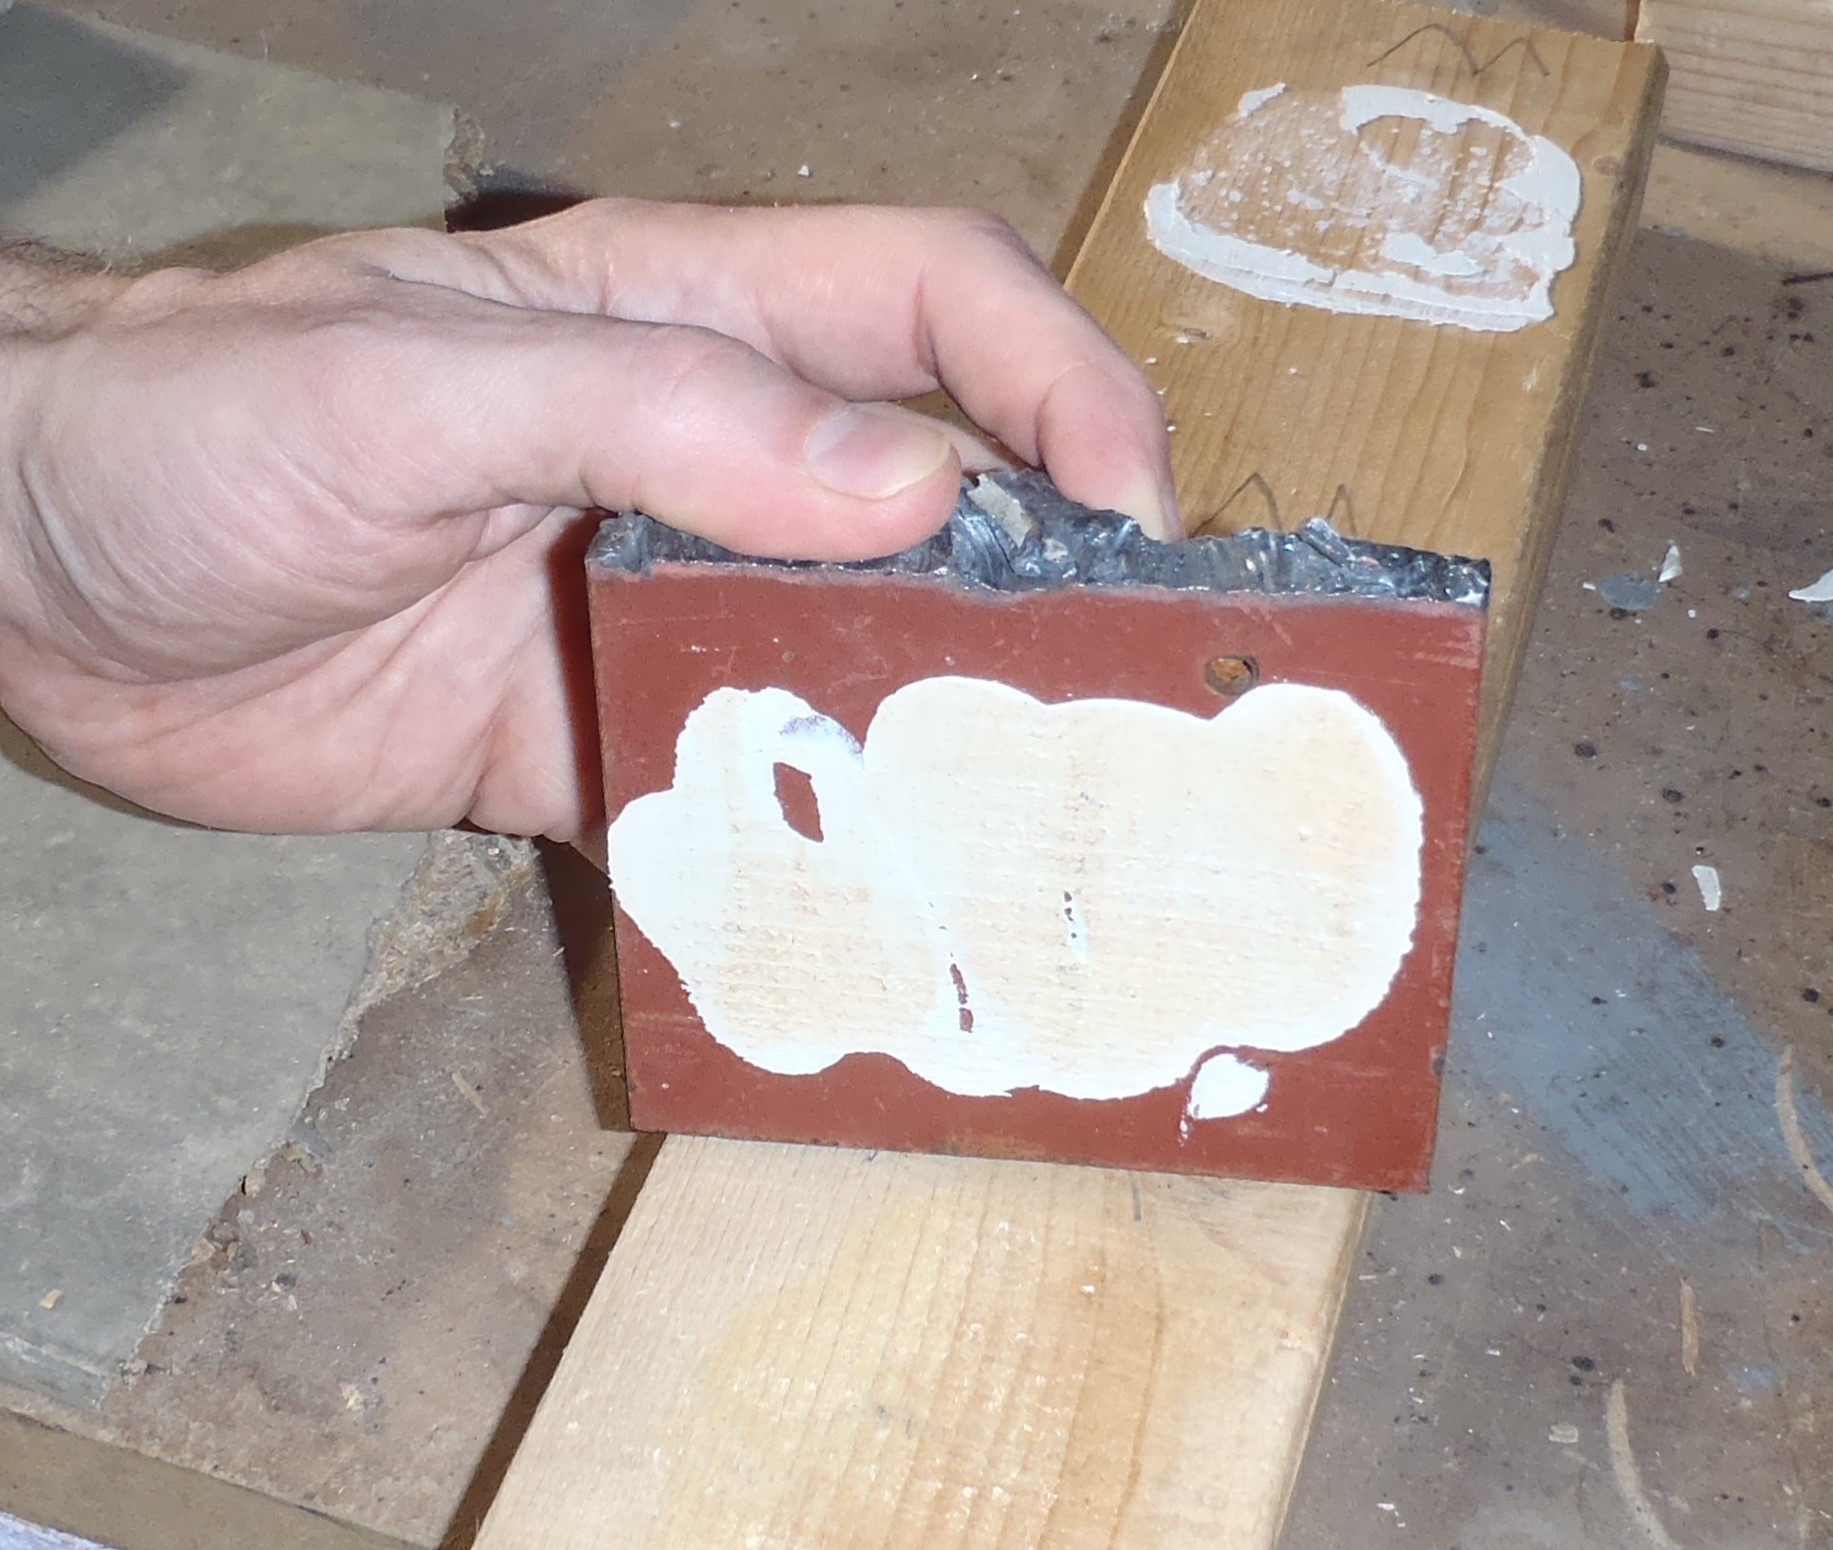
The “Dirty” old piece:
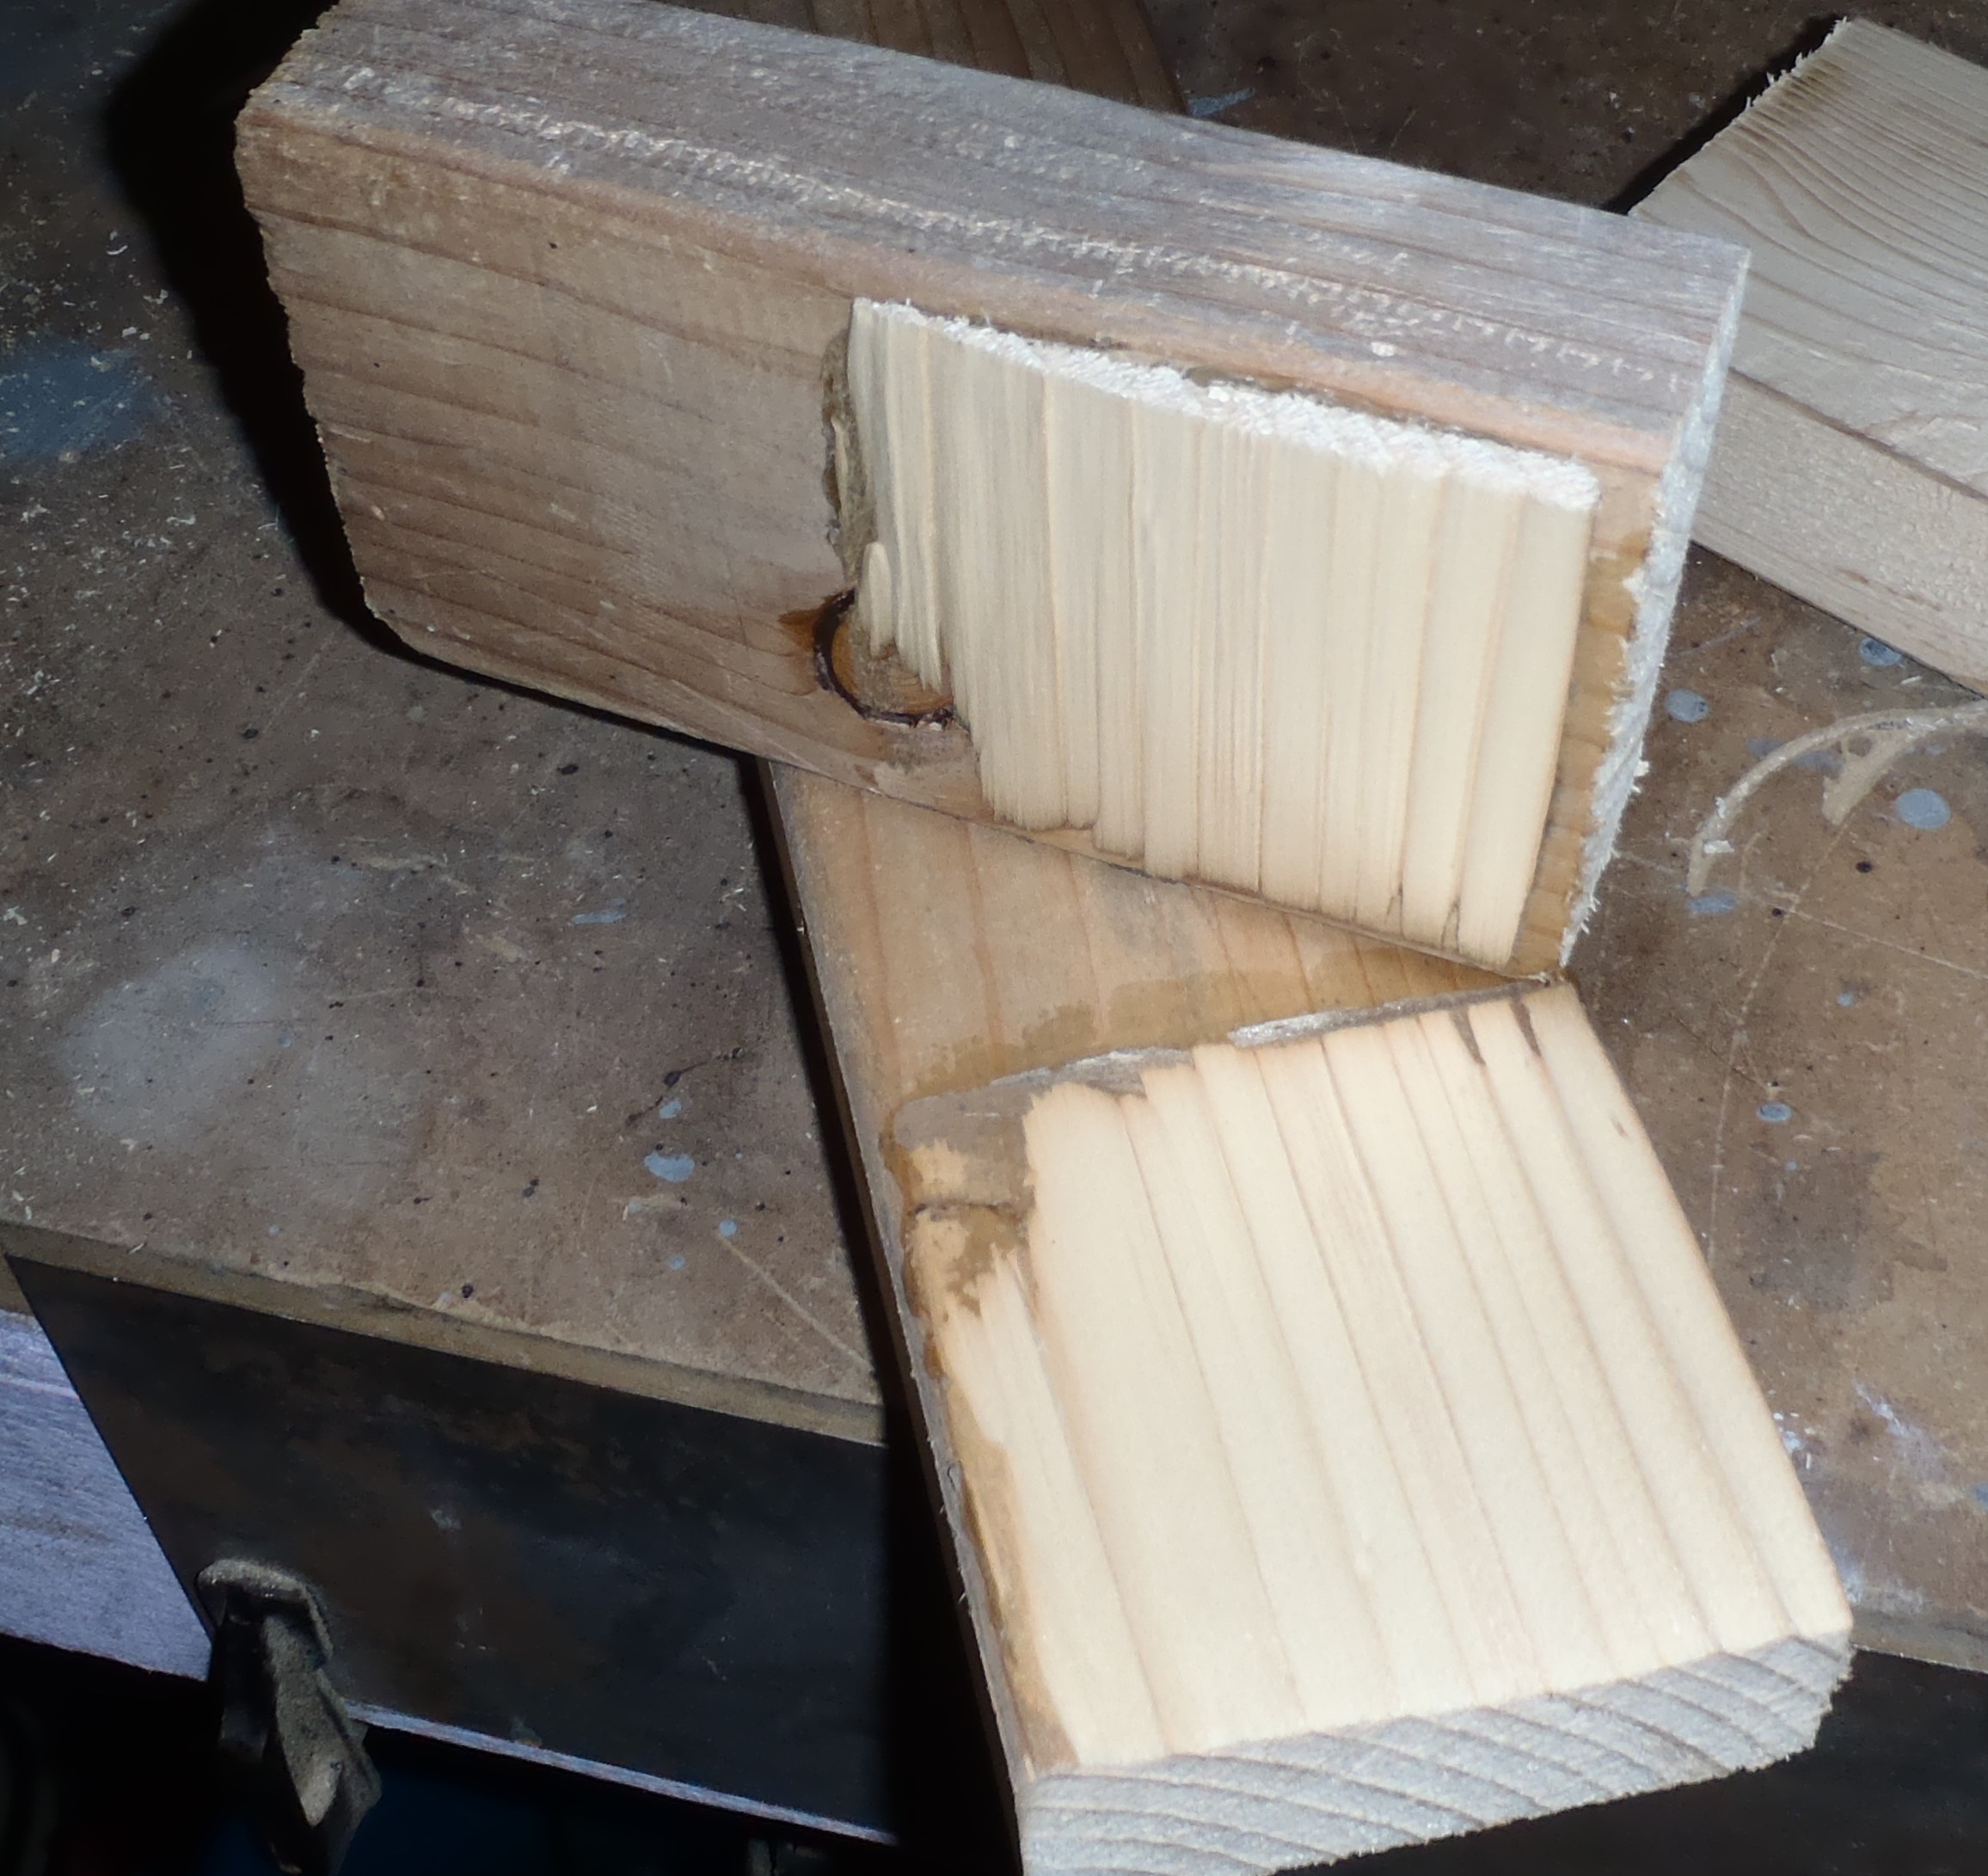
Glue-Test-2-Old-Timber
It was very noticeable to how the wood grain splits across the rings in the timber, pulling a large chunk still stuck to the other piece. Notice how wide the rings were, not so many of them.
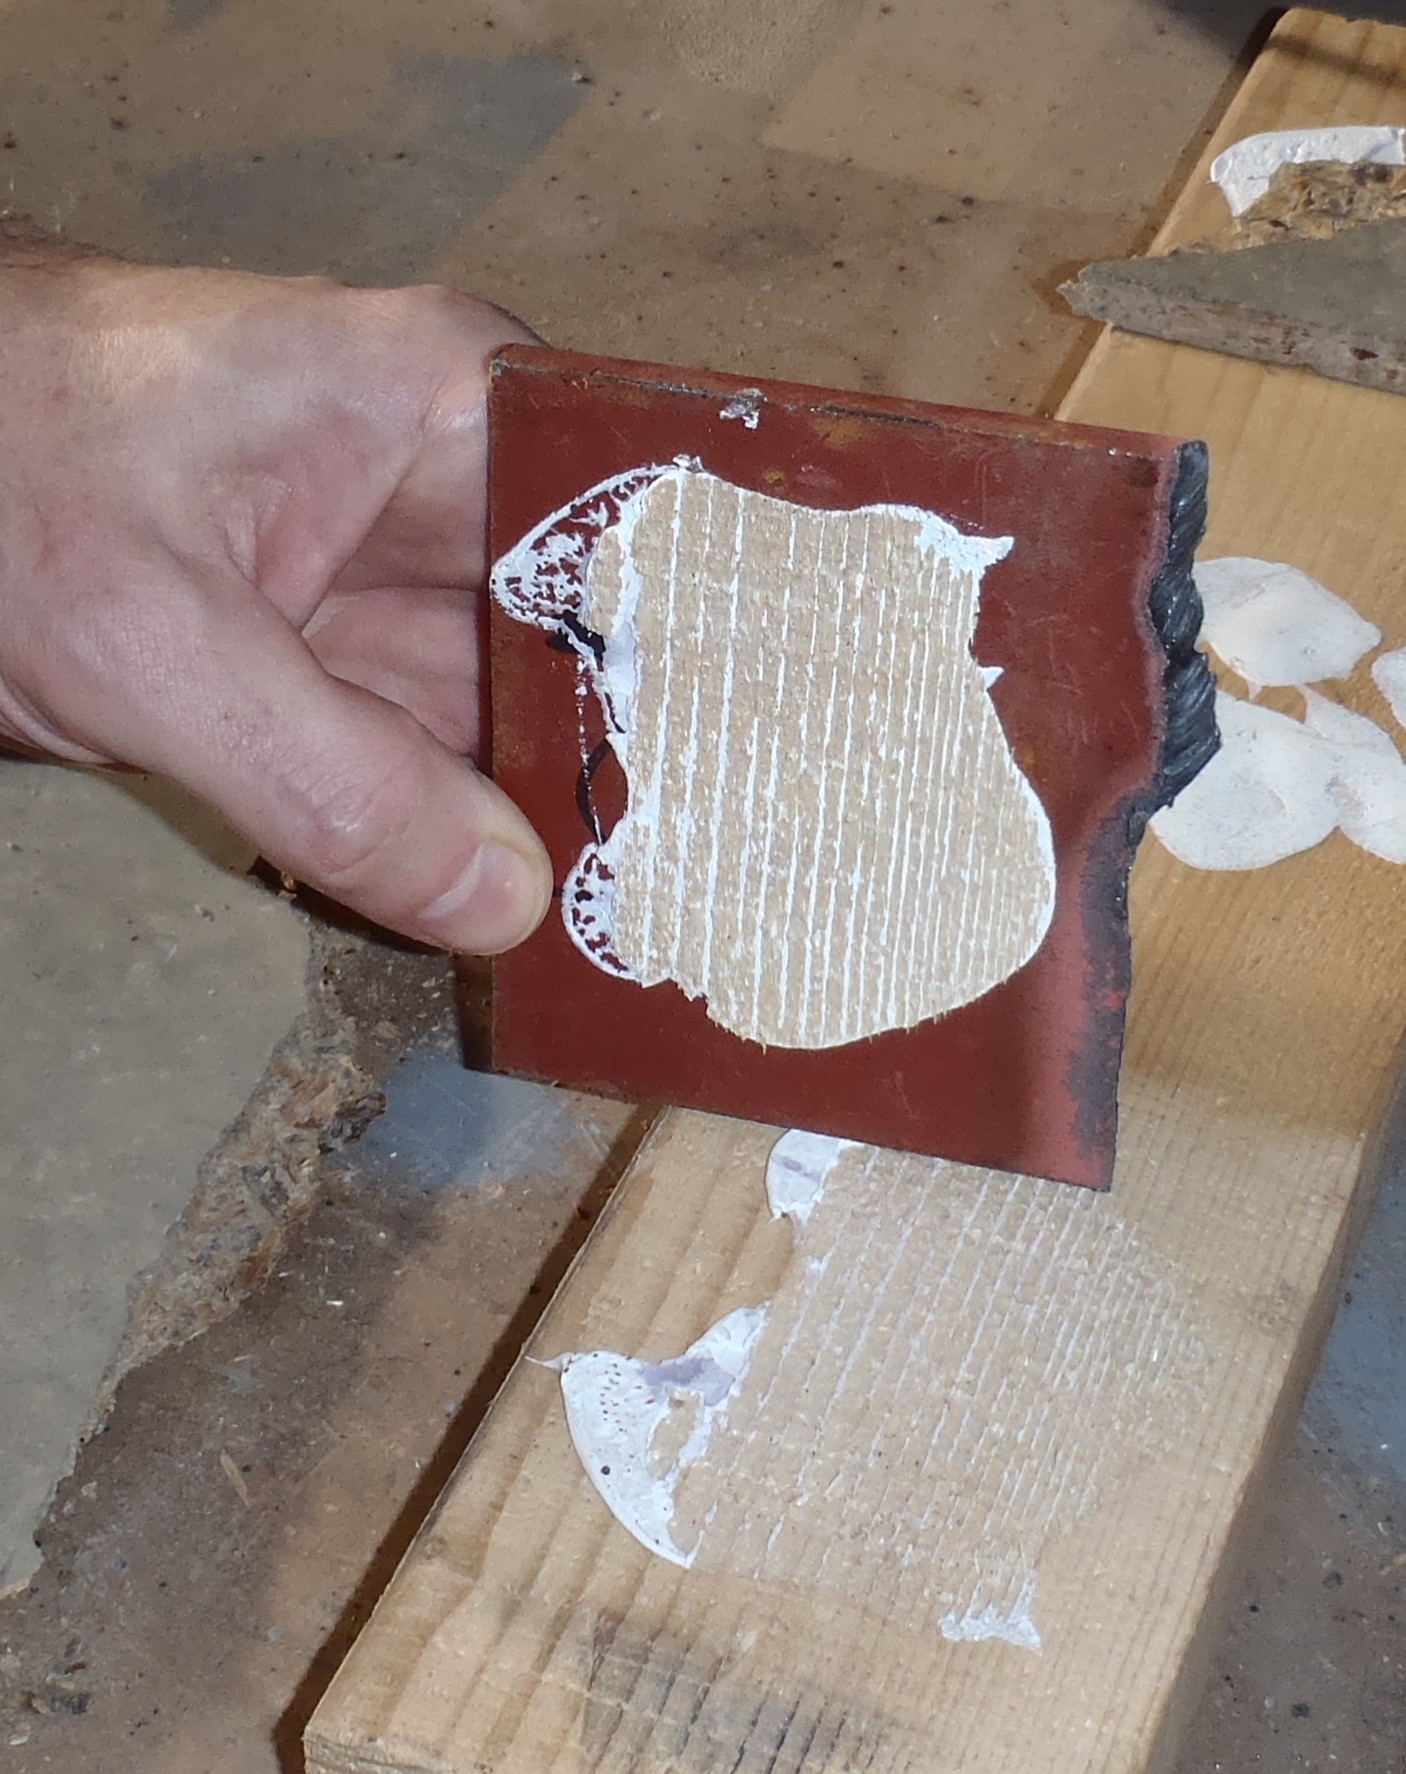
The “Clean” planed piece:
Glue-Test-2-Fresh-planed-
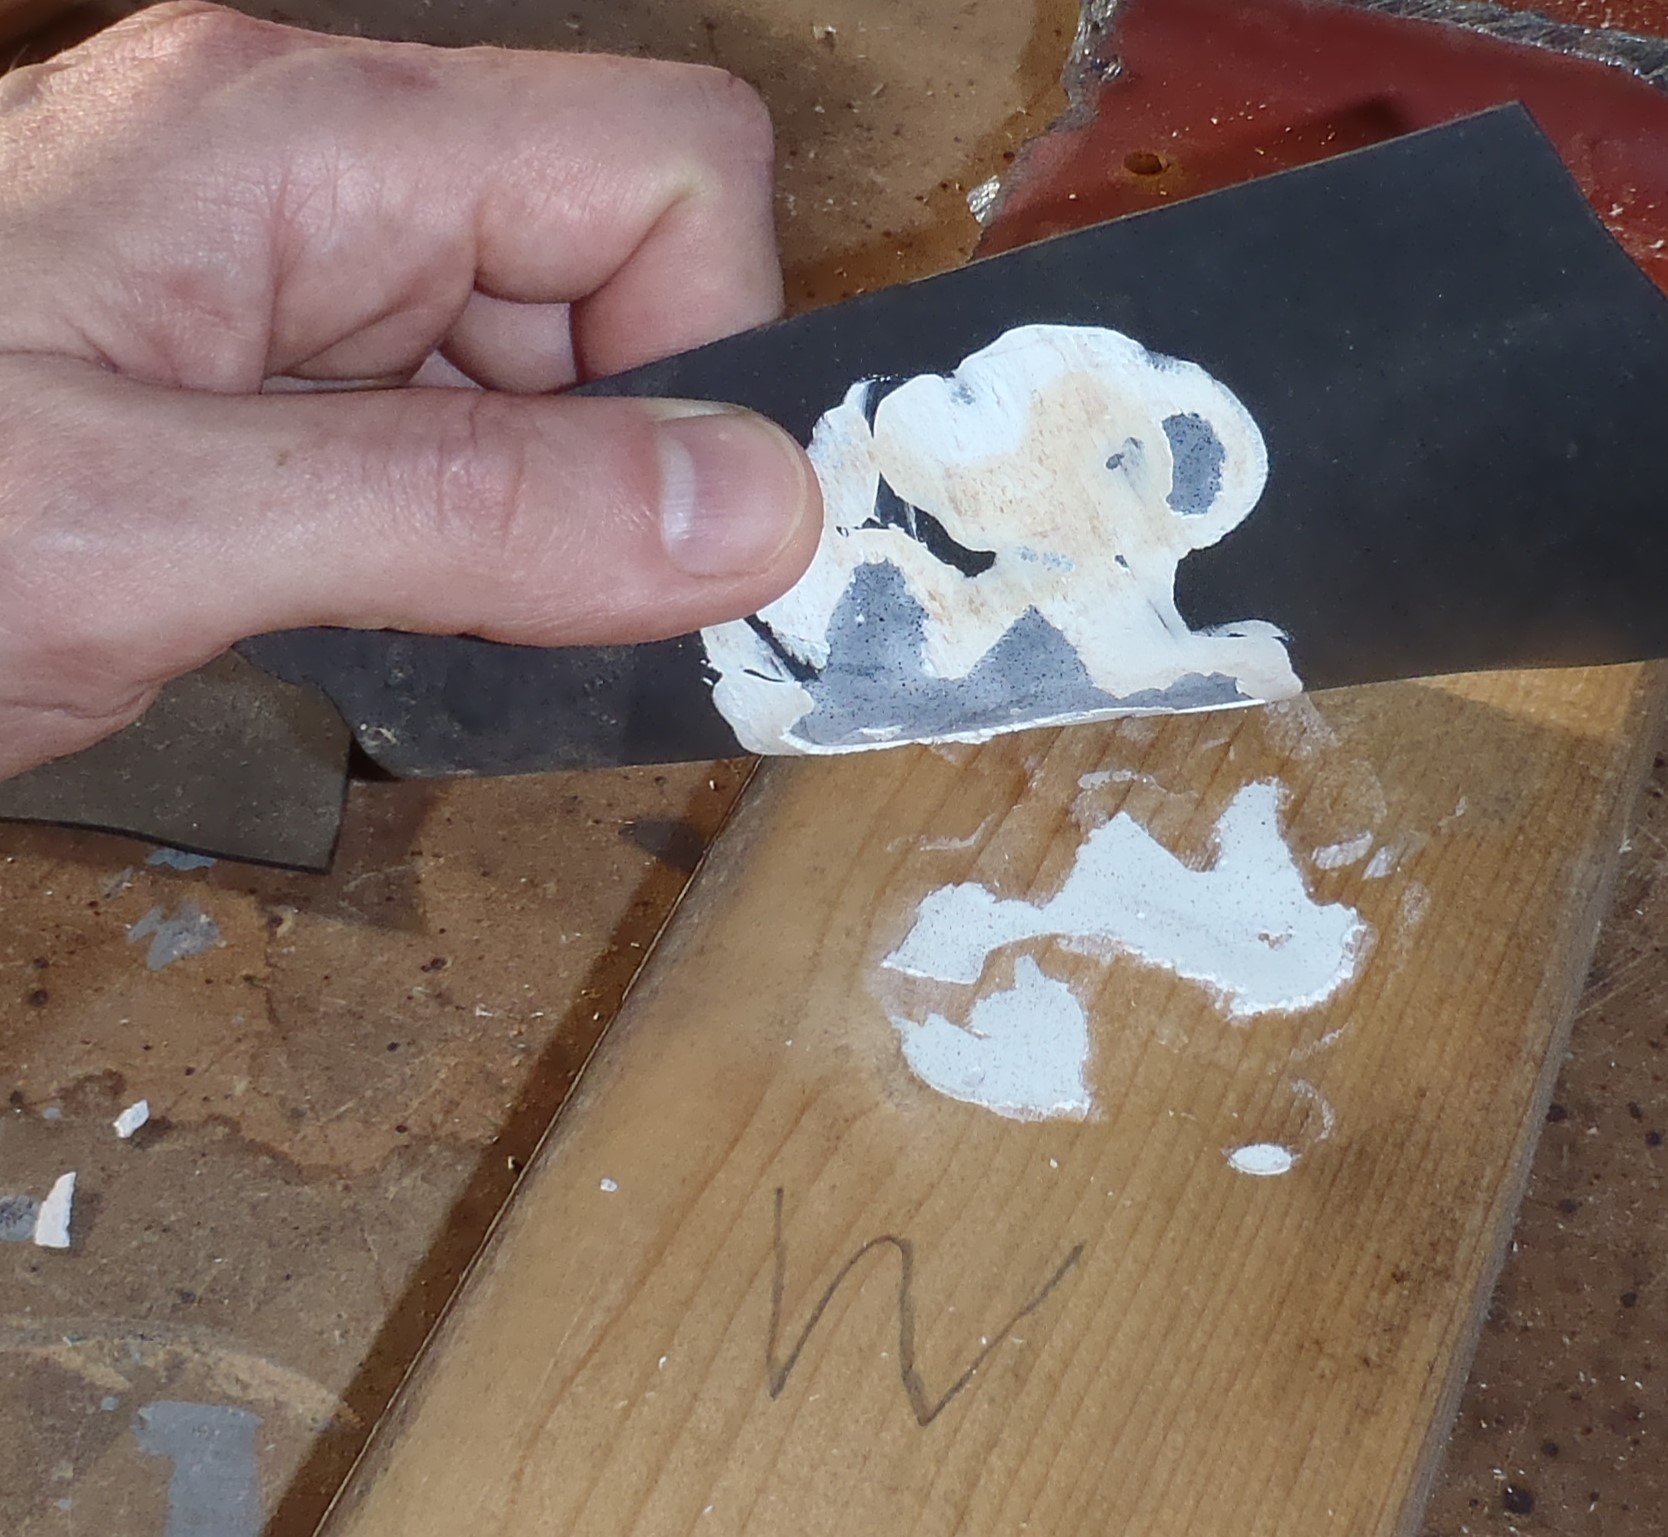
This one was definitely harder to break, and only splitting a thinner layer of wood. Then we noticed the closeness the timber grain lines were and it is much more heavily pack together. This was a much stronger piece of timber!
Conclusions:
The glue was very strong and there was no signs of the glue itself failing. It was also very nice to see the glue working just as well on older grey wood as well as fresh timber.
Another quick piece of testing done!!