A week ago we put up one of the 300W LED floodlights. We made a timber bracket and mounted it above the pole above the camera. The bracket snapped in the high winds a few days ago, bringing it crashing down, luckily the light was not damaged.
The old one was made of 63mm CLS wood but during very strong winds, it split up the middle of the wood, so we decided that we had to replace it with a metal construction instead. Using 25mm square steel tubes, we welded together a new rigid framework.
We then cut and folded thin steel sheet, only 0.6mm thick, into flanges to bolt directly onto the lamp unit so it will block the glare from intruding over into our neighbours. One of these flanges, the largest piece, was polished to a semi-mirror finish to reflect as much of the light downwards and not be lost up into the sky.
We then spray painted all the metal work with black protection, except (of course) the mirror was sprayed with a clear varnish.
Then using 2 ladders, both tightly tied down to support us going up and give us confident to handle the fairly heavy flood light unit, and bolt it into place at the top of the camera pole. The electric was all connected and pinned down neat and tidy, and all works just fine.

Installing-first-floodlight
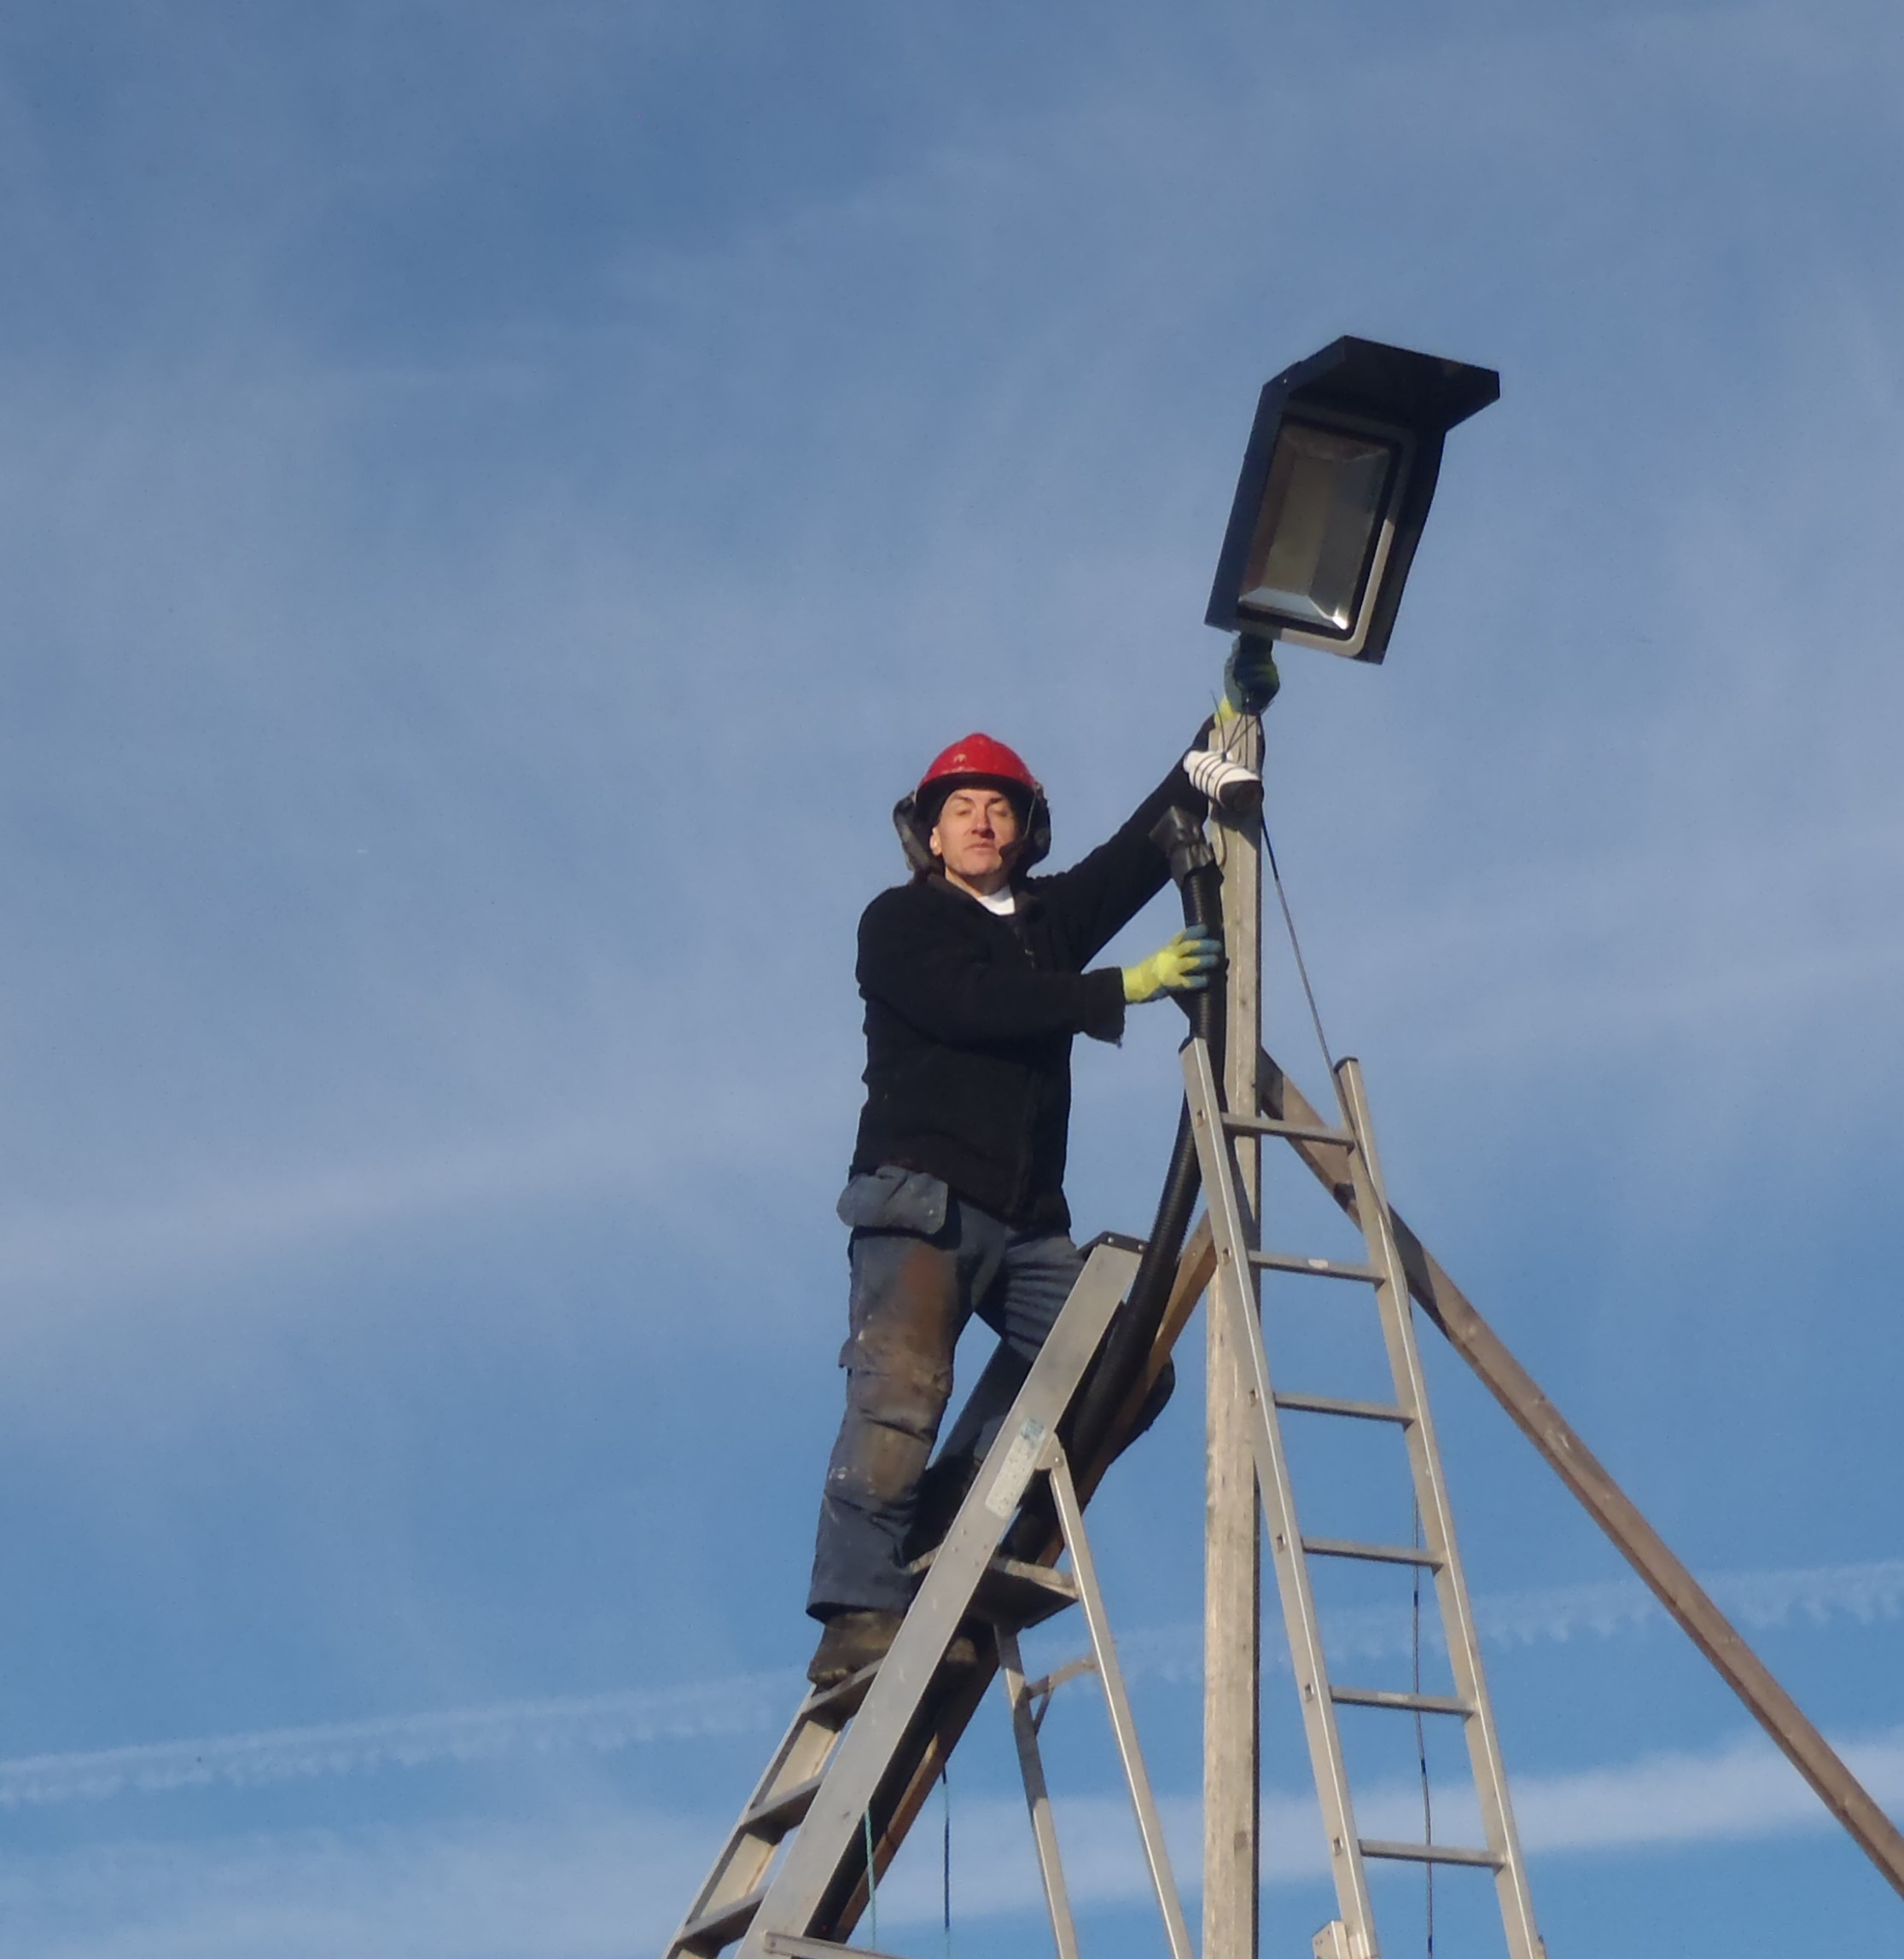
Shaun-helps-install-floodlight
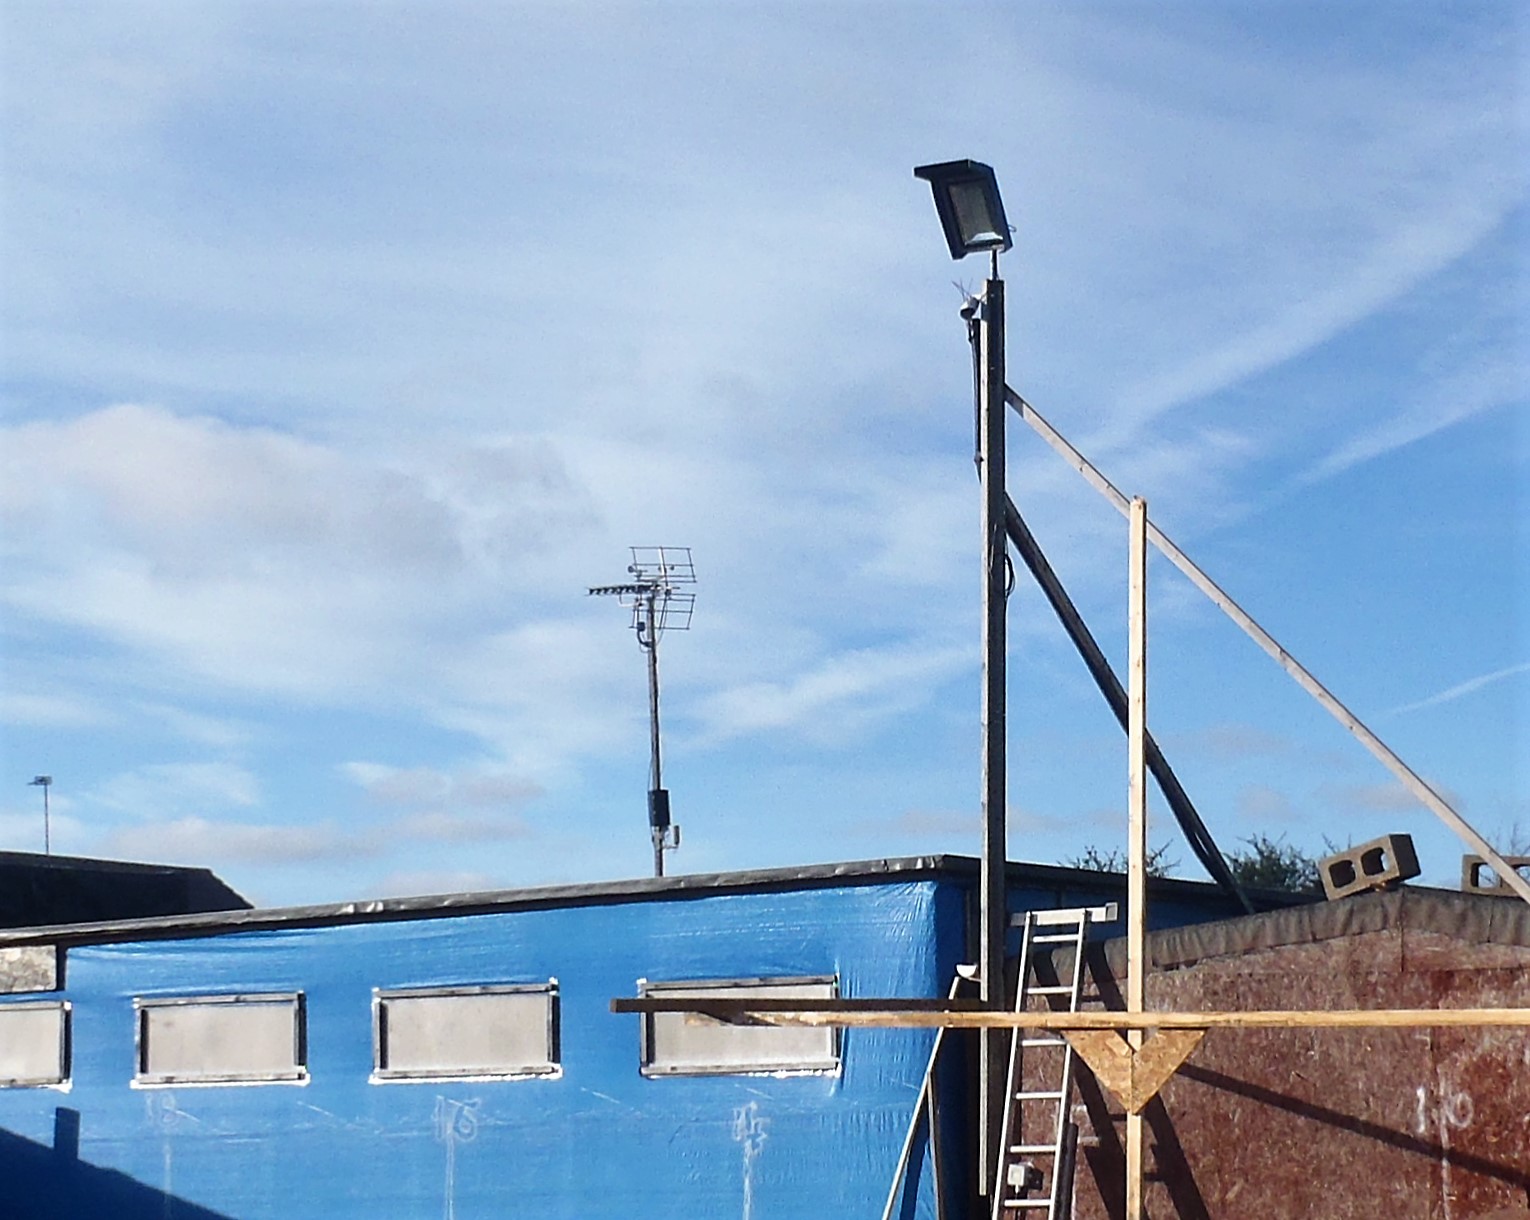
The-first-floodlight
The final test was in the dark later on, with the ground being well illuminated and the neighbours in the shadow and didn’t get an eye sore glare from the powerful 21,000 lumens lamp!!
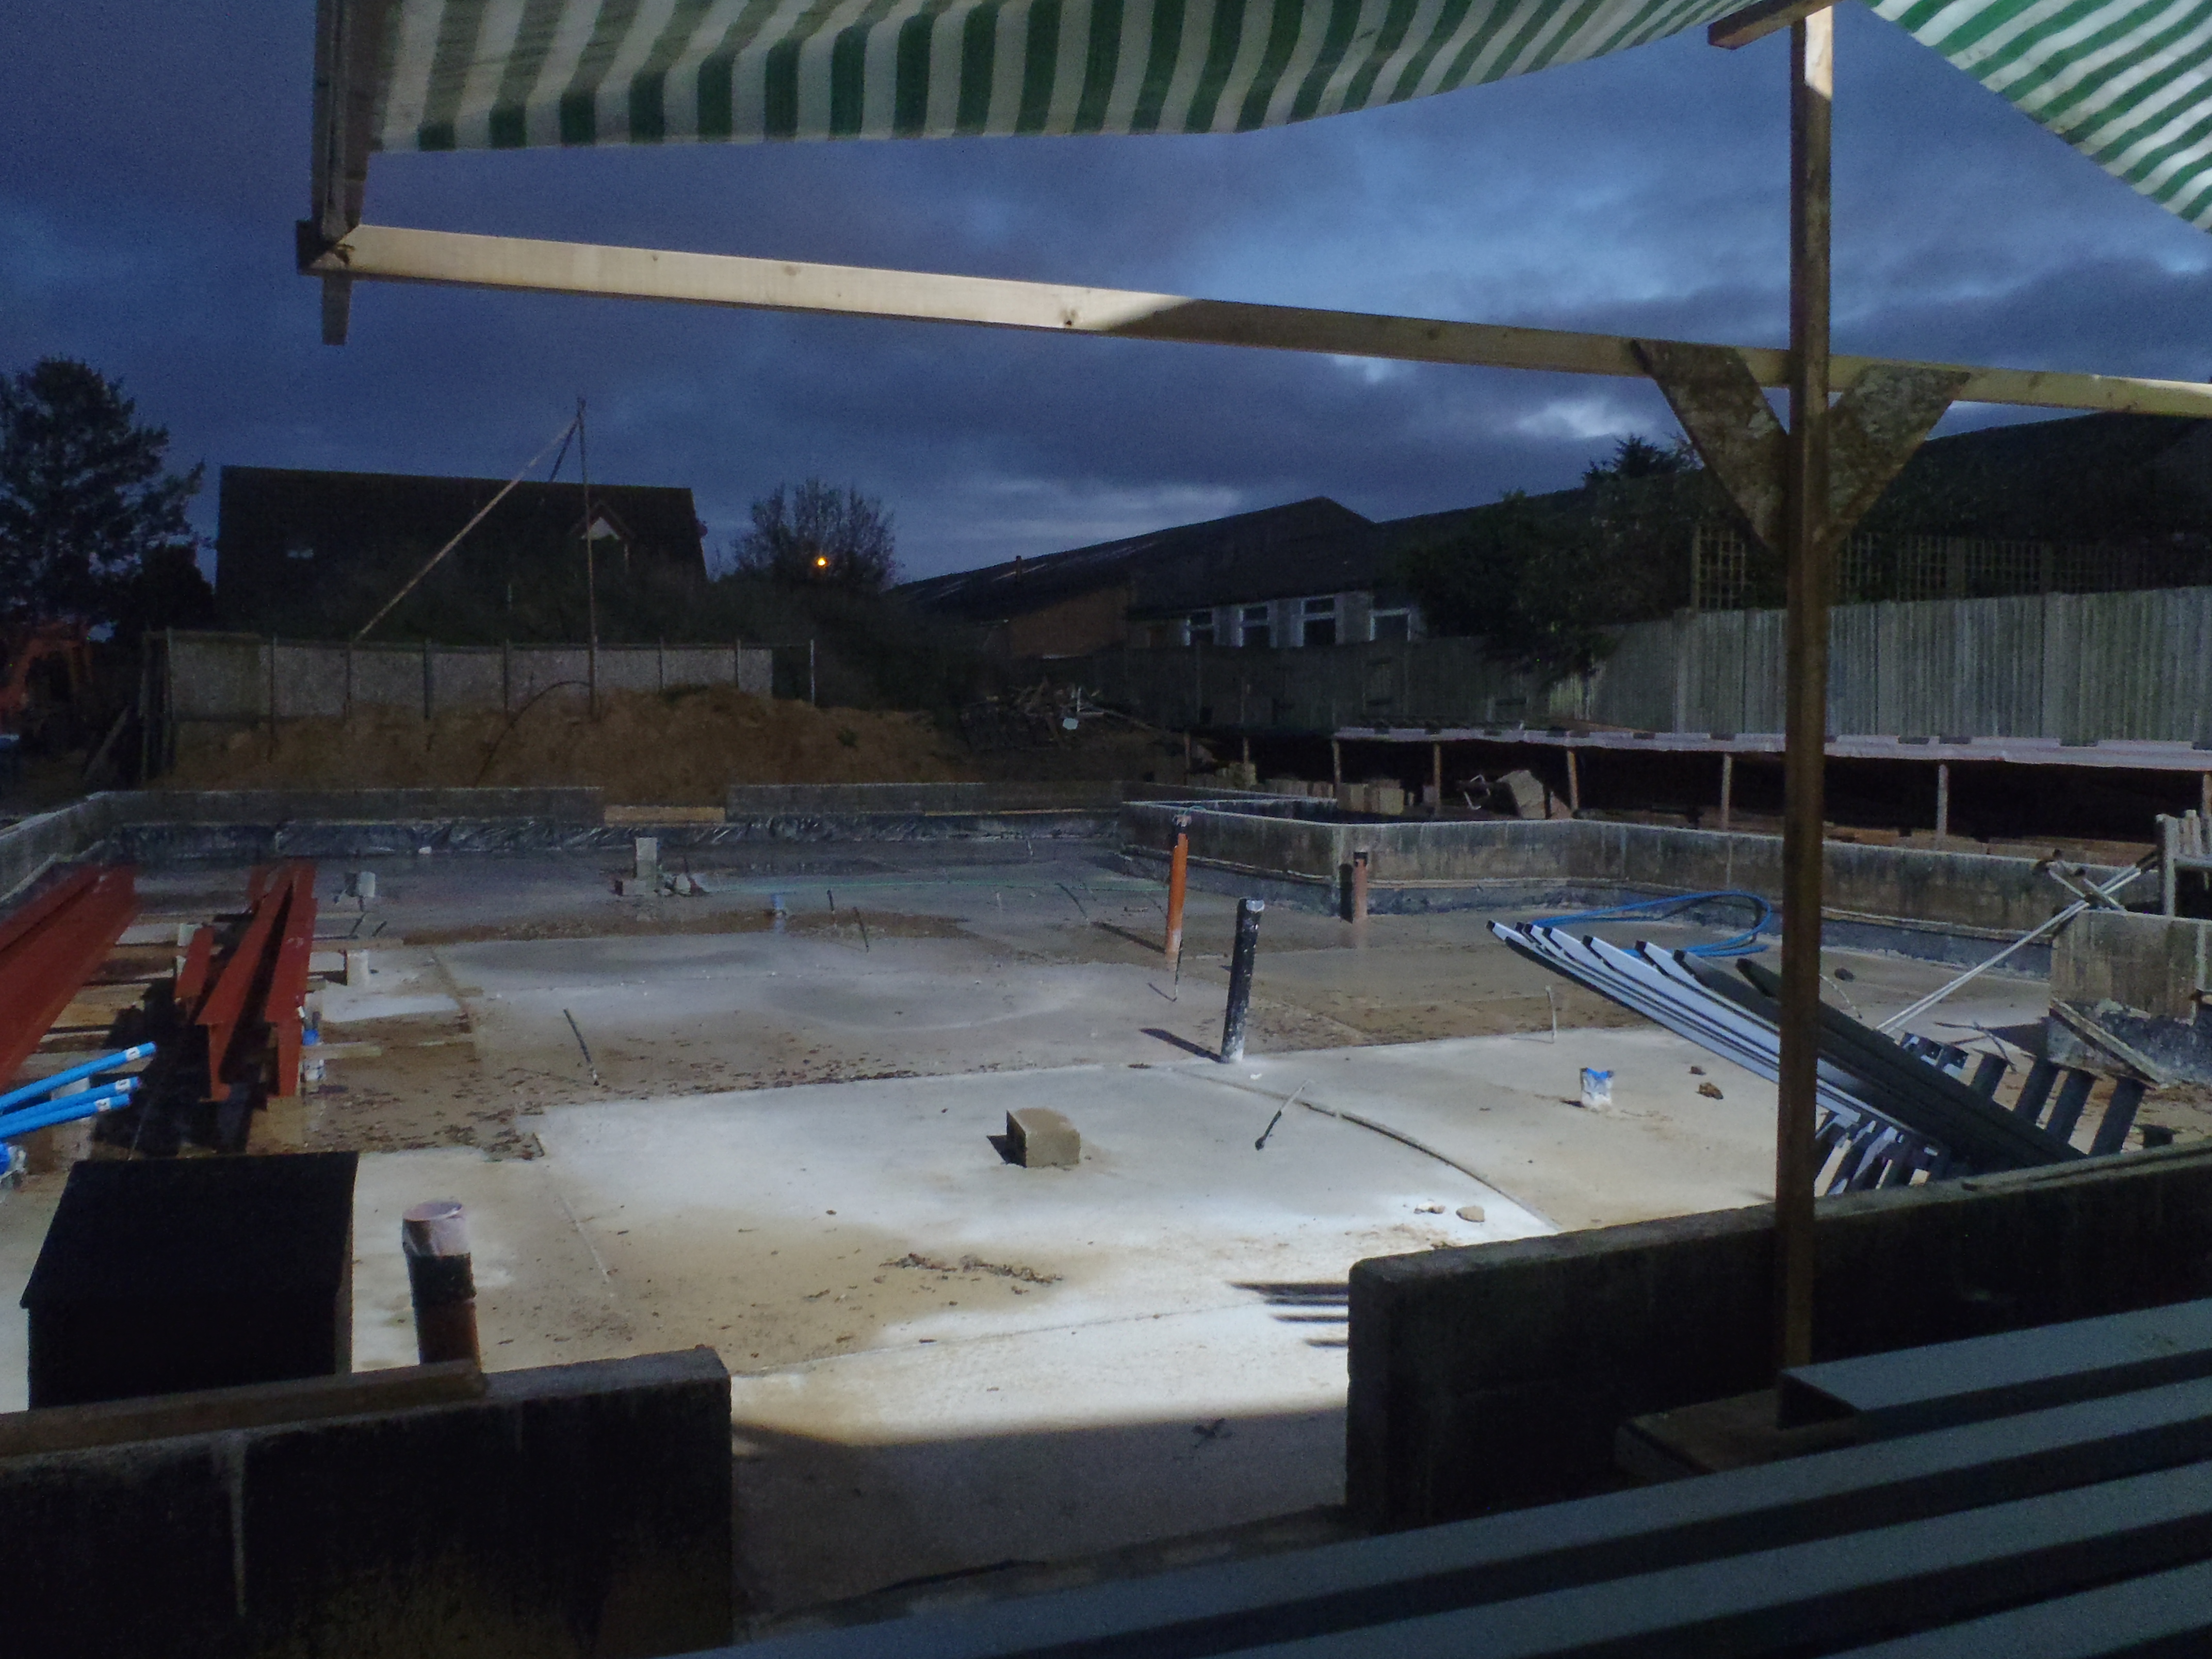
First-floodlight-illuminates-site-1
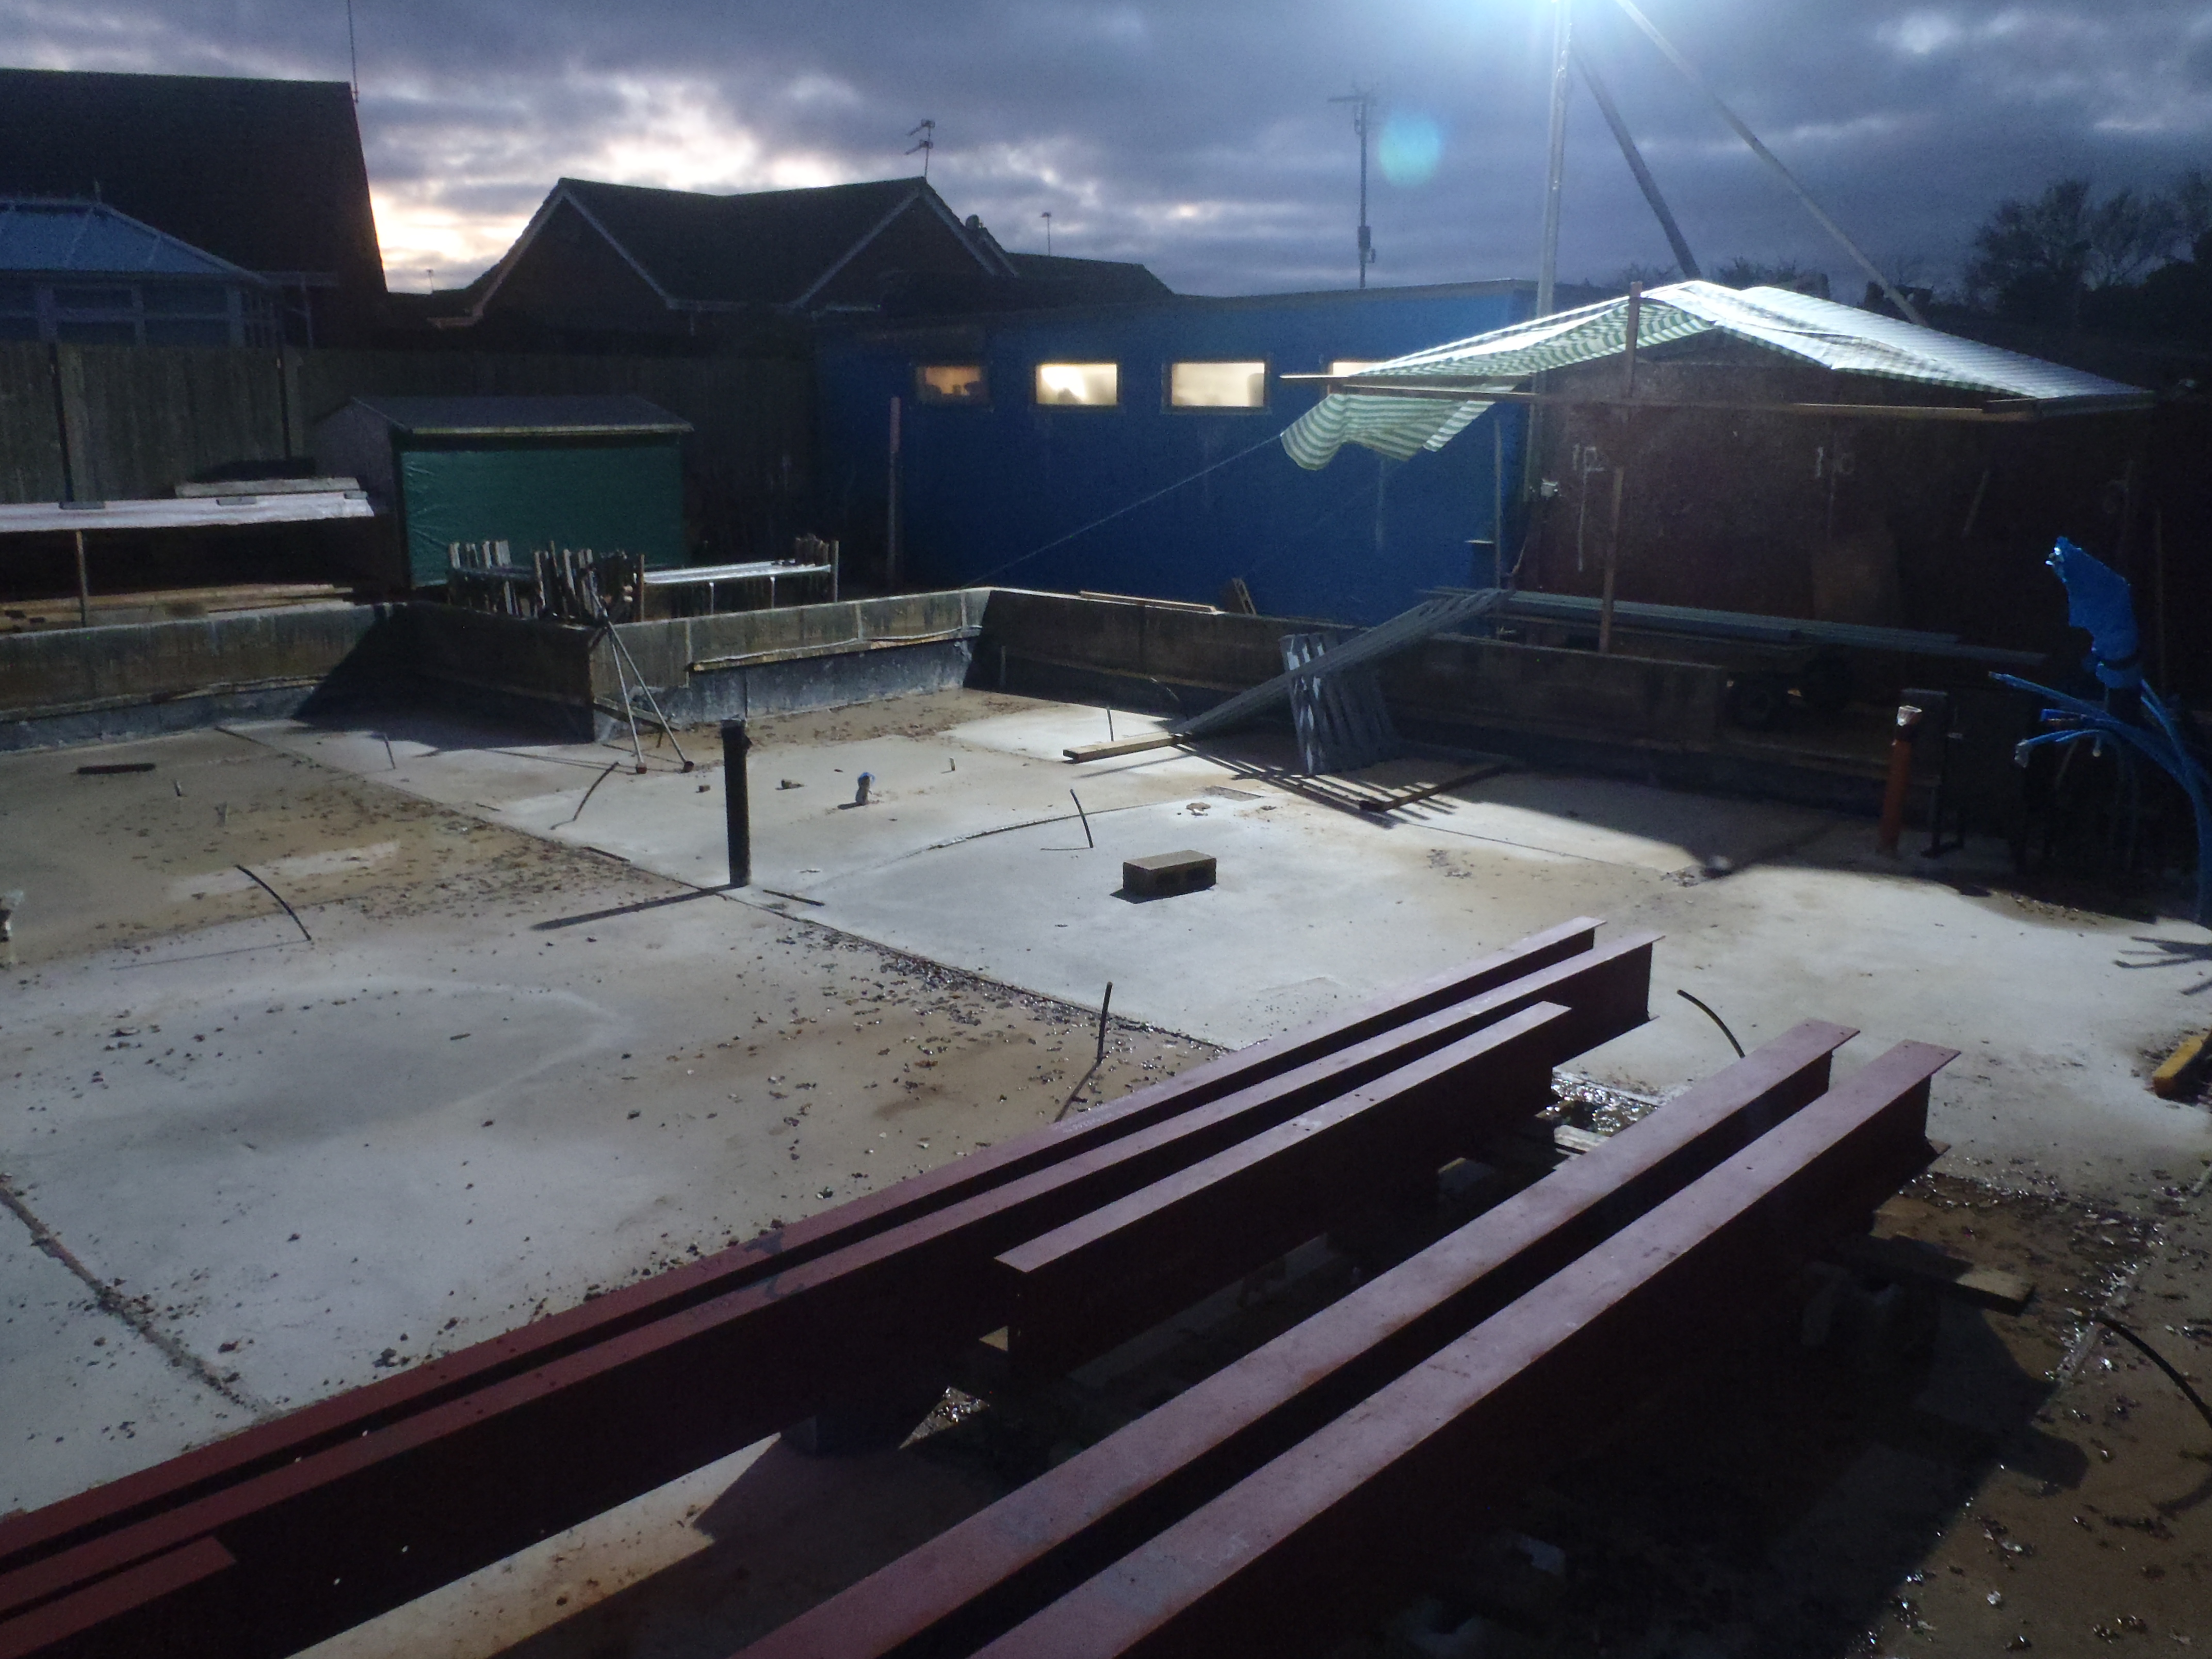
First-floodlight-illuminates-site-2
Leave a Reply
You must be logged in to post a comment.