Yesterday and today, we got down to the task of preparing our Skylight framework and all its individual pieces, to get them ready to be installed up on the top of the roof. The first job was to clean the bottom surface of all the items, to remove all the dribbles etc. and produce a clean surface, ready for gluing.
Then, we drilled out the fixing holes in all the rafters (all 33 of them) and countersunk them too so that the head of the screws will disappear down below the surface and be covered up with PU sealant. More holes were drilled in all our outer Rim pieces, so we now got three fixing points in every “window” section around the whole skylight (there are 33 “windows” in total) so this means a total of 99 screws to secure our framework to the Kerb.
The last job on these framework pieces was to cut a 3mm wide slot down the middle of the Rim items, this to allow the rubber gasket to be secured and held into place.
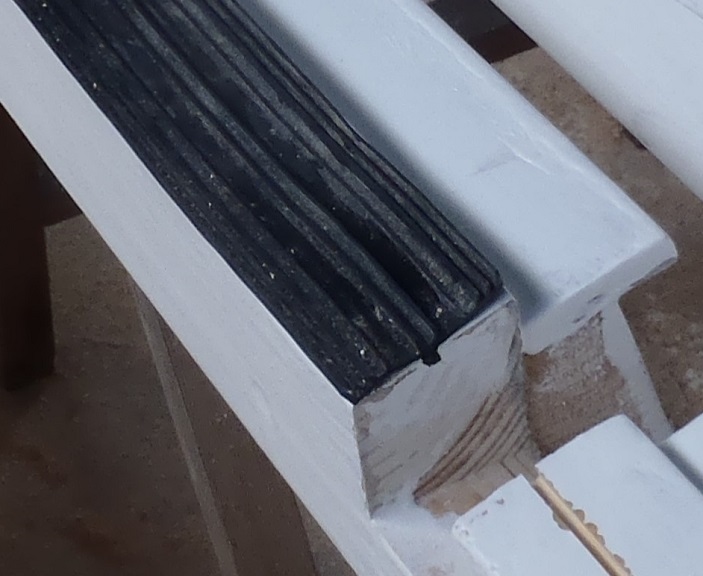
Slot-for-perimiter-gasket

All-framing-drilled-and-slotted
Finally, the Kerb needed to be “cleaned” to remove the 18months of weathering. We used our power planer and went around the whole 36metres length of the Kerb, trimming any plywood or OSB edging that turned out to be a little high and also levelled off any steps at transitions points between lengths of timber in the construction of the Kerb.
On Monday, we will use our latest tool, a power file (a narrow belt sander – 13mm wide) to clean an remove the last of the dribbles of the white polyester resin from all the wide slots in the Rim edging pieces (where the rafters will go). Then get the scaffolding towers sorted out and then we can really truly get the whole framework installed! Hurray!