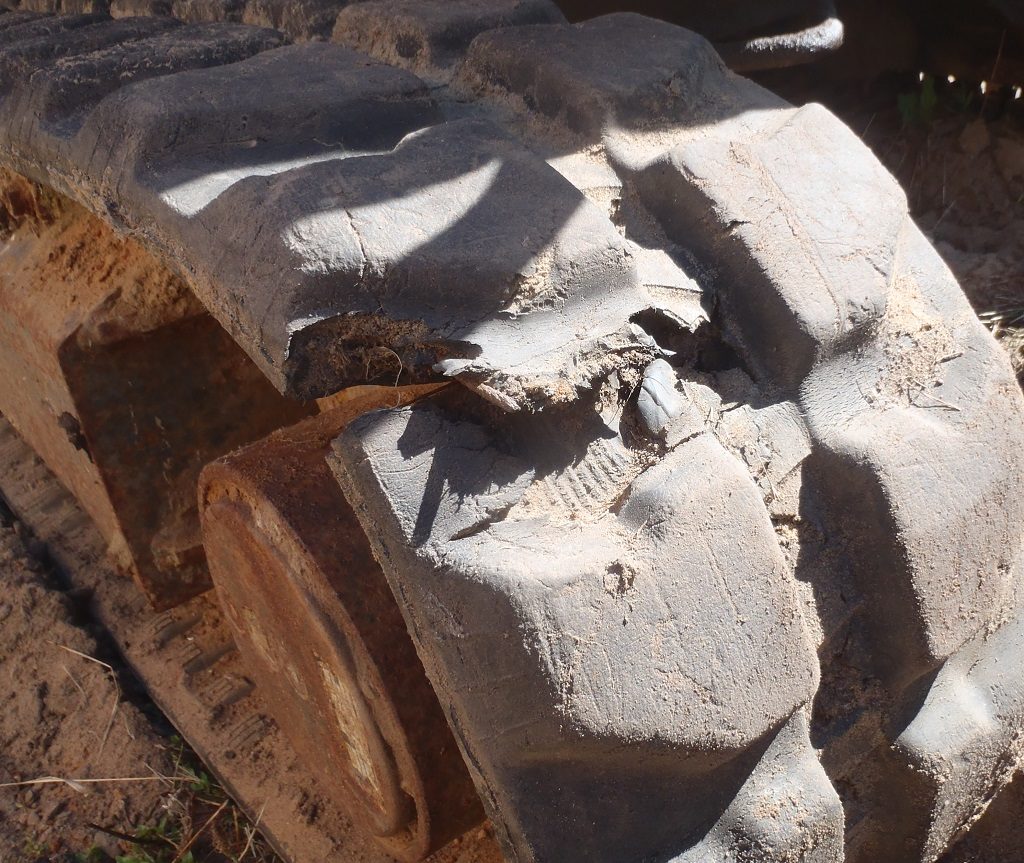
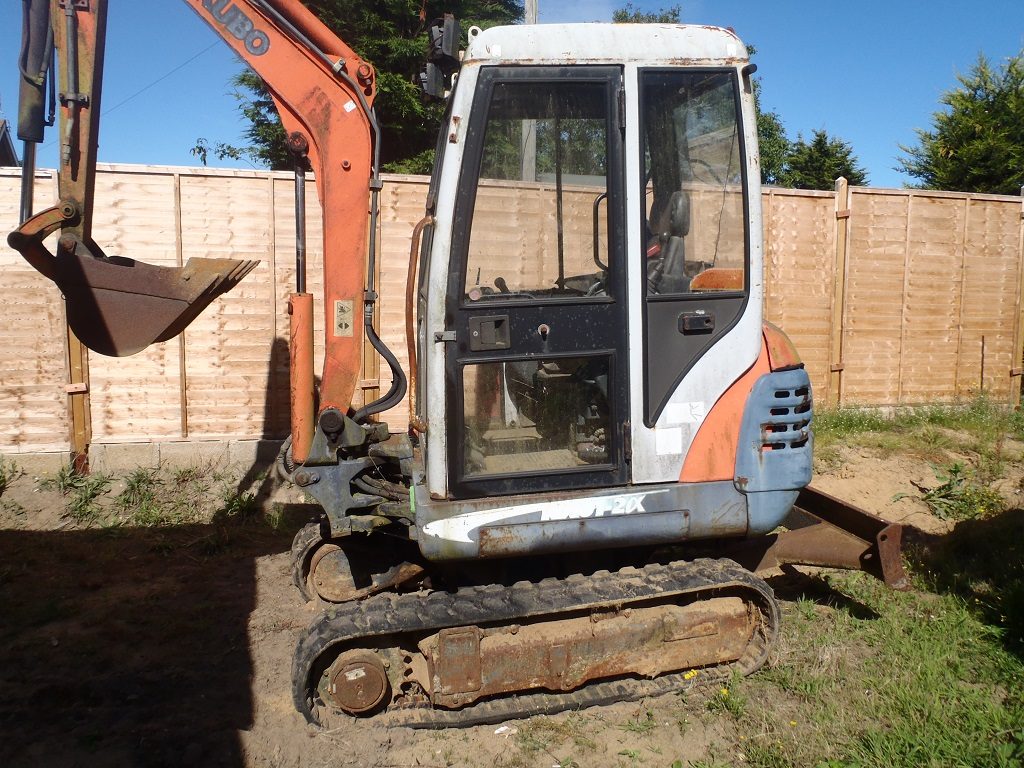
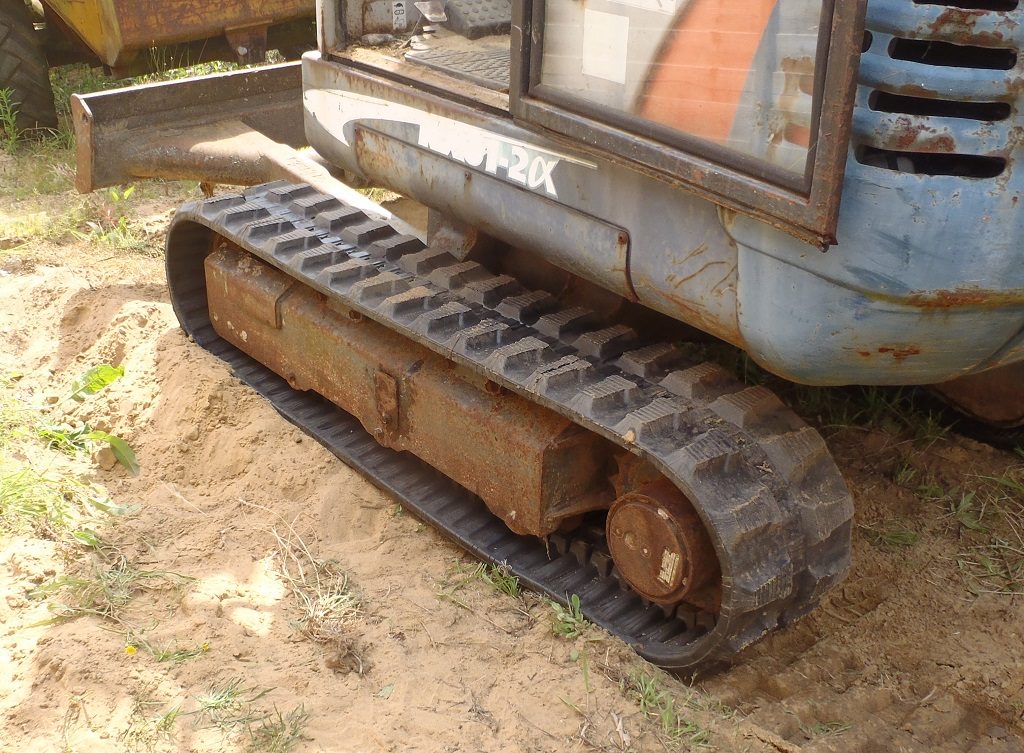
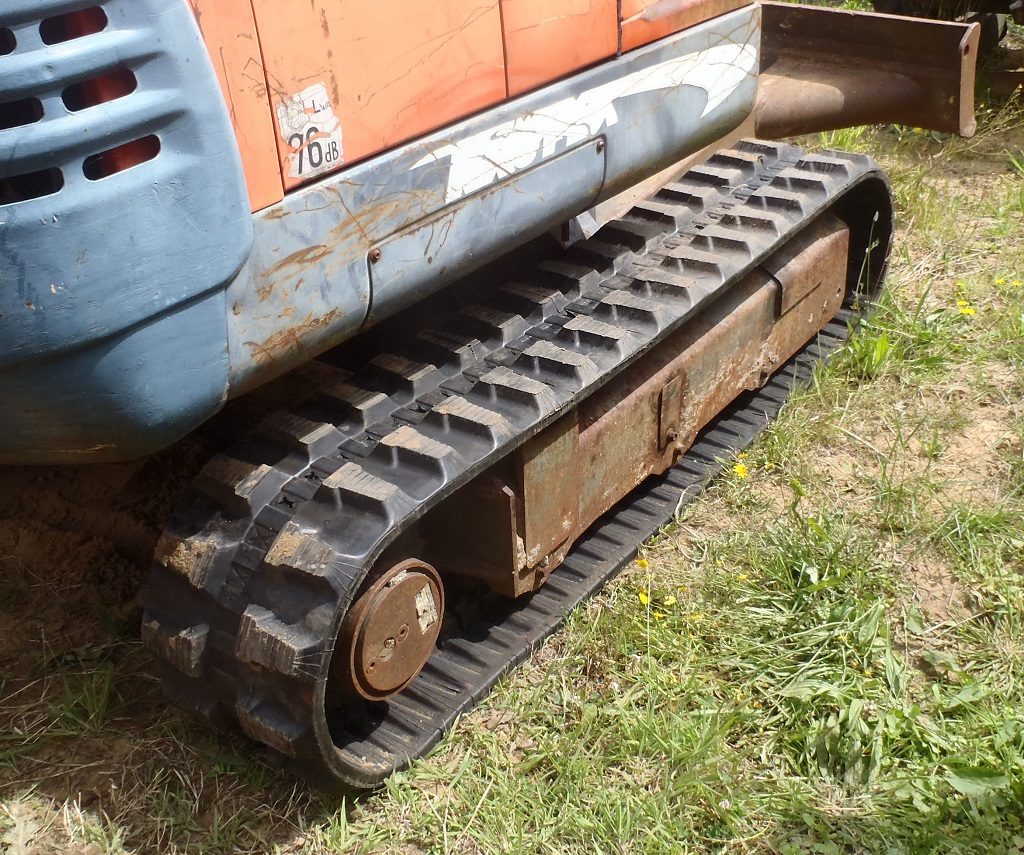
We discovered a couple of days ago, at the weekend, that one of the caterpillar tracks had split and ripped half way across. We can see rusty steel wires sticking out of the rubber material.
The mini digger has been idle for several years and we think the whole machine has been slowly sinking into the sandy dirty soil every time we had heavy rain showers. This probably meant that the tracks had been “under water” for longer periods of time and there must have been a initial split in the rubber material to allow the water access to the tensile steel wires that runs around the circumference of the track and converted the high carbon steel into iron oxide!
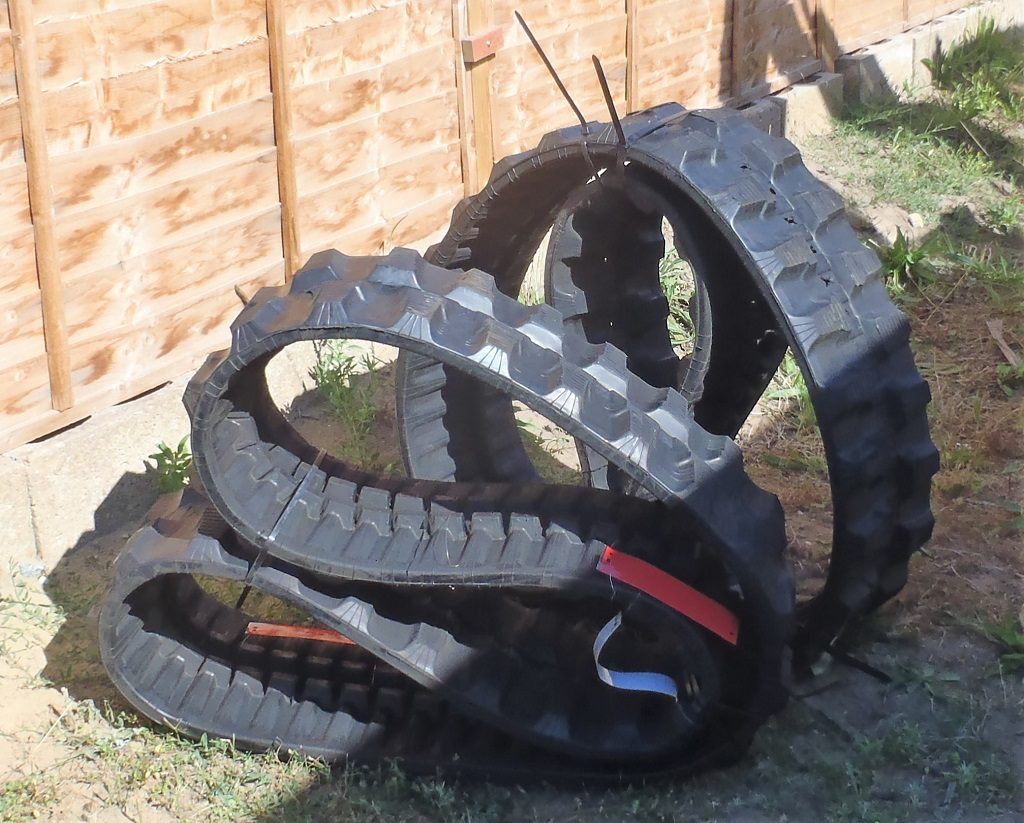
So we ordered a pair of new rubber belts online and they came yesterday (Tuesday), amazing considering that we only placed the order at the beginning of the week!! Wow!
All very clean, very black and smelling of strong rubber.
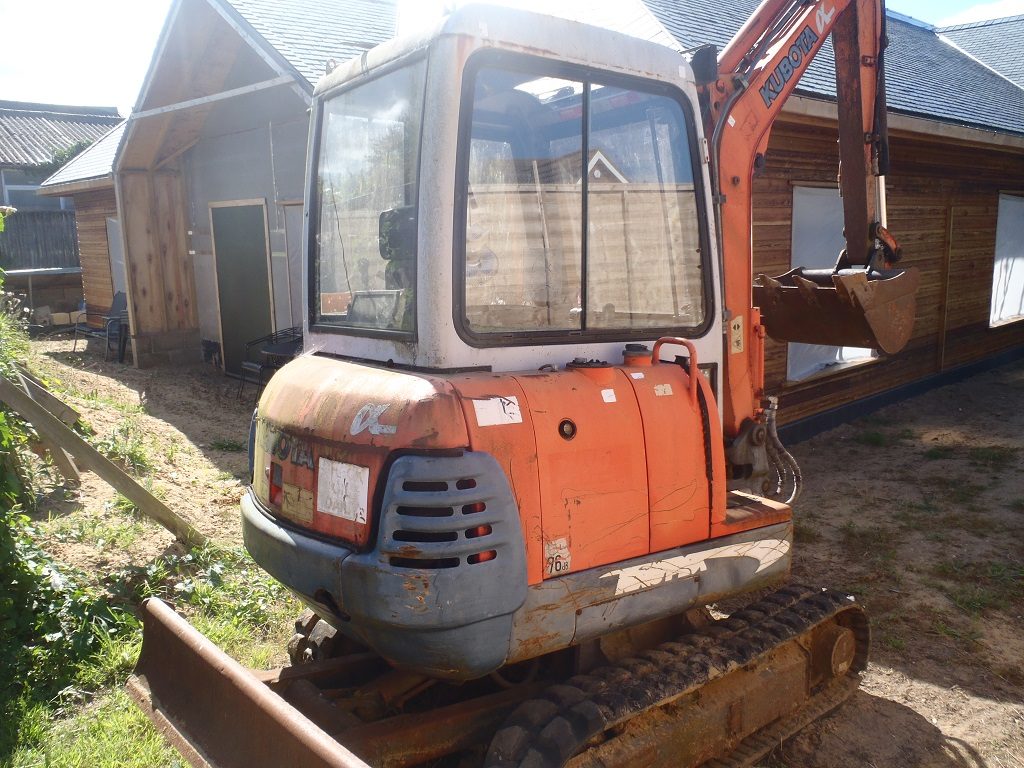
After we had completed putting up the Larch cladding on the “I” section of the house, in the late afternoon of Tuesday, we came over with our pressure washer and jet blasted all the lower portion of the digger to remove as much as possible the sand and dirt in and around the caterpillar tracks and cog wheels. We also gave the cabin a quick blast to see if the dirt and green algae would come off and it does seem so. We were wondering whether to give it a fresh coat of paint!
So on Wednesday, the big day, of taking off the old tracks and sliding on the new ones! These belts are very very heavy! There are 76 rubber coated heavy steel metal bars (one inch diameter with heavy flanges sticking up to ensure positive engagement with the drive cog wheel), spaced apart by 52.5mm, the track being 300mm wide and the tread depth of 20mm deep. We estimated that the weight of one of these track is about 100kg each!!
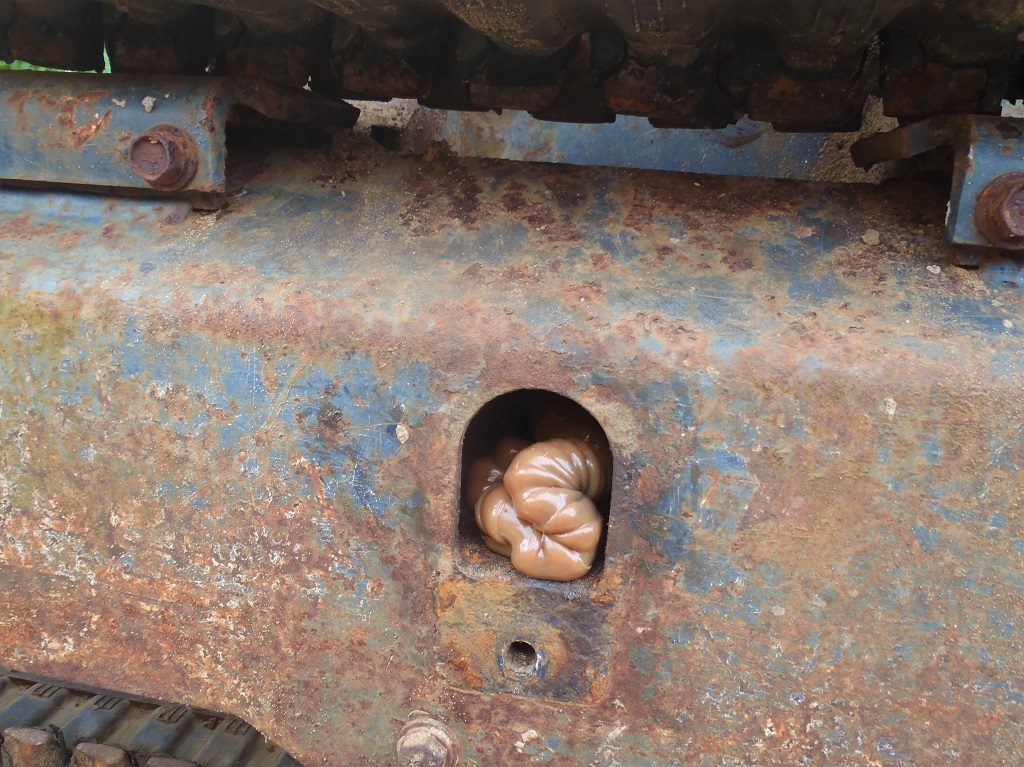
The first job was to push the whole digger over to lift one track entirely off the ground and then open up the cover to access the static hydraulic ram that lies inside the structure that holds the caterpillar track. There is one screwed in plug that has a grease nipple point in the middle. We undid the plug to allow the grease to escape when we thump the end of the track in. we used a sledge hammer to knock the ram backwards, this in turn ejects a small blob of grease.
The distance between the two internal “cog” wheels at each end, is shortened by about 25mm and that is enough for the rubber track to slip off (with a bit of an assistance by lowering the digger down to flatten the track and extend its length), to disengage off the front wheel (the non-drive non-sprocket wheel) and we could then drag the old track away.
After inspecting the various parts, most especially the main front wheel and three smaller solid metal wheels, to make sure that they weren’t loose and still easy to move, which they were very nicely smooth and tight.
Next, is to drag into place the new tracks and sort of hook it on the back cog wheel and lay the rubber track out alongside the digger and lowering down the digger again, to extend the length just enough to squeeze it over the front wheel using a crow bar. Then the hard work starts .. by pumping grease back into the static hydraulic ram to push the front wheel back out to its fully extended position to tighten the track up. The instructions says that the droop in the track underneath the middle small cog wheel should be about 2cm so it is not too tight and not too loose.
Our grease gun is a manually operated device, using a pumping handle and it was awkward in trying to get the gun’s outlet to engage to the nipple on the digger and put thousands of PSI pressure to force the ram outwards and tighten the track.
We repeated the whole exercise for the other track and just before lunch time, we got both changed over and we now have a fully working mini-digger again.
The final job after lunch was to make sure that all the joints all over the digger was fully charged with grease. The log book was updated with today’s work and the last entry was back in 2016!! The old tracks were folded in half and carted around to the back behind the temporary living quarters for storage and we will decide to what to do with them later on. We even may use them as a raised flower beds!!
