We arrived for this new week to resume our work on preparing the Utility Room, to get it ready for installing the vast collection of equipment, tanks, switches, pipes and many other bits and pieces that will provide the services like water, air, electricity, vacuum and other utilities.
We got going on dealing with the black plastic that is pinned up on the wall, covering the window so that got sliced and wrapped down the sides. We also inserted the plastic liners for both the bottom and top cavities that sits below and above the window too. We are just repeating the same procedure as we had done for Bedroom Three windows and these cavities are designed to provide space for the mechanism to control the automatic window blinds. As part of dealing with the window, we put in the extra pieces of CLS timber to frame on all four sides and then put up two vertical 11mm OSB boards on the left and right sides but only after we remembered to install several lengths of 20mm black conduits. We nearly forgot to put one conduit in to allow us access and the ability to feed through whatever electric wires we would need for the mechanism. It was a tight squeeze to slip the conduit behind the plastic already up on the wall but we made it. As part of putting up the plastic and wrapping it into place, we used our malleable white tape to seal tight all the conduits poking through the plastic but also did the large air duct boxing too.
Next we did the doorway. We had to take off the door again plus all its equipment like electronic lock and sensors etc. so we could wrap the plastic up and onto the door framework, to ensure that we are creating a good vapour barrier. We also put on three extra CLS 63mm timber pieces around the frame that will form the inner surface wall and door entrance. We remounted the door, changing the hinge position slightly and put back all the door furniture and reapplied the door hook too.
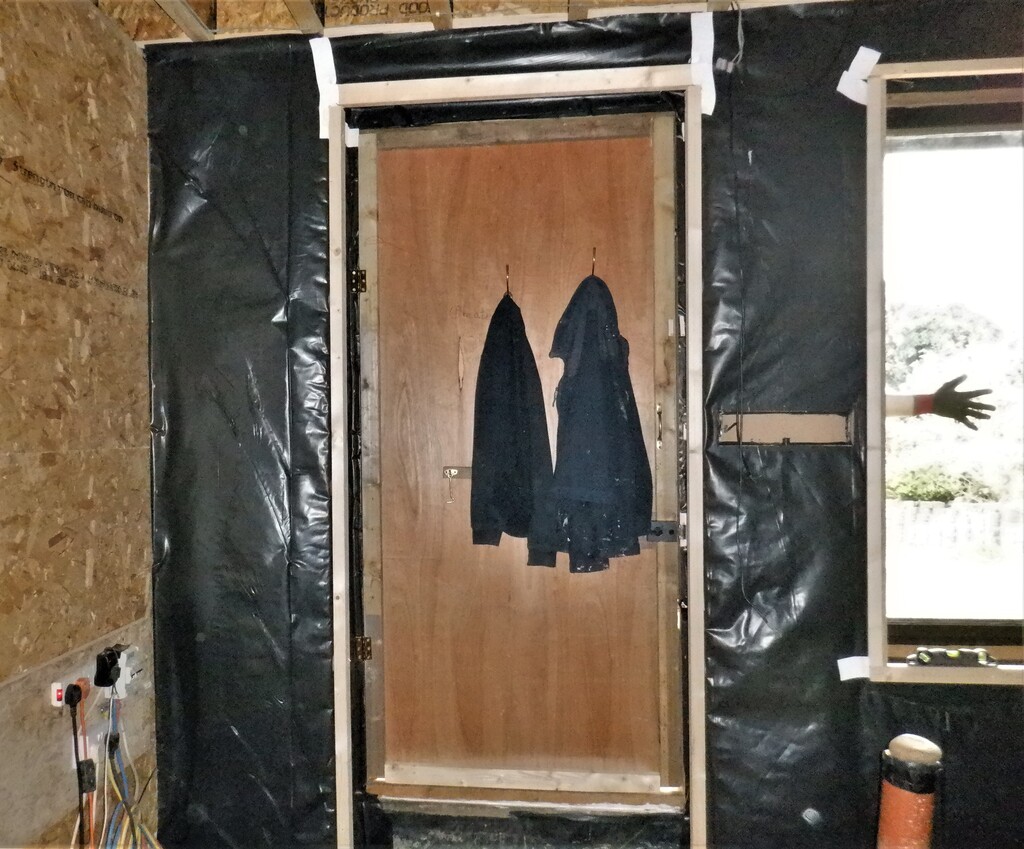
Dorr-framing-redone-and-door-rehung
Looking at the order of things, we then got on with installing the ceiling covering. We needed to do the ceiling next because we are planning to build the equipment cupboard and that will go from floor to ceiling almost and we wanted to put up one layer of the fermacell (this is like a plasterboard material but highly accurate and engineered gypsum mixed with recycled newspaper and no paper liners) to improve the sound proofing levels to stop the machinery and equipment we are planning to employ from disturbing the rest of the household, especially the living spaces up on the First Floor. So towards that goal, we built a second air ducting but this time, it is coming down through the First floor joist structure. We used more of our 18mm floorboards chipboard material to create an oblong shape measuring 600mm long and 240mm wide, narrow enough to fit between two joists and also enters cleanly into our equipment cupboard too. We made it 370mm tall, enough to traverse through the first floor floorboard and joist space. Next, we lined up the box against the floorboard to mark where we want our hole and sliced our way through. This will allow the exhaust air that is being all collected upstairs and being routed around to this spot, to be diverted downwards into our equipment cupboard, to be processed and then rejected outside. We only screwed in this air ducting for now because we can see that we will need to move it out of the way when we come to build the cupboard later on.
Air-duct-down-from-first-floor
Before we can mount our fermacell boards up on to the ceiling, we need to cut a set of tongue and groove into selected edges. We discovered way back when we built the Garage that we couldn’t keep all the sheets of fermacell dead level to each other, even though we put on PU glue and fixed little screws in the joints to hold them steady while the glue dried, it came out very slightly wobbly and it took a great deal of sanding to get it smooth again. So back then, we tried cutting a tongue and groove into the fermacell and it worked like a treat. So today, we took that experience and set up our two router machines with new cutters, both are identical shaped cutters, that does both a series of tongues and groove within the thickness of the material. These cutters can do up to 25mm thickness but we are only wanting to do either 10mm for the fermacell boards and 18mm for our OSB boards.
We also adapted the two router machines by extending their bases to a much larger supportive area so the heavy machines won’t tilt off the edge and we can pull it along against the surface and the fence, to get a smooth, regular and neat cut. The only different between the two routers is to the exact position of the cutters, one will do the grooves and the other one does the tongues.
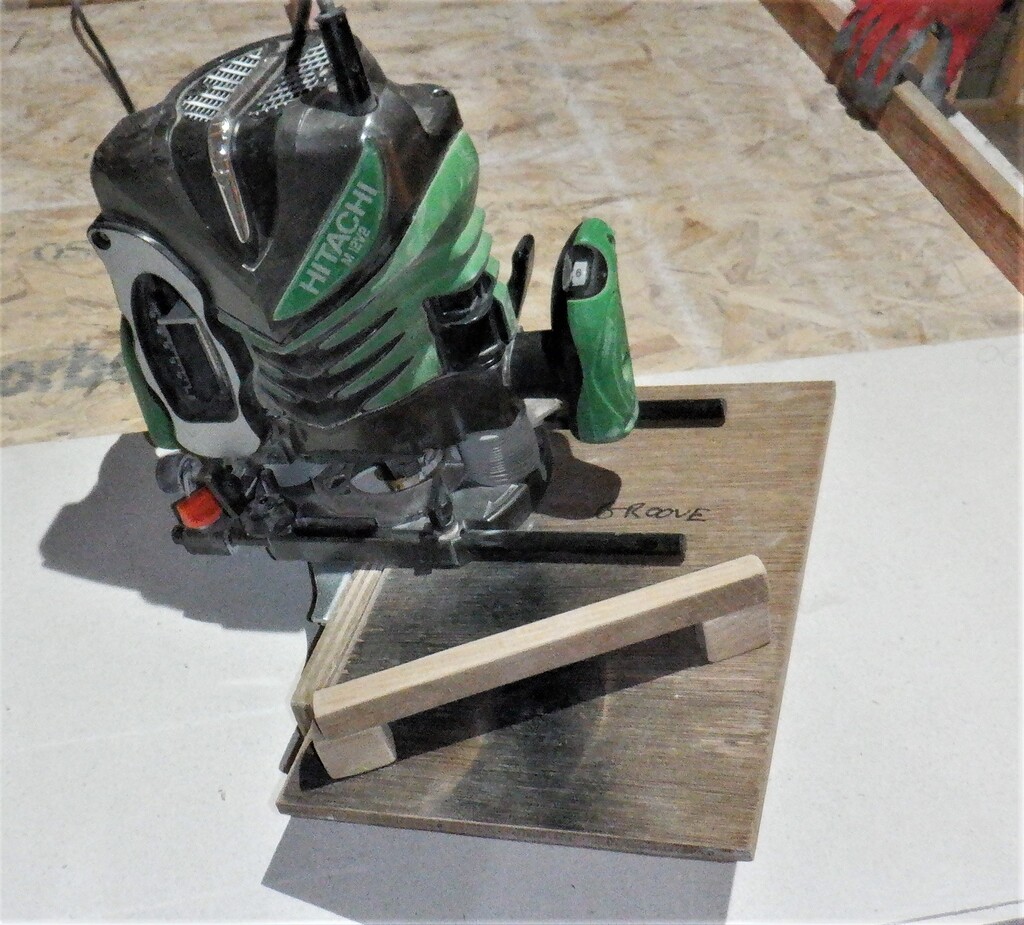
Router-with-extended-base
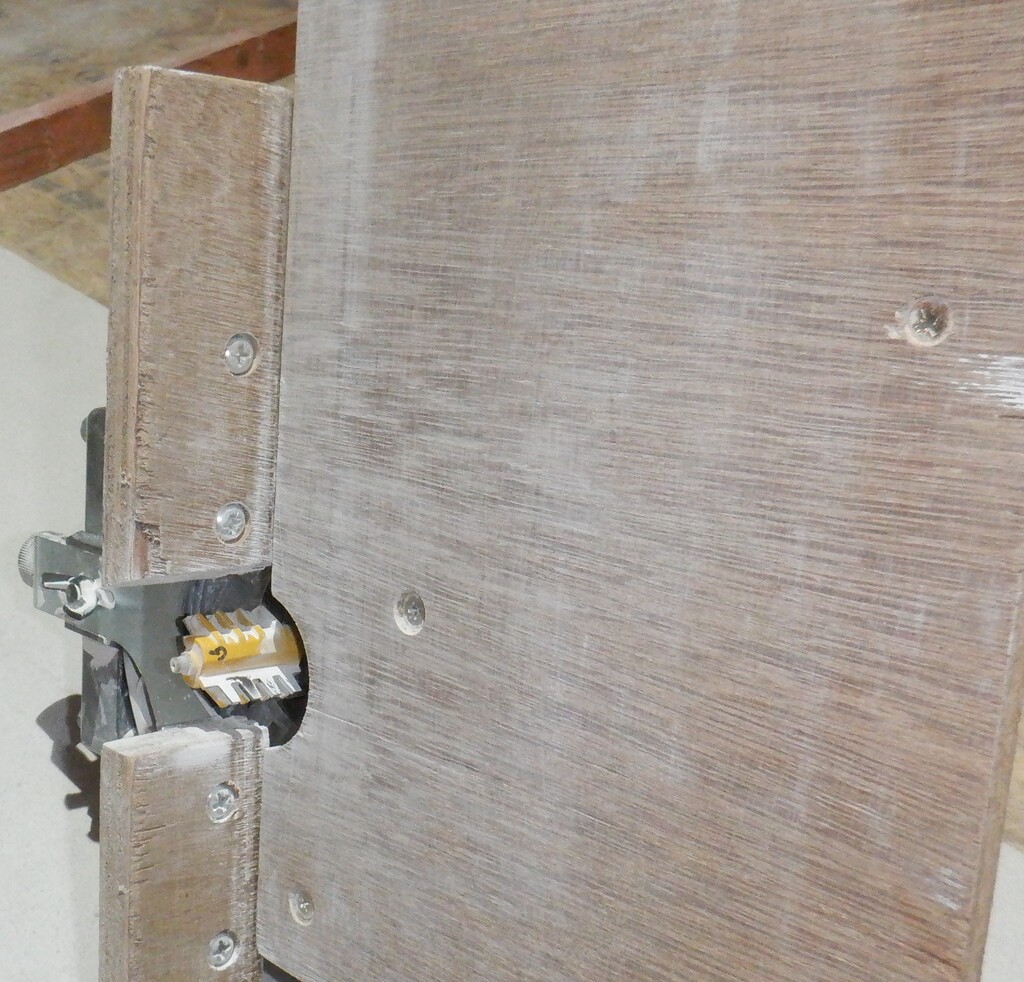
TG-cutter-in-new-base
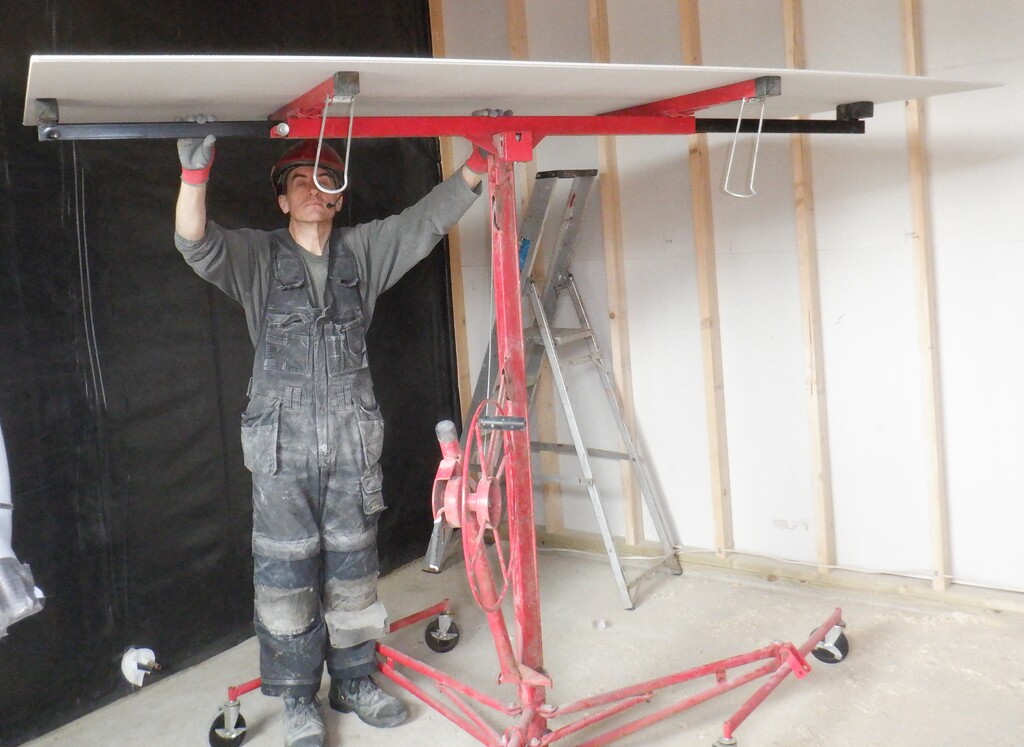
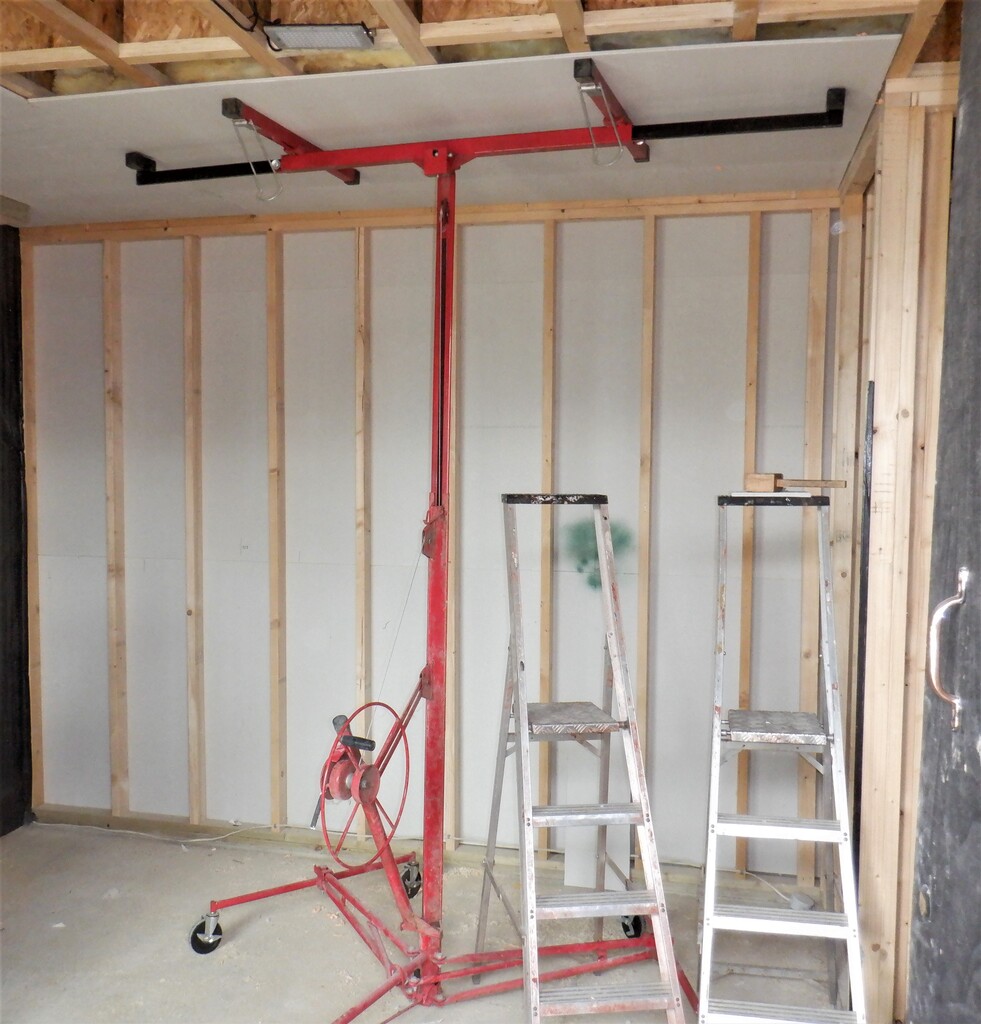
It took a little while to do these modifications and testing sessions but it is well worth the time, in order to get good quality results in the long run. So with these new tools, we proceeded to put up a set of fermacell 10mm thick boards up on the ceiling, using our very handy and strong board lifting contraption (It’s a bit rusty from being stored in a shed for 10 years). It runs on highly adjustable wheels so it can squeeze into corners and go around obstacles. But before we did that, we loaded the joist space with a load more of 200mm thick glass wool material to provide more sound proofing.
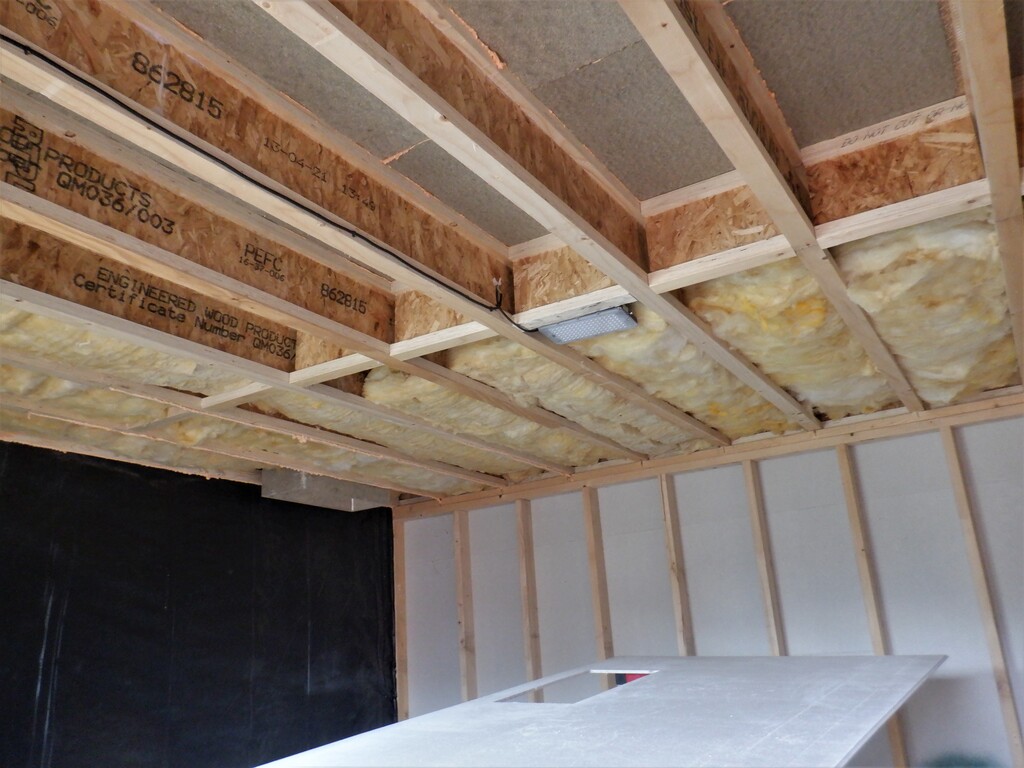
Insulation-in-the-ceiling
We, and our lifter (each full size board weighs 25kg each!), did a row of boards, some 1200mm wide strip next to the “E” wall and then did a wider 1600mm strip along towards the door entrance into the hallway. We did this much of the ceiling because our equipment cupboard will go along the “E” wall and also along the Entertainment wall and stop about a meter before the hall door. We put spray PU glue on the joist flange itself and construction PU glue into the groove to joint two sheets together and plenty of 35mm long staples to fix the board up for the long term. The roof will be inaccessible after we have built the cupboard.
Board-lifter
Holding-up-a-board
After dismantling the board lifter, we then tackled the “E” wall and covered the entire surface with more fermacell, from concrete floor and right up to the ceiling. We had to put up three and a bit sheets along the upper wall plus a narrow strip along the bottom to cover up the plastic.
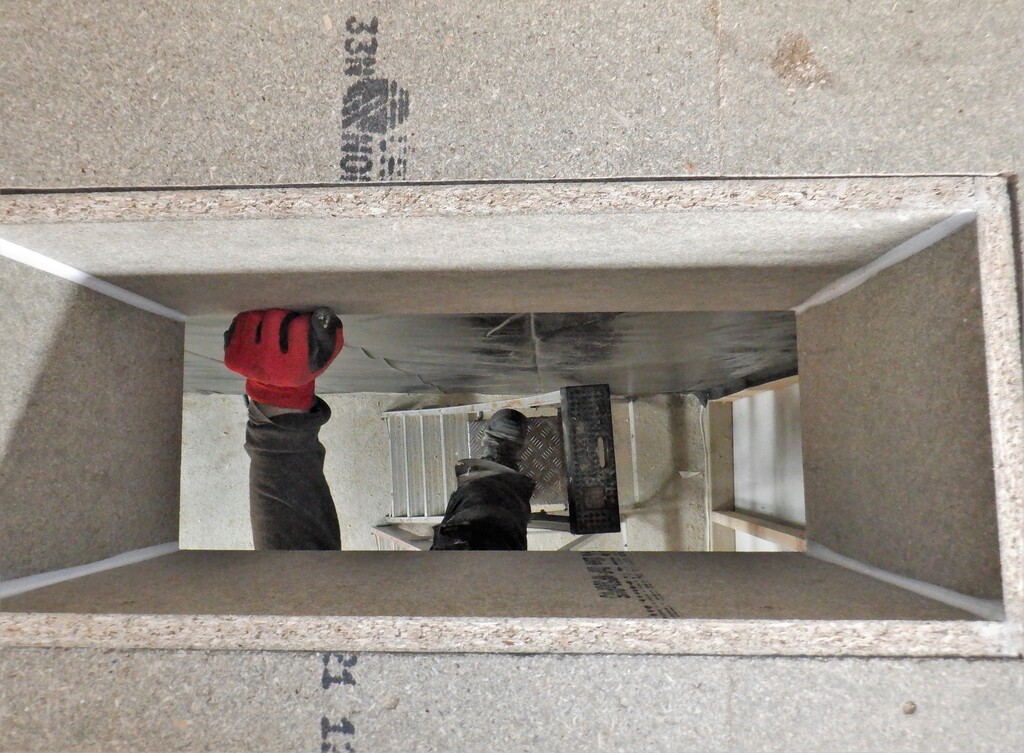
Before we put up the last piece at the bottom we had to remove the very old ‘chimney’ which protected the entrance tunnel for the air from the earth tubes. This just pulled out of the hole in the floor and we had a peek down the tunnel because we didn’t actually know if the tunnel was OK.
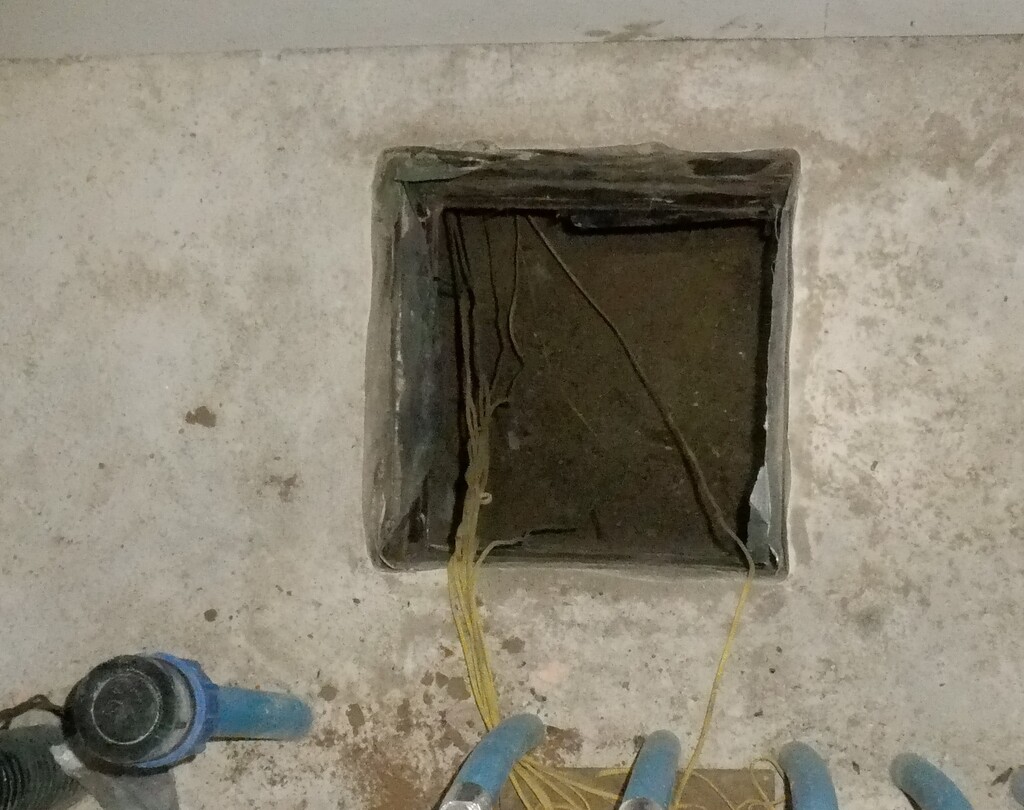
Top-the-Earth-Tube-tunnel
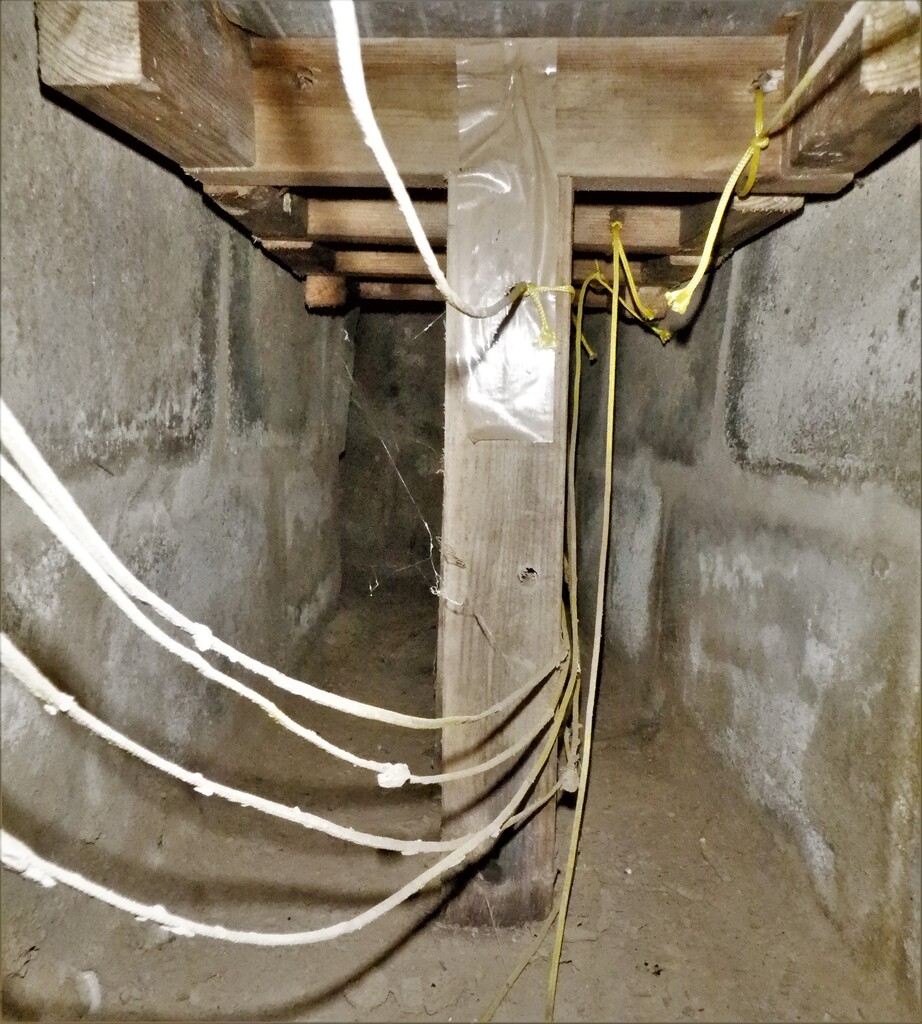
View-along-the-tunnel
This layer, and the one on the ceiling too, will provide additional fire protection too, making our wooden house that much harder to catch alight if we ever had a fire as the Utility room is the most likely place to catch fire in the first place. We will put in extra measures when we build the equipment cupboard and there would be active fire suppression devices installed inside, plus plenty of alarms so we are fully aware when there is a problem.
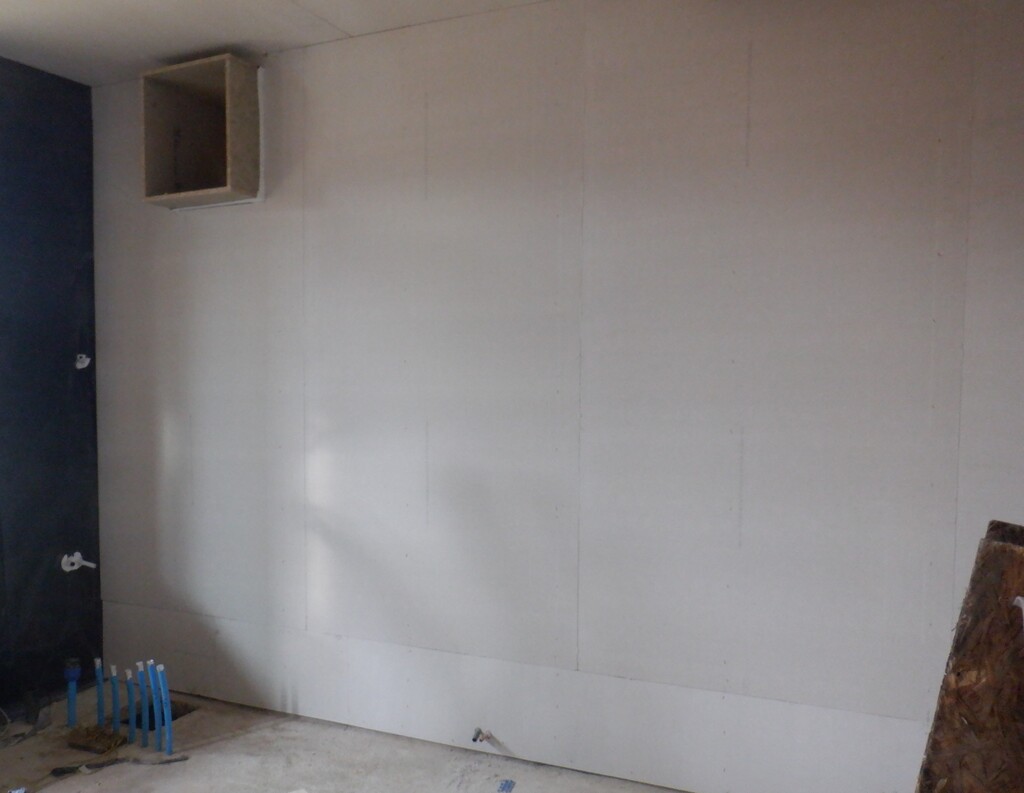
E-wall-boarded
Now we moved around to tackle the Entertainment wall which is a stud wall made of 89mm thick CLS posts, we only wanted full board of OSB beside the hall entrance so we nailed up narrow strips of OSB pieces on the rest of the legs. We did have to pull off that full sized board because we forgot to put in the glass wool material first! So we duly put in more 400mm wide strip of the 200mm thick glass wool and stuffed them into the 89mm space, yes 200mm into 89mm! This will obviously compress the wool down when we put the series of board on the wall and this is great because it will reduce much of the sound and noises coming from the Utility Room and entering into our Entertainment room where you may be watching and listening to a movie and the last thing you want is, to hear the washing machine spinning or the vacuum system whirling away!!
So this wall had a layer of fermacell put on, compressing the wool down and this finishes off this wall completely too. Again, we did this now because of our equipment cupboard which will be built slightly removed from these walls to provide another air gap for sound insulation.
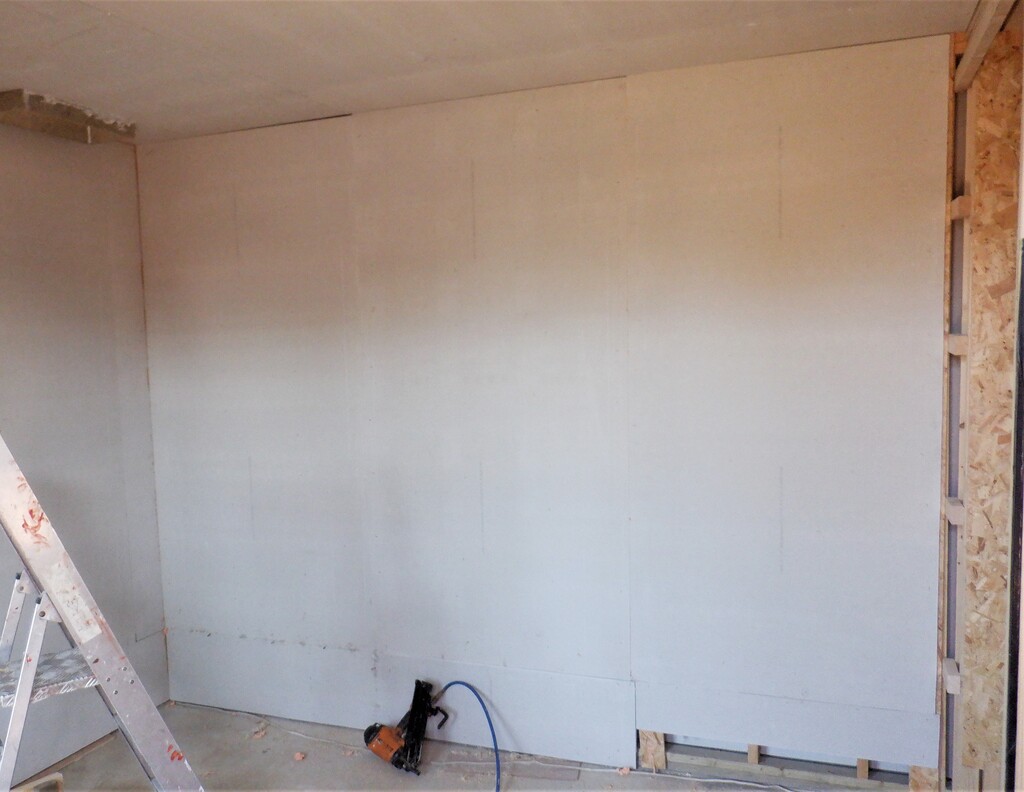
Entertainment-wall-boarded
You may have noticed that we are putting these boards directly onto the wall posts and not on any horizontal rails. This is deliberate as there is hardly any needs for having electrical sockets or switches. Most of the Utility Room will have cupboards, cabinets and shelves and they will have their own electrical sockets inside these regions and nothing will be visible. The only exception is the little length of worktop in front of the window for a sink and we might put up a socket on the side of the cupboard at the end of the worktop.
The last bit of work for this week is putting up the first layer of OSB board along the “F” wall, to cover up the plastic and provide a strong screwable surface for mounting anything up on the wall, like a worktop! We got as far as the door, again each piece was cut to give a tongue and groove edging to bring together each piece in a nice smooth finish, ready for the layer of fermacell to go on too.
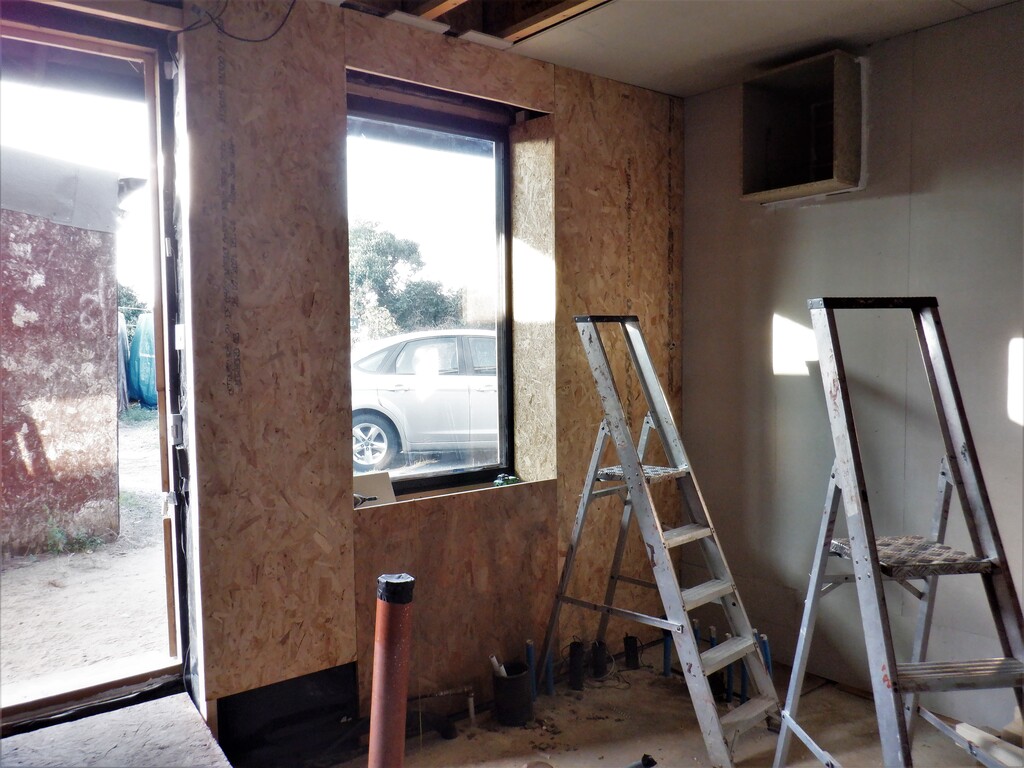
Window-wall-OSB-started
Next week, we will finish the OSB around the door, trim the edges and then put up the fermacell to get that finish. After that, we will start building the equipment cupboard which will be fun!
Leave a Reply
You must be logged in to post a comment.