While working on the Cloakroom and installing various utilities under the floor, we realised that the two Ensuites behind the Cloakroom needed to have their wooden floor framework built so that we could route the various pipes and air ducts across and use legs to tie them down.
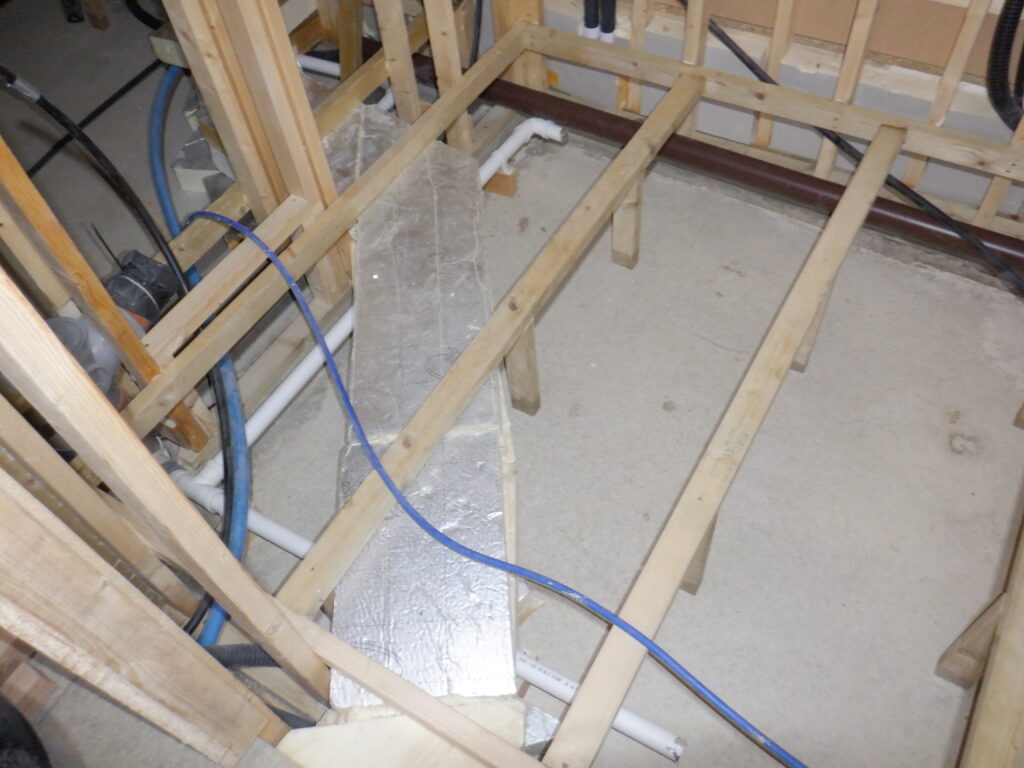
So, starting with Ensuite One, we got out our laser level line generator and got the laser line aligned to the doorway plank of CLS timber that is already there with then allowed us to see the projected line on the back wall. We marked the wall posts 20mm further down and this will introduce a very slight slope downhill from the entrance way, ensuring any water to flow away from the bedroom and towards the drain. We then cut a piece of treated timber to do the two side rails, measuring 1724mm and 1690mm (one of them had a gap to fit in). They were glued and nailed with 90mm nails on all the wall posts they covered. And then the back wall got it horizontal rail, measuring 2070mm and that got also glued and nailed too. We decided to divide the room up so that there are three further horizontal pieces to complete the floor framework. They measured 1650mm each (plus or minus a few millimetres!) and we then put three legs underneath each one. We rotated the joist so it flat and taking up less room, to maximise our plumbing pipes, especially the waste pipe coming from the shower area, so that we can have a slight drop in the pipe to encourage the waste water to flow away but still have plenty of height to allow us to connect this waste water to our heat recovery module.
So, each of these horizontal rails had three legs so we needed to cut nine pieces of the green treated timber and dipped the ends in more preservative solution and then trimmed them just so that they fitted underneath the rails and give a solid support for the framework.

Then, we tackled Ensuite Two and did the same there too. There was a couple of differences, one being that because this room is right in the corner of the building, it had two outside walls, with the vapour barrier membrane plastic sheeting covering up the walls. This meant that there wasn’t any room for having niches and a control box for the shower itself. Therefore, we went out to buy five planks of 89mm wide by 38mm and 2.4metres long pieces, and drilled five clearance holes using our drill press, to make sure that the holes are going in nice and straight and not veer off at an angle. We are screwing these planks through their wide direction so we needed 150mm long screws, hence why we wanted to make sure that we were straight. We screwed these planks 250mm above the concrete floor slab, to allow the horizontal floor joist to be safely glued and screwed without being too near the ends of the timber. The other difference, is that the middle cross rail had to be set at an angle. We did this so we could avoid putting a leg almost in the middle of the accessible region underneath the doorway in Bedroom Two. We needed to maximise this gap so we could fit our heat recovery module in, which could be quite large. So we shifted the end towards the hot water pipe that are encapsulated in PU foam and get the leg quite close. We ended up cutting the end with a 5degree angle and then putting the usual three legs underneath.
So, starting with Ensuite One, we got out our laser level line generator and got the laser line aligned to the doorway plank of CLS timber that is already there with then allowed us to see the projected line on the back wall. We marked the wall posts 20mm further down and this will introduce a very slight slope downhill from the entrance way, ensuring any water to flow away from the bedroom and towards the drain. We then cut a piece of treated timber to do the two side rails, measuring 1724mm and 1690mm (one of them had a gap to fit in). They were glued and nailed with 90mm nails on all the wall posts they covered. And then the back wall got it horizontal rail, measuring 2070mm and that got also glued and nailed too. We decided to divide the room up so that there are three further horizontal pieces to complete the floor framework. They measured 1650mm each (plus or minus a few millimetres!) and we then put three legs underneath each one. We rotated the joist so it flat and taking up less room, to maximise our plumbing pipes, especially the waste pipe coming from the shower area, so that we can have a slight drop in the pipe to encourage the waste water to flow away but still have plenty of height to allow us to connect this waste water to our heat recovery module.
So, each of these horizontal rails had three legs so we needed to cut nine pieces of the green treated timber and dipped the ends in more preservative solution and then trimmed them just so that they fitted underneath the rails and give a solid support for the framework.

Floor supports in Ensuite 1 (1)
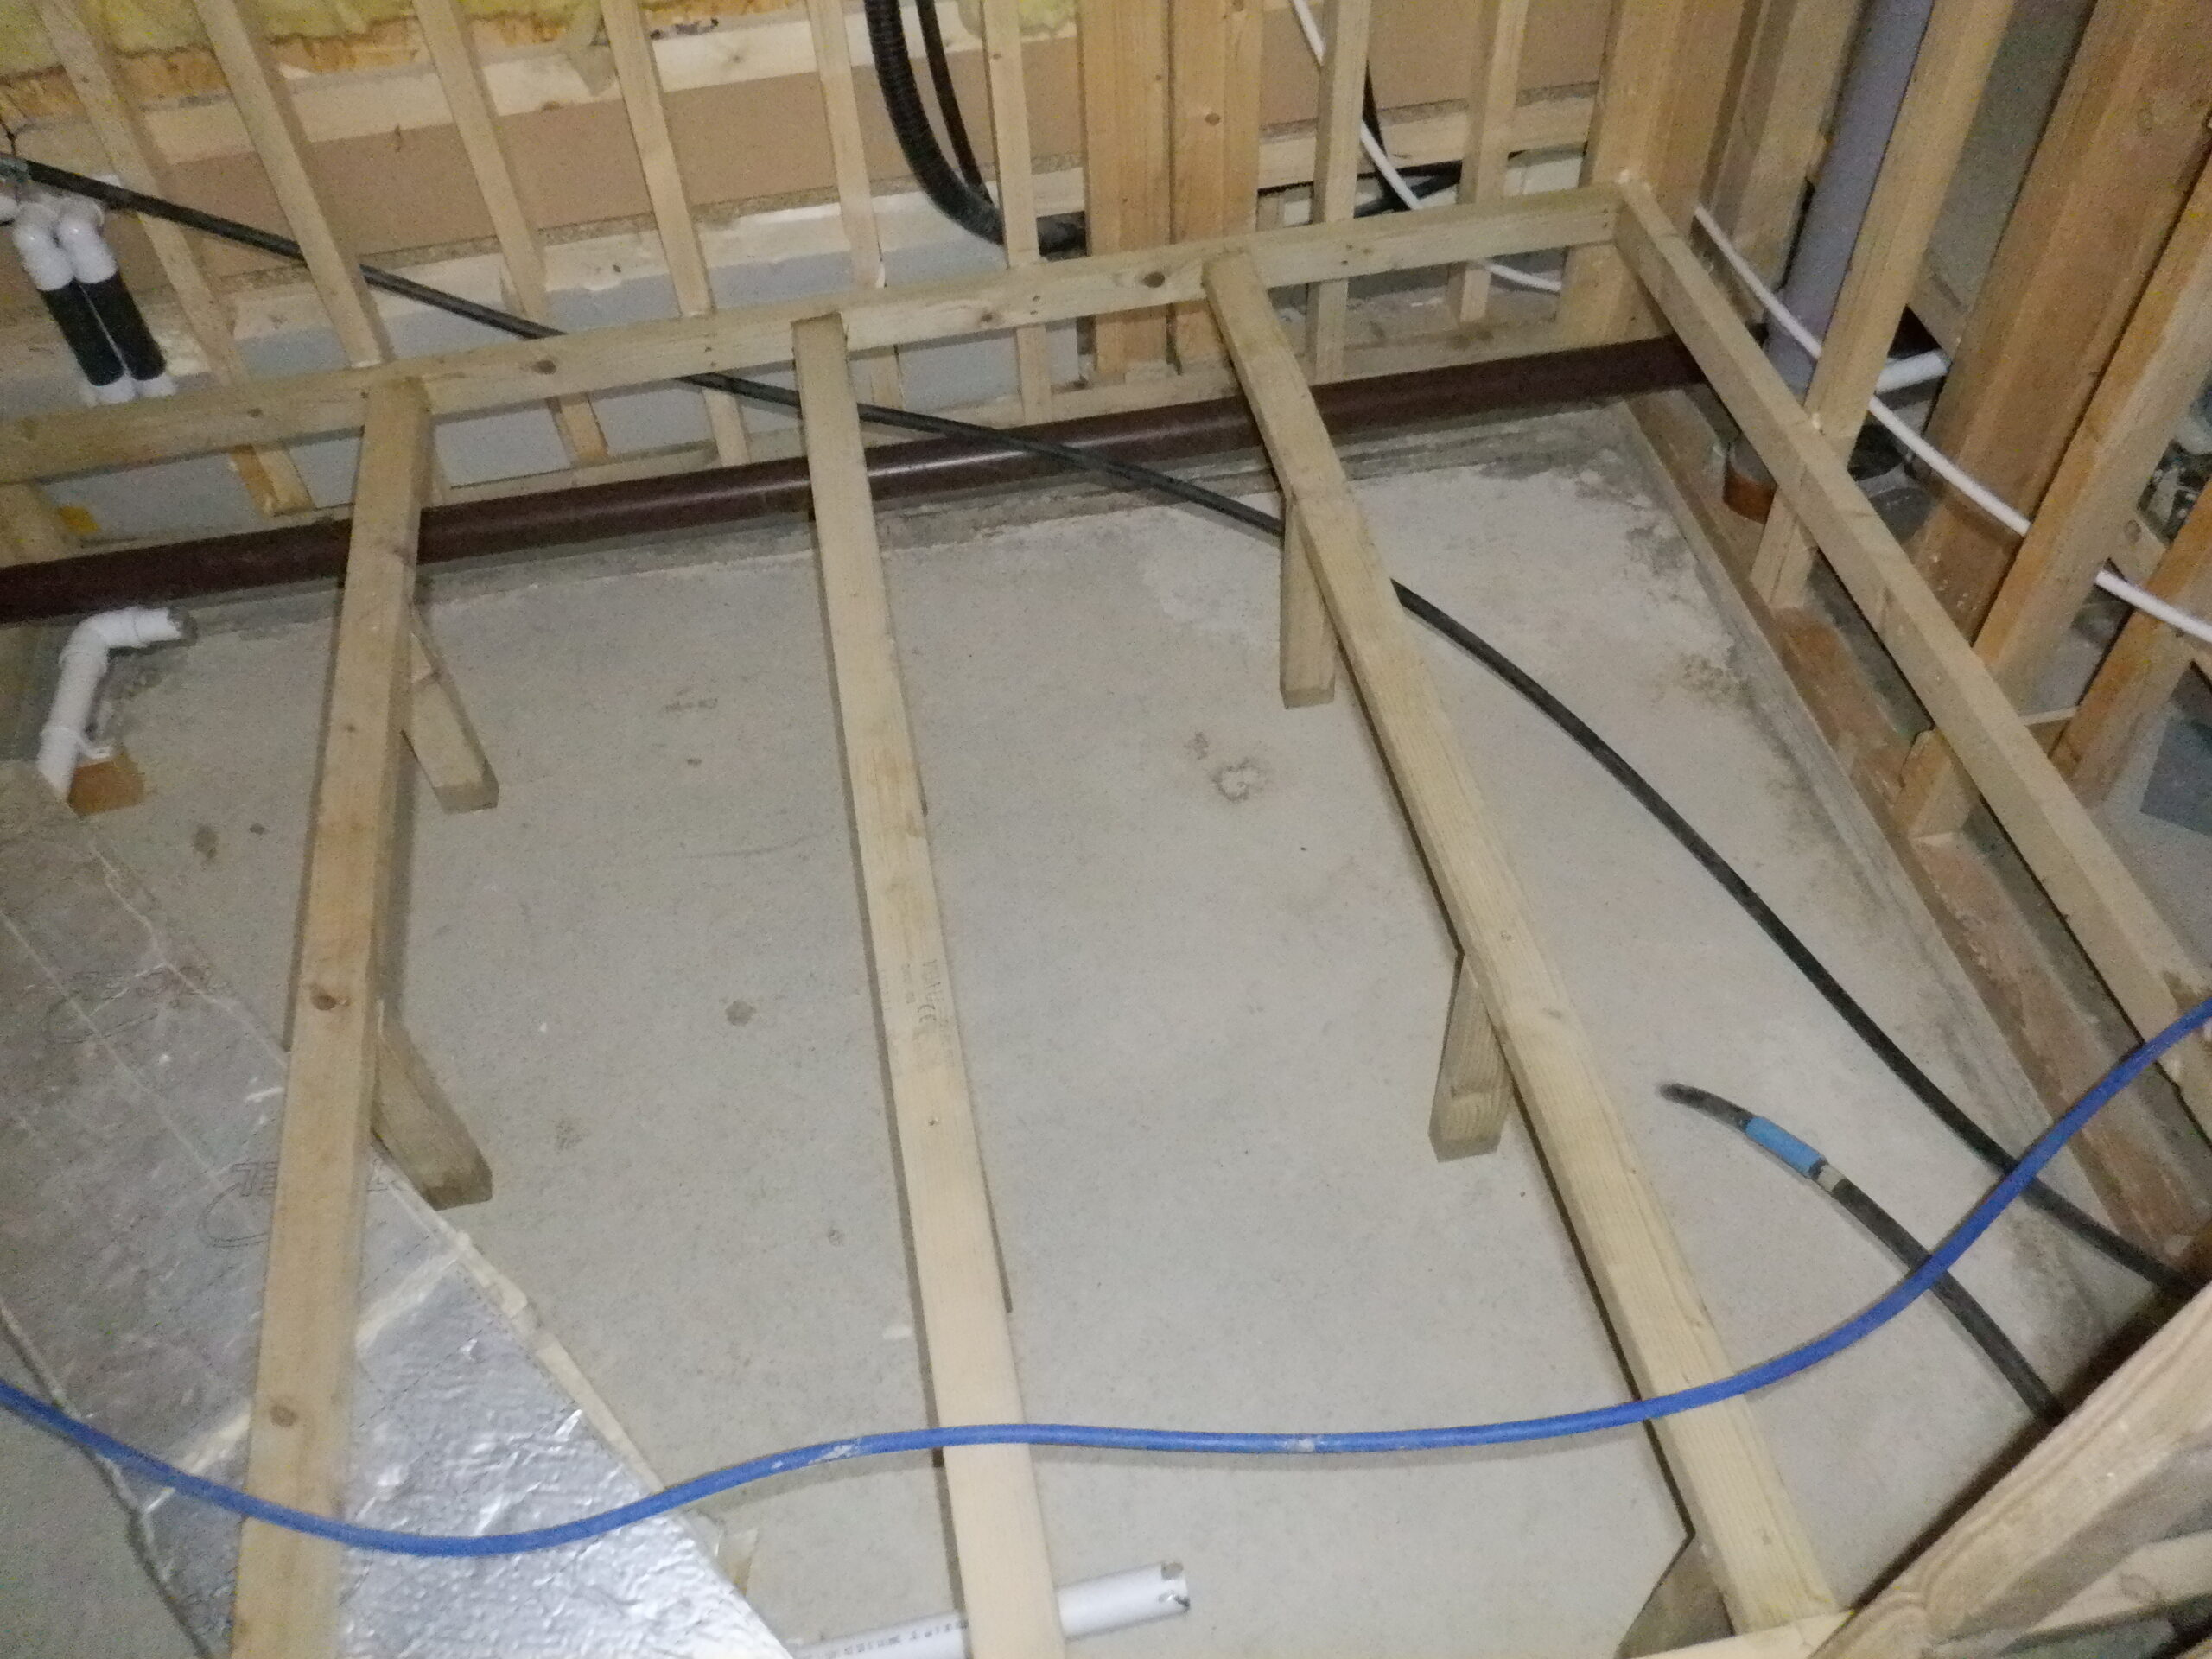
Floor supports in Ensuite 1 (2)
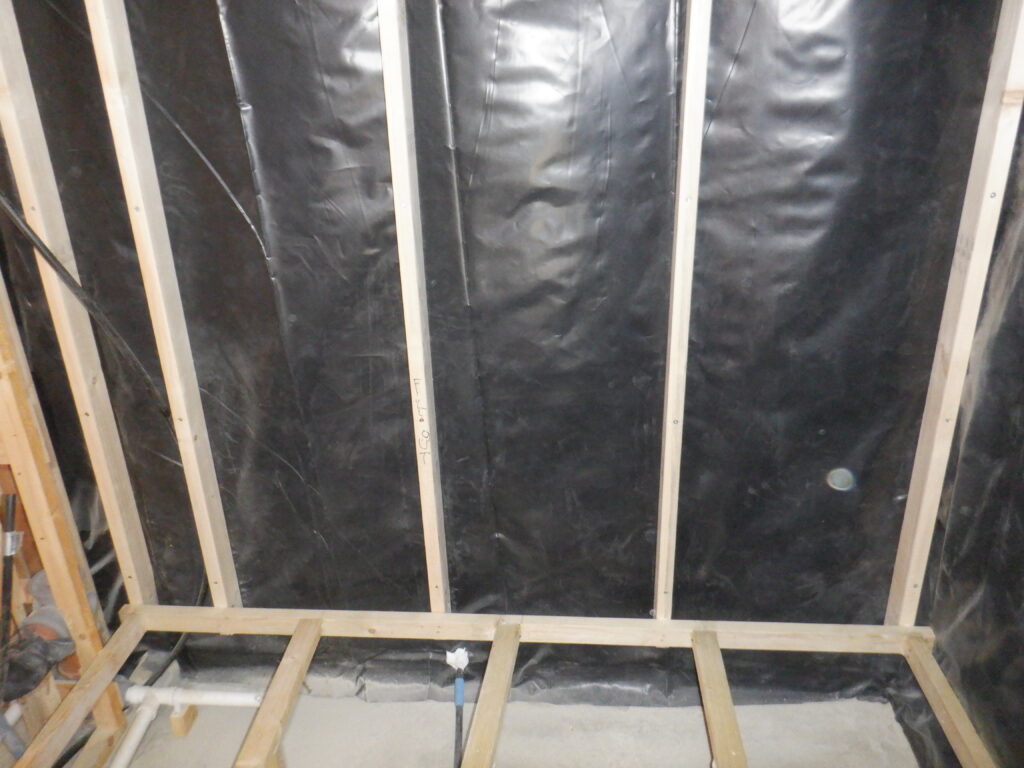
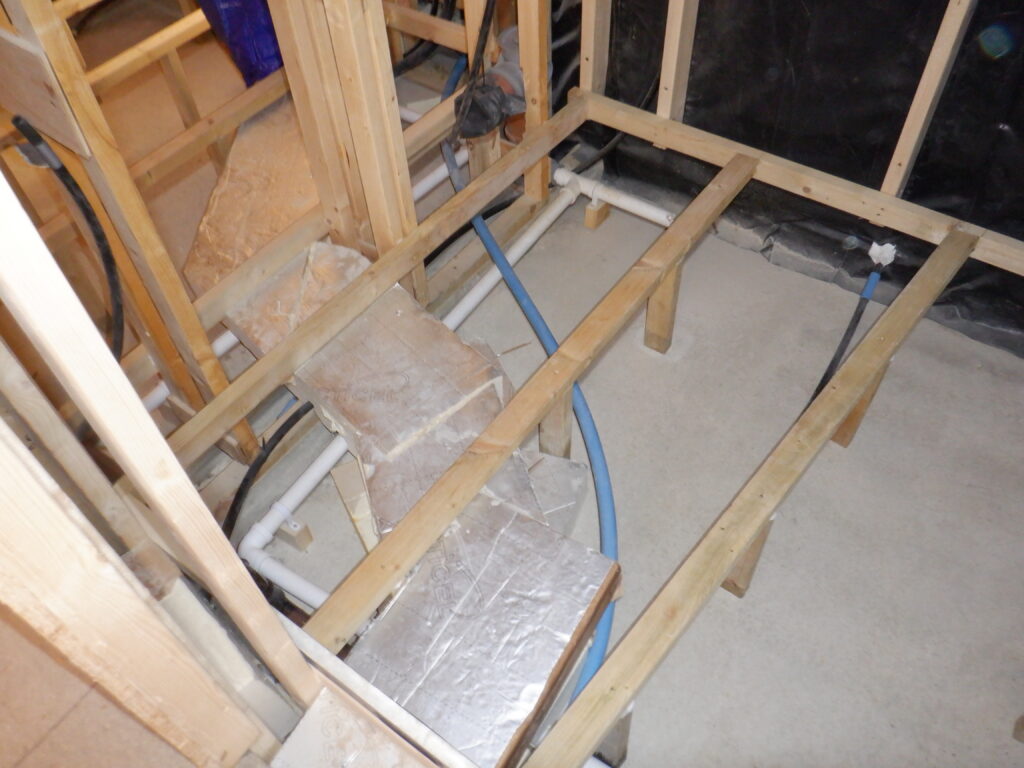
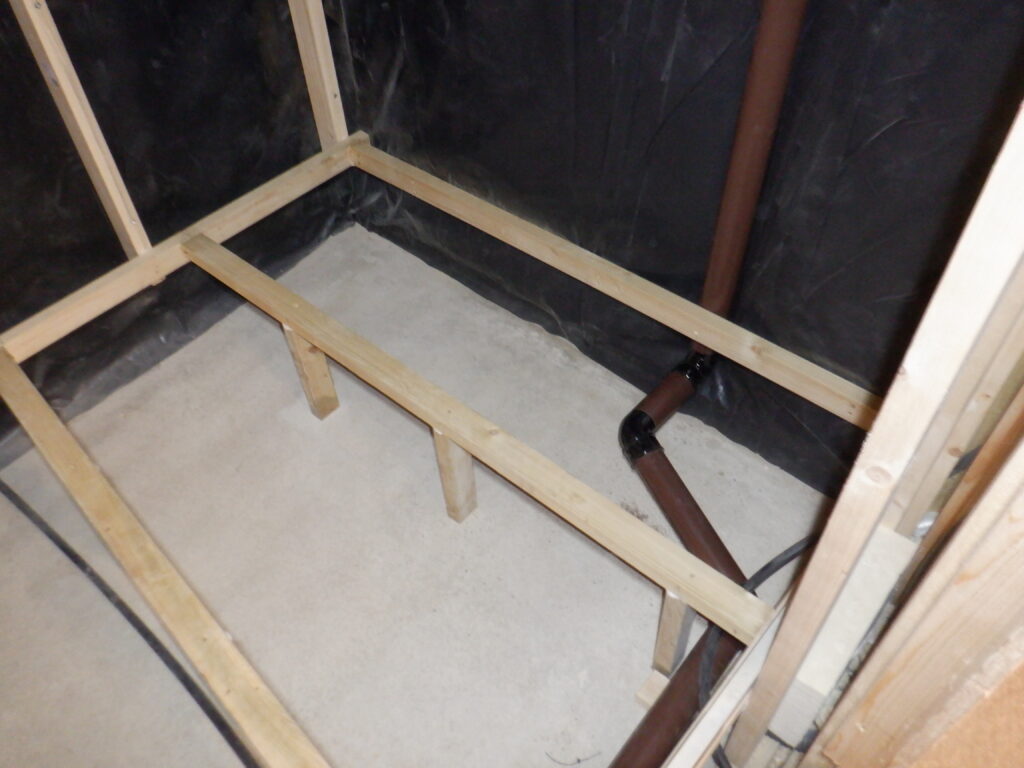
Then, we tackled Ensuite Two and did the same there too. There was a couple of differences, one being that because this room is right in the corner of the building, it had two outside walls, with the vapour barrier membrane plastic sheeting covering up the walls. This meant that there wasn’t any room for having niches and a control box for the shower itself. Therefore, we went out to buy five planks of 89mm wide by 38mm and 2.4metres long pieces, and drilled five clearance holes using our drill press, to make sure that the holes are going in nice and straight and not veer off at an angle. We are screwing these planks through their wide direction so we needed 150mm long screws, hence why we wanted to make sure that we were straight. We screwed these planks 250mm above the concrete floor slab, to allow the horizontal floor joist to be safely glued and screwed without being too near the ends of the timber. The other difference, is that the middle cross rail had to be set at an angle. We did this so we could avoid putting a leg almost in the middle of the accessible region underneath the doorway in Bedroom Two. We needed to maximise this gap so we could fit our heat recovery module in, which could be quite large. So we shifted the end towards the hot water pipe that are encapsulated in PU foam and get the leg quite close. We ended up cutting the end with a 5degree angle and then putting the usual three legs underneath.
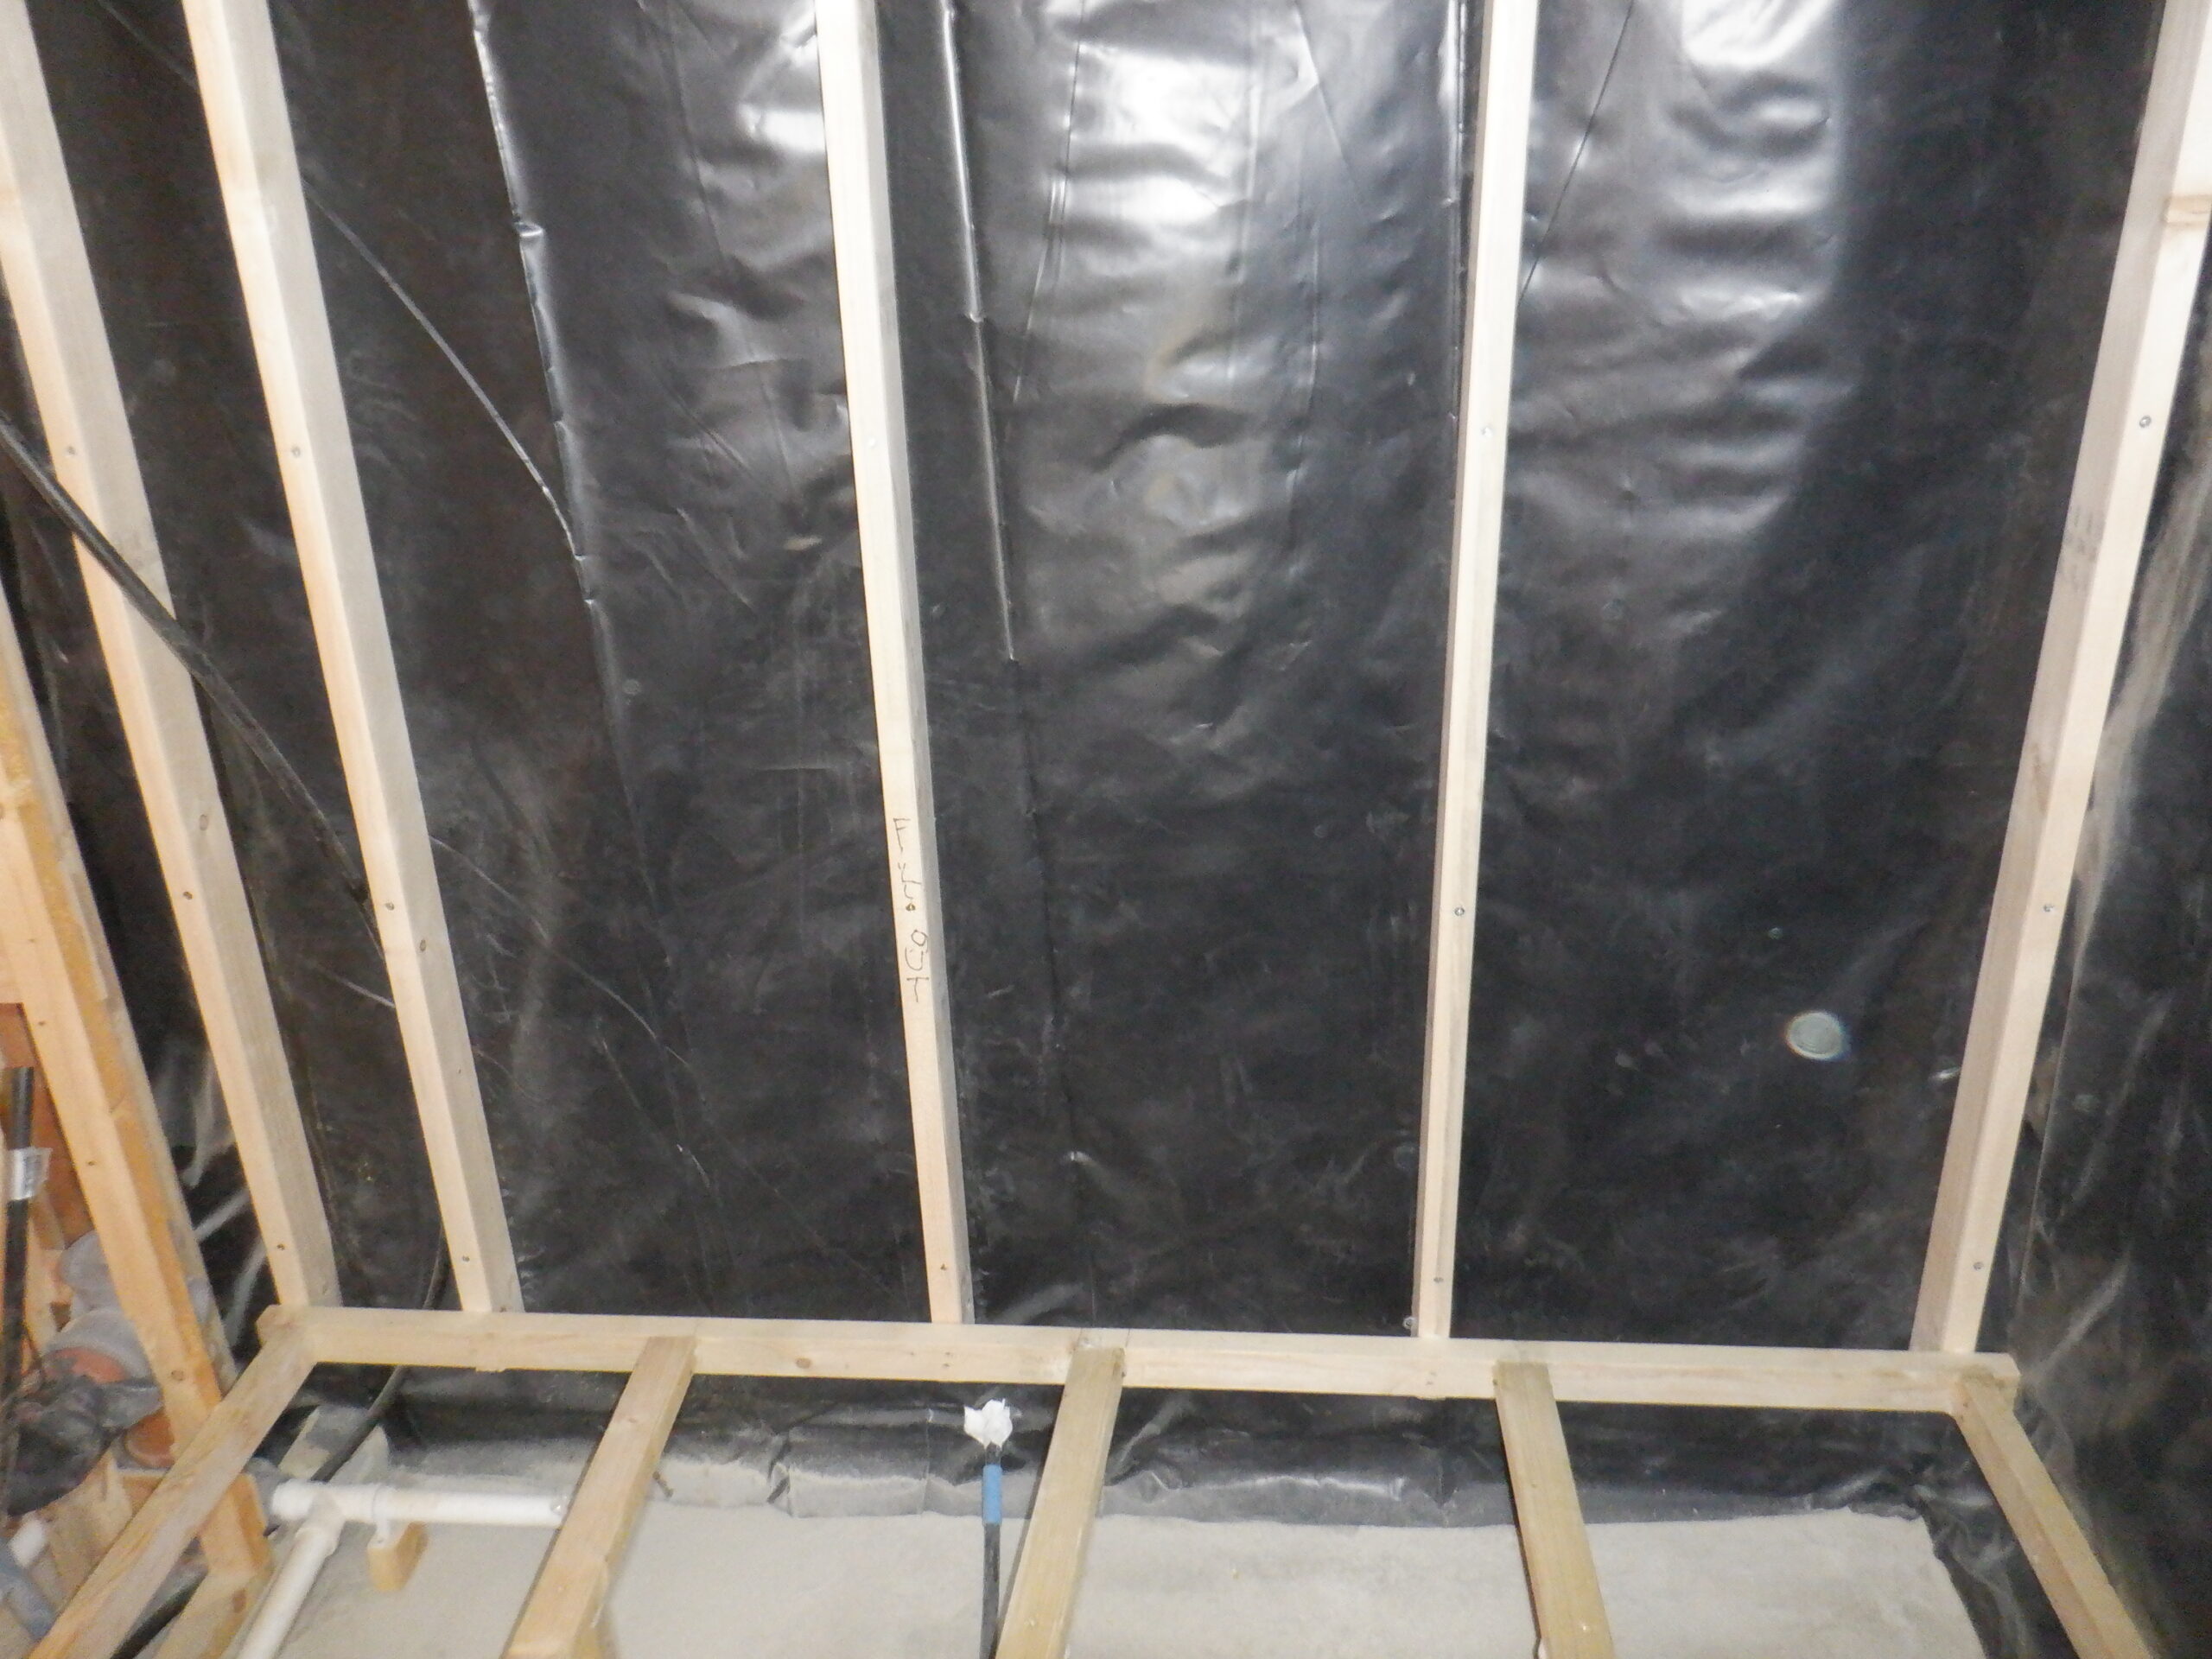
Ensuite 2 Wall depth exspansion

Ensuite 2 floor framing (1)

Ensuite 2 floor framing (2)
That concludes this little job on the side, to enable us to get the Cloakroom finished.