We started putting in the Utility pipes and ducting underneath our downstairs toilet, which we are calling by its traditional name of a “Cloakroom”, which is a very odd name as there is no evidence of cloaks or hats or sticks at all!
We wanted to make progress on implementing an actual toilet, fully flushing and everything, including having a working hand basin as well. So to achieve this goal, we needed to make sure that we have installed all the necessary pipework, and air ducting, that goes under the floor, to the other Ensuites behind, including going upstairs too.
Our downstairs Hallway have various Utilities travelling down its length, the major Air Duct travelling down the middle of the house and both hot and cold water in the side branch. So this is where we need to “tap-off” several feeds to each of our surrounding smaller wet rooms, like the Ensuites, toilets and shower room upstairs.
So, we started by putting in two manifold “distributors” in a line, and connected to our pressurised cold water. Each of these manifold units comes with three 15mm side branches so we have six in all. Four of them will be heated up by the hot water and fed to the following destinations; the Shower Room upstairs, the Toilet’s basin upstairs, Work Room Three’s Sink upstairs and the Cloakroom’s basin.
We installed a length of 15mm plastic water pipe, insulated in 75mm thick tubular foam for our cloakroom downstairs and left it sticking out of the wall, ready to be fed through holes in the wall boards when we get that far. The other end will be connected to our hot water mixer / heat exchanger unit which is located in the hall, along with a motorised valve so the computer can control the flow of water going into the basin. Then we did a second hot water 15mm pipe wrapped in more of that 75mm foam insulation material, went up inside the wall space to the First Floor joist and then sideways to head to the back of the upstairs toilet and then turned upwards and be ready for plumbing into that basin. There are two more hot water connections, the shower and workroom sink, to be done later on as these don’t cross our Cloakroom.
The other two 15mm connections are straight direct cold water feeds to the cistern for the upstairs toilet and the cloakroom downstairs. They were threaded through the walls from under the floor and is now waiting for the equipment to be installed.
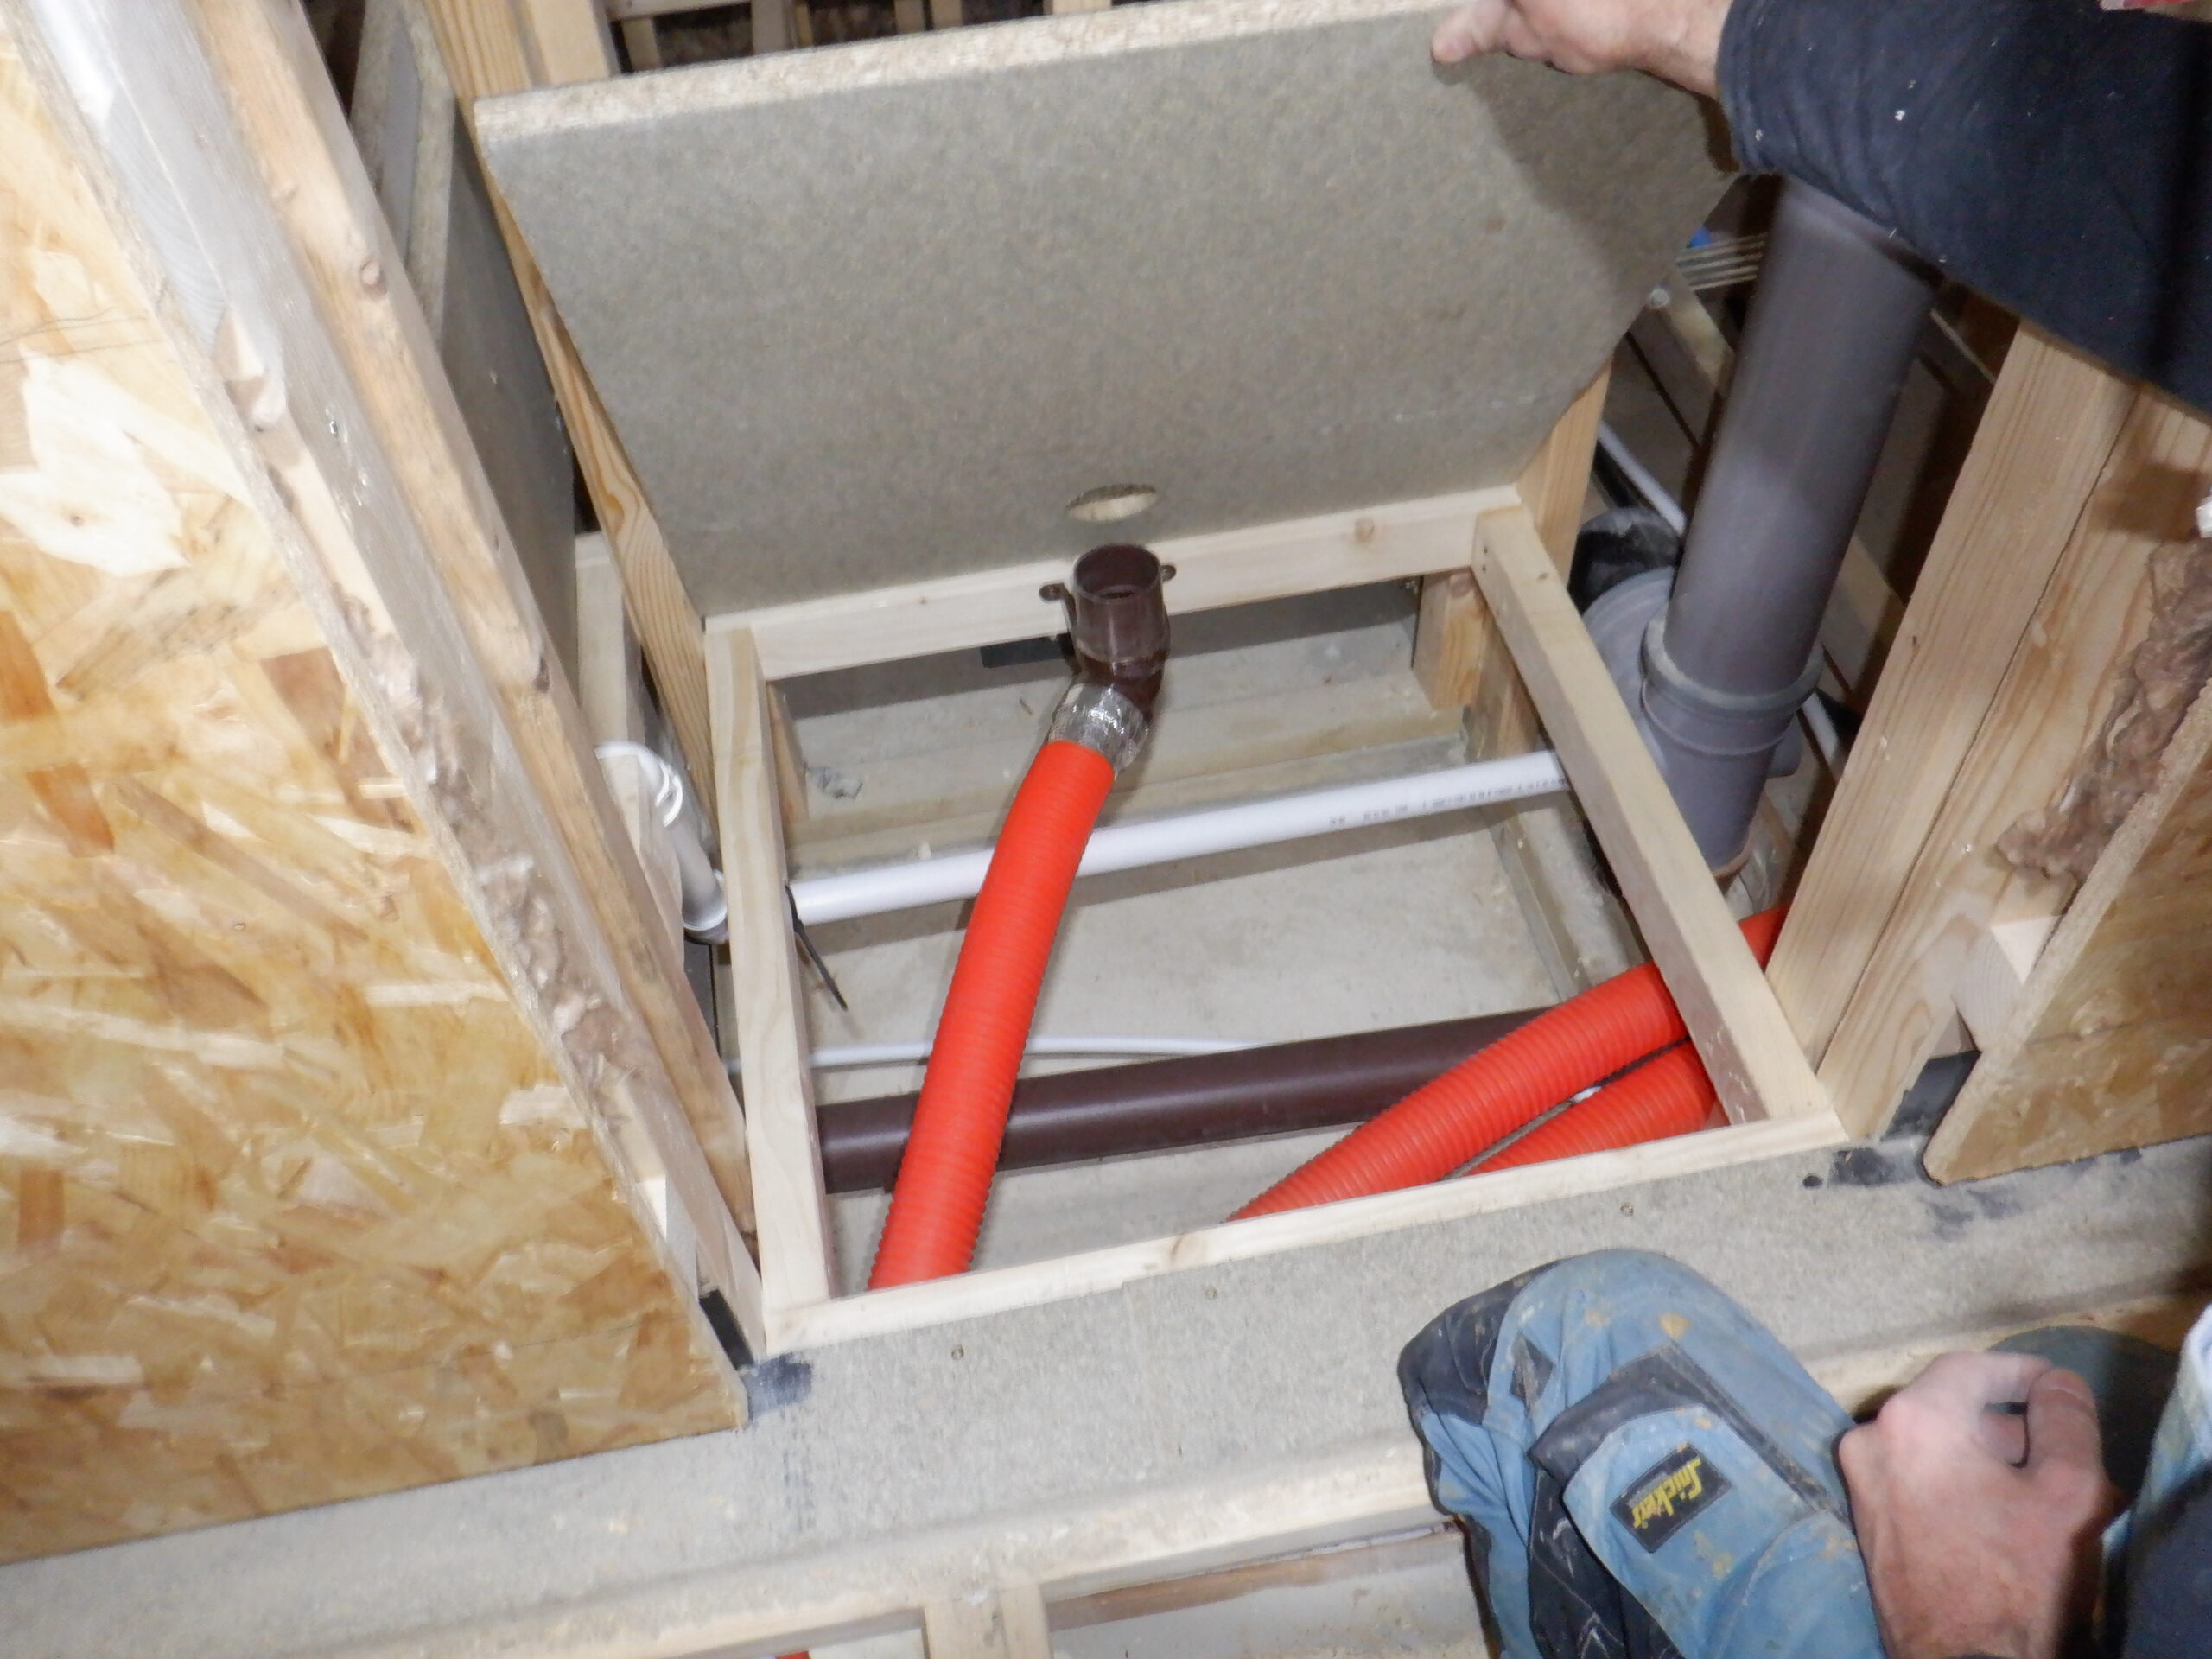
Then we put in a 32mm wide waste pipe that connects to our main waste stack, drilling out a side connector and inserting a rubber bung that has a 32mm hole to take the waste pipe coming from the basin. We terminated this pipe 6inches off the floor, sticking out of the wall that separate the cloakroom from the Linen cupboard. Again, we will have to drill a clearance hole through the wall boards when we come to fit them up.

Cloakroom Water supply
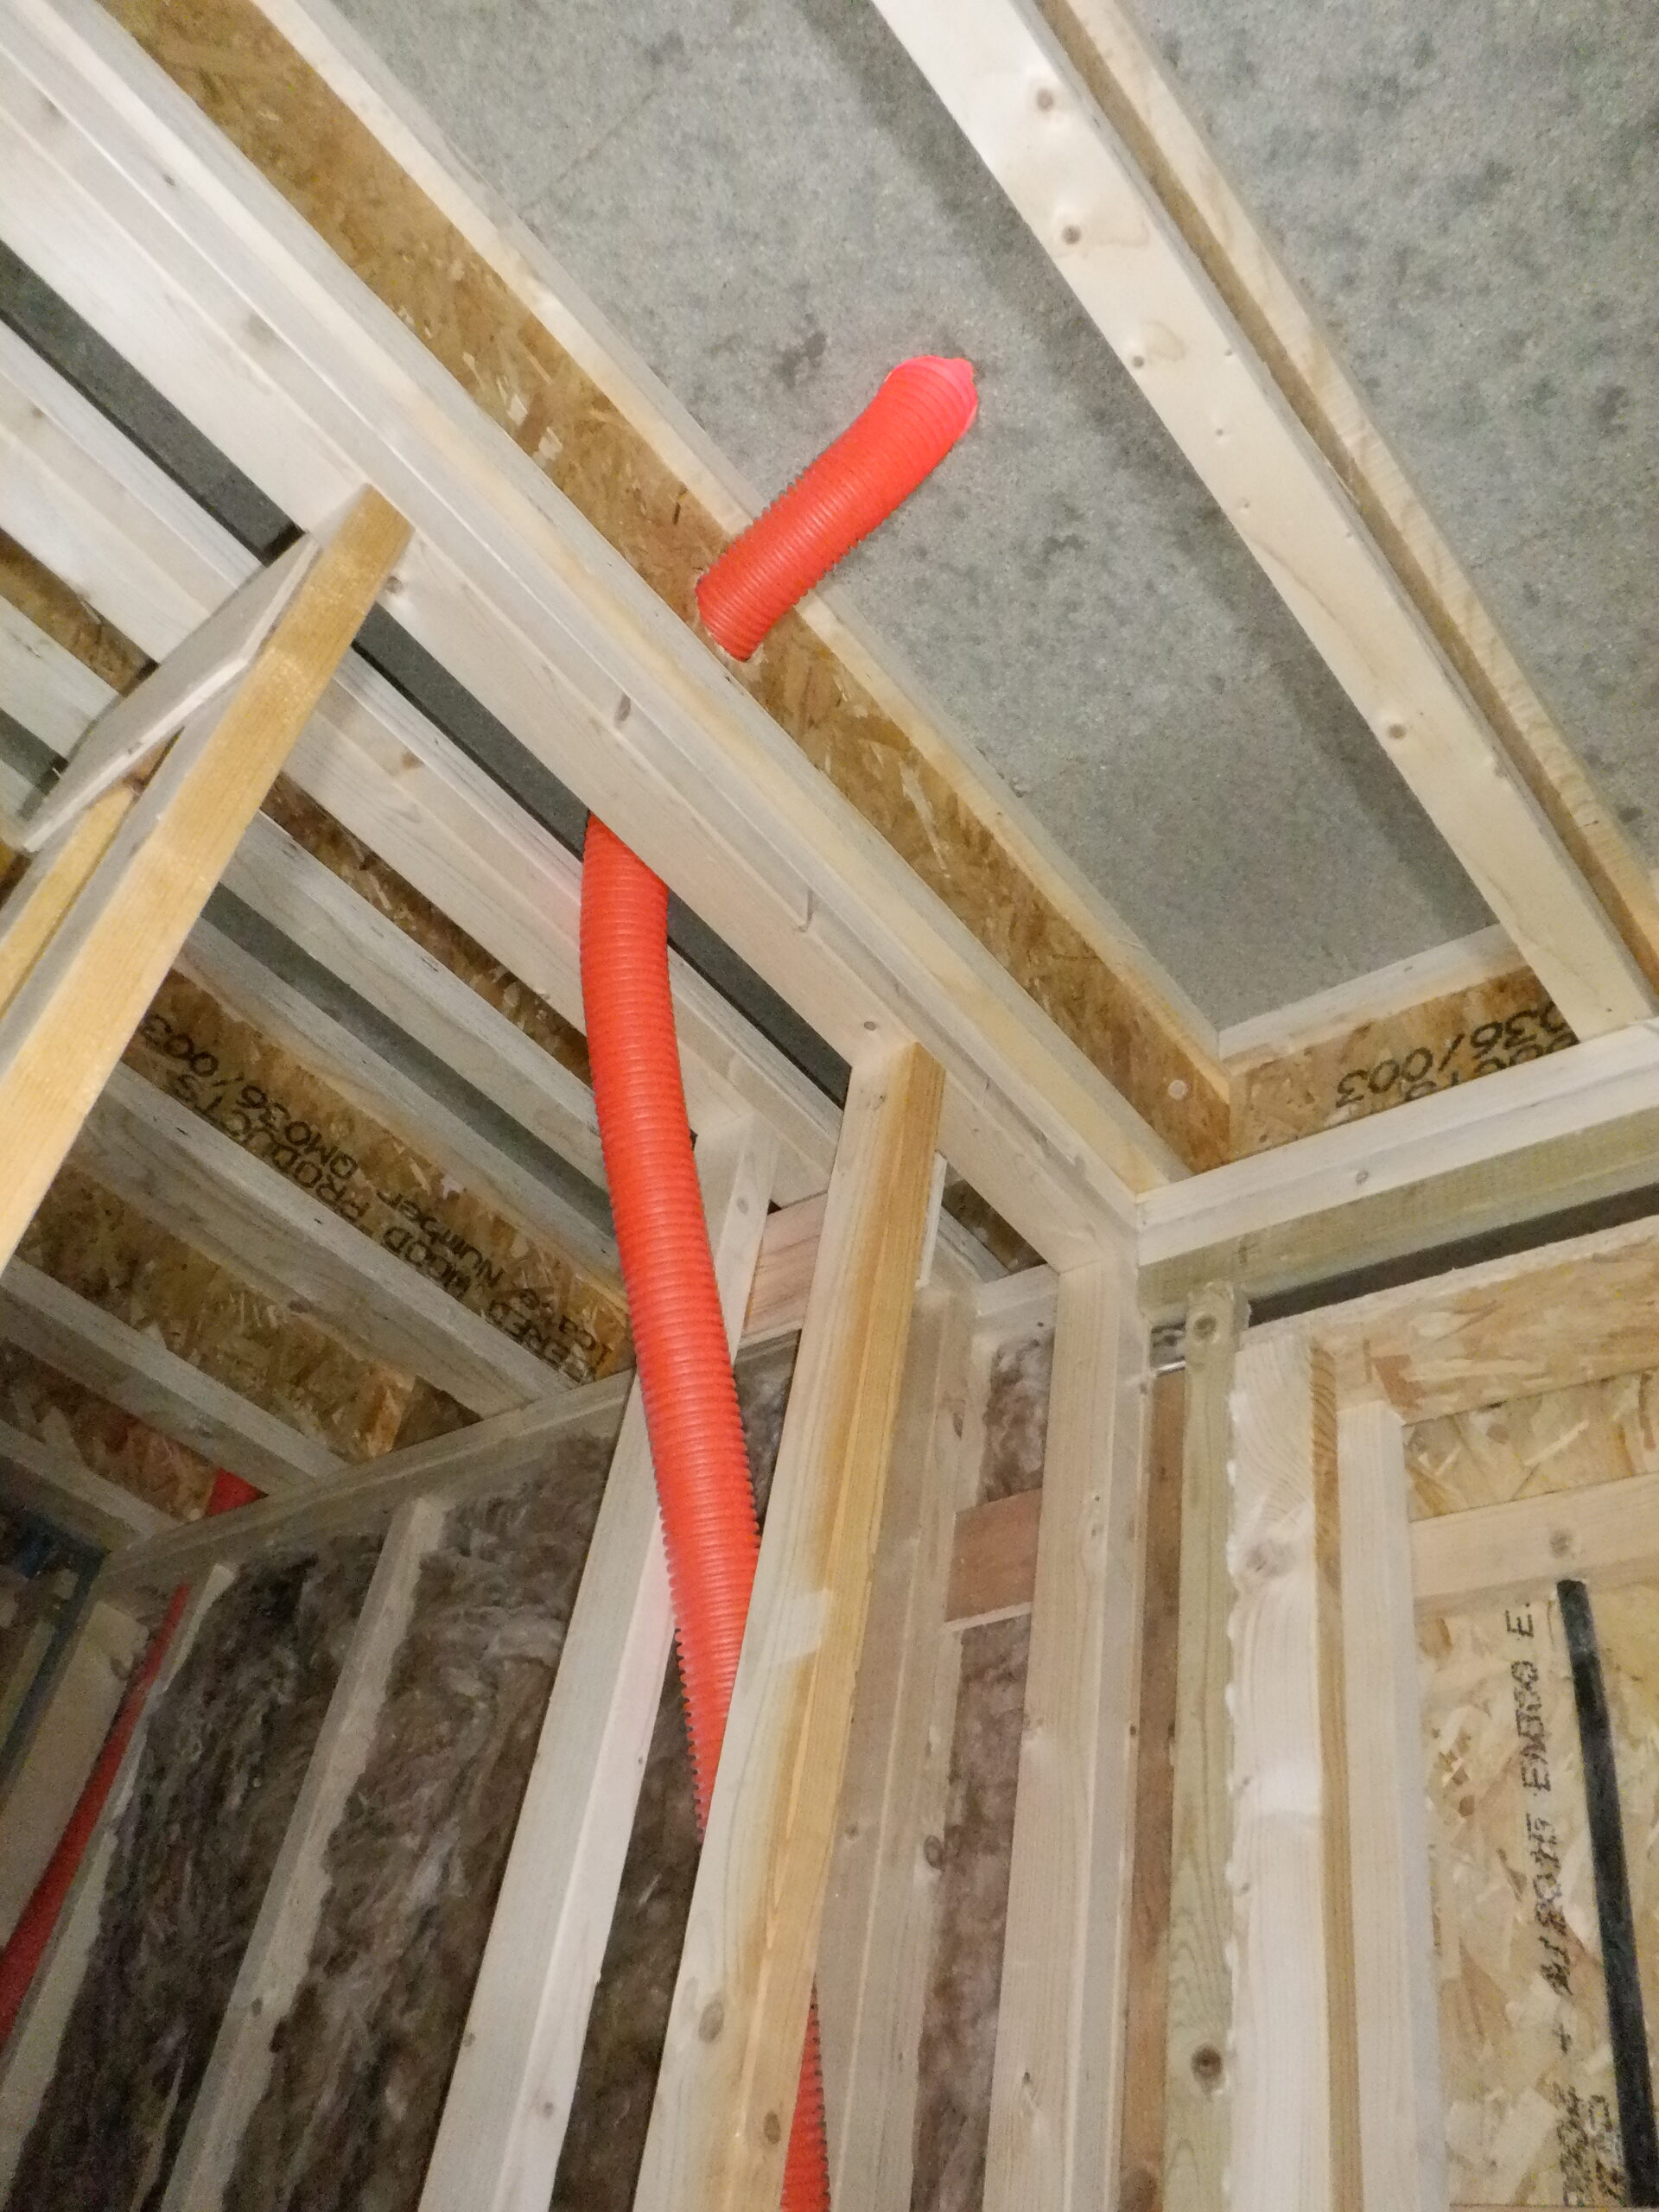
Now it is the turn of the air ducting.
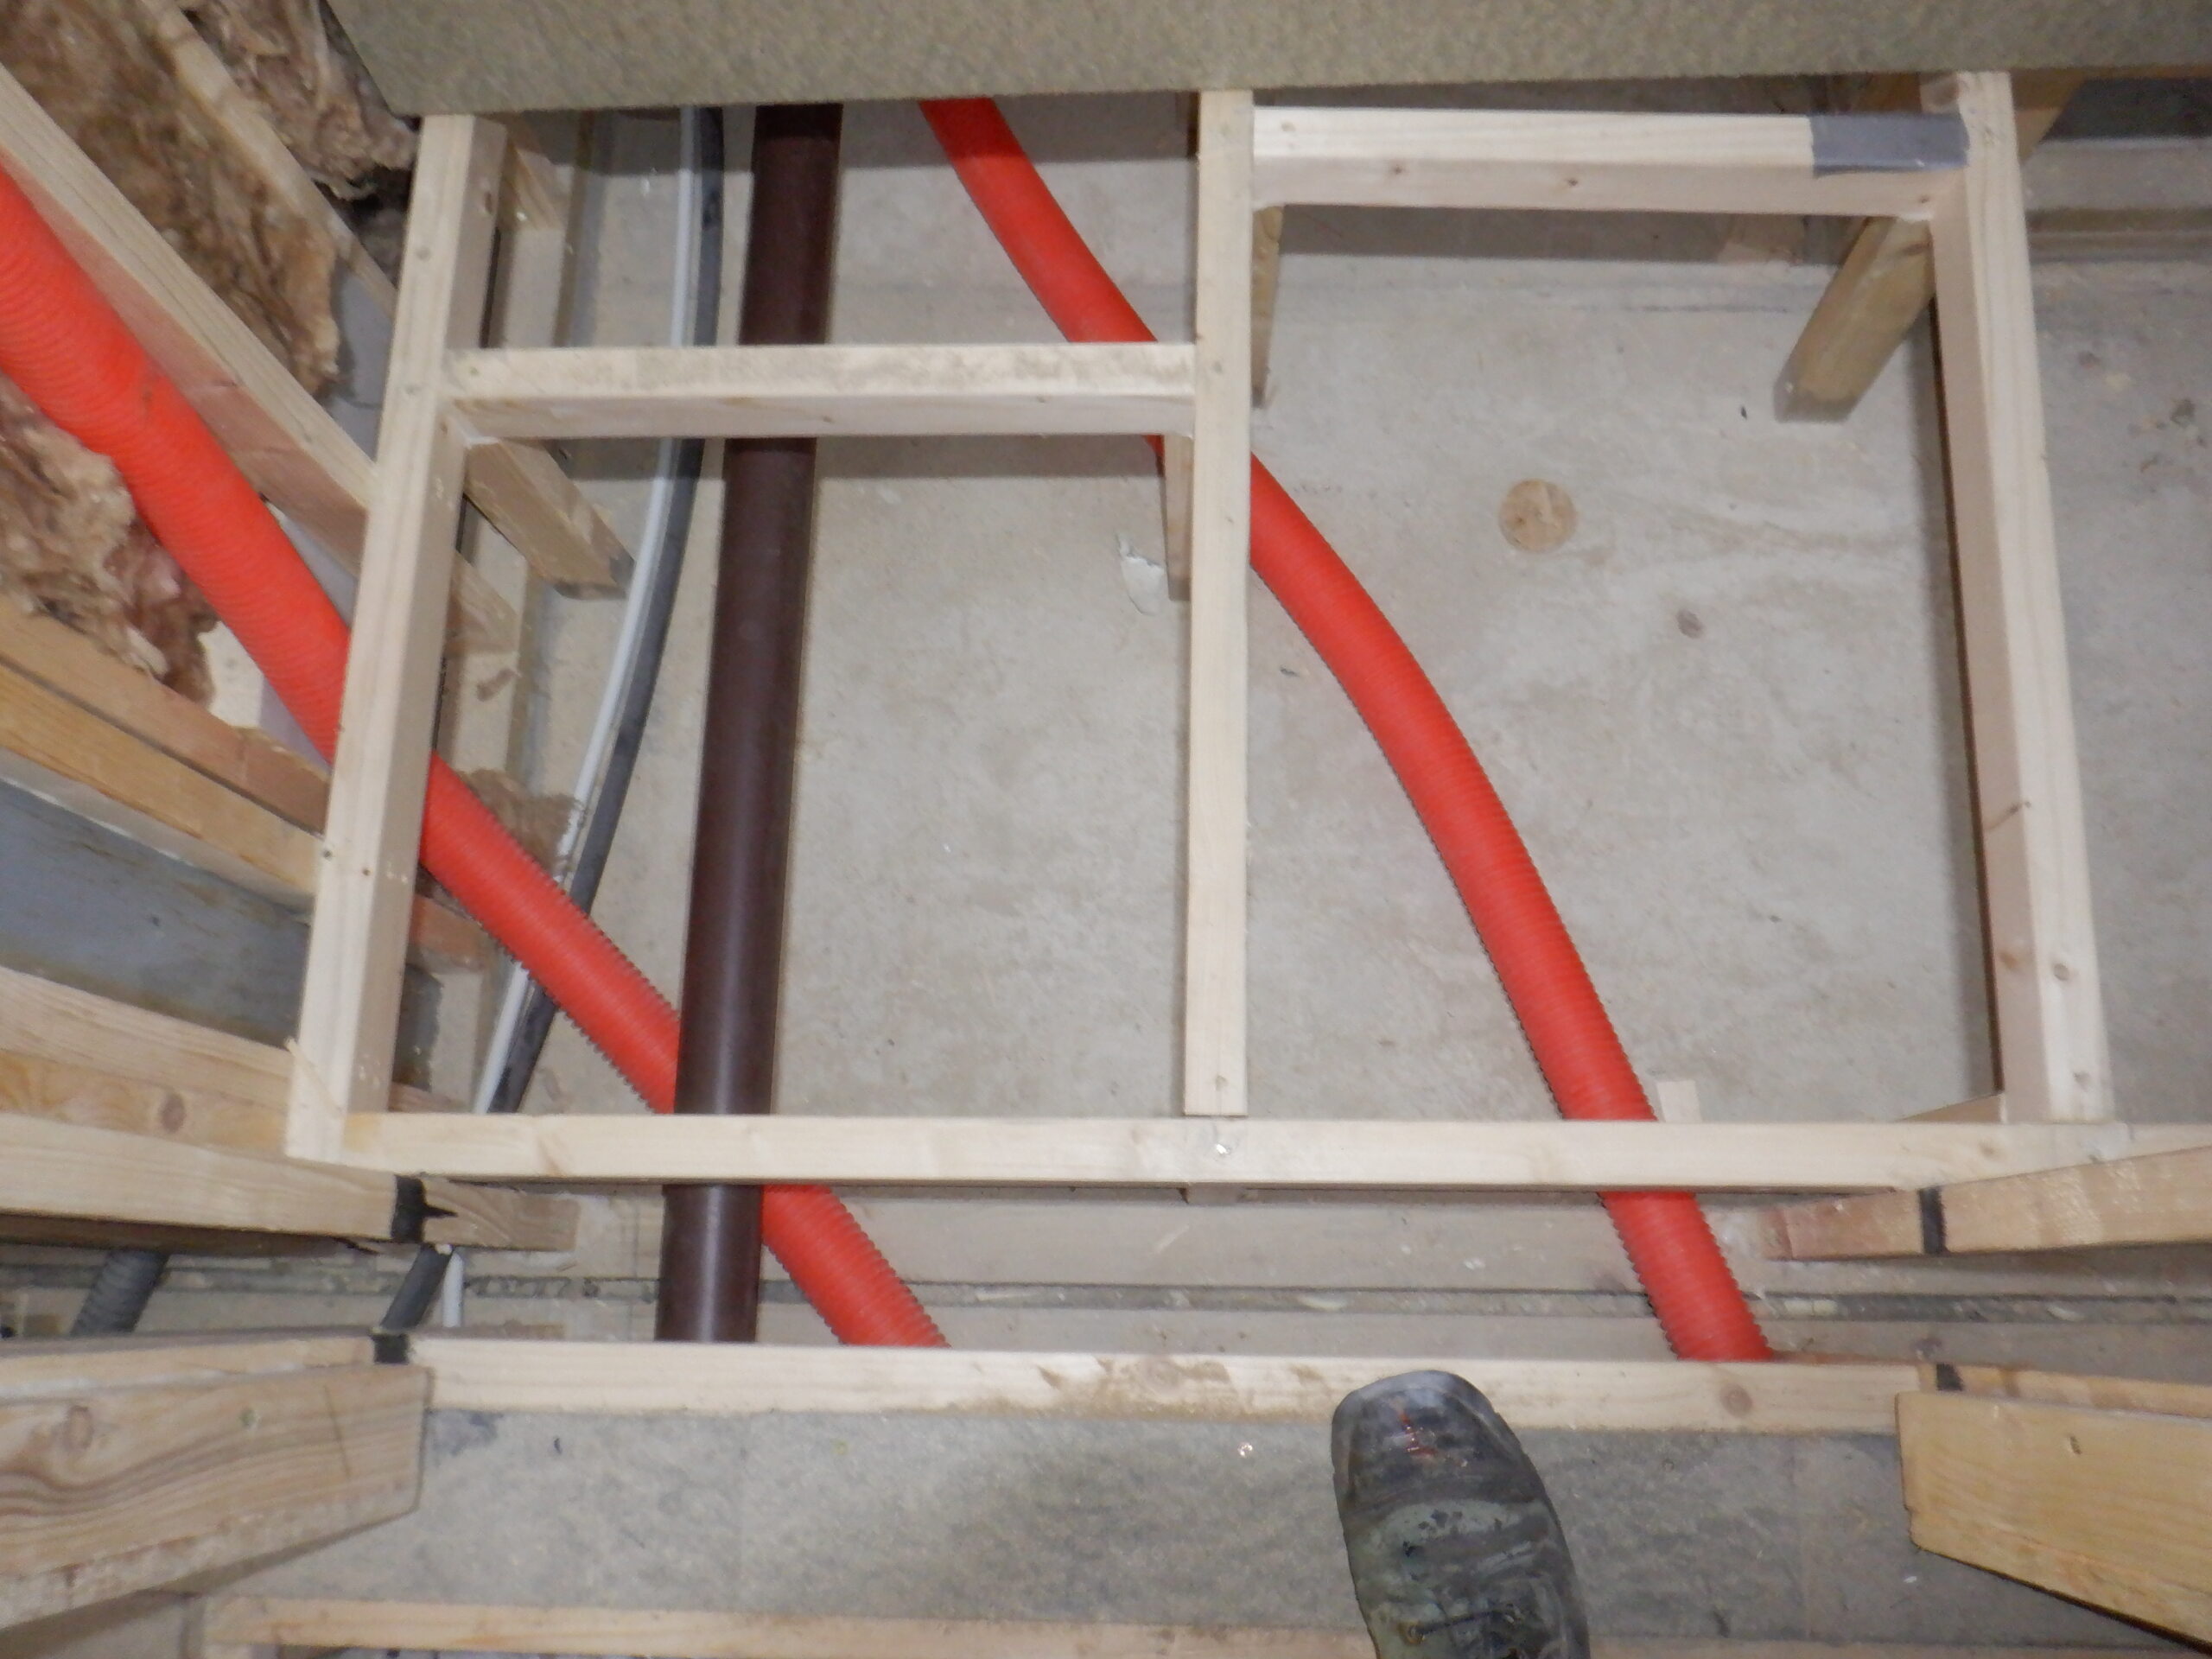
The air ducts needs to travel all the way to the far Ensuite (number Two) and we decided that we needed to build the framework for both Ensuites flooring so we had legs to attach these tubes to. See
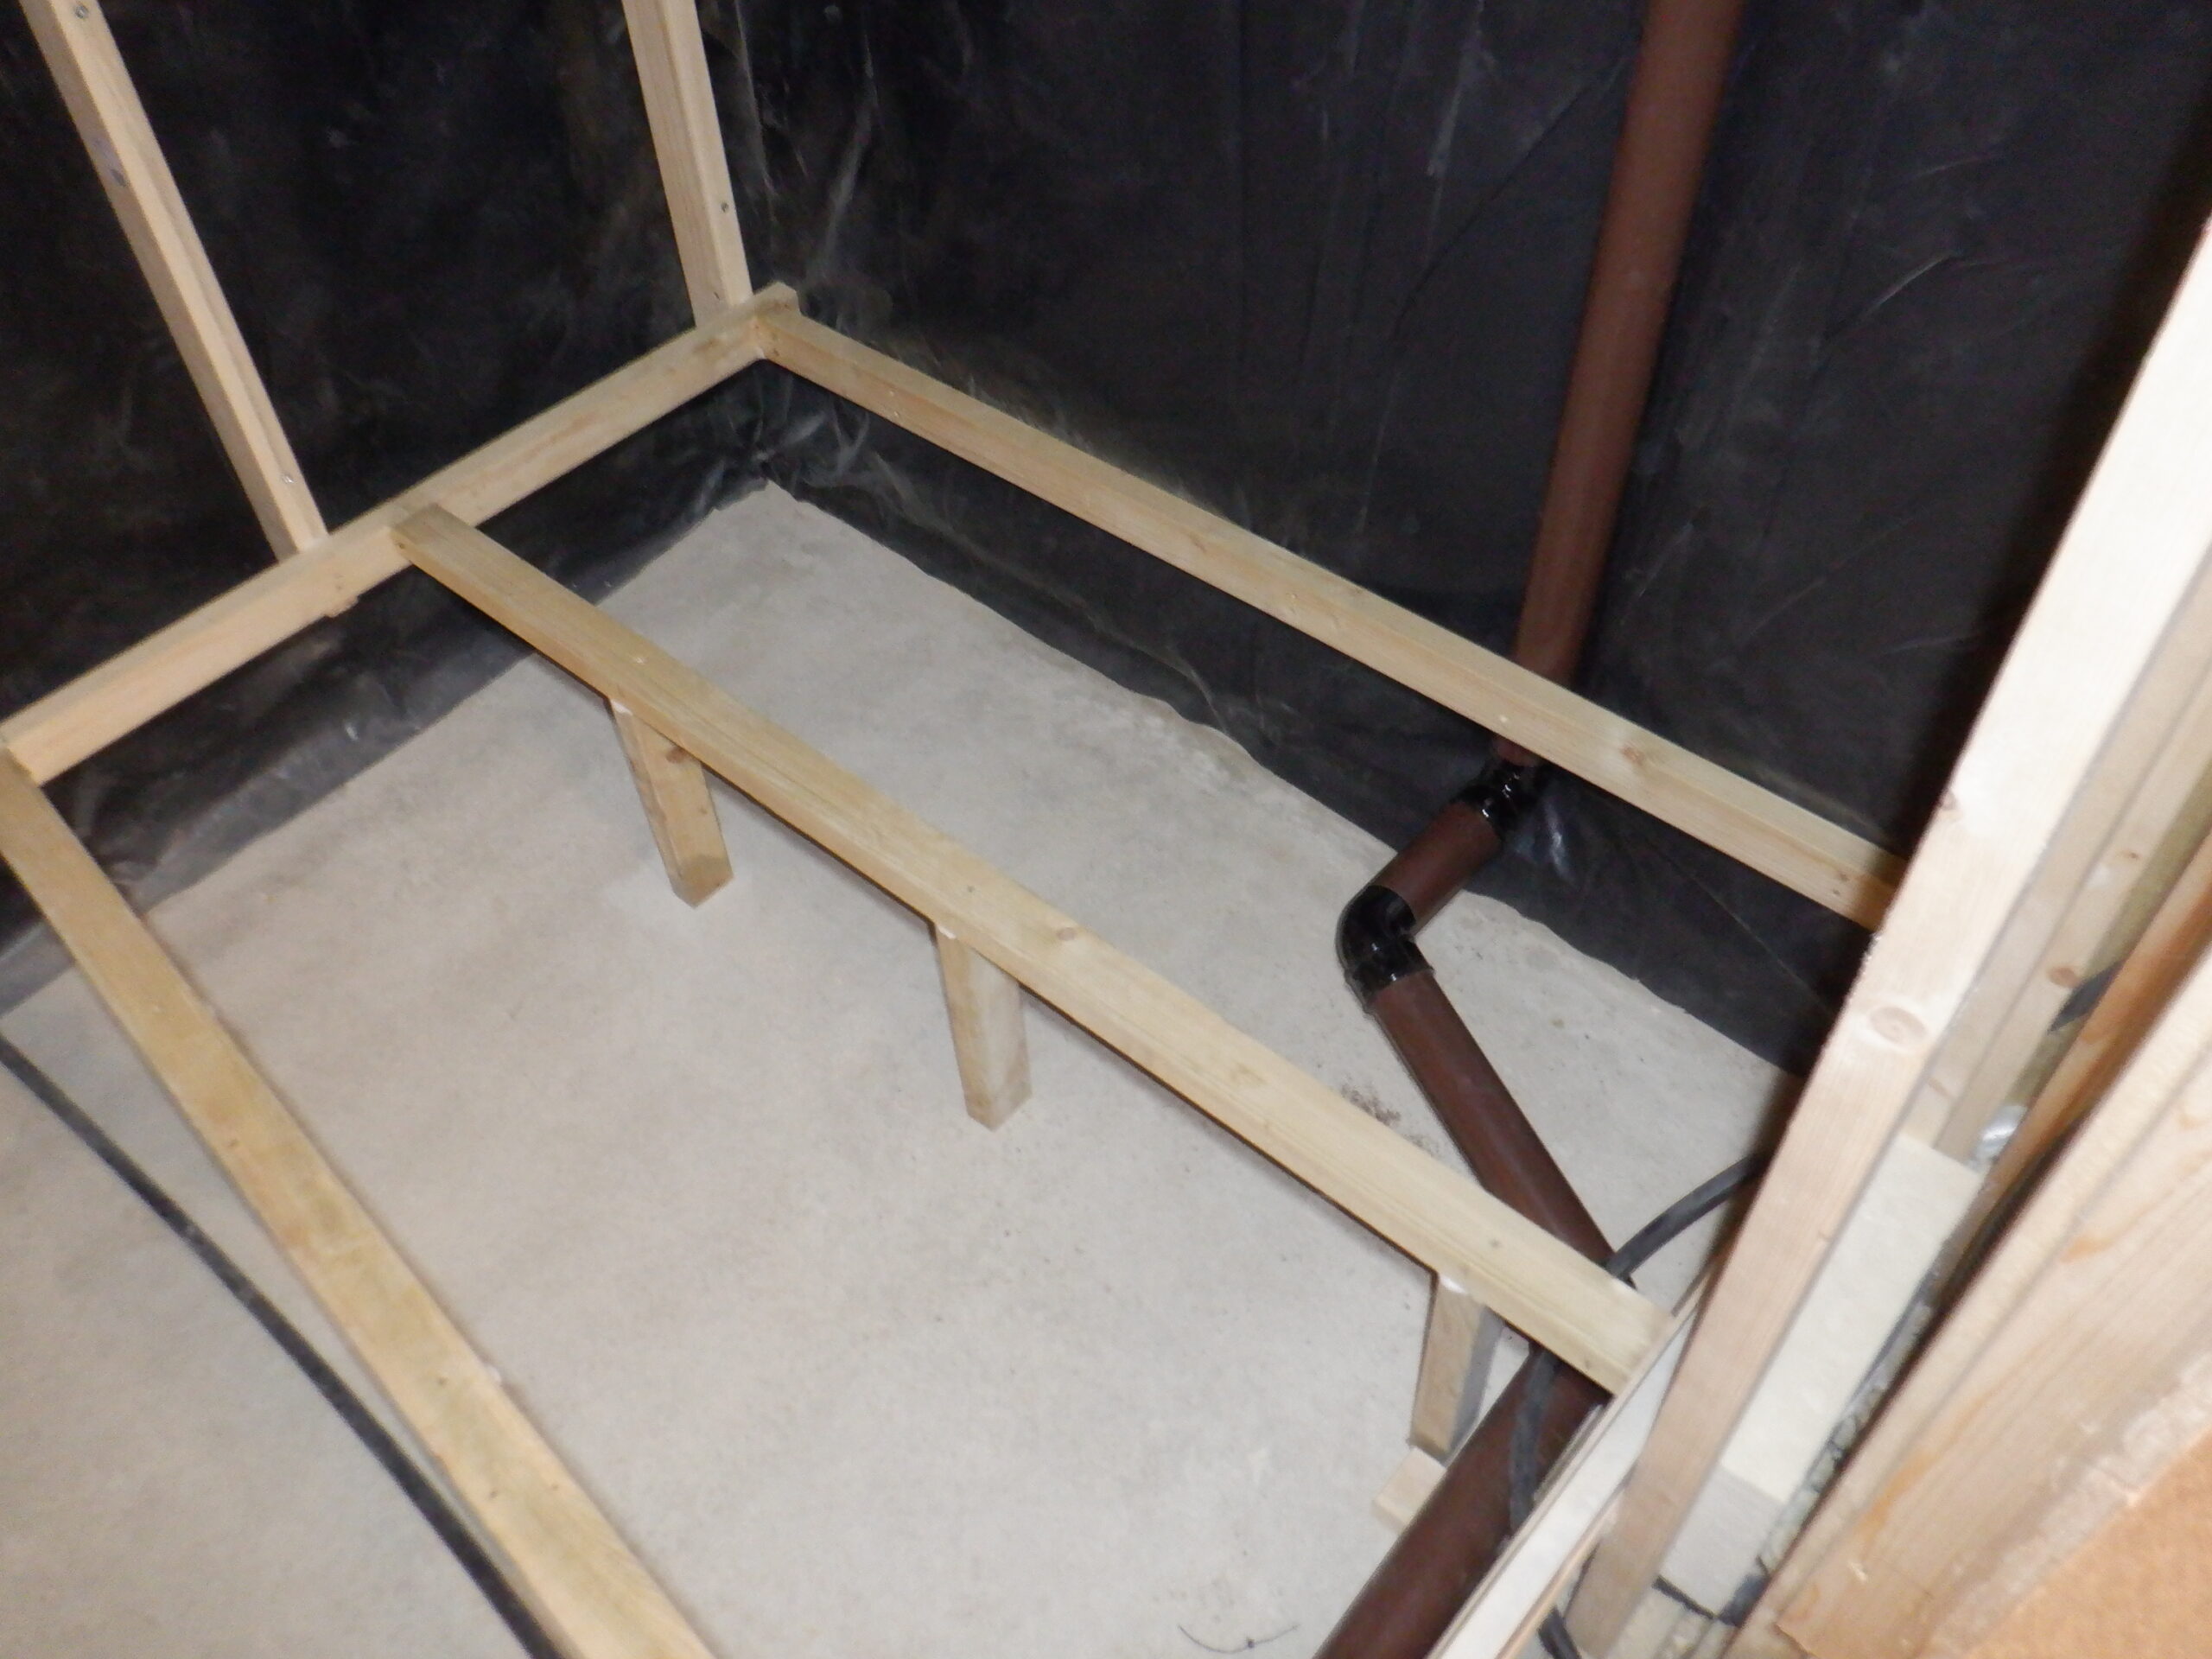
Ensuite 2 floor framing (2)
Leave a Reply
You must be logged in to post a comment.