Today, we spent all day installing a whole load of a variety of conduits, all coming from the Tech Cupboard, but going off to many different destinations, to serve the different rooms up on the First Floor. We wanted to get these conduits installed, travelling through the First Floor joist space, to route the various diameter pipes through some of the joist and then pop up into the edge of each of the rooms.
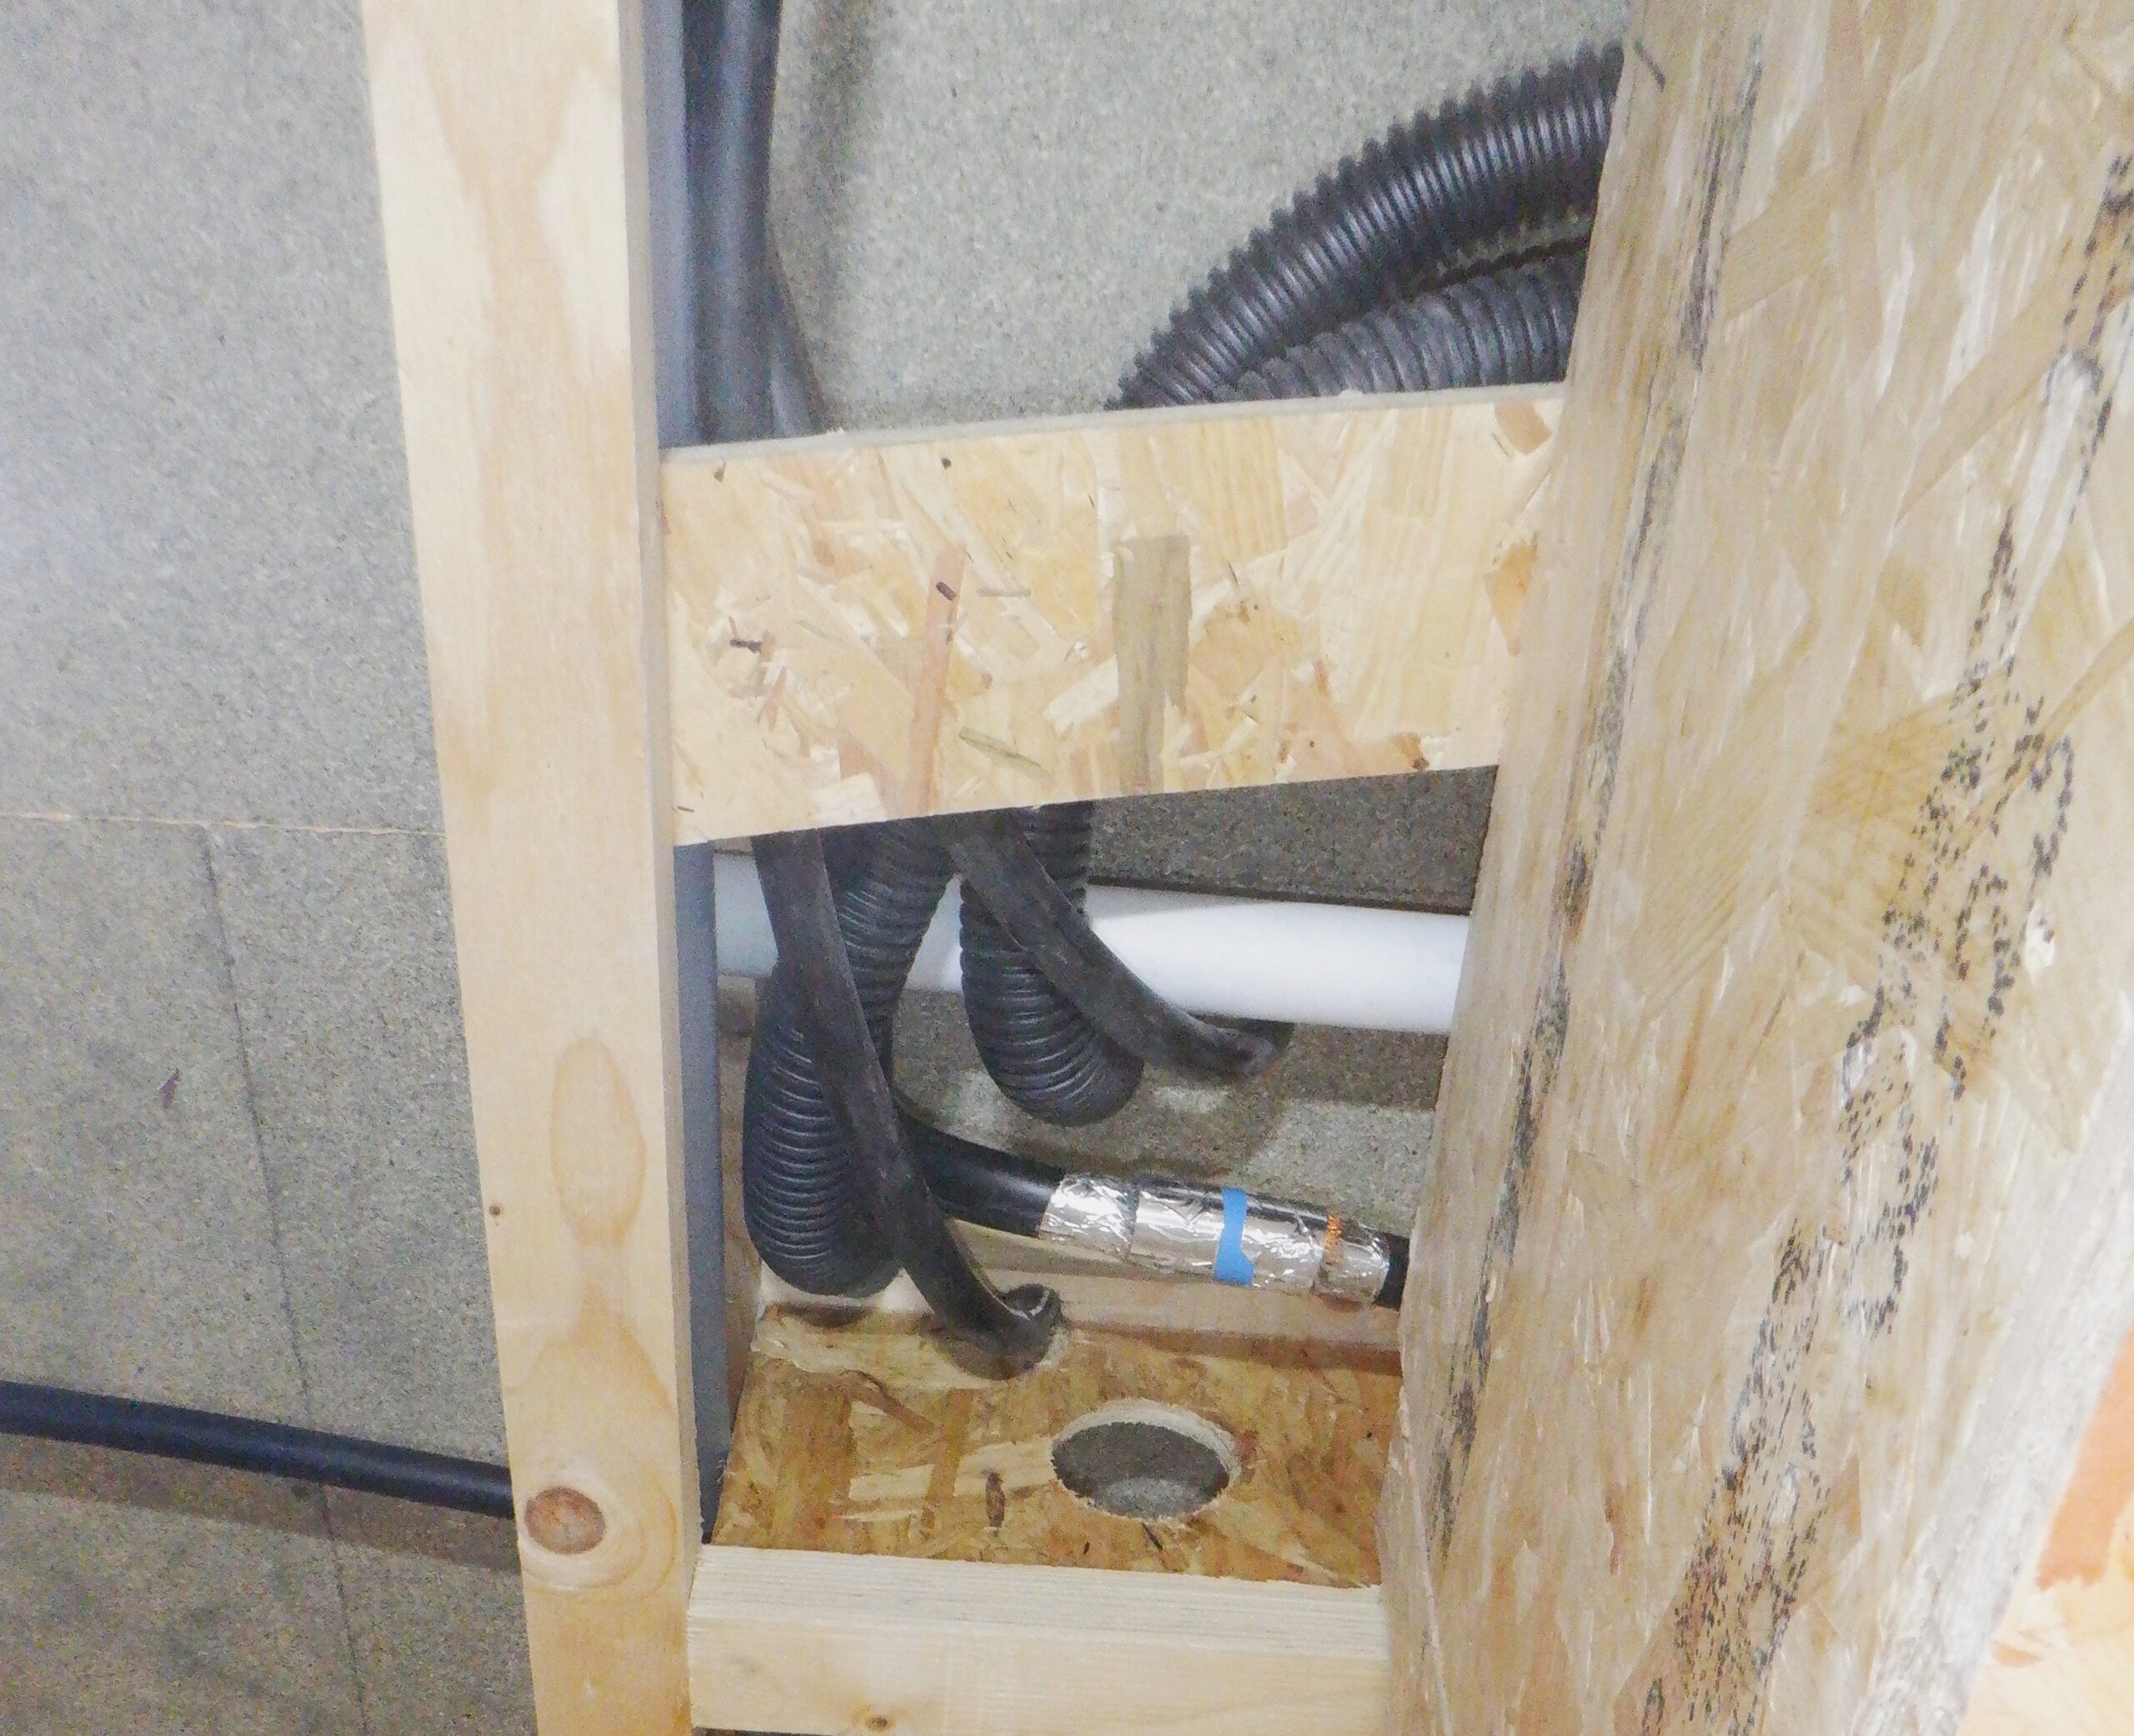
The first one we did was for Work One, which is situated near the Great Room end of the house, over the Kitchen and Bedroom One. It had a mains 230V conduit, a low voltage DC conduit, both of these were using black 20mm plastic pipe, and a third bigger flexible 40mm wide conduit, to hold a number of ethernet CAT6 cables, and even perhaps a fibre optic cable as well. All three needed to to travel from the Tech Cupboard, starting at the ceiling line, and also avoiding the Steel C-Channel structural steel element that joins the steel legs together, drilling holes through the webbing, the middle part of the I-beam joist, and getting through some noggings as well. They came out of the Tech Cupboard, cut across the Hall Two, and then across the Cloakroom, before shooting upwards through three holes that have been drilled through the CLS timber and floorboard.
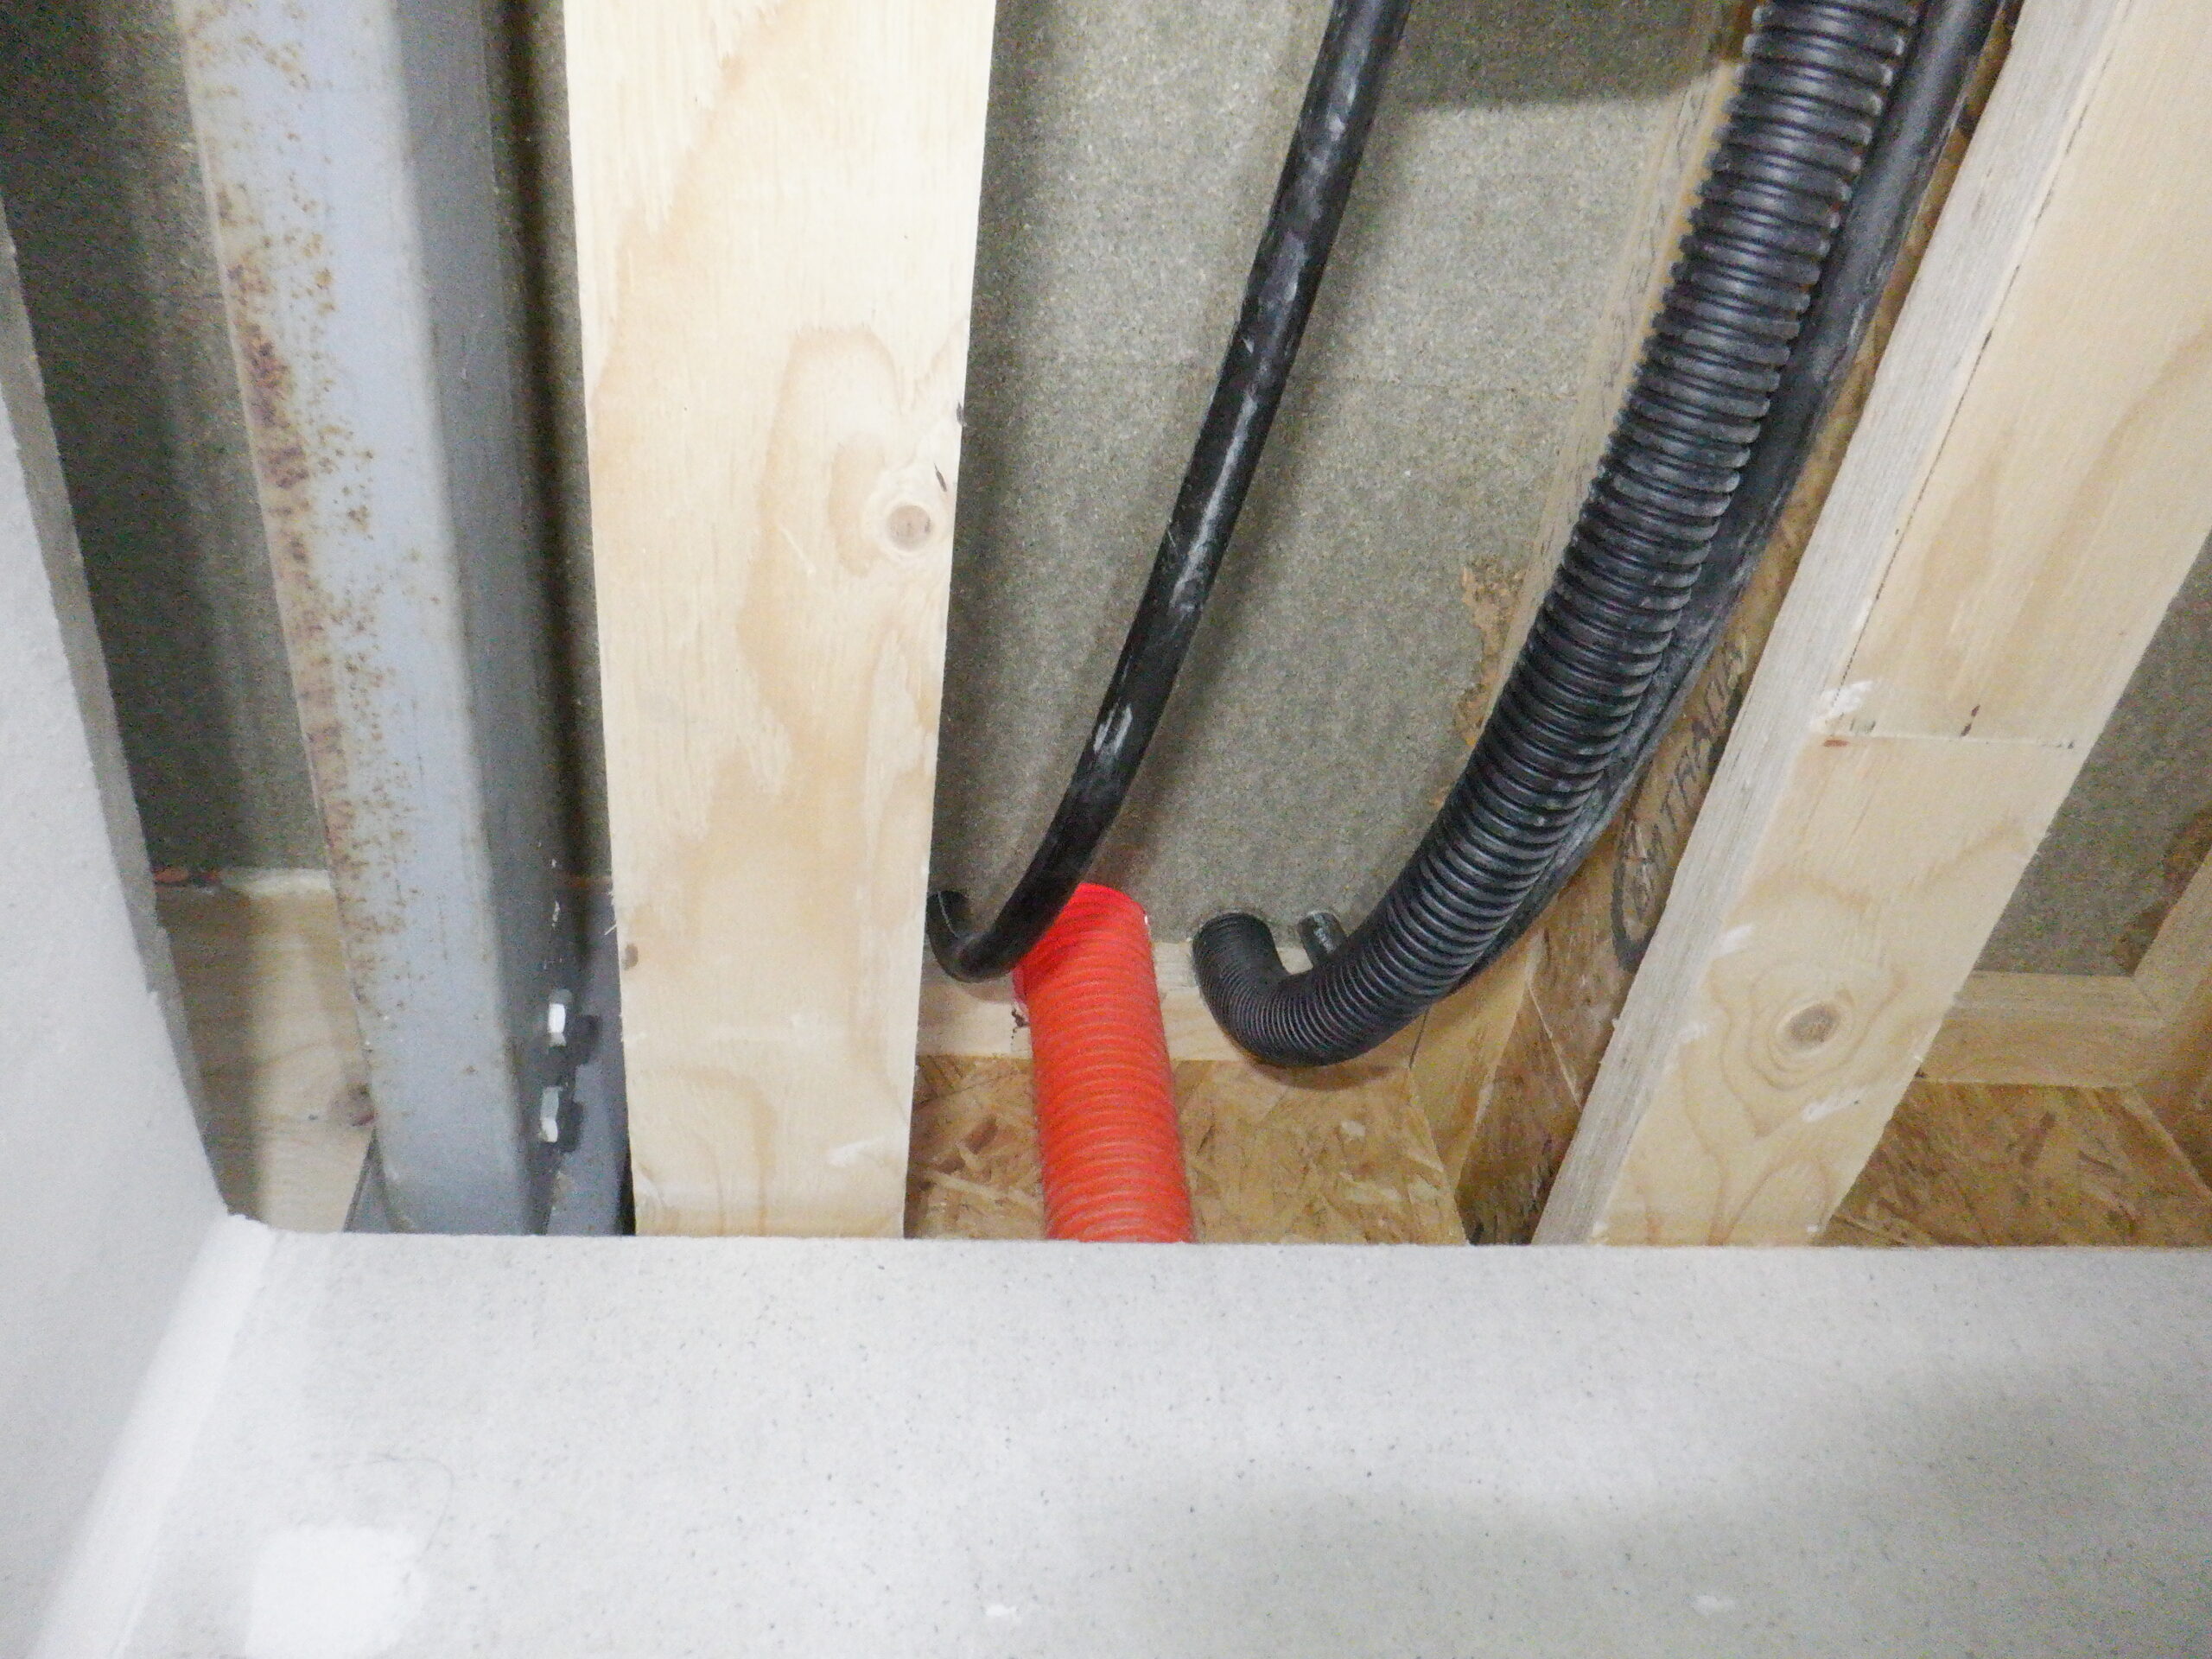
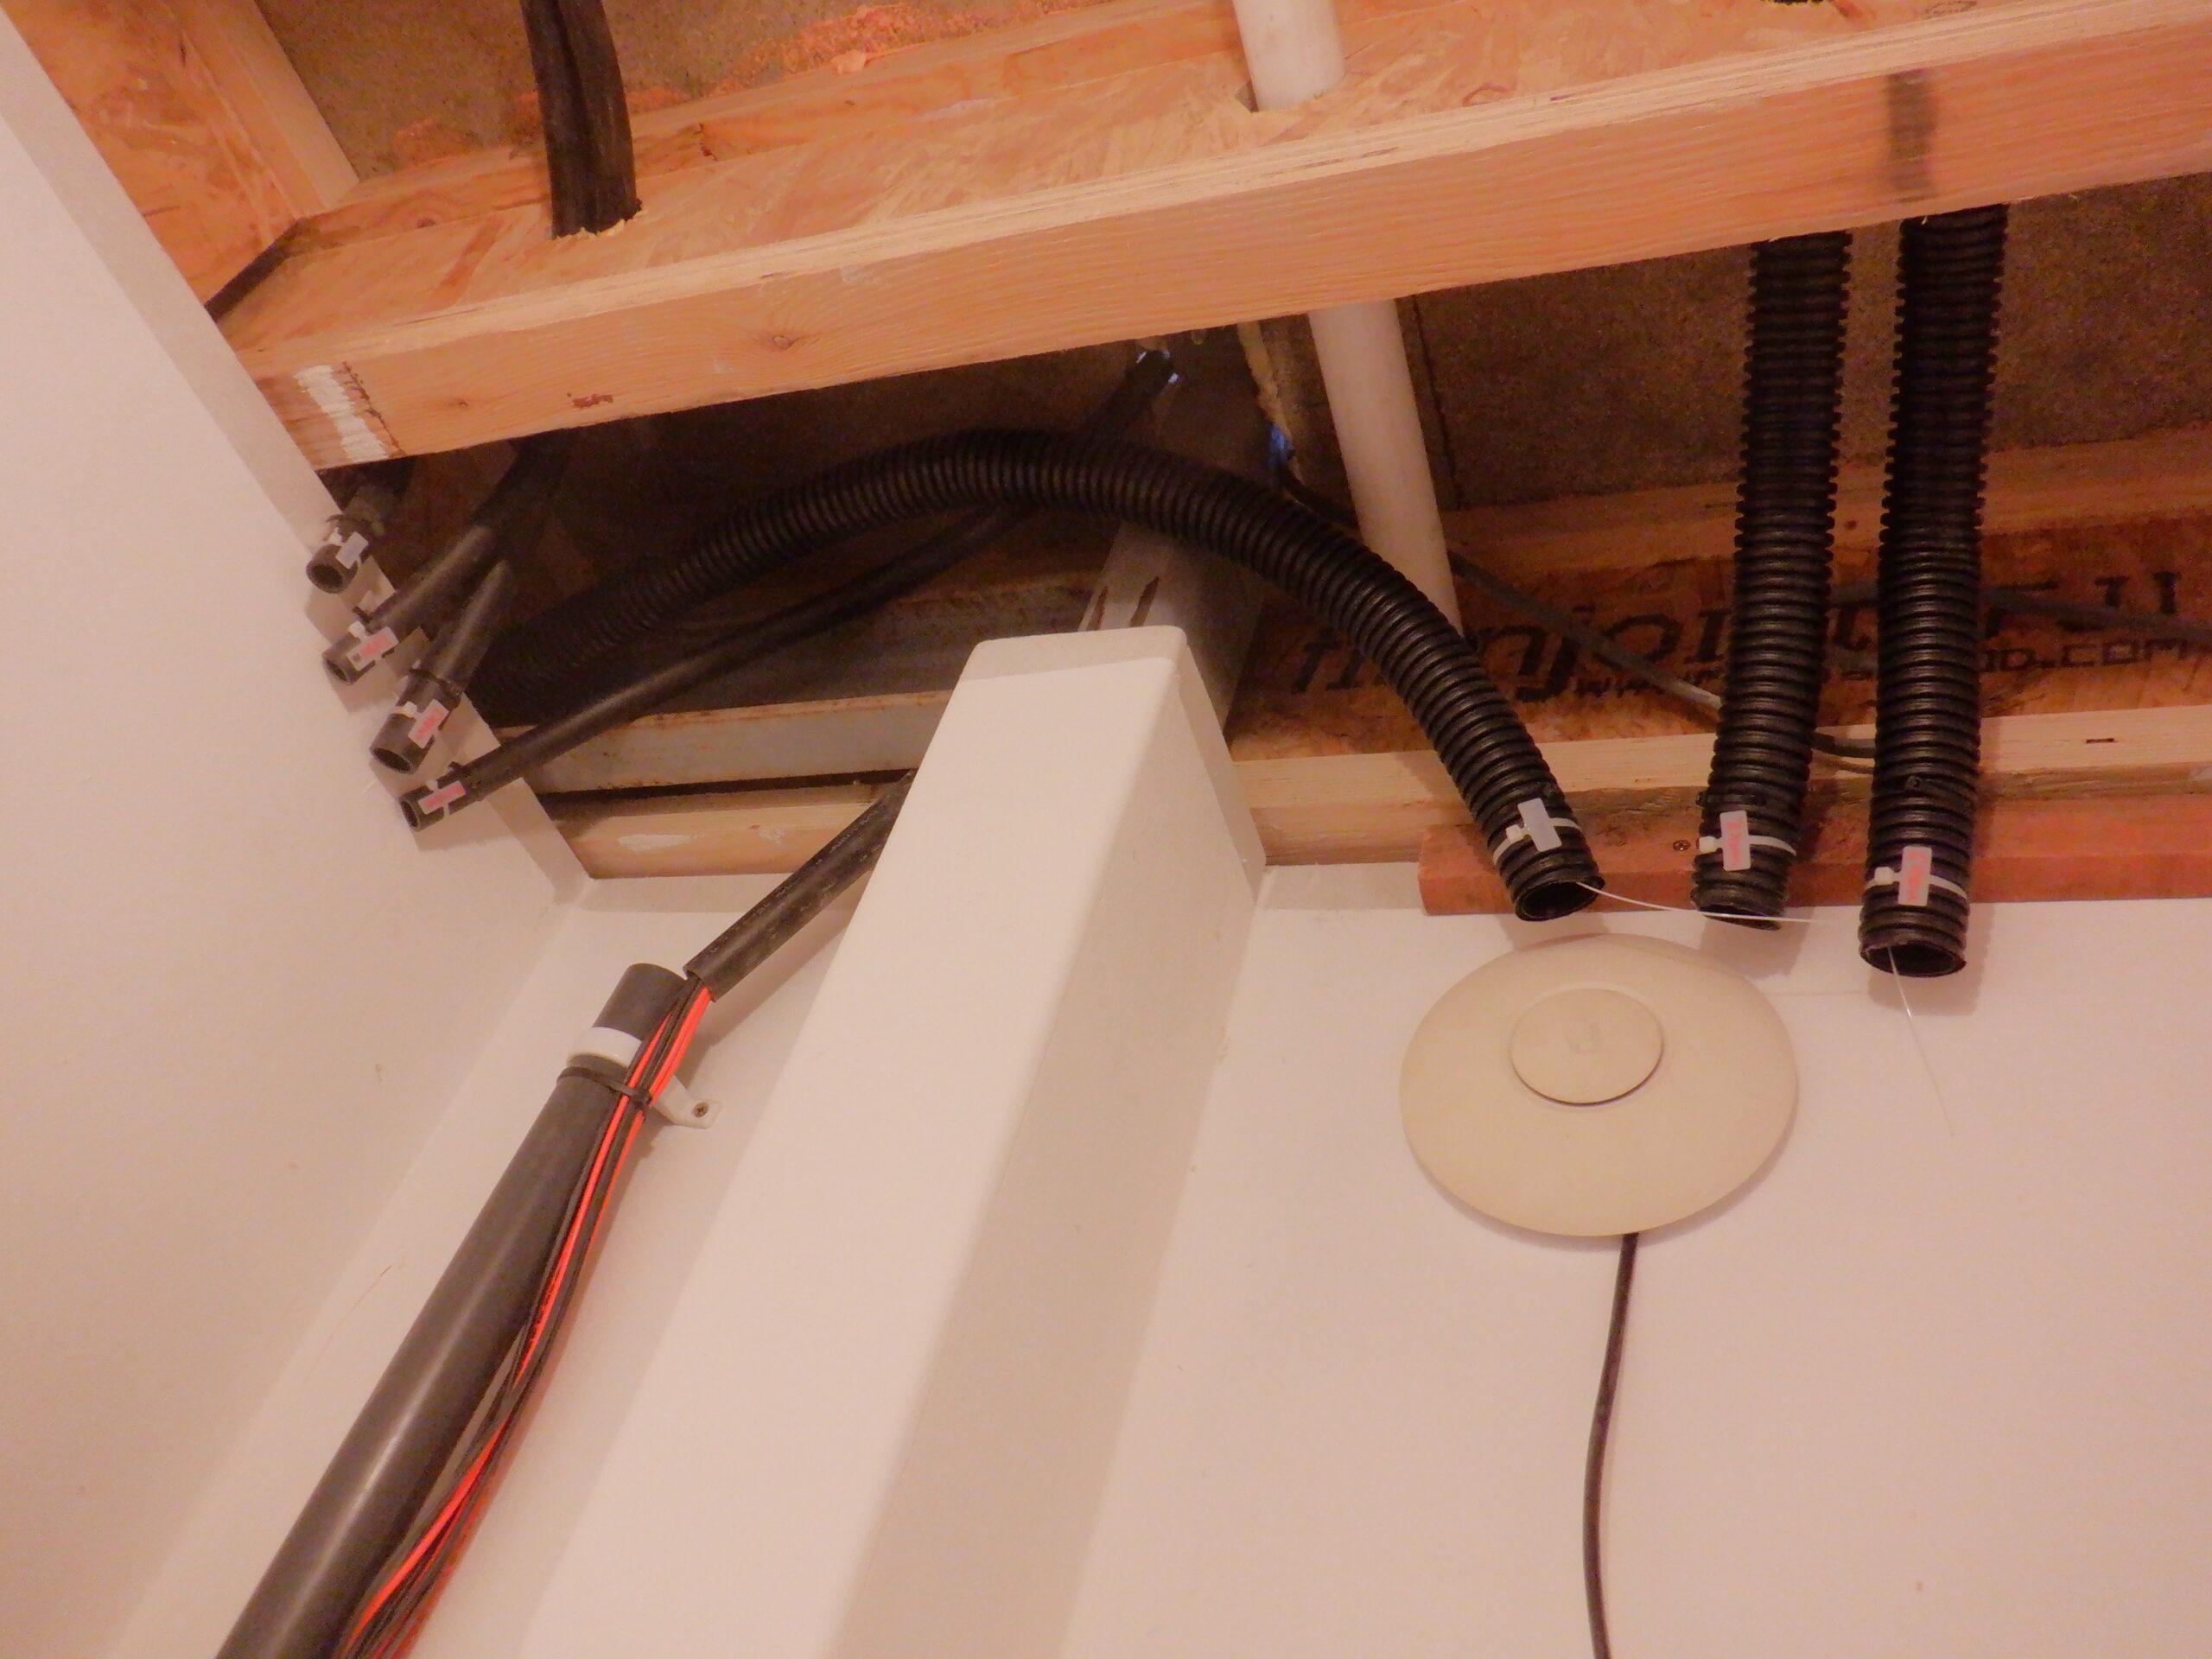
Work 1 Conduits through ceiling
Conduits arrive upstairs (1)
This was the main reason for doing this task now, is that we wanted everything that it going over the Cloakroom, to be implemented so we could mount up the final element, the ceiling and get it sealed and ready for painting.
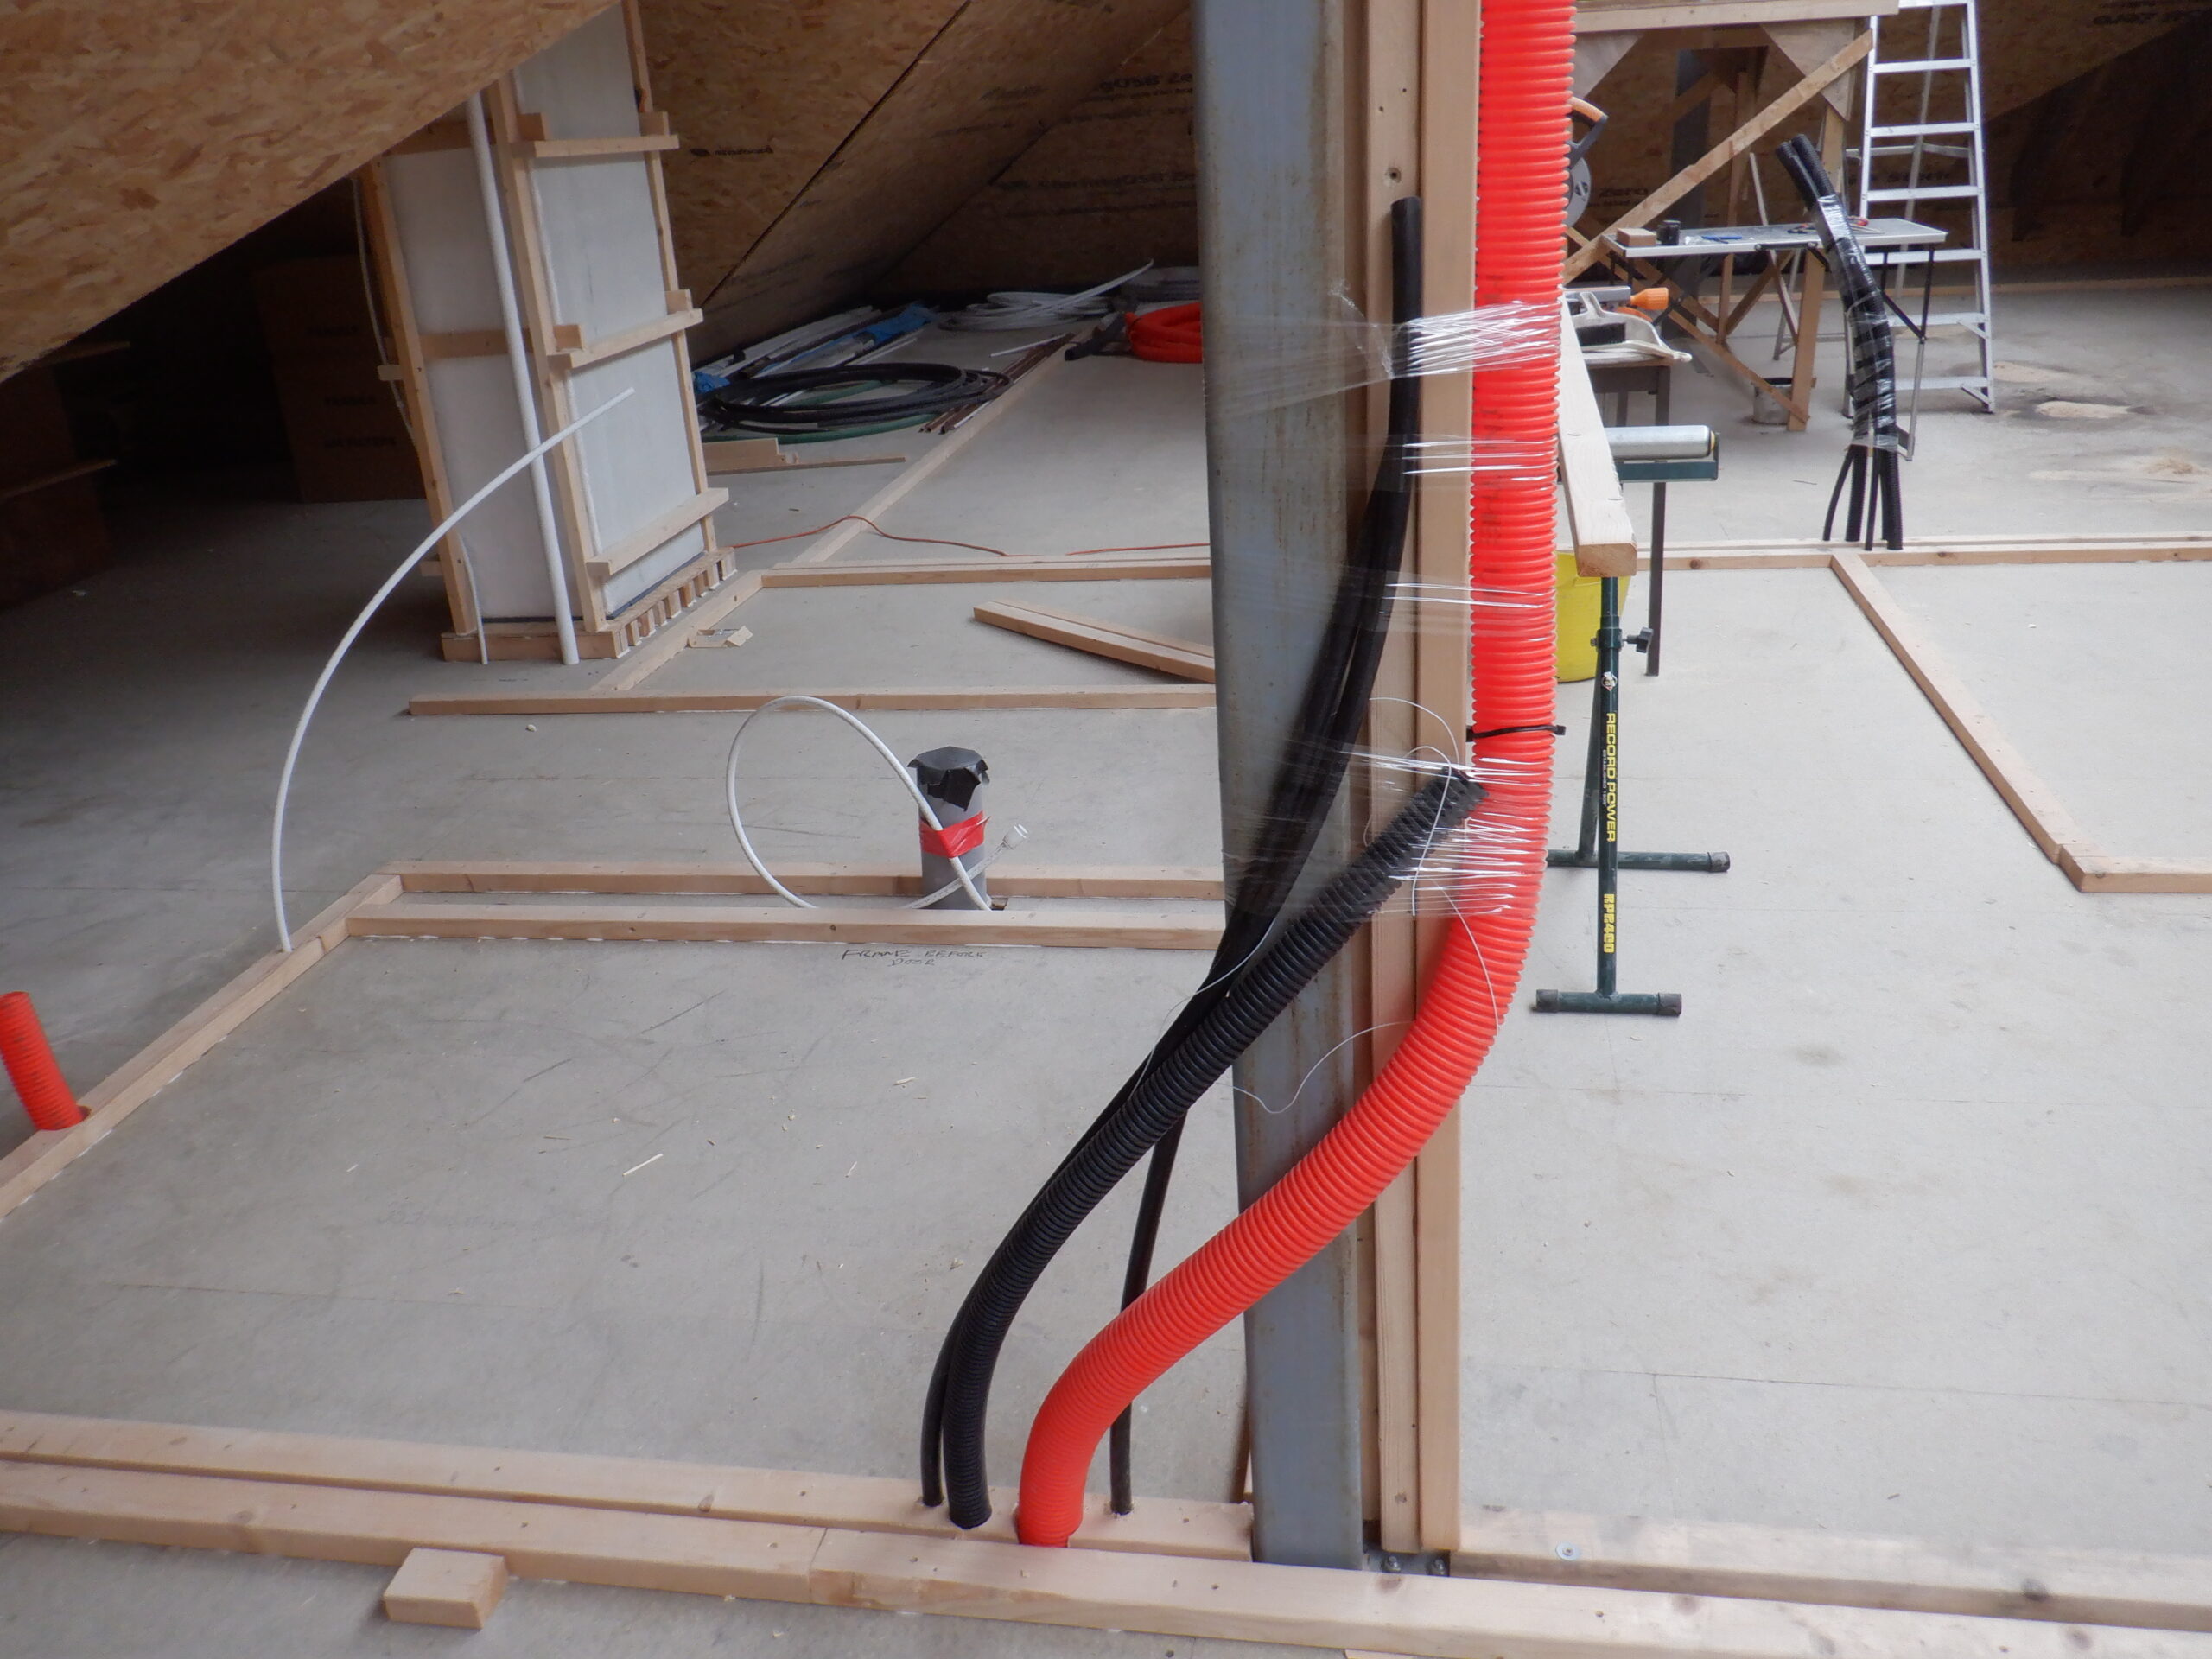
But, once we started this task, we felt that it would be a good idea to complete installing all the other conduits that serves the other rooms upstairs. So, the next destination was both Work Two (located over the Entertainment Room) and Work Three (that stretches over a whole bunch of rooms, like the Bathroom, Tech Cupboard, Knick Knack Cupboard, Bedroom Three and the Utility Room as well). We needed another double set of the three conduits like before, which are located much closer to the Tech Cupboard this time. It needed only to come out of the cupboard and immediately bend upwards just outside the doorway, in Hall Three, to go through five different holes. The sixth hole was only another couple of feet away across Hall Three and goes upwards near the metal leg. All six holes were drilled through the CLS footplate similar to like the other place.
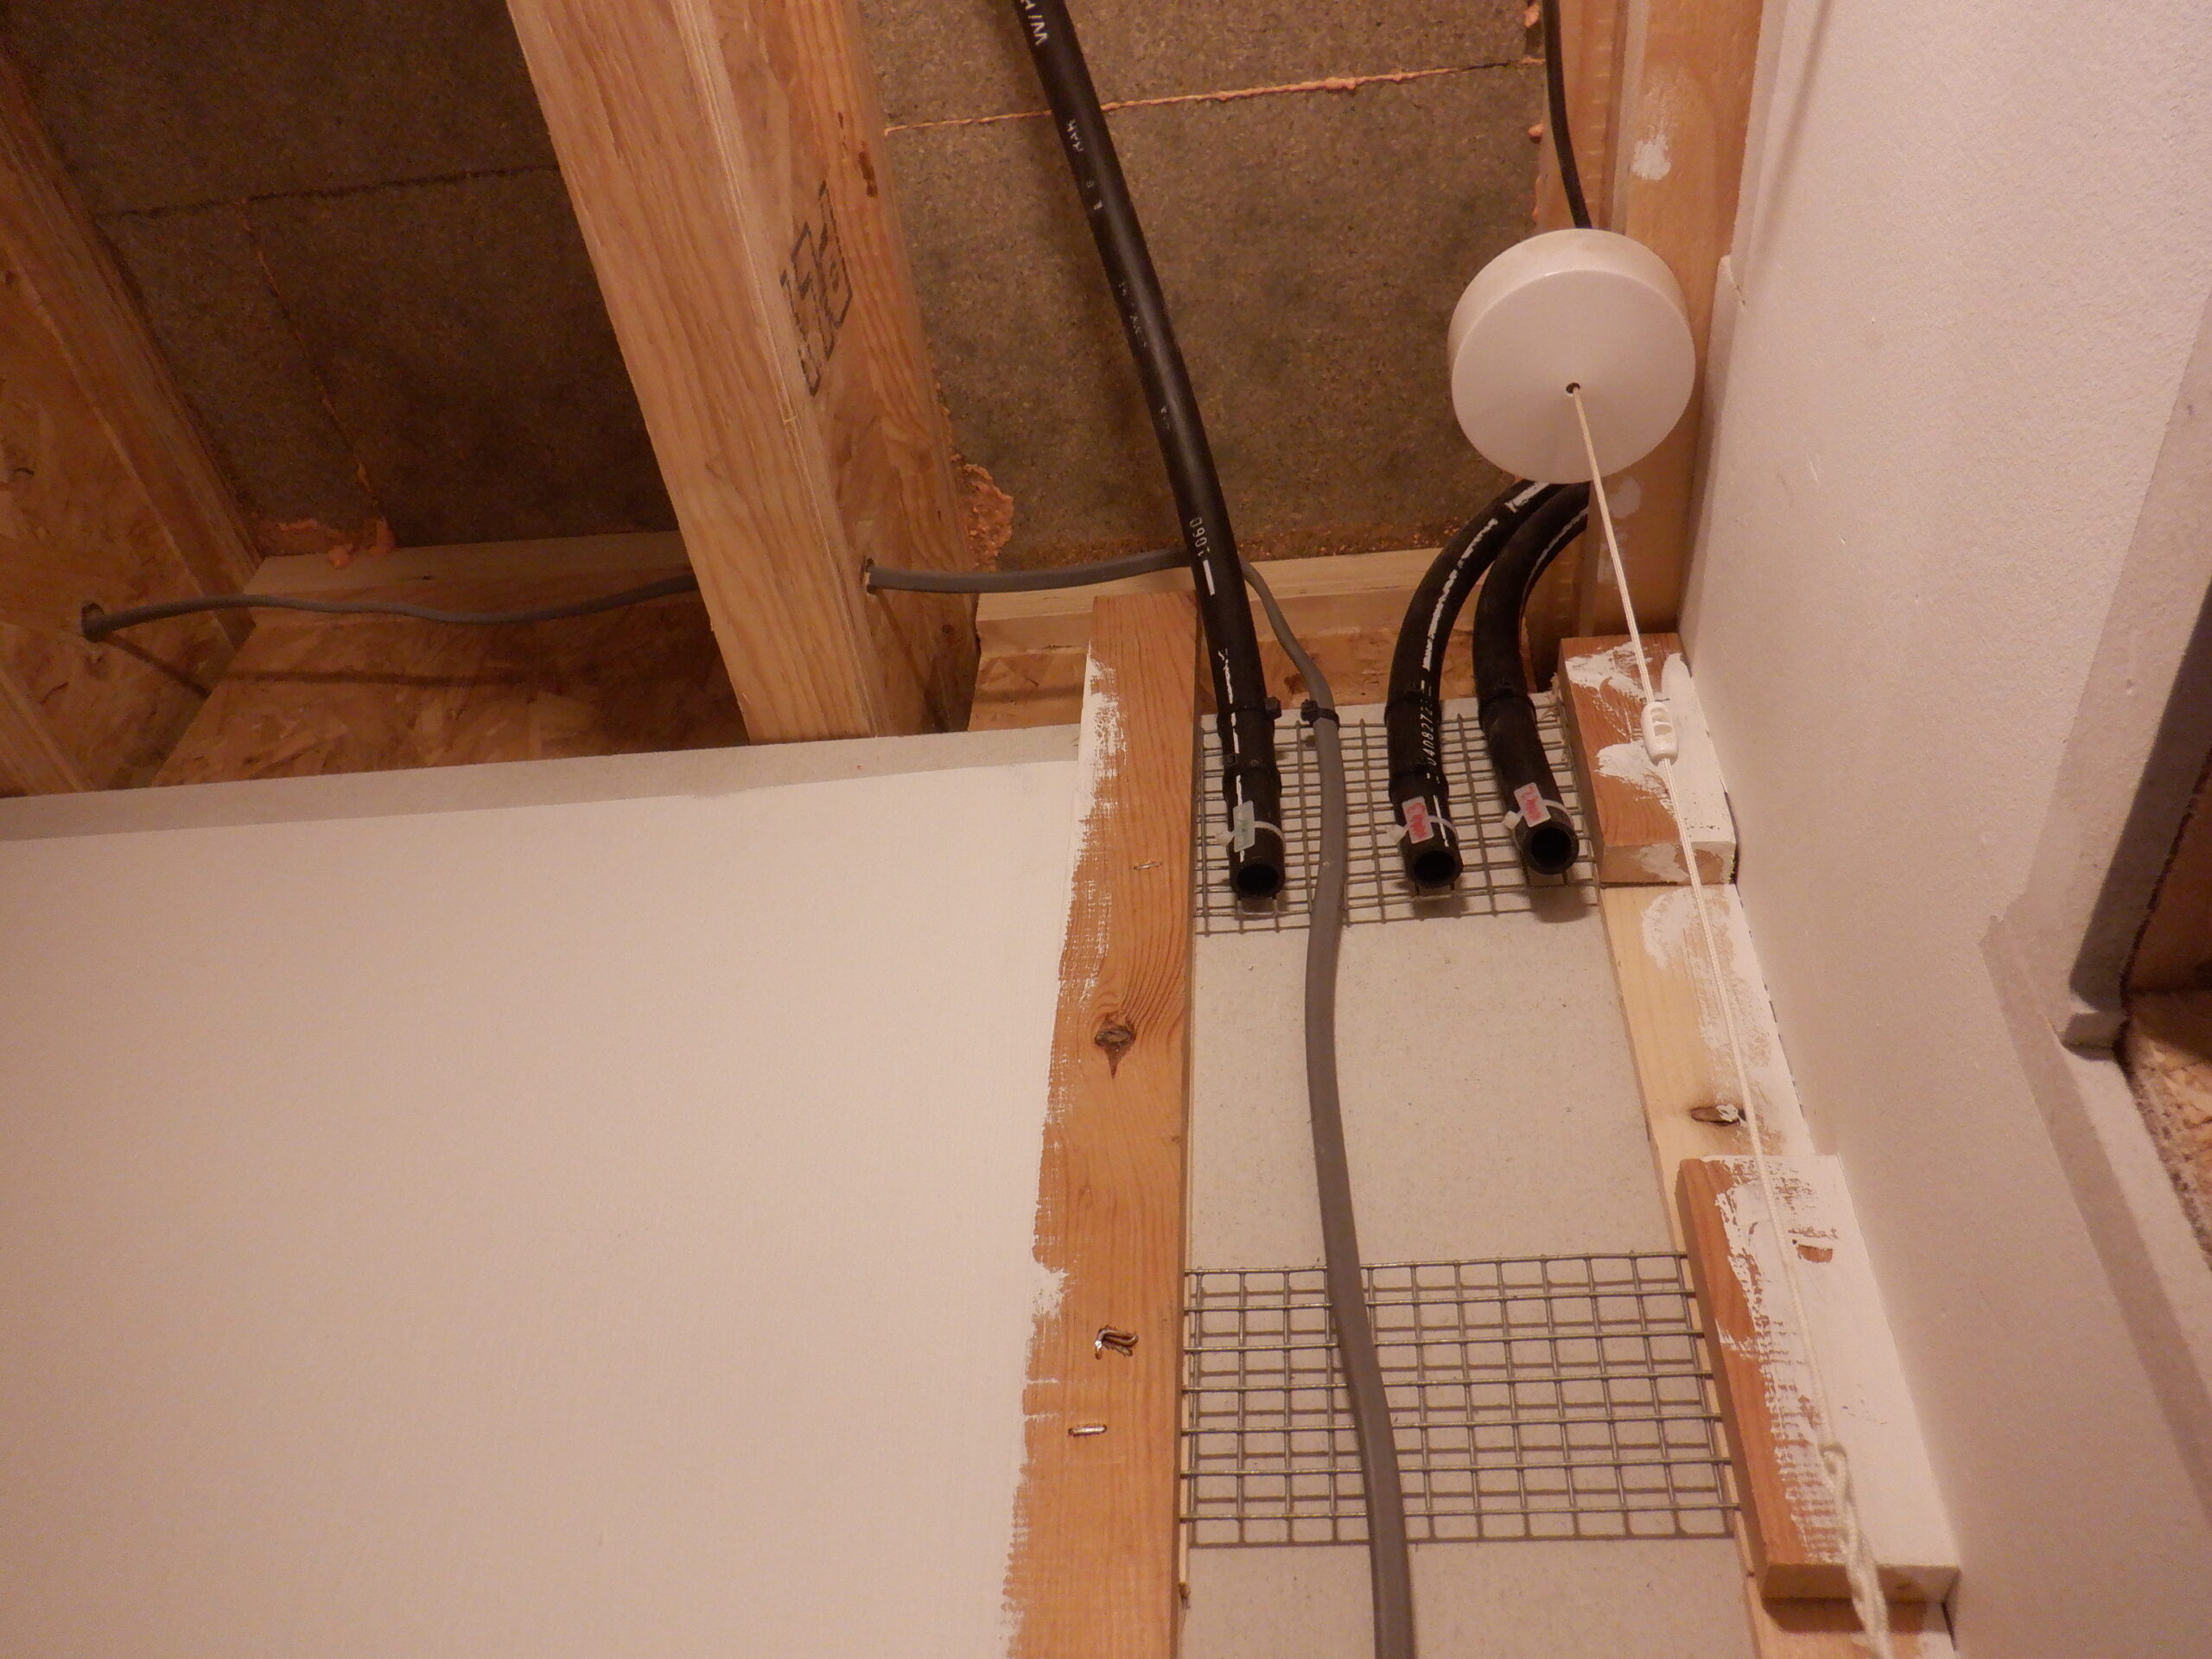
Work2 & 3 Electrical conduits
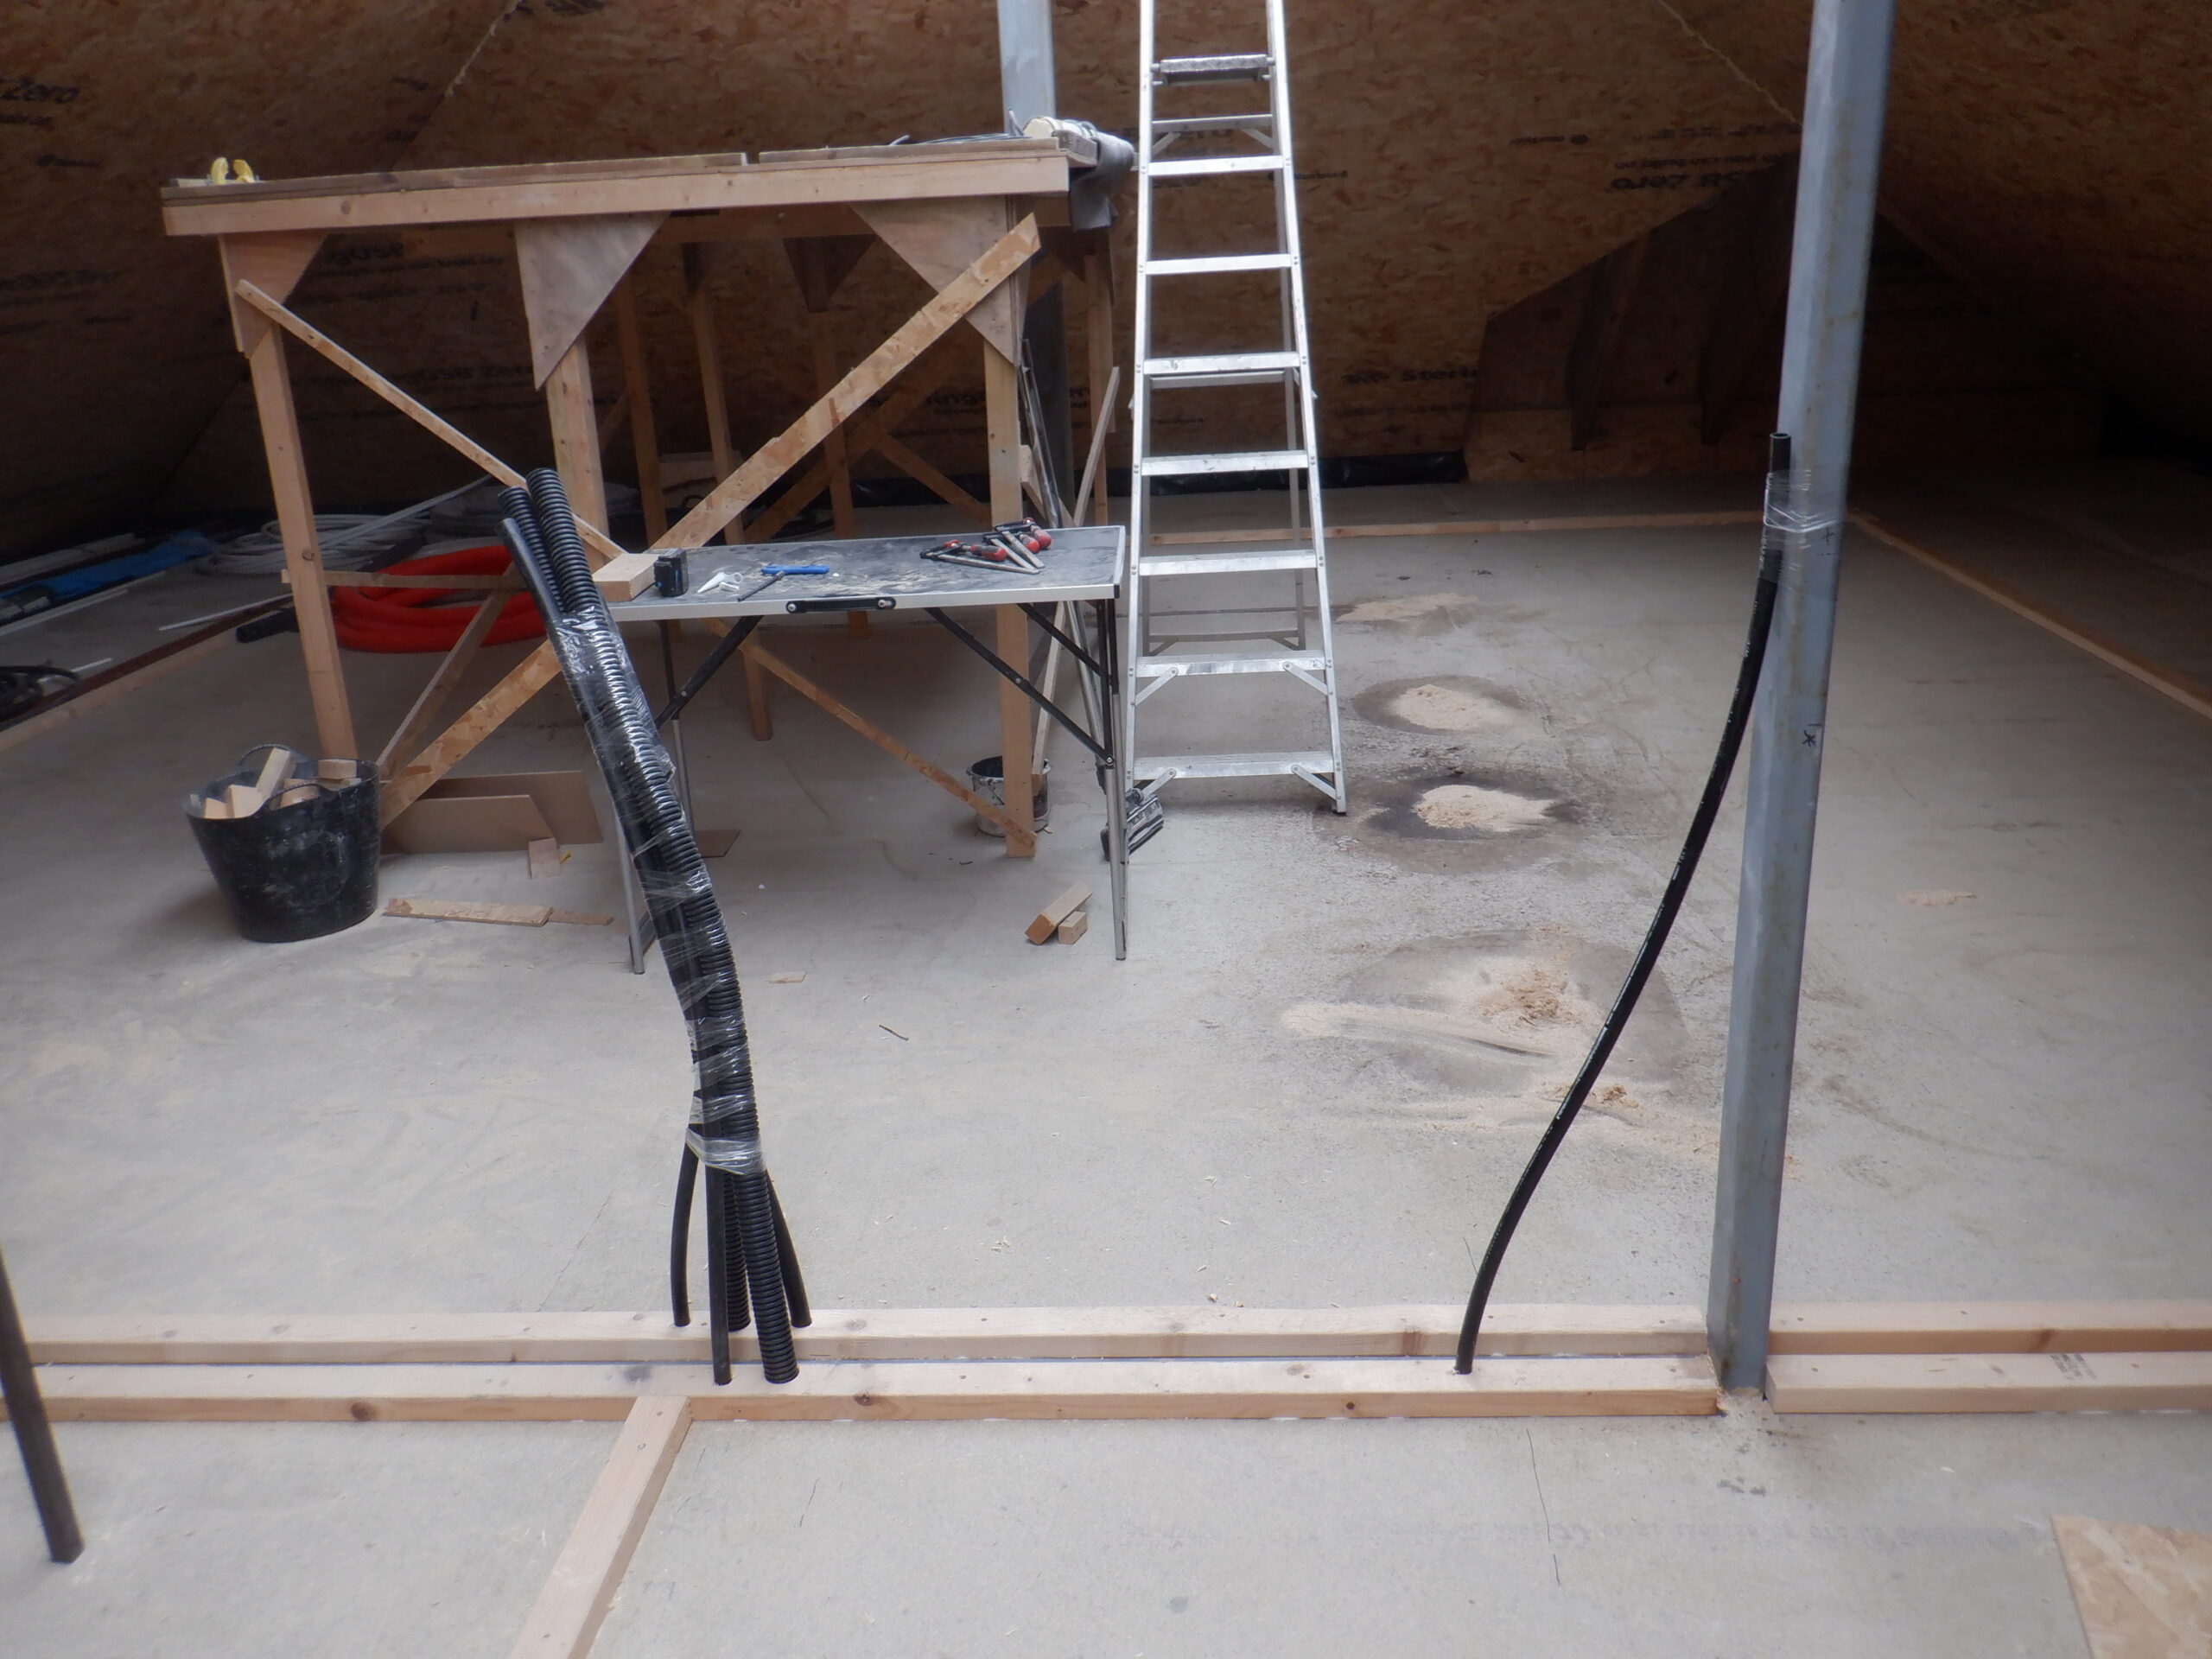
Conduits arrive upstairs (2)
The final conduit that we needed to put in, is a 20mm black pipe which will supply DC power cables and one House Bus network cable, all the way up inside the Skylight Chamber. It went straight up through the floorboard, right next to the metal leg and then straight up this metal leg until it is right up high enough to reach the Skylight Chamber, a solid box that will cover up the ventilation extraction points, the solar panels and also provide lighting for these spaces upstairs.
We now have a neat line of conduits, all with their labels, anchored up near the ceiling, four coming from the low DC power section, three fatter pipes positioned over the Network Patch panels and the further three pipes anchored over the mains voltage consumer units.
Tech Cupboard DC & Network conduits in ceiling
Tech Cupboard mains conduits in ceiling
This concludes this task of having conduits, empty at the moment, ready for wires to be threaded later on, and all we need to do next, is to put in a couple of lighting conduits between the three lamps and to install a extract air vent boxing up inside the joist space above the Cloakroom. Then we are ready to install a fermacell board across the ceiling, round the inside corners and get the surface ready for painting.